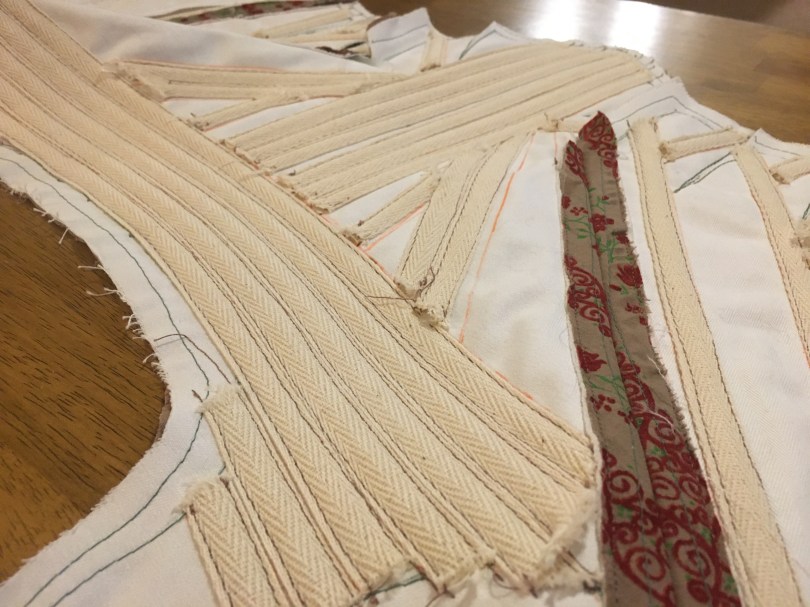
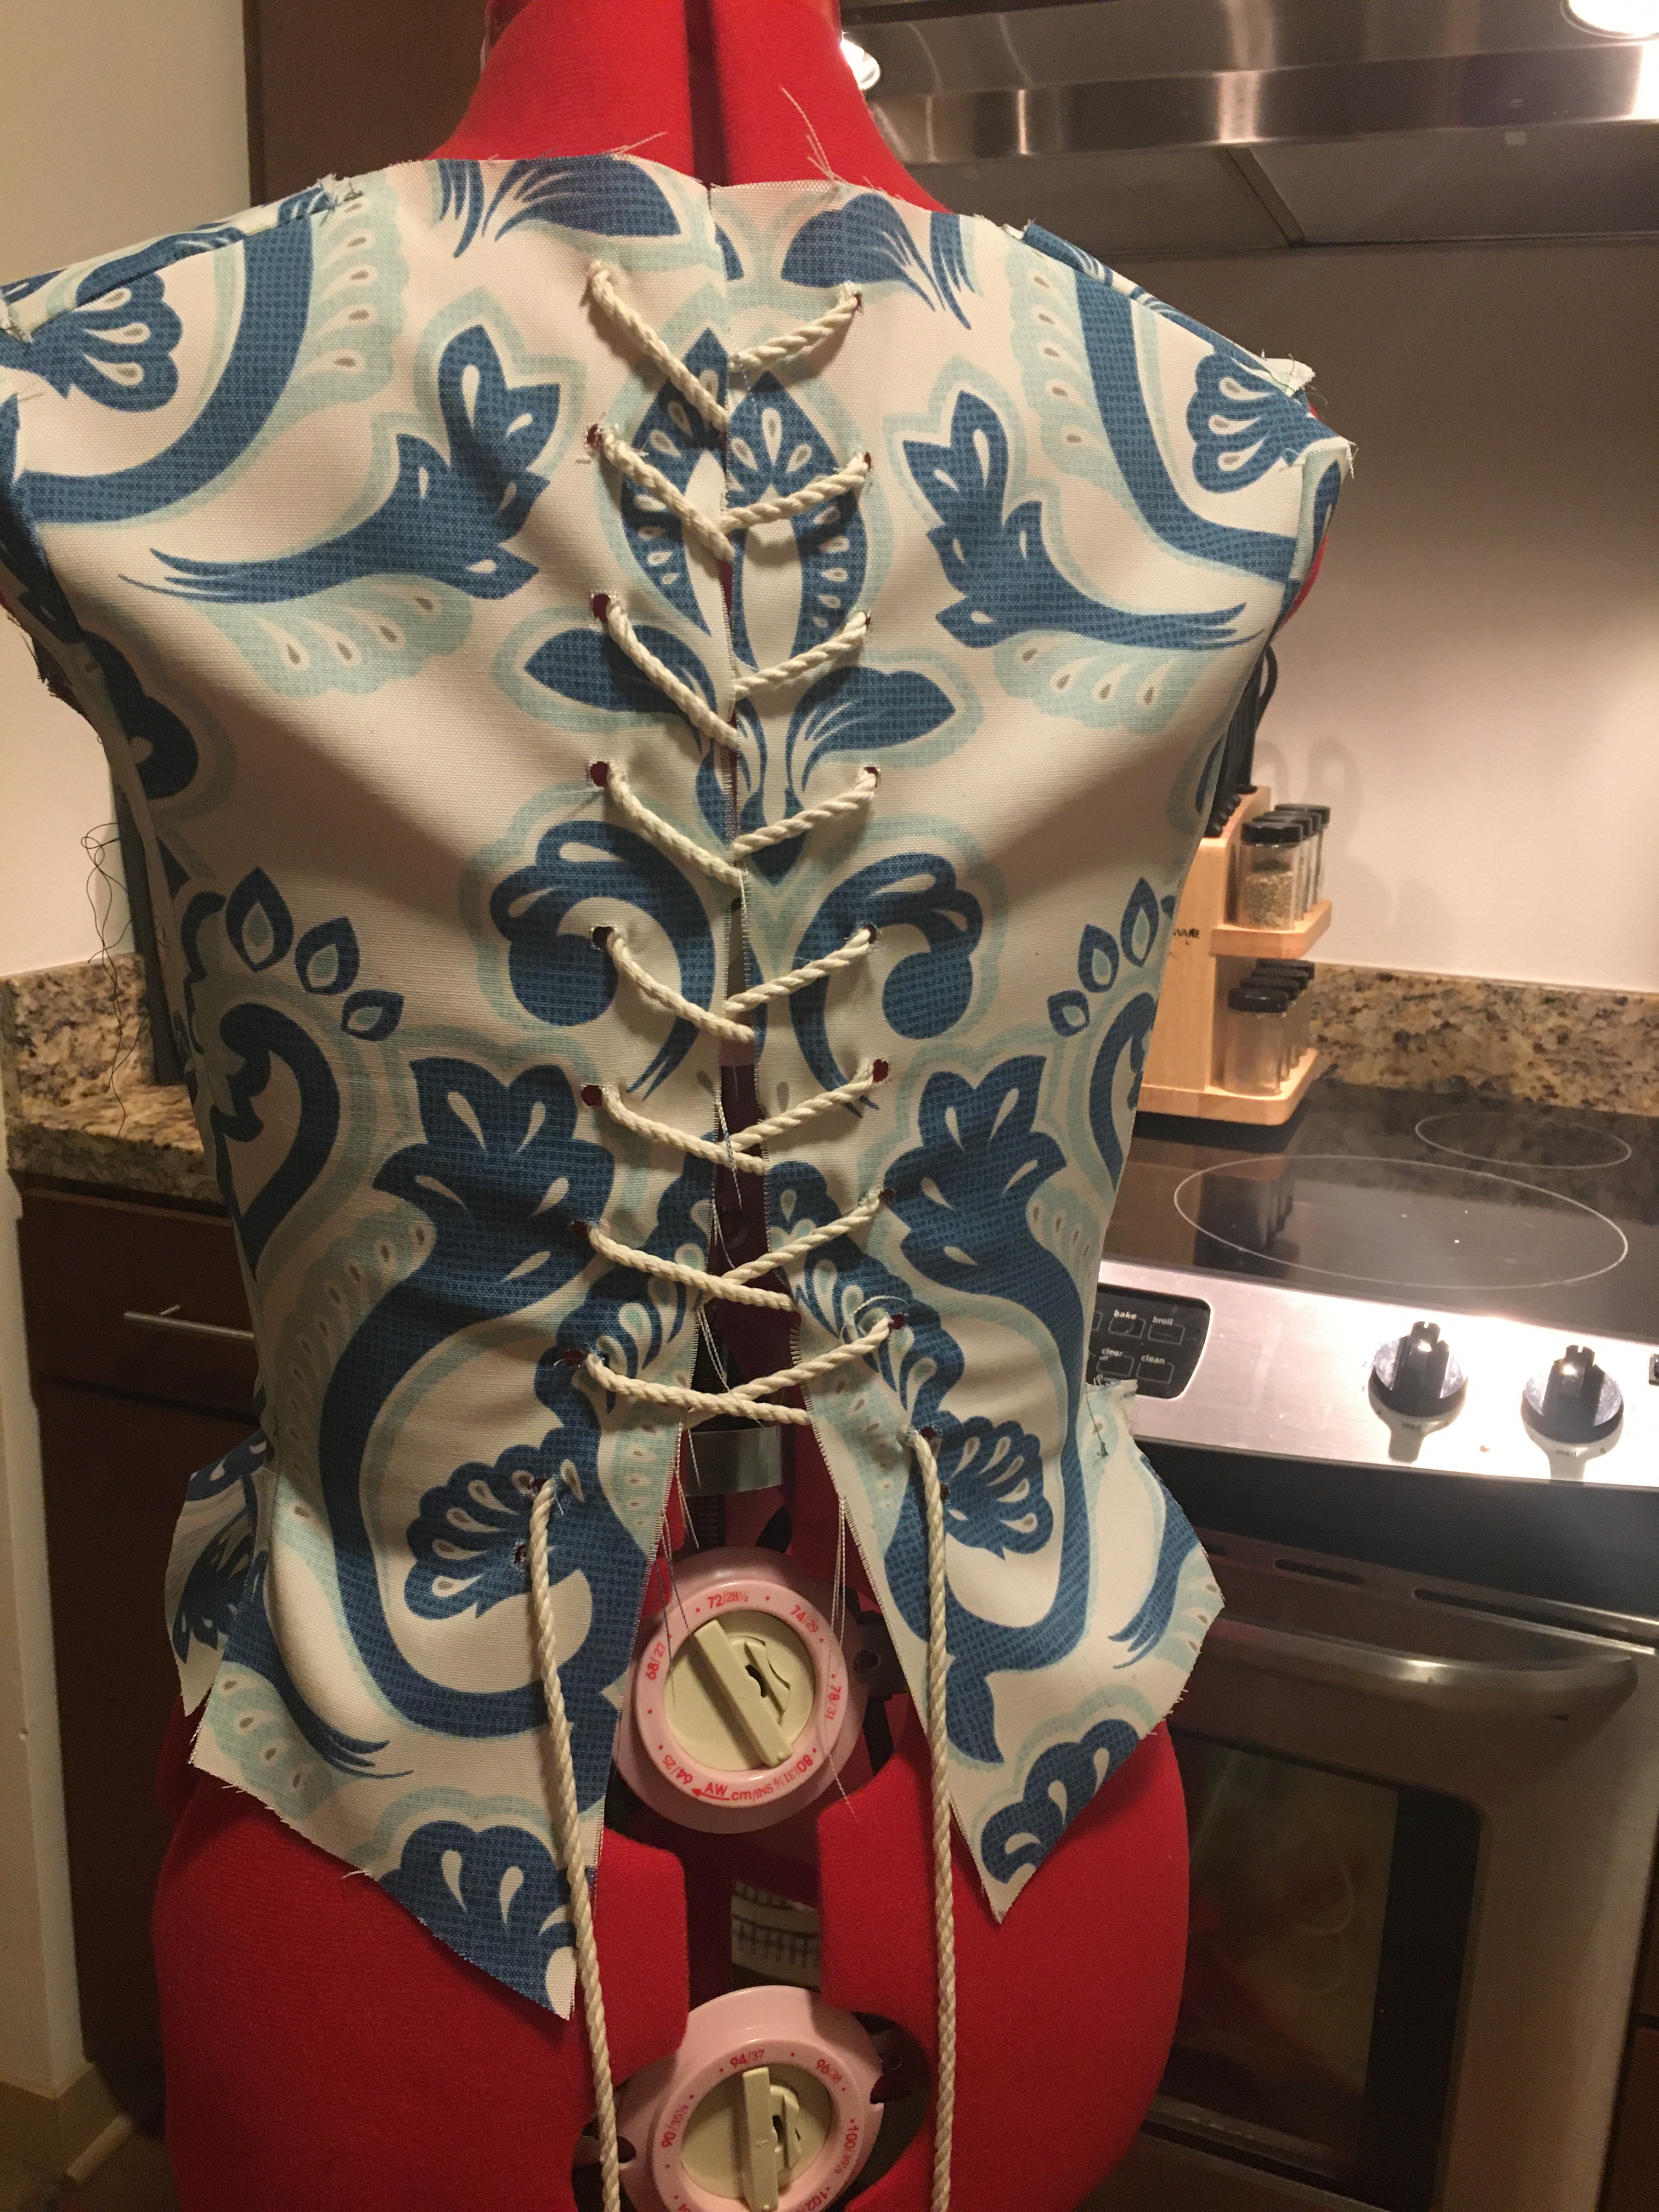
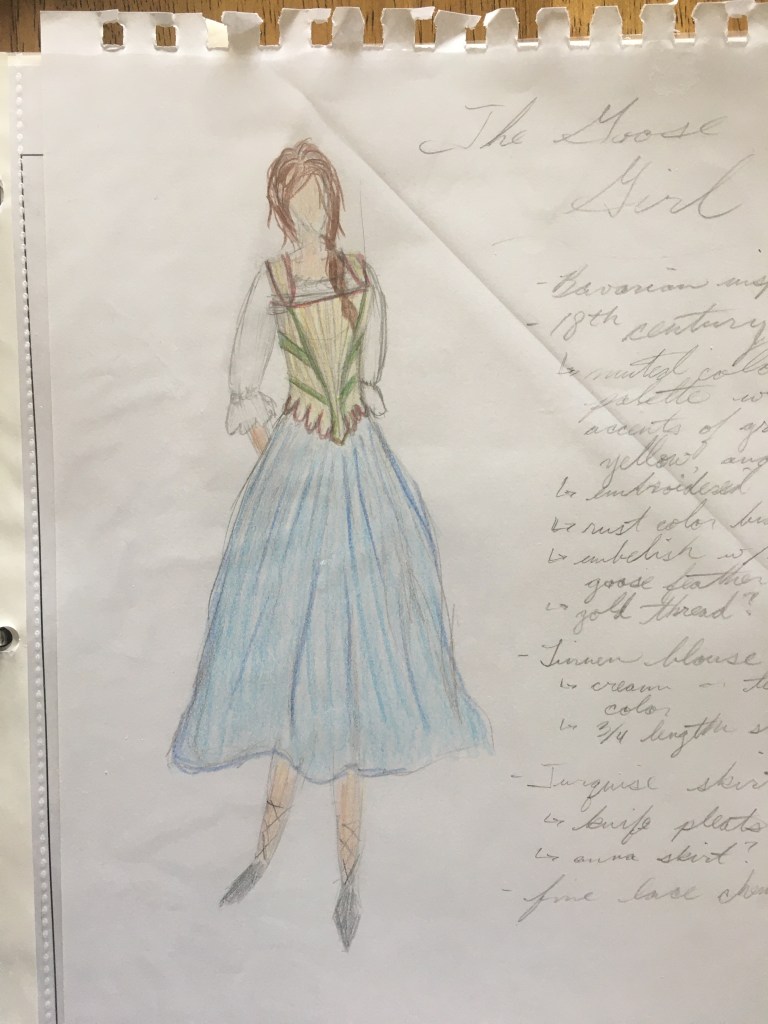
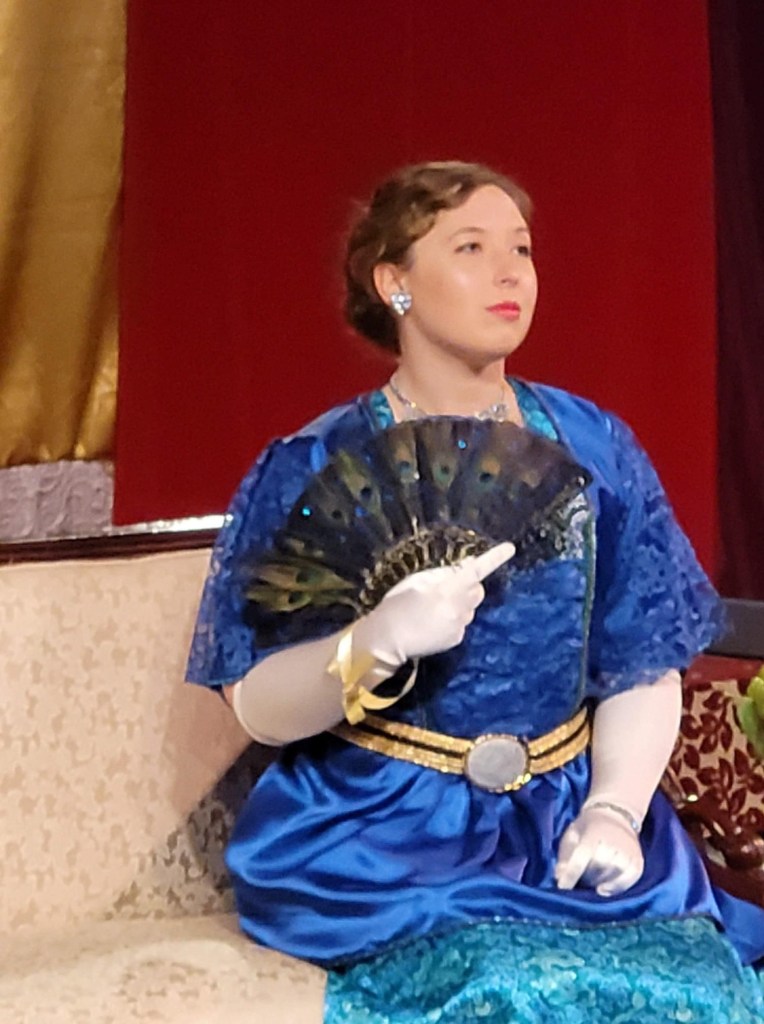
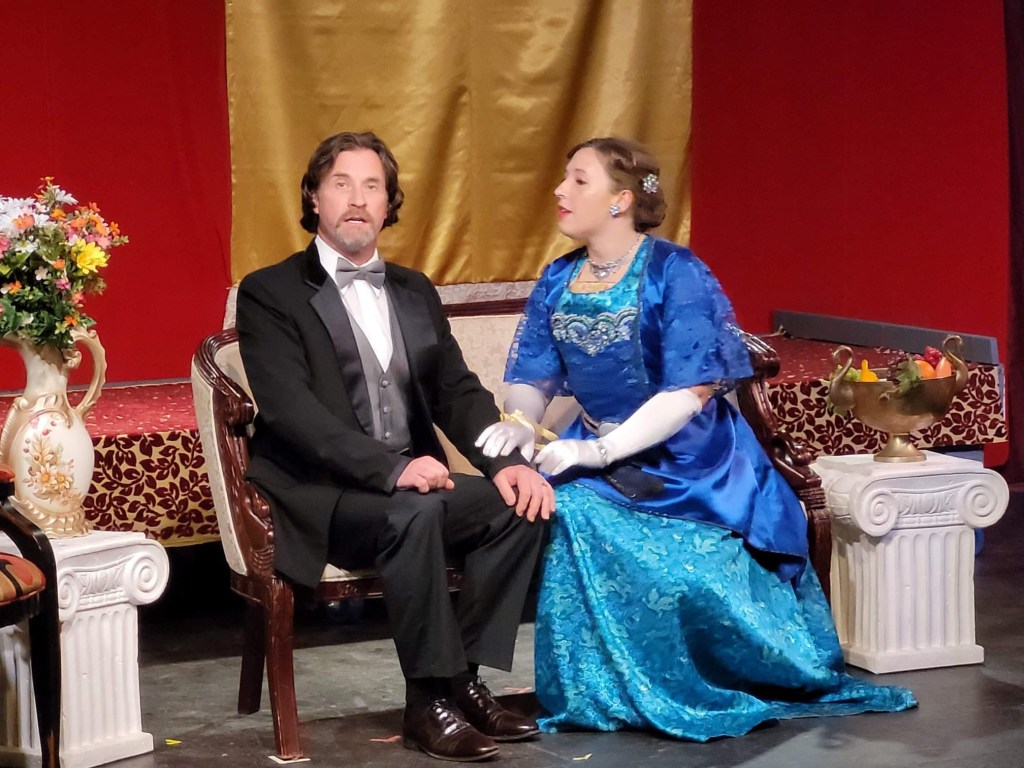
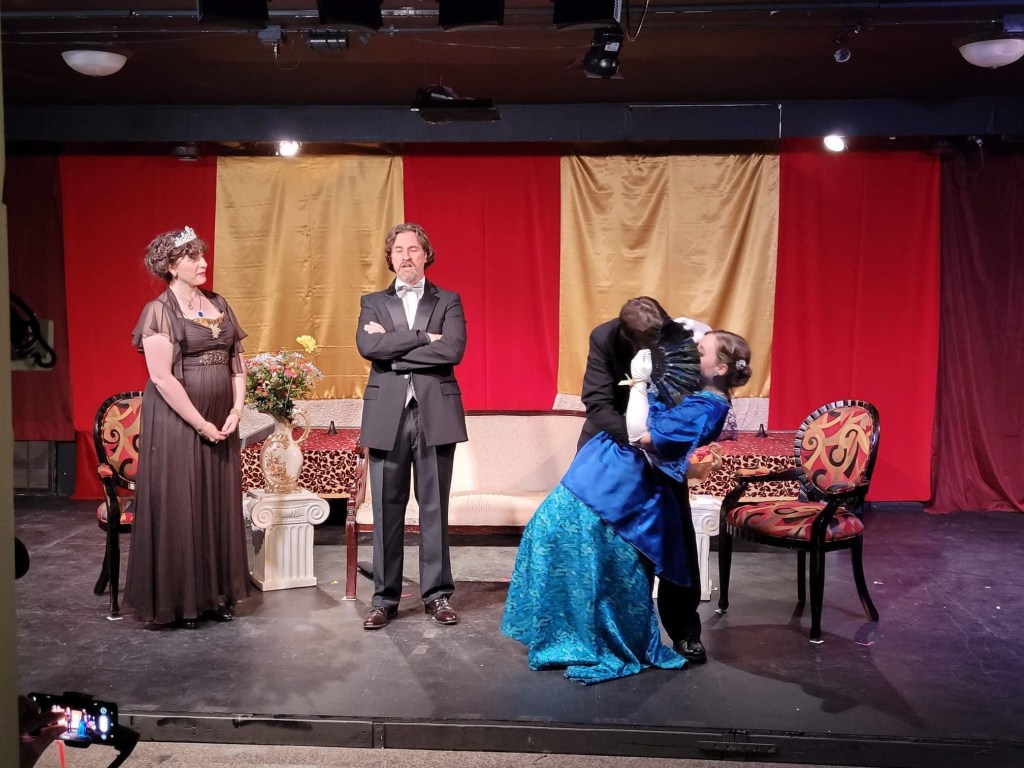
As mentioned in my post on constructing an Edwardian corset and chemise, I had the opportunity to break out of COVID quarantine, post vaccination and under safe conditions, to participate in a bit of community theatre. I would portray Mrs. Juno in Overruled by Bernard Shaw. The play is set in 1911 at a seaside resort where Mrs. Juno and her lover are ending their trip around the world together, little do they know that their spouses are also at the same resort and are having an affair together also. It is a fun little farce poking fun at the constructs of marriage in proper society and the need for passion and danger for true enjoyment of what society expects.
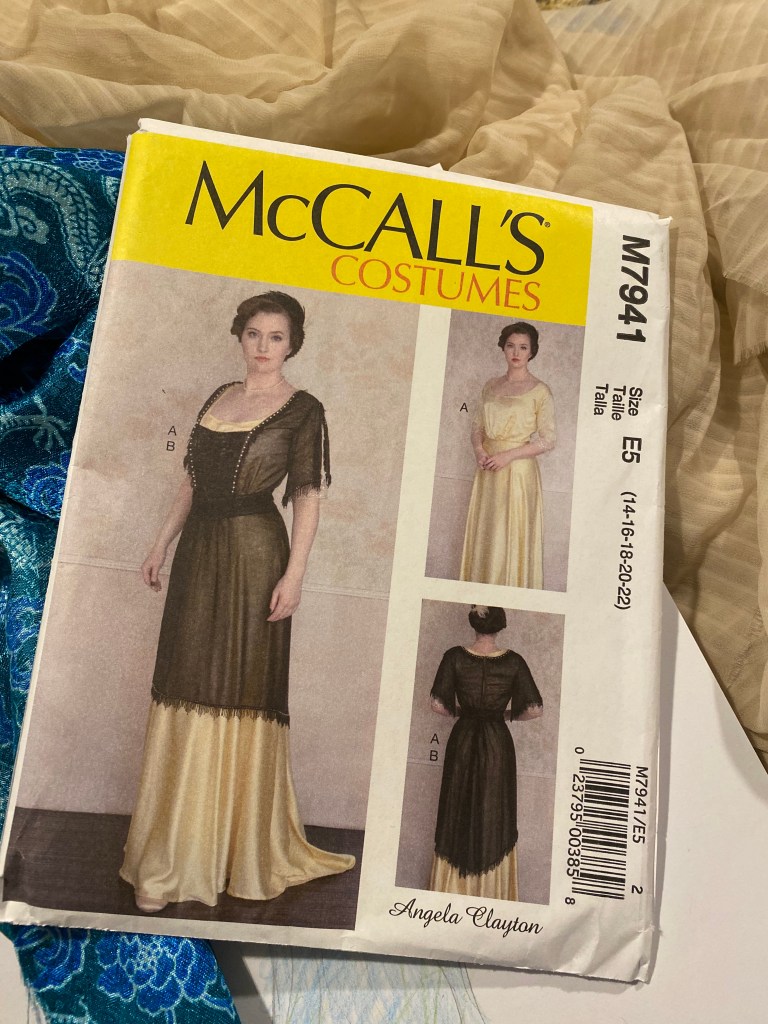
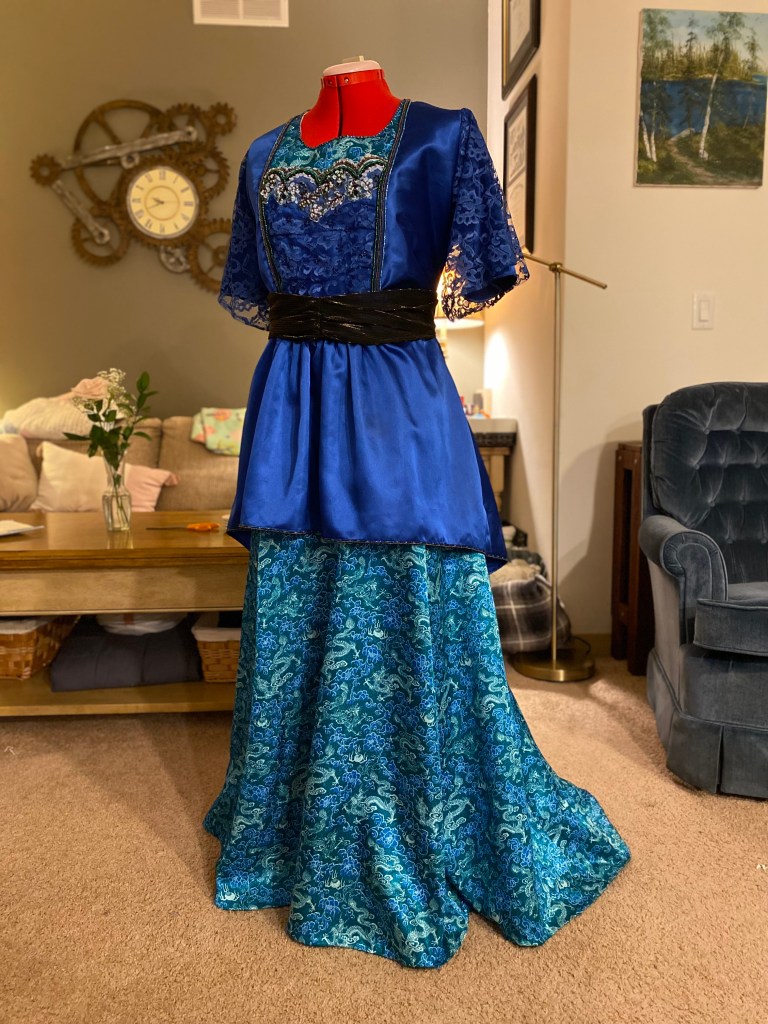
The costume designer for the show graciously let me take on the challenge of constructing my own gown for the production. She supplied the initial materials and recommended to use McCall’s pattern M7941 from Angela Clayton’s collection. The provided materials threw me for a loop at the start, but became a good exercise in using every inch to its full potential. Reduce, reuse, recycle was the motto for this production costume design and boy did they make it lovely.
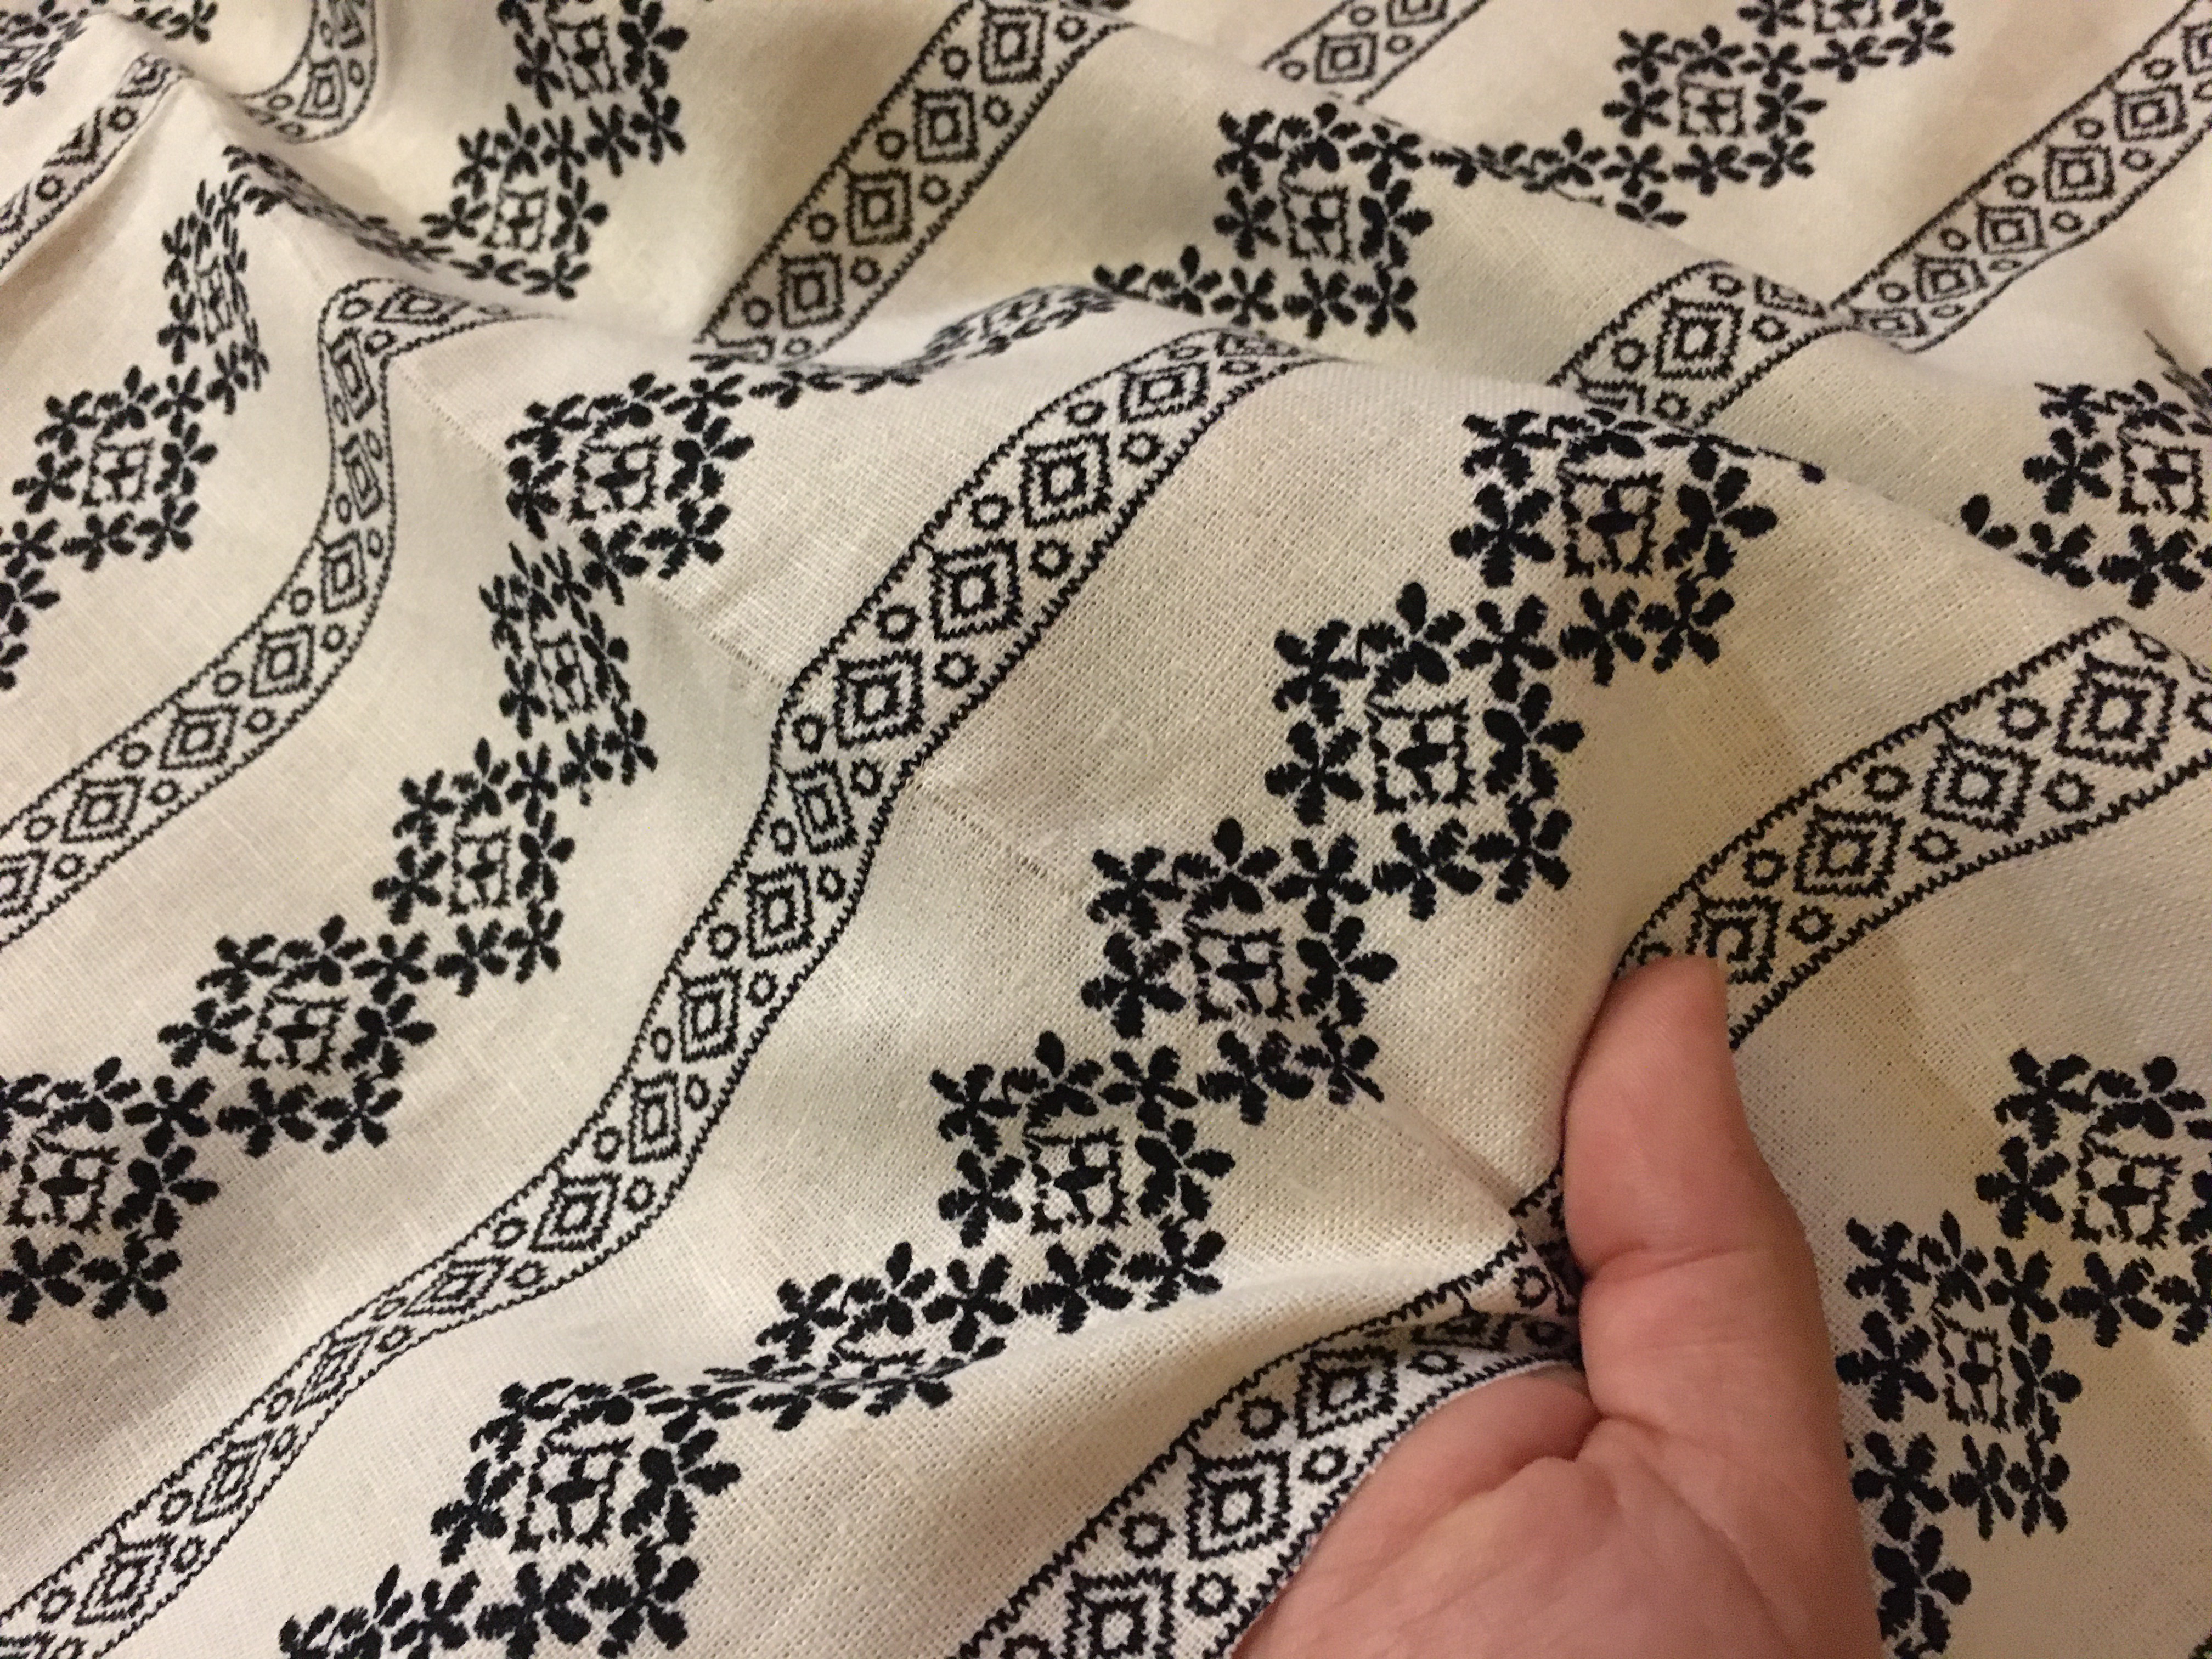
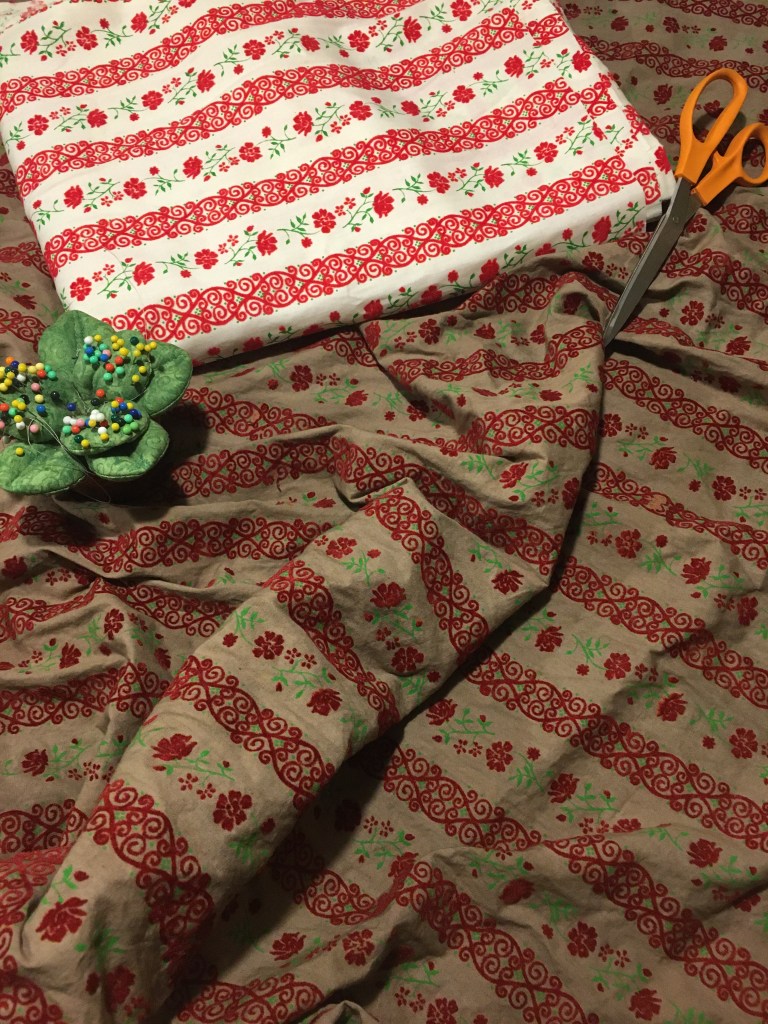
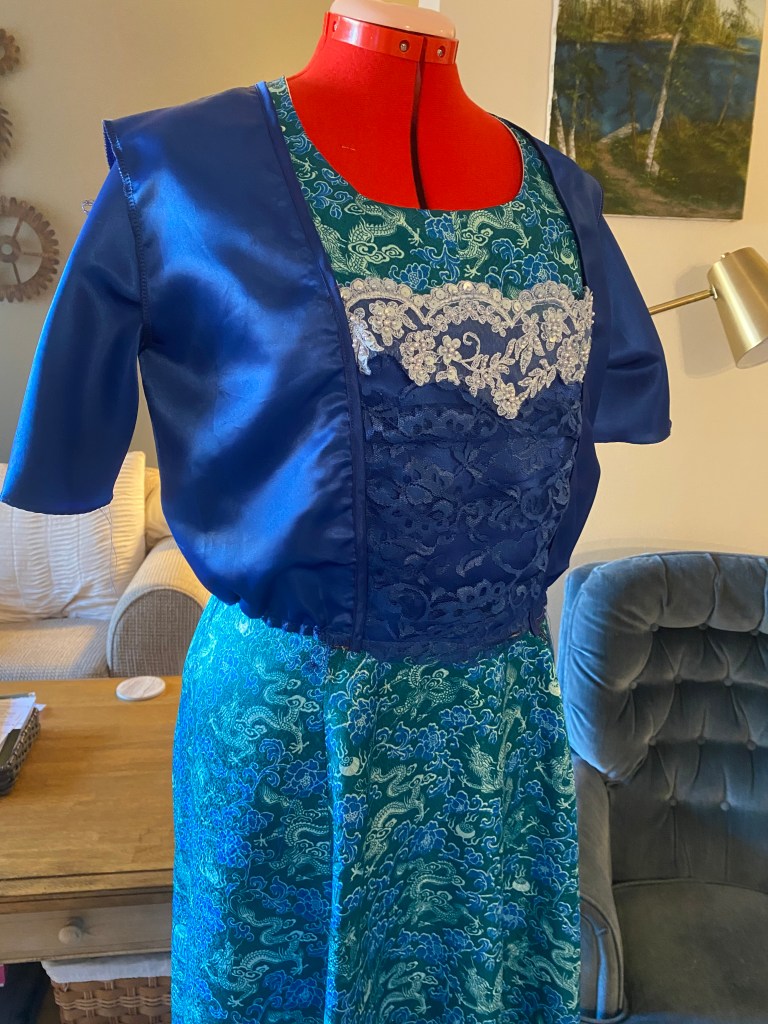
To start with, I had at my disposal a teal kimono and sapphire blue 80’s style dress. The designer suggested the kimono be used for the main dress and the sapphire for the overdress, focusing on the lace panels over the satin. Overall, the motif for the design was the peacock. This was apparent in the jewel tones of the color palette and would come back again as we added glitz and baubles to the final product.
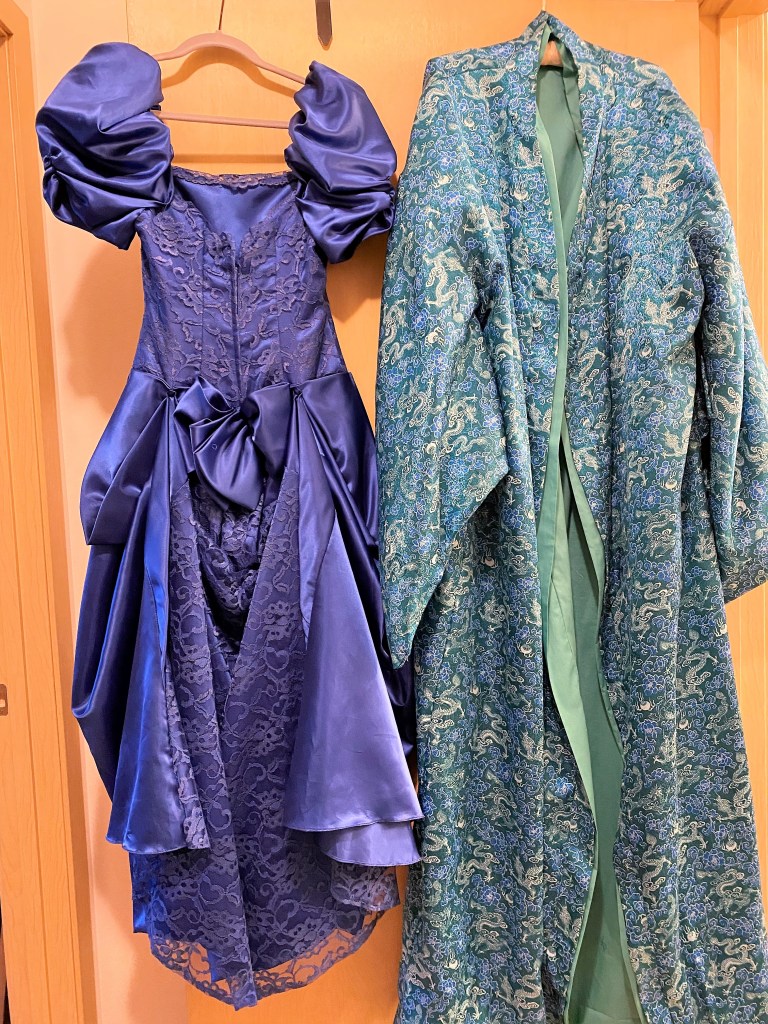
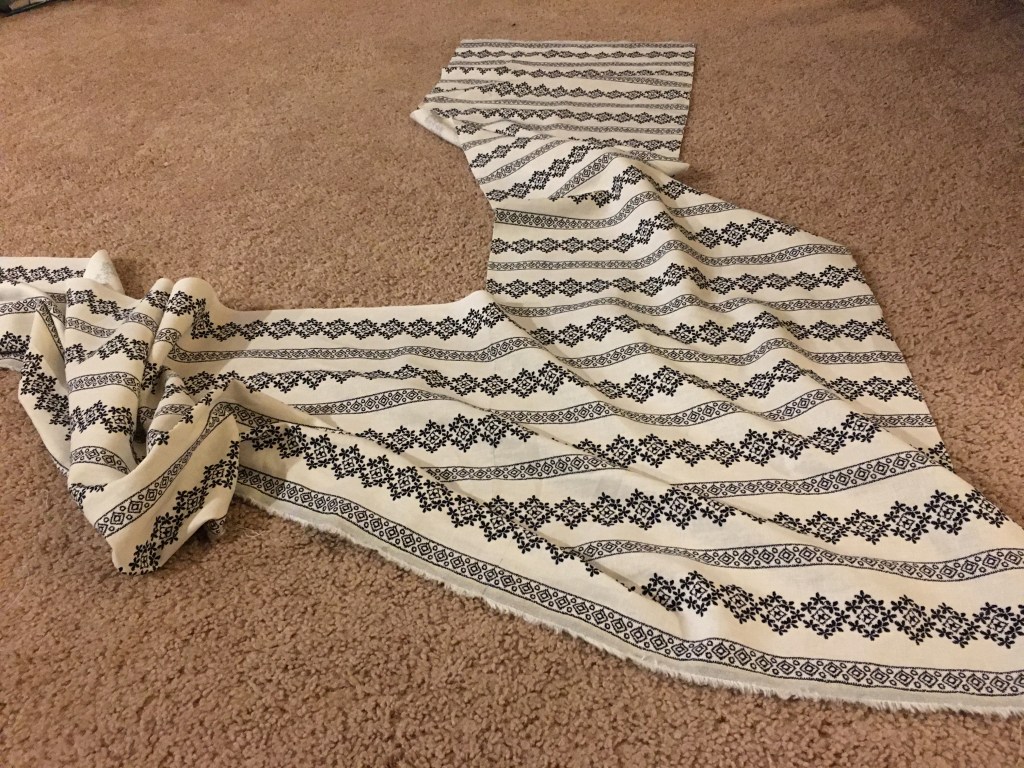
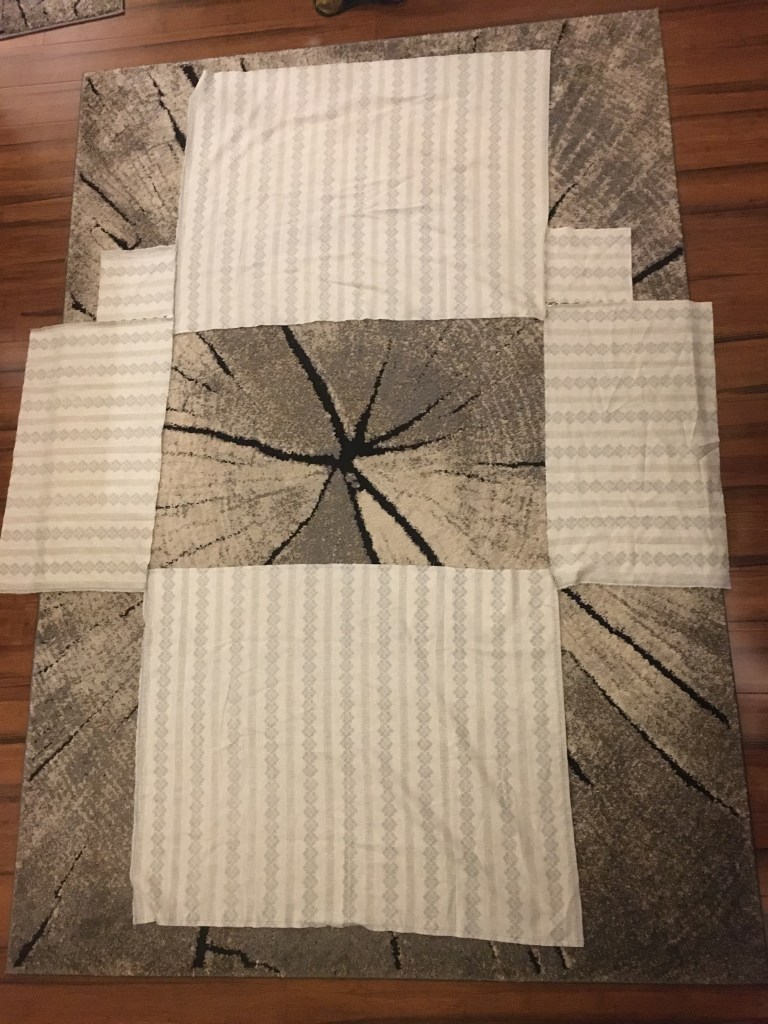
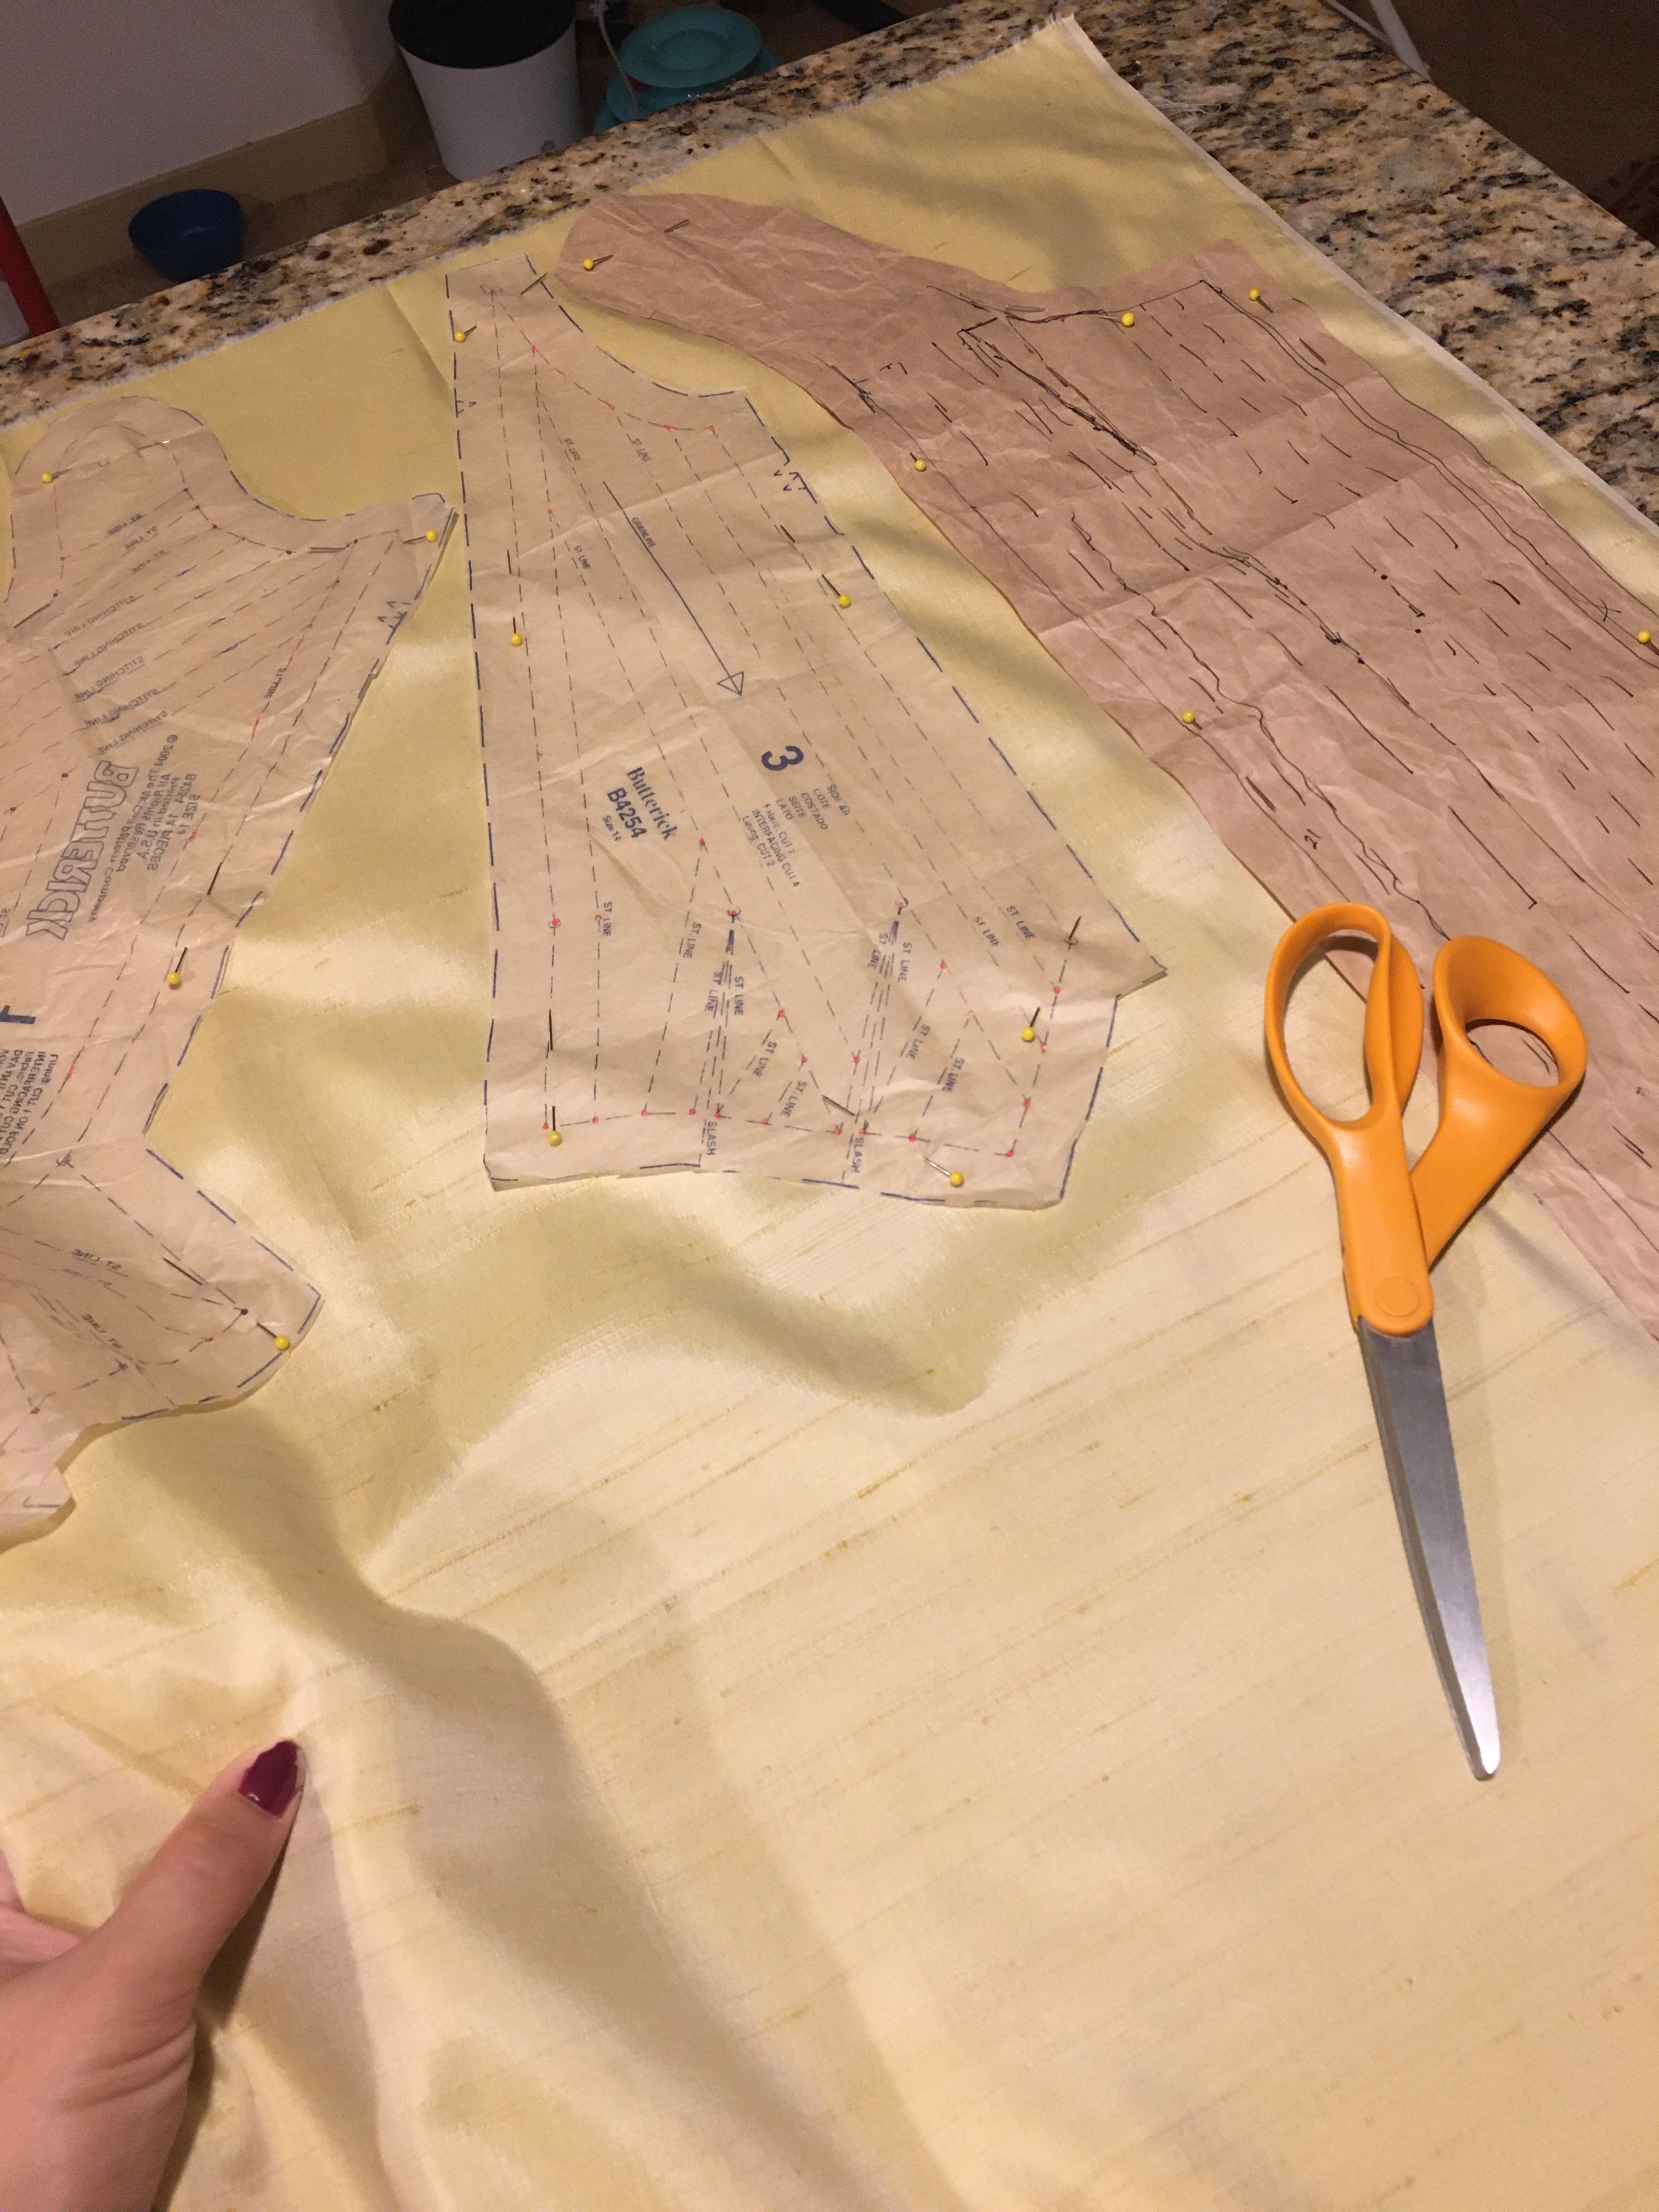
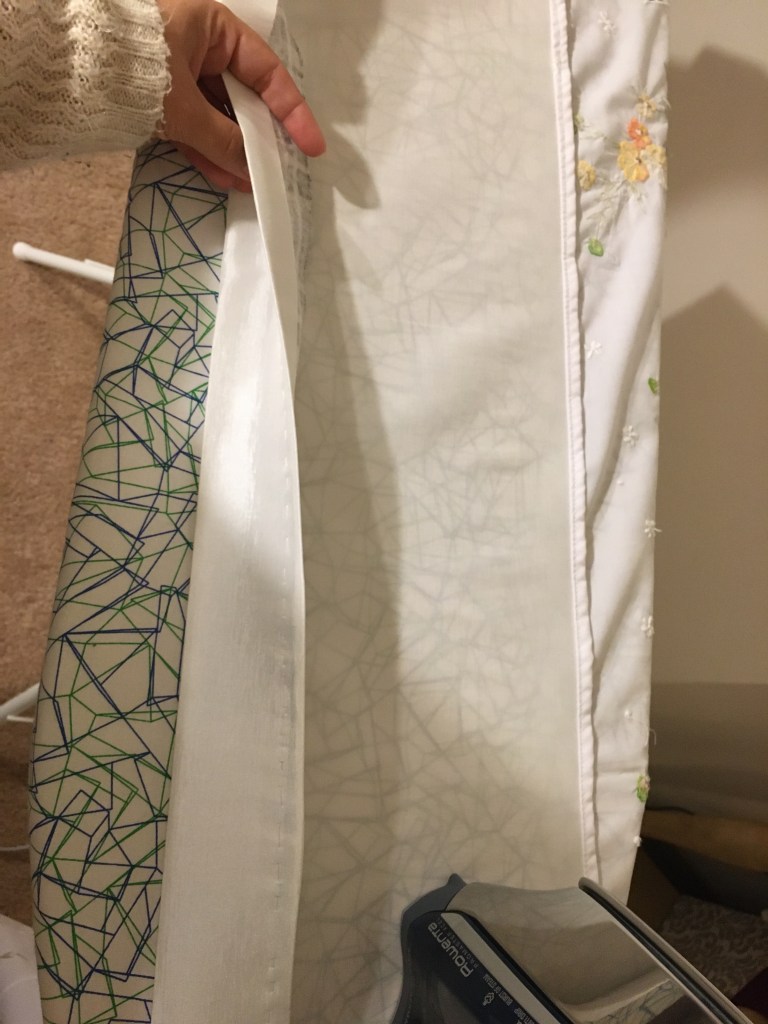
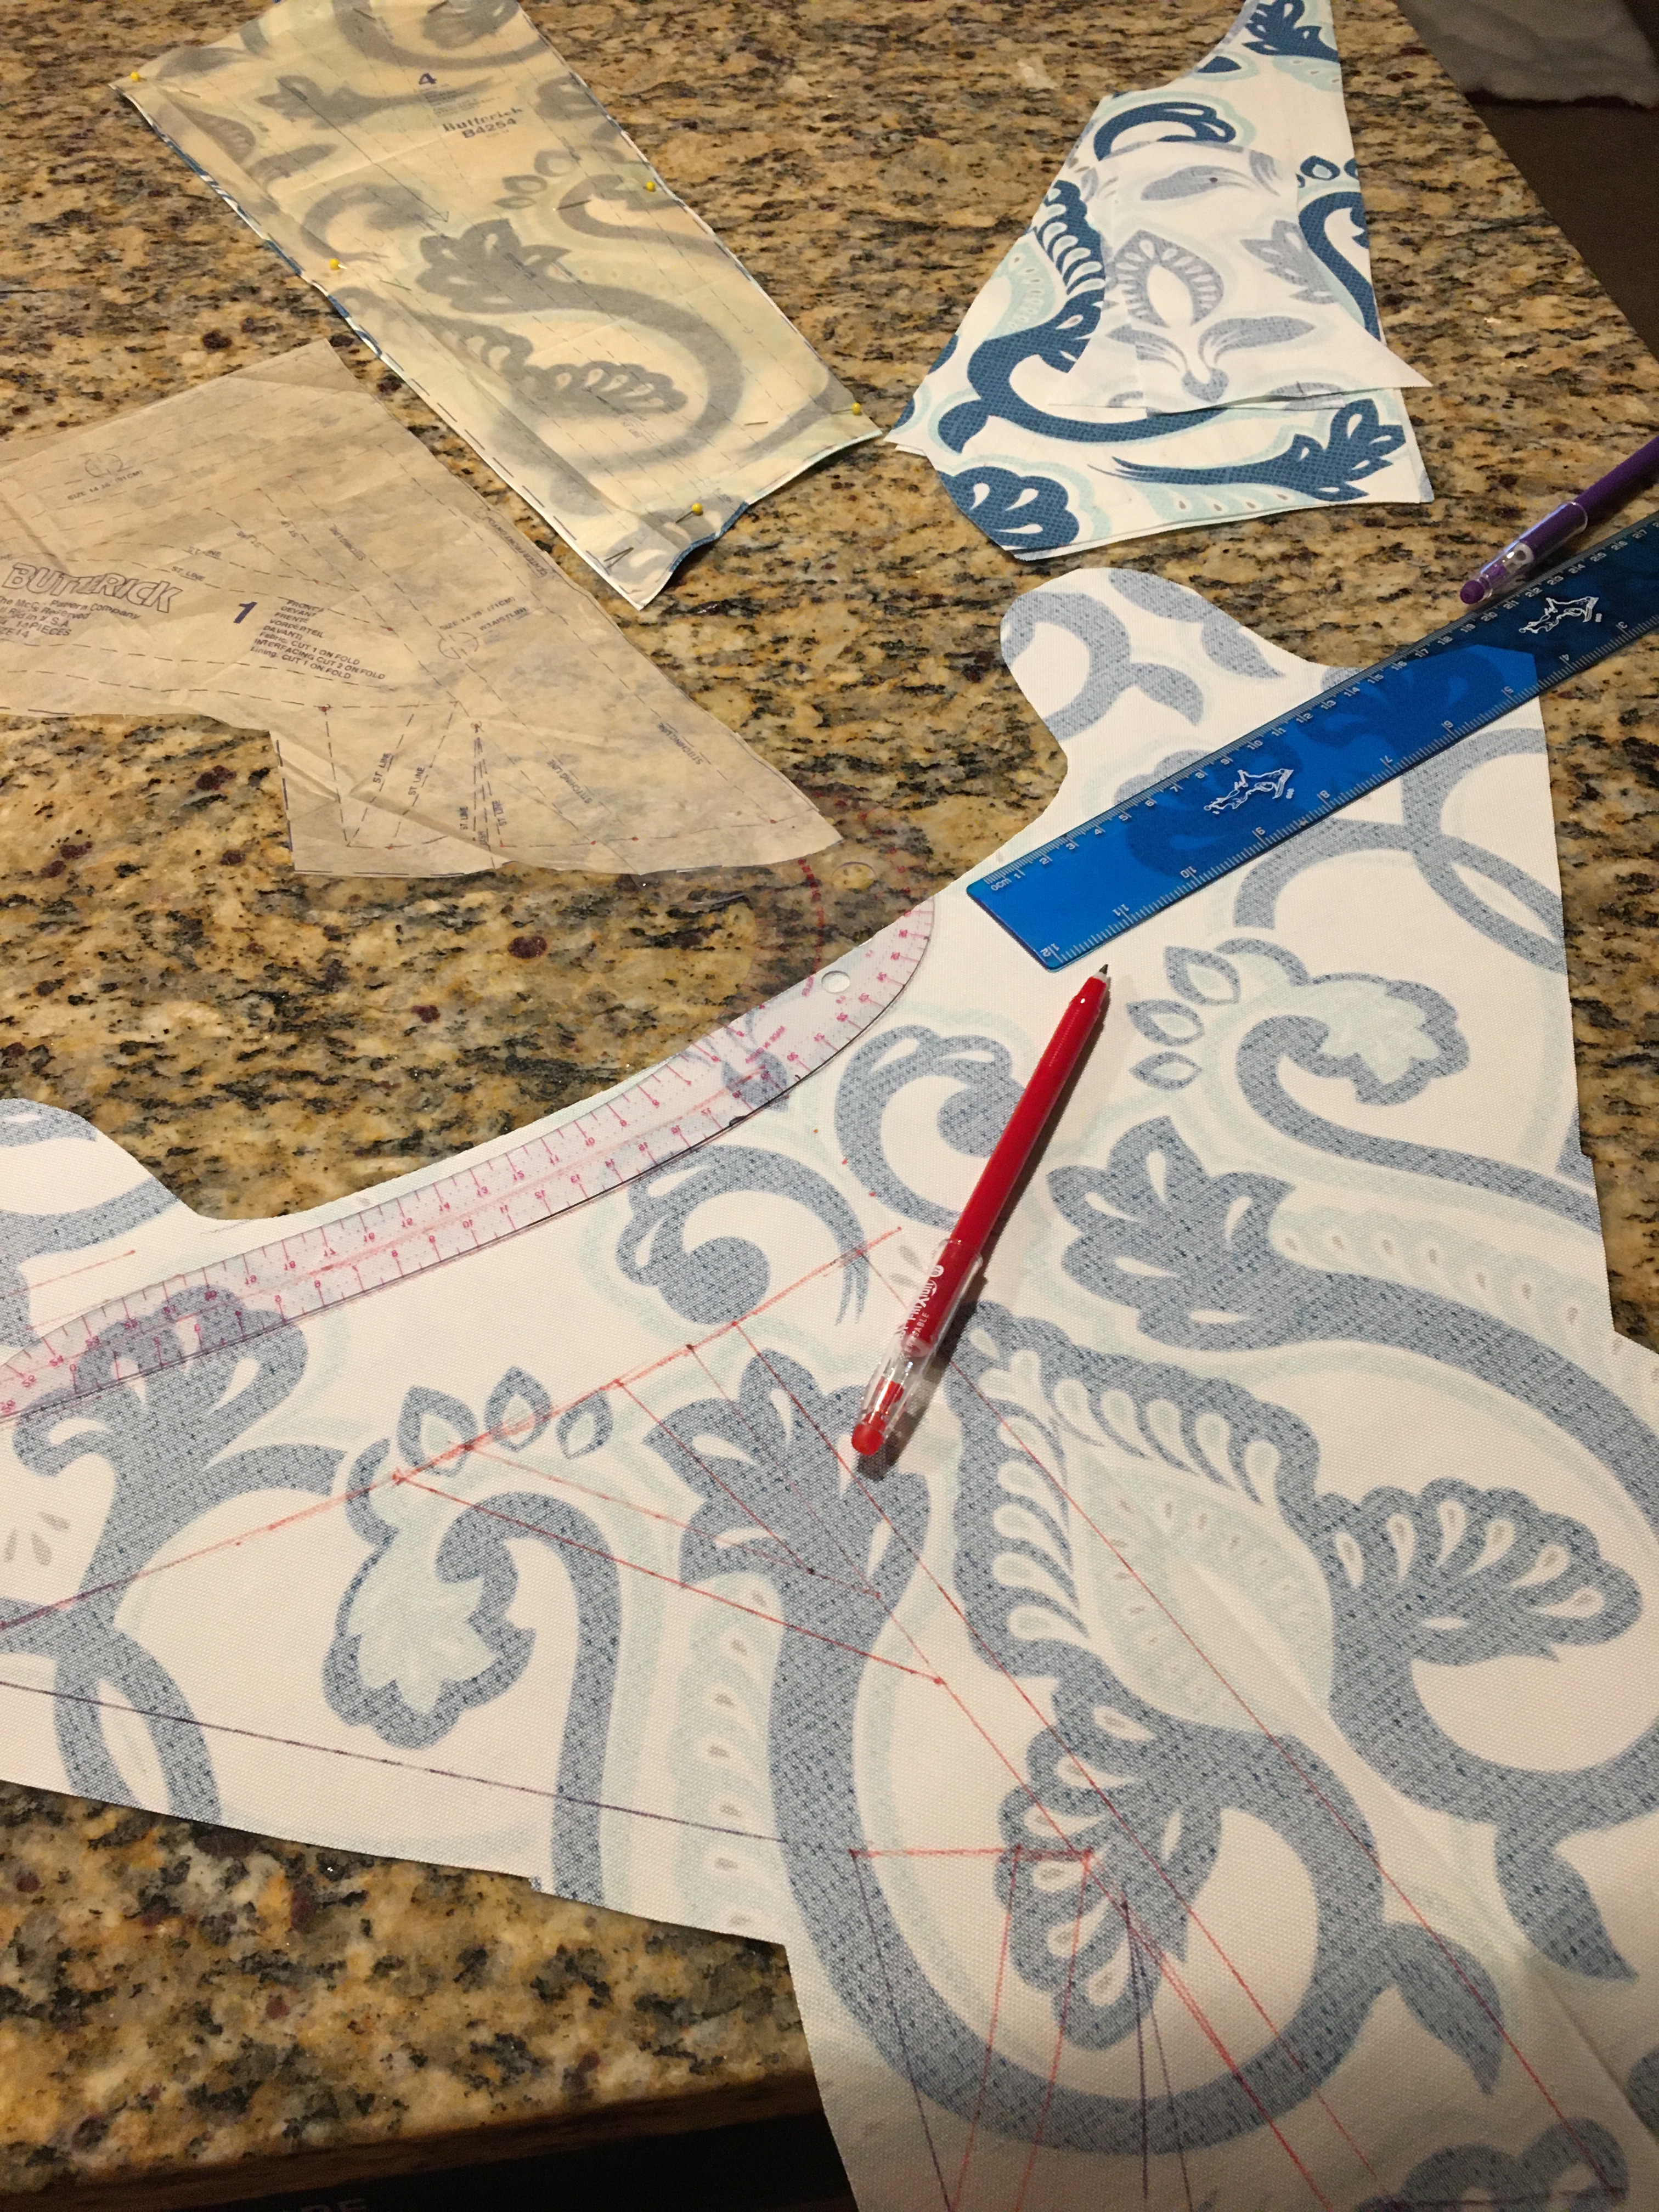
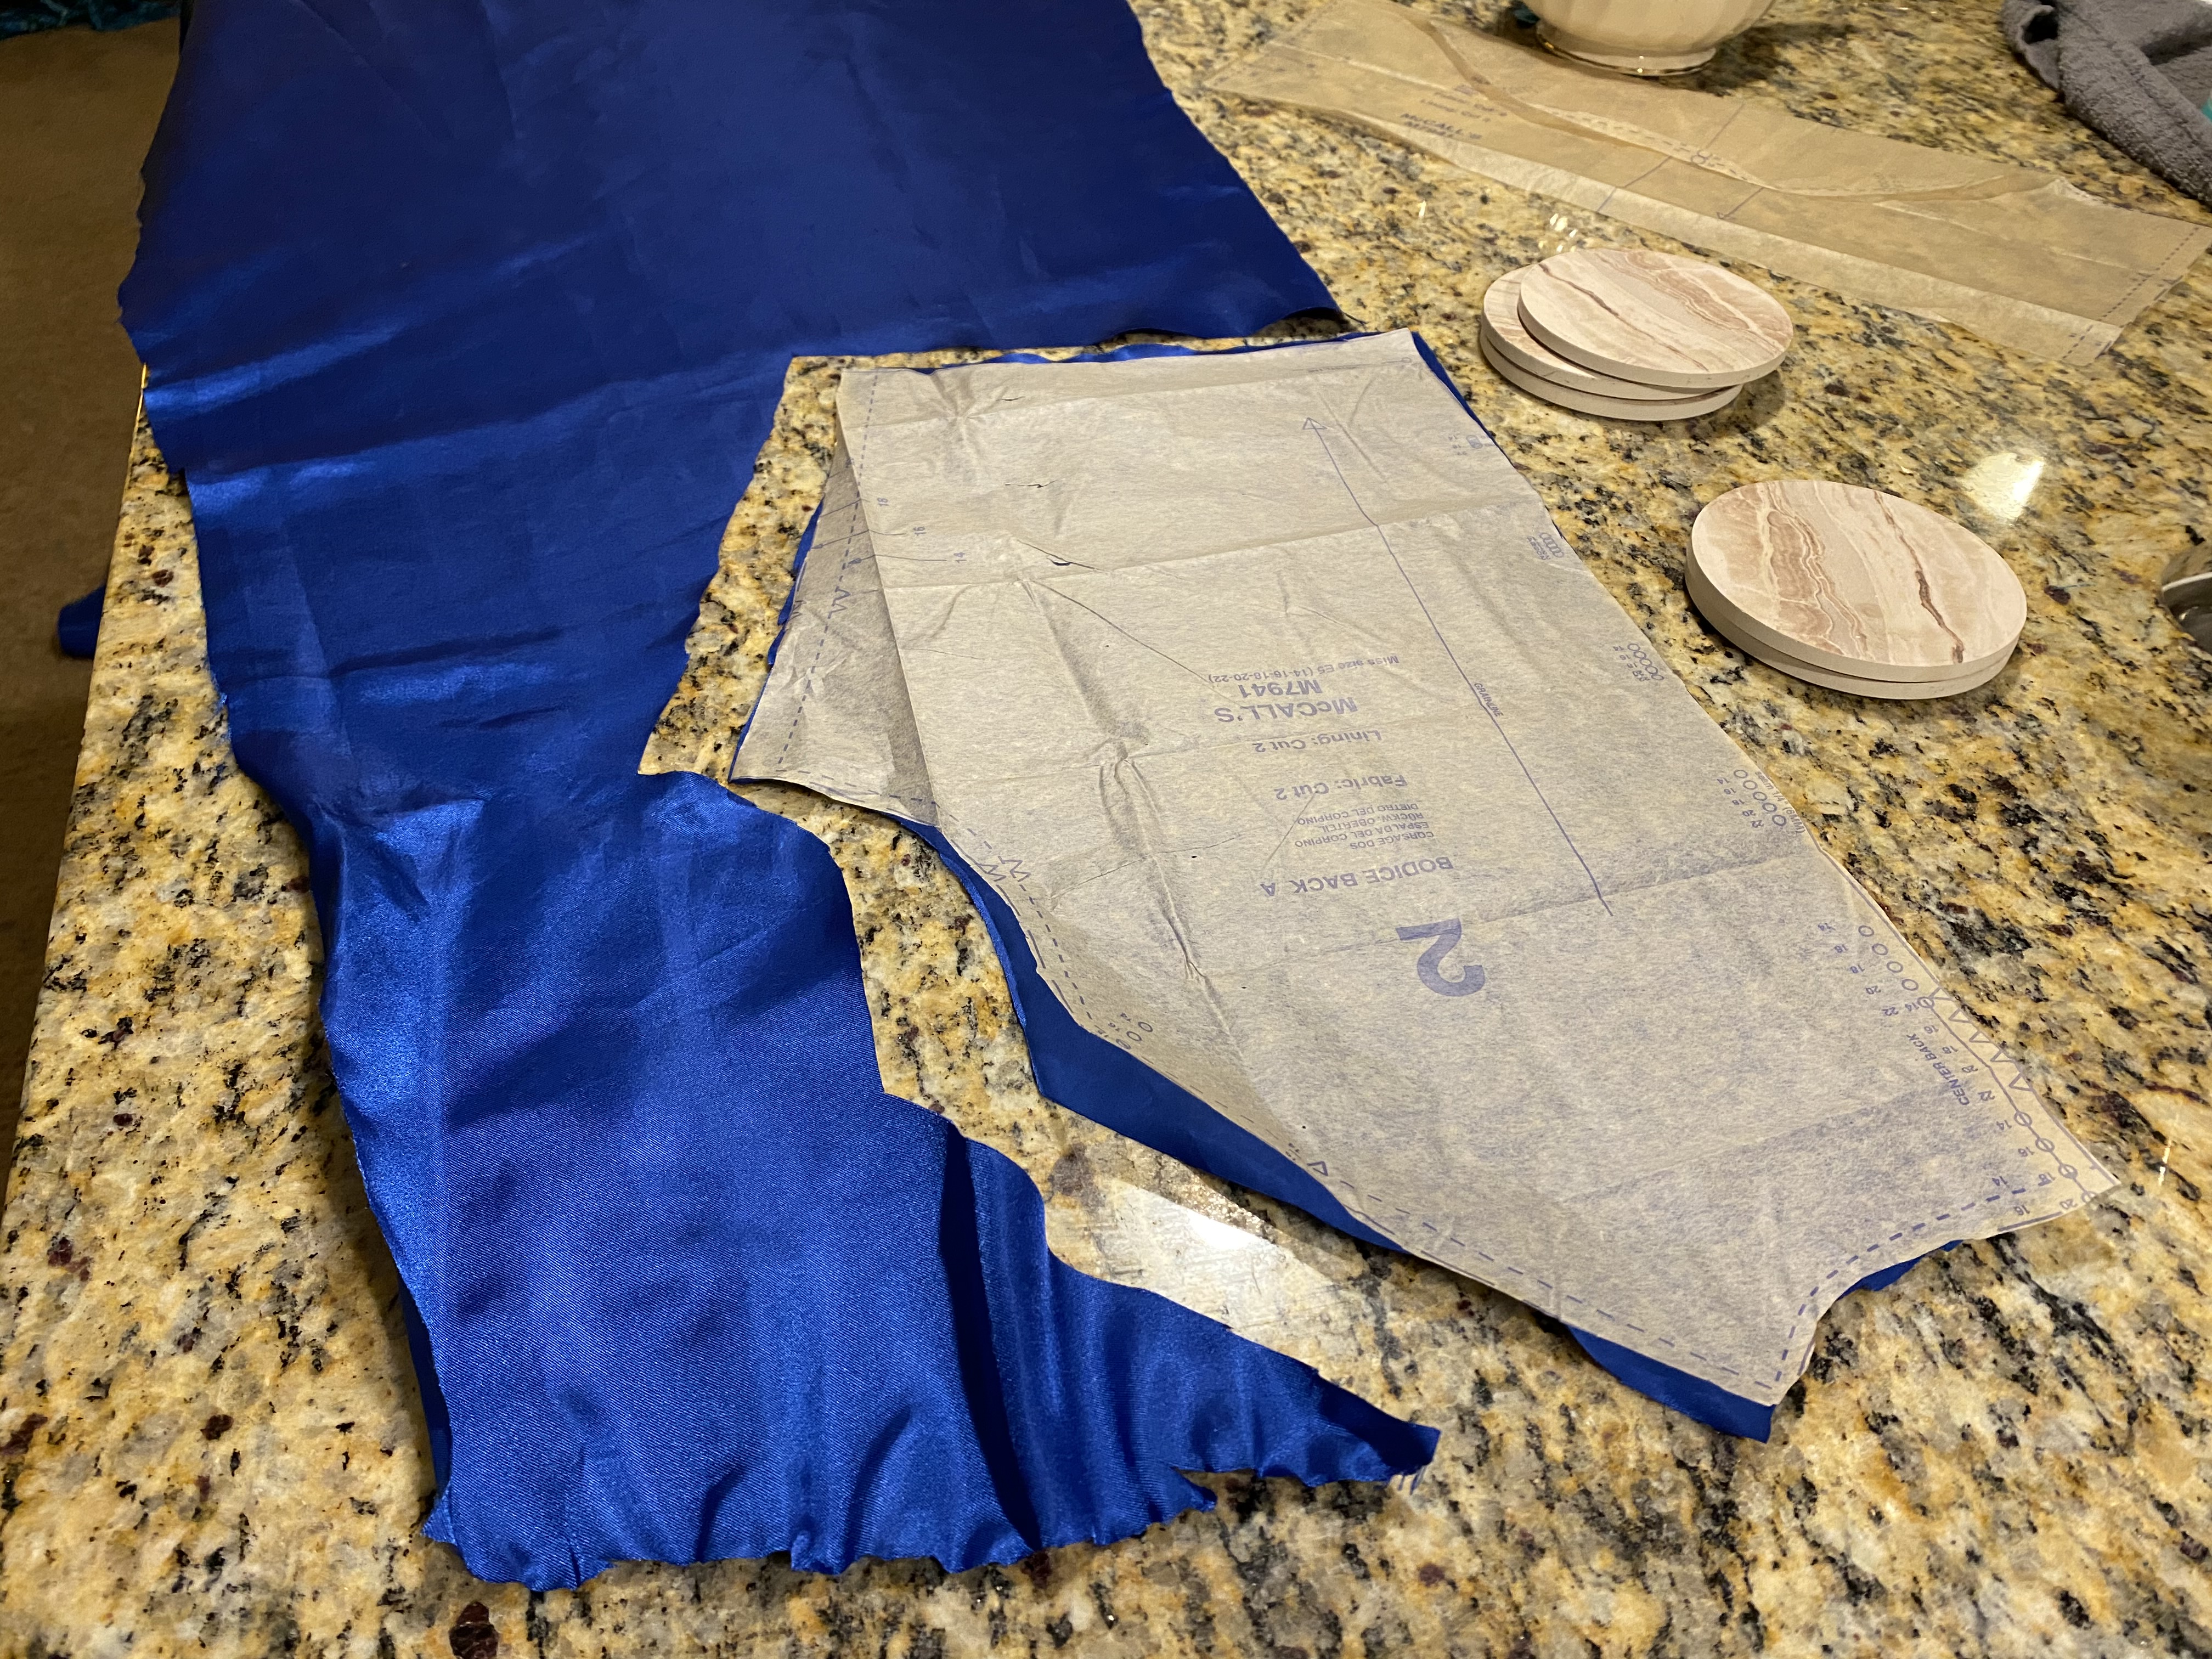
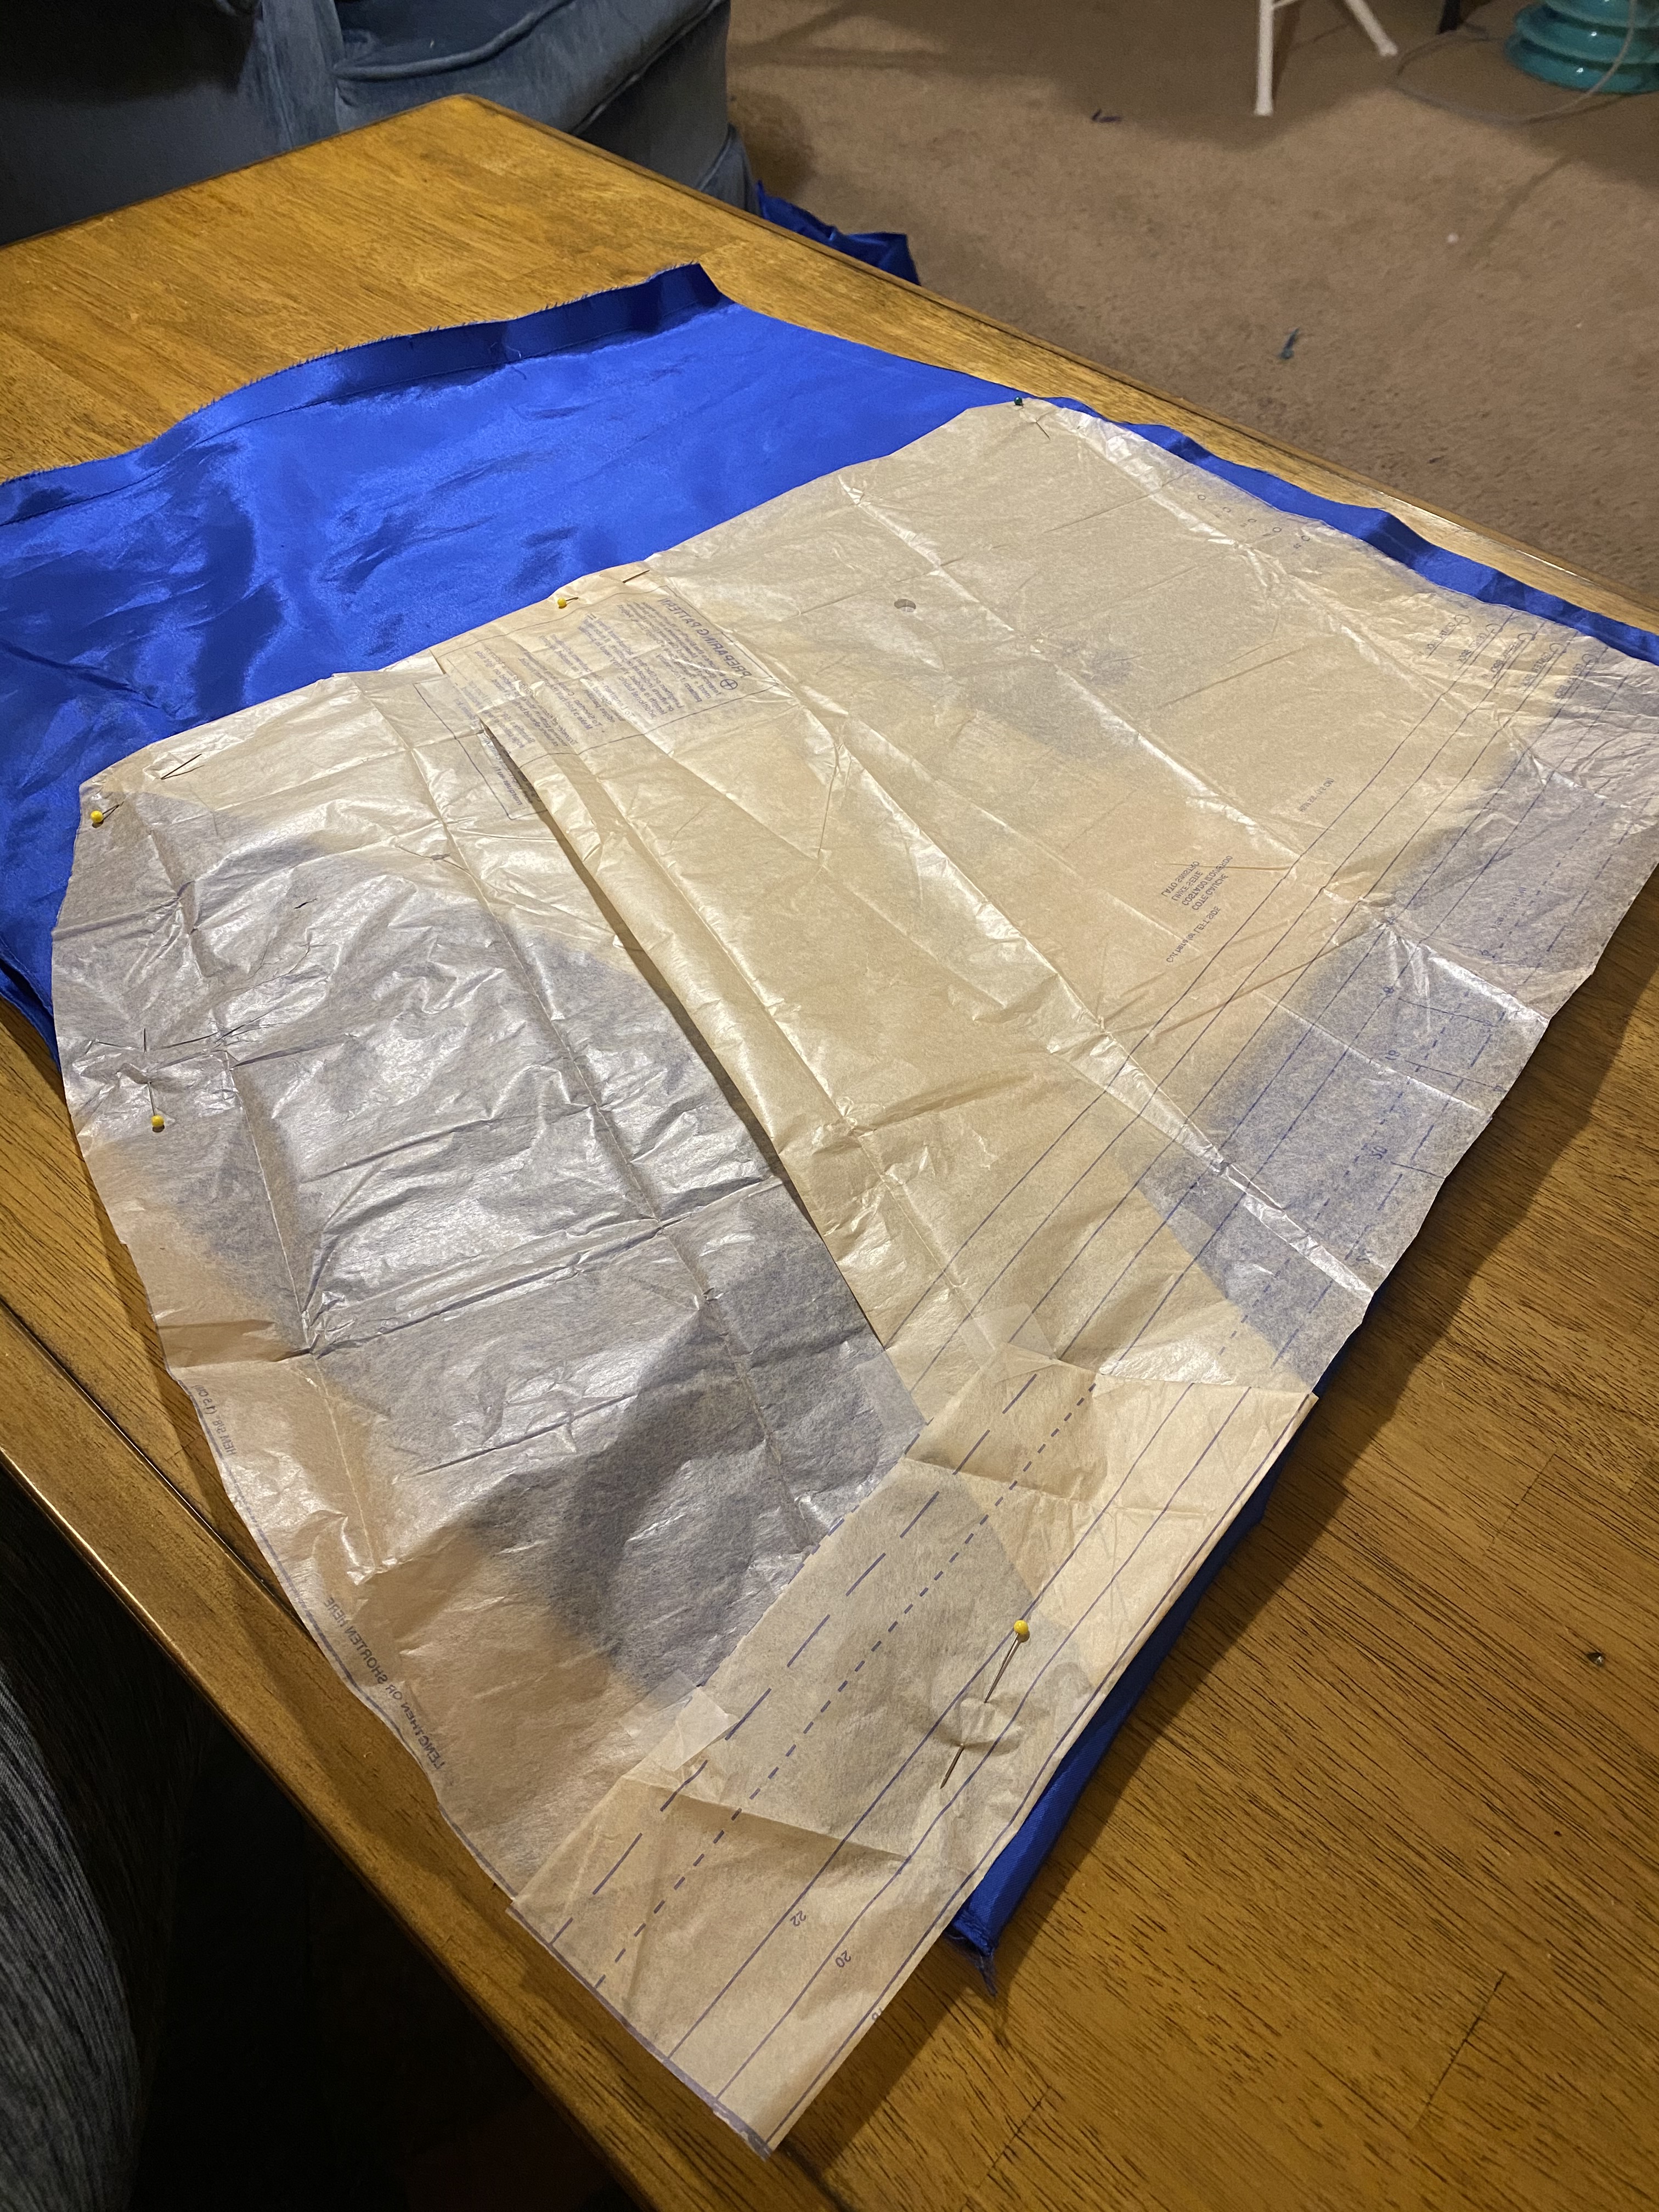
I began by taking apart the kimono to assess the amount of fabric I had on hand for the main gown. I was a bit worried it wouldn’t drape as nicely as a silk or charmeuse typical of period designs, but was hopeful. Thankfully, once the lining was removed, the material had a nice drape and was able to be worked. But there wasn’t nearly enough. The pattern called for 10 yards of material, and I had maybe 4.
The Main Gown
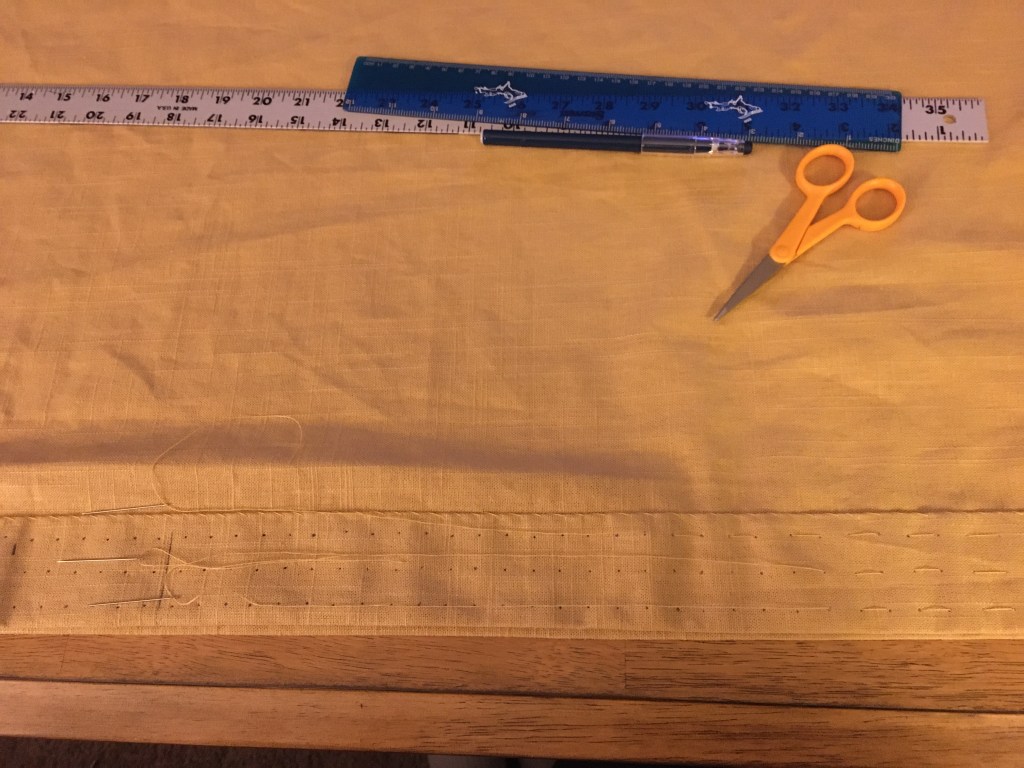
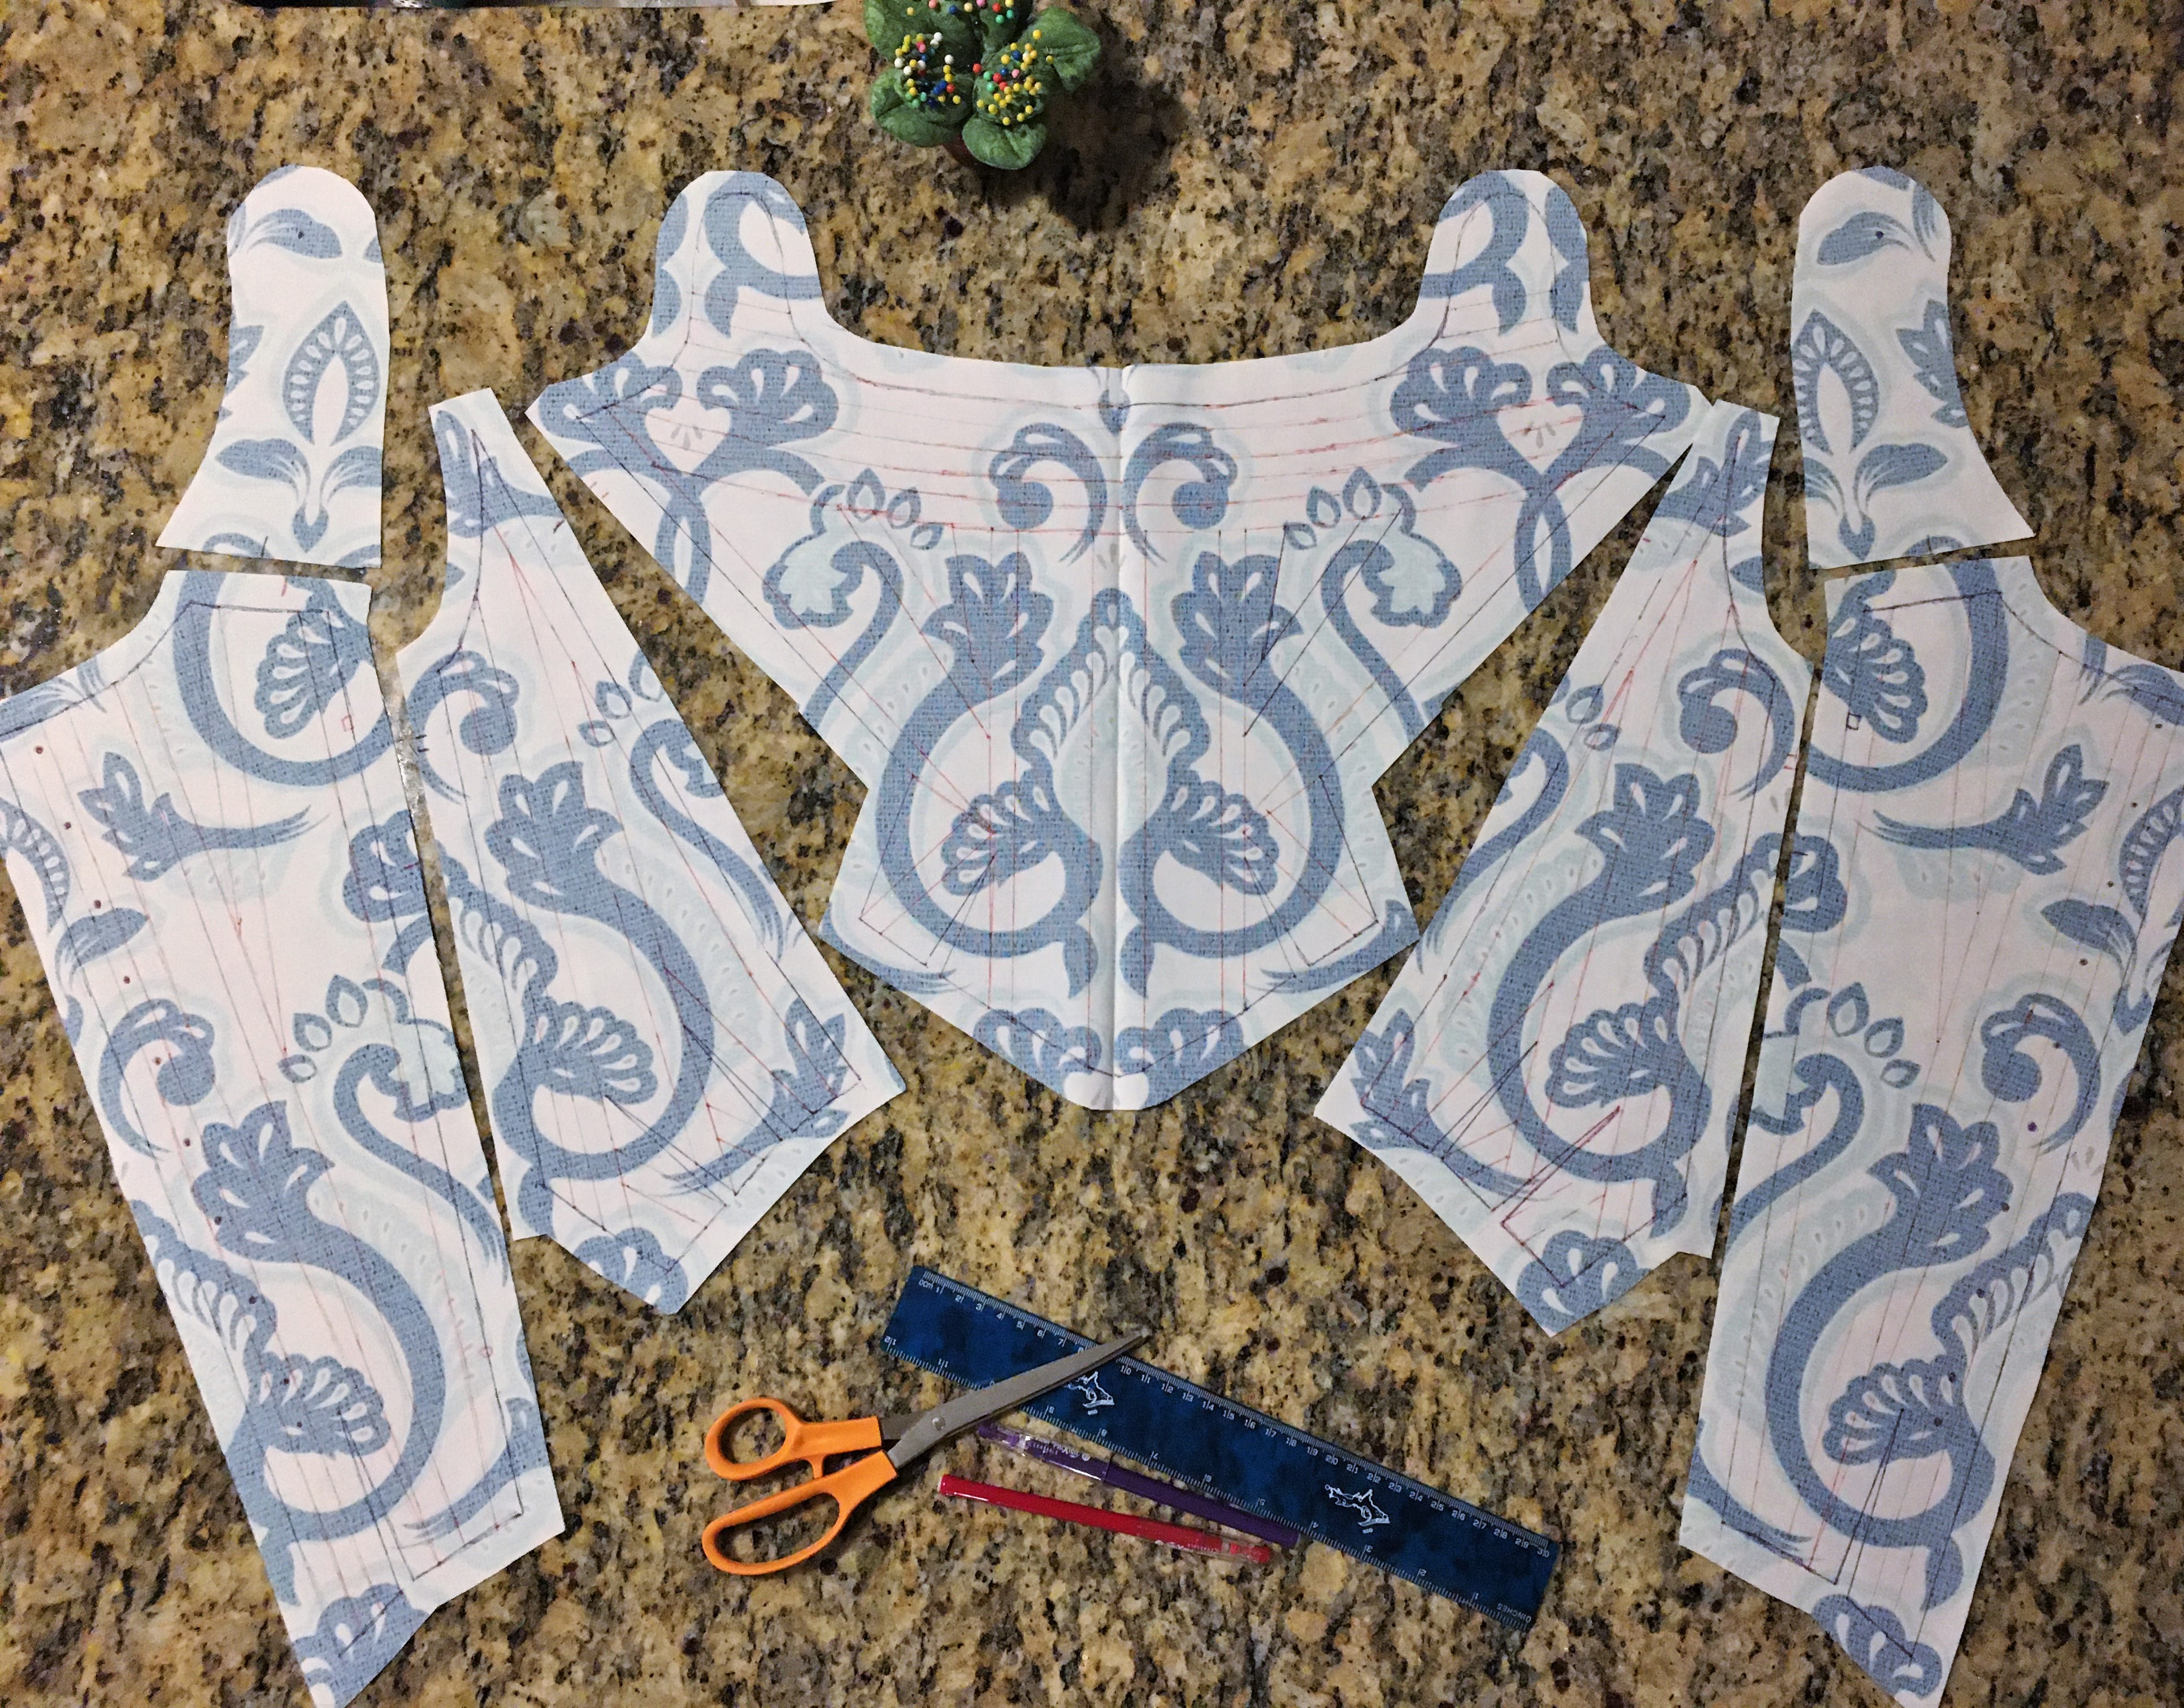
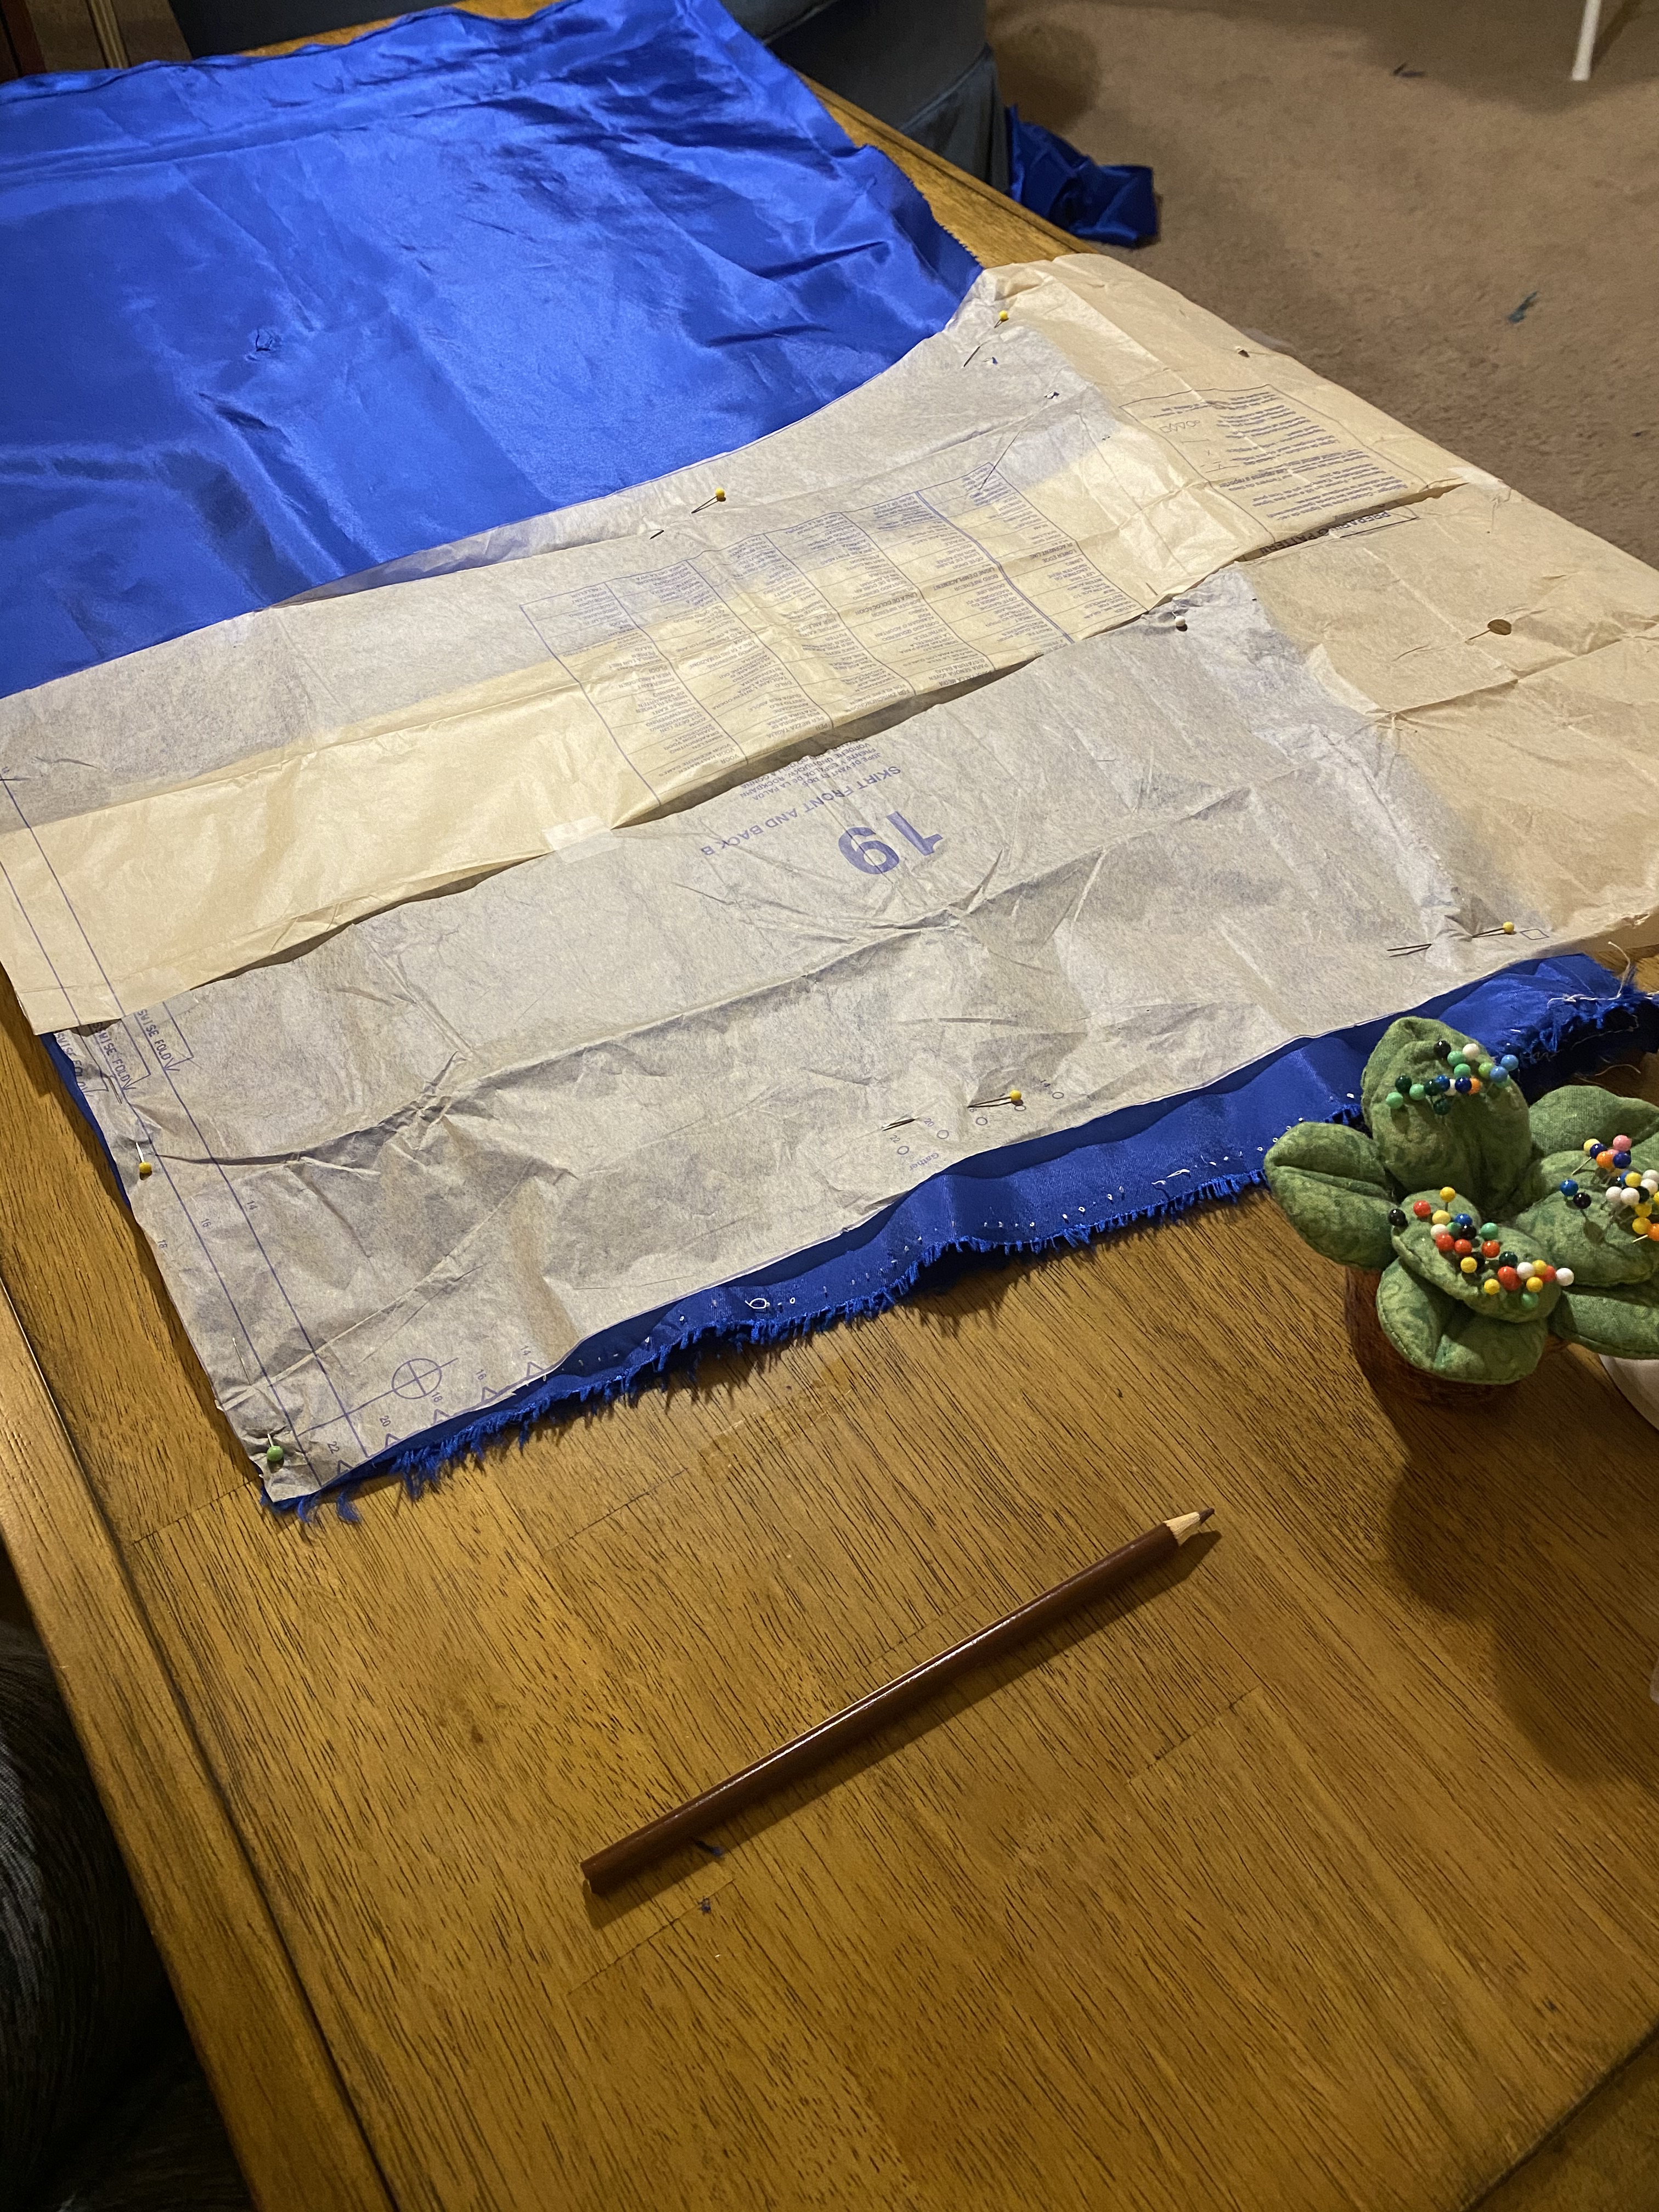
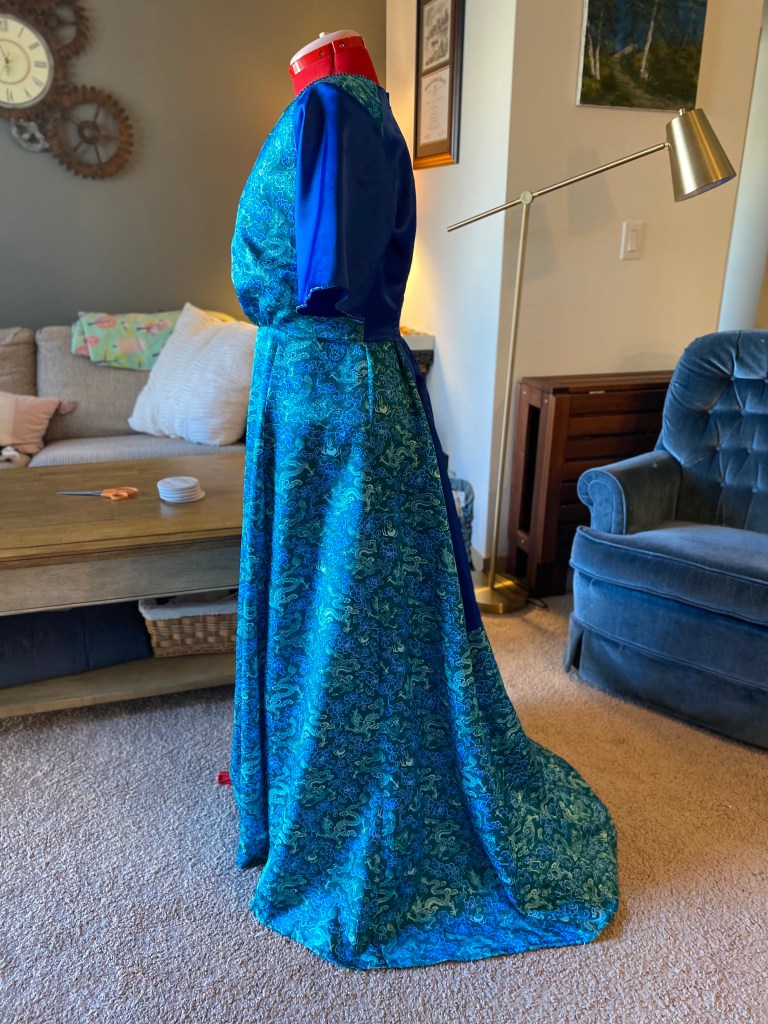
The skirt was the most essential portion to be cut from the kimono material, so I focused in on modifications to the fullness and train to reduce the necessary yardage. To start, I am about 6″ shorter than Angela (and the standard pattern finished length) and could reduce the length of all the skirt pieces as such. This reduction in length allowed for the pieces to fit lengthwise with the body of the kimono.
I then reduced the fullness of the skirt by pleating the pattern tissue along the grain line marker from about the hip line down. This would ensure a reduction of the excess volume without limiting the movement on the hips for final wear. I reduced the side front by 6″, side back by 4″, and back by 8″.
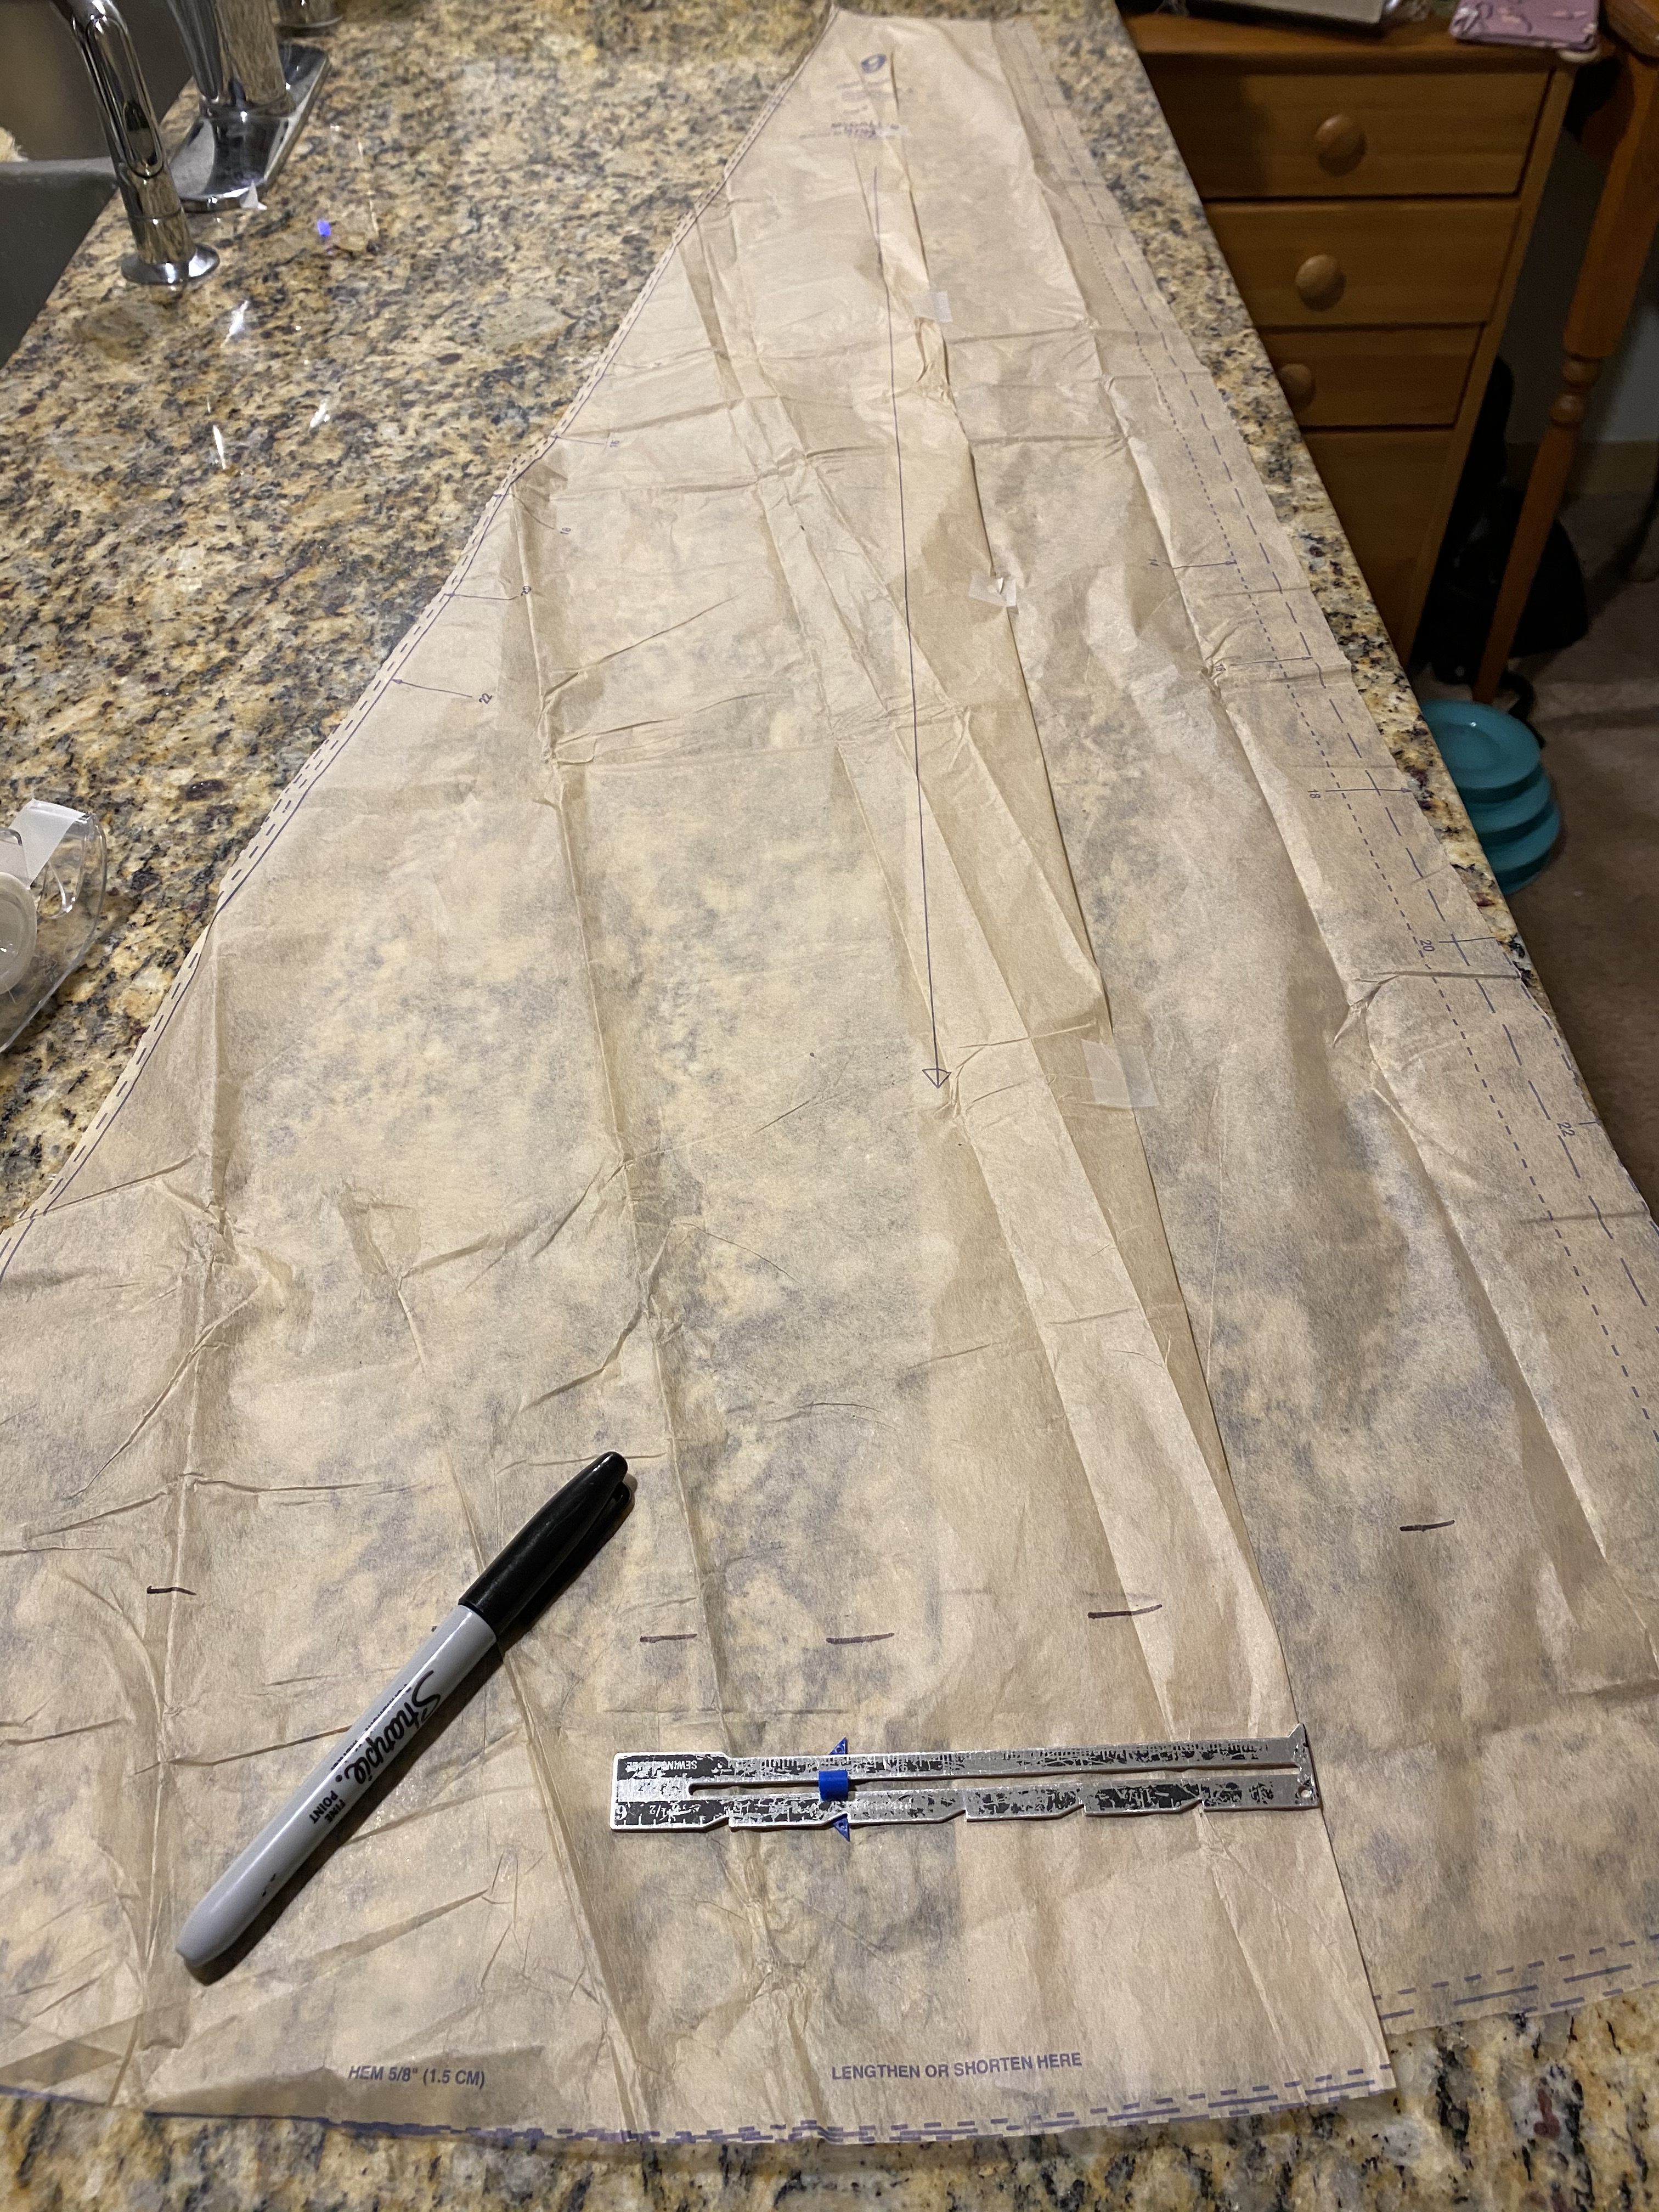
Spoiler alert: the changes were actually pretty perfect for the final garment proportions. It would’ve been so wonderful and extra to have the fullness and long train of the original design, but it would have been incredibly cumbersome on stage with our blocking. This is a trick I will remember in the future for theatrical costumes, sometimes less volume is more.
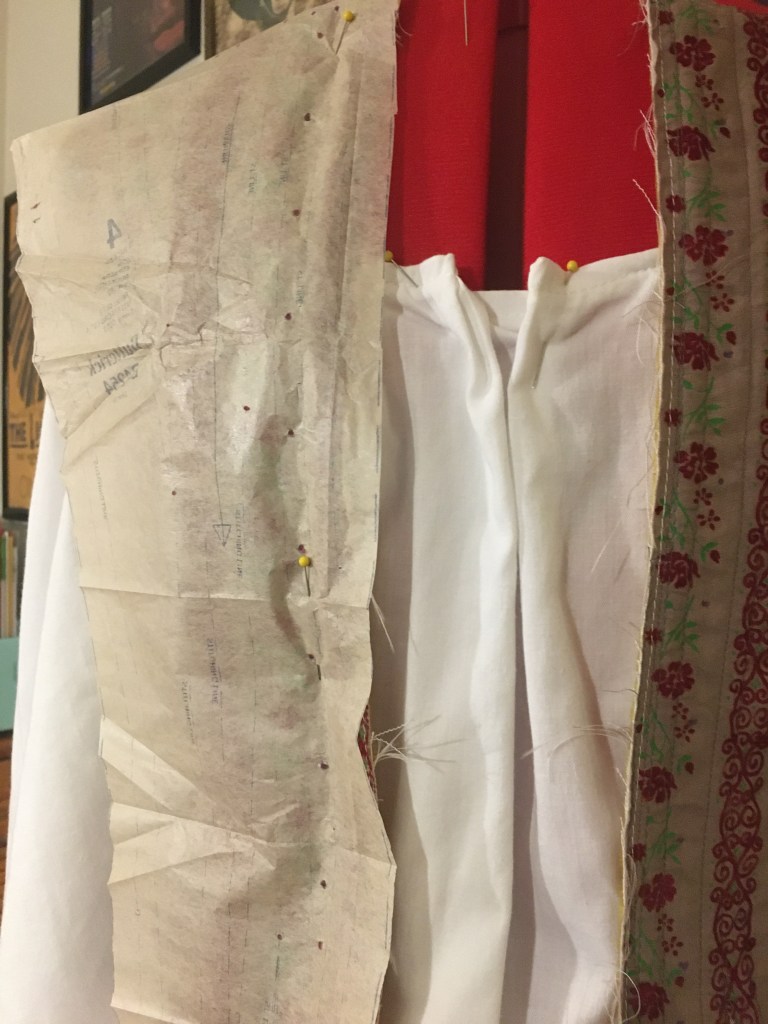
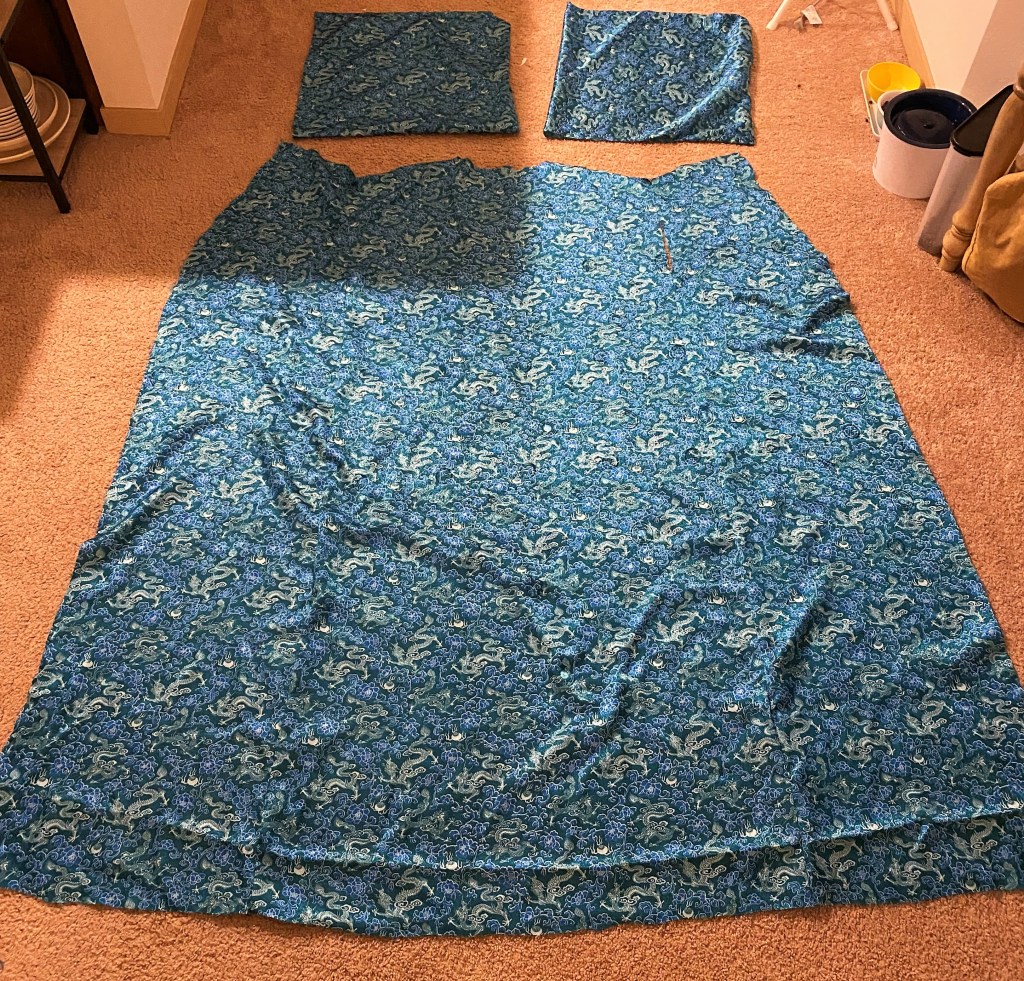
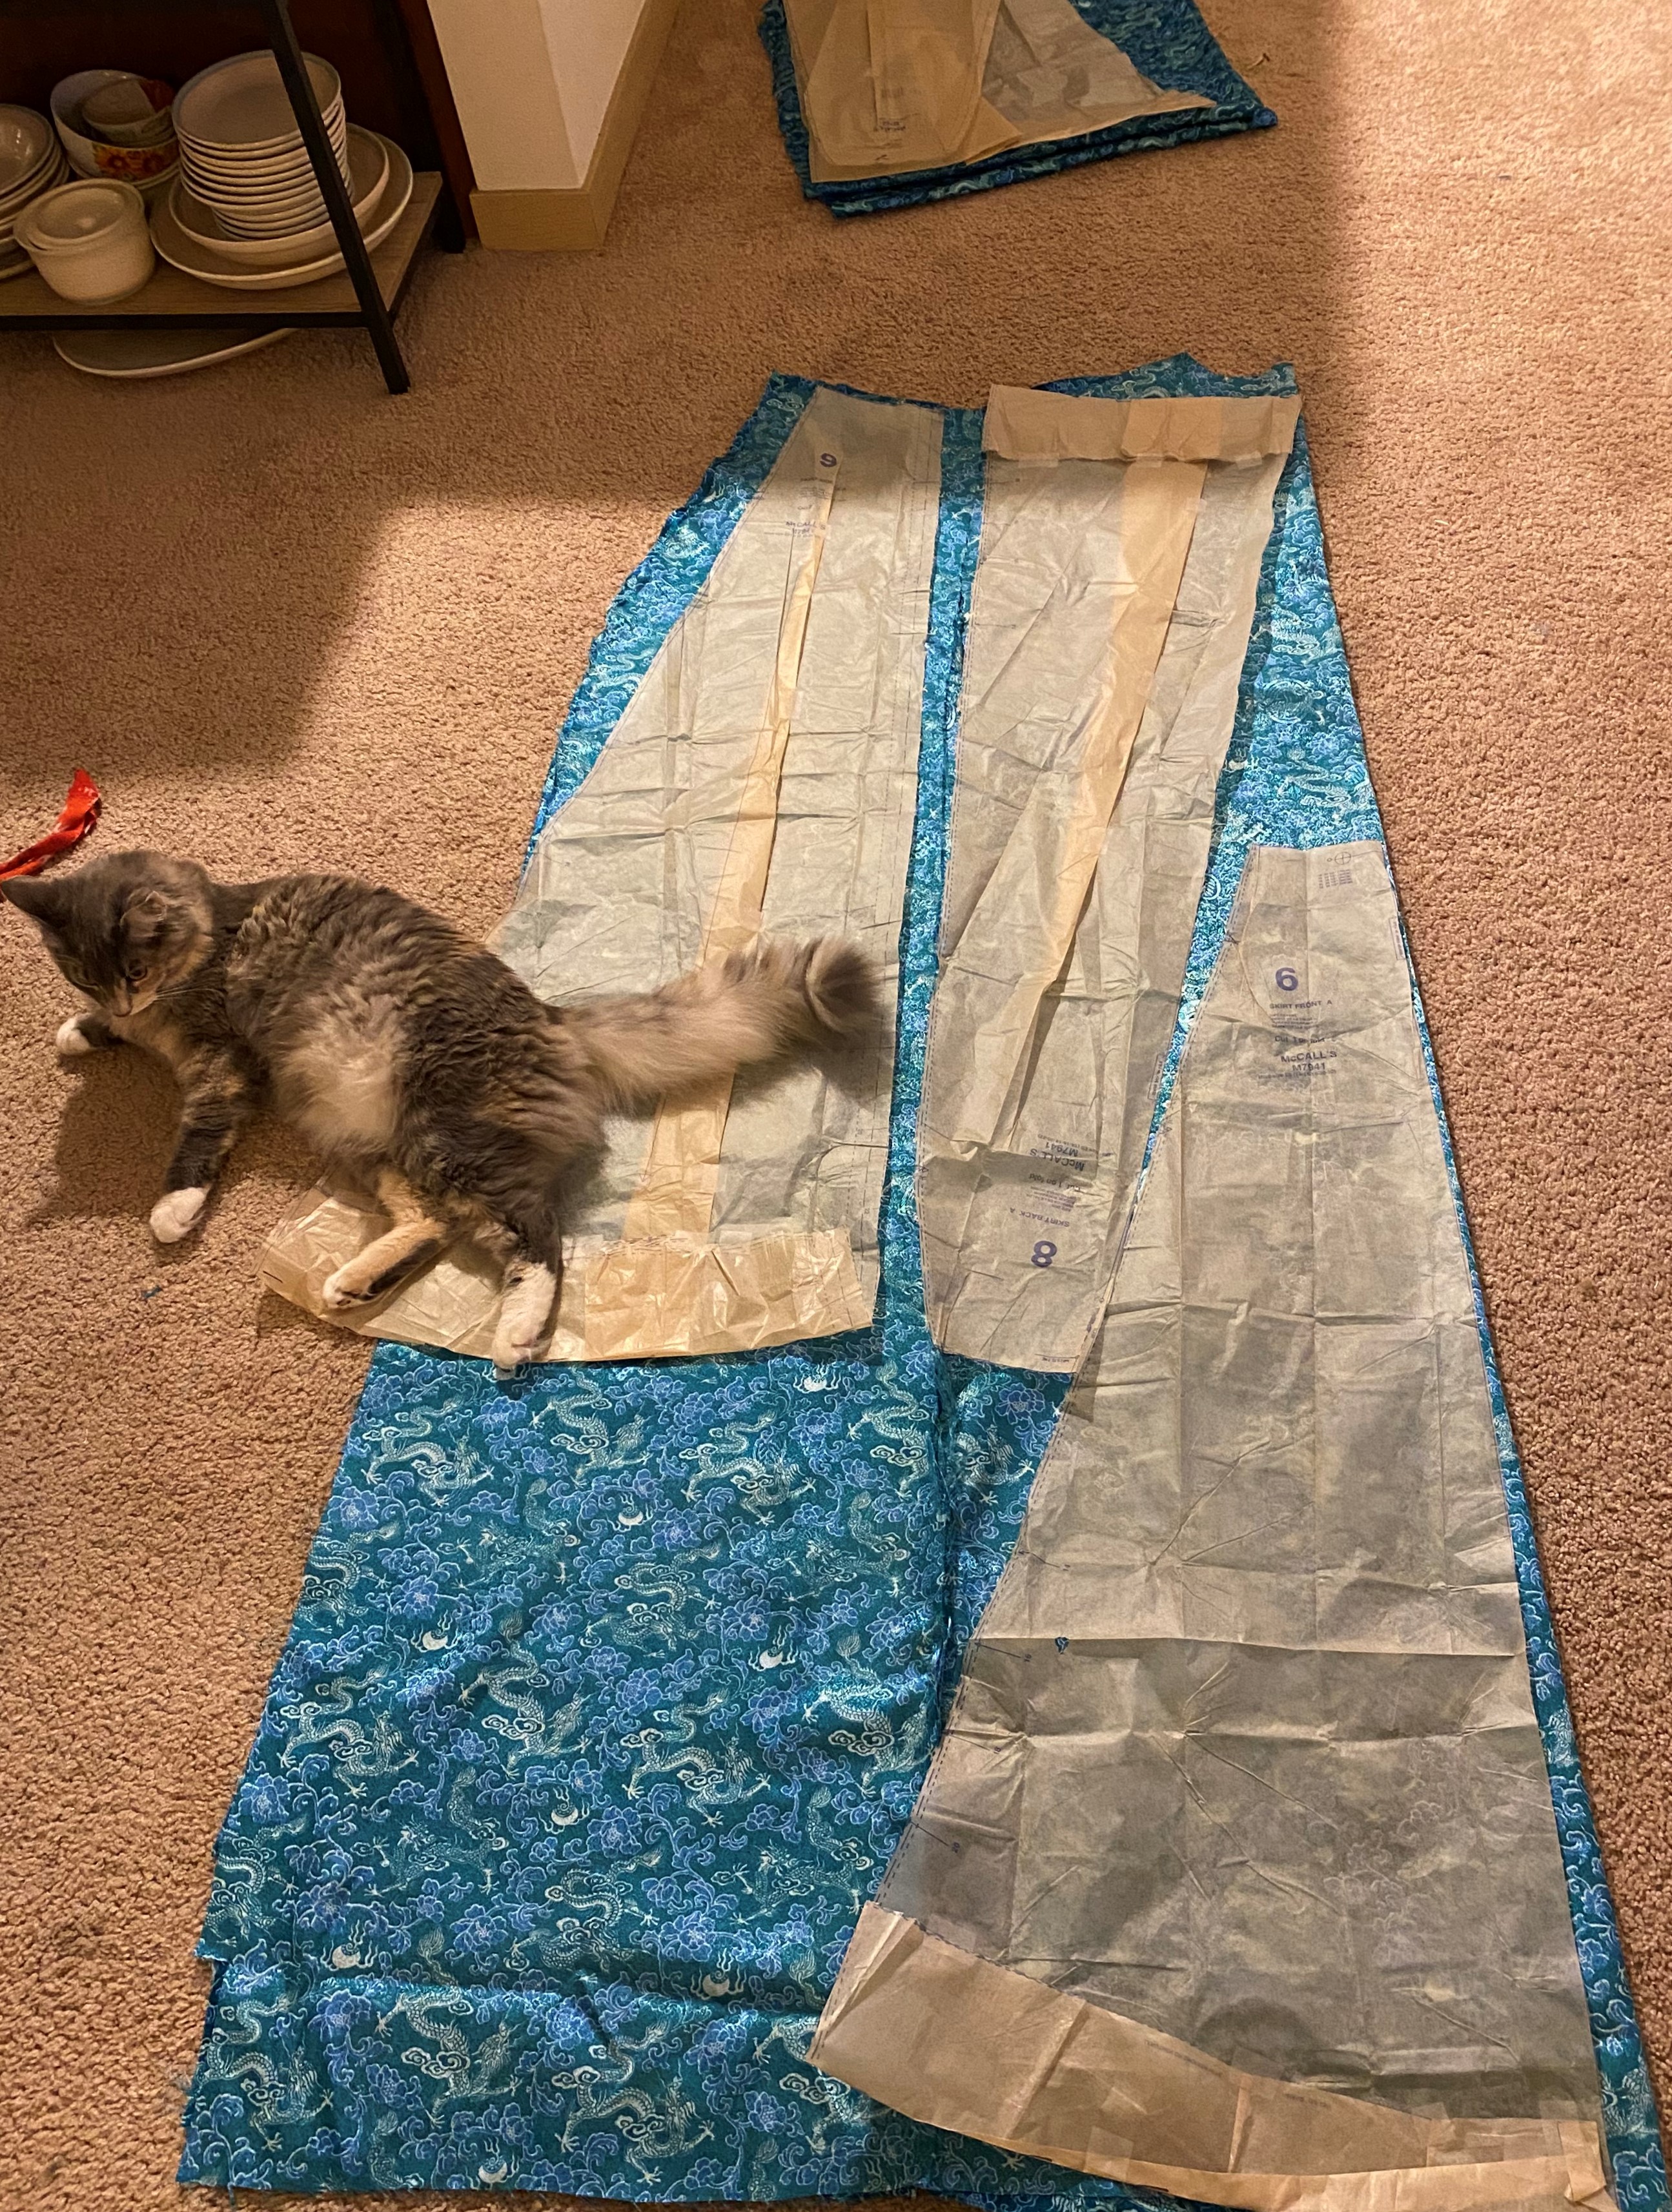
Laying out the modified pattern pieces, there still would not be quite enough material for the full skirt, though it would be close. To make it work, I took a full cut for the front panel since this would be most visible to the audience and pieced the other sections in various ways.
The side front panels were cut from the kimono sleeves since they were the best fit and the side back panels were cut to include a small section at the bottom with the seam of the original kimono. However, with the fullness of the skirt at the bottom, this would never be noticed.
In the end, the side back panels are cut upside down to allow for the most material when the back sections were to be cut (which would also be upside down and off grain). Everything seemed to be right.
So I cut.
And it was not.
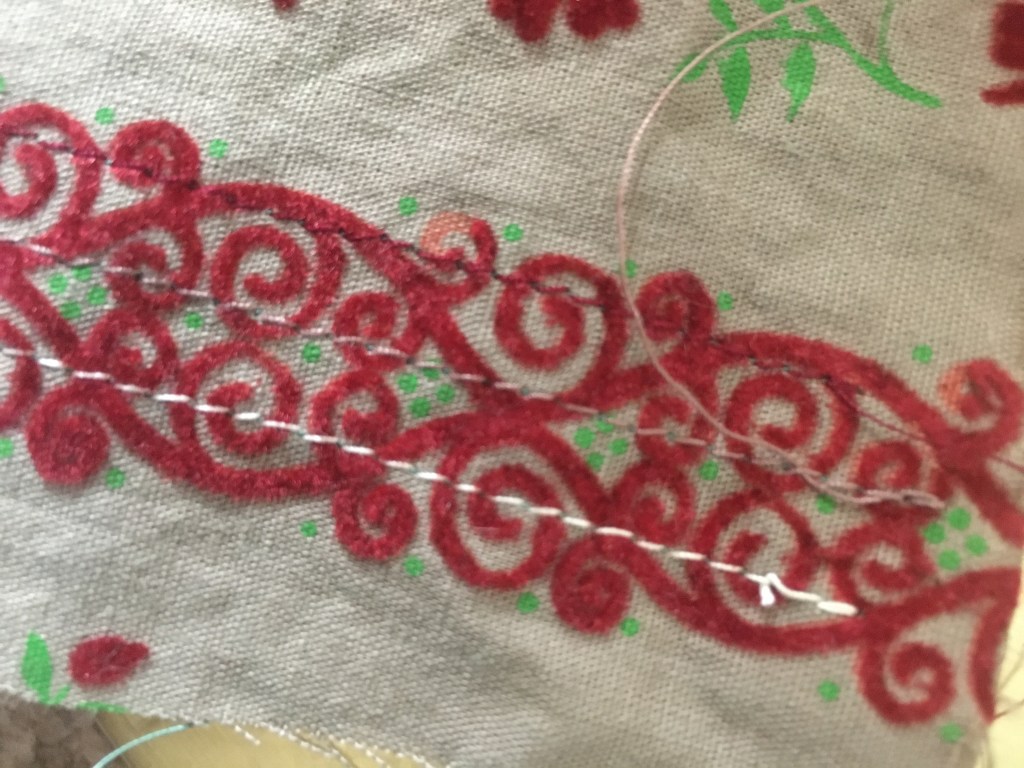
I was unable to fully fit the back panels on the kimono material no matter how I laid them out. Instead of resorting to multiple piecing at odd angles, I opted to piece the top of the back panels from the blue satin of the 80’s dress. This area *should* be covered by the overgown which was to be made of the same blue satin, so I was not overly concerned about the piecing.
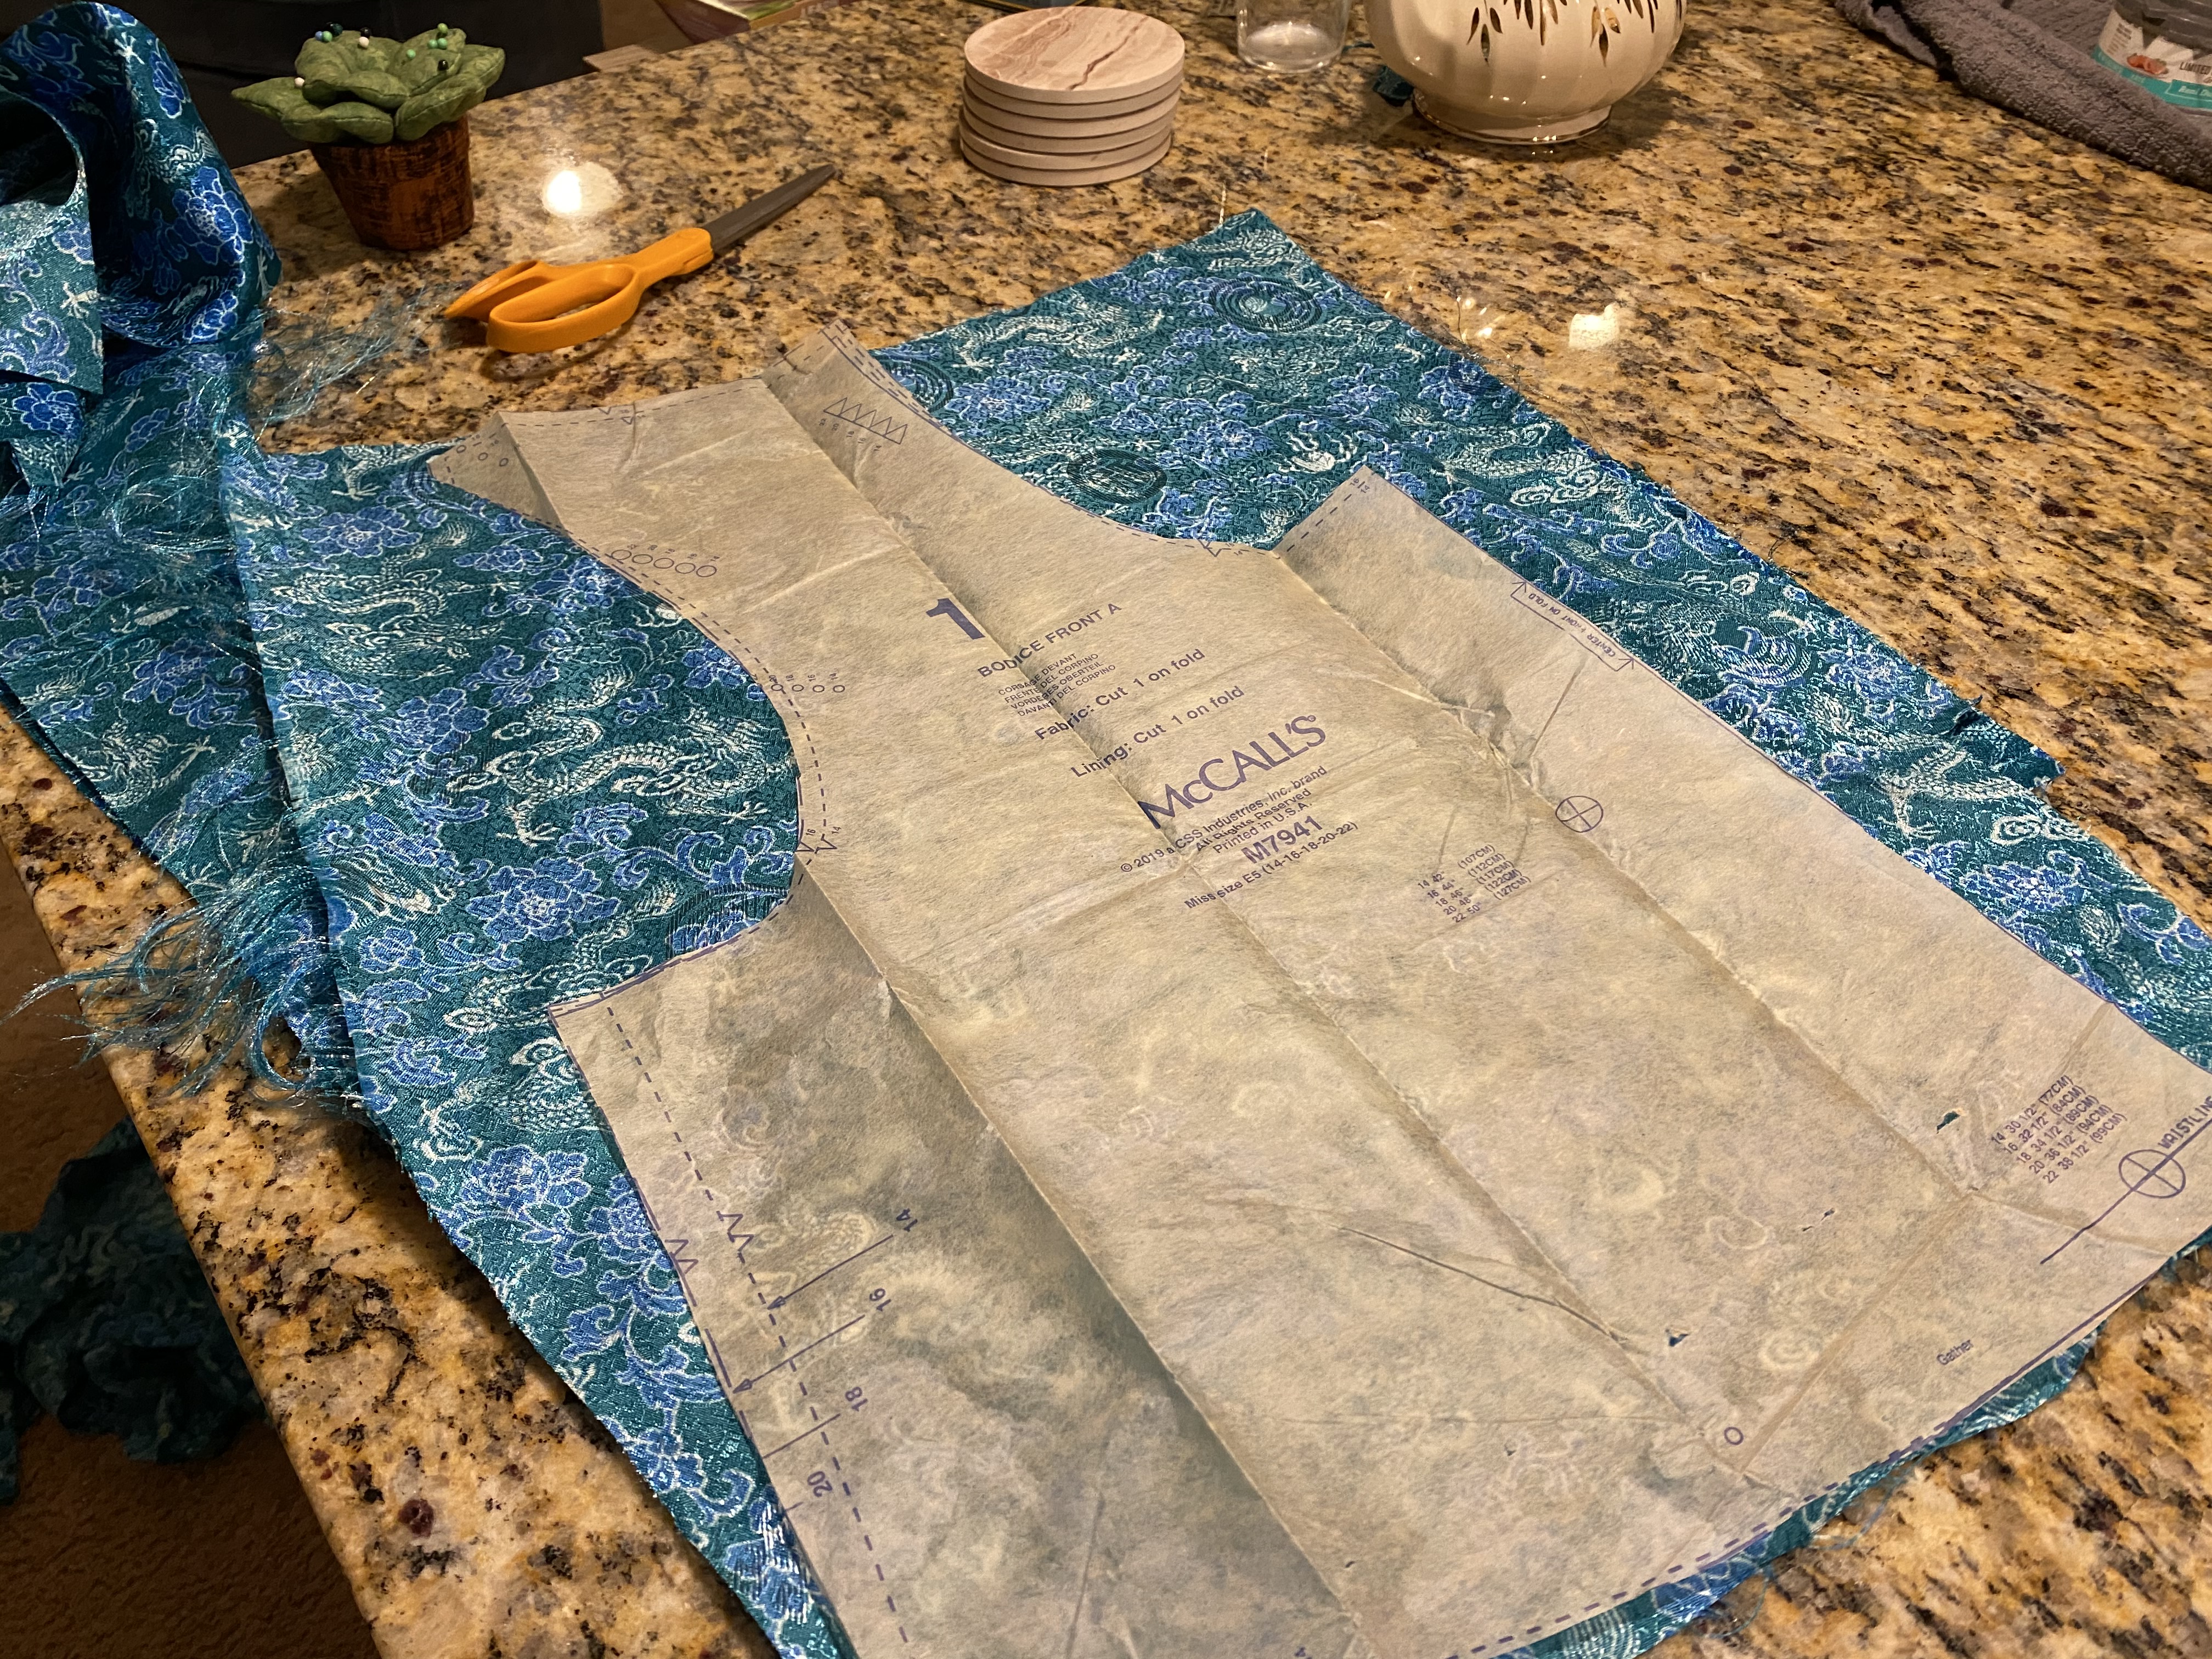
Since this piecing allowed for some kimono material to remain, I cut the front bodice pieces from the last bits of scrap. The back bodice and sleeves were salvaged from the 80’s dress to help with blending with the piecing on the skirt panels. I would later come to regret this decision.
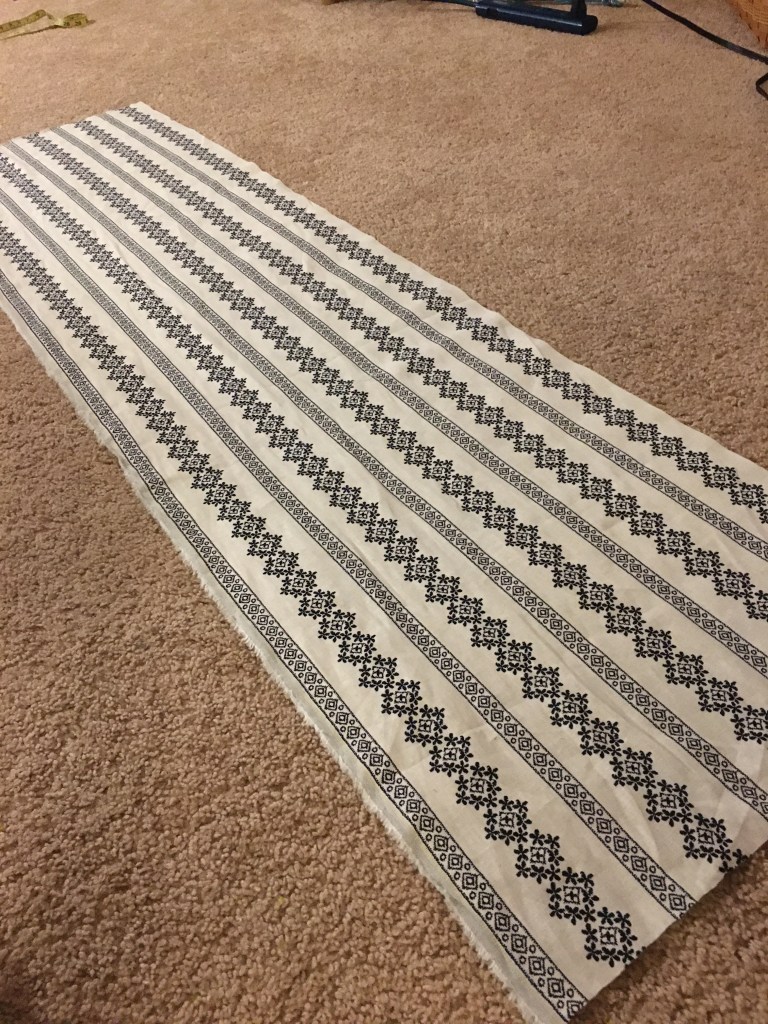
With the main dress cut, I began to fret about the overdress. This was supposed to be made from the 80’s dress satin, but as I began to seam rip, it became apparent that there was not nearly enough material with the cuts taken for the main dress. There was certainly not enough to do so from the small panels of lace on the dress. After laying everything out, I made the overall decision to not do layering as the pattern instructs and would instead do single layers. This was except for the center panel and sleeves which I was able to fit on to the lace pieces.
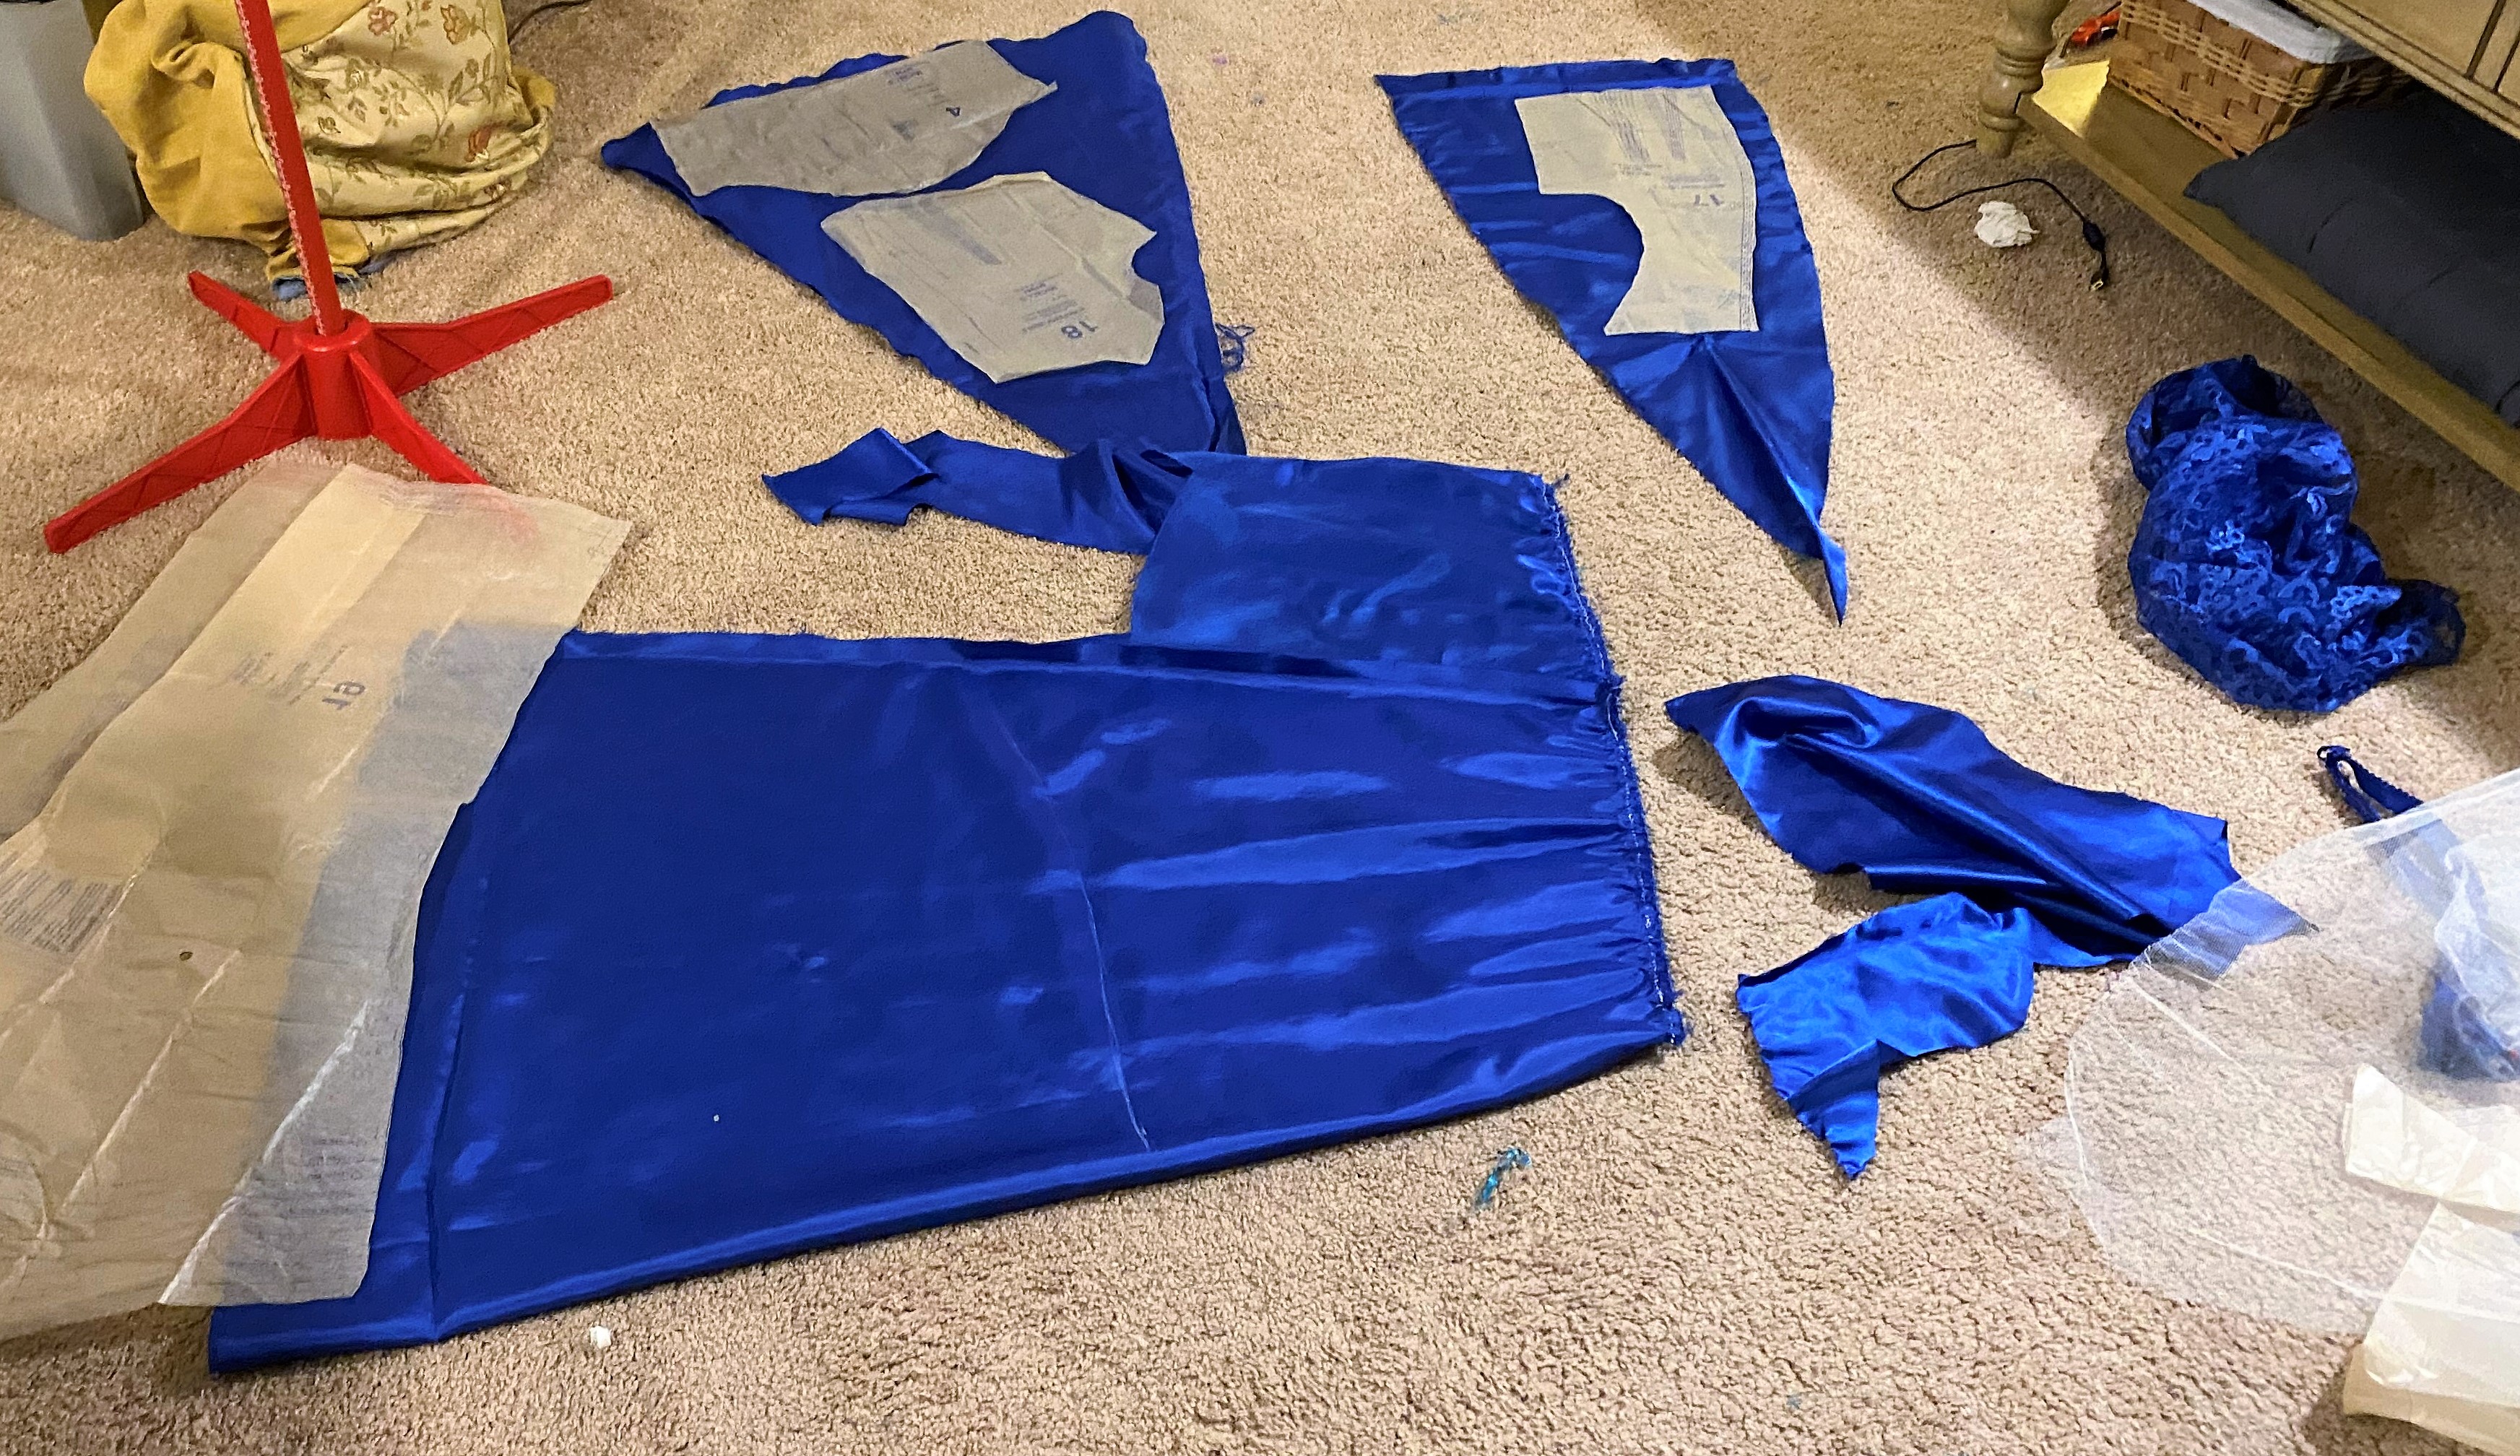
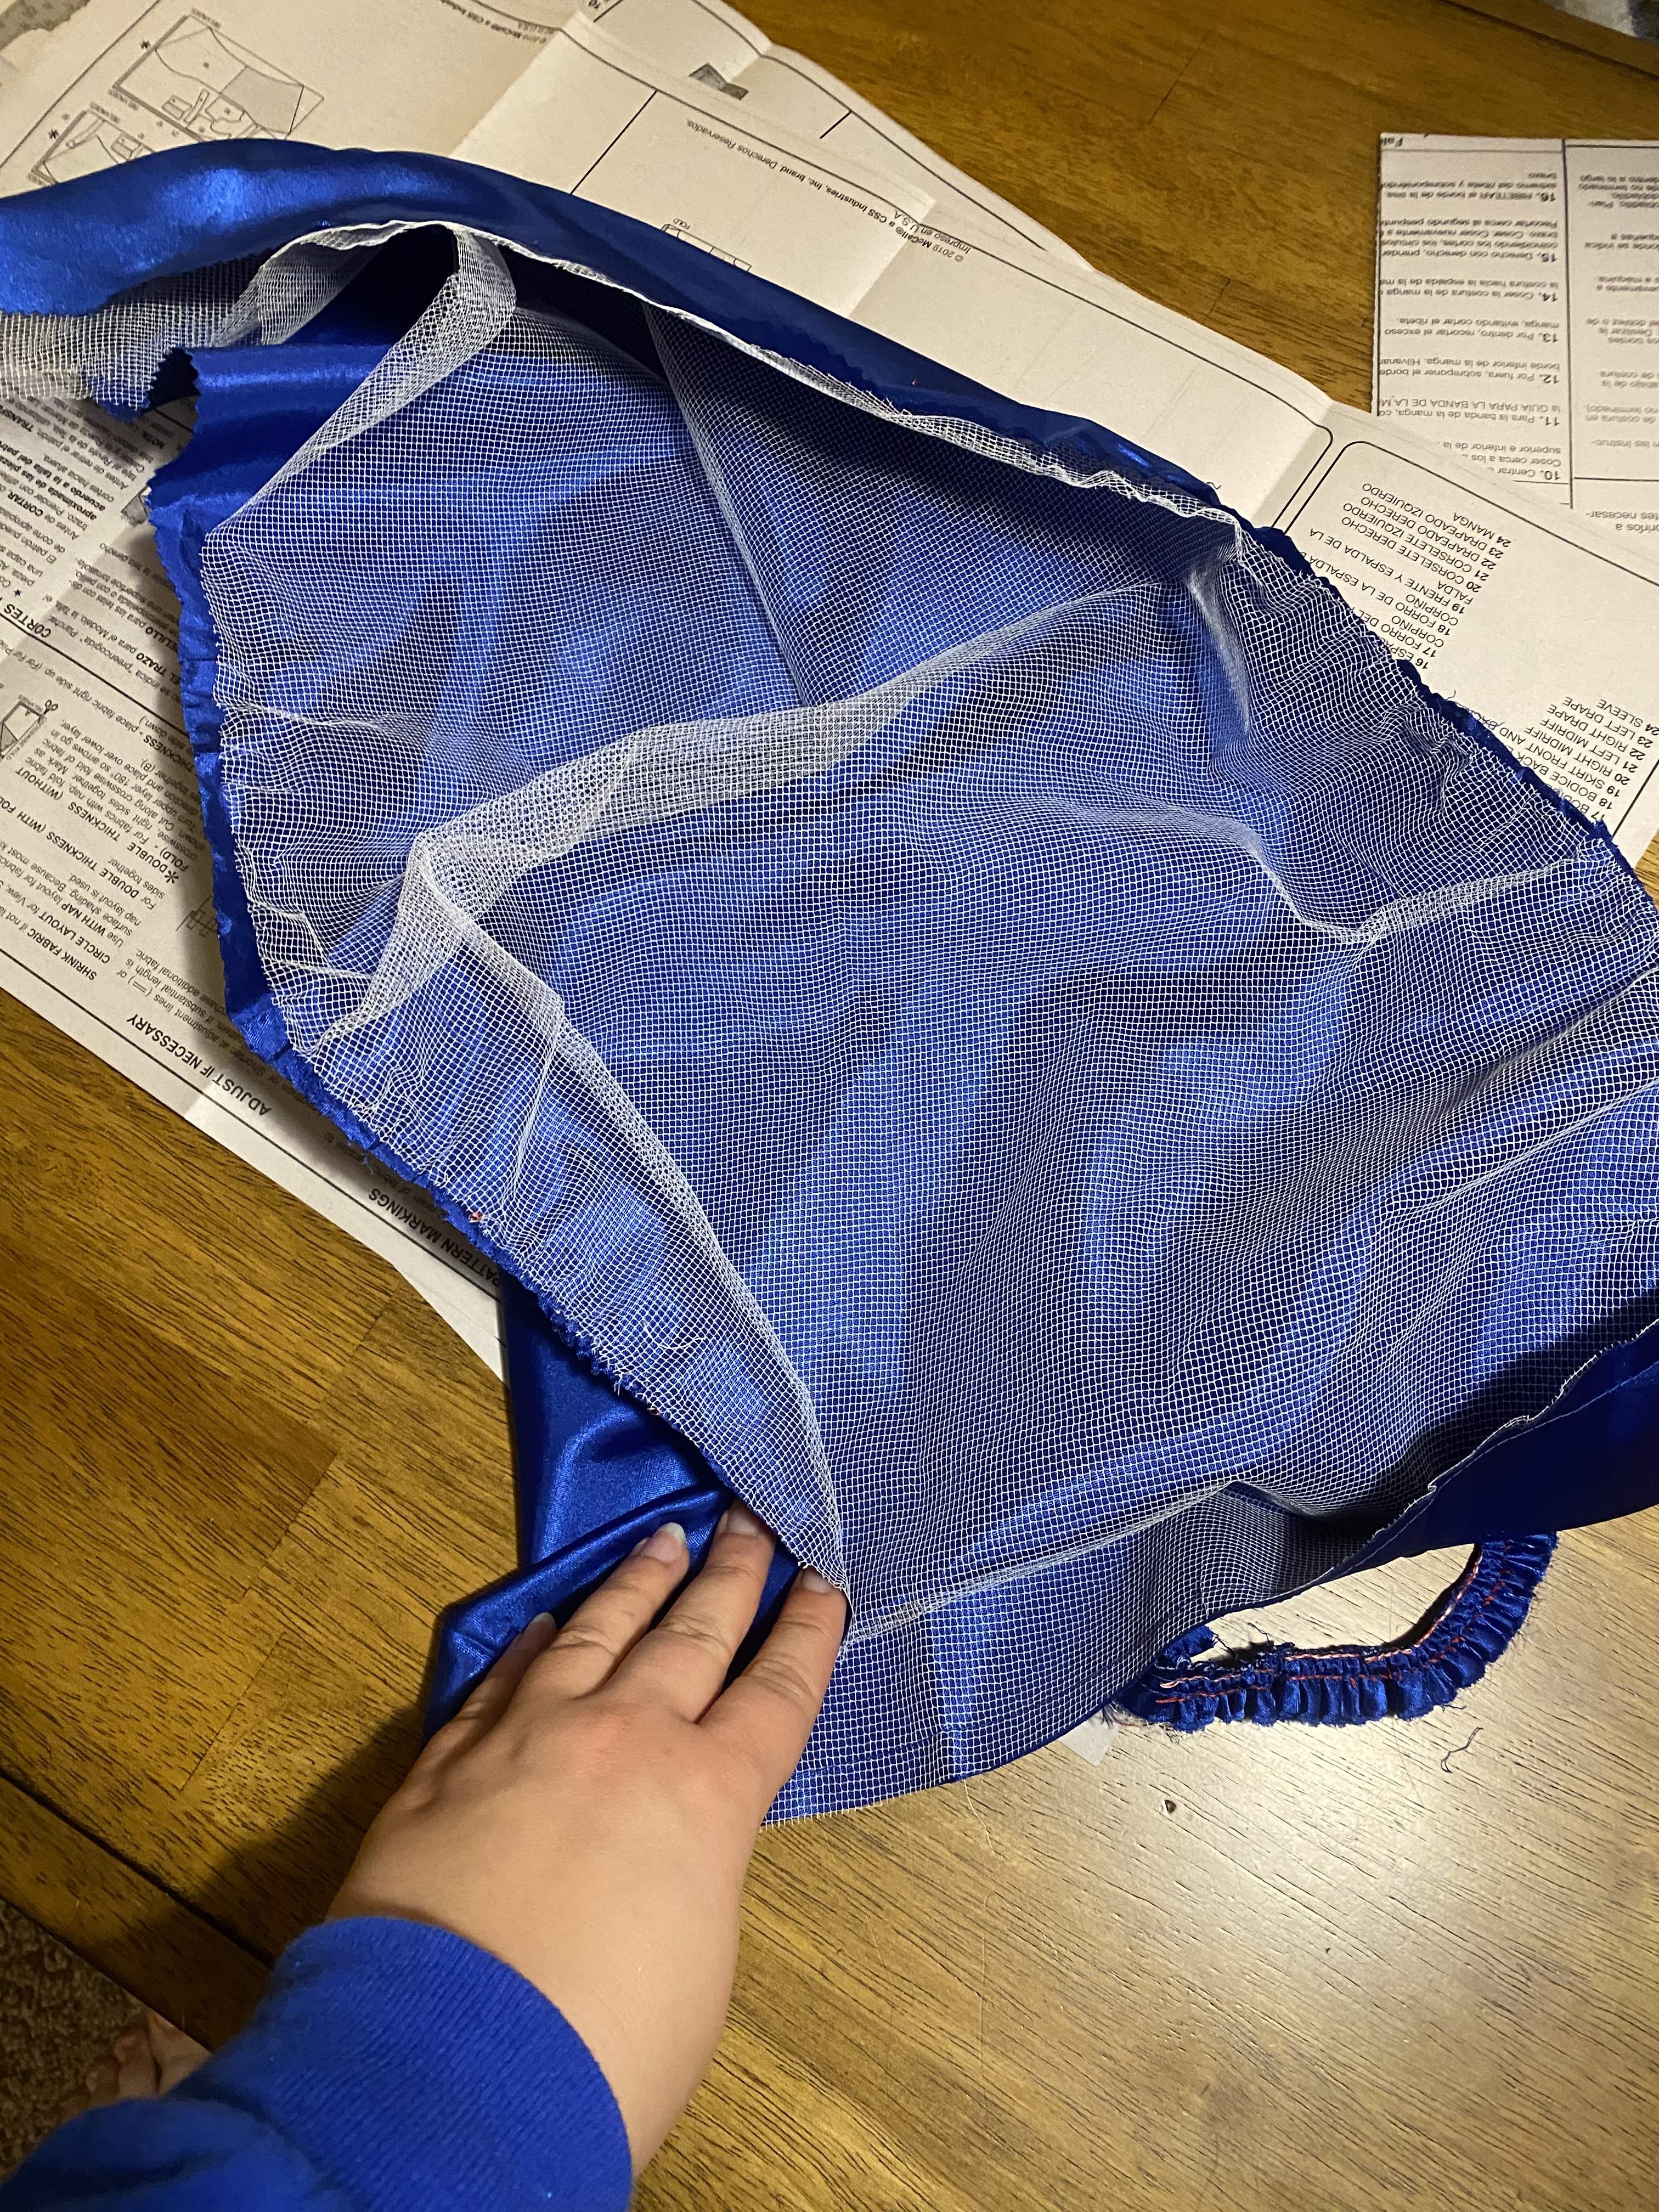
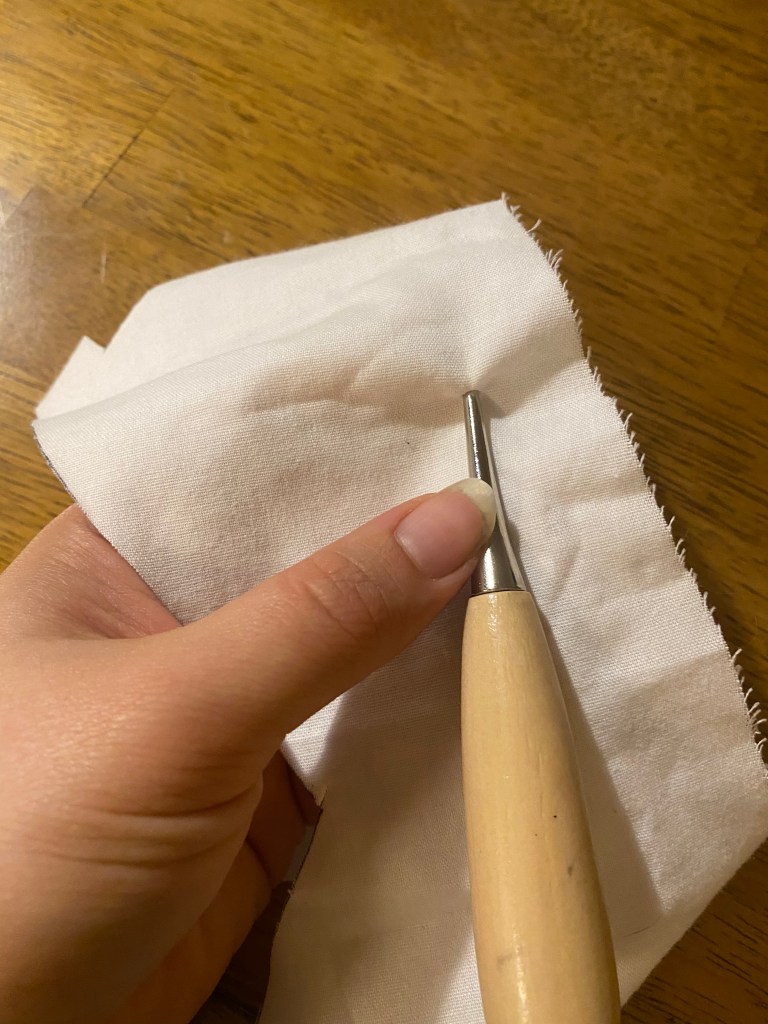
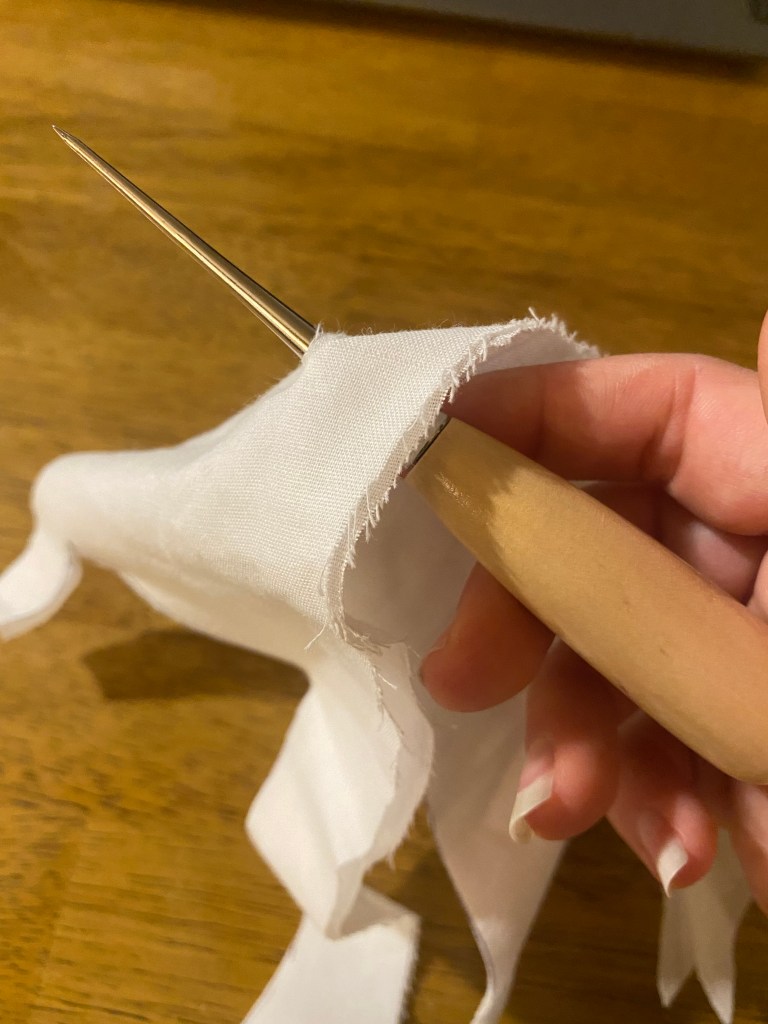
Every scrap of this dress would need to be put to use including two gathered “wings” that were attached at the back of the dress to give the bustle added volume. In taking these apart, they were reinforced with crumbling mesh crinoline that had to be cut away at the stitching rather than seam ripped .
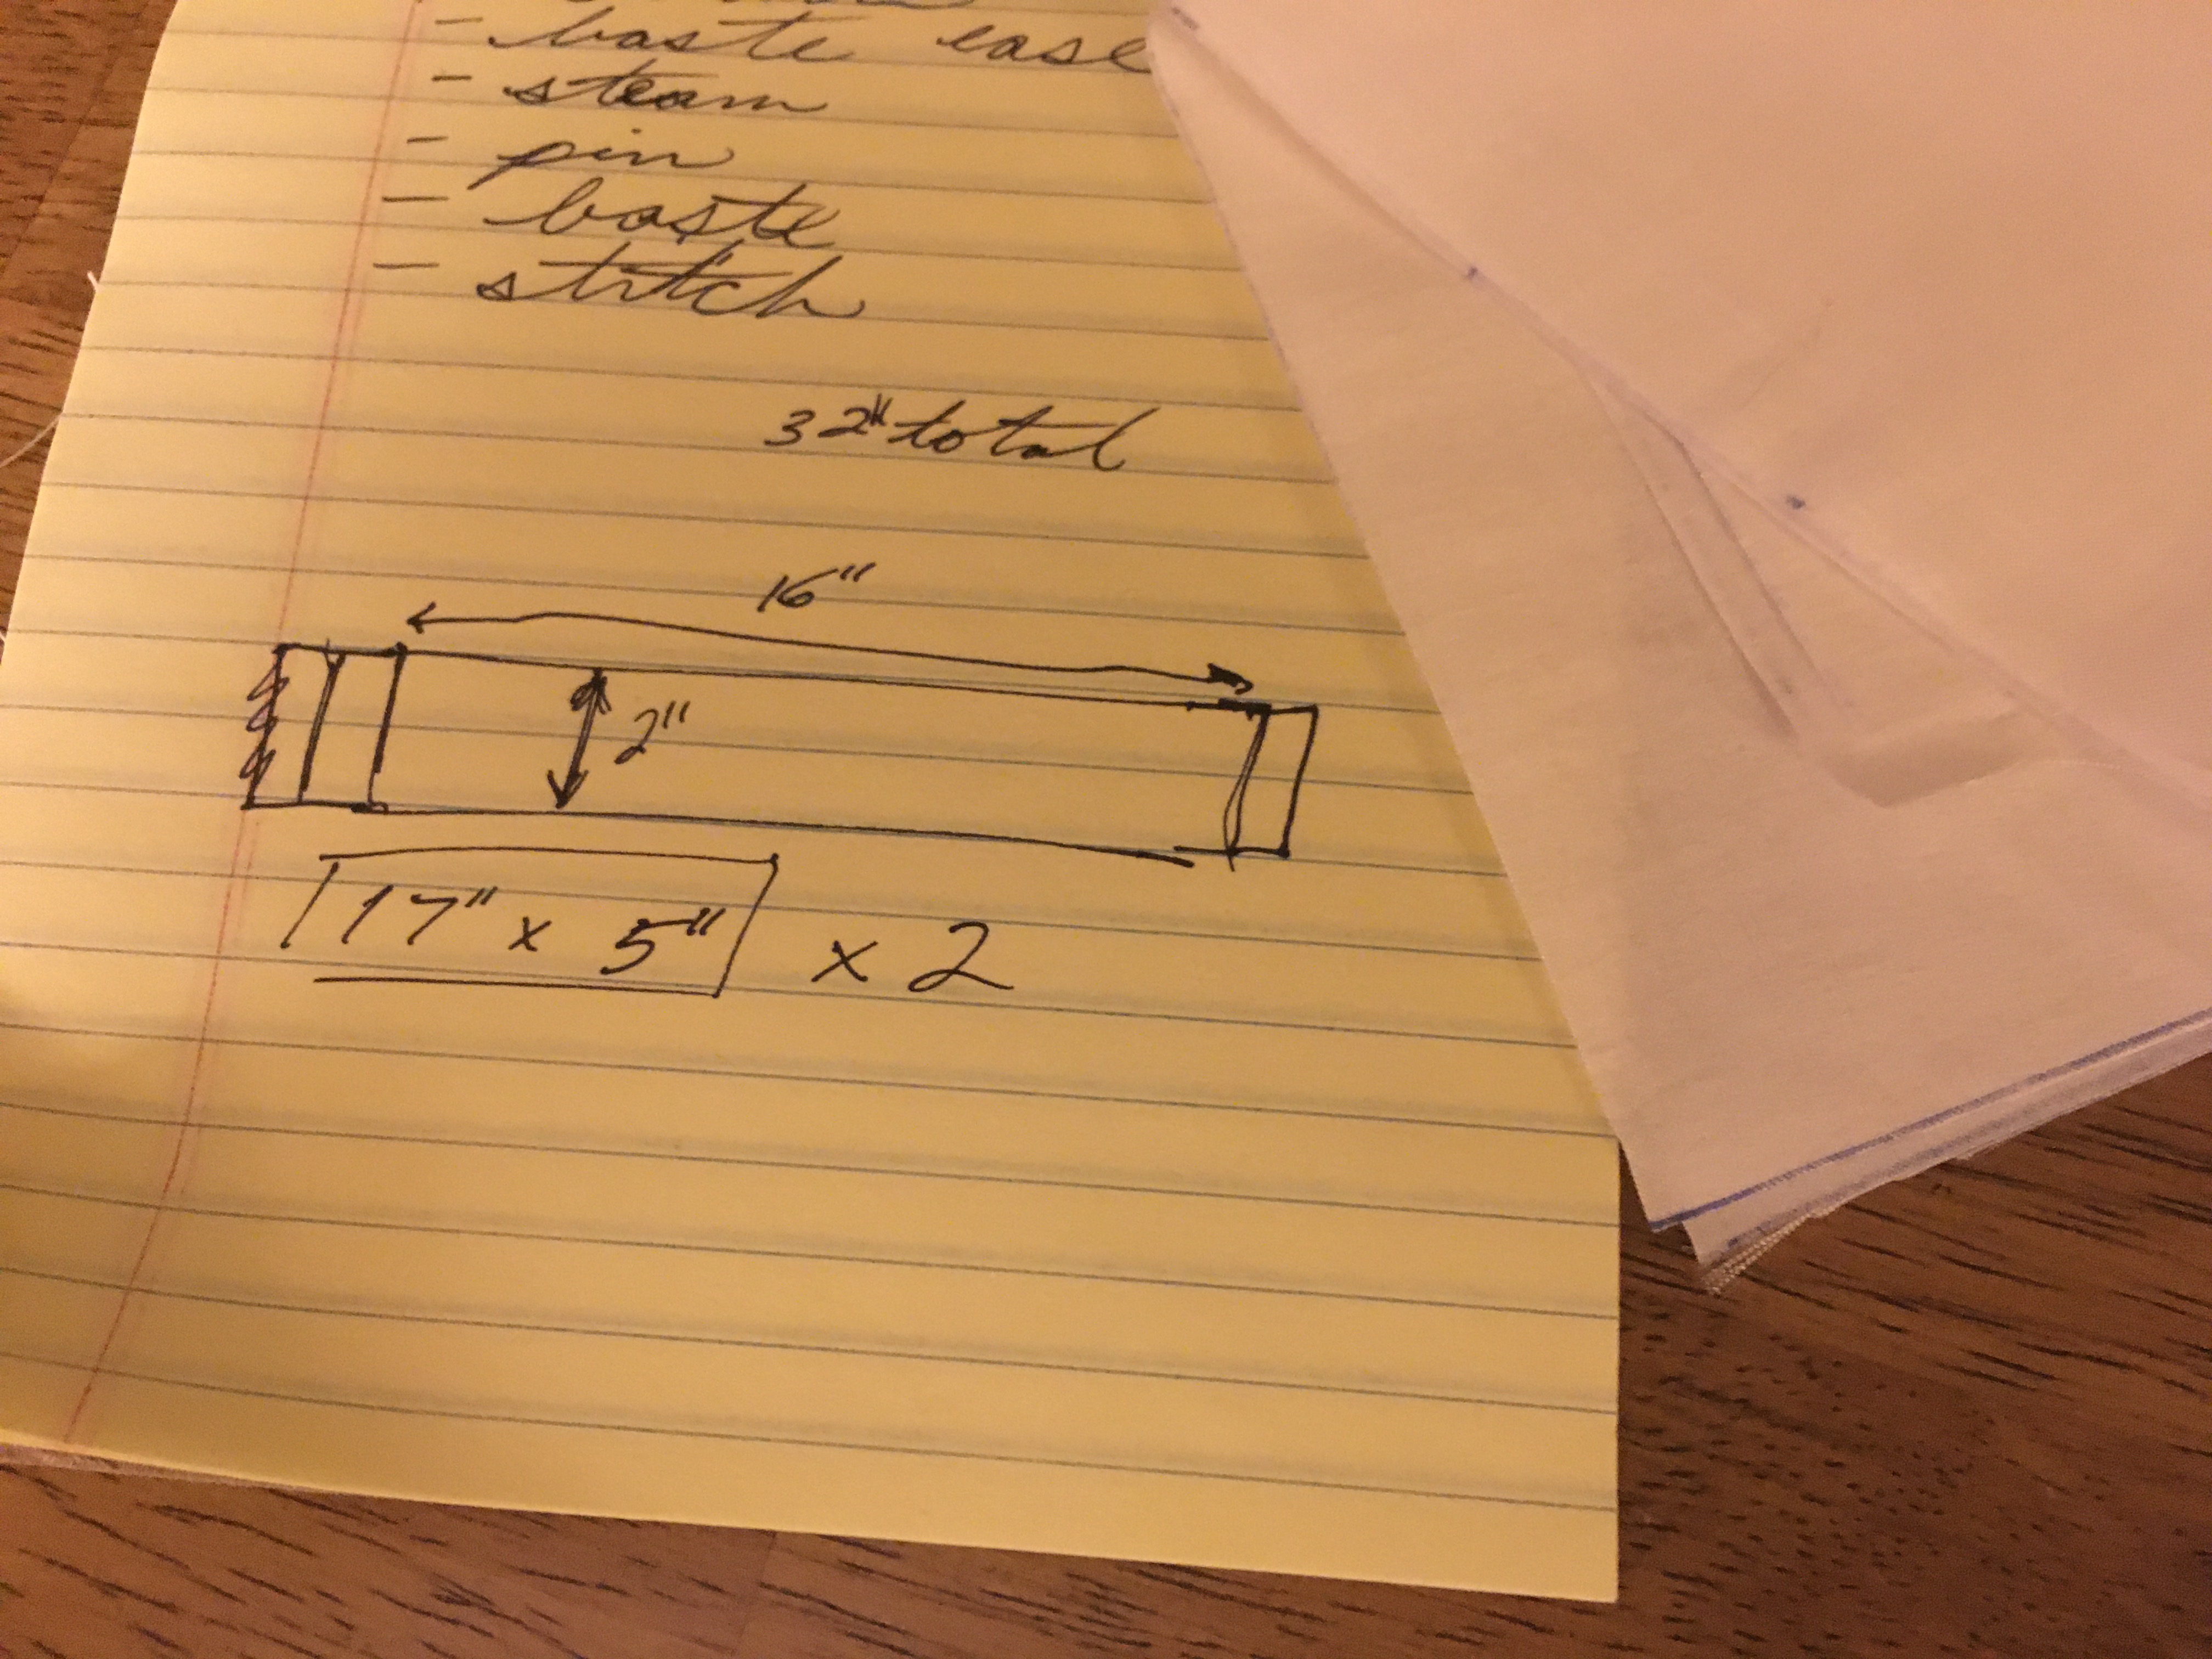
To make it work, I had to do significant reductions to the skirt length, beyond the 6″ reduction as made on the main dress. I worried that this would cause a bit of proportion issues since the hem line of the overdress would be higher than the design. I initially thought this could be solved with a bit of cream lace I had on hand to be added as a third, middle layer, but eventually nixed this (but only after cutting the pieces, hand gathering, and whip stitching to the skirt waistband….then did I realize it was far too busy with the extra layer and had to seam rip it back off).
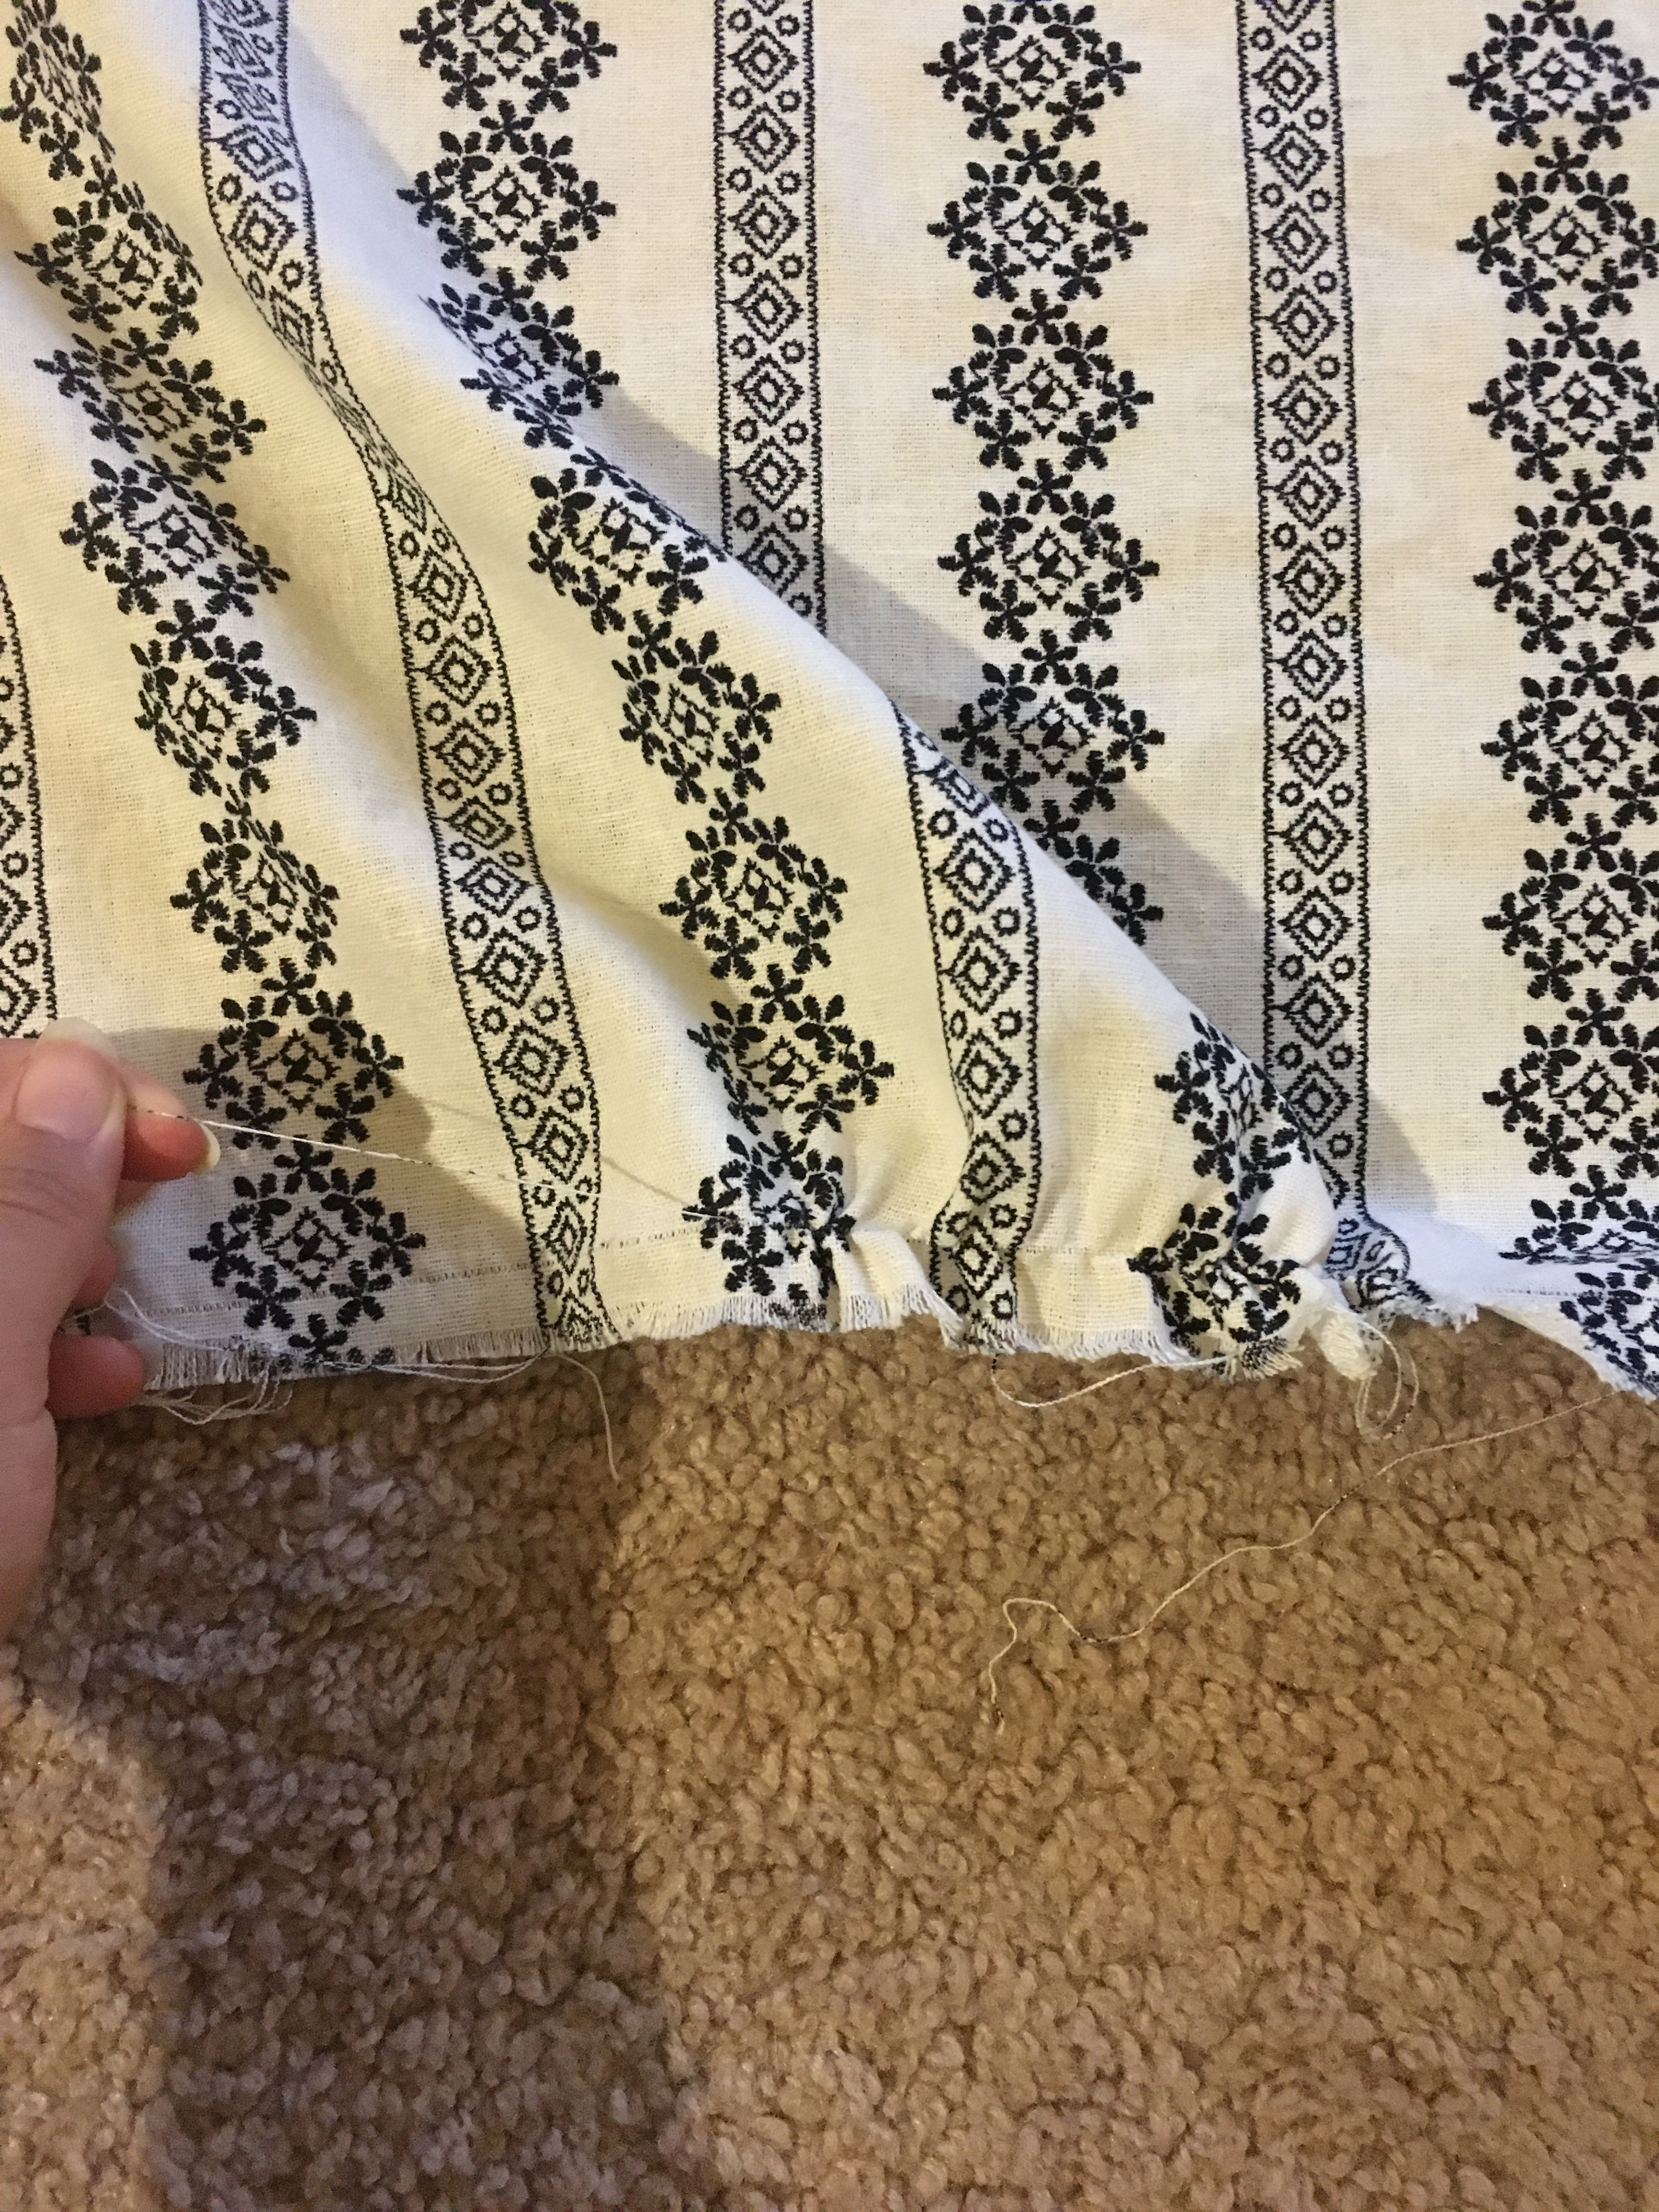
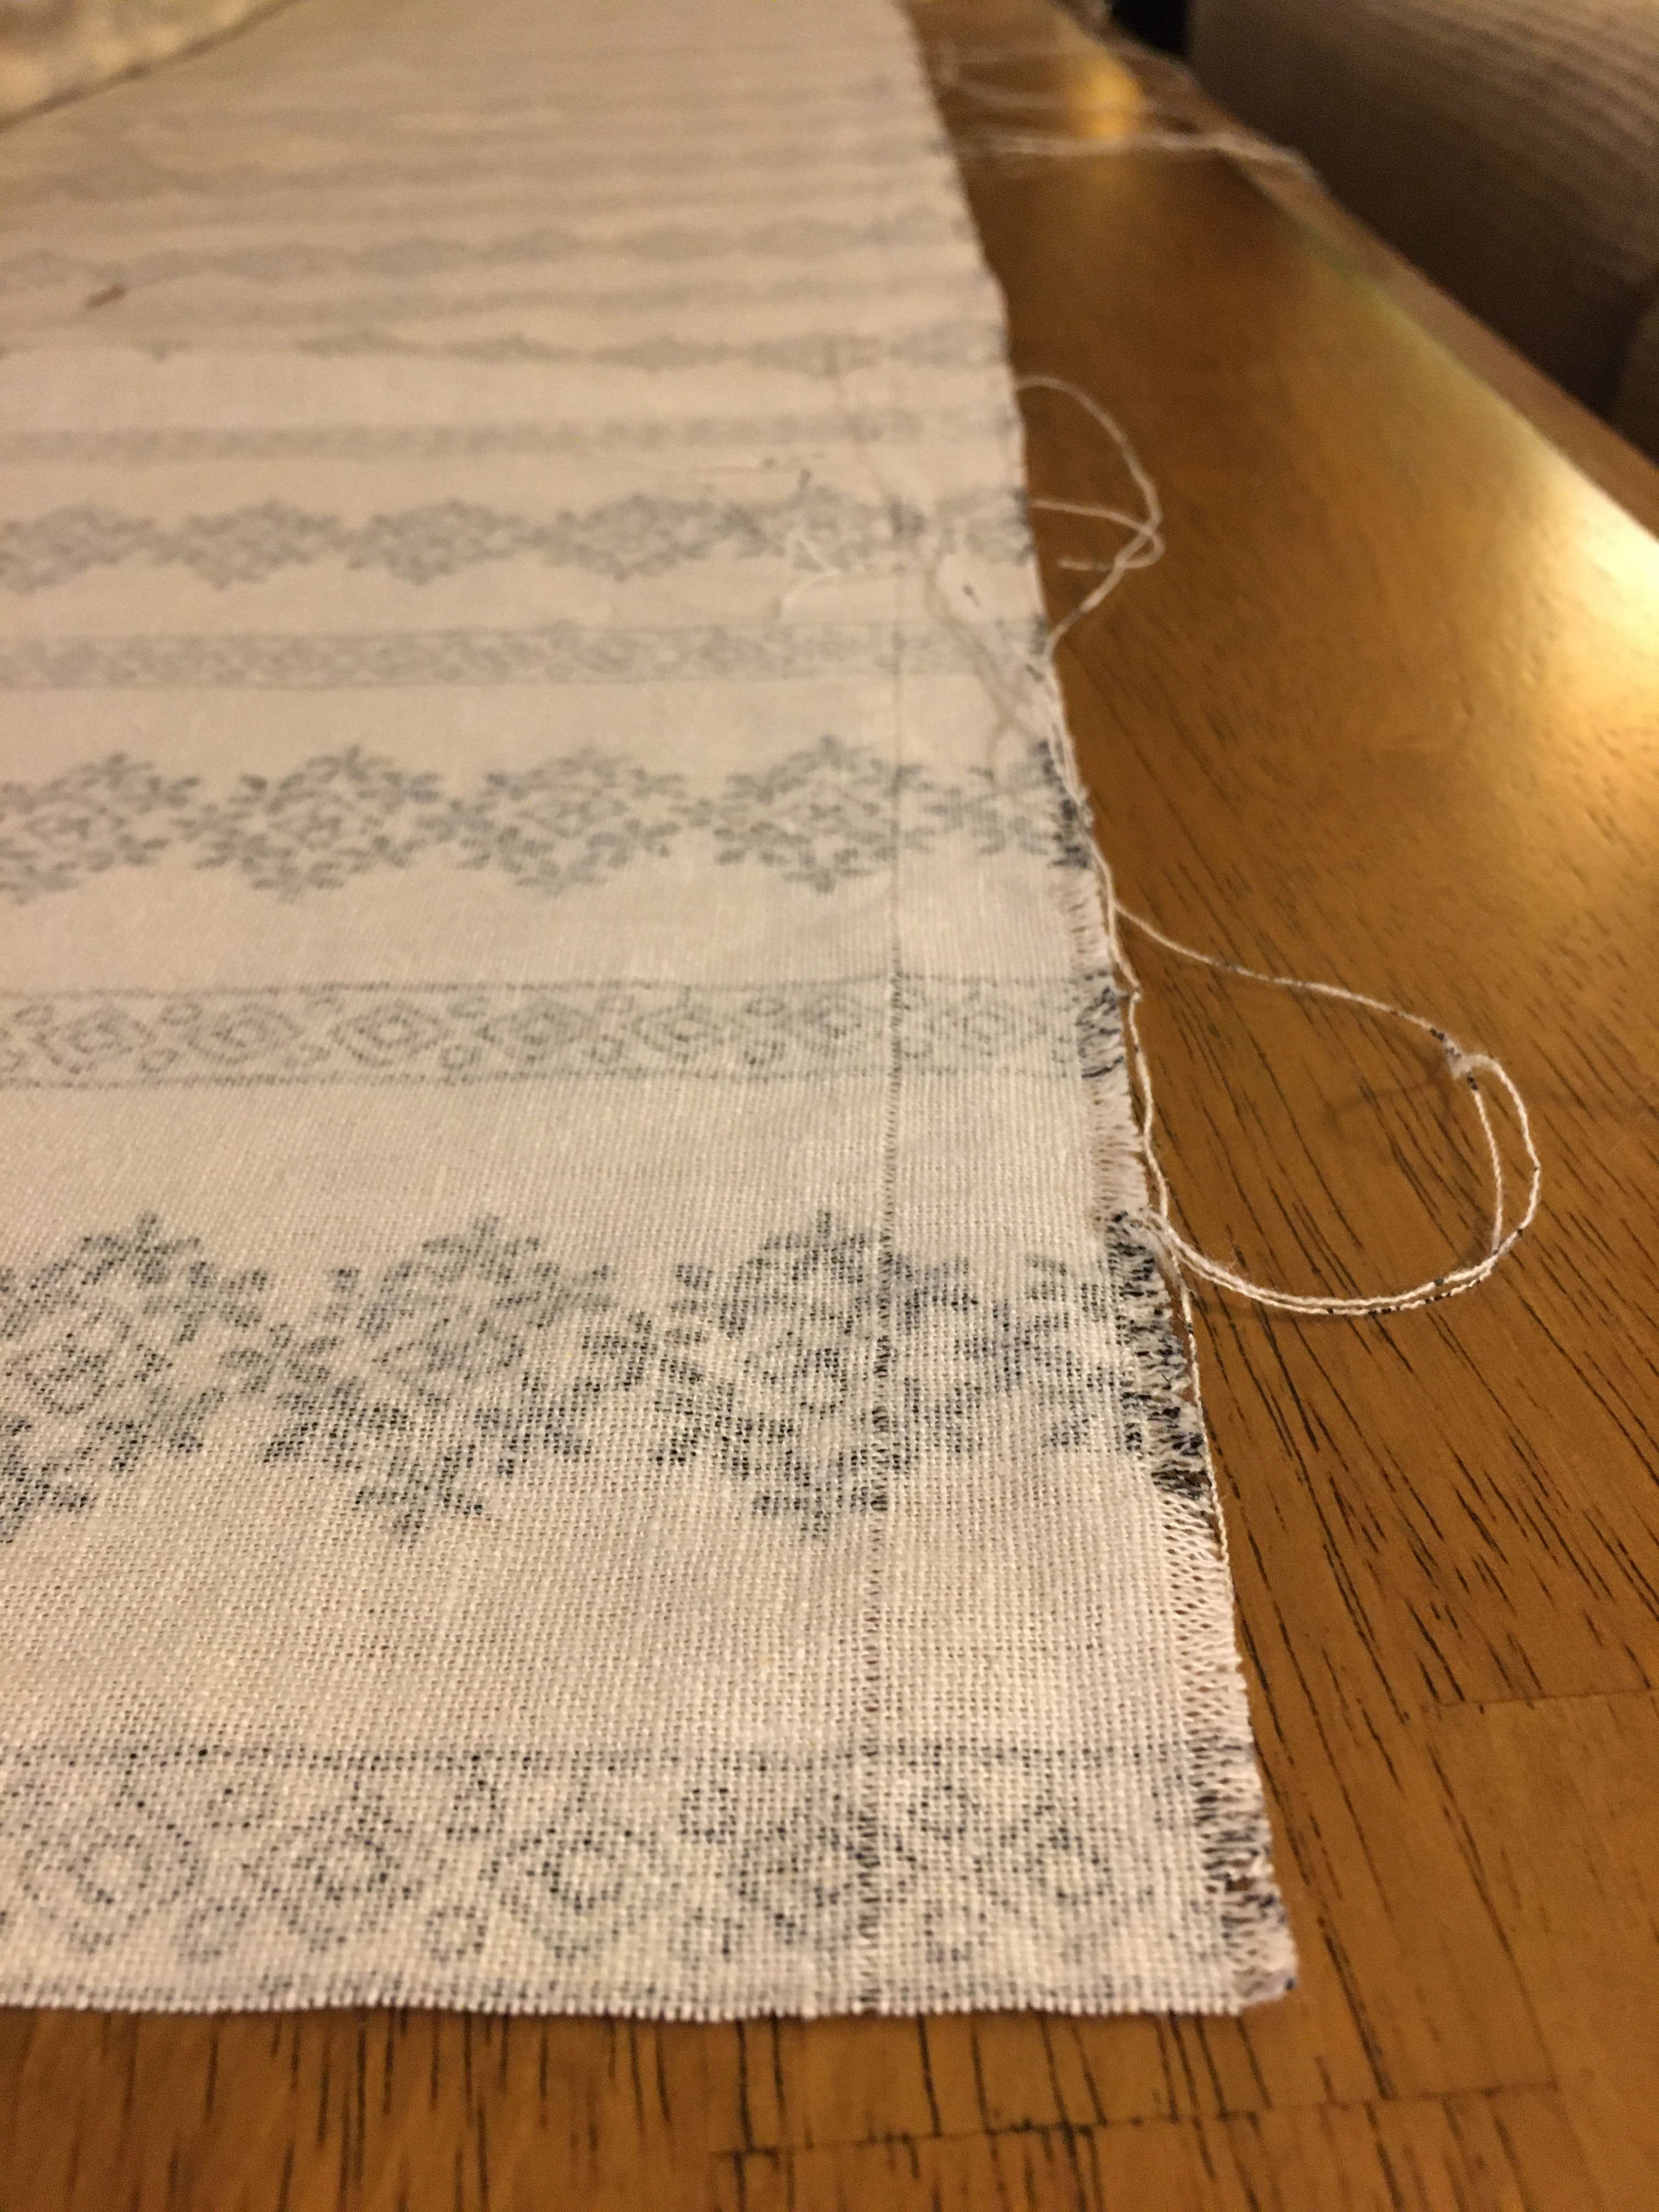
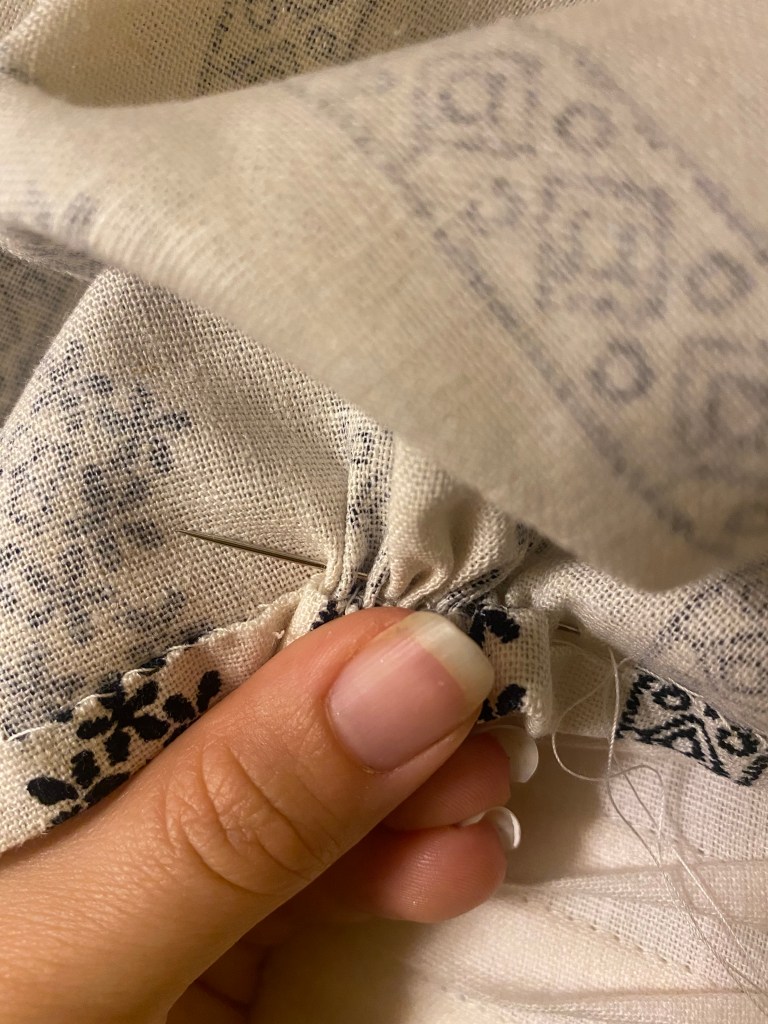
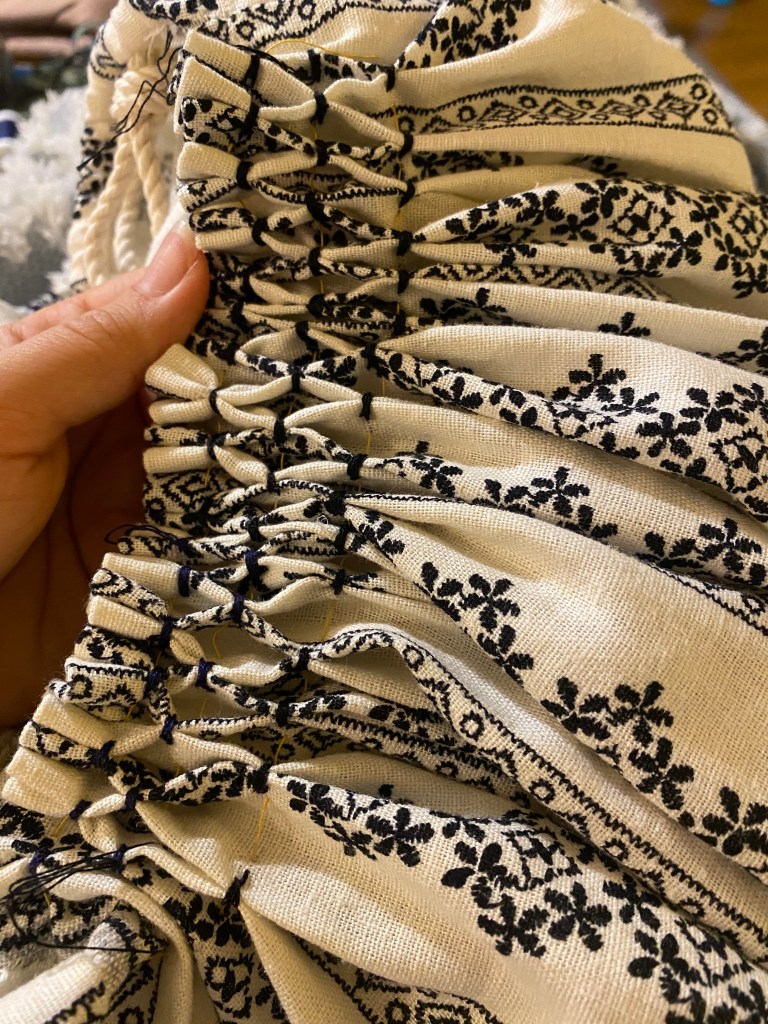
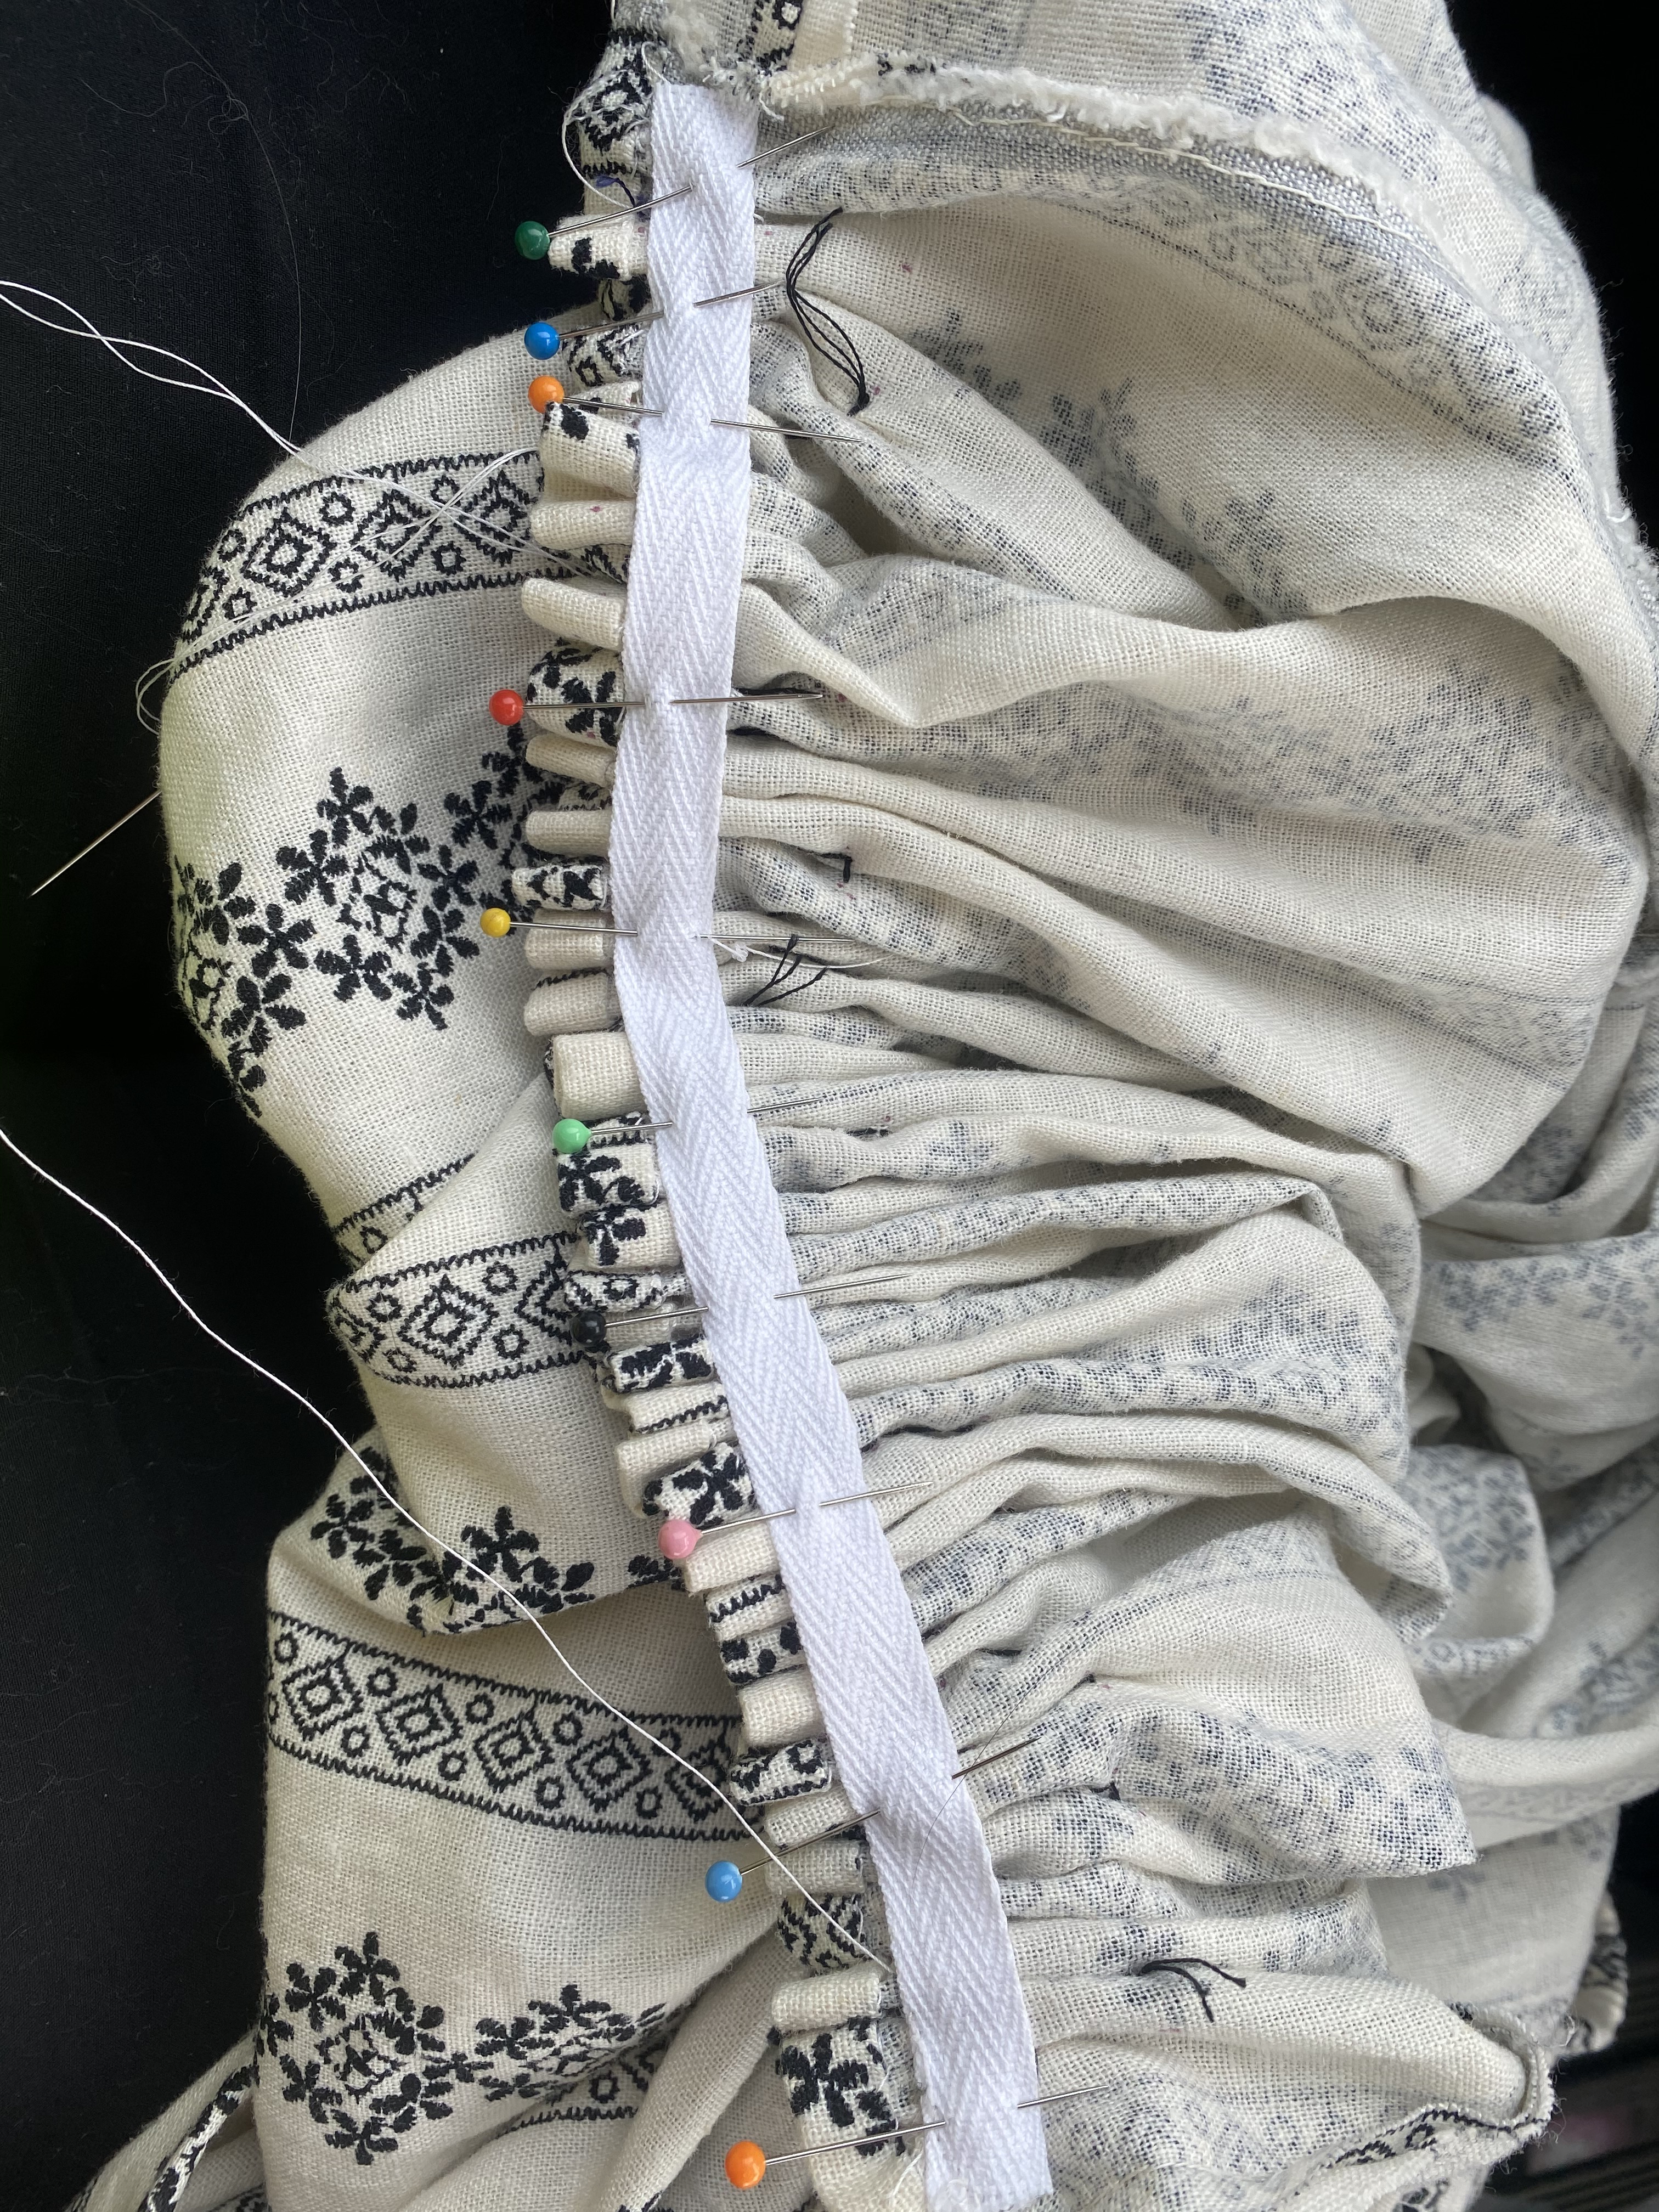
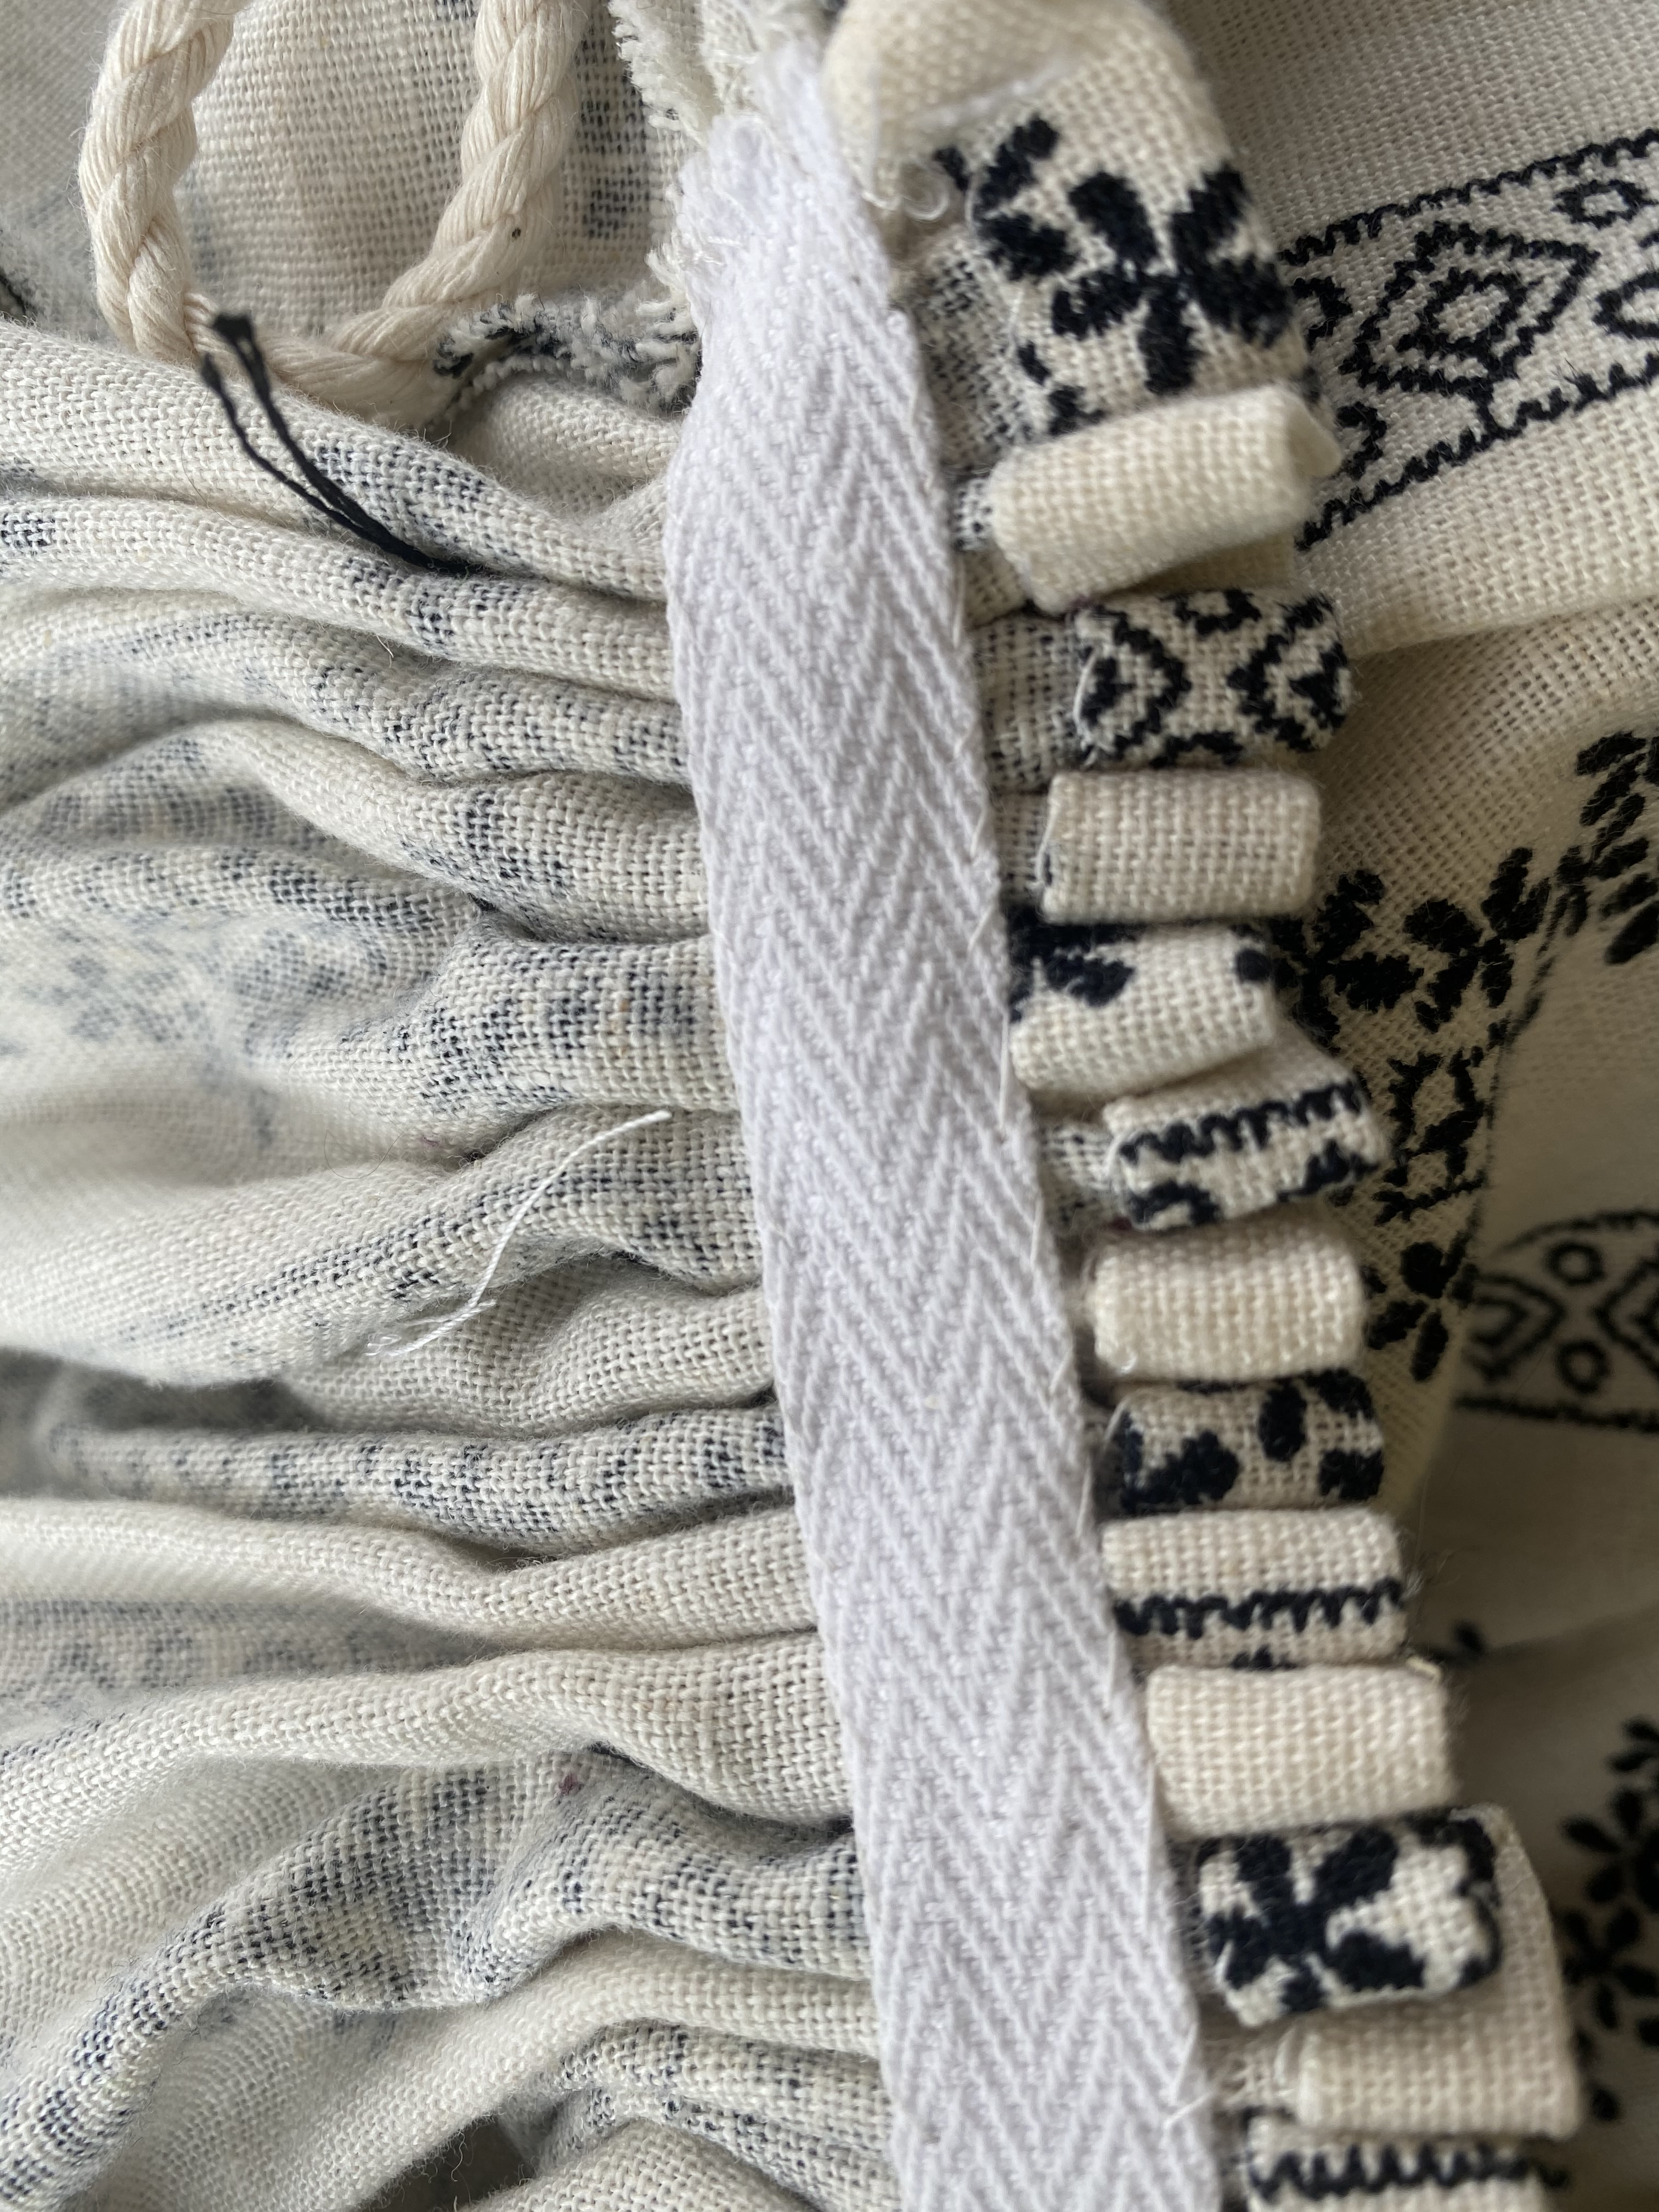
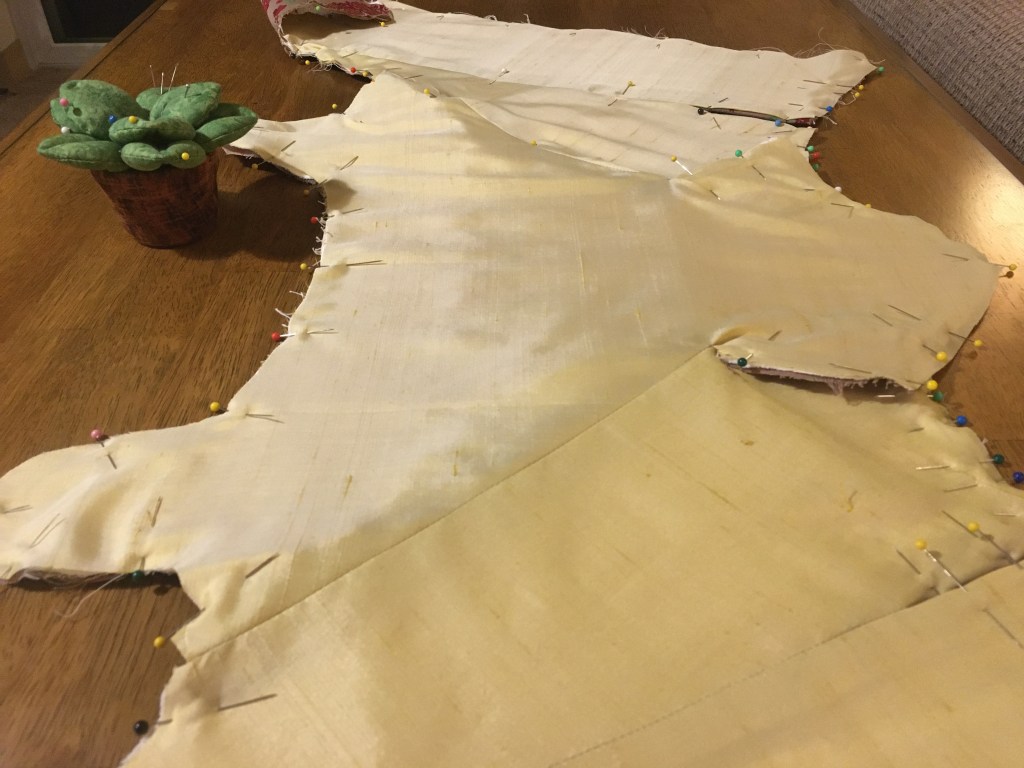
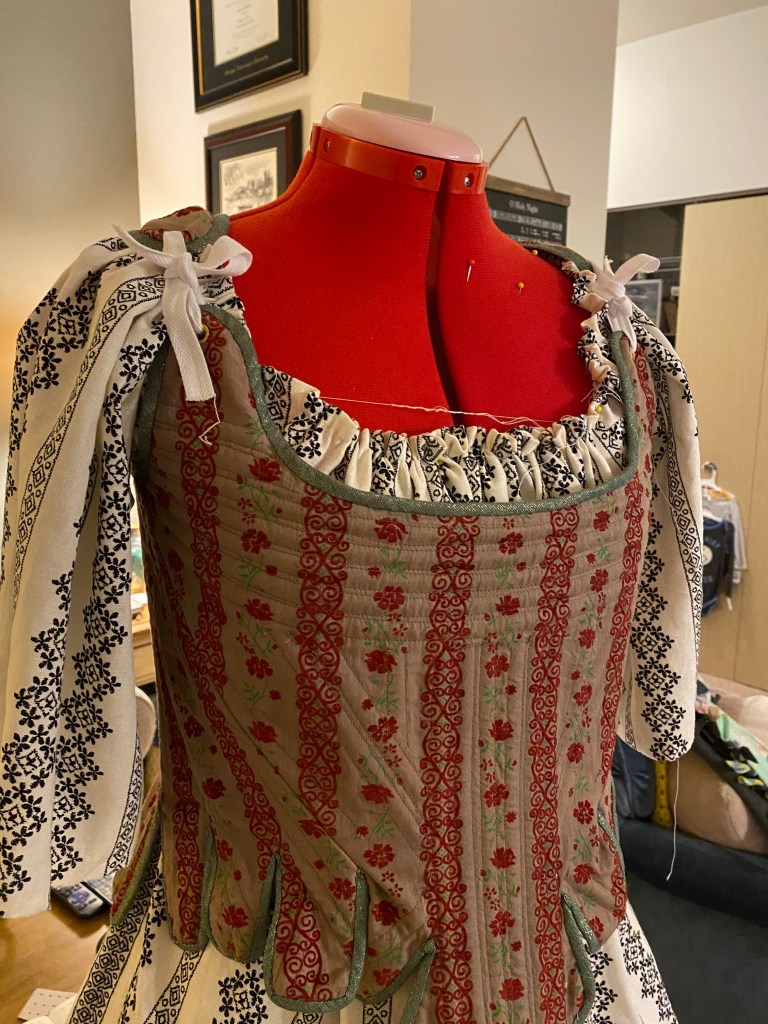
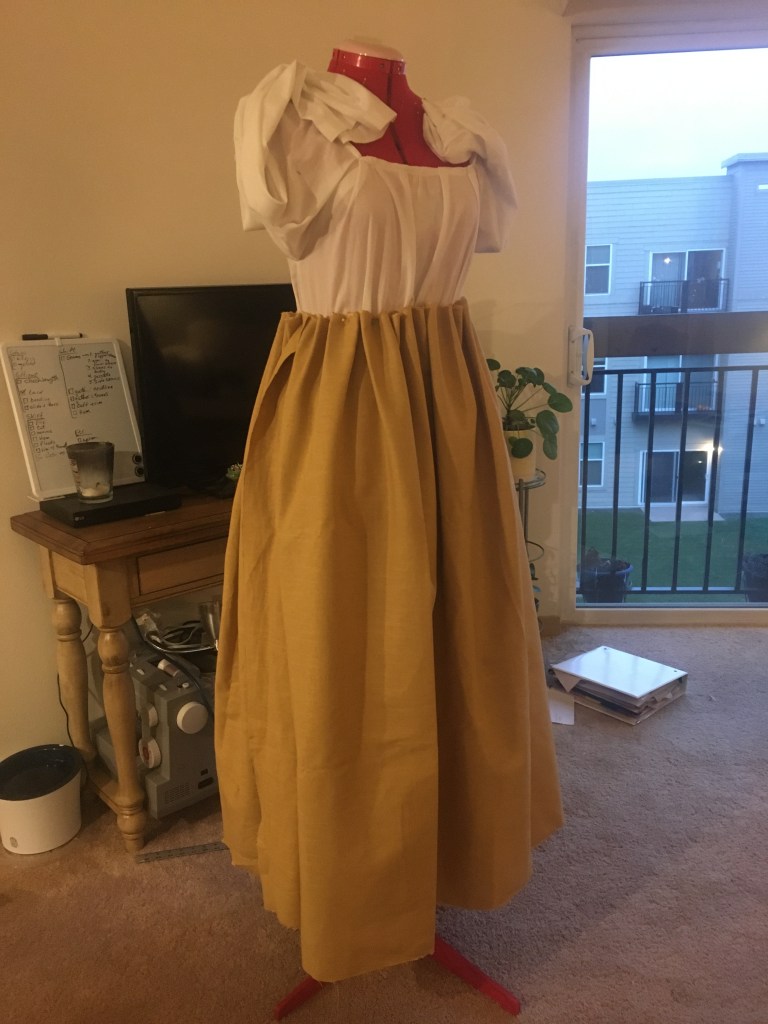
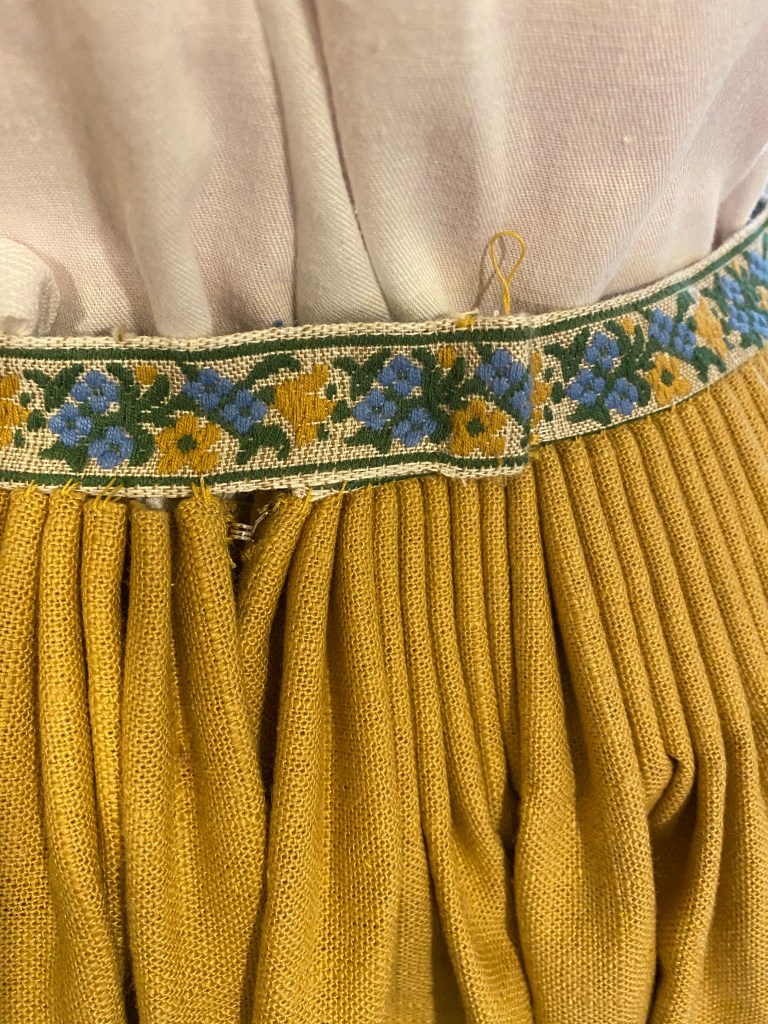
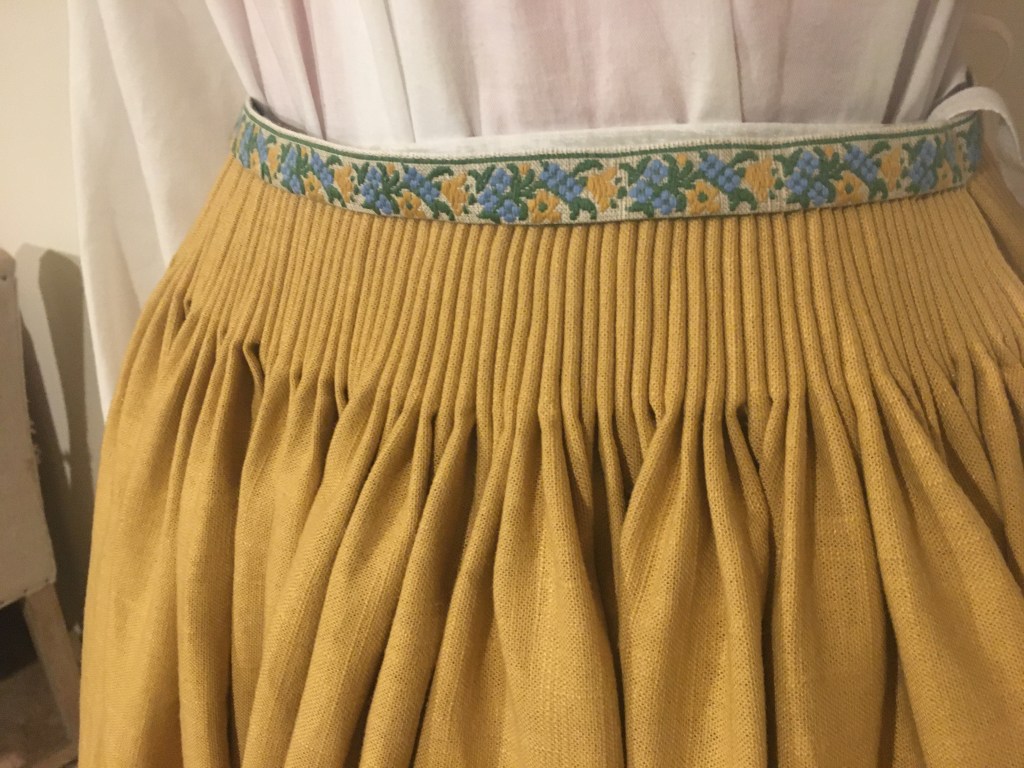
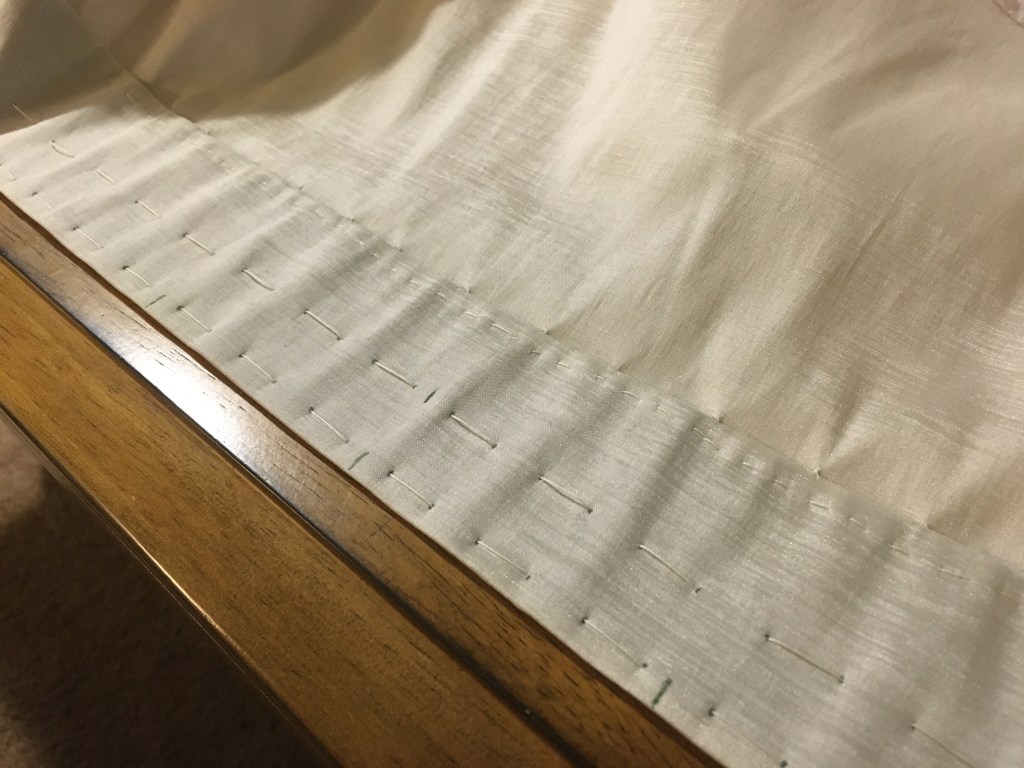
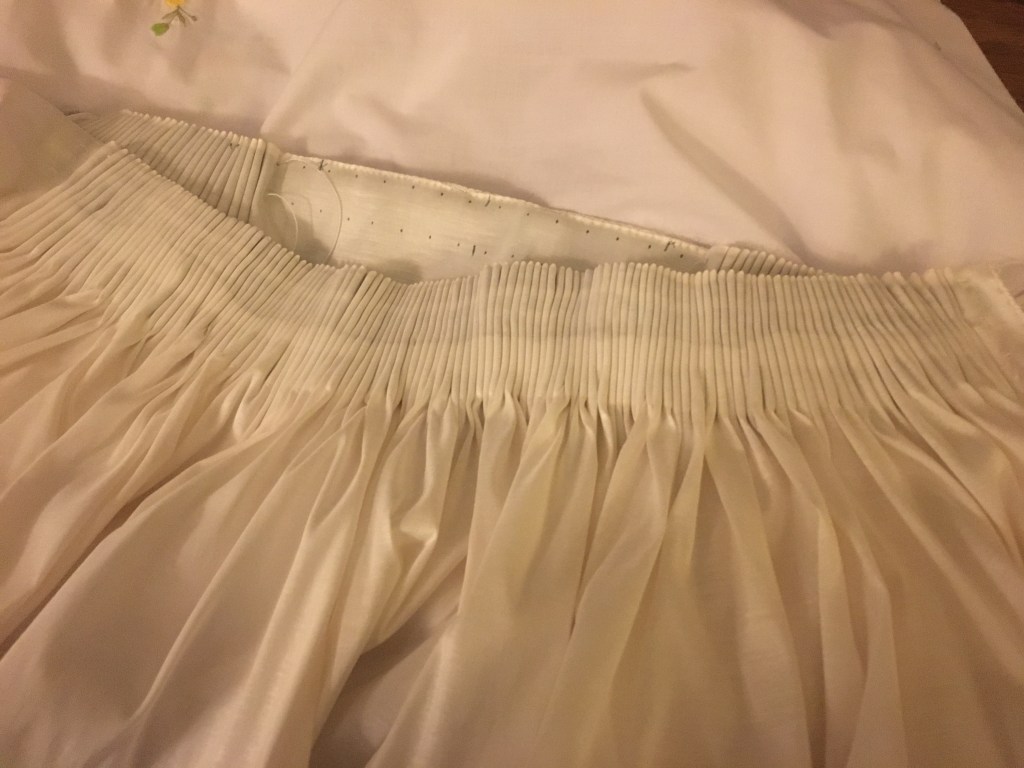
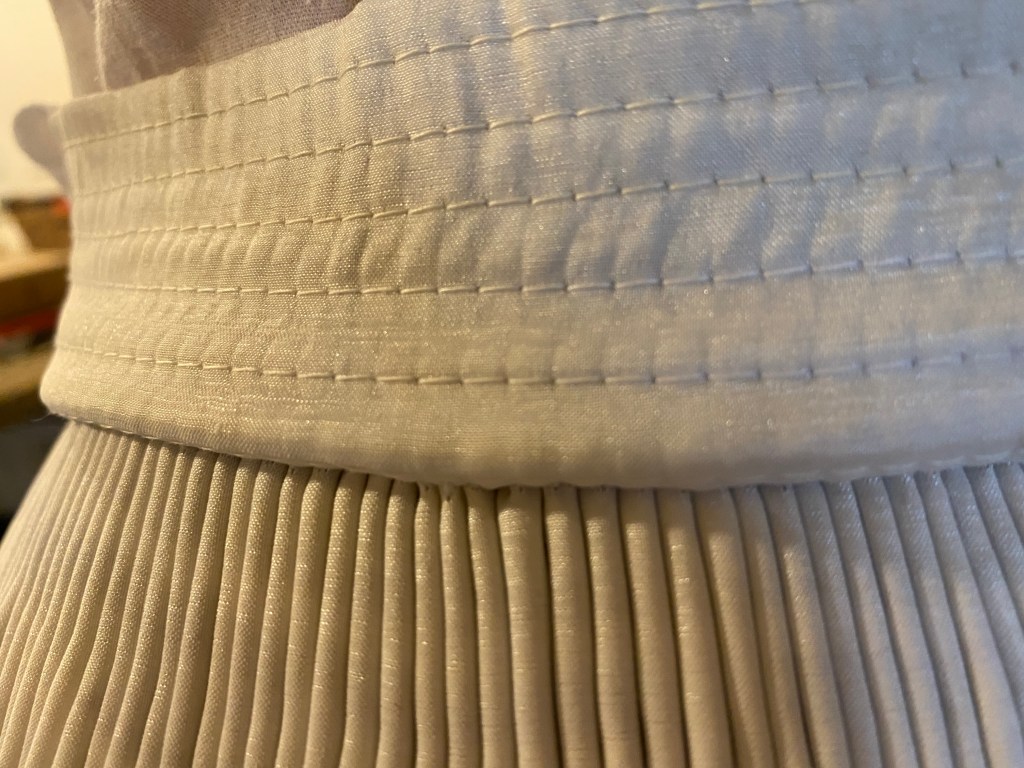
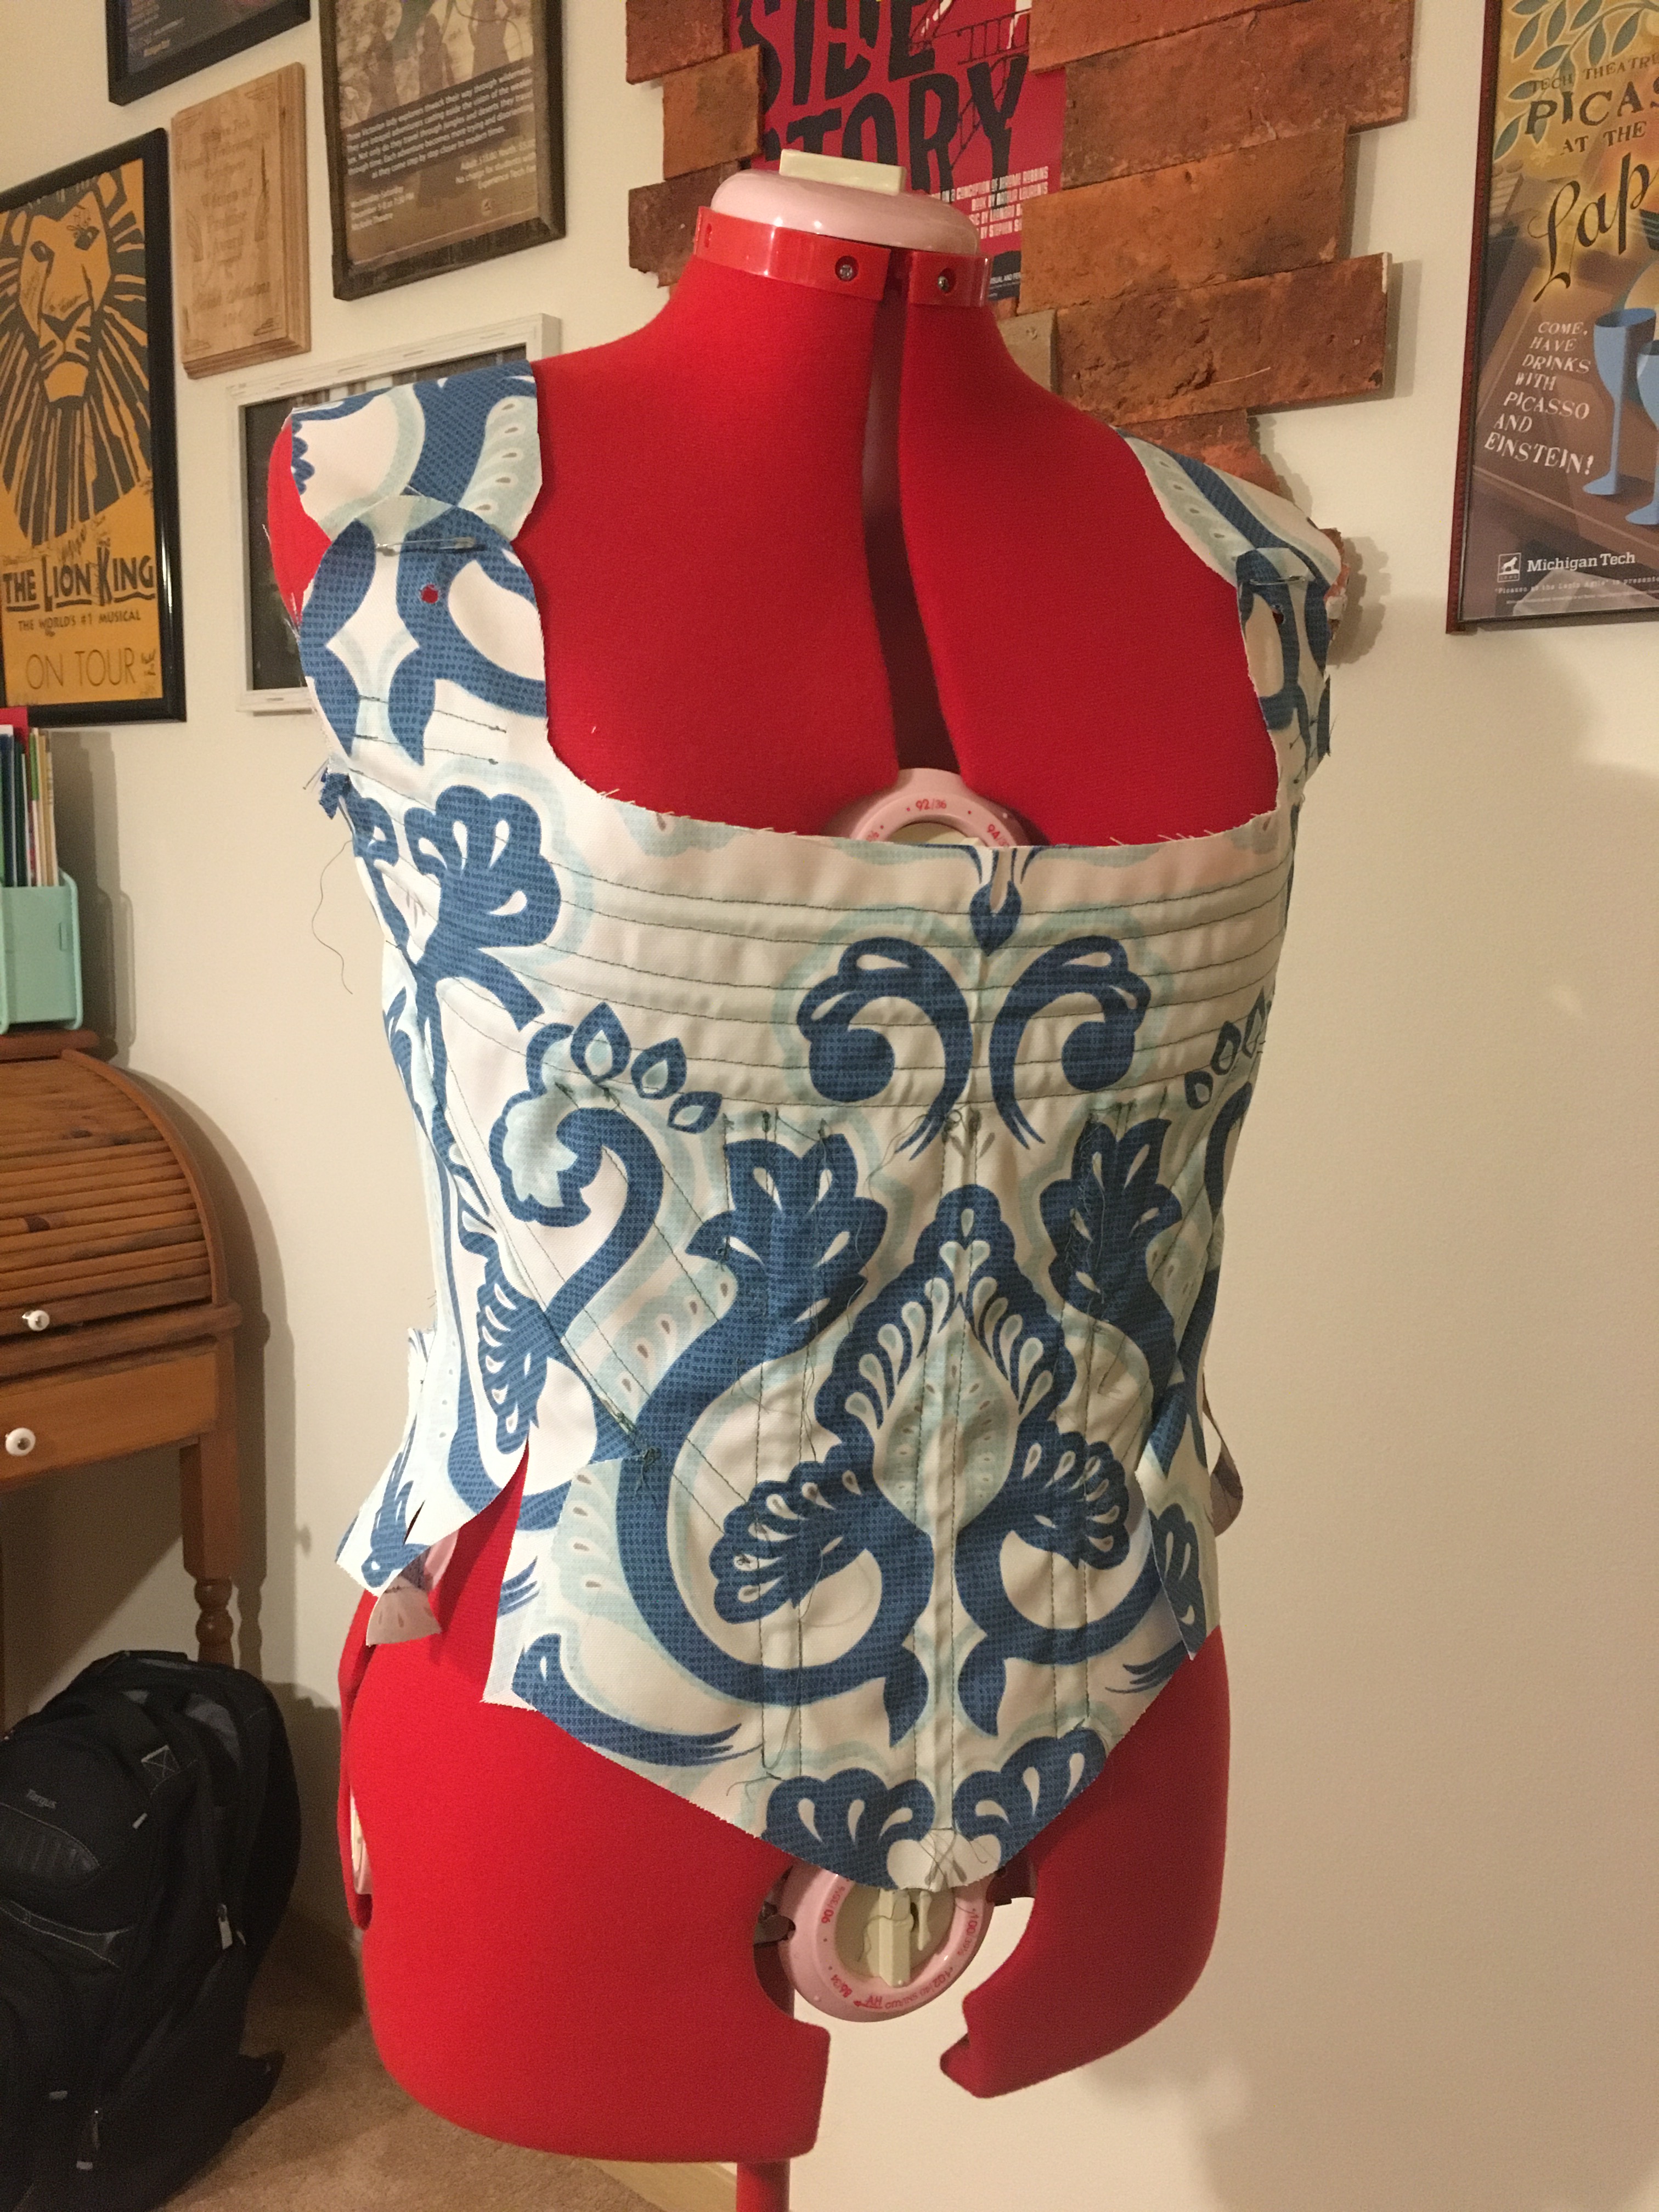
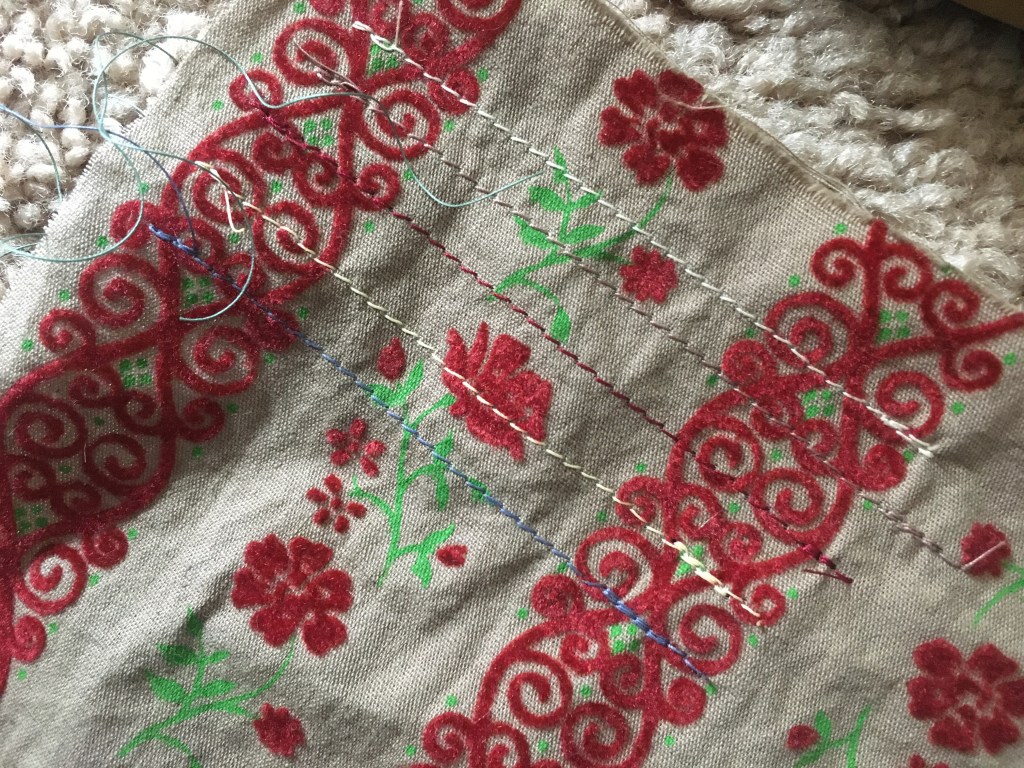
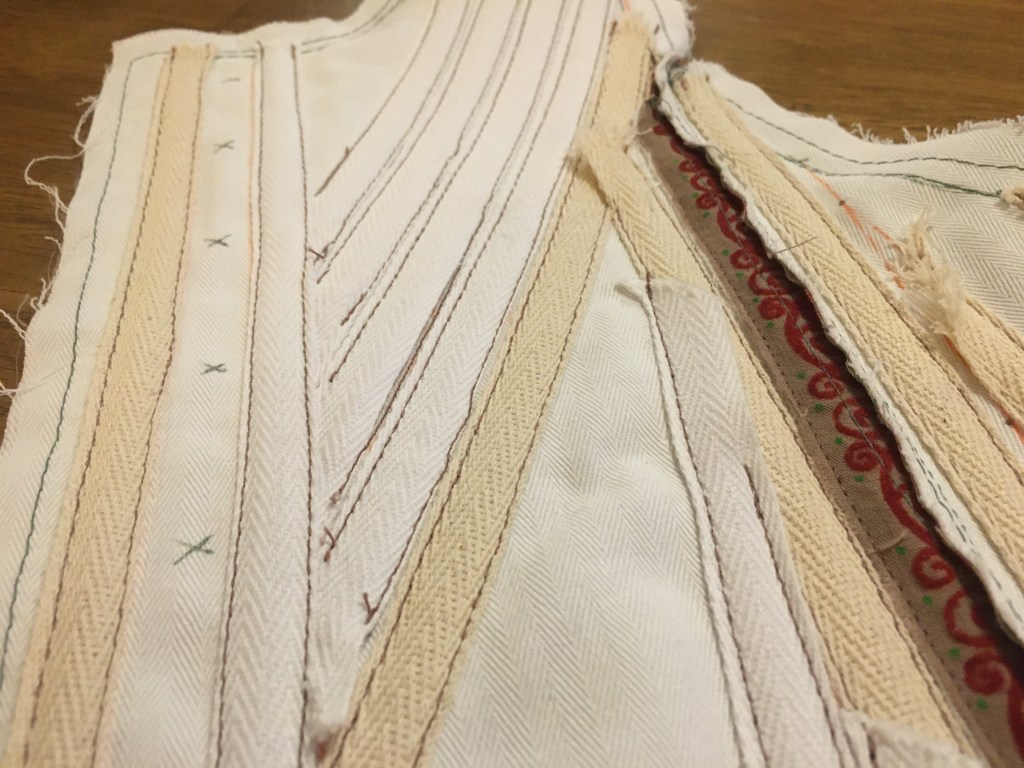
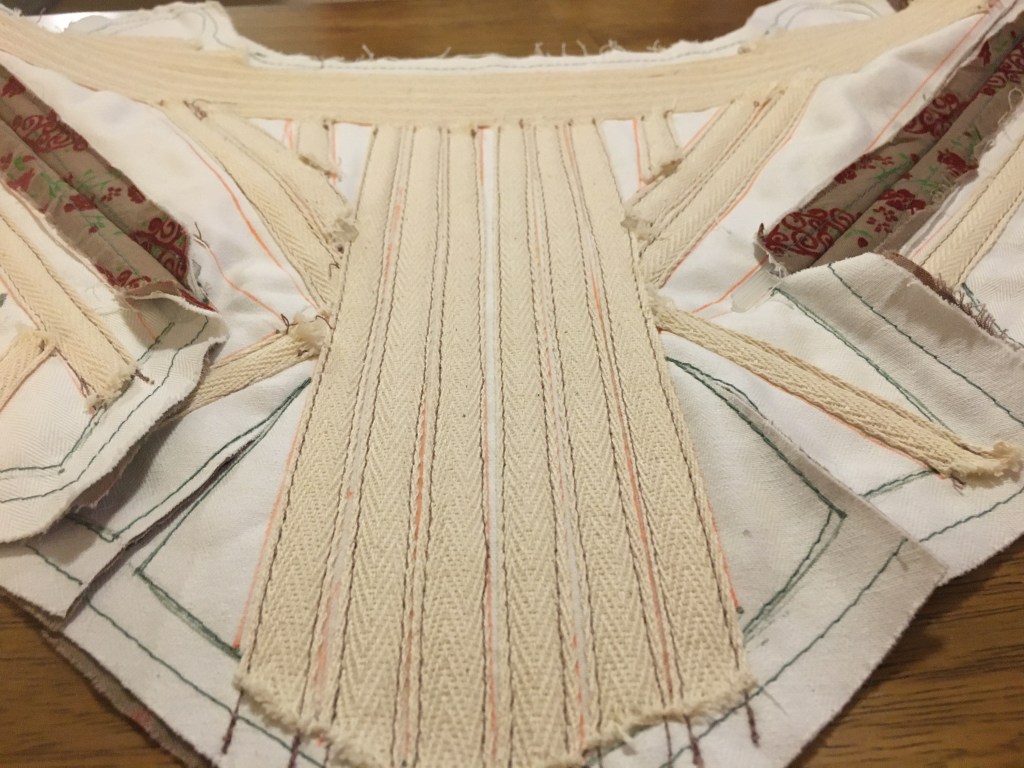
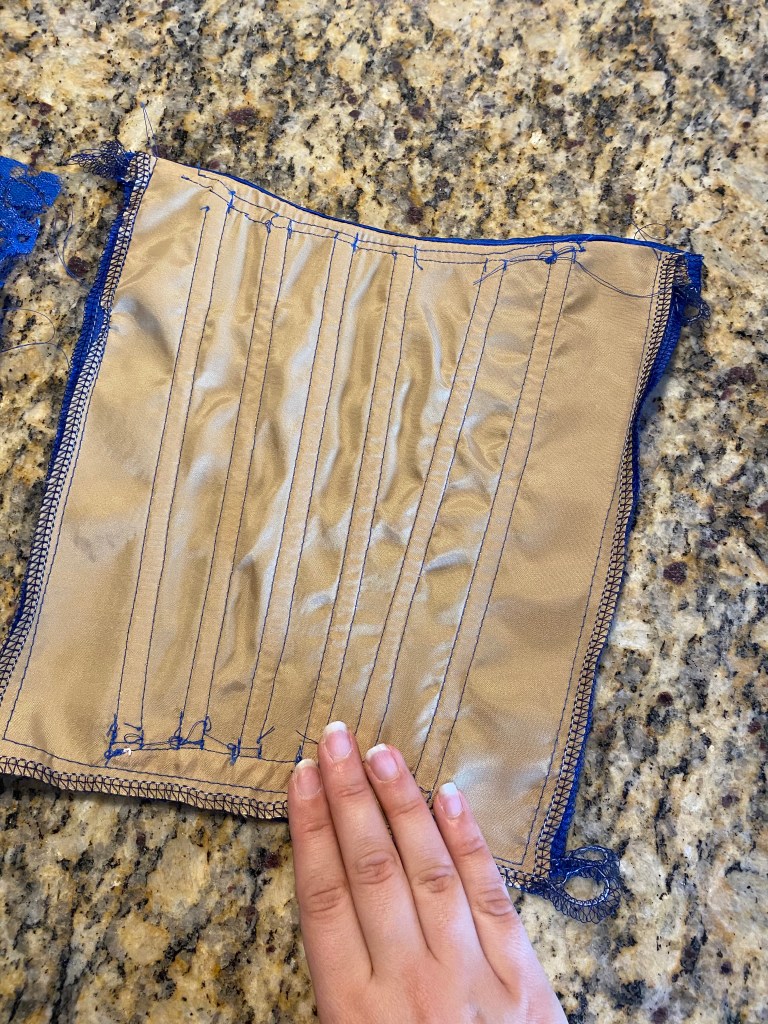
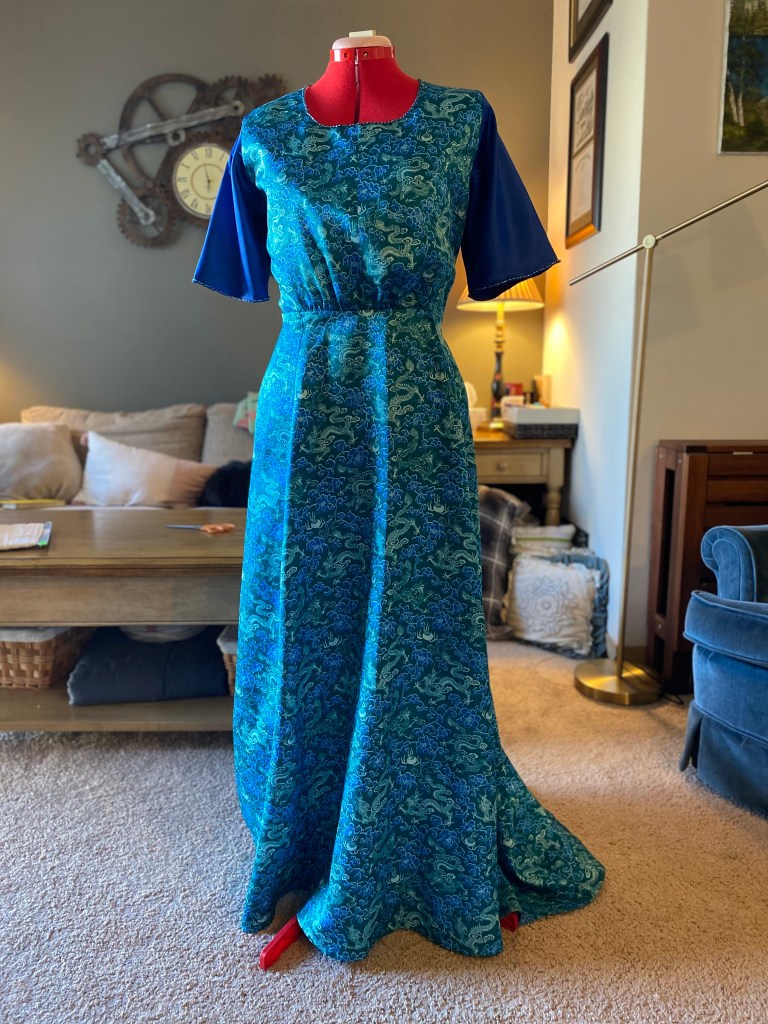
With everything cut and organized, I began stitching. First was to stitch and finish all of my piecing work on the skirt. The kimono material also frayed almost instantly after being touched, so I surged all the skirt seams after stitching. With this discovery, I also surged all the bodice panels right away to make for quicker stitching later. The bodice was lined with a cream poly satin I had on hand and pressed for a clean finished neckline. This lined bodice is hand gathered at the front before stitching the waist seam to give the period appropriate pigeon breast style.
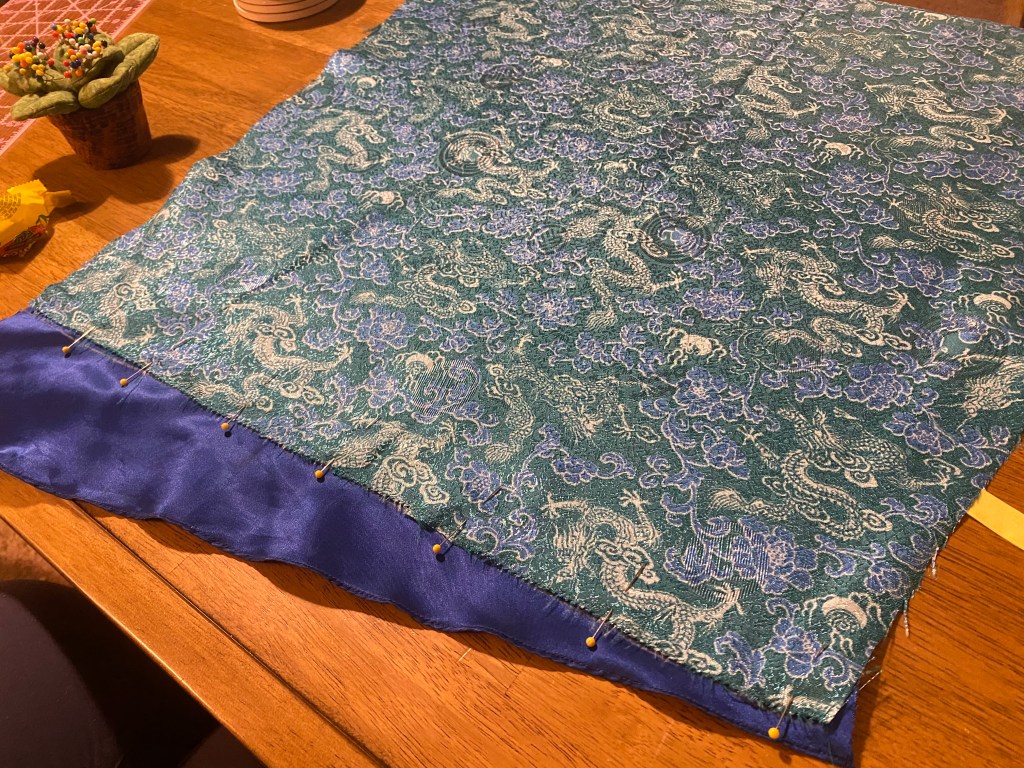
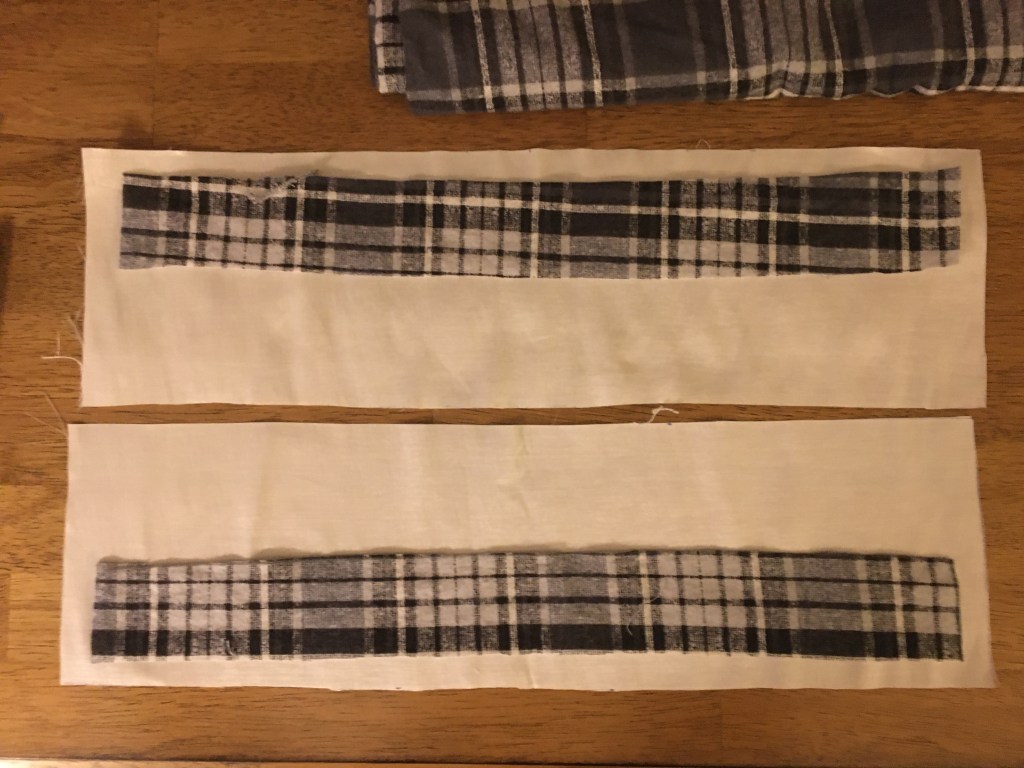
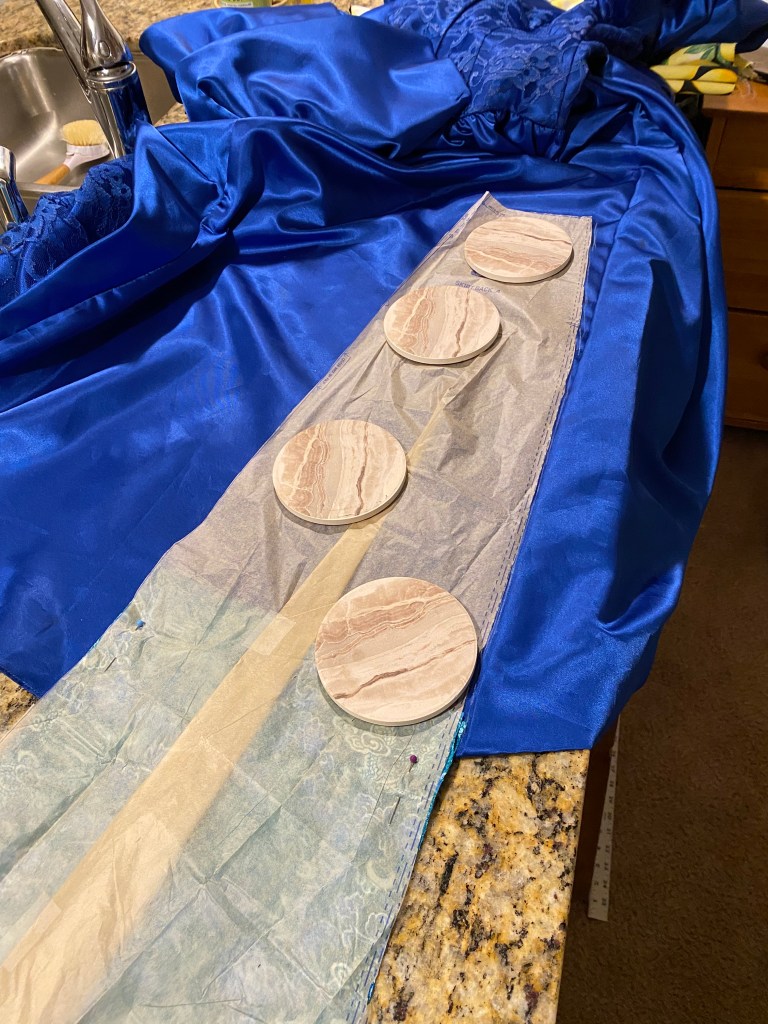
Sewing the pieced sections of the back skirt panel (blue satin on top half, turquois at bottom). The blue satin was not cut precisely to allow for errors in the seam. It was trimmed to size and excess seam cut away after stitching the pieces together. 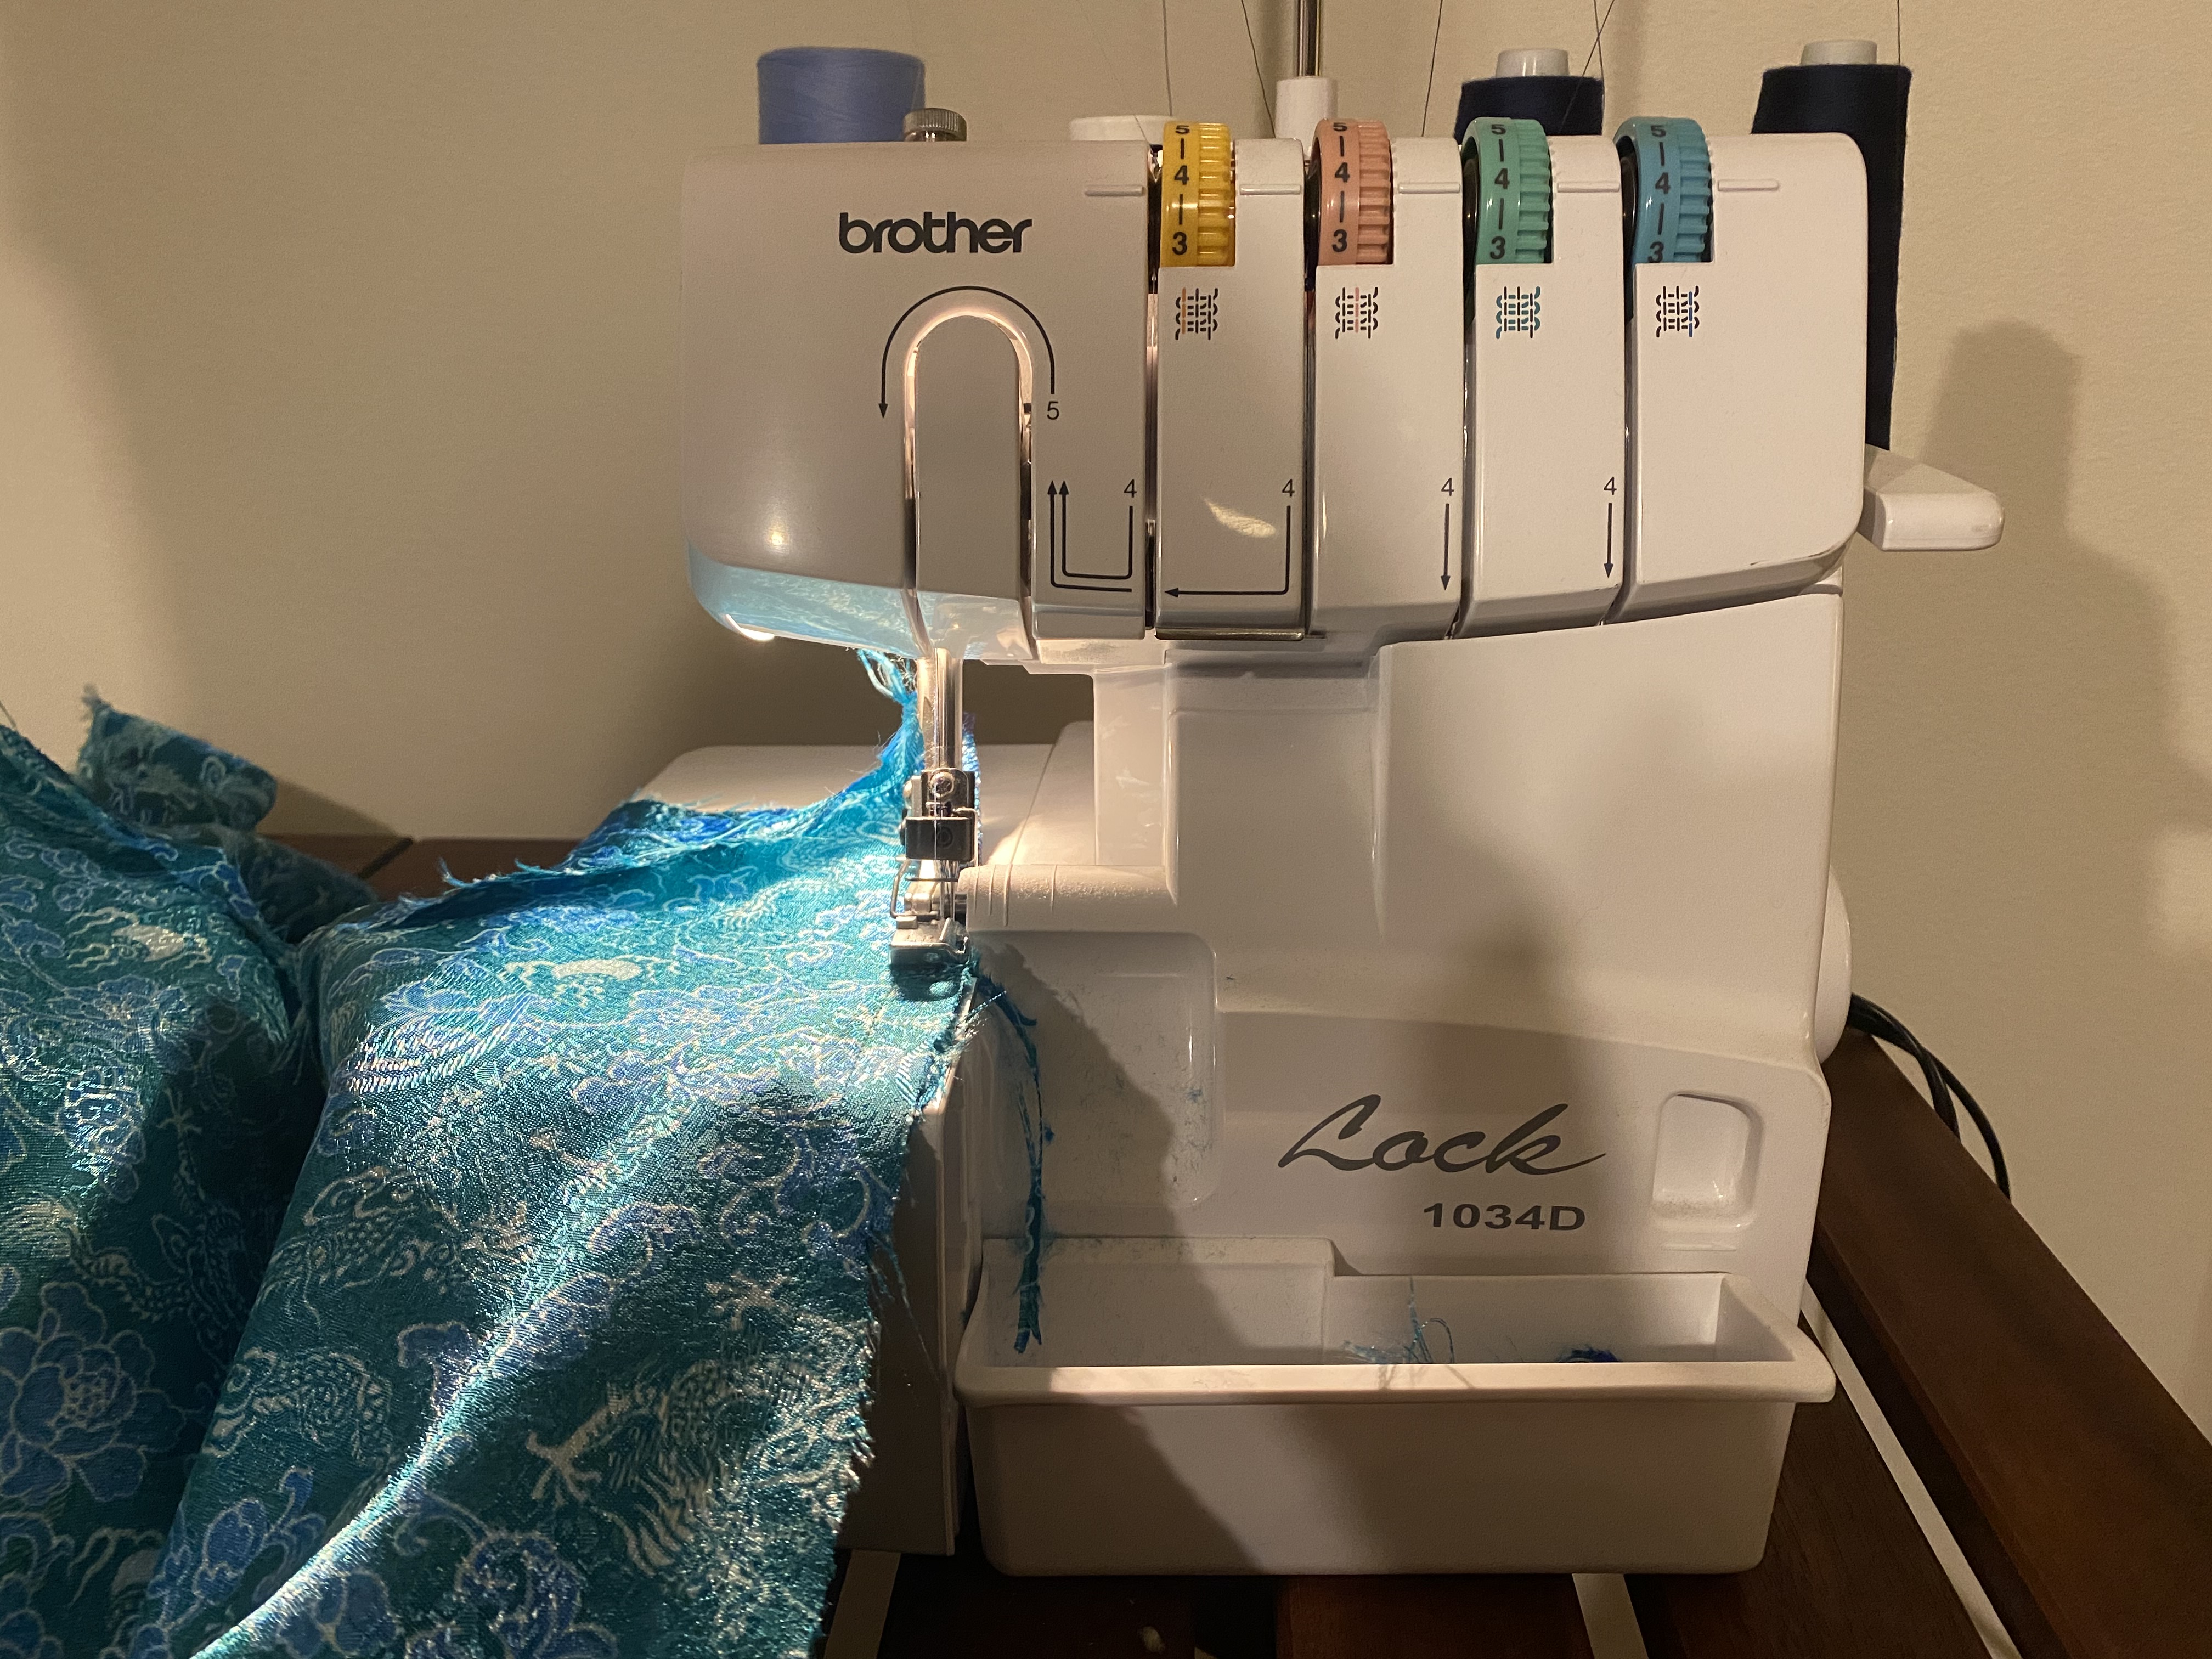
Serging ALL my seams 
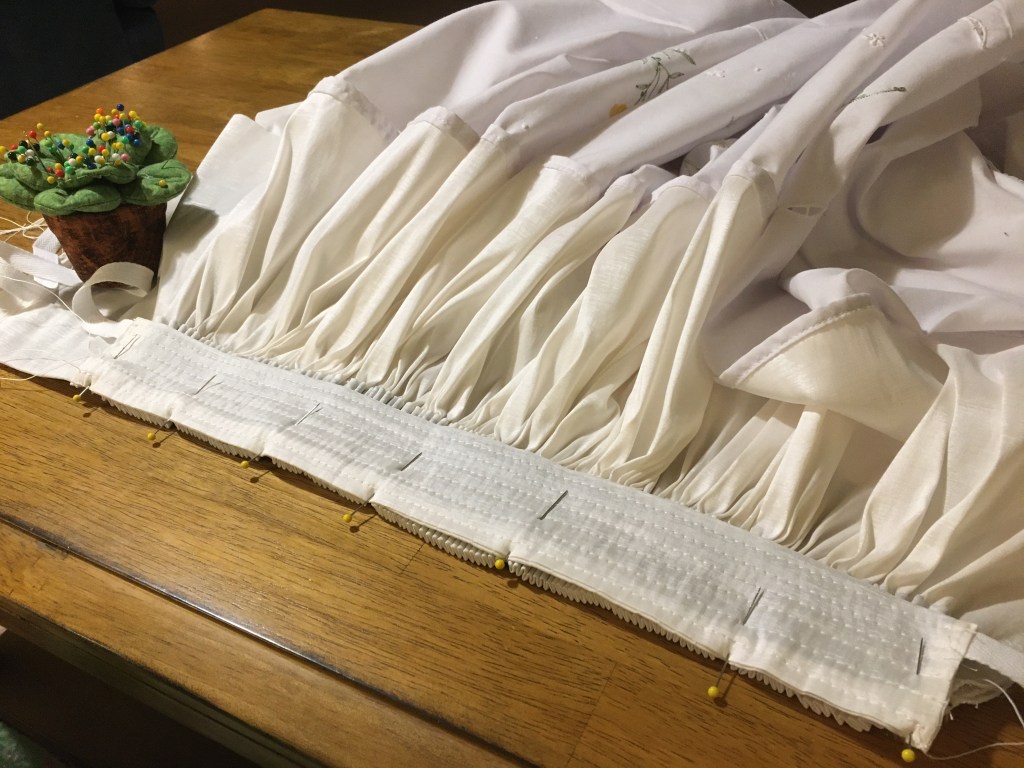
The stitched bodice and skirt sections. I placed them on the dress form to ensure the color blocking created by the piecing wasn’t terrible. 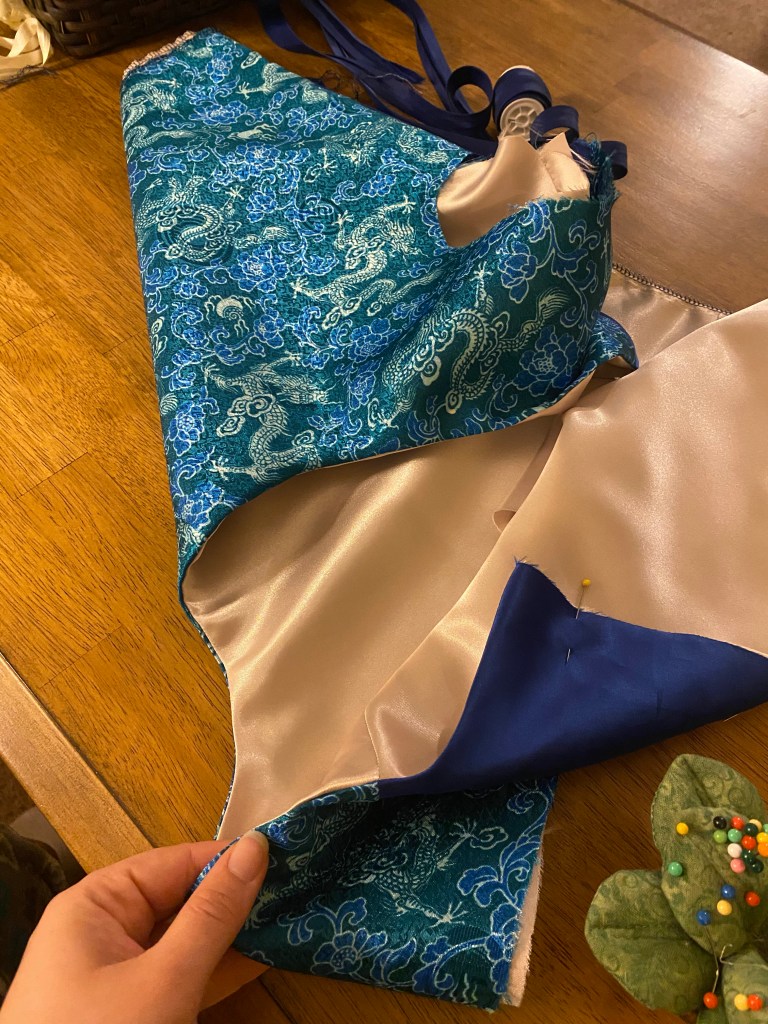
The interior of the bodice with cream polysatin lining 
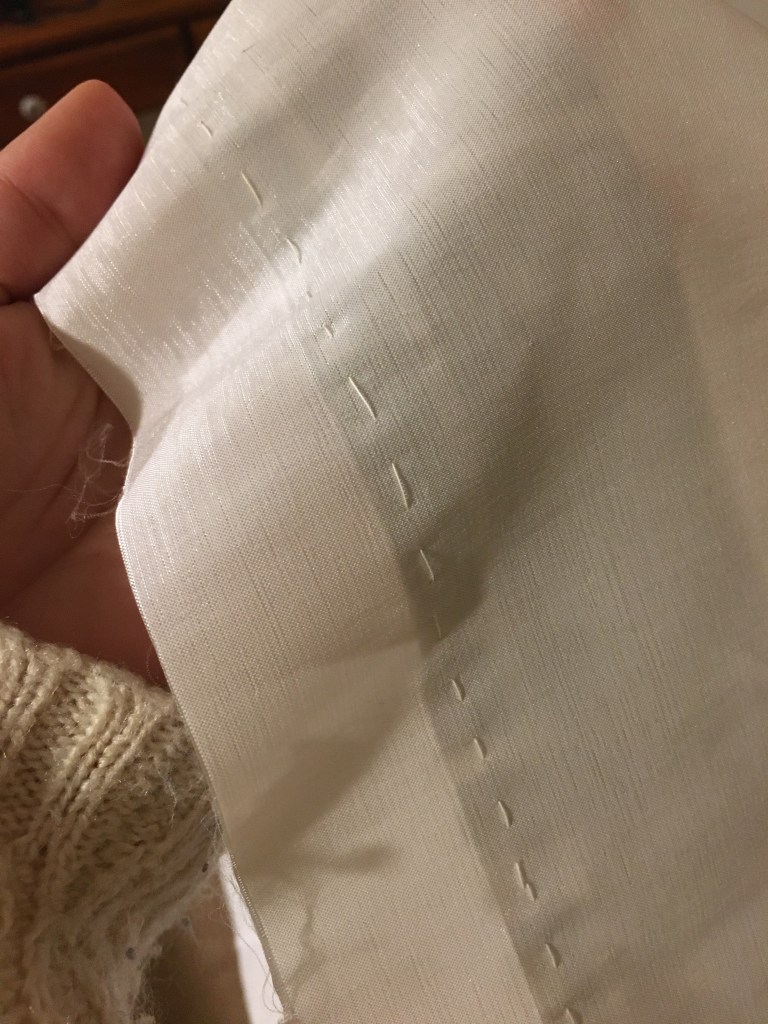
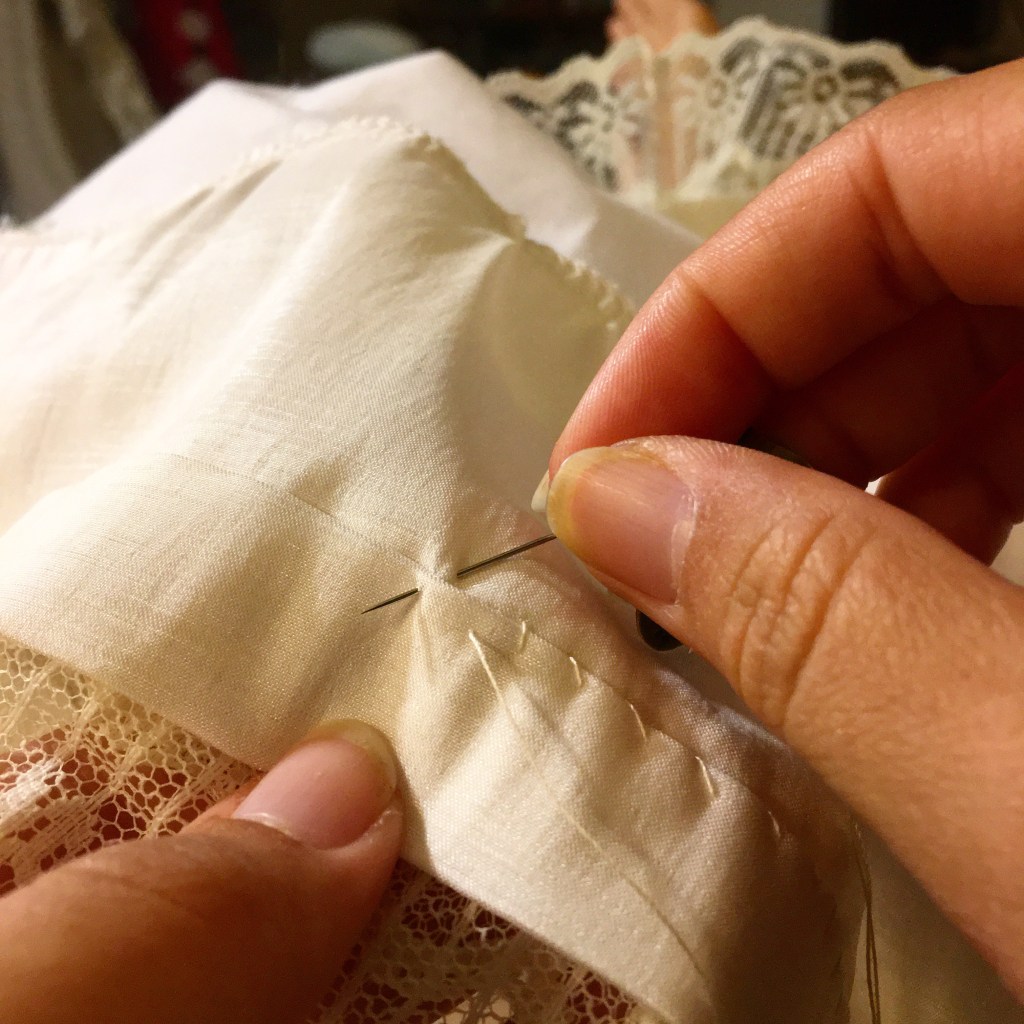
Dual purpose basting stitches for the bodice outer layer and lining as well as acting as gathering stitches. 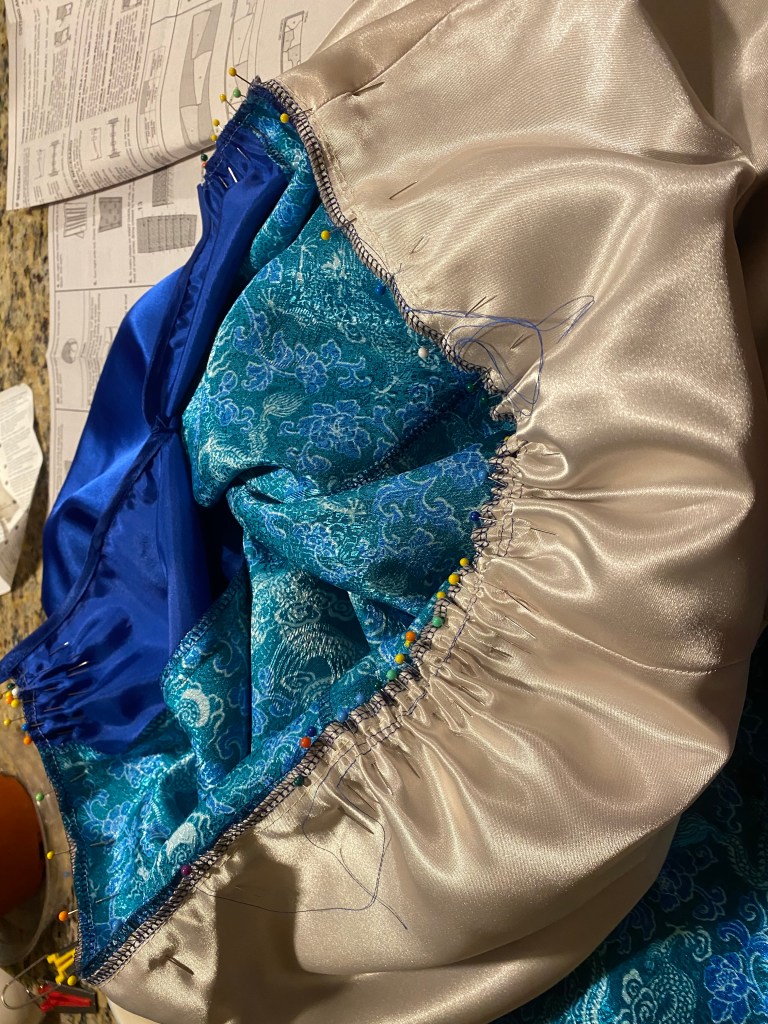
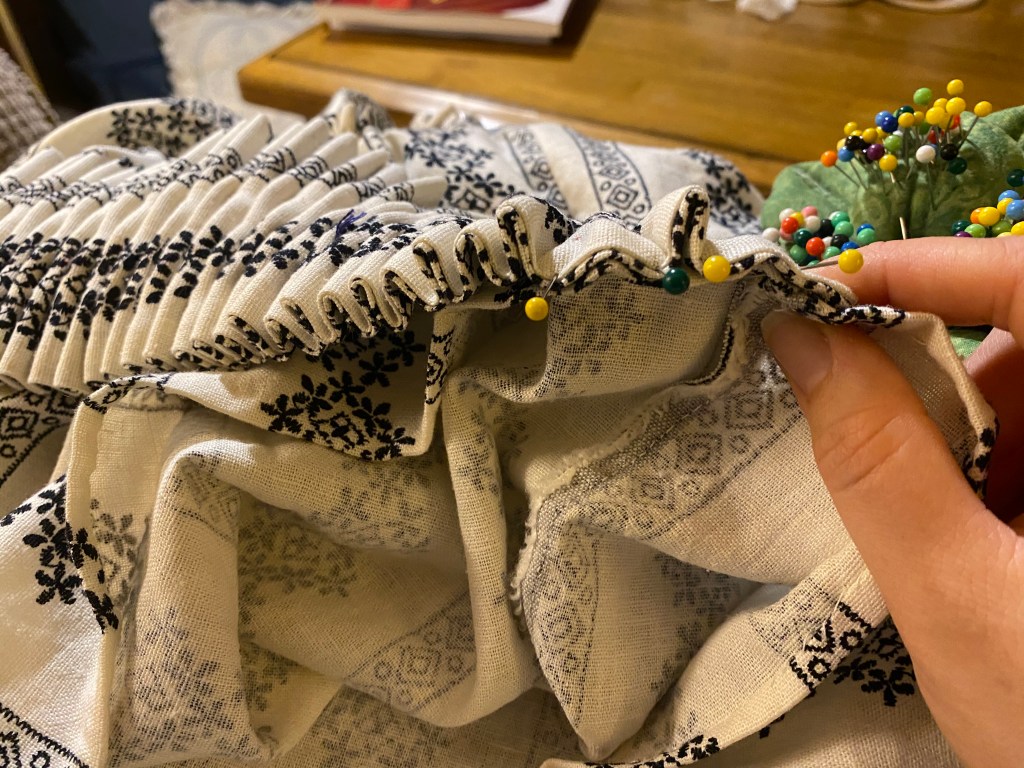
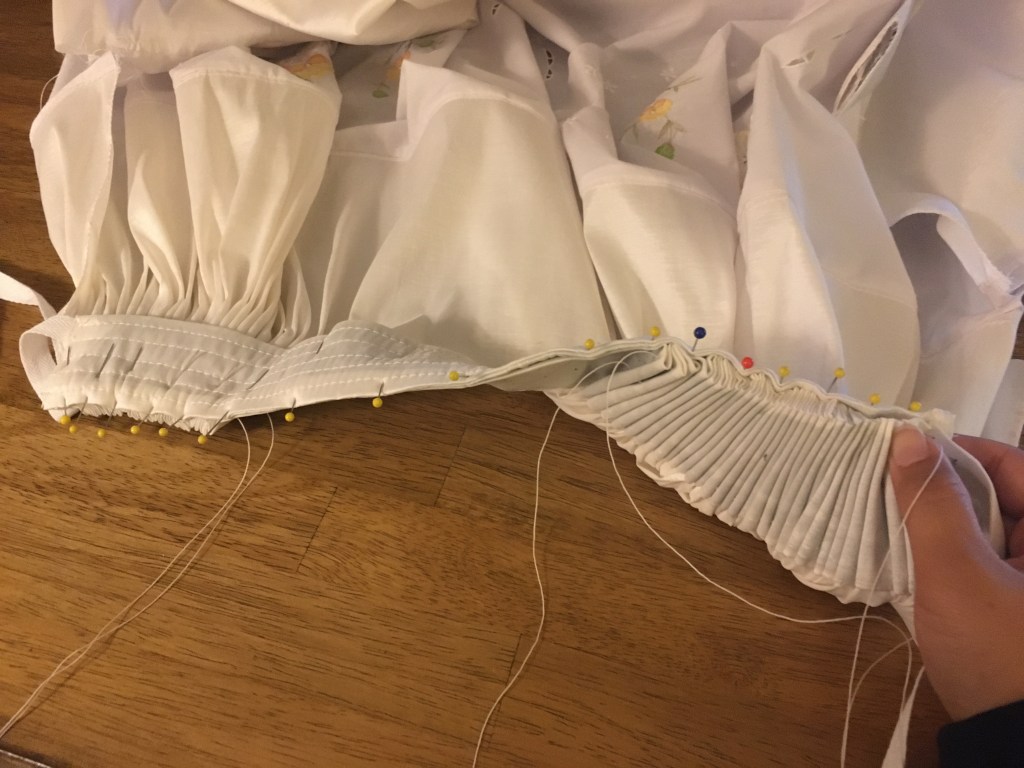
The basting stitches are used to gather the bodice front and then pinned to the skirt to finish the waistband.
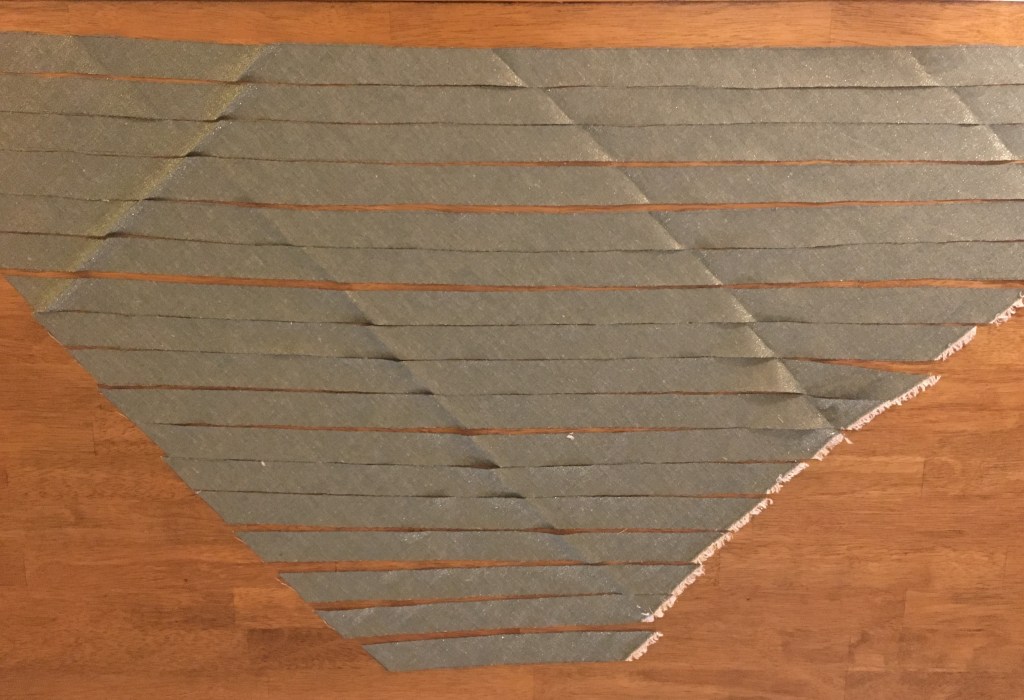
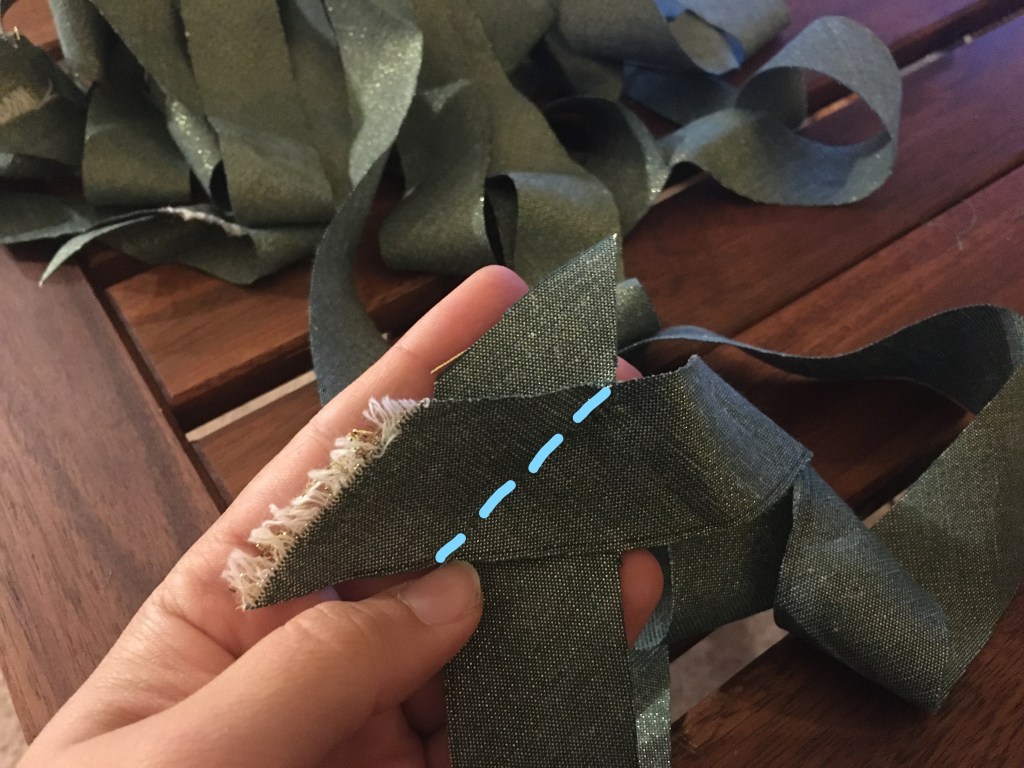
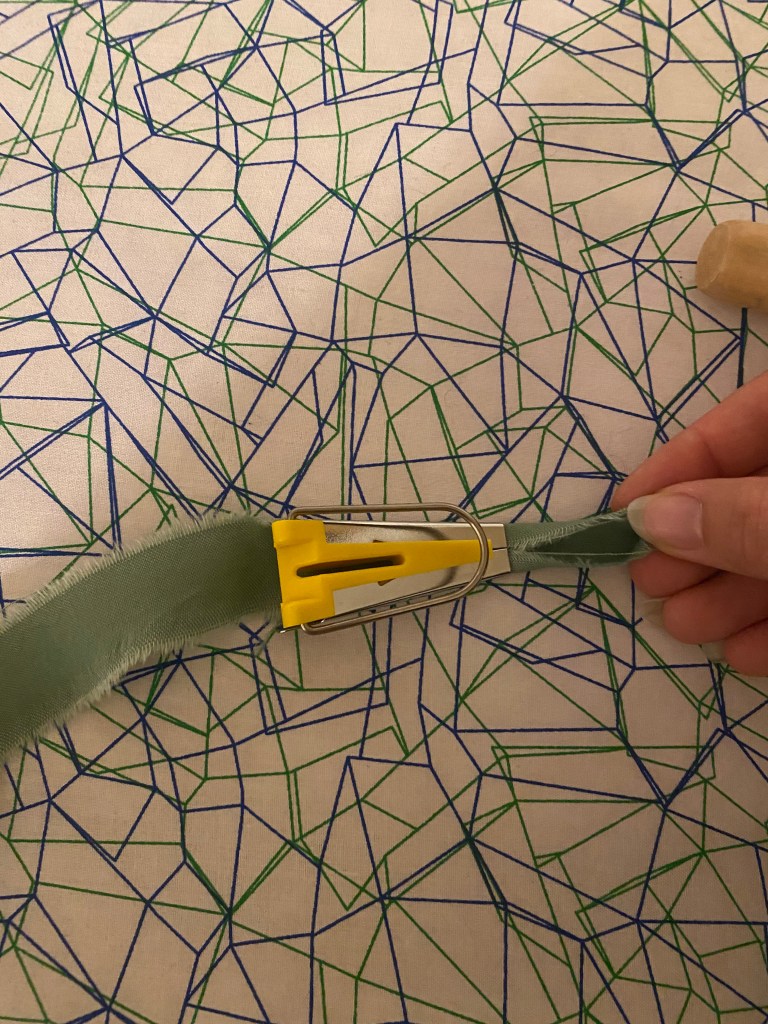
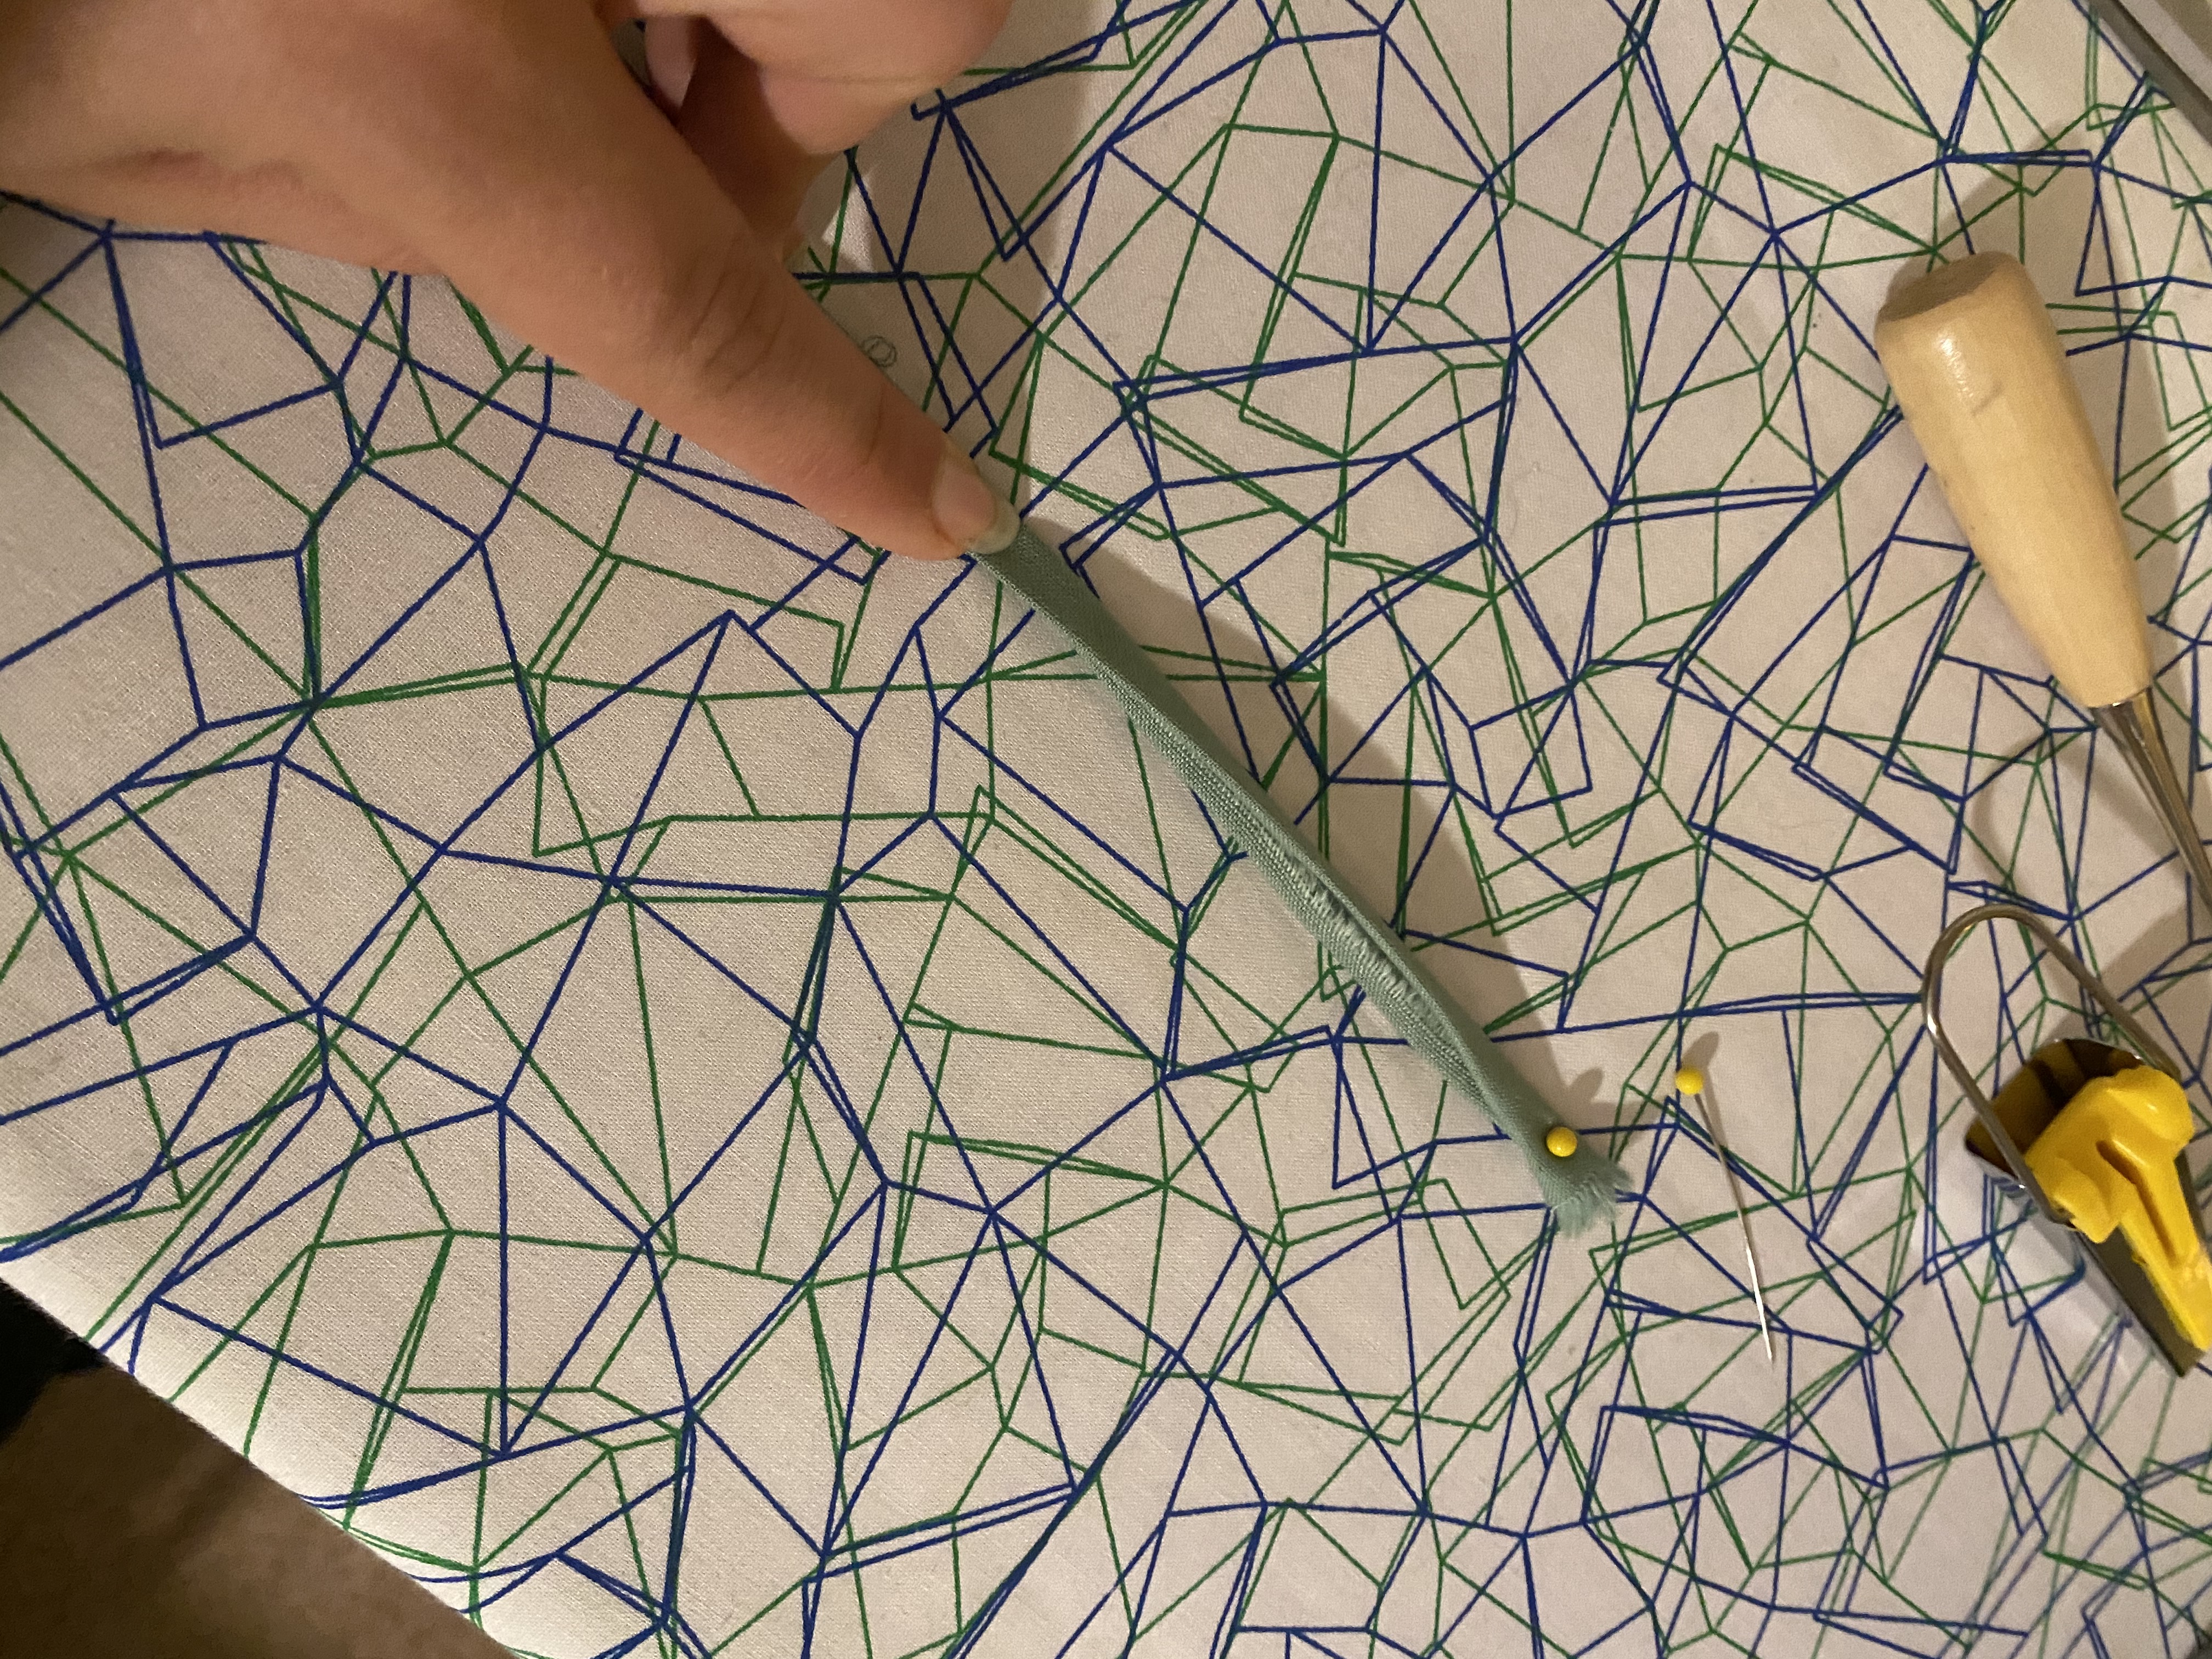
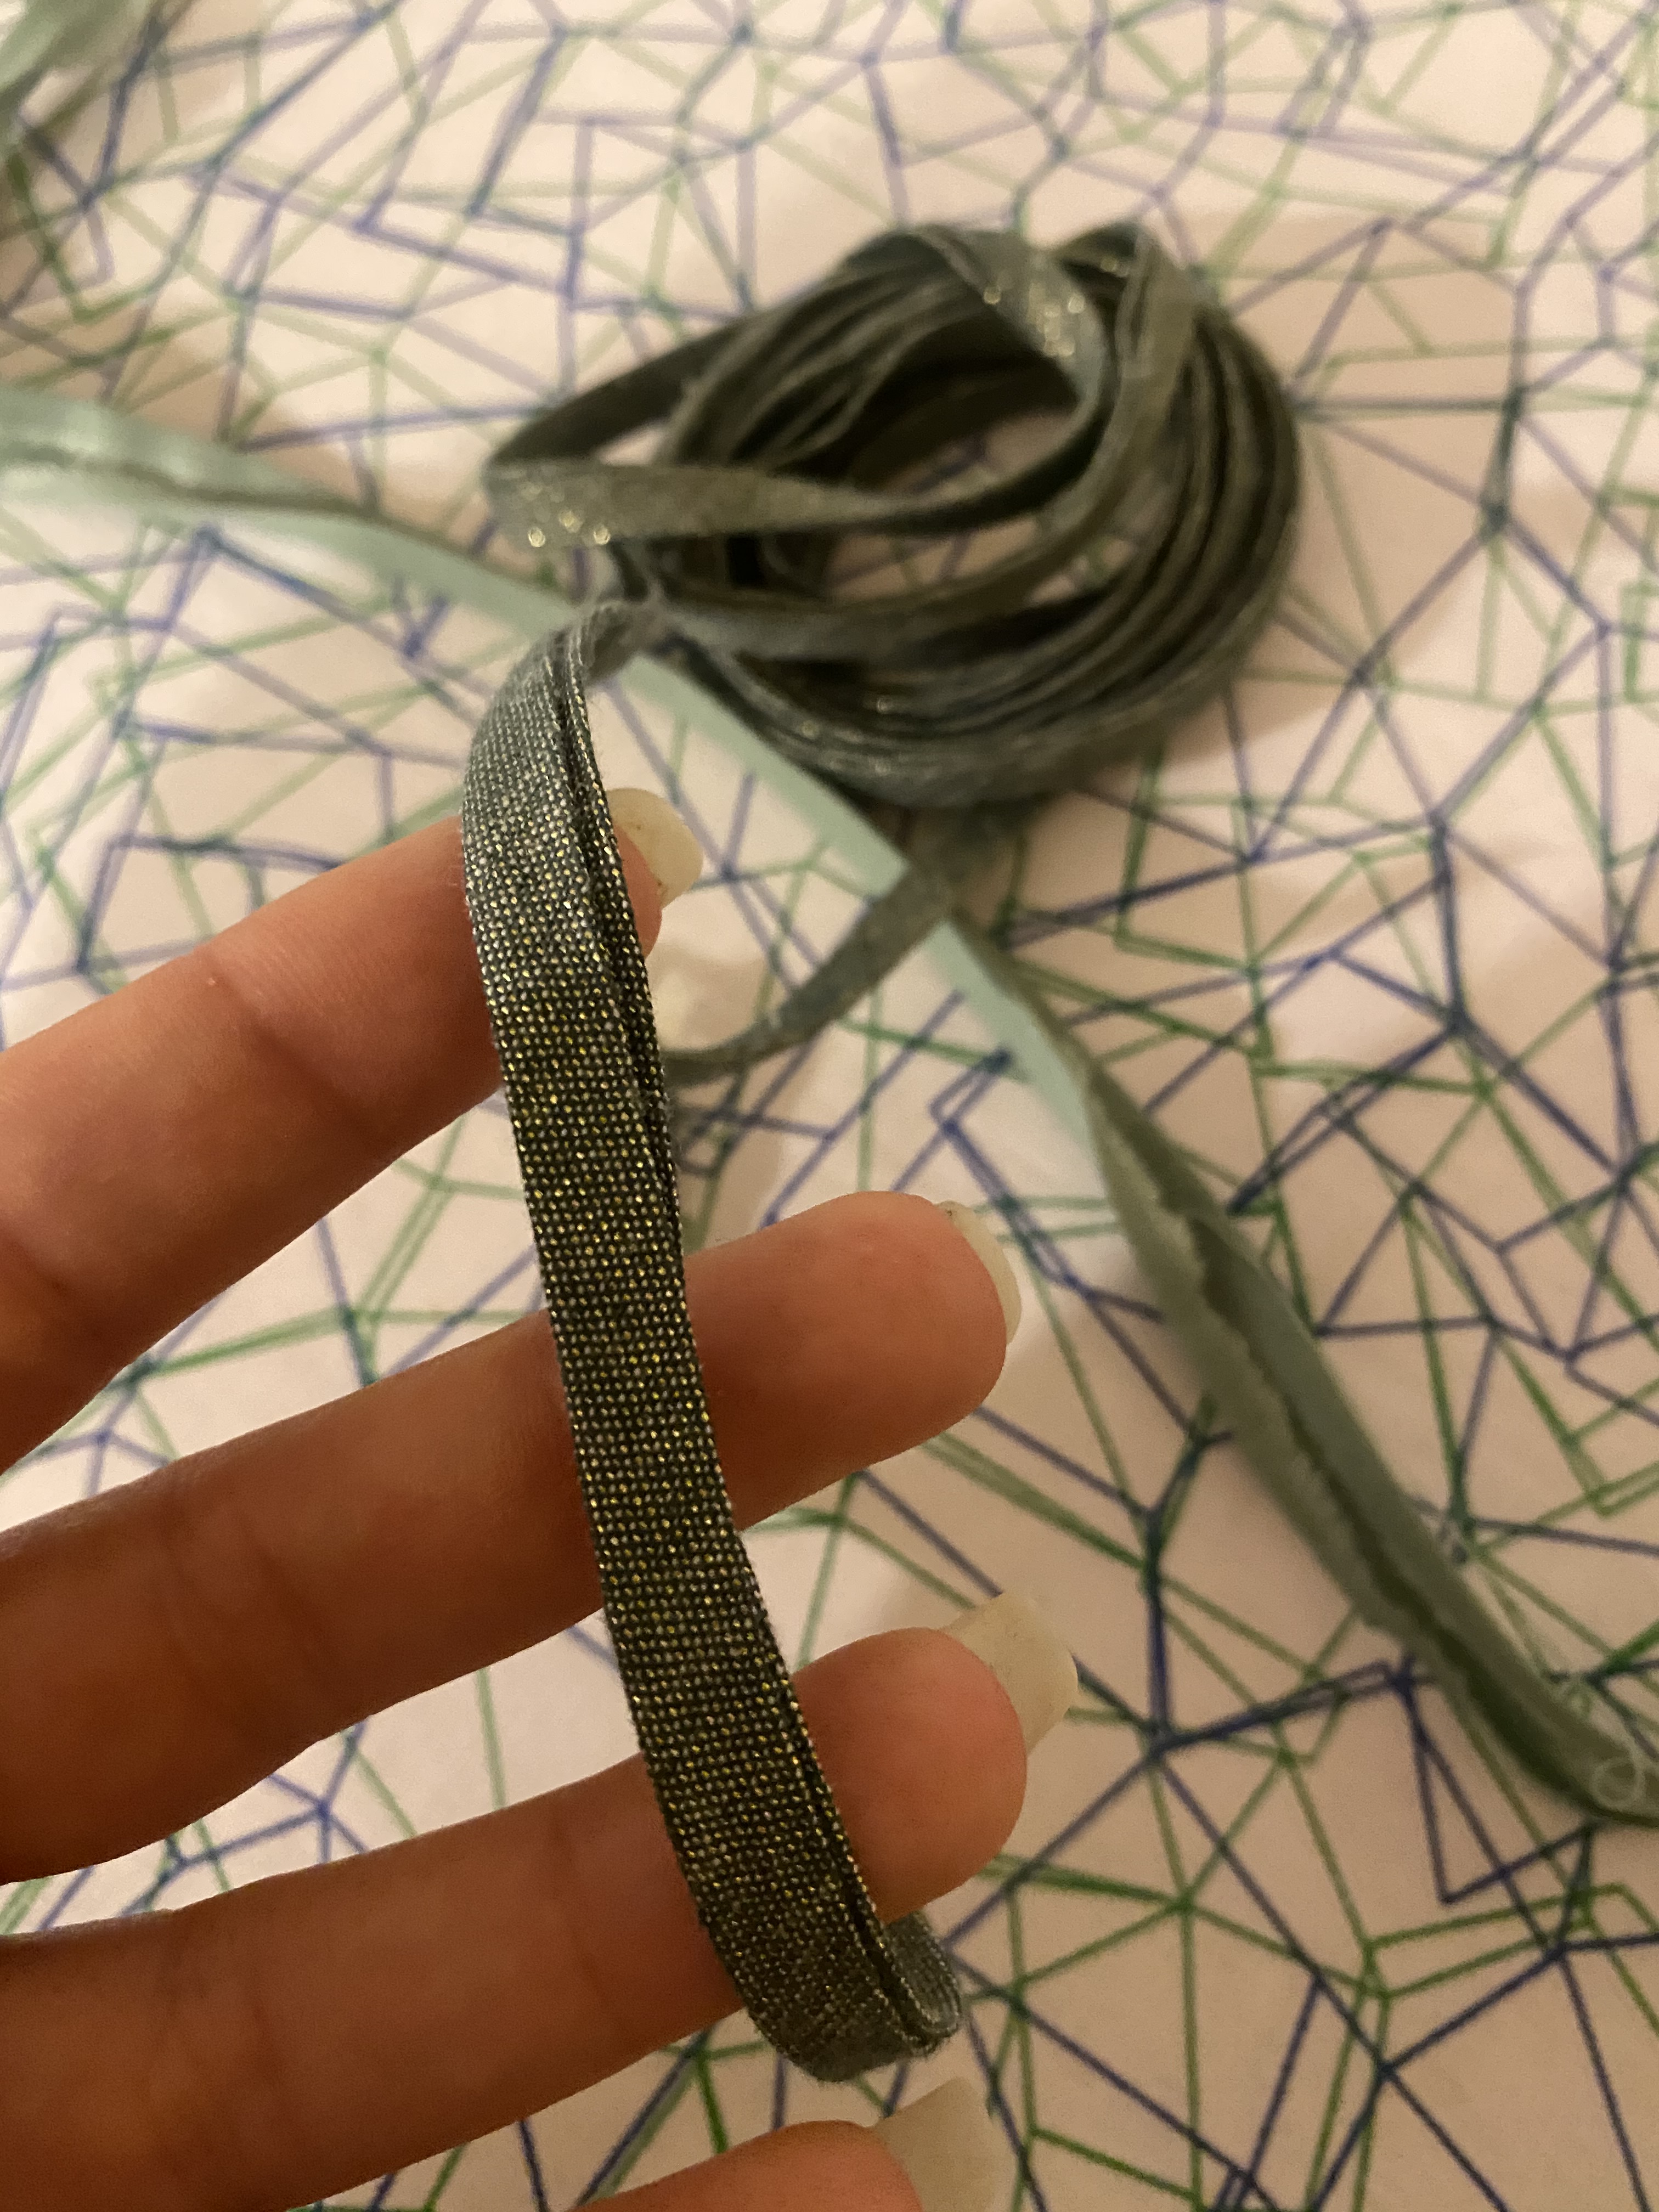
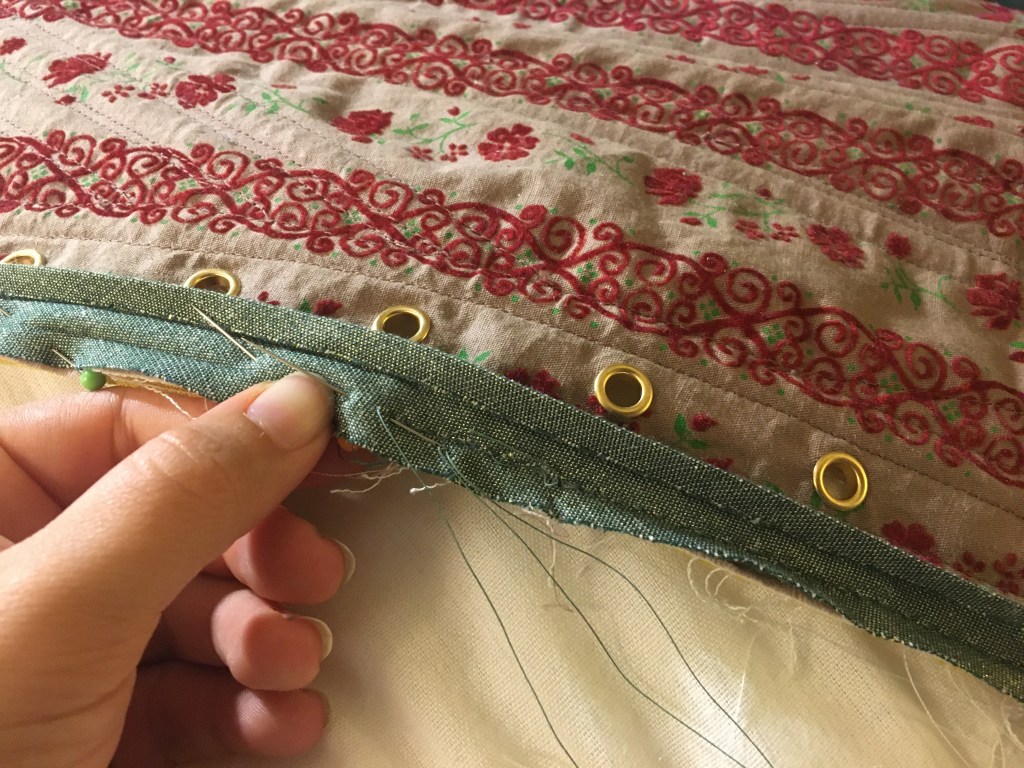
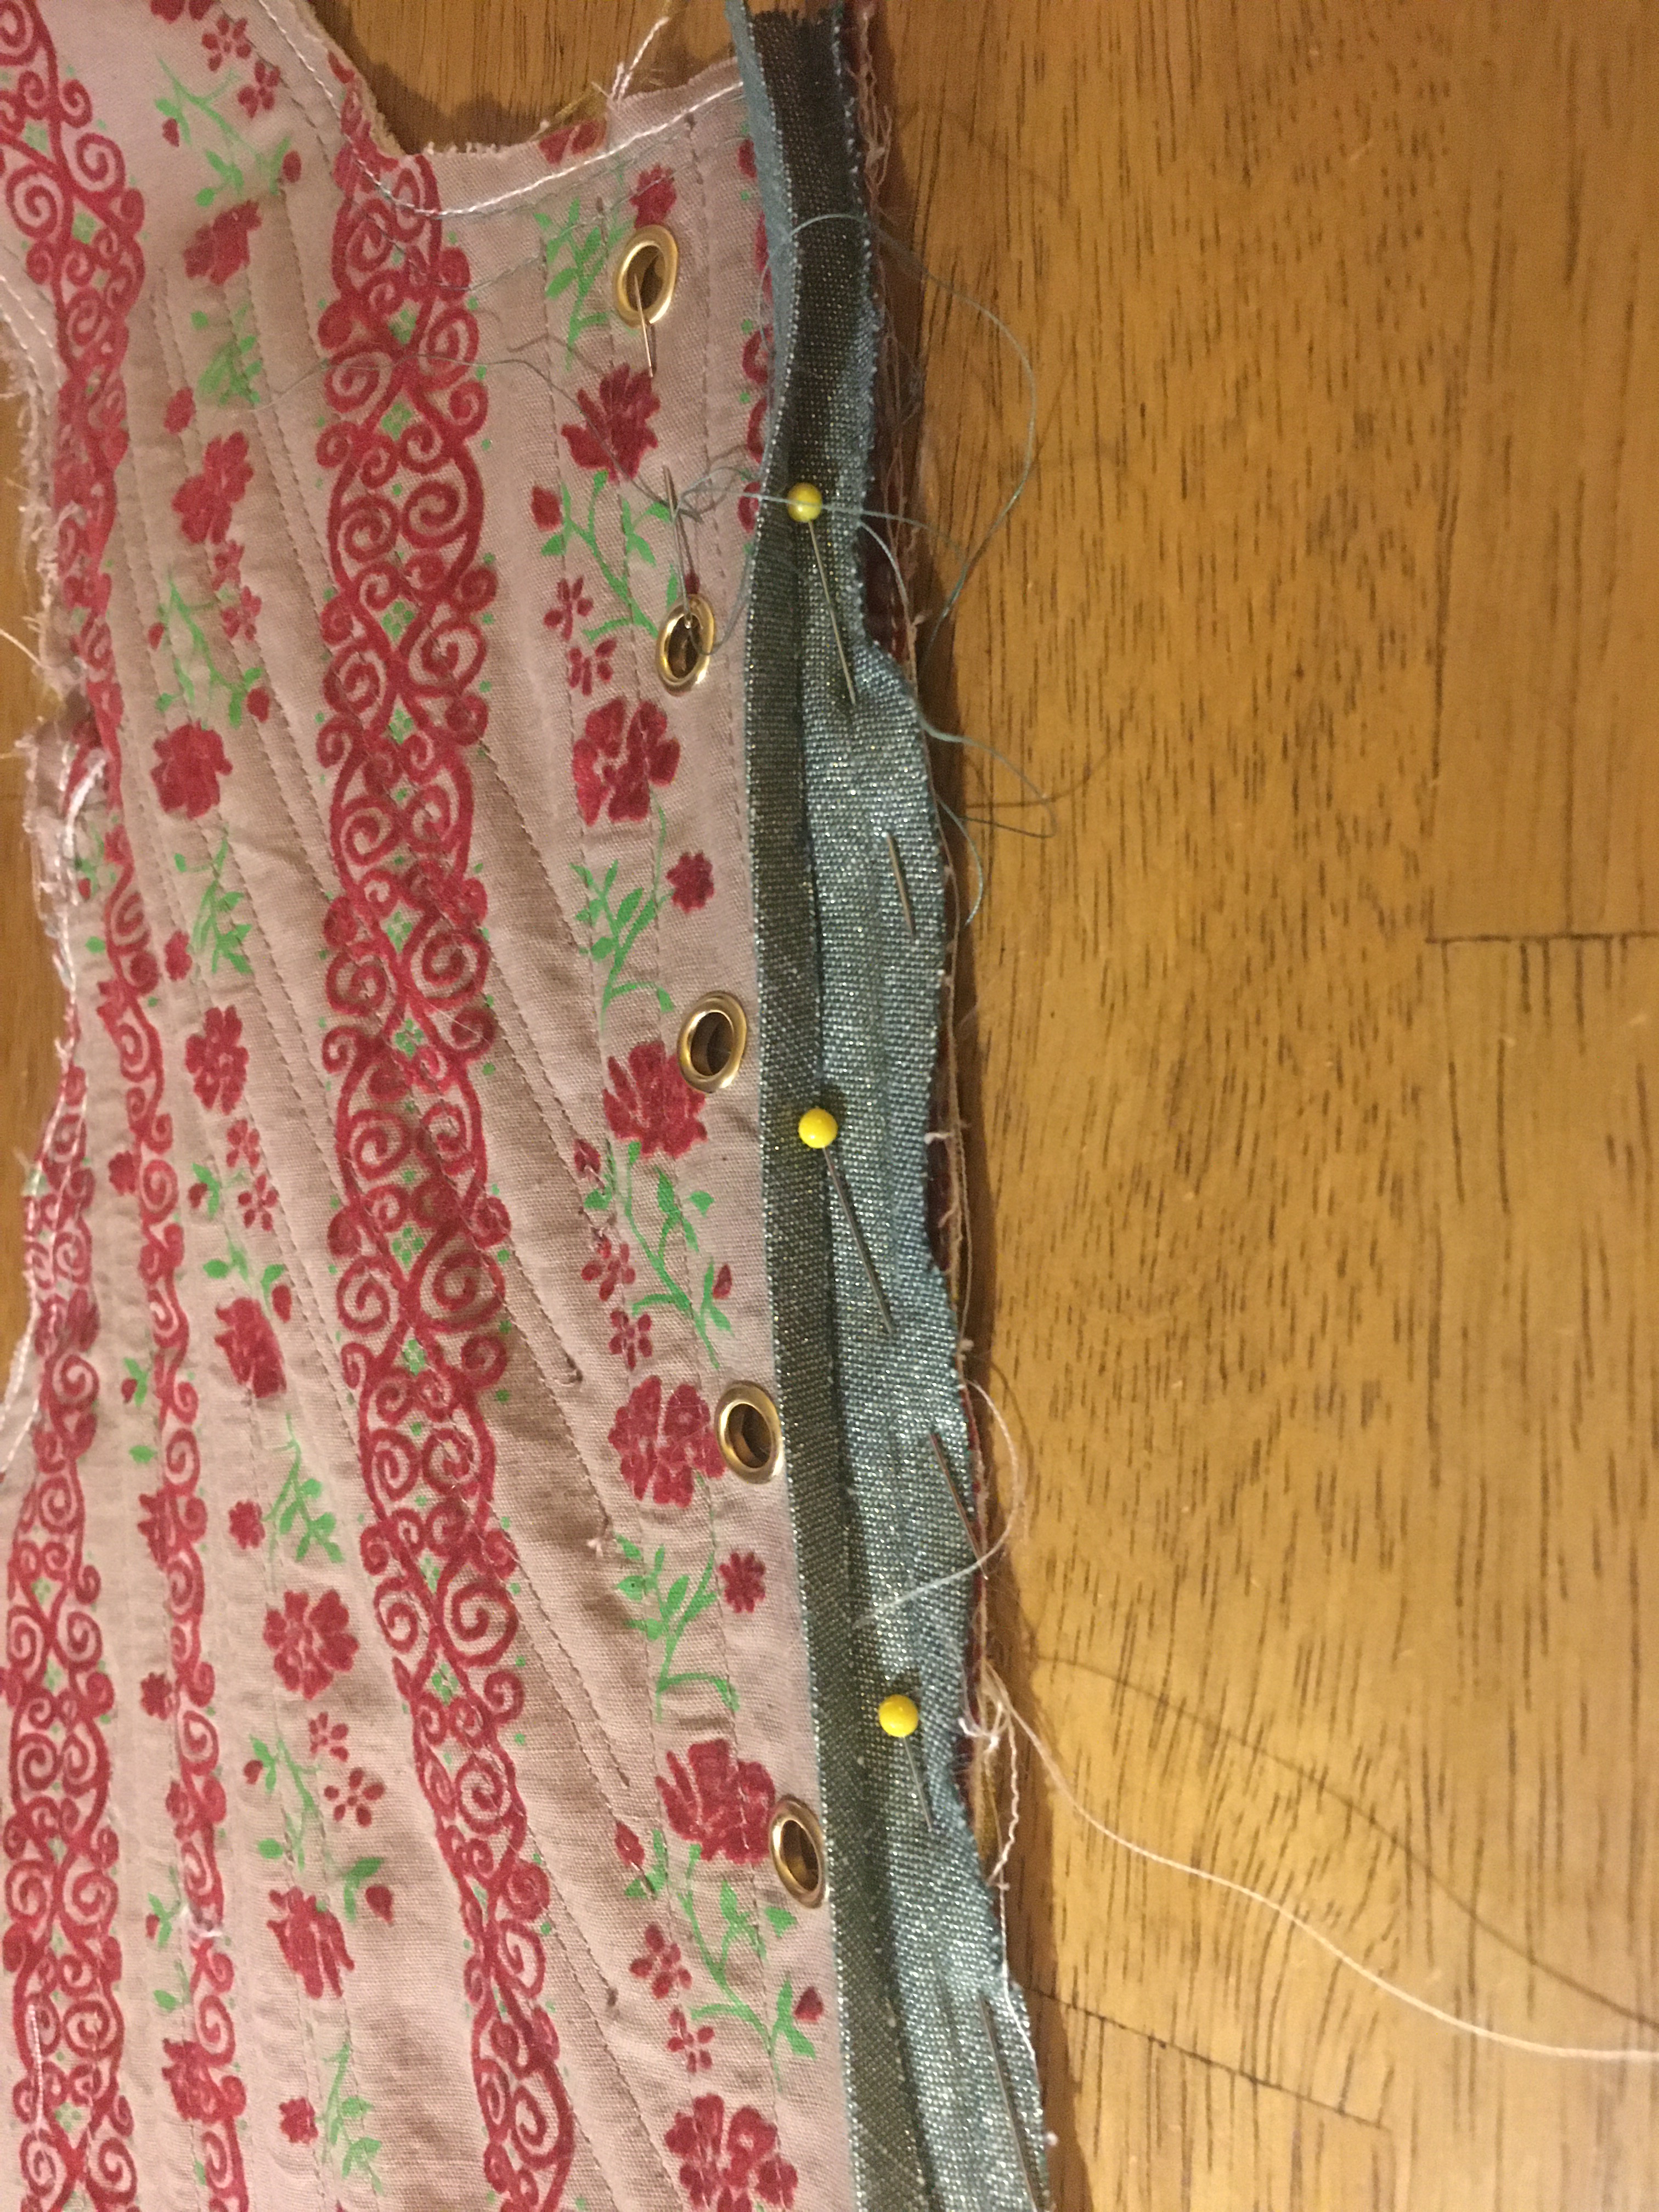
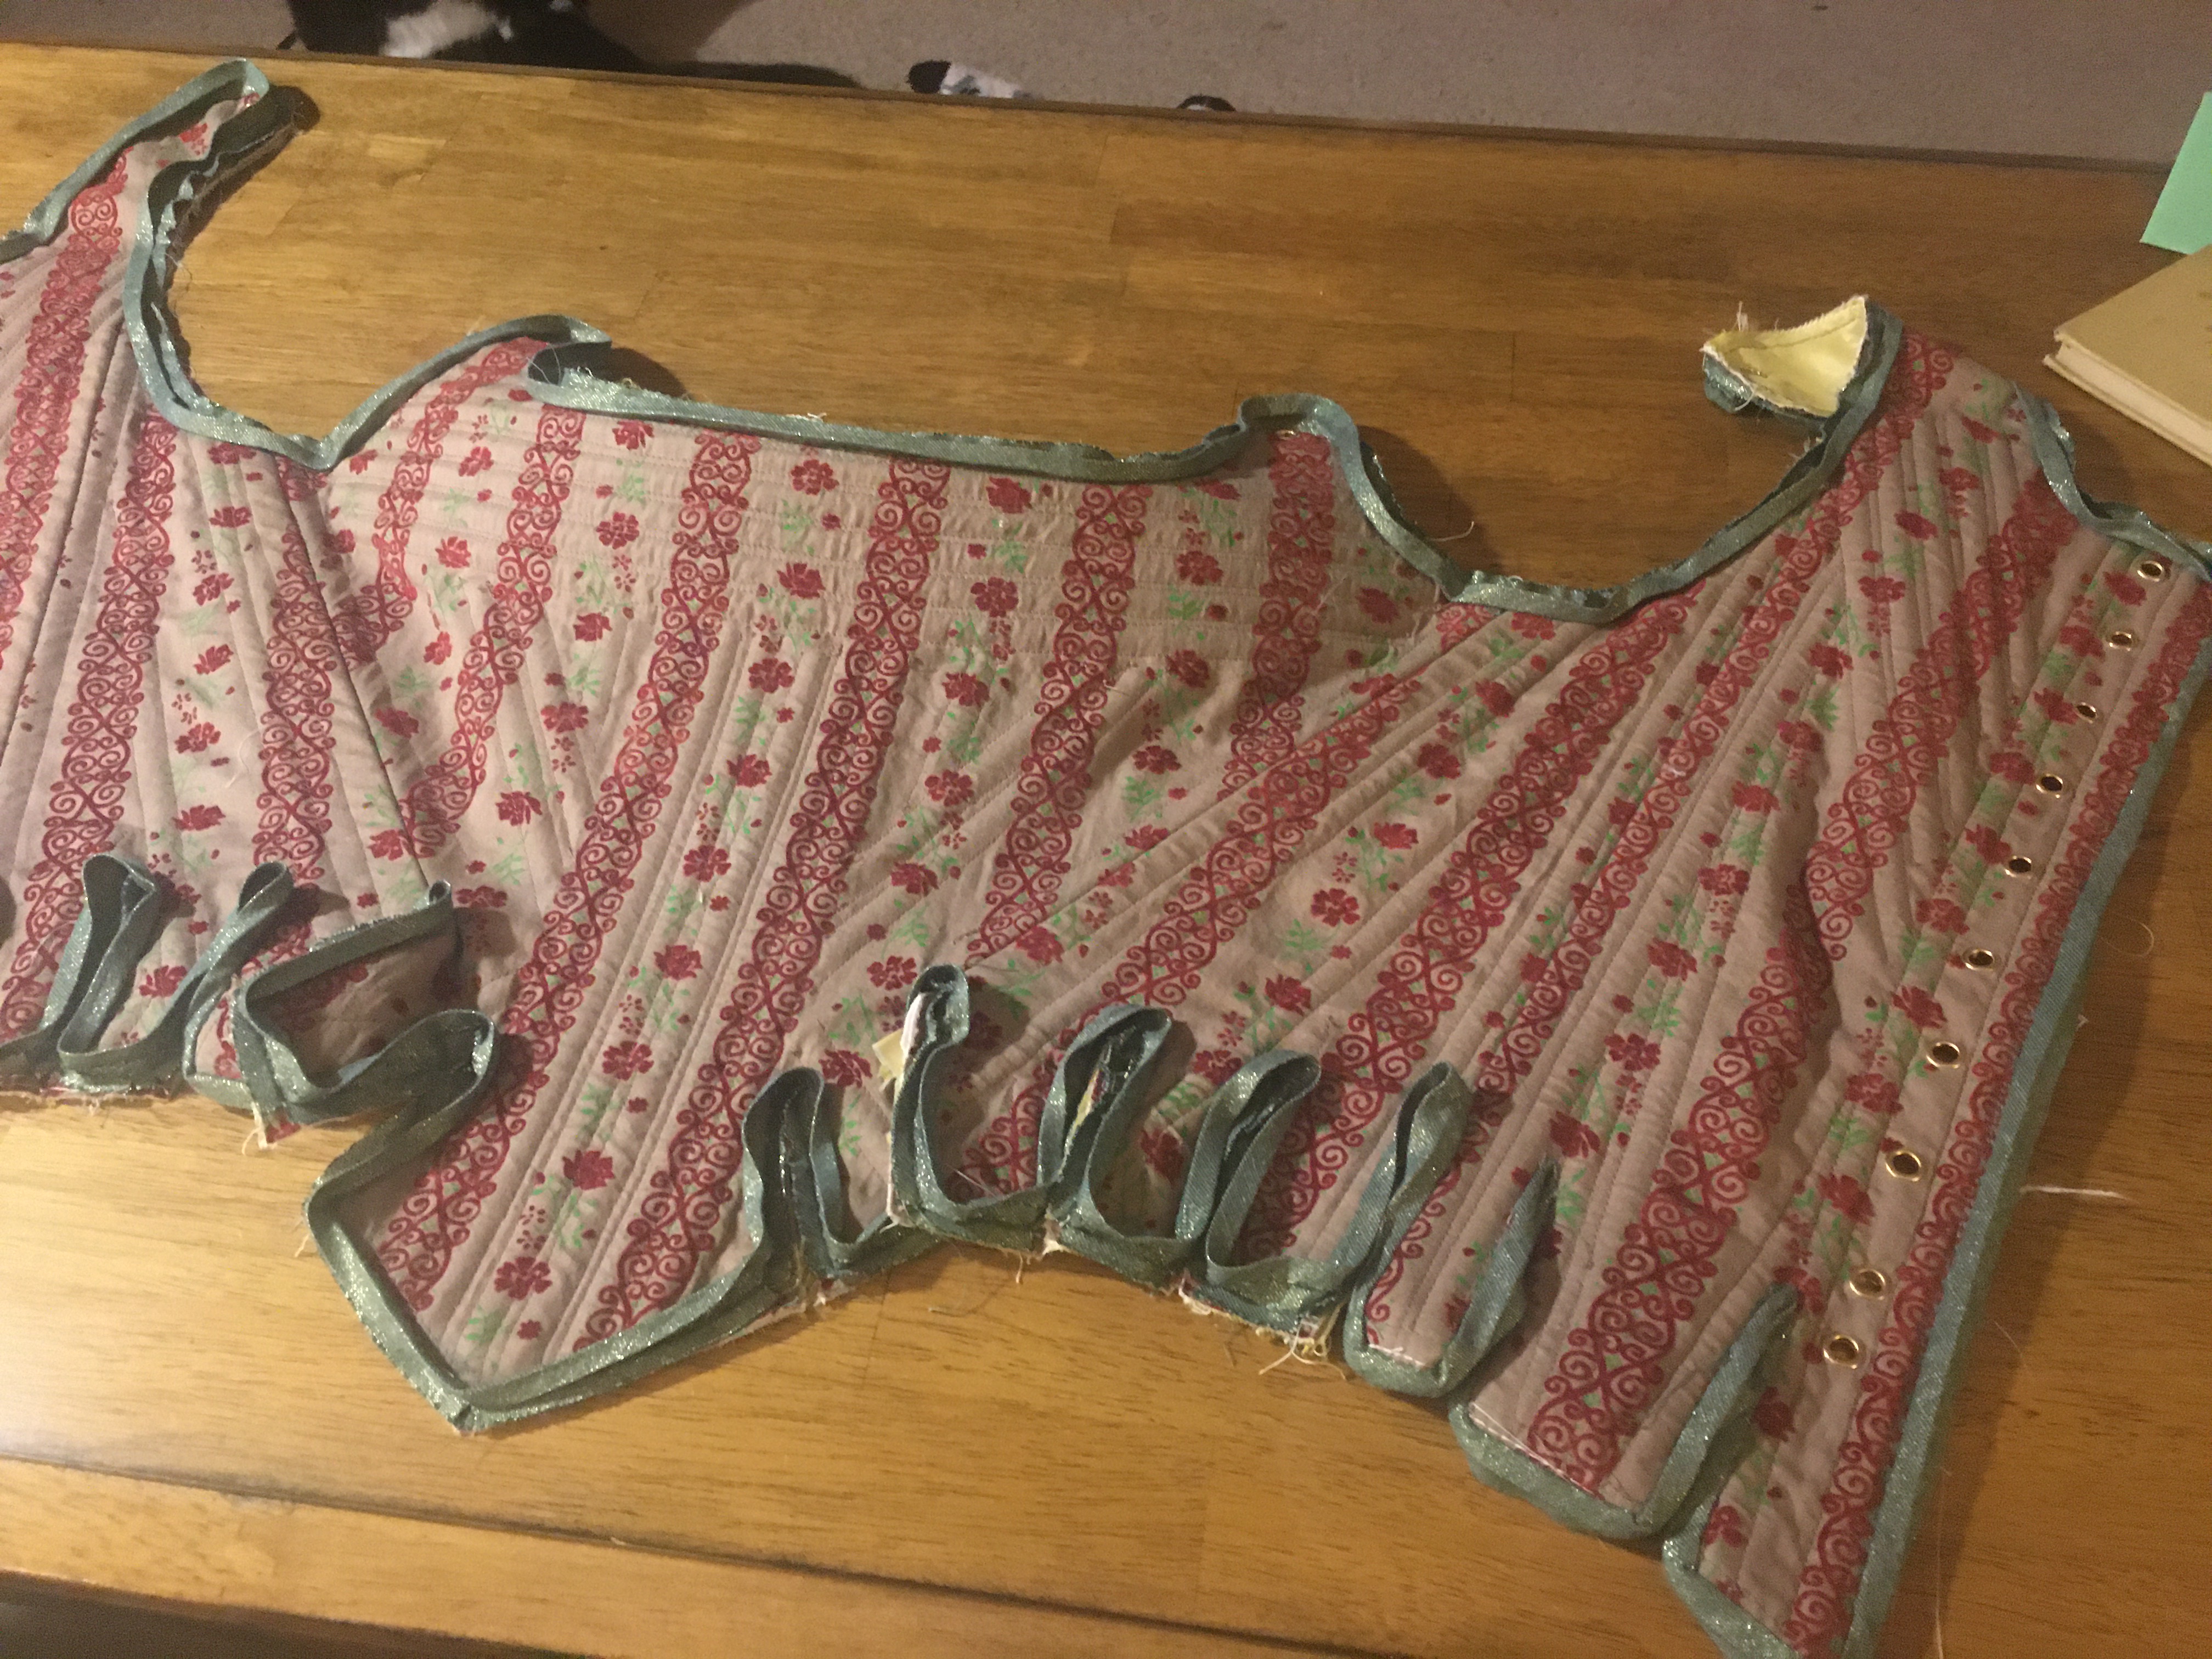
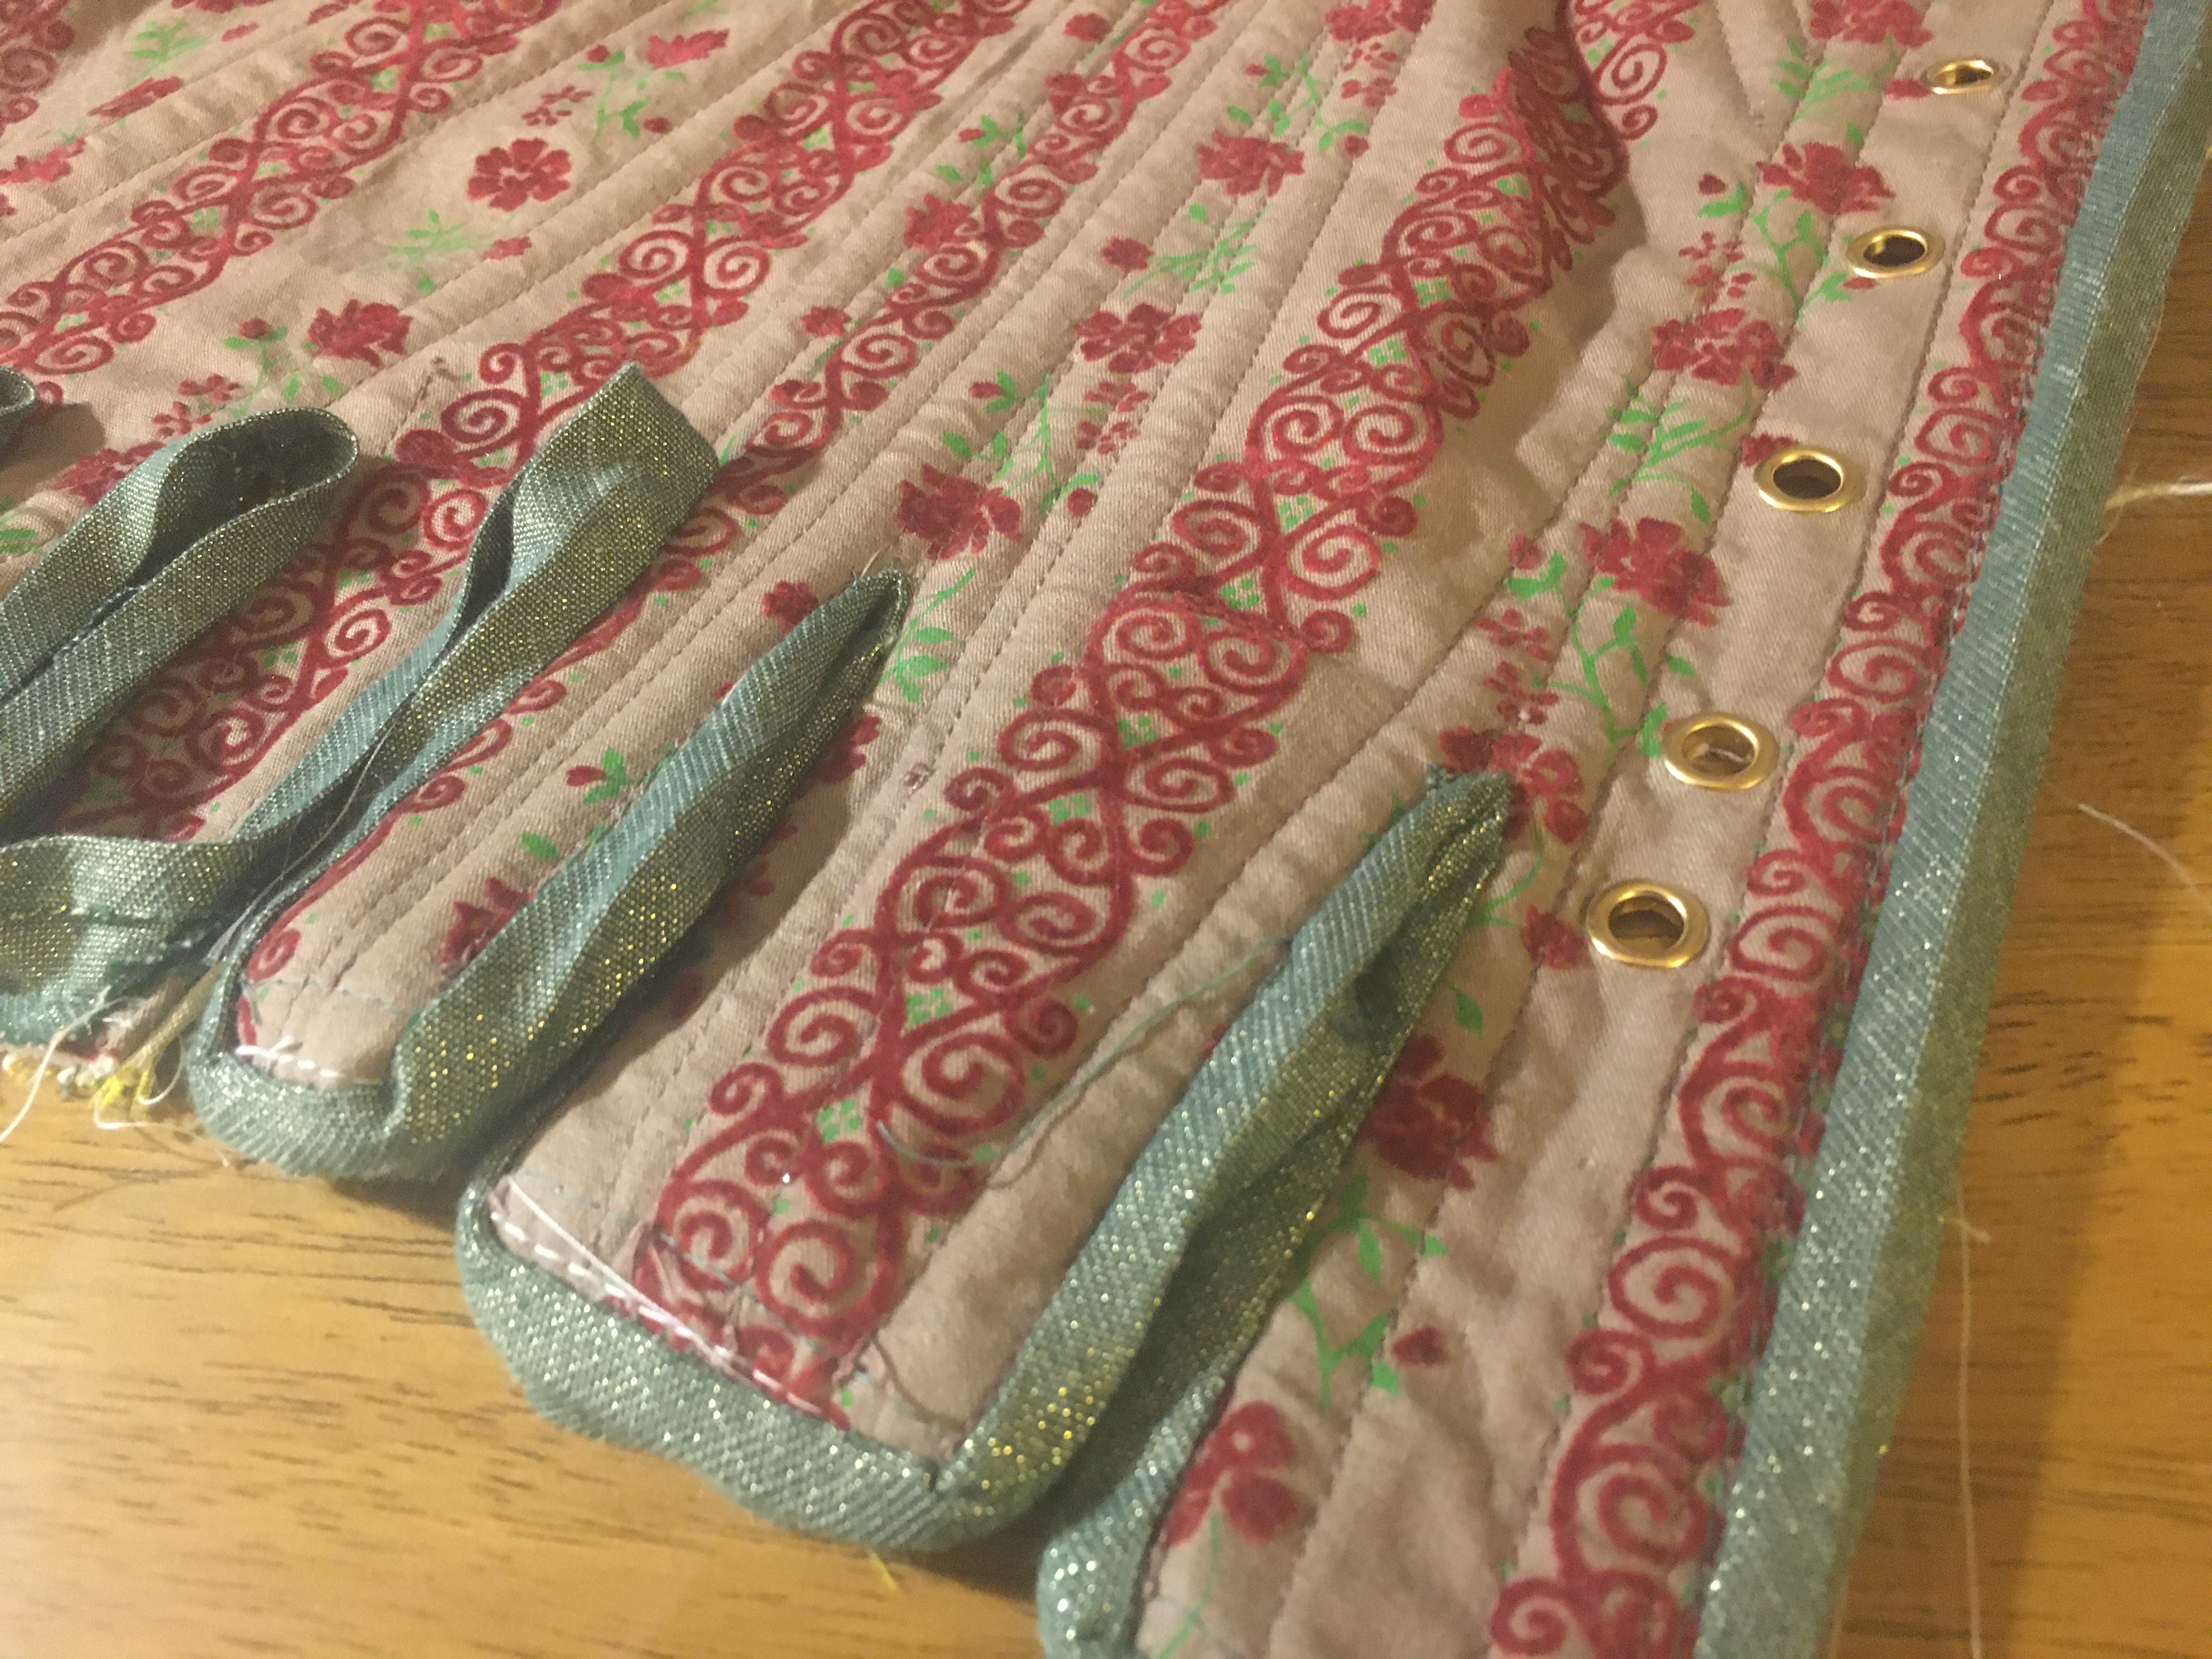
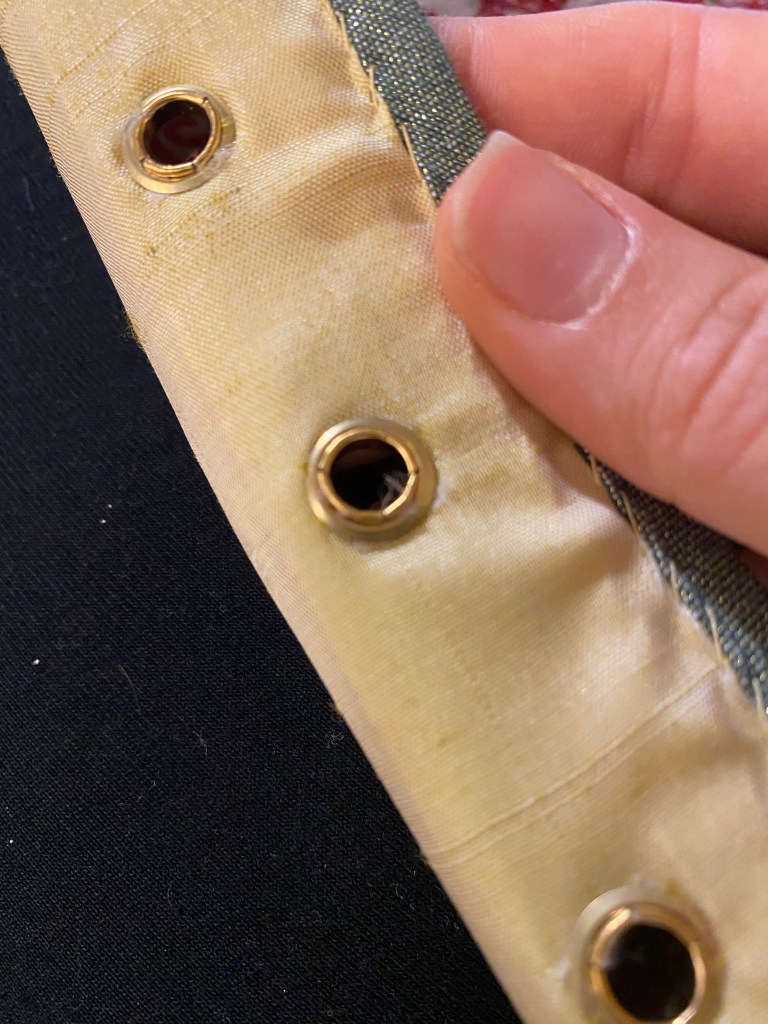
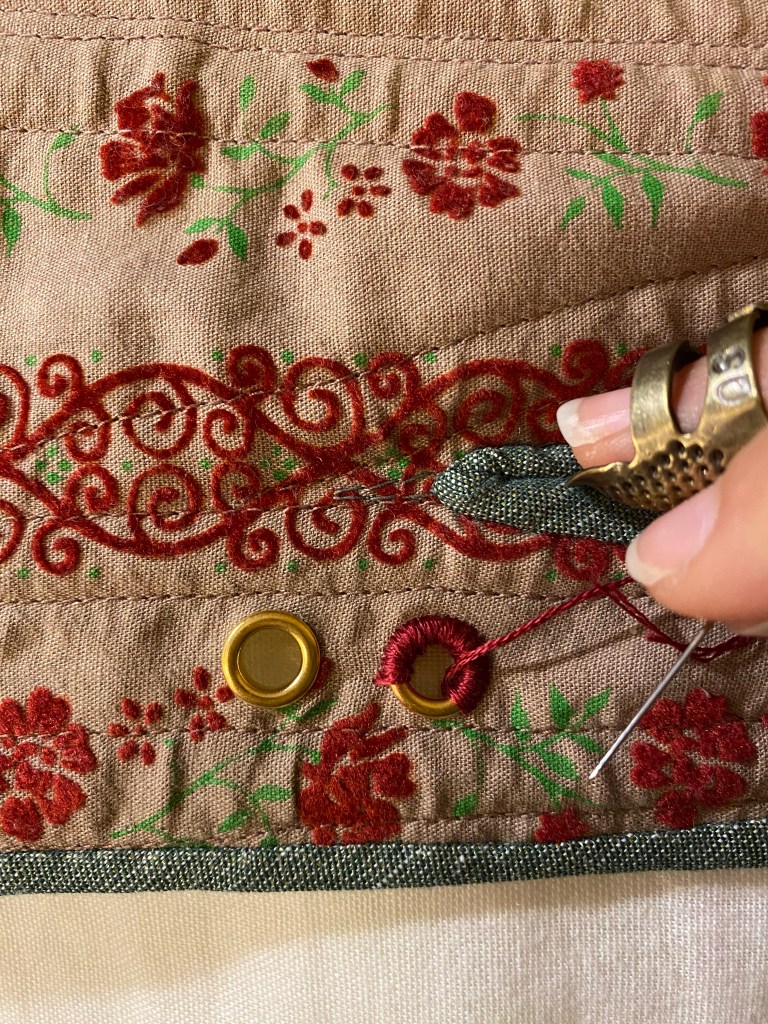
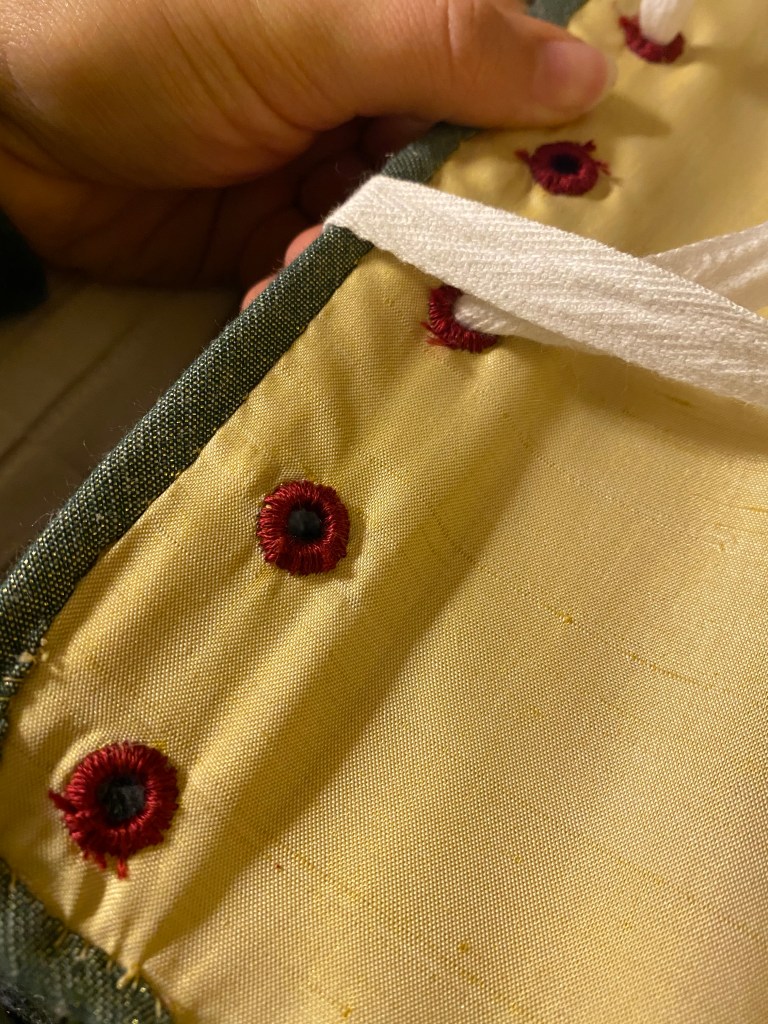
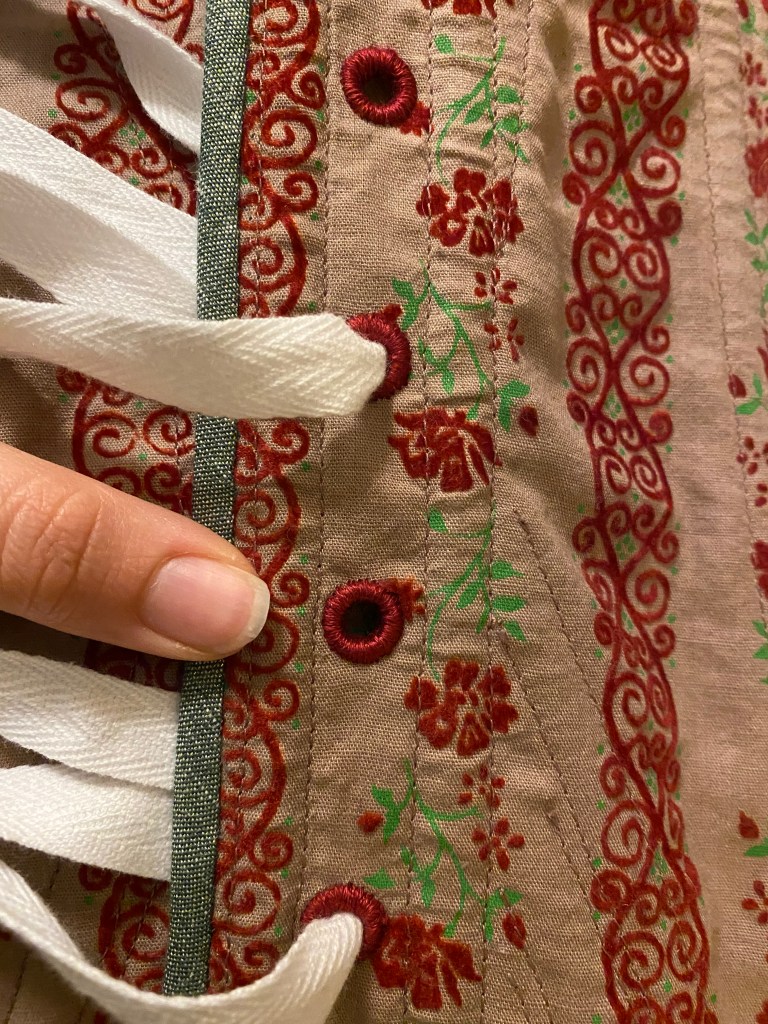
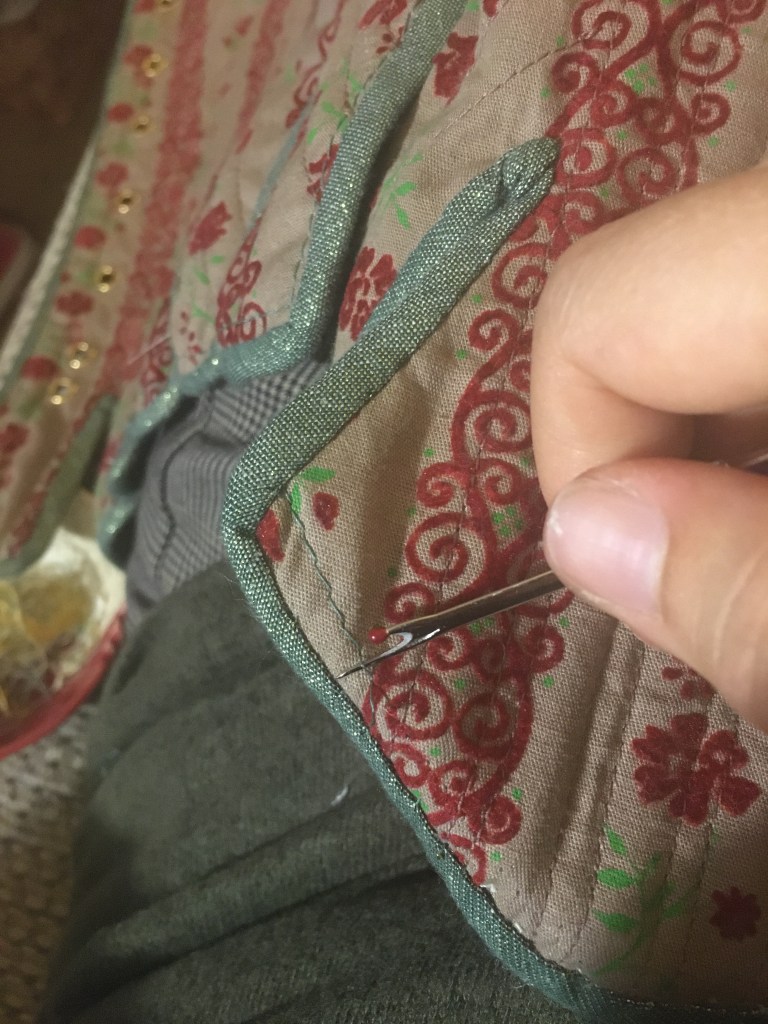
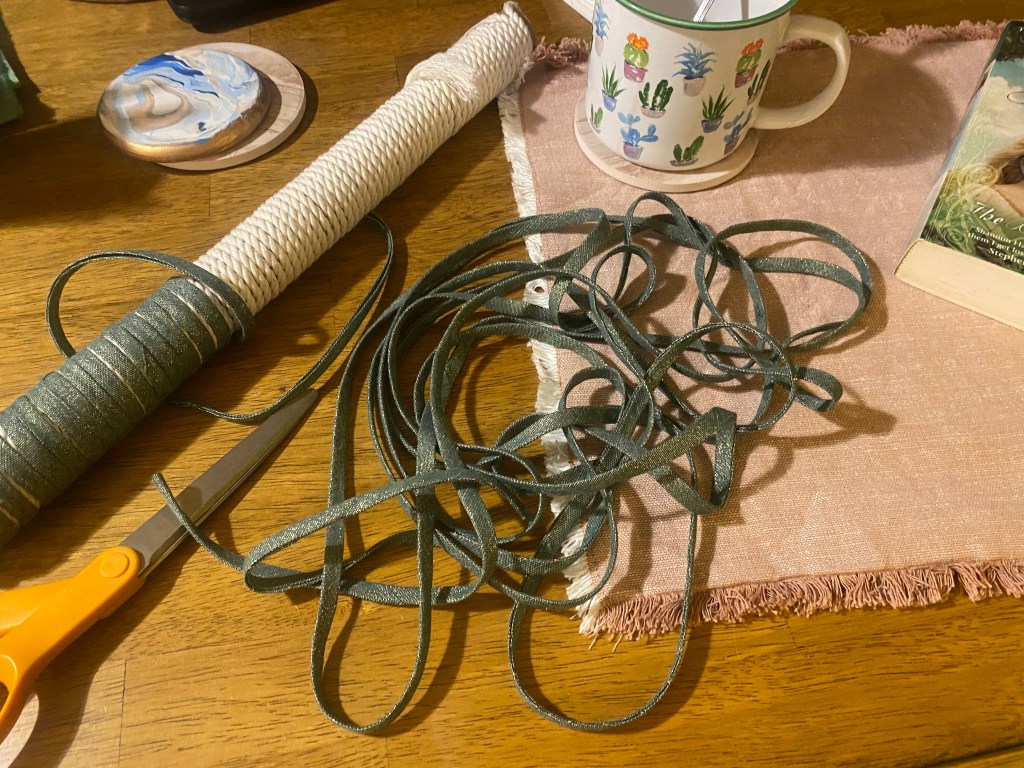
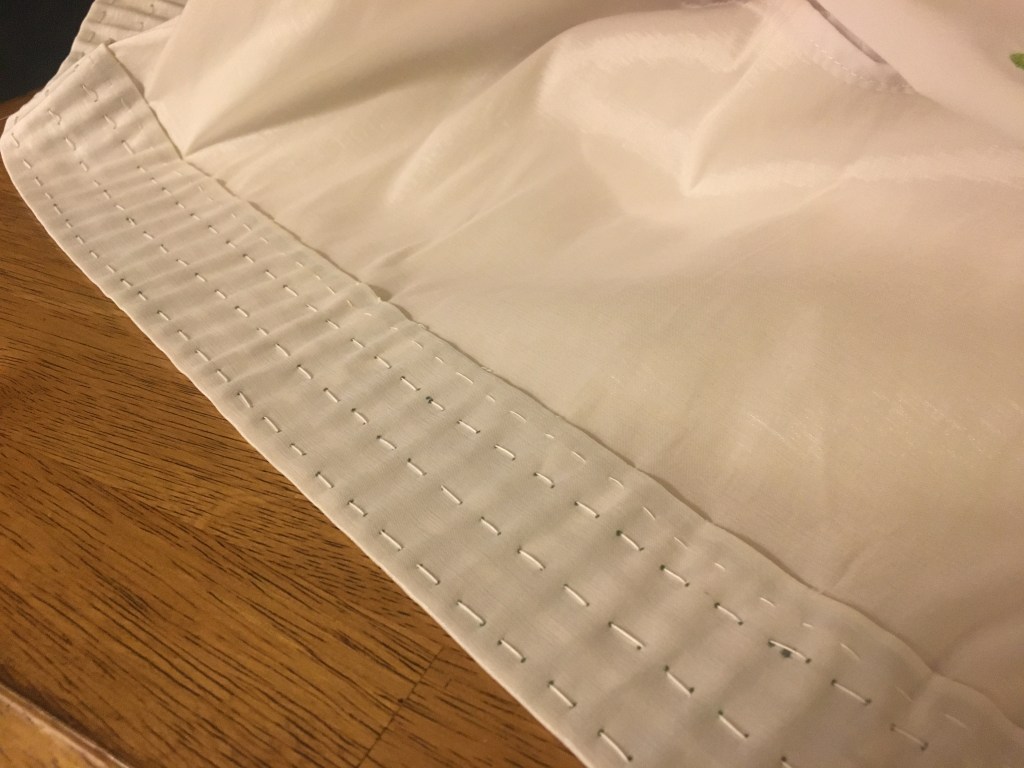
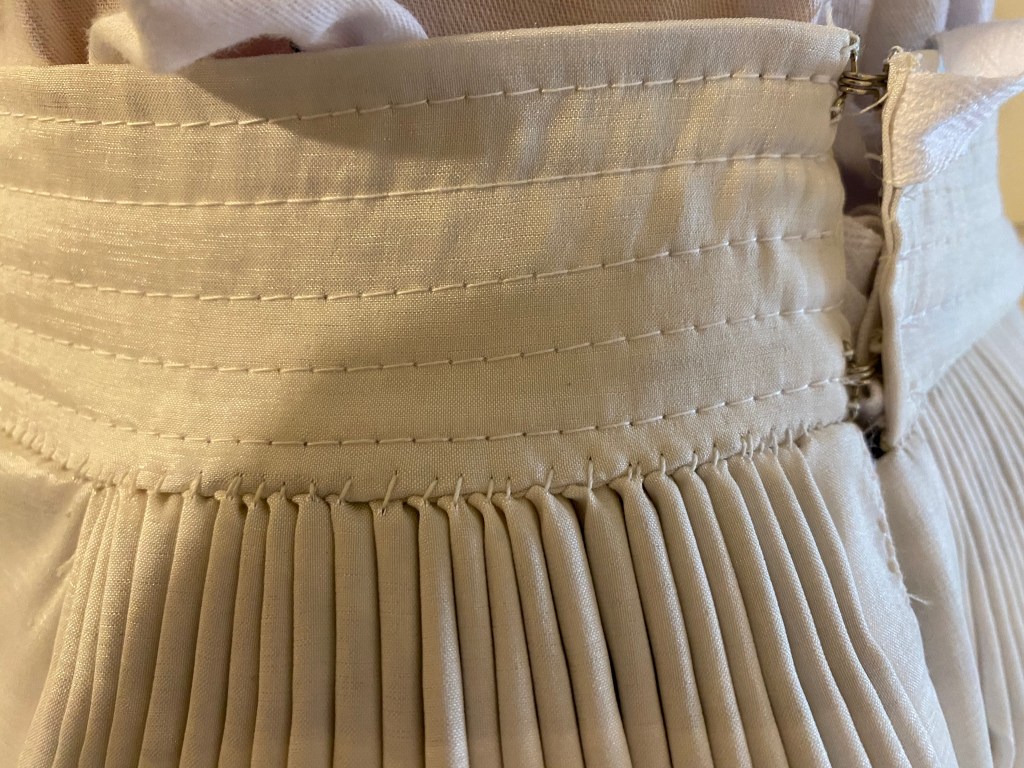
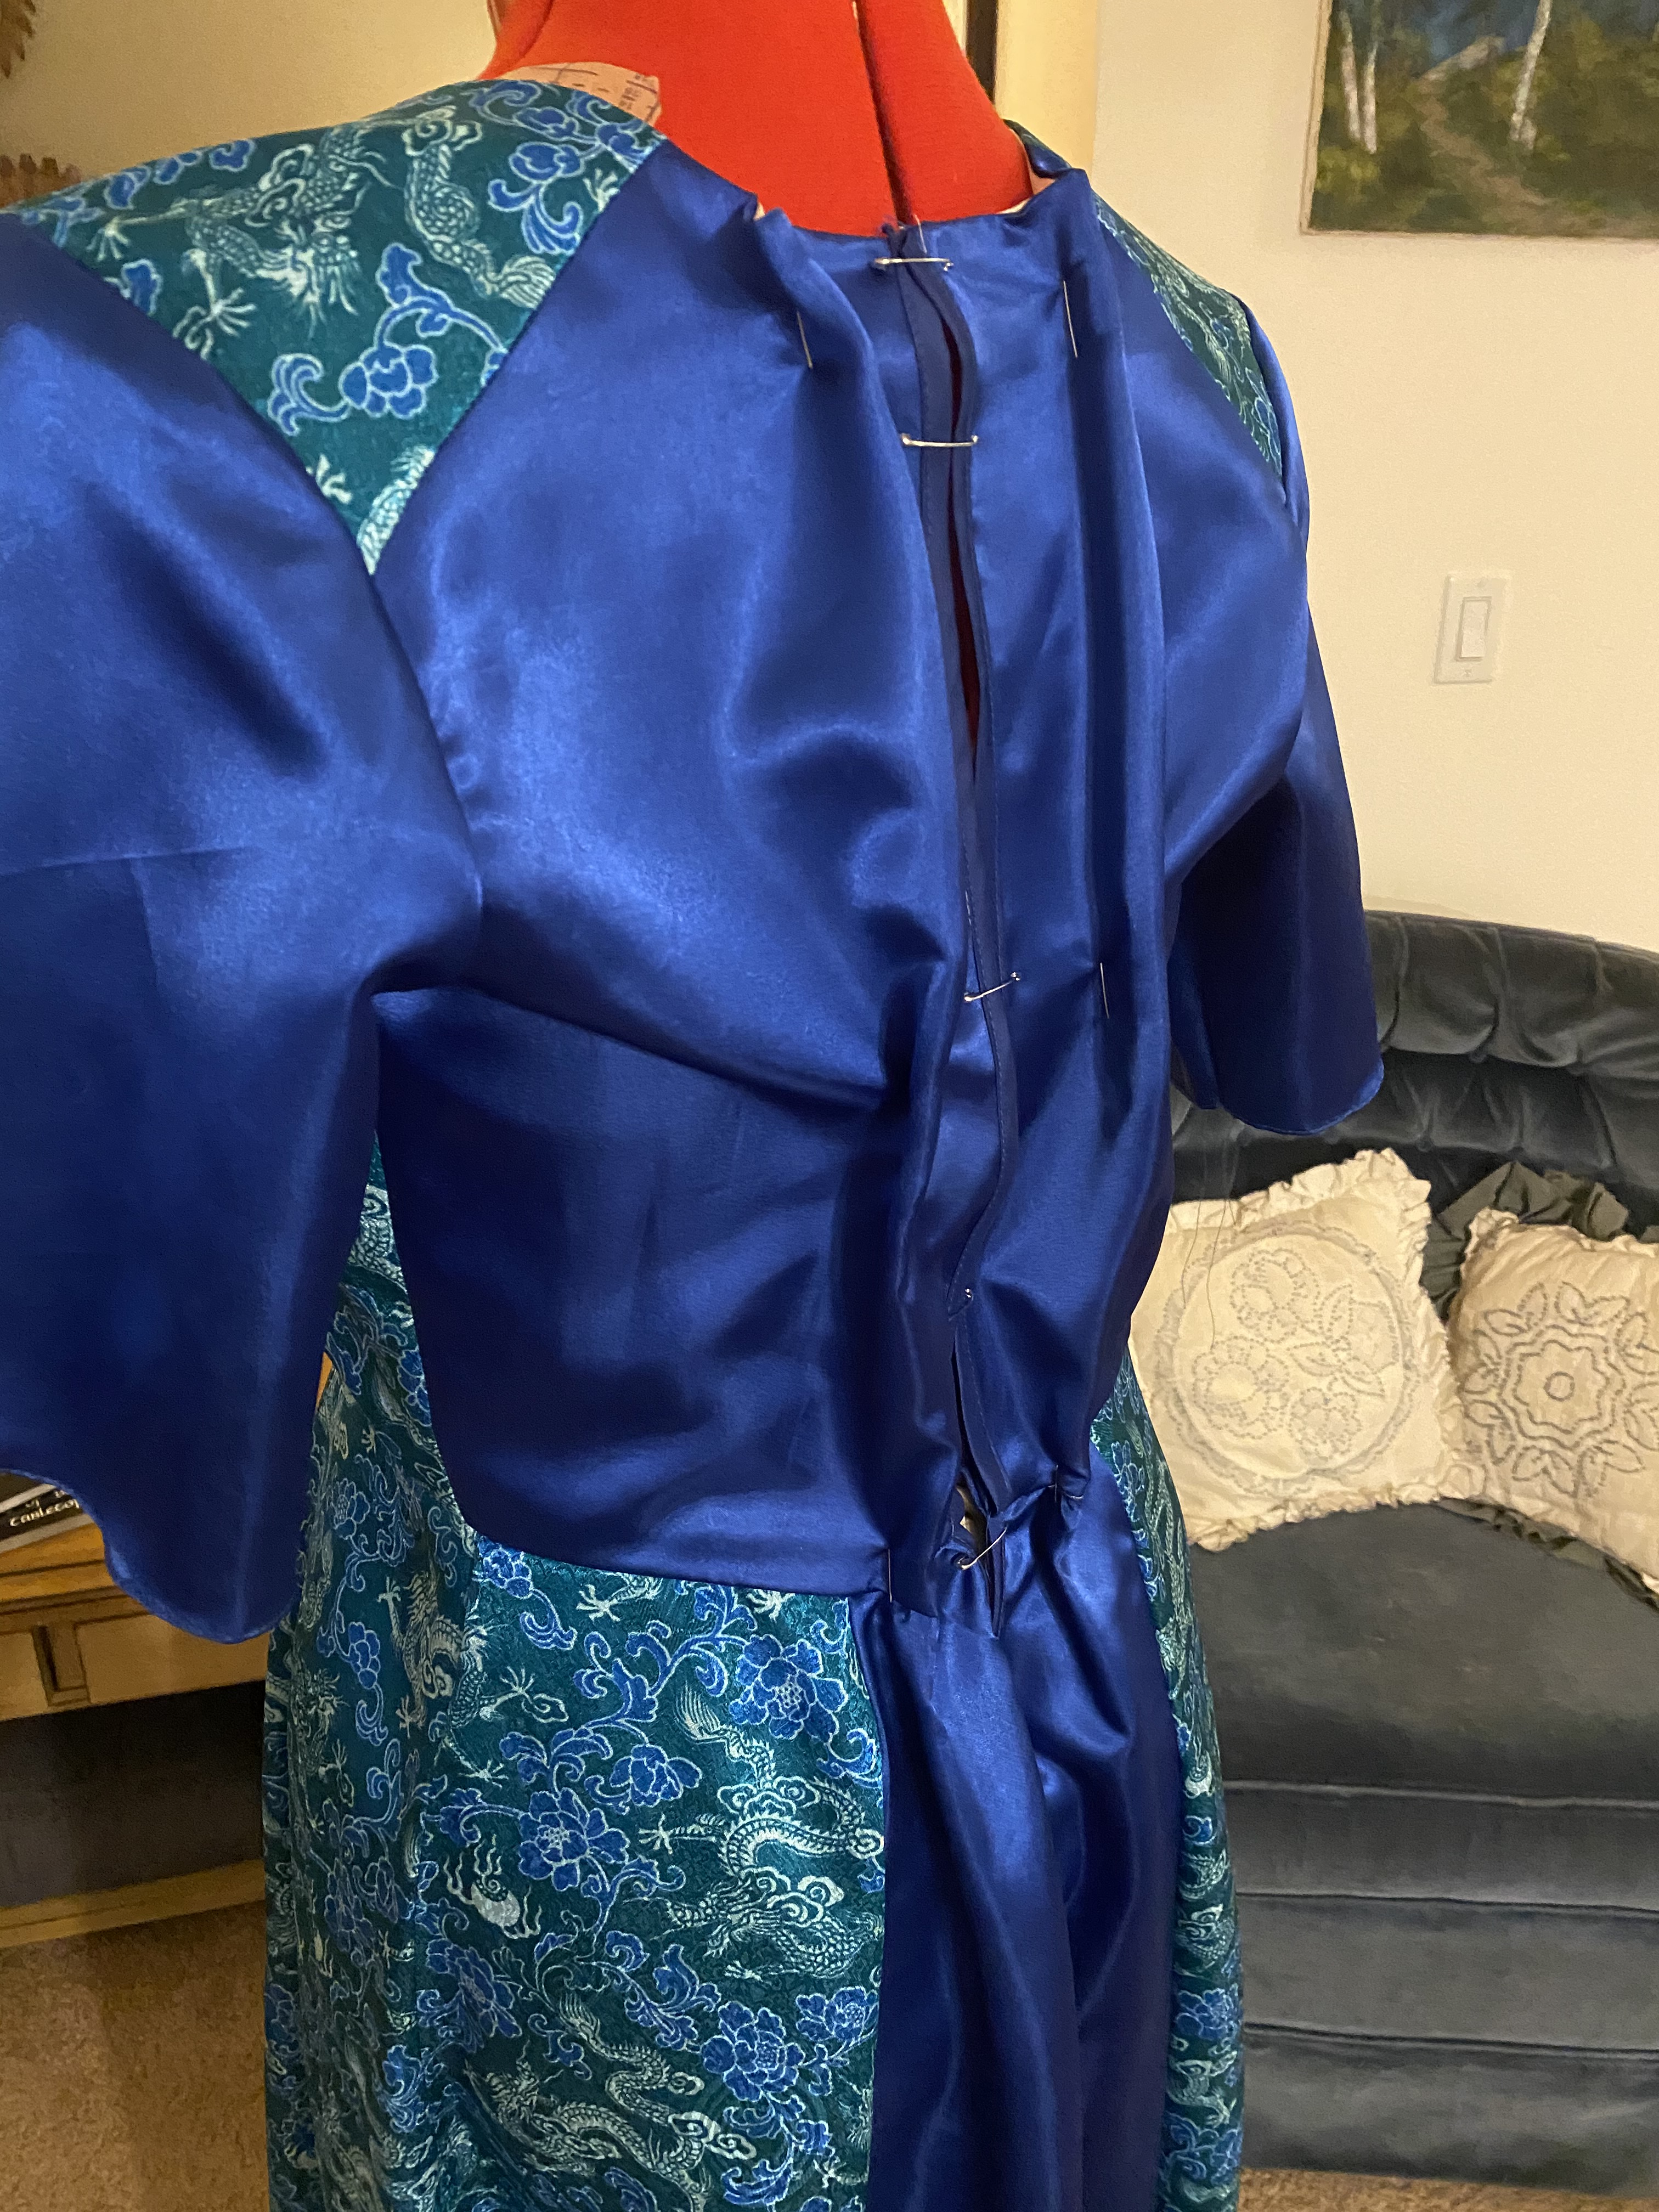
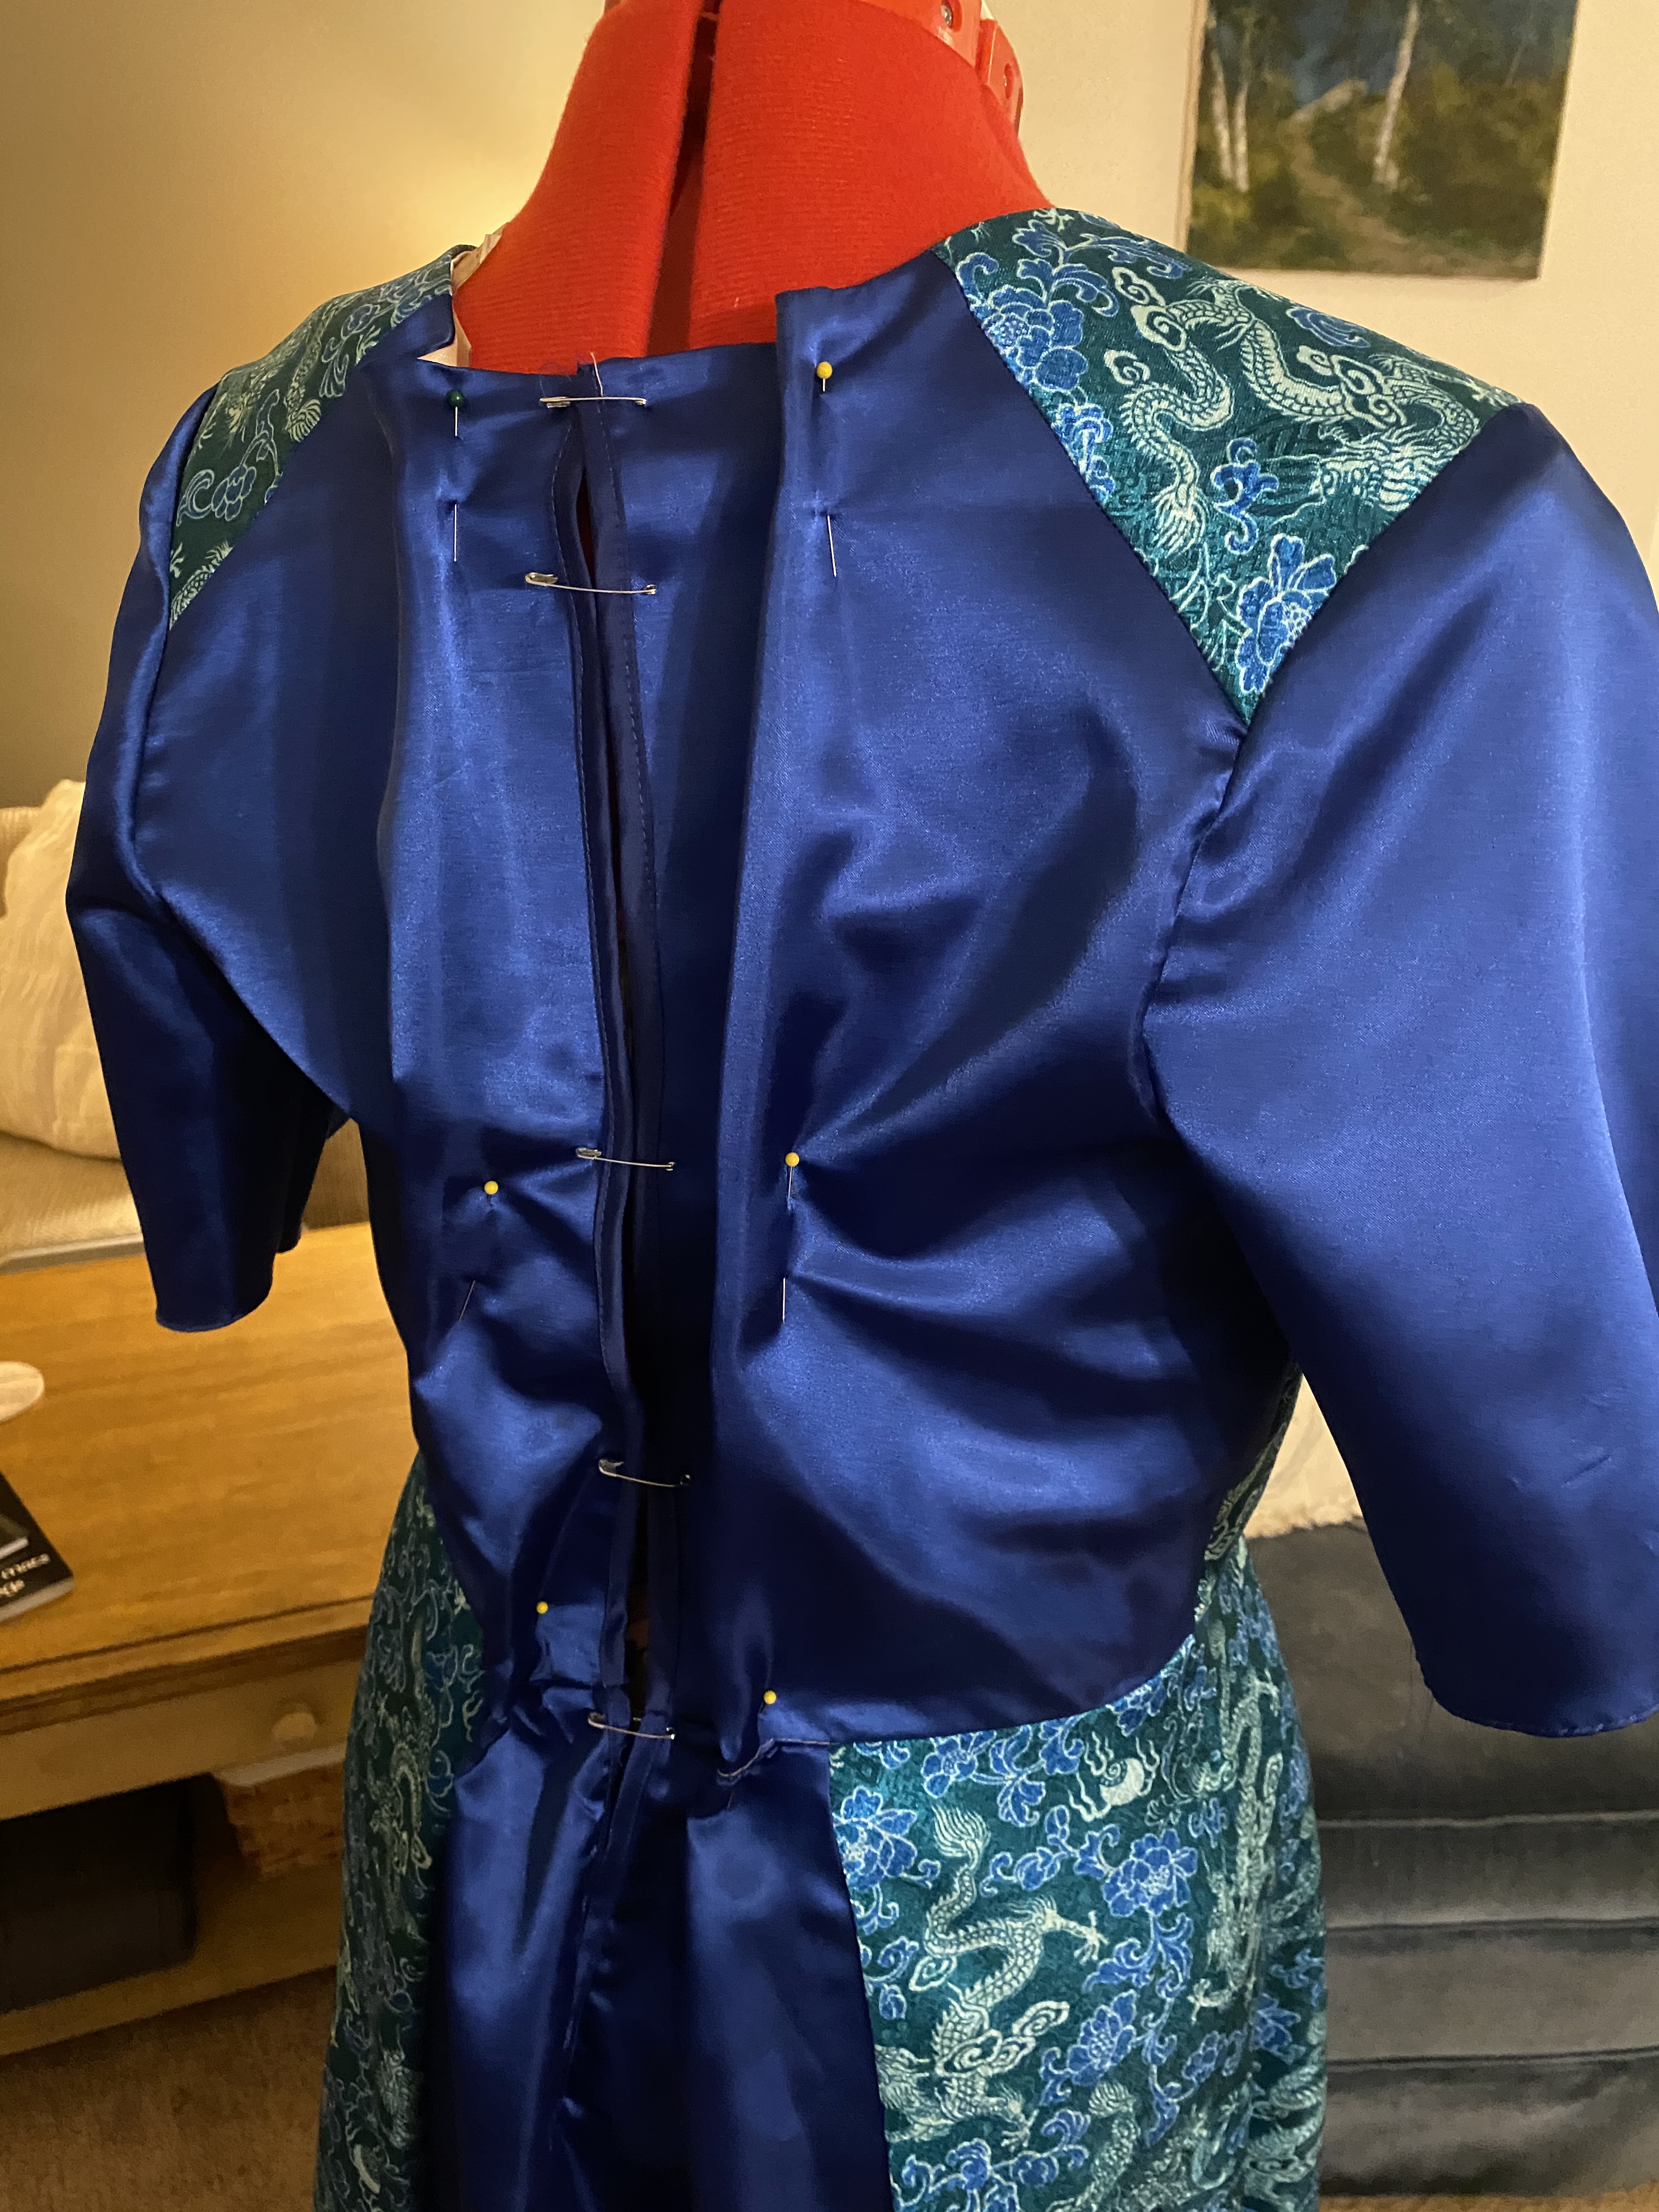
The instructions for constructing the main dress were easy enough to follow and I had no issues with construction. The most troublesome part was binding the back seam of the skirt and bodice separately which I understand, but also don’t. The troubles began with finding a binding material that was suitable. The pattern instructs to cut binding from the fashion material to make bias strips; however, this would have caused two issues for me: 1. There was no chance in HELL I would have enough material to cut anything on bias or grain, 2. The poly satin melted if I so much as wafted steam from the iron at it. I would never achieve decent bias tape without being able to press it. Luckily, I had some scrap blue taffeta from another project that I was able to scavenge into bias tape. The taffeta was much stiffer than the poly satin which lead to my main issue with binding the skirt and bodice separately. In doing this, the point where the center back seam is stitched together at the waistline is extremely bulky and has an odd lump. In hindsight, I should have bound the entire center back as one section.
Again in hindsight though, I didn’t even need to bind the center back. The pattern calls for hook and eye closures at the center back, which I knew I would struggle with to dress myself. I instead finished the back closure with a 22″ zipper.
Before I could apply the zipper, I had to work out a number of fit issues. The bodice was far too large for me, as always seems to happen to me with big four patterns. I had to get quite creative with darts at the back to help fix the excess at the waist, but also needed to remove the sleeves and take in the garment at the shoulders significantly, which of course caused major issues with the armholes that needed adjusting.

I am a small busted but average waist woman, which makes standard pattern sizes difficult and mock-ups essential. A step I skipped due to the timeline. Thankfully, the costume designer was able to help me fit the garment and find the precise locations to place darts to make it fit beautifully in the end.

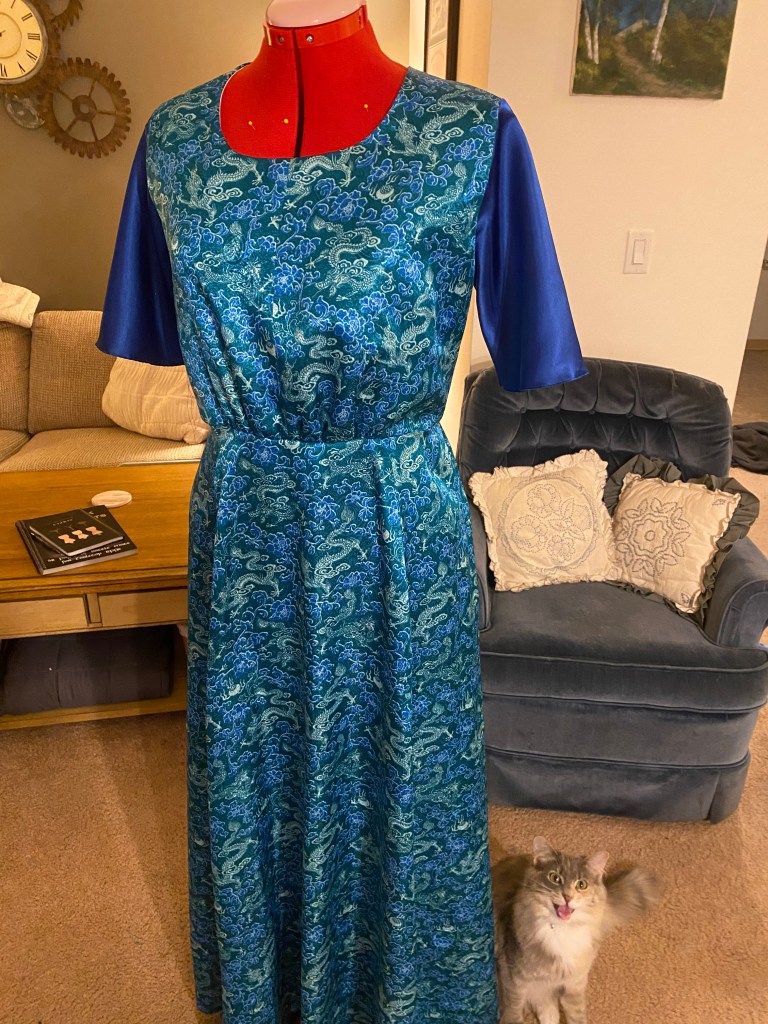
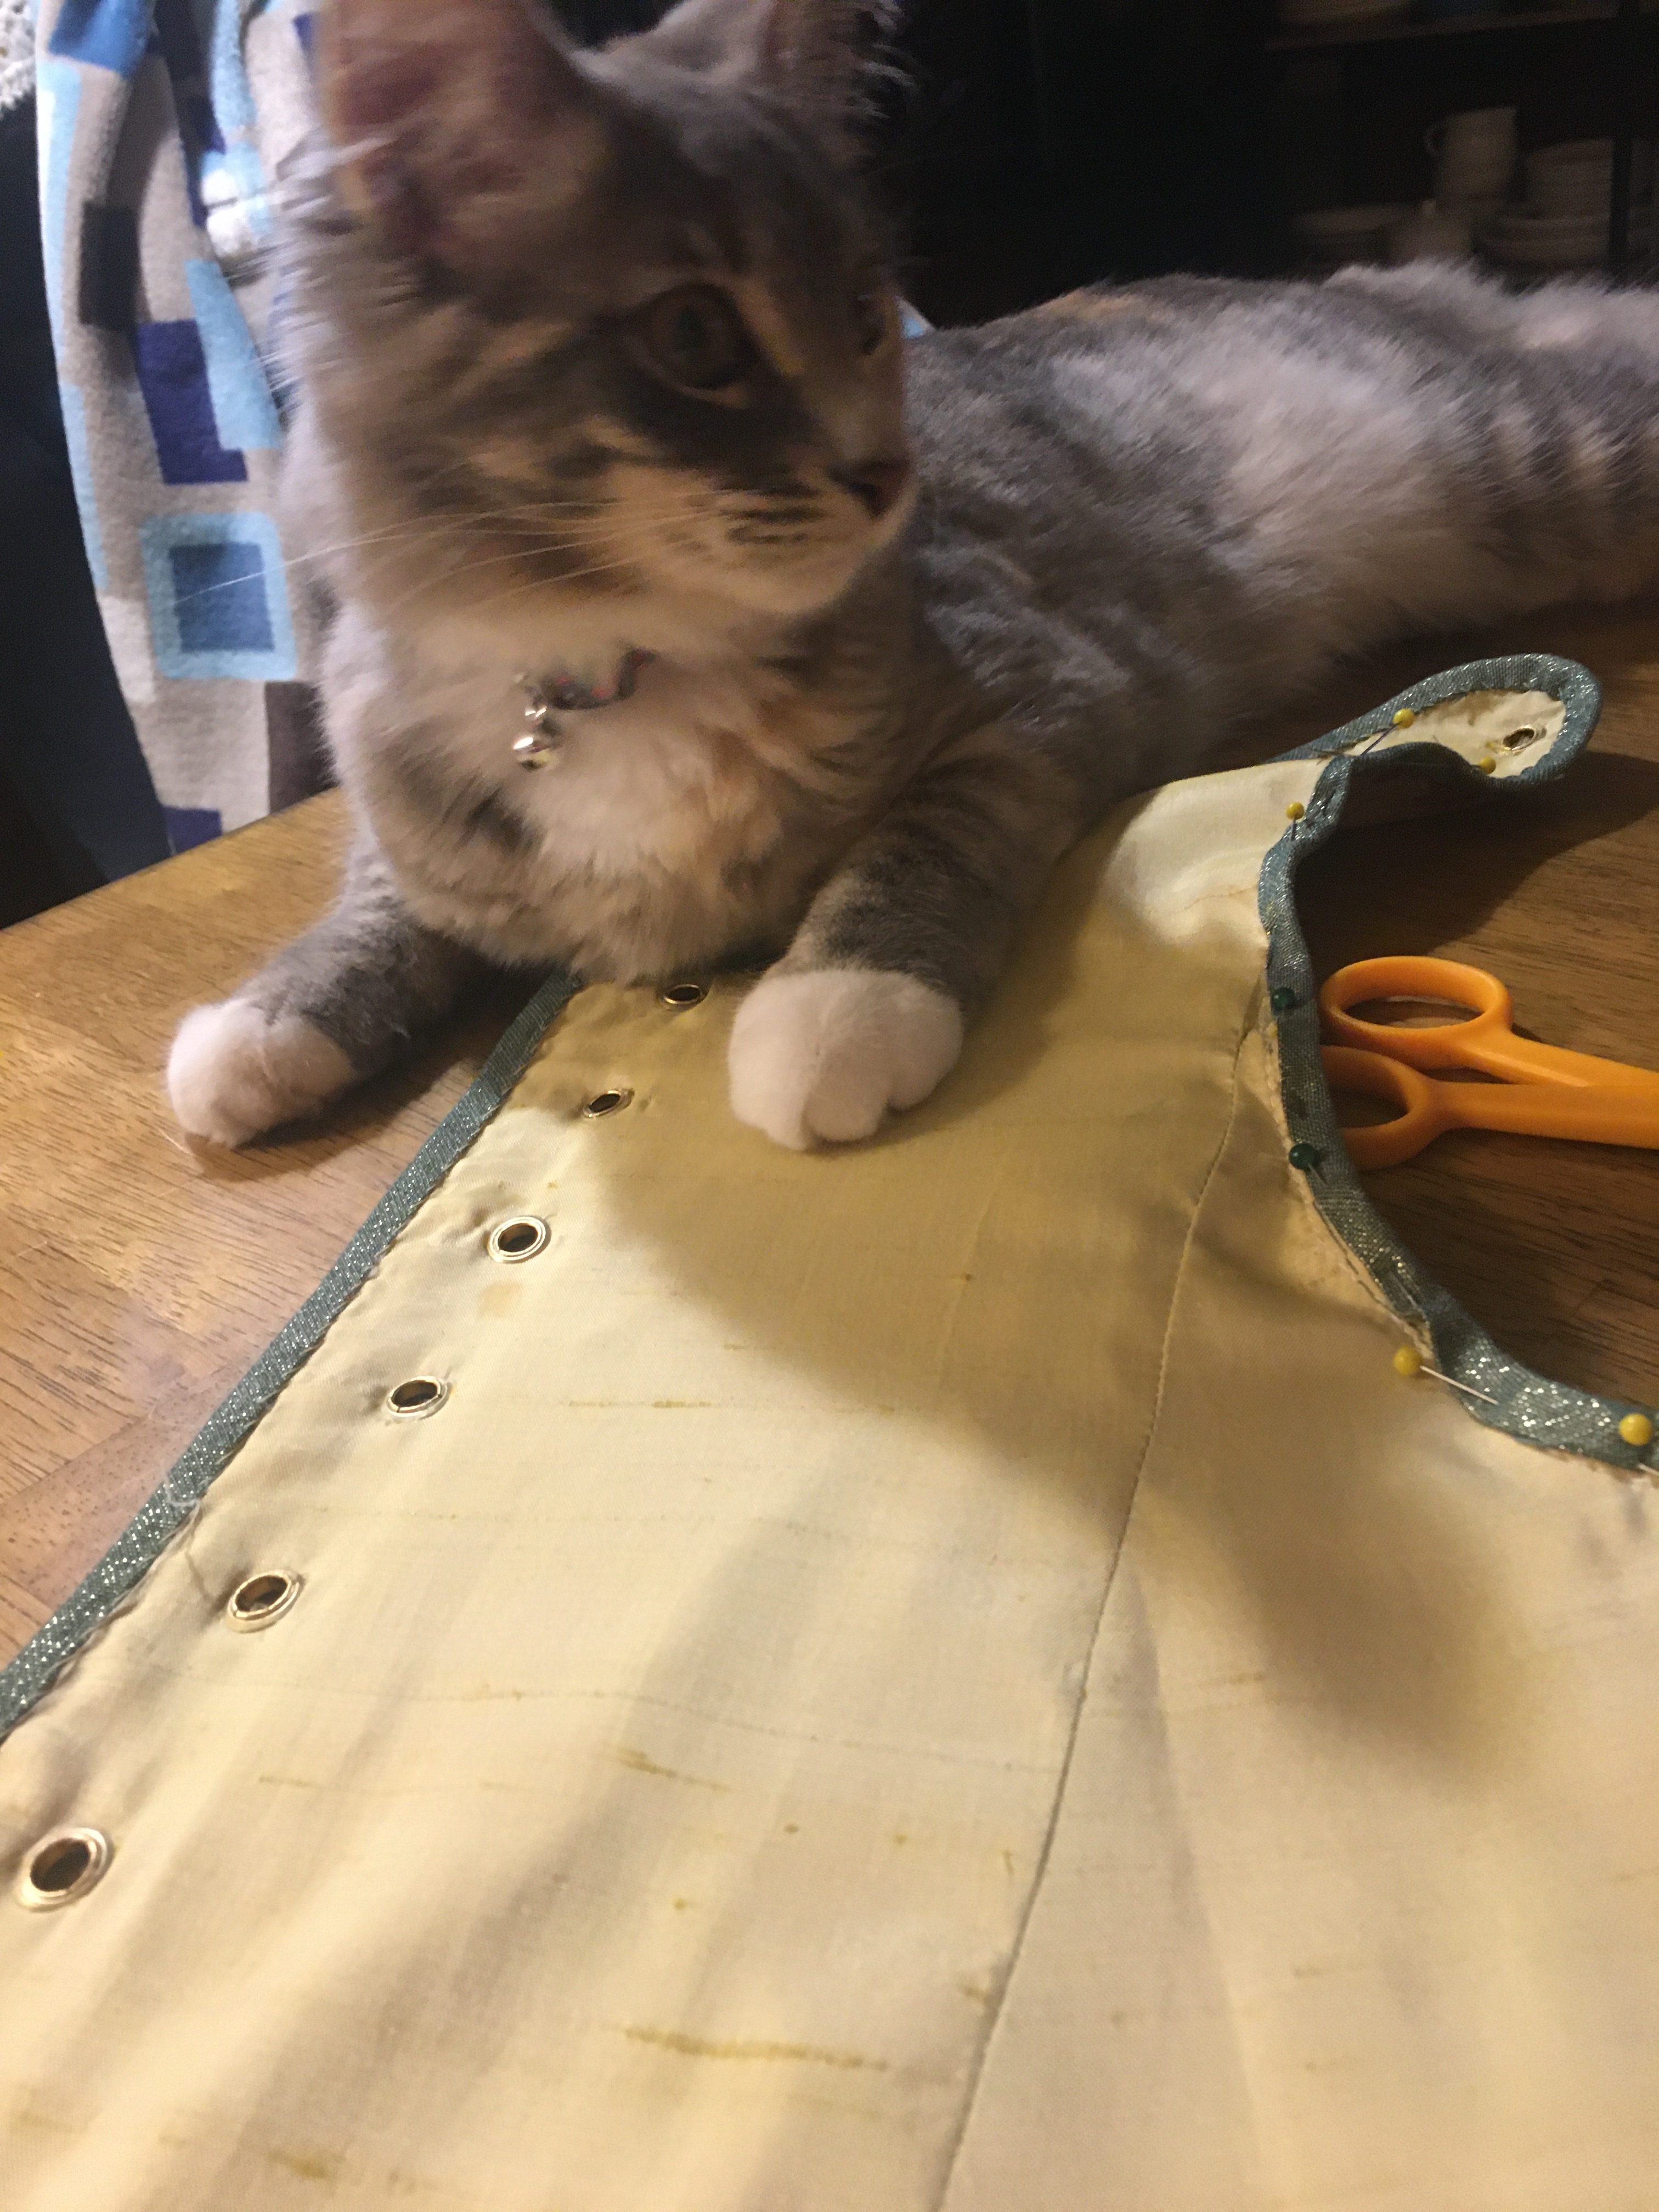
The front of the finished gown, featuring a cranky Kiara demanding her dinner. 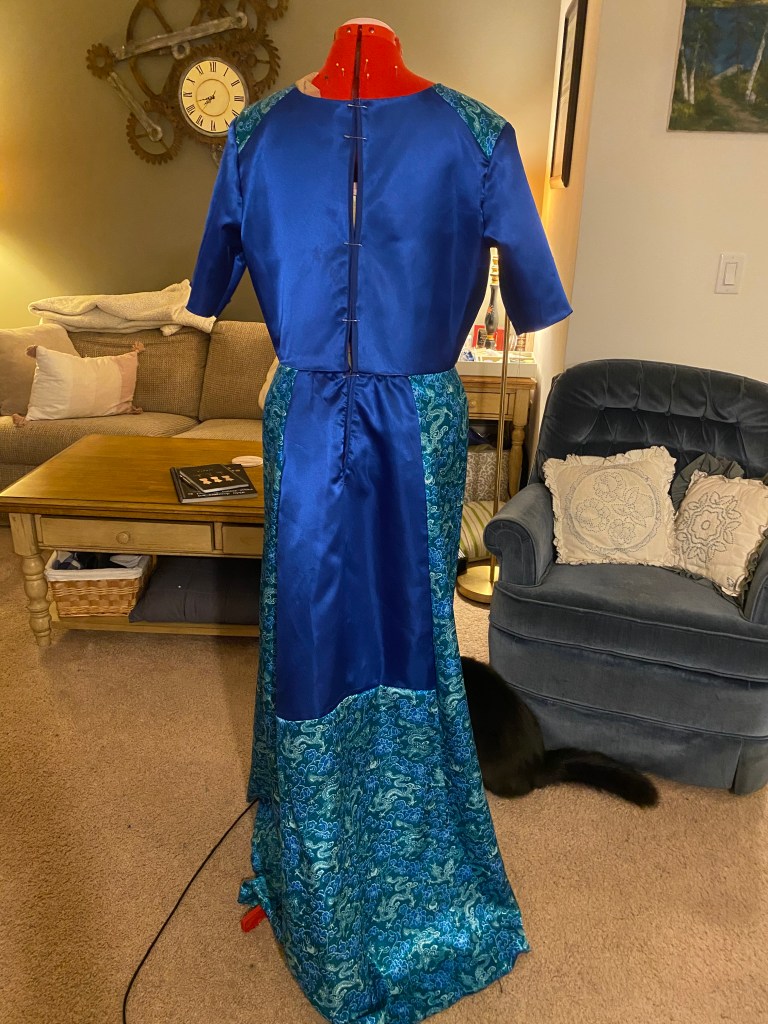
The back of the gown with bias tape finishing, before the zipper was applied.
However, this lovely fit would soon be covered by the disaster that is the overdress.
The Overdress
To start, the pattern instructs that the center panel of the overdress was to have boning applied which I cannot for the life of me understand why and regretted doing every second of this project. DO NOT APPLY BONING TO THIS GARMENT AS INSTRUCTED.
It makes absolutely no sense to add boning to an overwise unstructured garment which is to be worn over another dress with period appropriate gathering at the front. The boning made the fit beyond odd and I cannot fathom why this was added. If you know why this was added, please drop me a comment because I would love to understand.
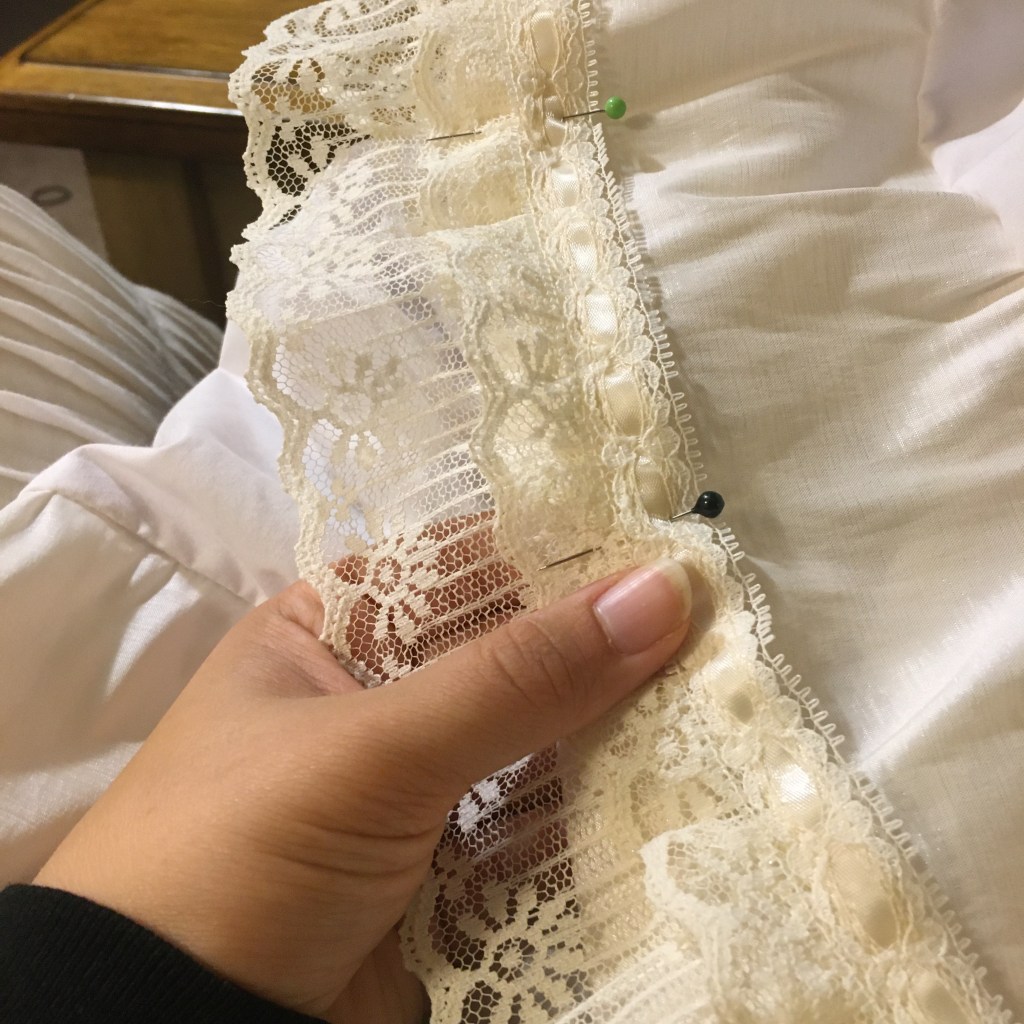
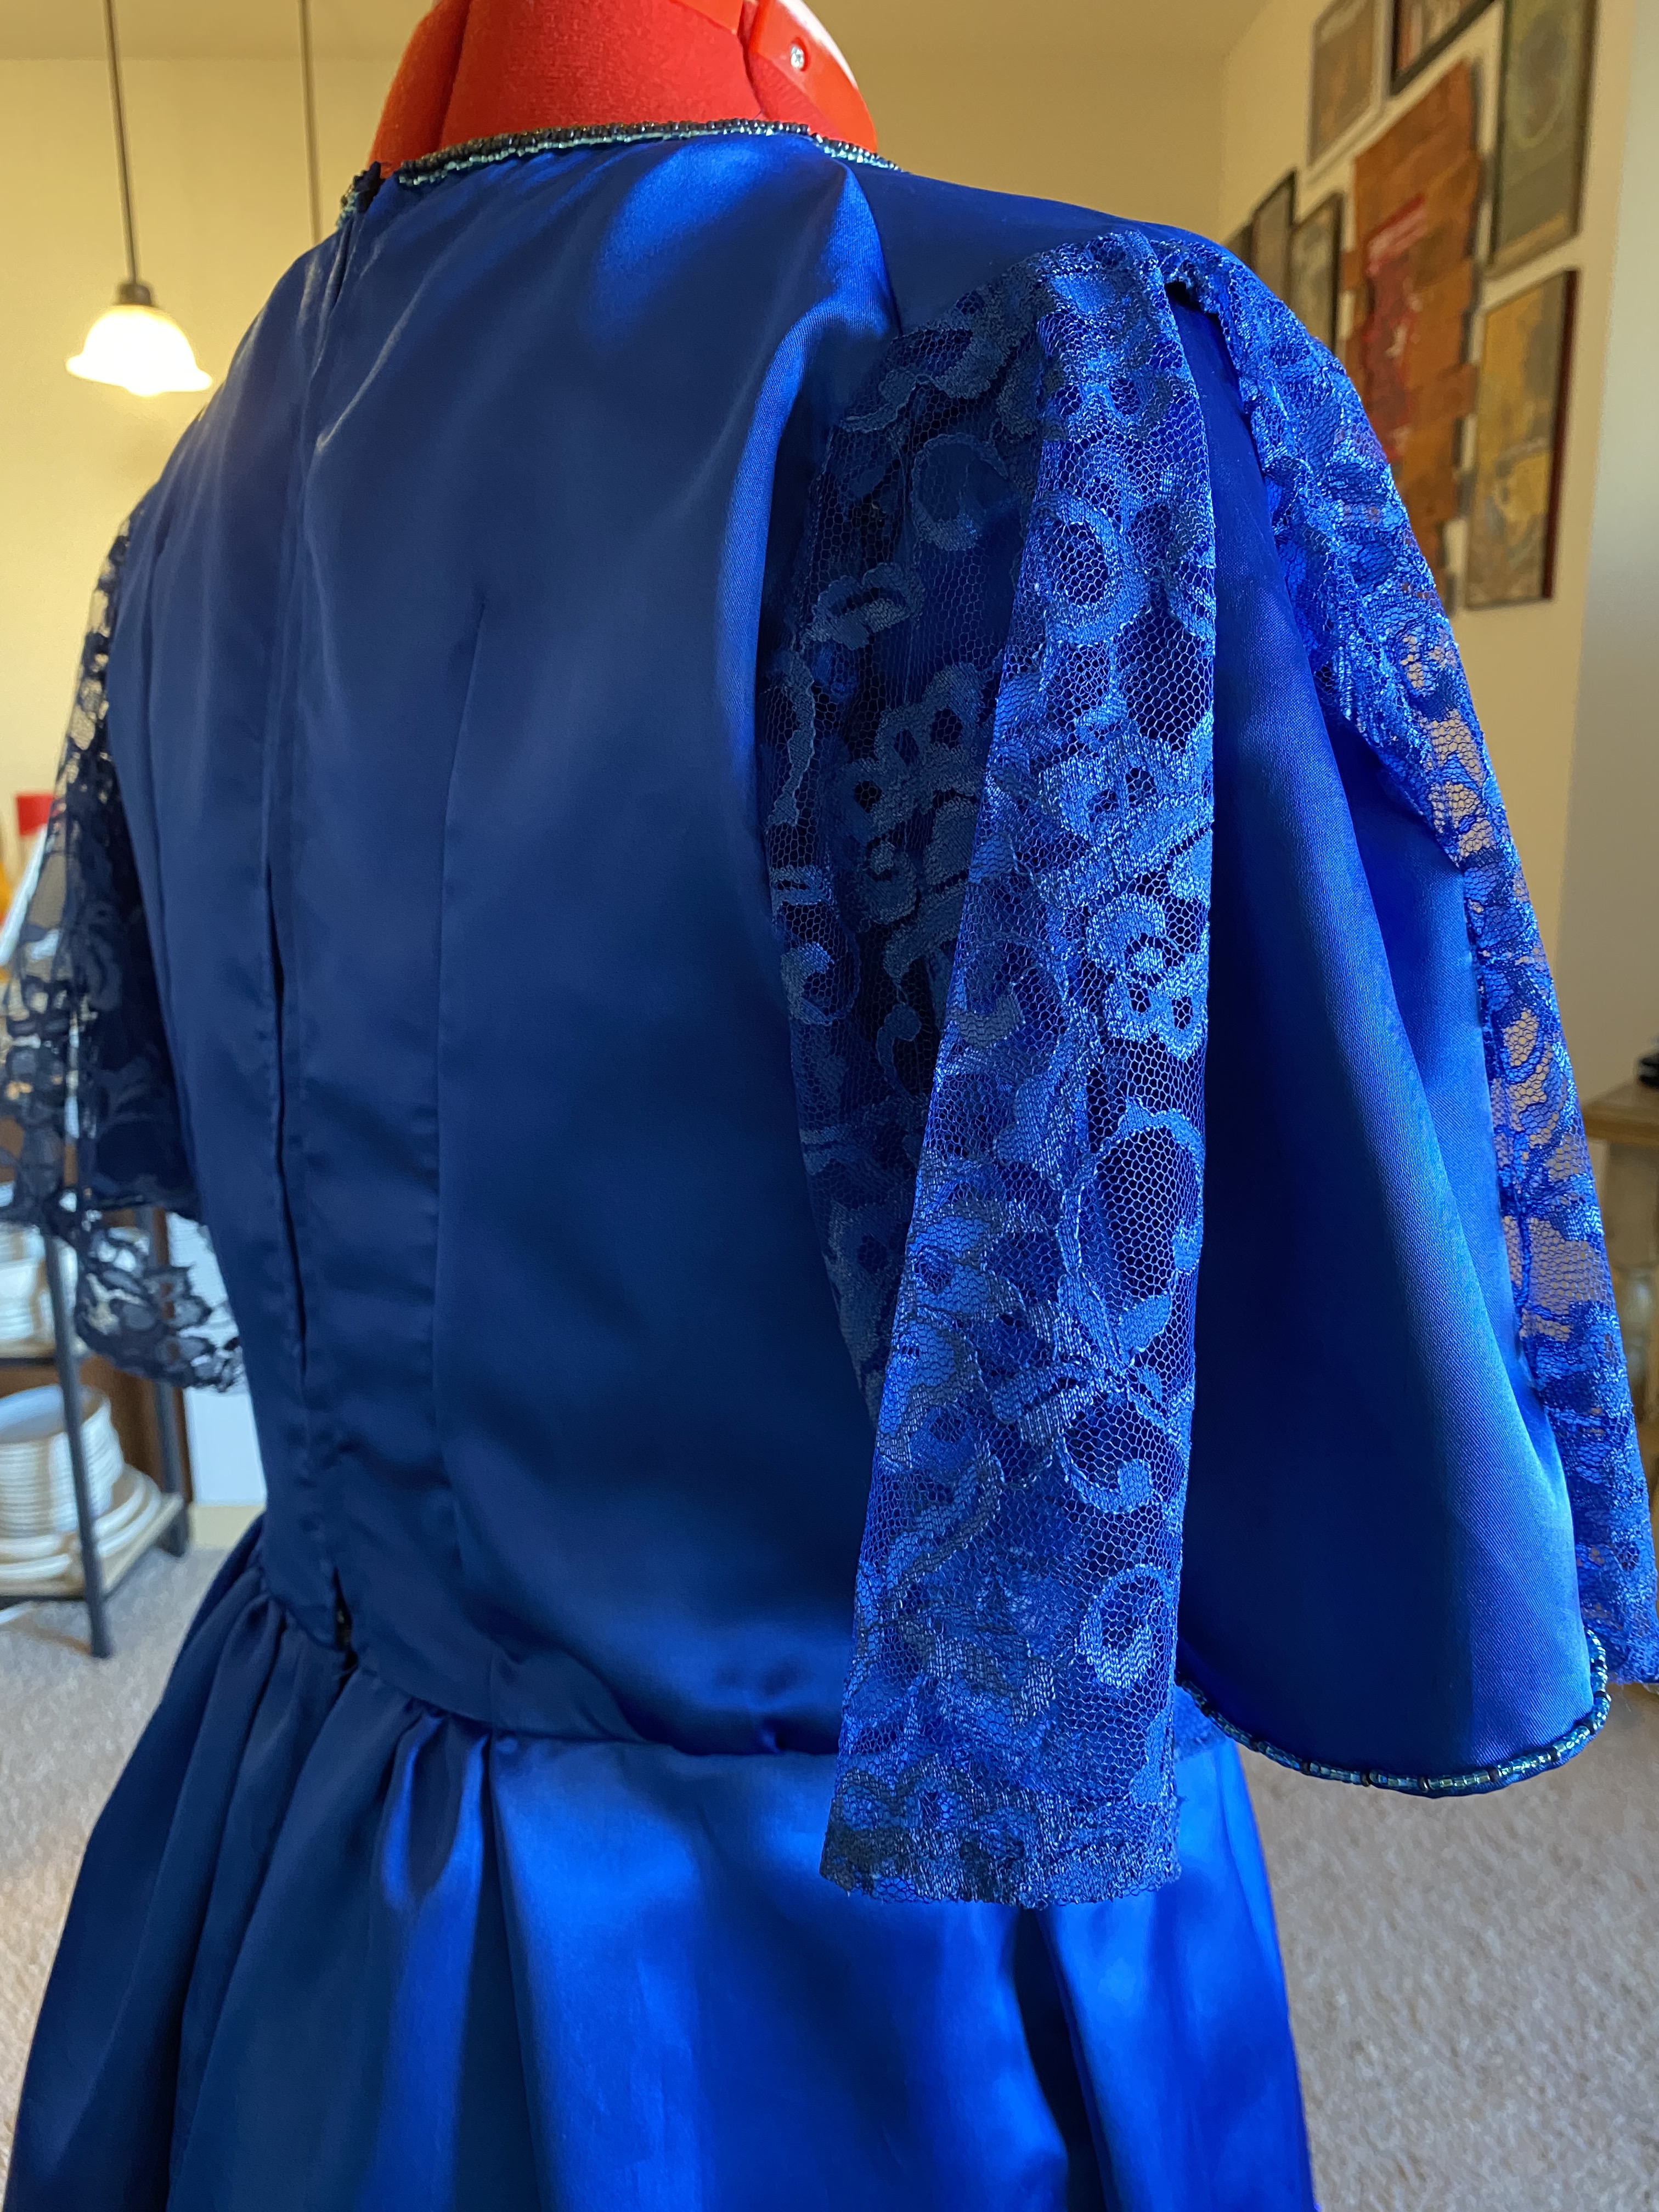
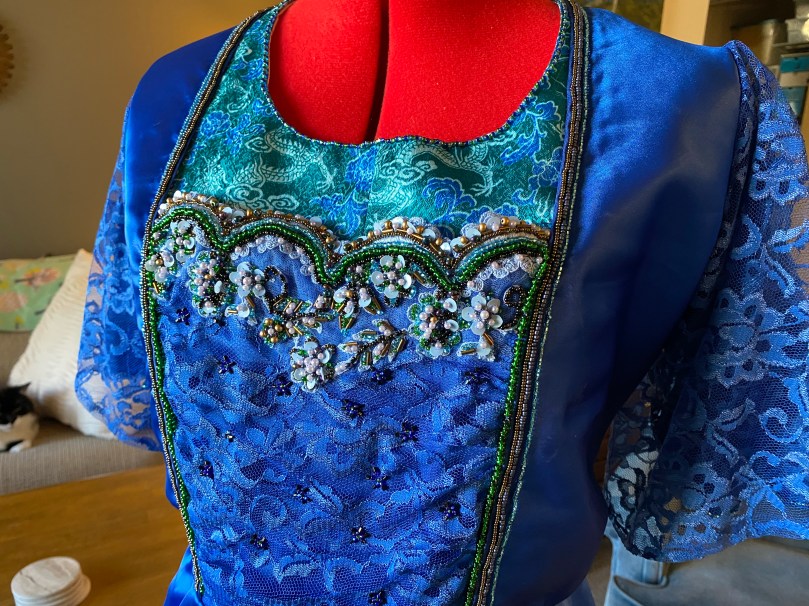
Beyond the boning, the garment construction was very straightforward. I applied both the blue lace from the 80’s dress and a piece of beaded lace from a salvaged wedding gown to the front panel before stitching to the front side pieces which were finished with the same blue taffeta bias tape rather than a tiny hem. I felt the bias tape would add a clean finish line that I could quickly stitch on the machine. Again, this choice would come to haunt me.
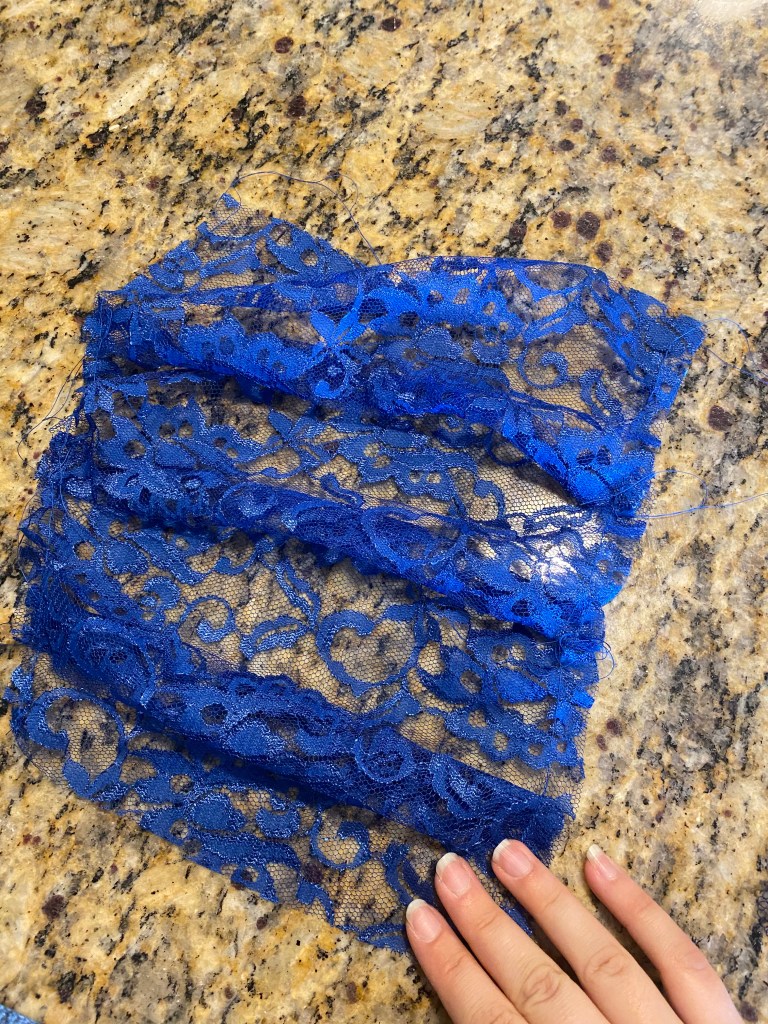
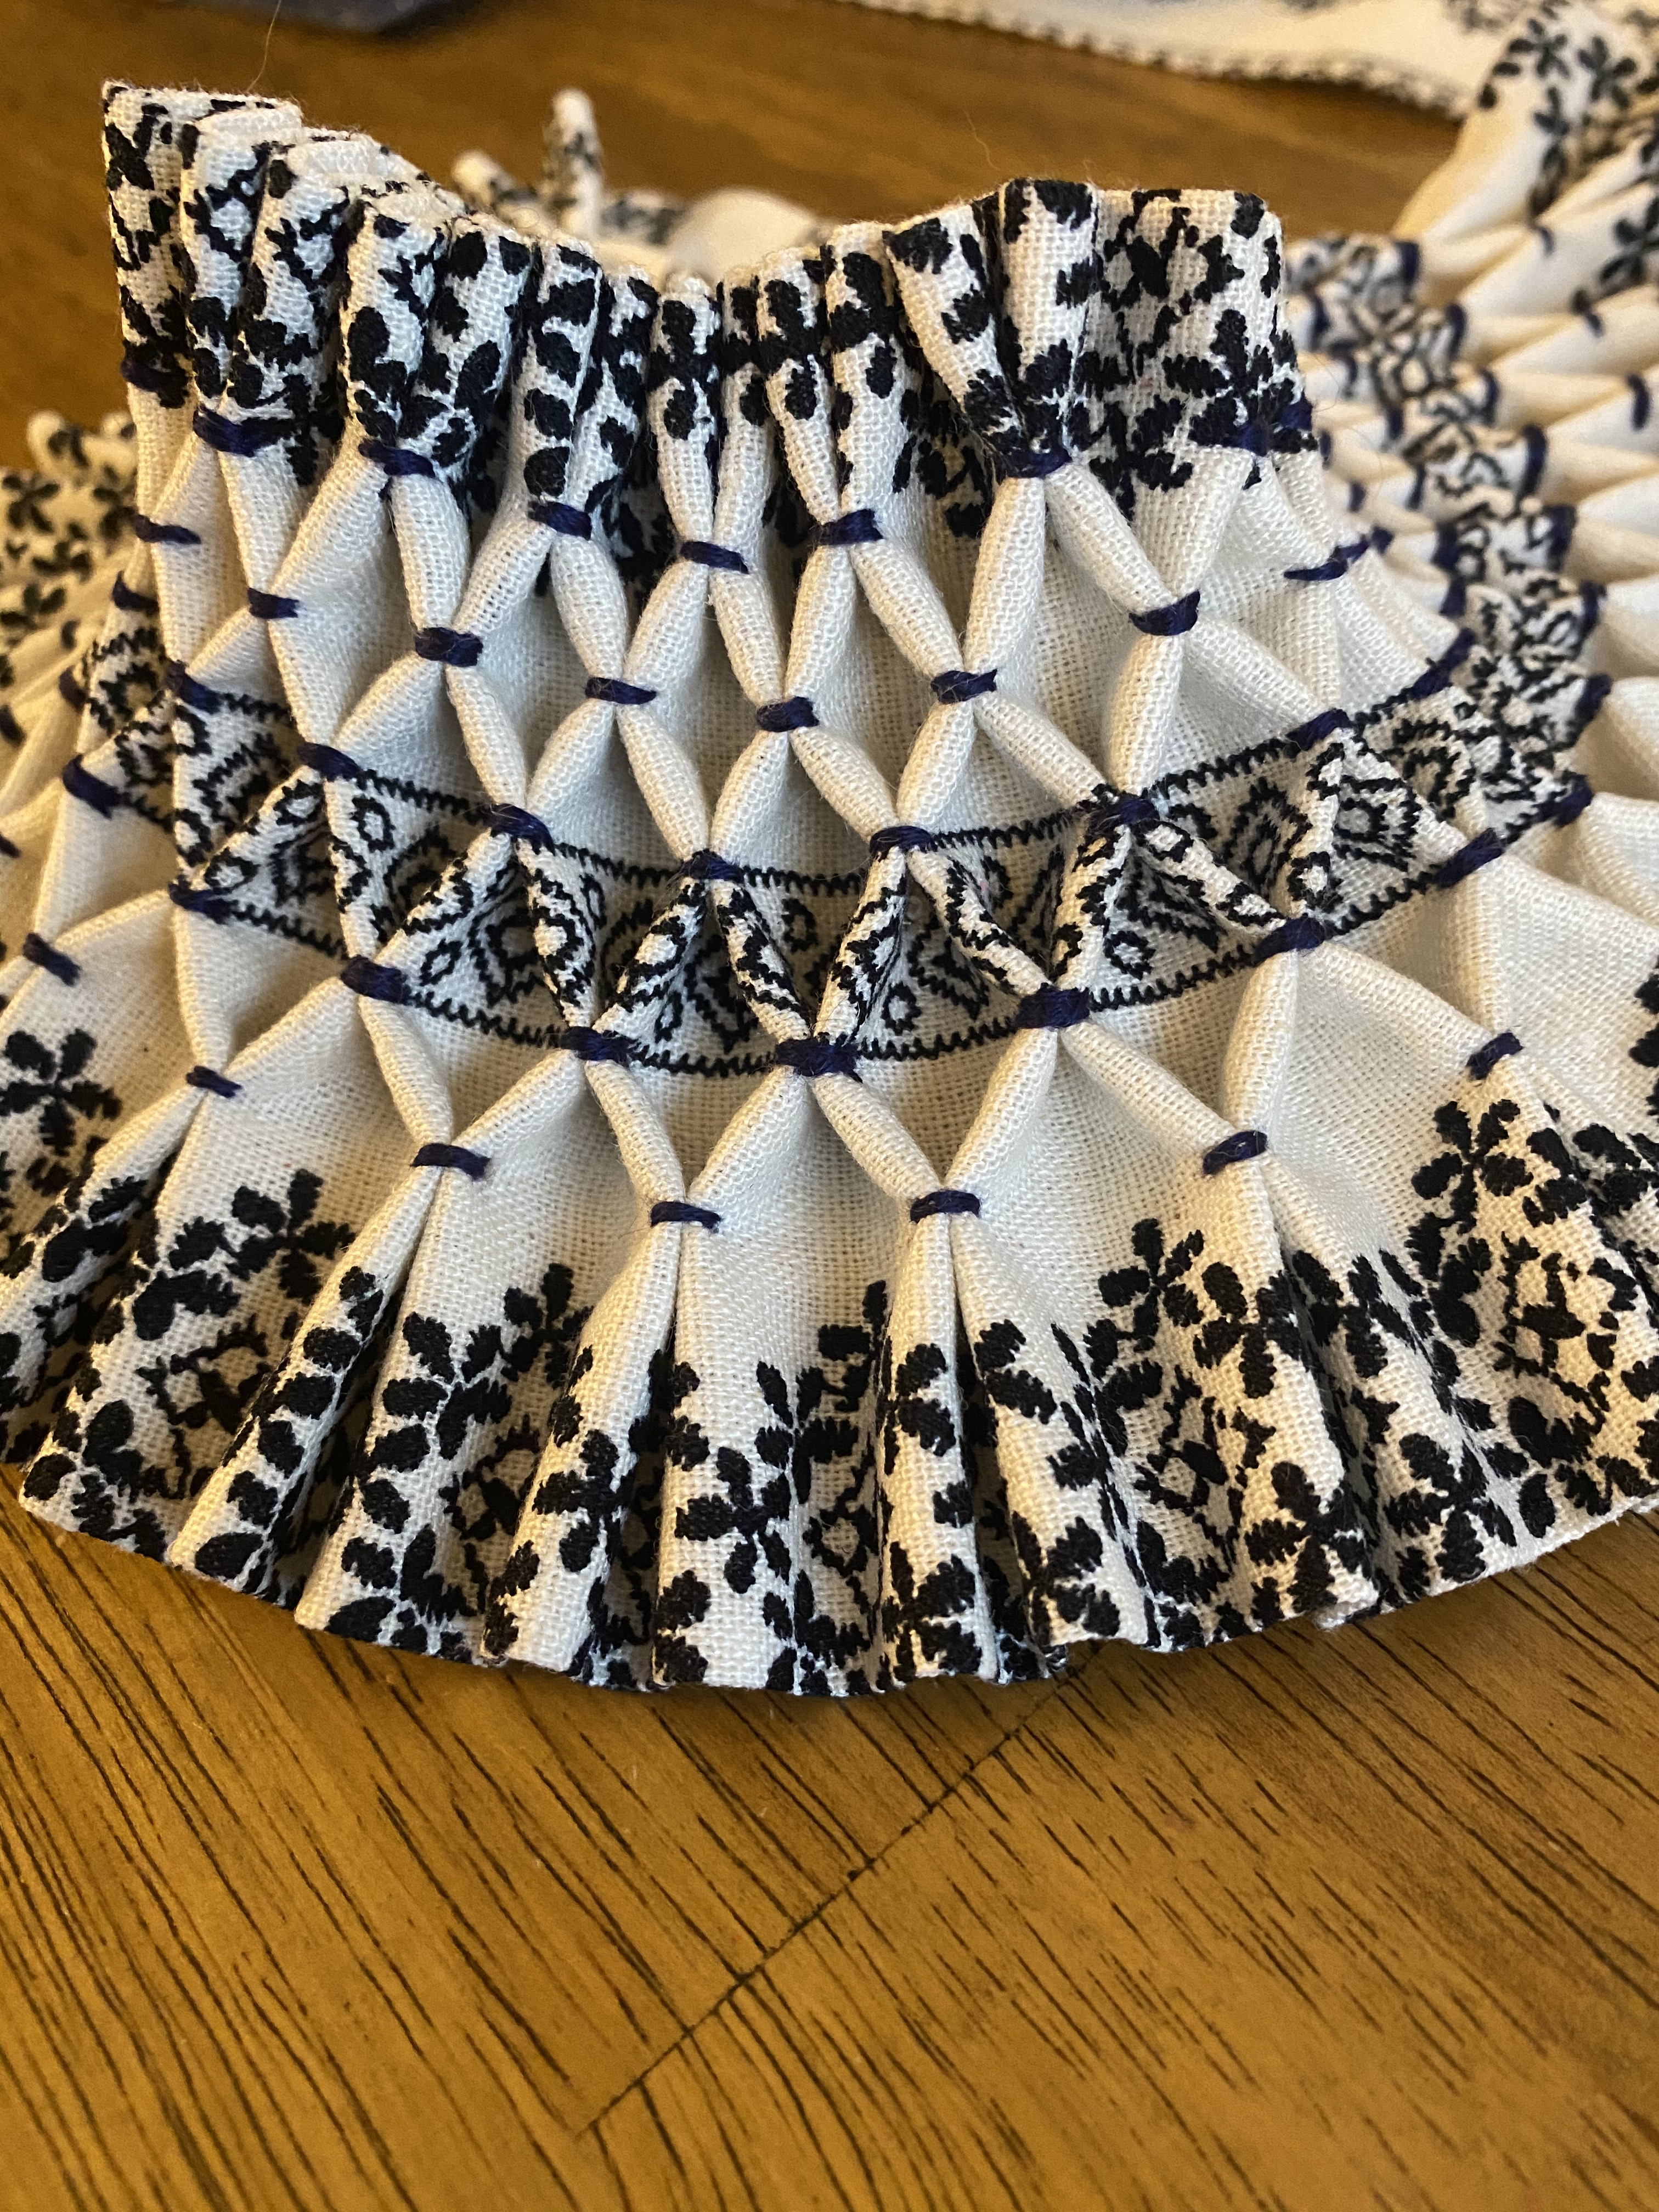
The lace from the 80’s dress was not sufficient for the full pattern pleat and gathering, but I was able to baste three pleats to give sufficient volume and texture. 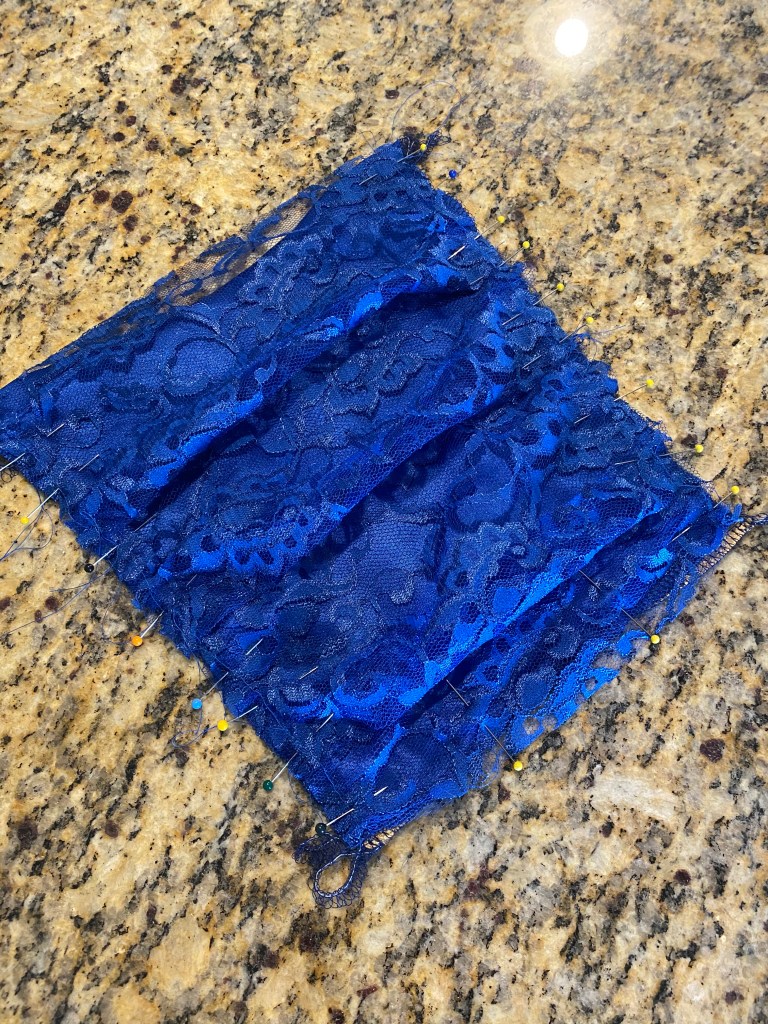
The pleated lace is basted to the center, boned panel.

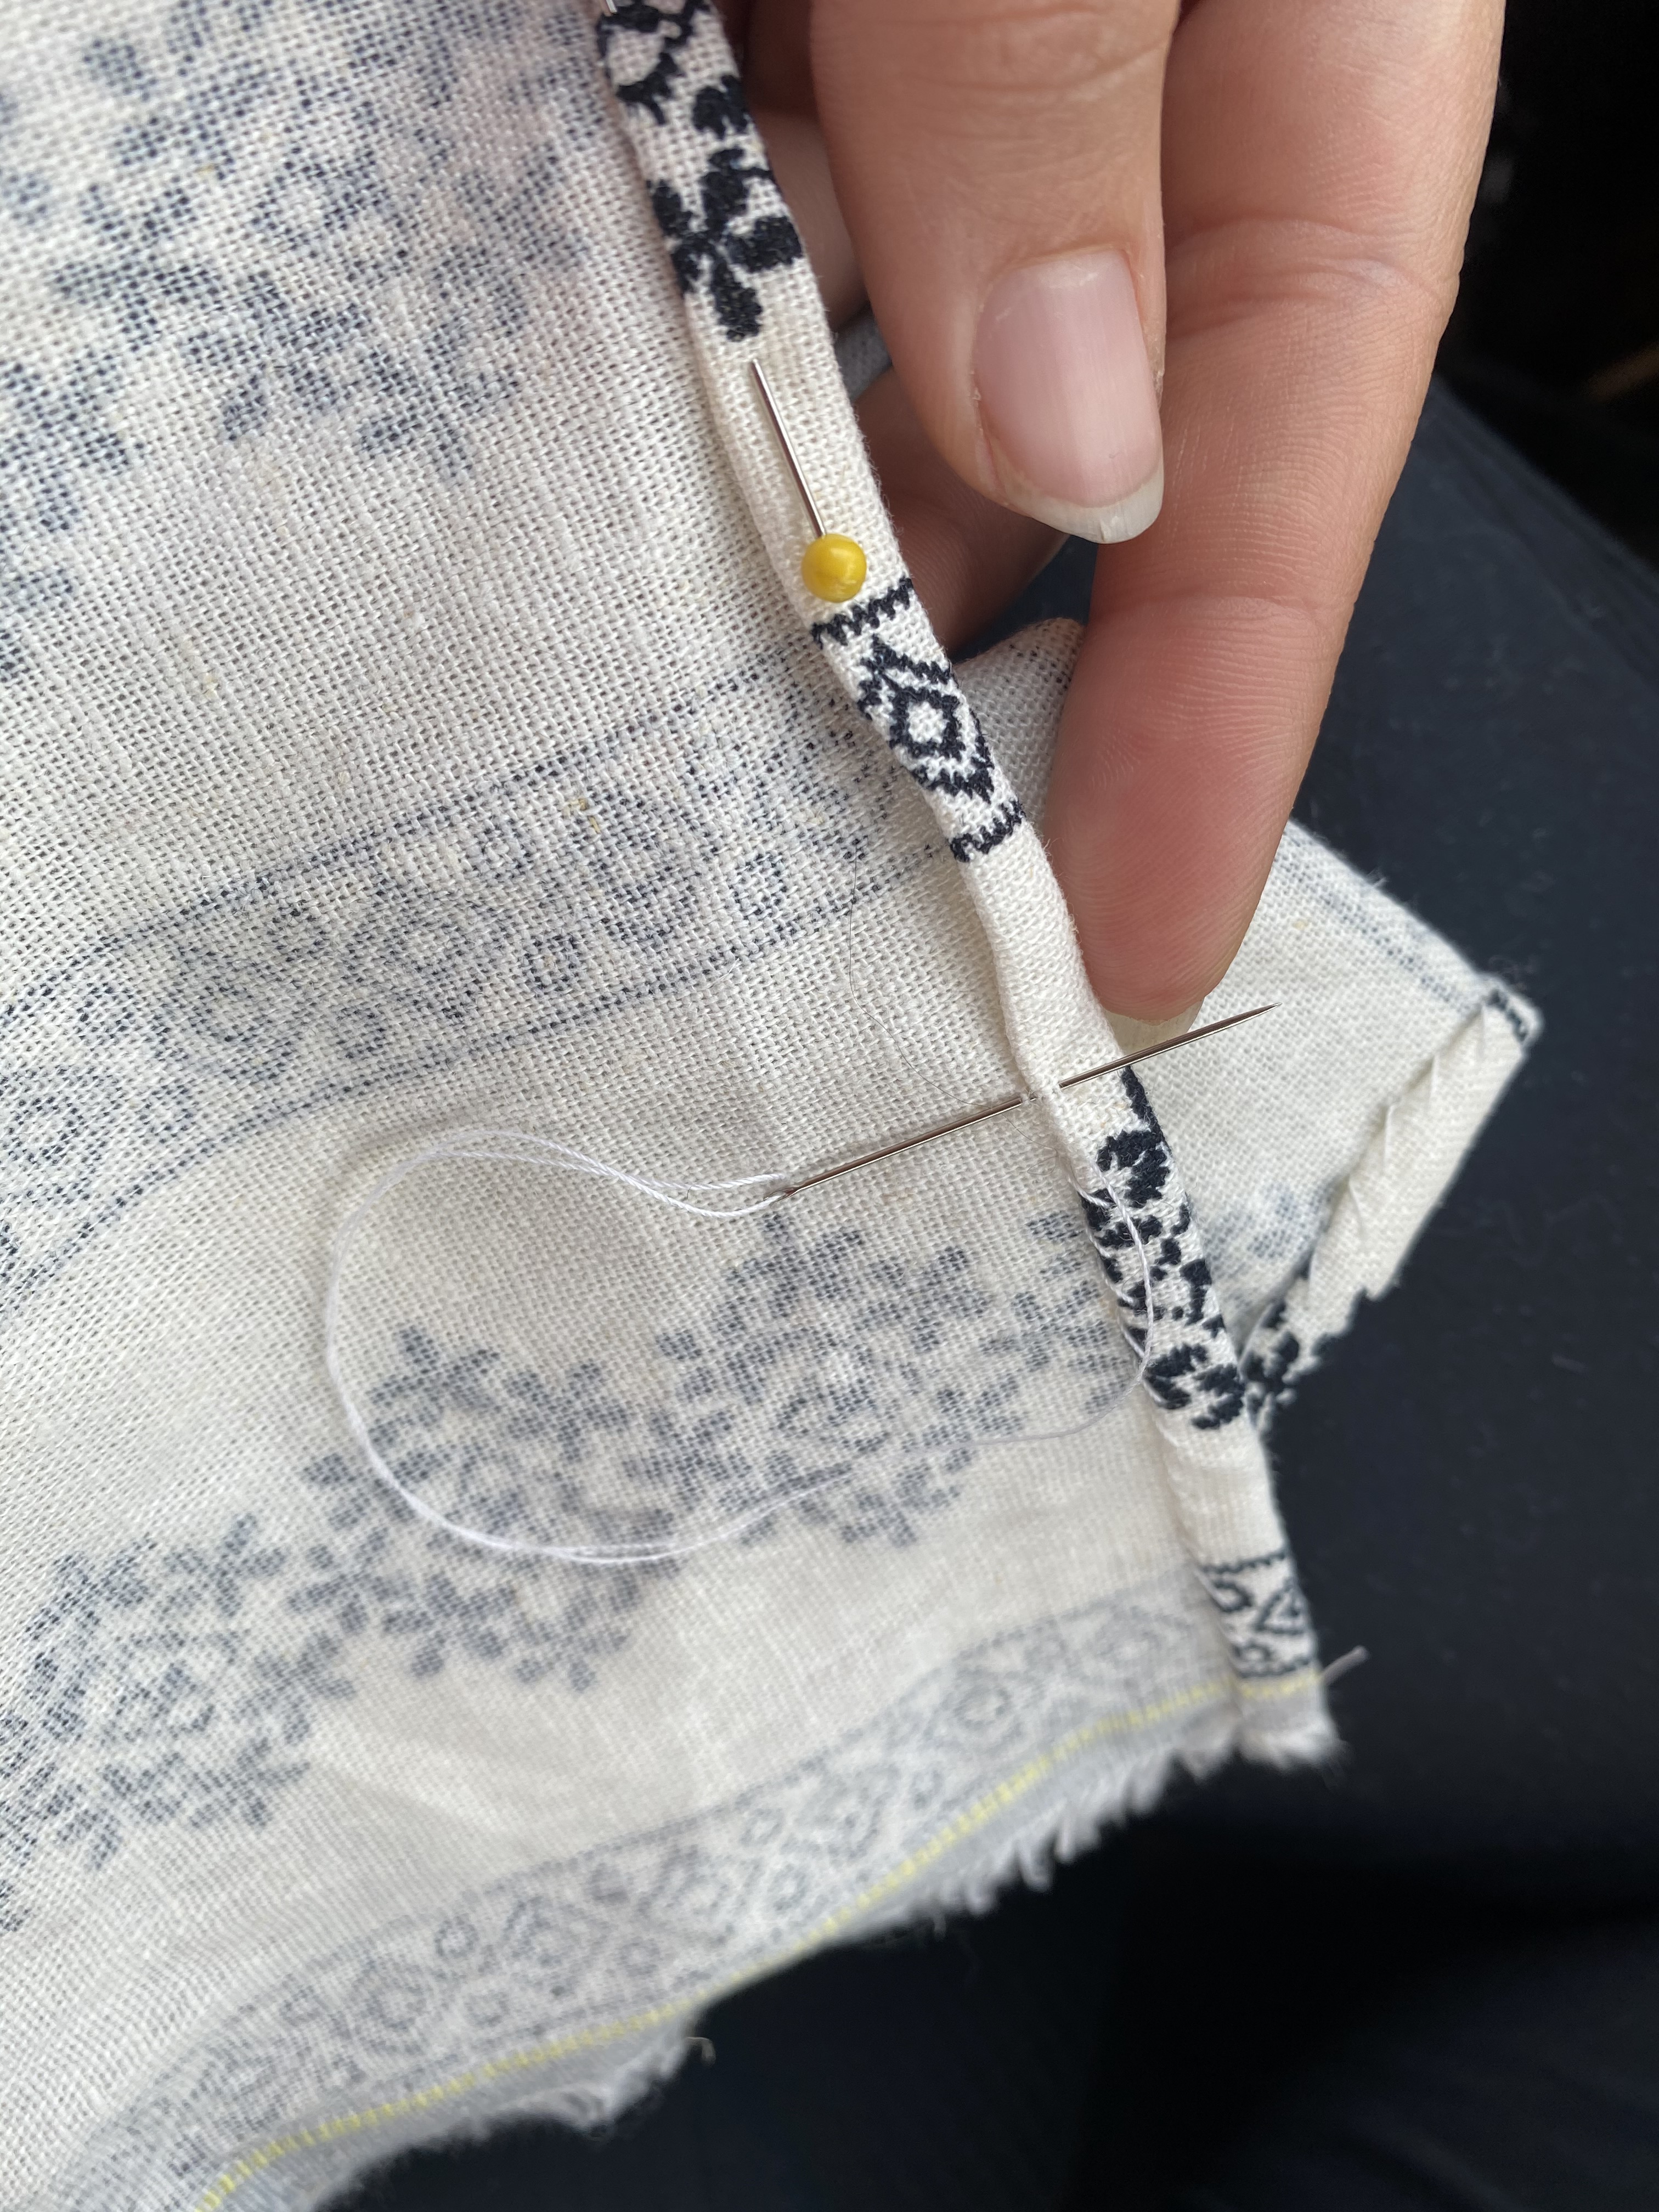
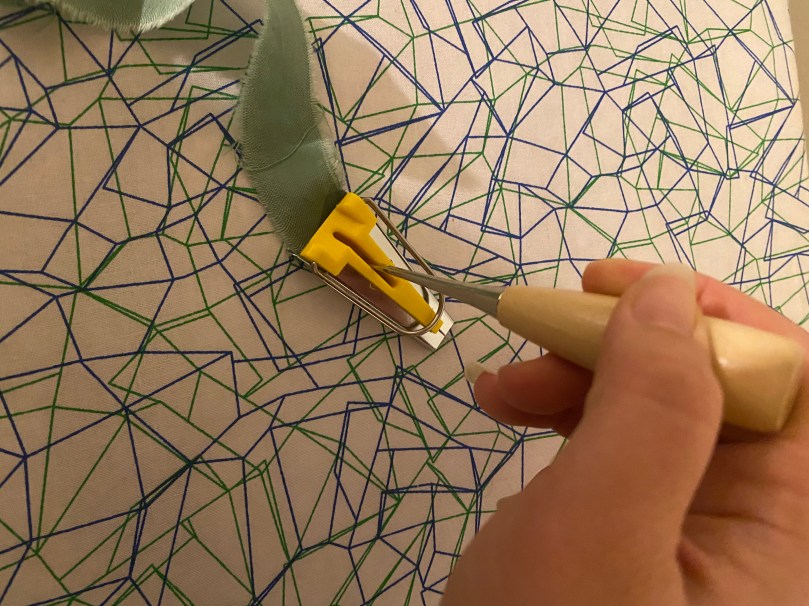
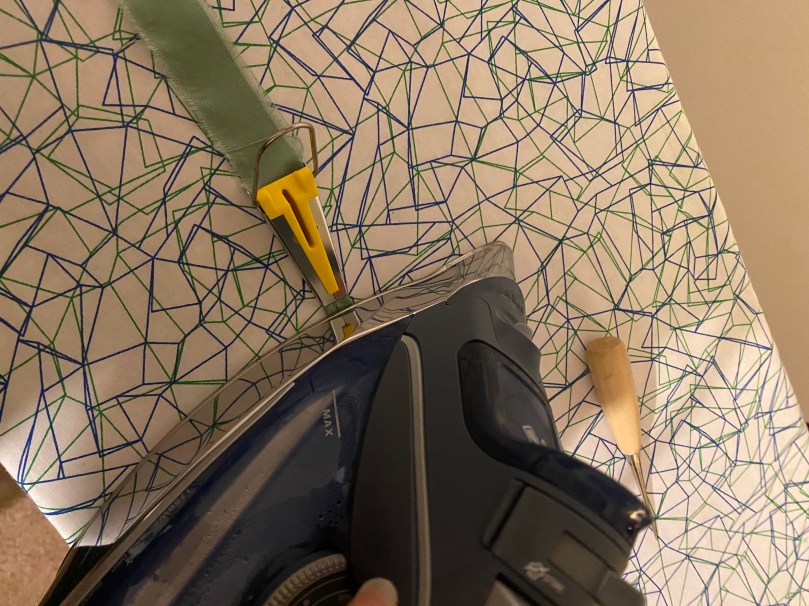
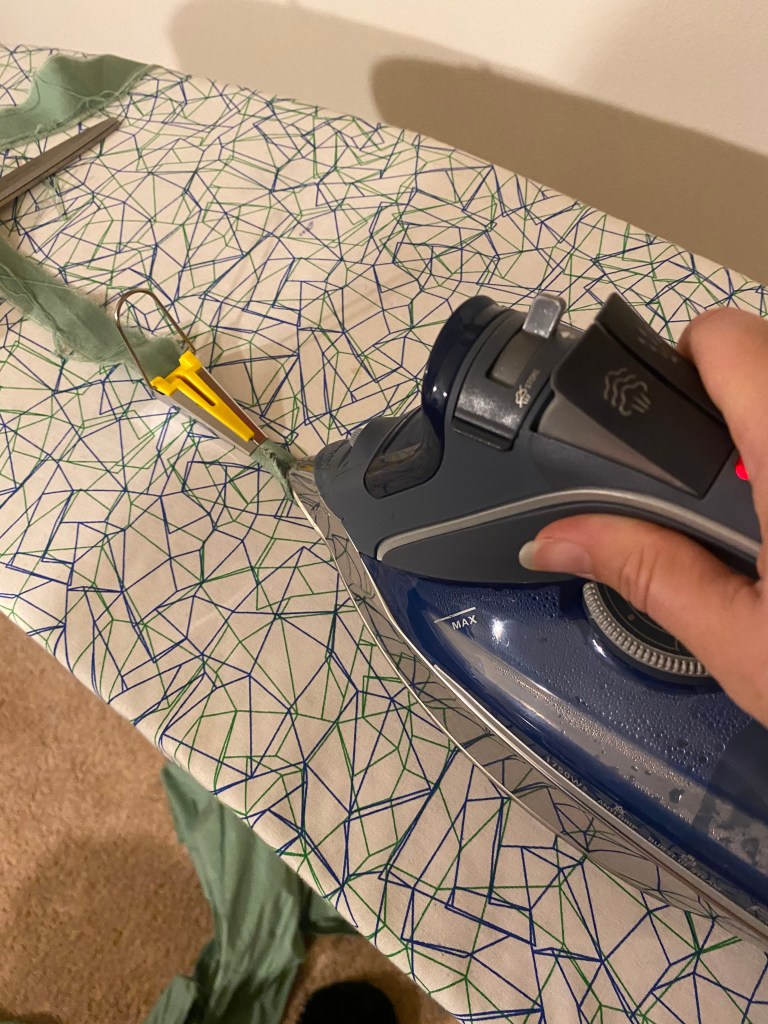
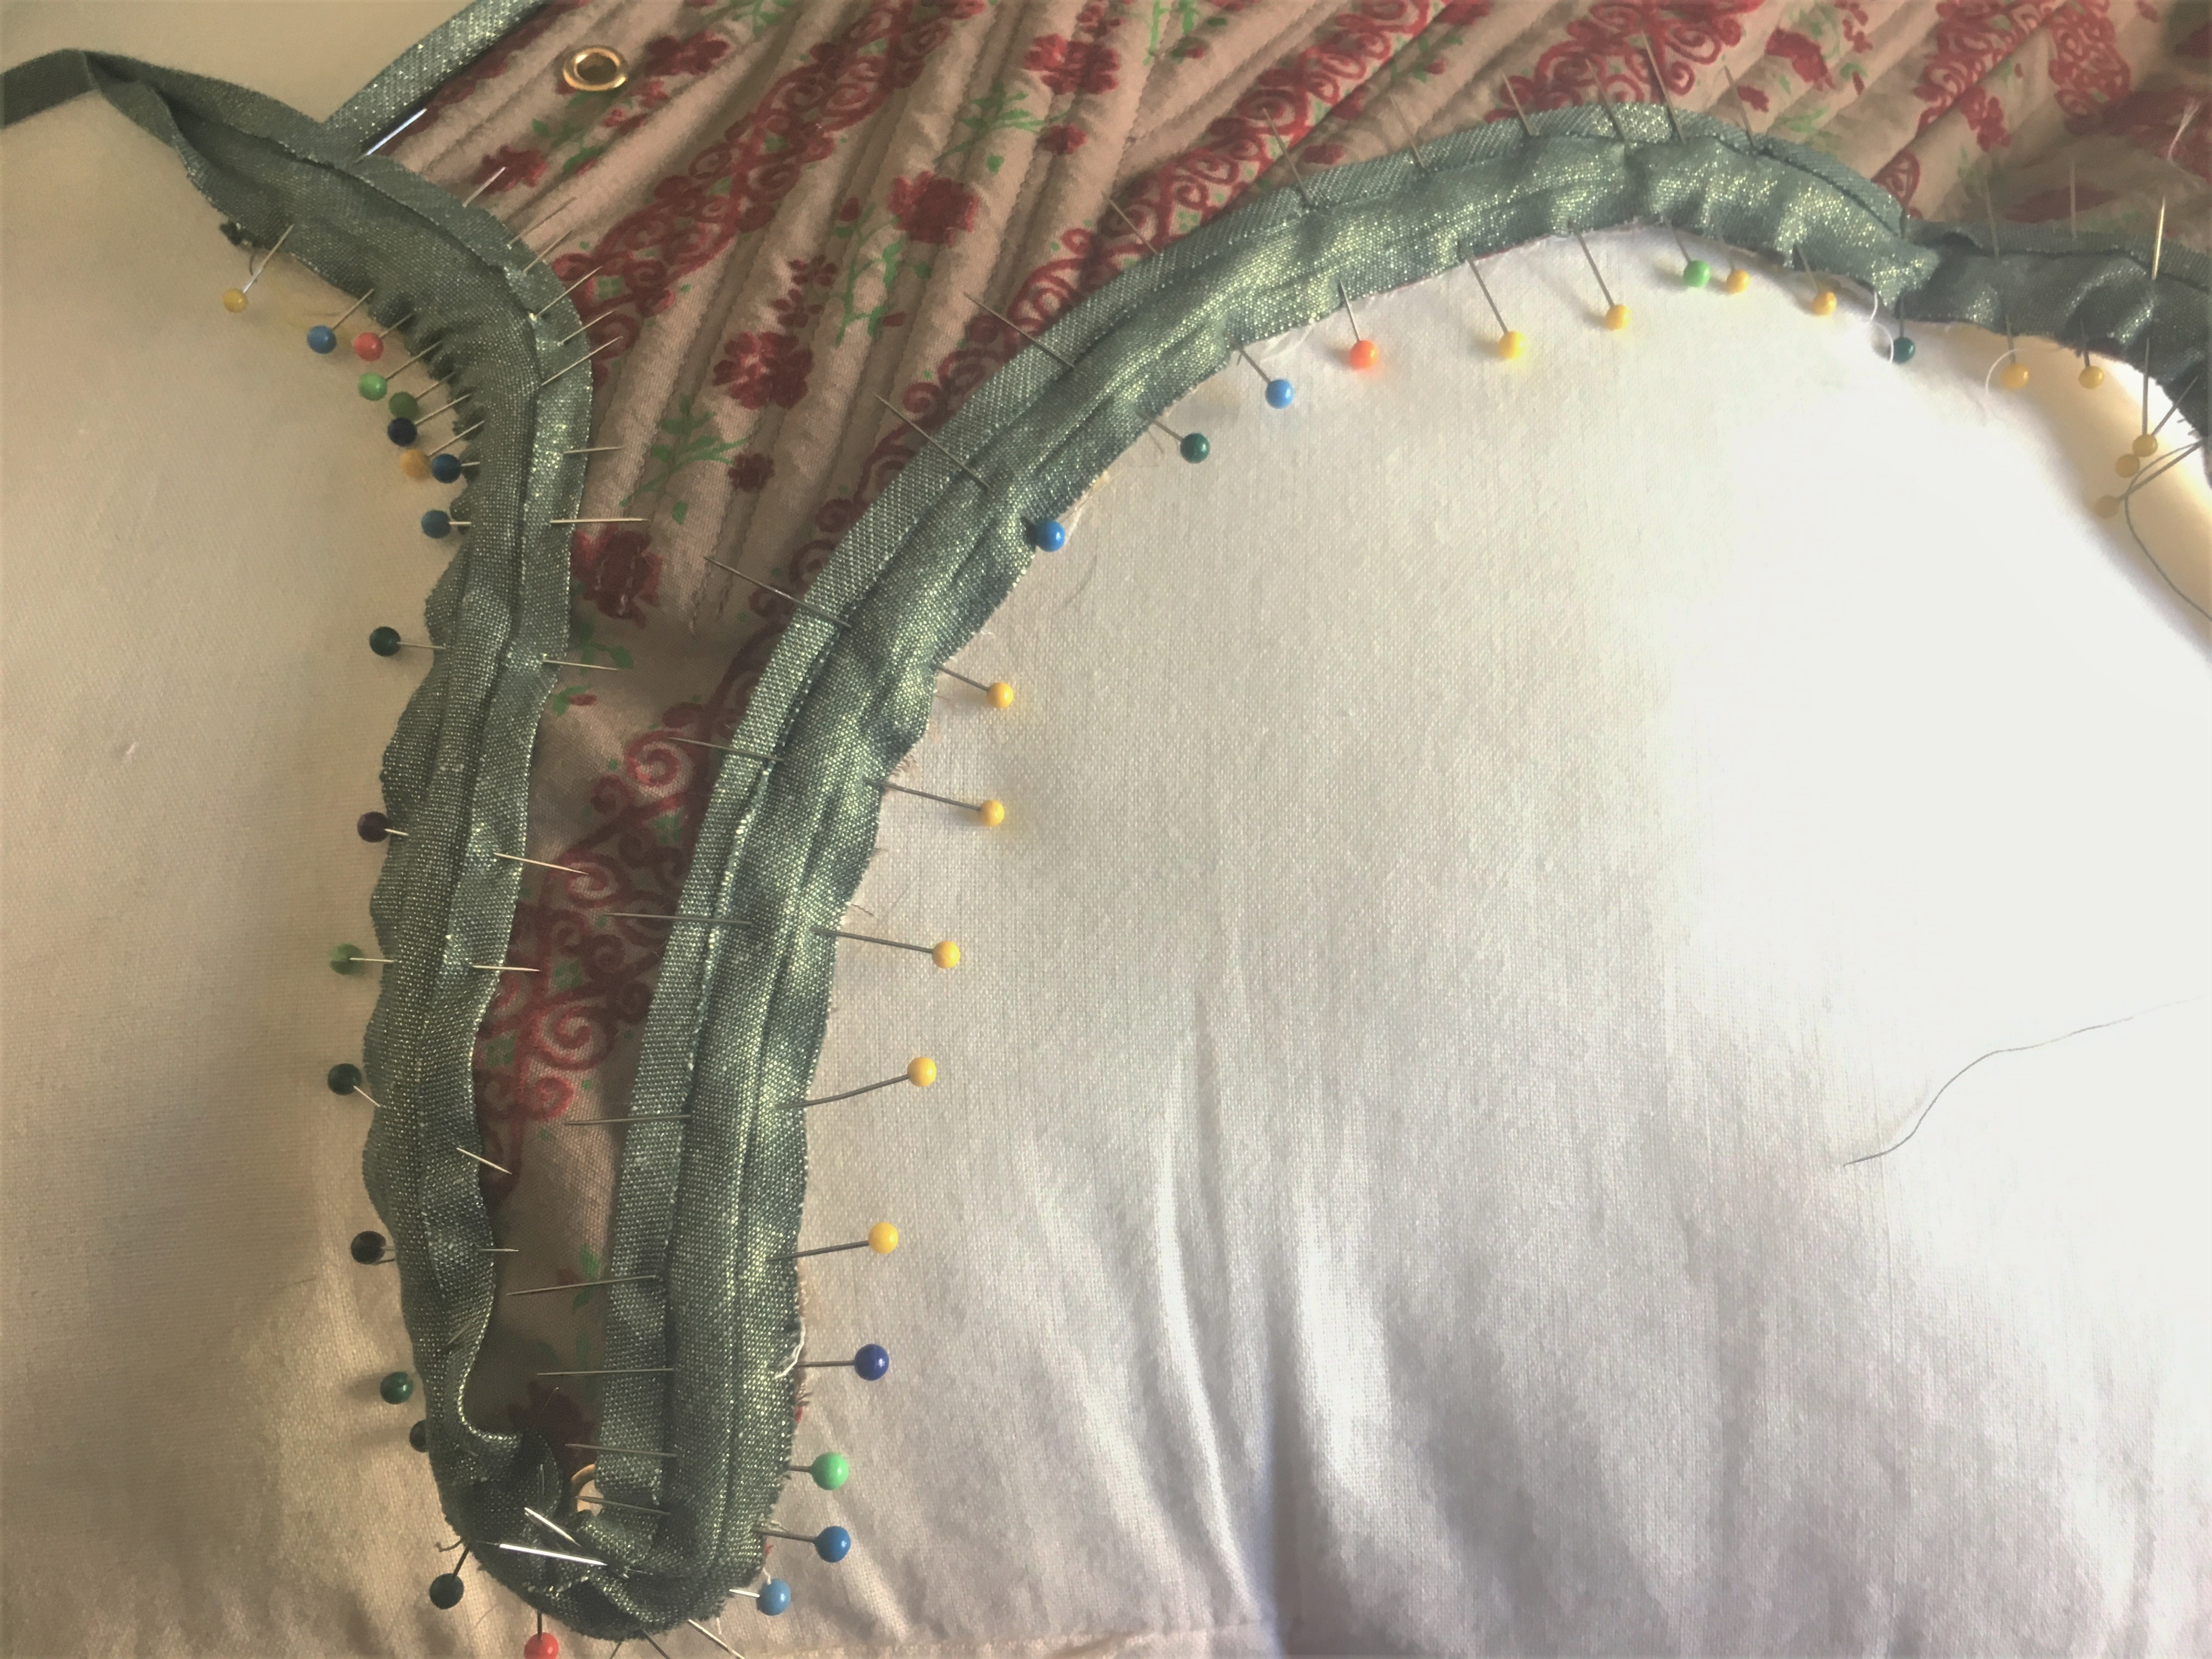
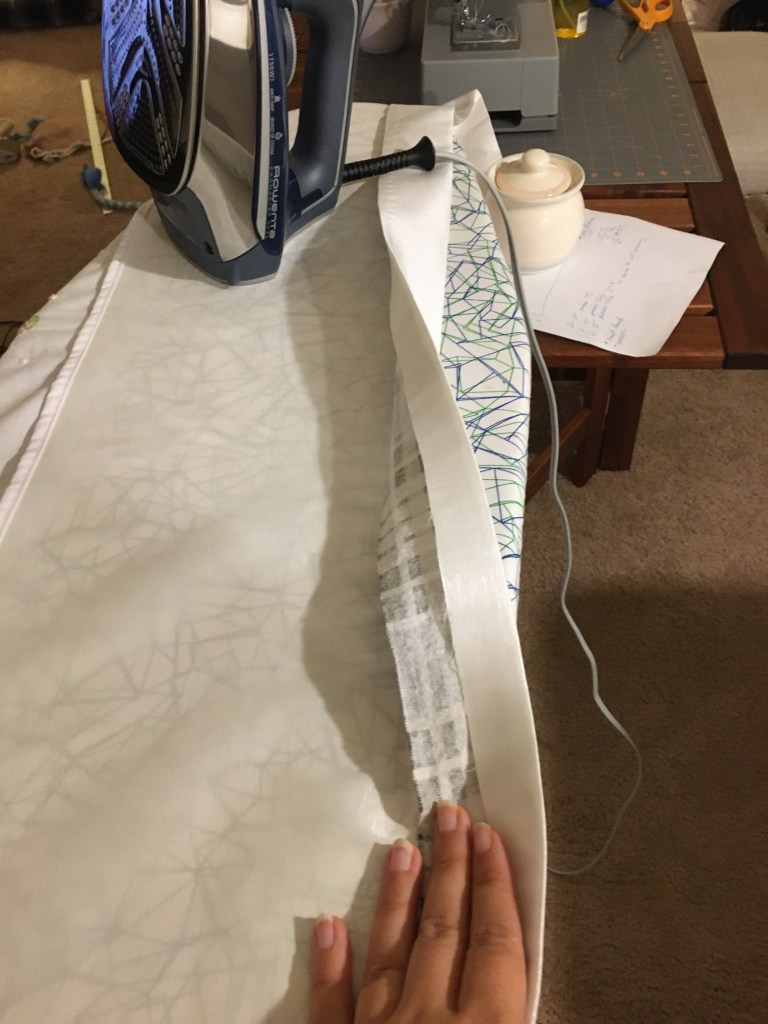
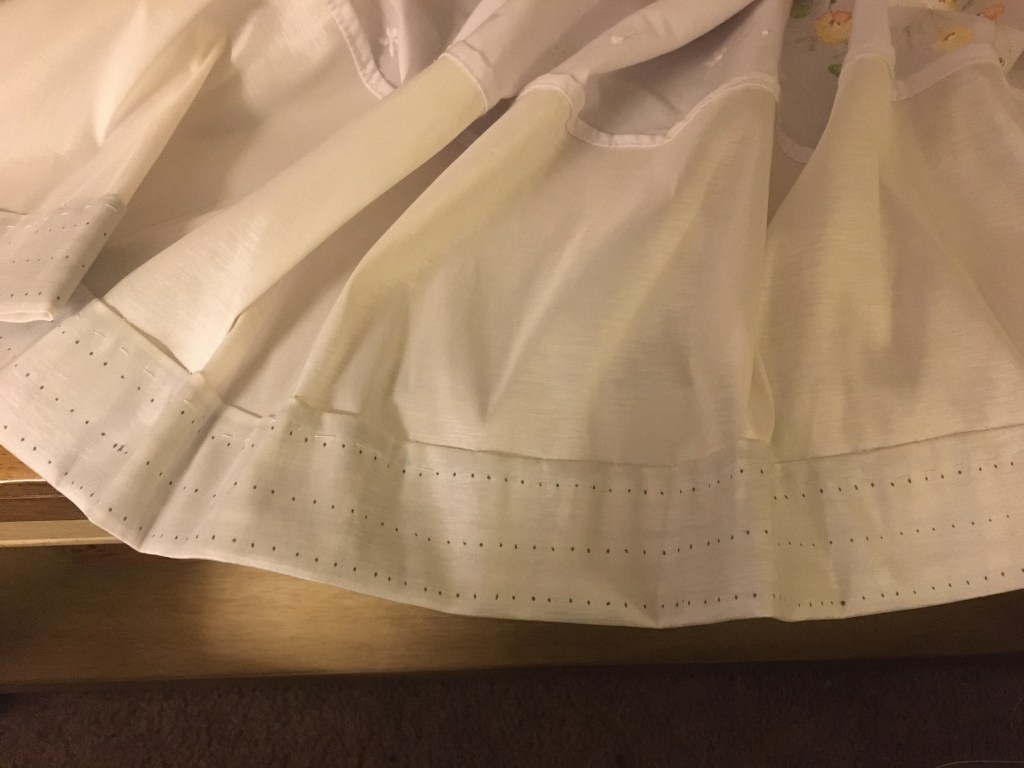
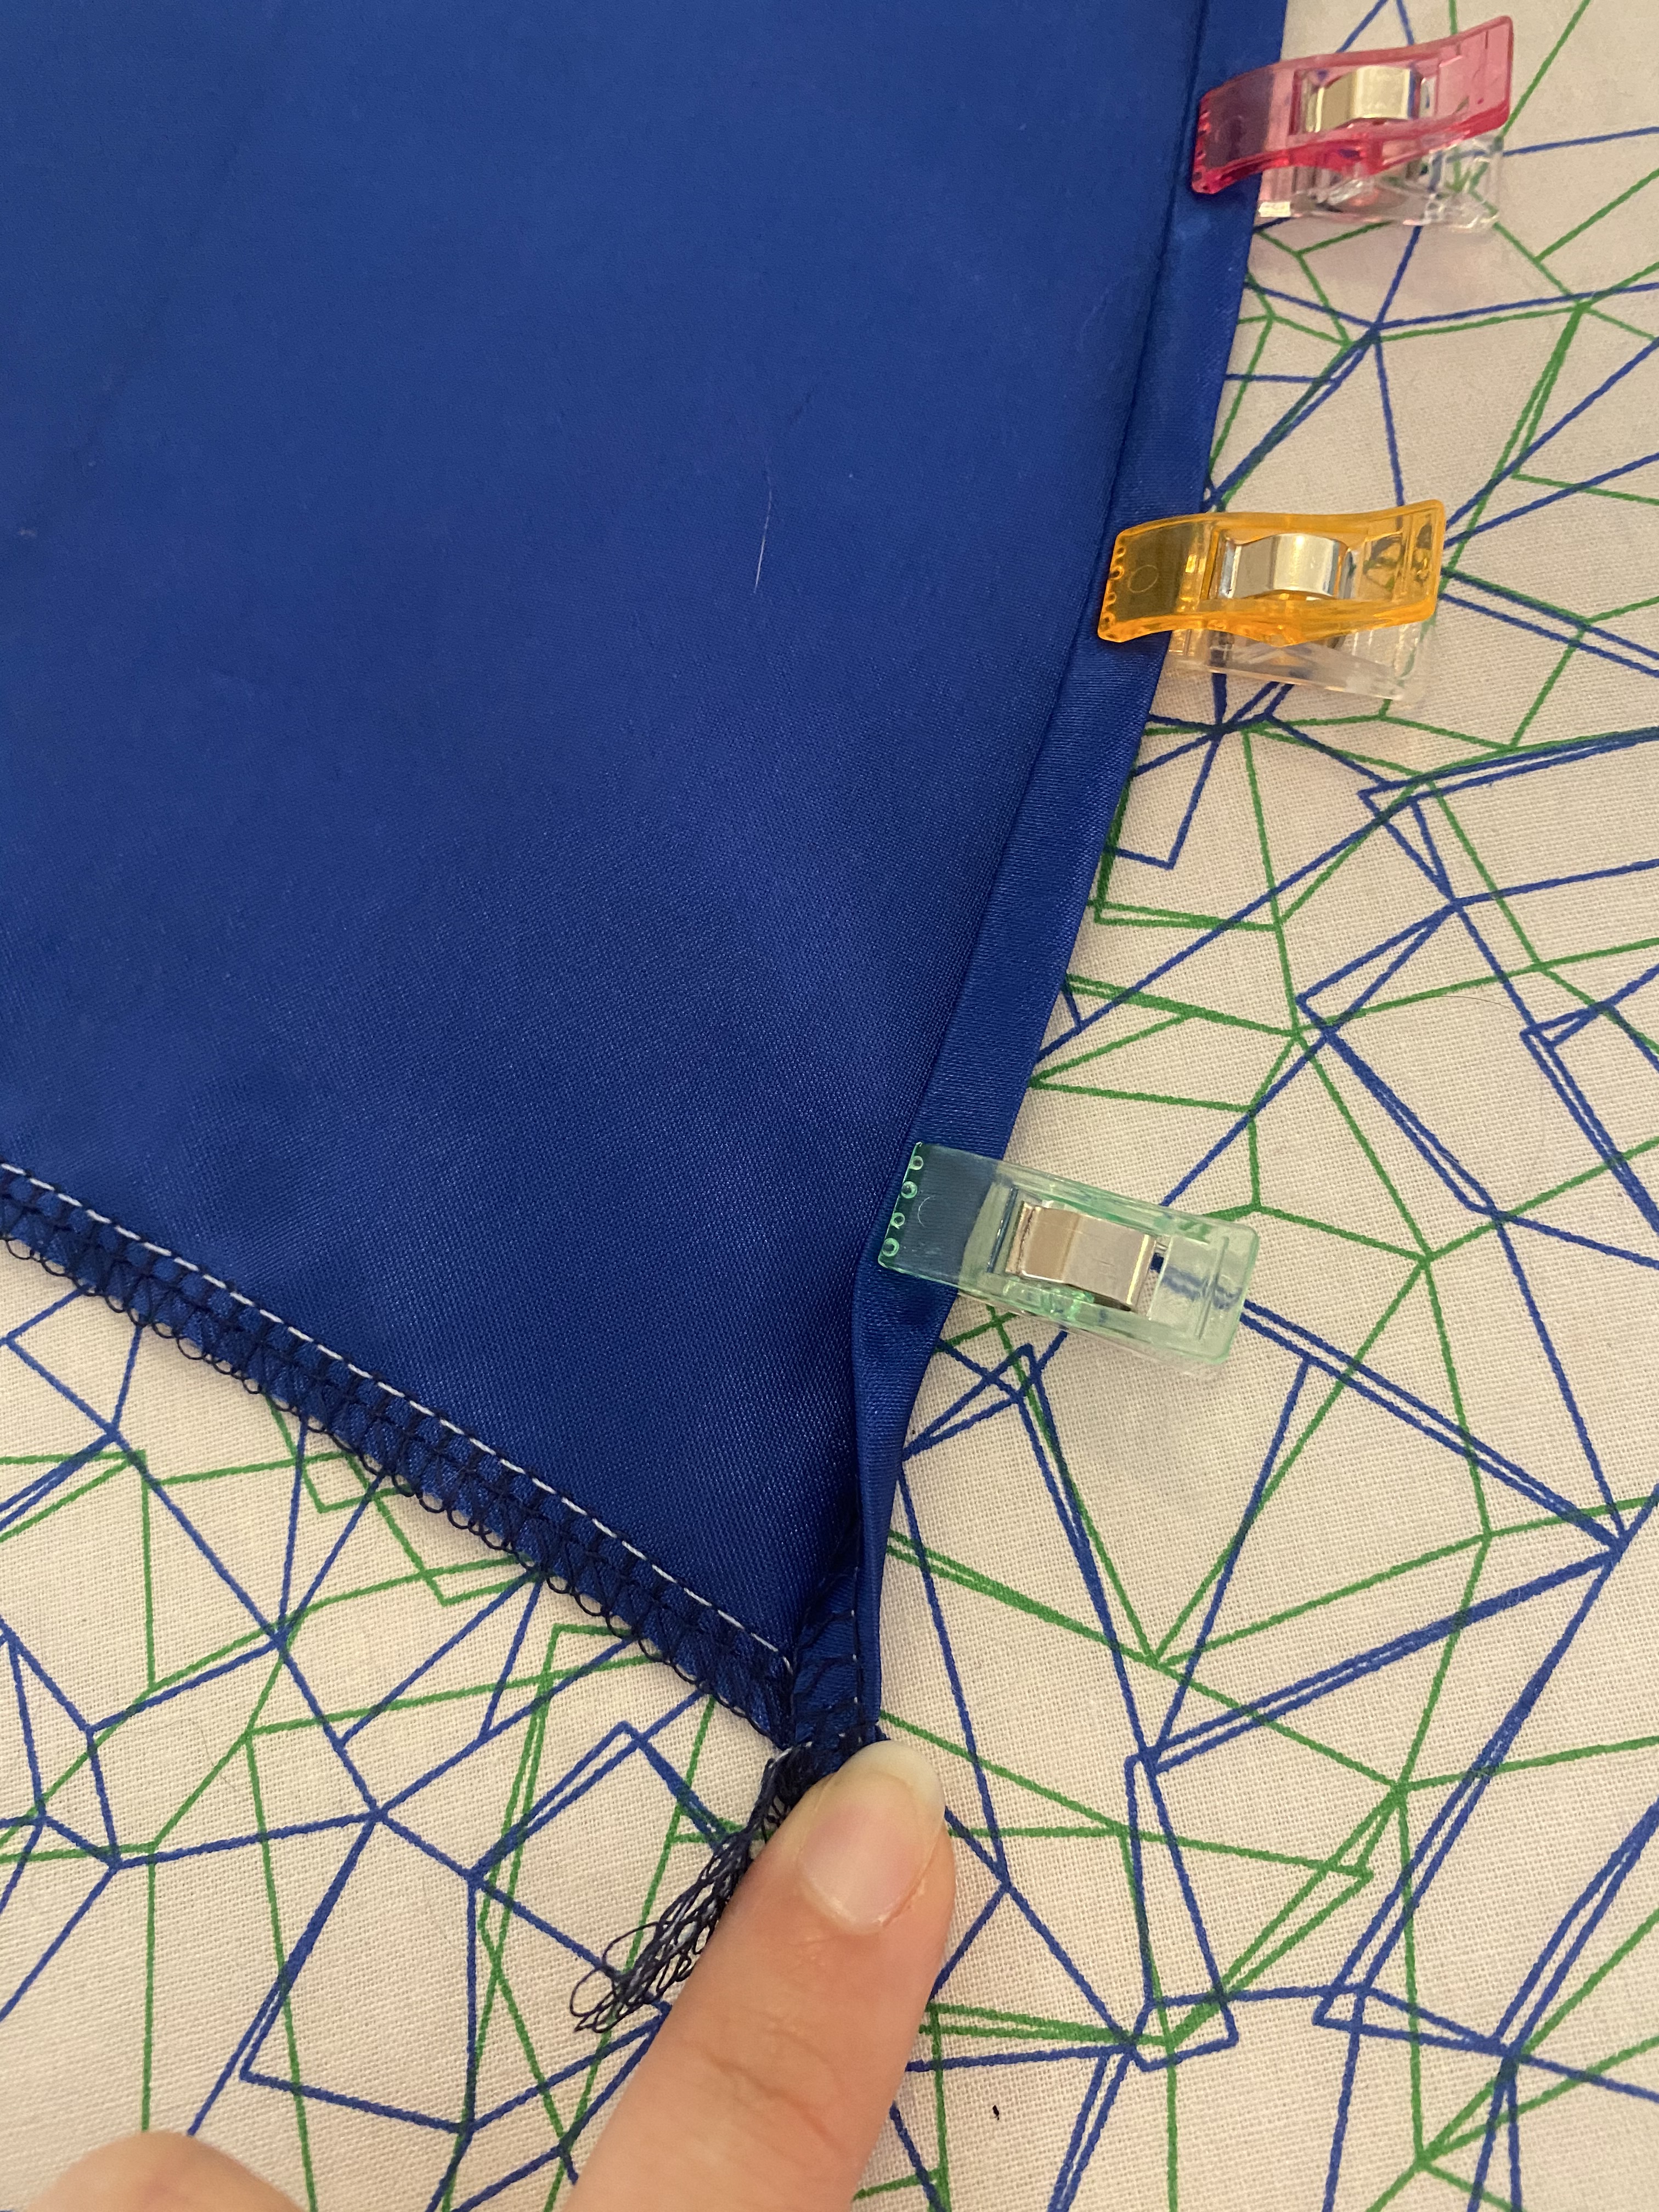
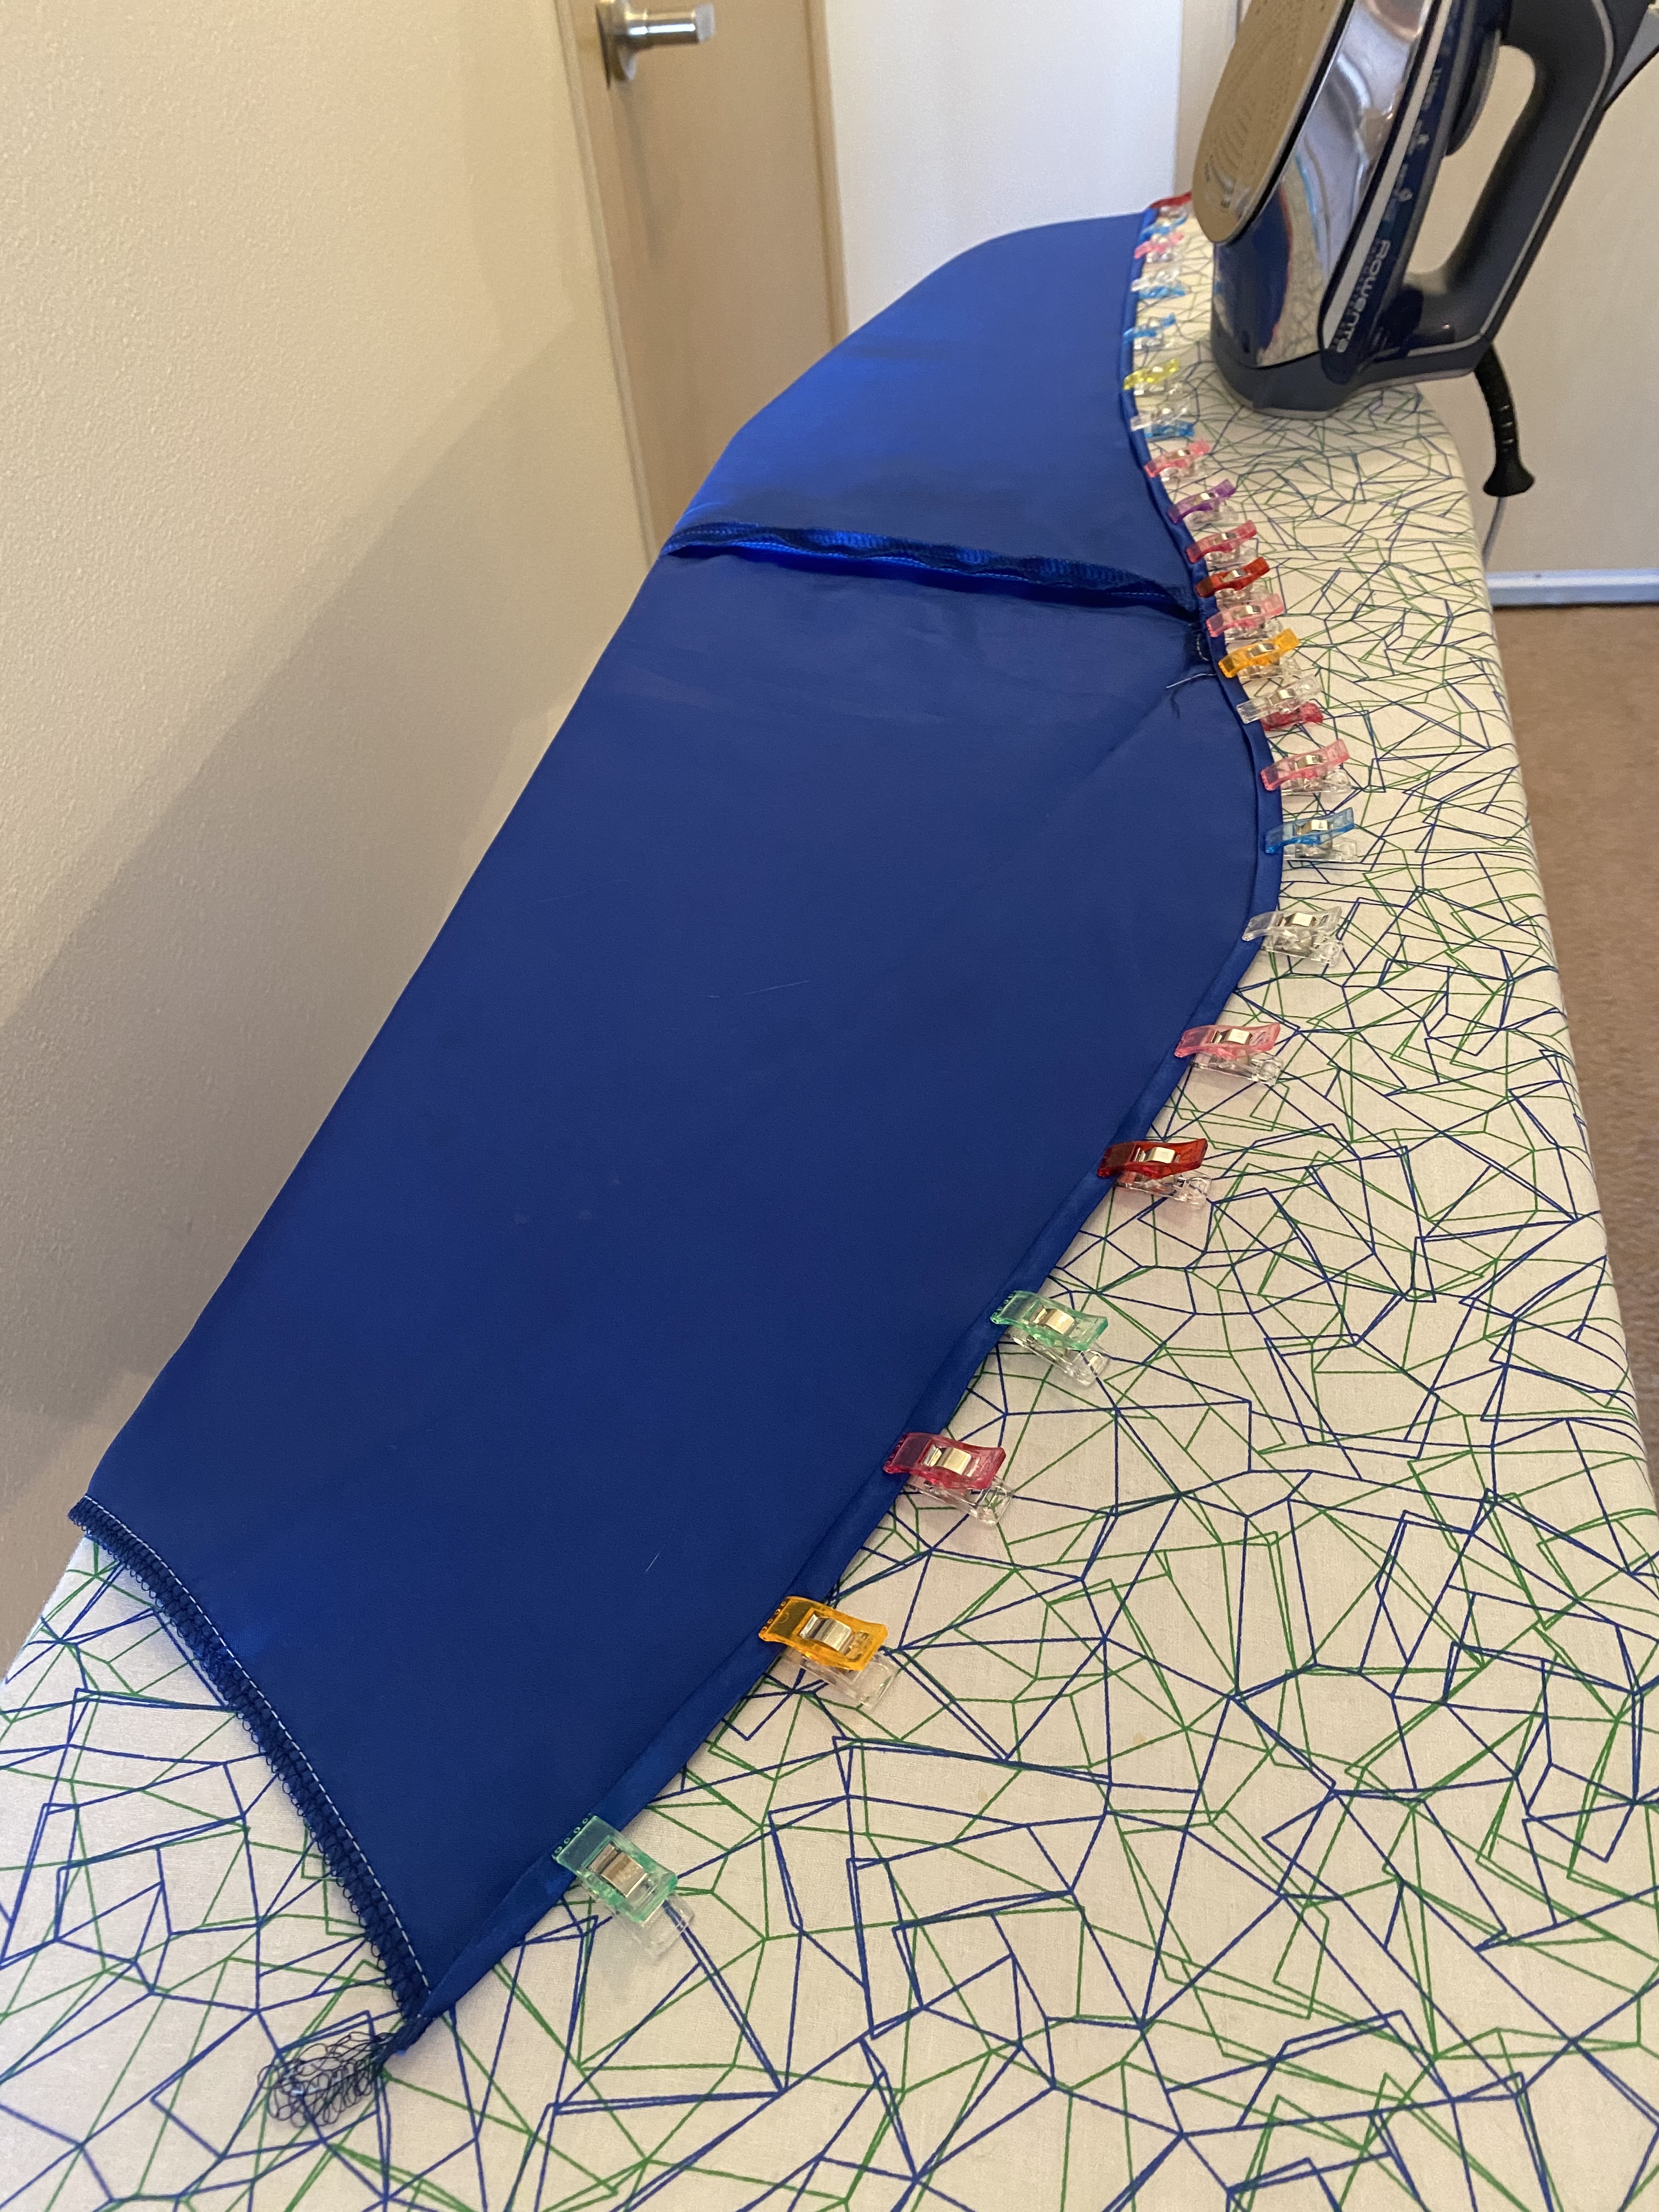
Between the layers of the center panel and bias tape, even stitching on my heavy duty machine was very difficult. The bias tape was simply too stiff. Luckily this helped to structure the neckline, but would not due for the hem. I very carefully hemmed the skirt edge with a narrow rolled hem using the lowest setting on my iron so as to not melt the fabric. Quilting clips were essential for this process.
With the overdress stitched, the fit issues returned, similar as was apparent with the main dress. Here, the costume designer again helped me with some creative dart applications in addition to another major alteration at the shoulder to compensate for the gapping at the front from the weight of the boning with no gathered pigeon breast style.
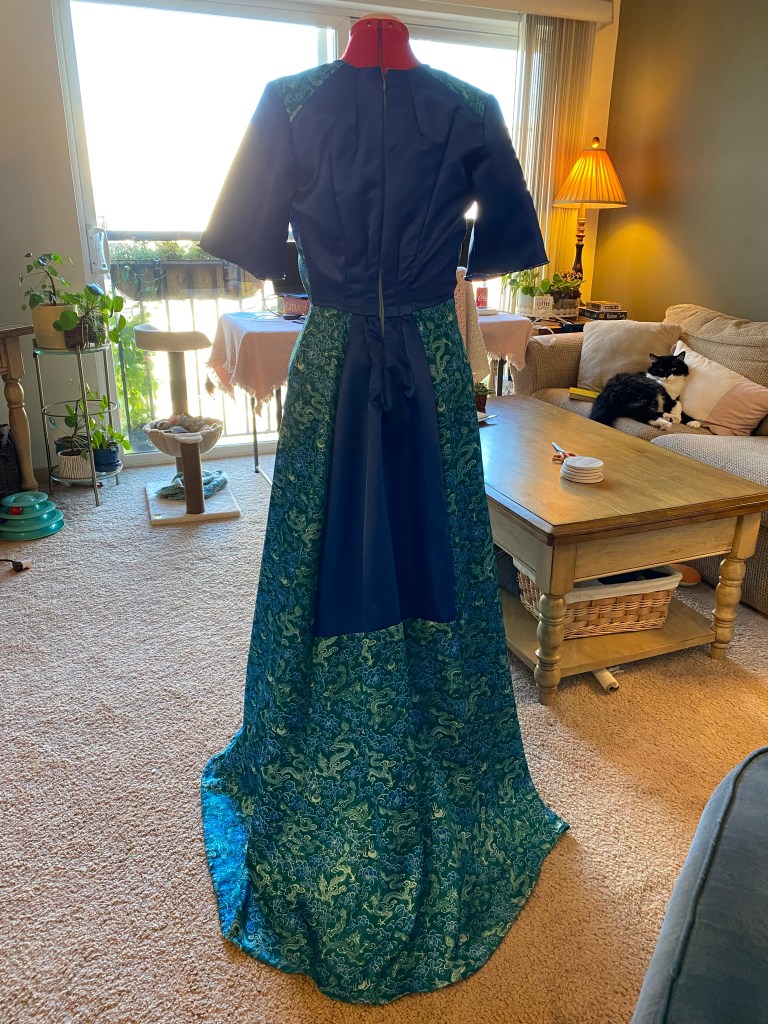
The overdress bodice with excessive bulk before alteration. 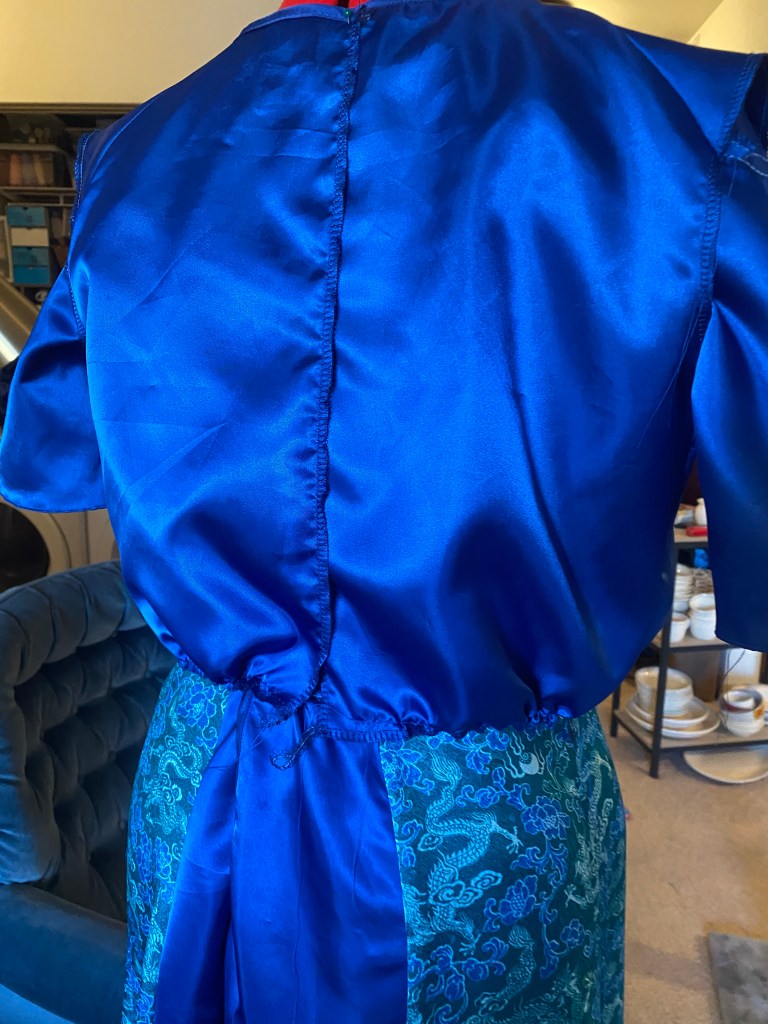
Again, the excess bulk of the bodice is visible from the back. Though, this bulk would have draped in a more pleasant, period appropriate way with a lighter weight material.
Fit issues aside, the skirt is slightly gathered since I removed volume in the cutting process and stitched to the bodice. The overdress was finished at the back with the bias tape and hook and eye closures from neck to waist line. The skirt portion is left open at the center back and finished with a tiny rolled hem.
With the garment constructed, I could begin the fun part of adding beading to hide the many, many mistakes and oddities of the overdress. I’ll admit, I went a bit overboard with beading, but had so much dang fun with it!
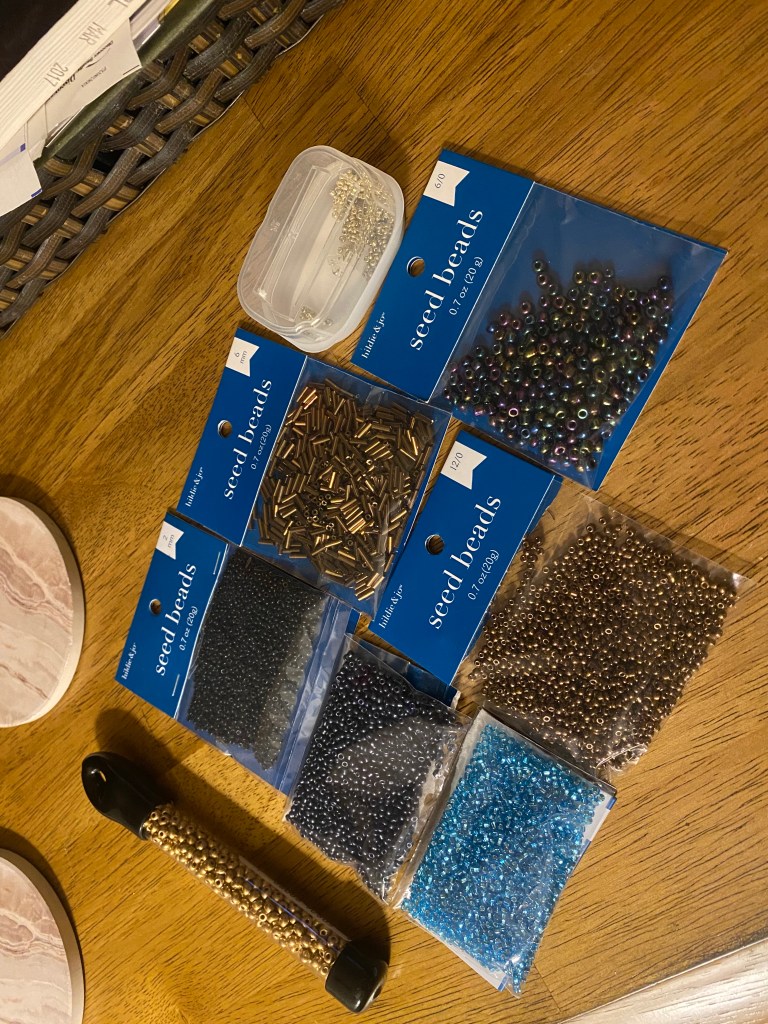
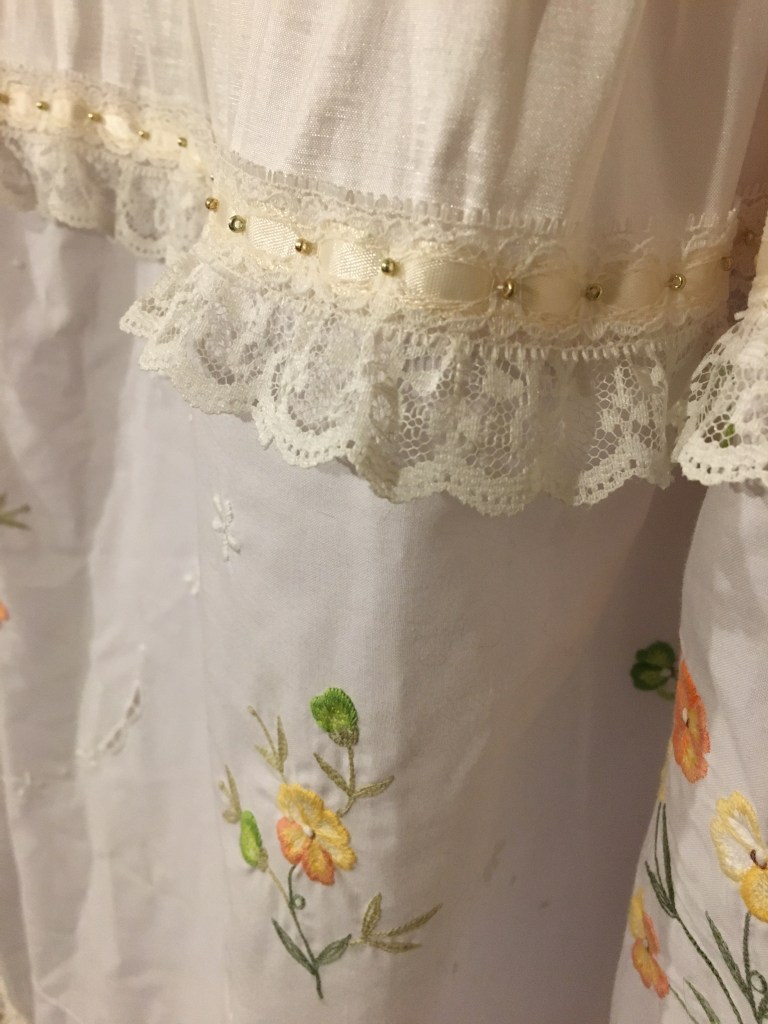
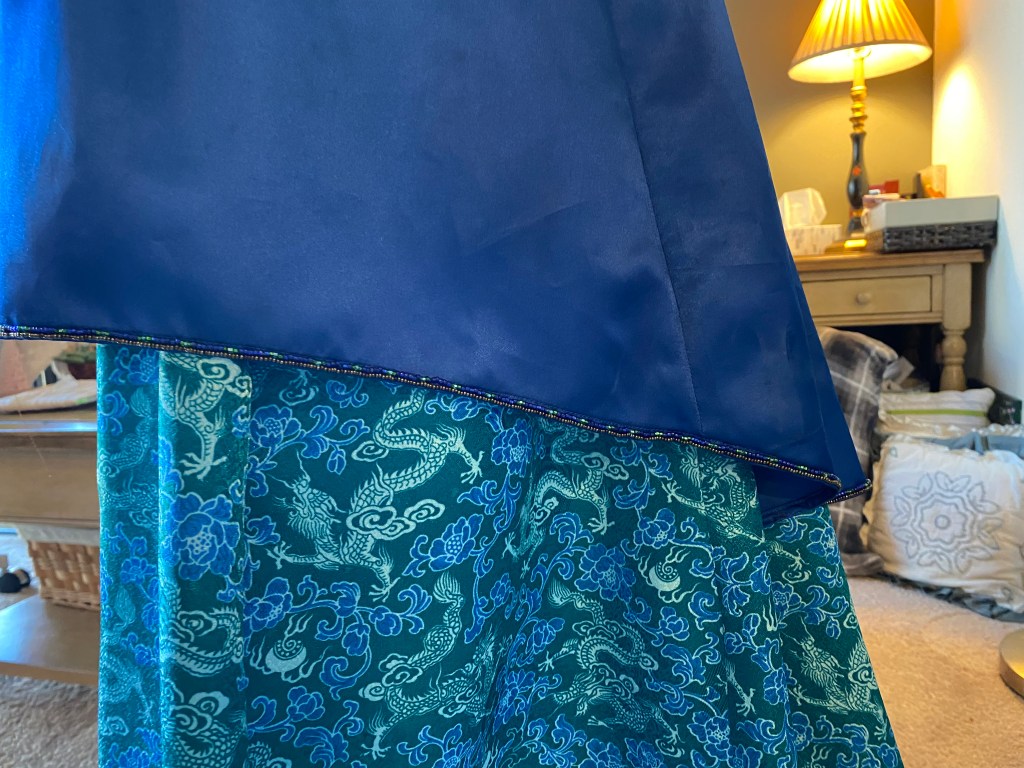
My beads consisted of a selection of copper, navy, turquoise, gold, green, black, and iridescent (in peacock jewel tones of course). I began by adding symmetrical lines of beads along the bias tape finish of the front side panels to hid the top stitching. I also added beaded lines to the light blue applique to mimic the curve of peacock feathers.
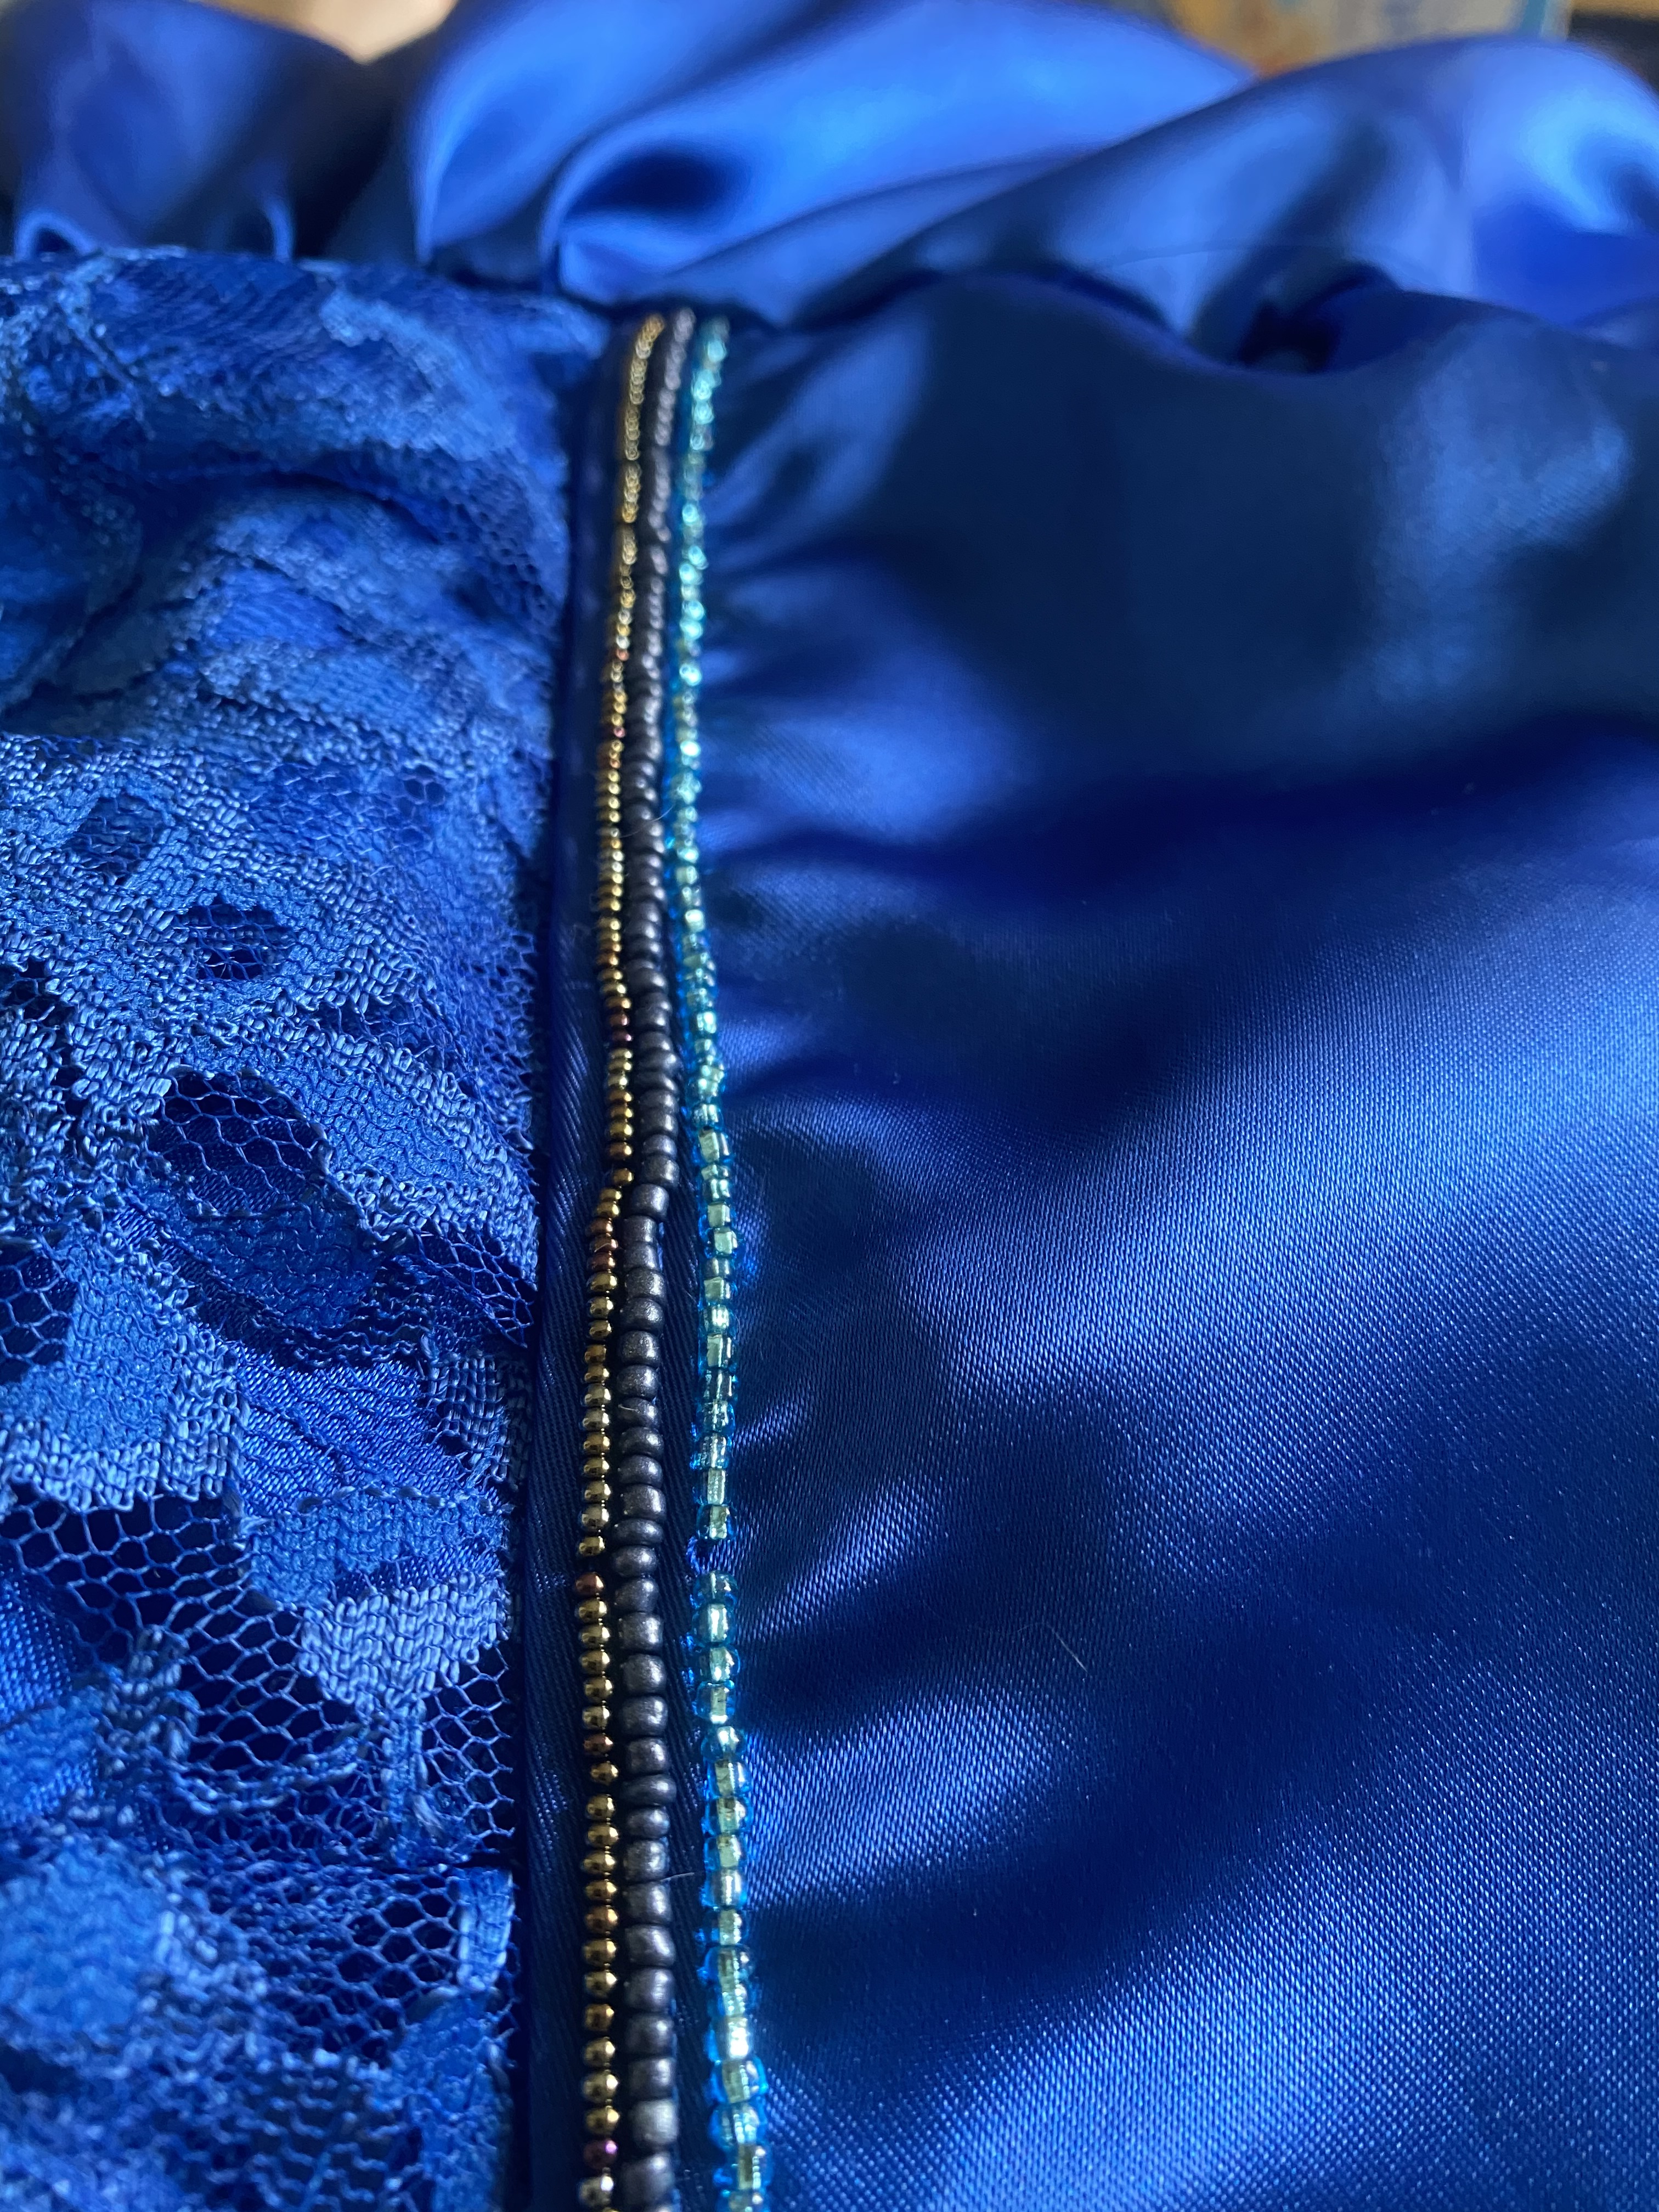
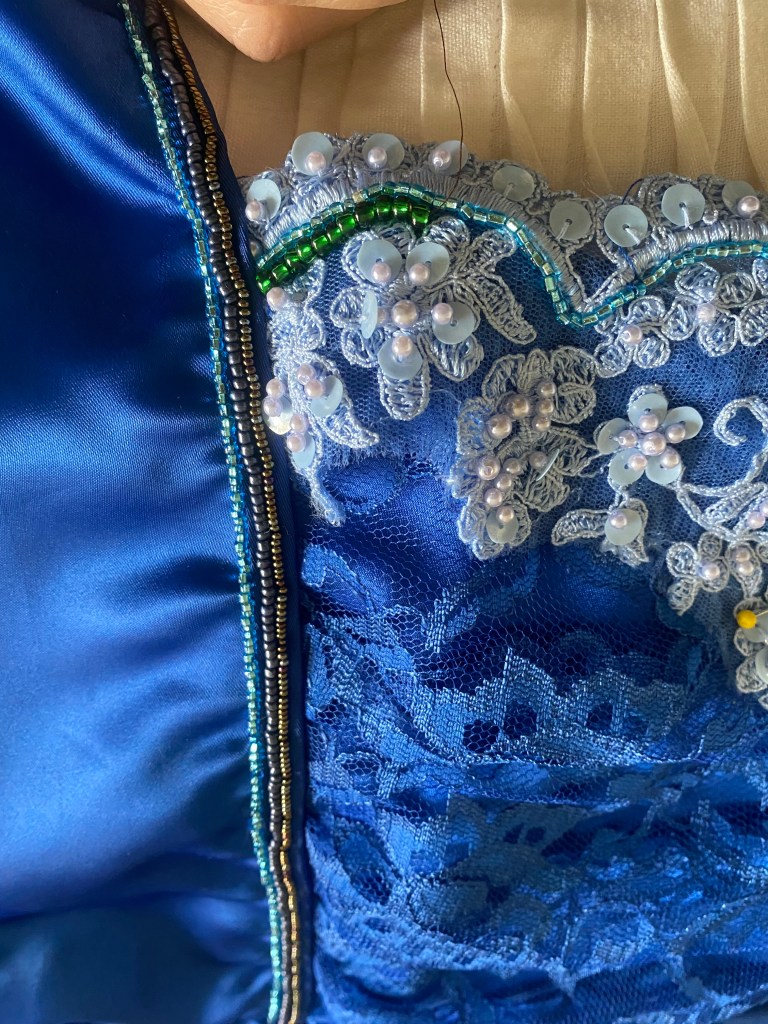

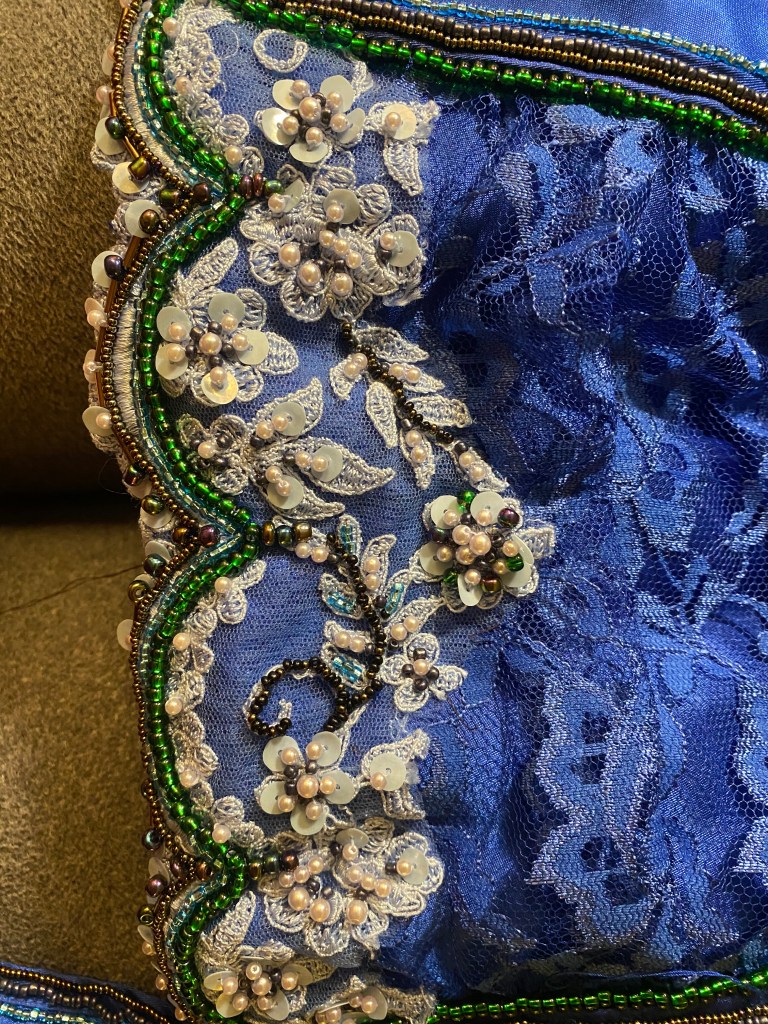
This then grew to include beading within the applique to give definition to the pattern and help with blending the bright, light blue with the sapphire of the bodice. I also added beads to the sapphire blue lace portion to give it just a bit more sparkle under the lights.

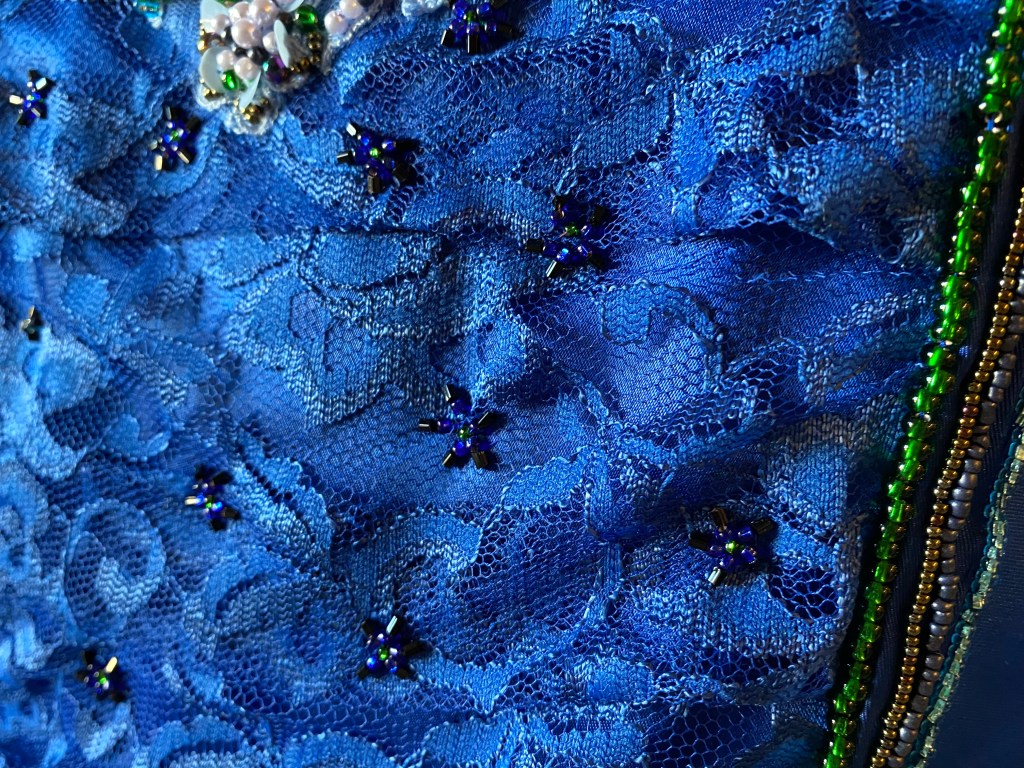
Since I still had a couple days until the show with all hems and closures finished, I also added two rows of beading to the hem of the overdress to hid the top stitching of the hemline (again). I almost ran out of the multicolored copper beads I began this work with, and had to use a mixture of the black, navy, and larger dark gold beads mixed with the copper to make it around the much larger hem than I anticipated. The lesson I learned here was to always have extra beads on hand. In all, the beading took about a week to complete and consisted of 14 different types of beads sourced from my stash, Joann’s, thrift stores, and Hobby Lobby. I kinda went overboard, but absolutely adored the glitter.
Because I was on a roll, I also added a row of blue, turquoise, and green beads to the neckline and sleeve hems of the main dress. All the sparkle!

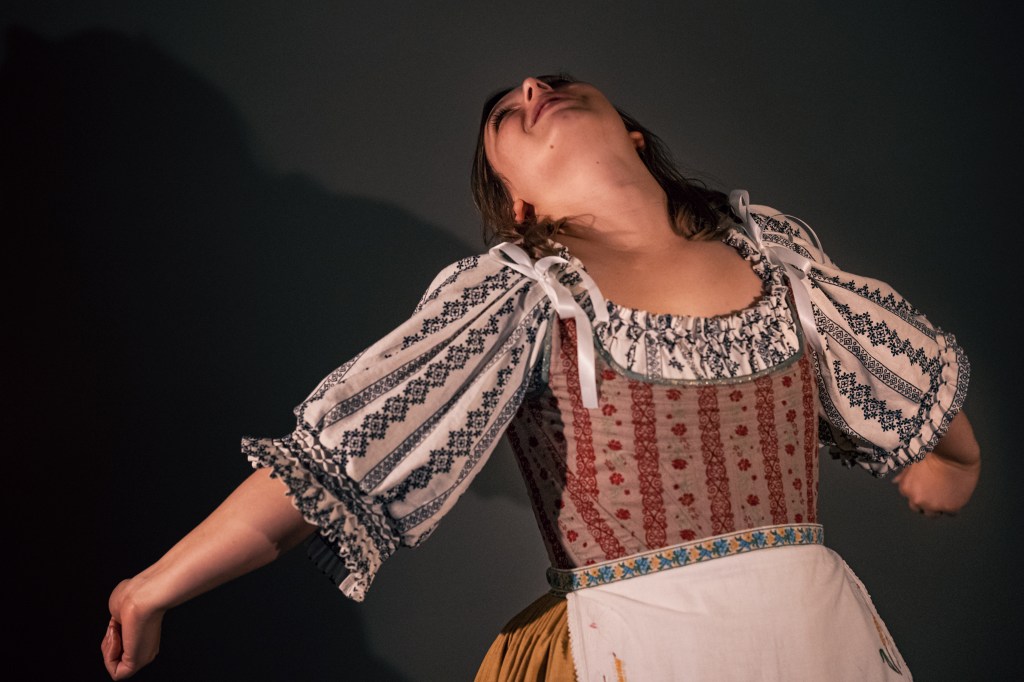
The gown was complete and Mrs. Juno could come to life on stage. In total, the outfit consisted of the chemise, corset, gown, and overdress, trimmed with a belt, evening gloves, and more jewels than I care to count. It was absolutely exquisite and a good learning experience in using available materials on a tight timeline. I would never have been able to put that much time or effort into an entire production worth of costumes, but am more than pleased to have been able to do the single outfit for myself.
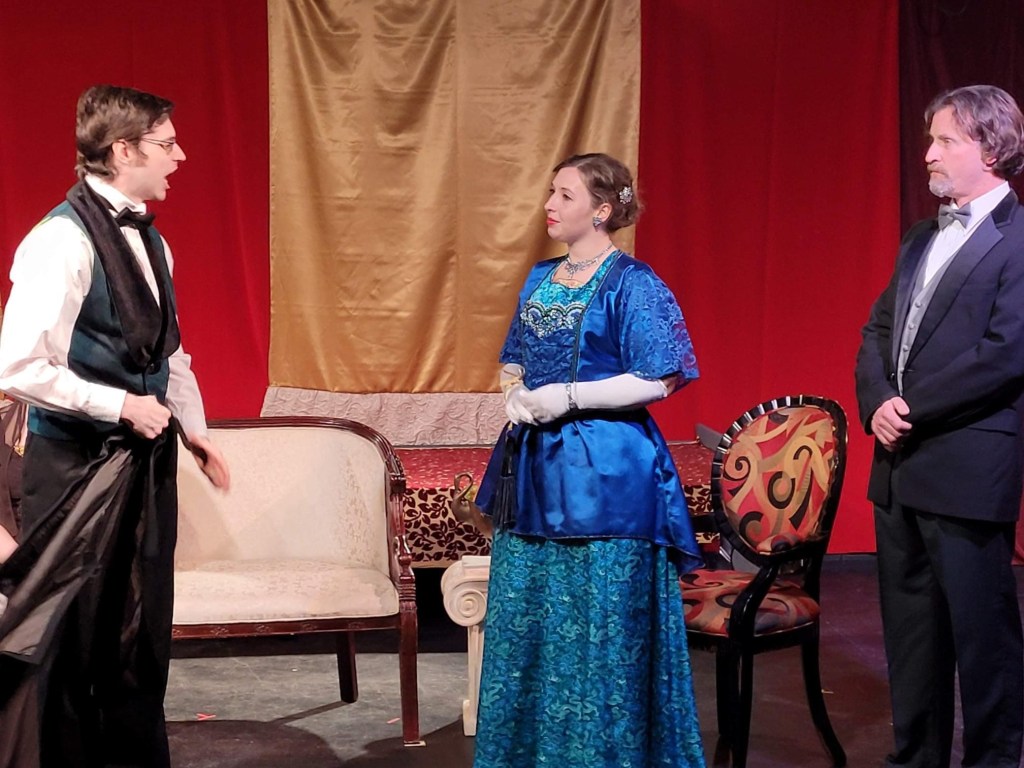


In the end, there are many things I love and many things I’d like another go at. Looking at the productions photos, the fit still wasn’t quite right in the bodice and proportions of the shortened overskirt weren’t quite right as I suspected they would be. The sleeves were too long and don’t drape as well as they should. But these are all lessons learned for the next project and mistakes I hope others can adjust for in their work. It’s a great pattern for a quick build, but in doing it quick I didn’t take the time to think through issues and period accuracy. I’d love to give this pattern another go and think I will in the future. Just have to finish a few other projects first!


And at the end of the day, a project that would have required at least 15 yards of raw materials was completed from a repurposed dress and theatrical kimono that otherwise would’ve never seen the light of day again. All that was left at when the dress was complete amounted to maybe a half yard of material in strips of remnants. A sustainable upcycling job done well!