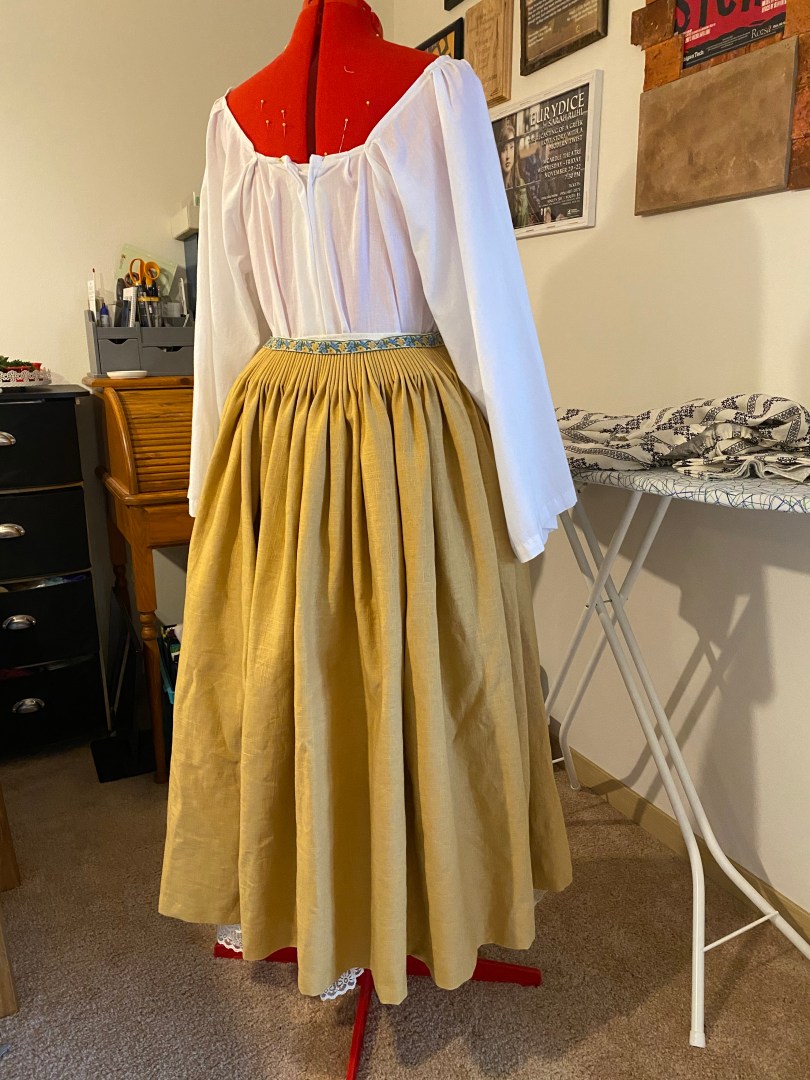
As discussed in my previous posts, the concept behind the Goose Girl garment is to have a coarser peasant look on the outside layers with more delicate layers hidden underneath. This mirrors the story of The Goose Girl as she hides her royal identity while working in the Prince’s kingdom. With the delicately embroidered petticoat finished, I could start work on the coarse peasant skirt.
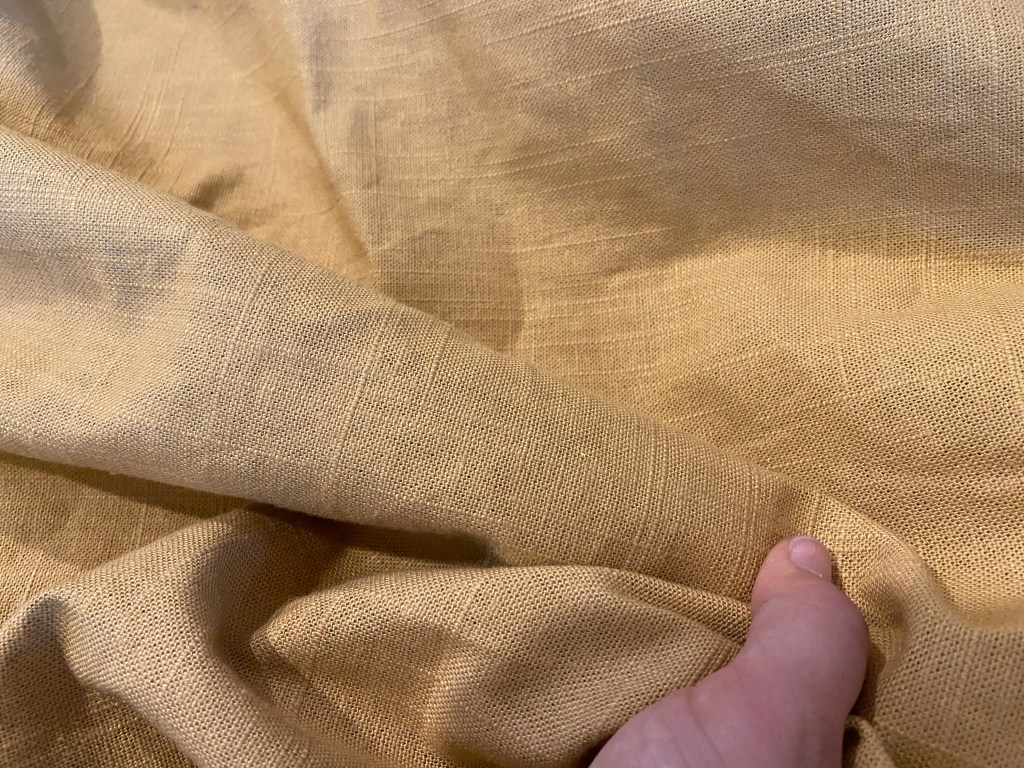
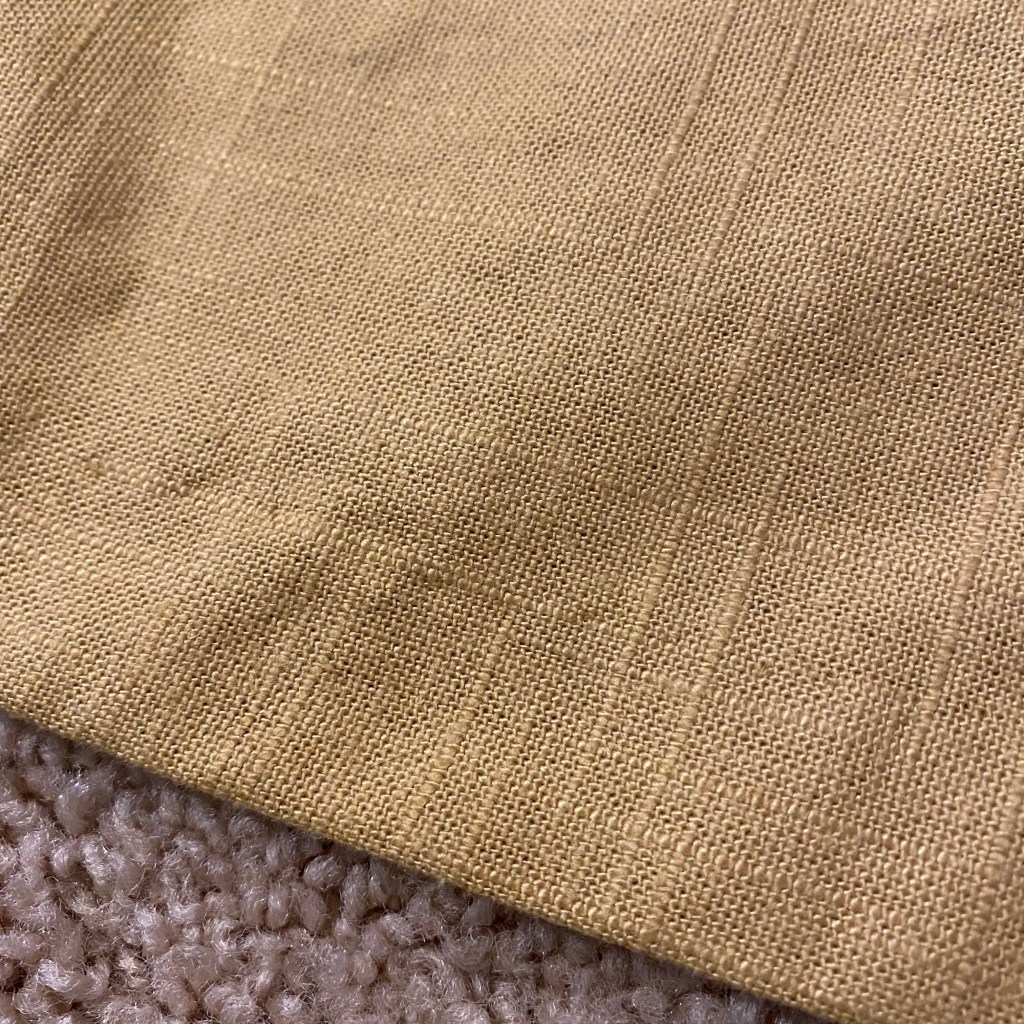
My original design concept had the skirt drafted in blue as is described in Shannon Hale’s rendition of the story. In shopping for fabric, I stumbled upon a roll of coarse 100% linen home decor fabric on clearance at Joanns. However, it was goldenrod yellow rather than blue. The material was too good of a deal to pass up on though, and it helped that the tone of the yellow perfectly complemented the fabric of the stay already constructed.
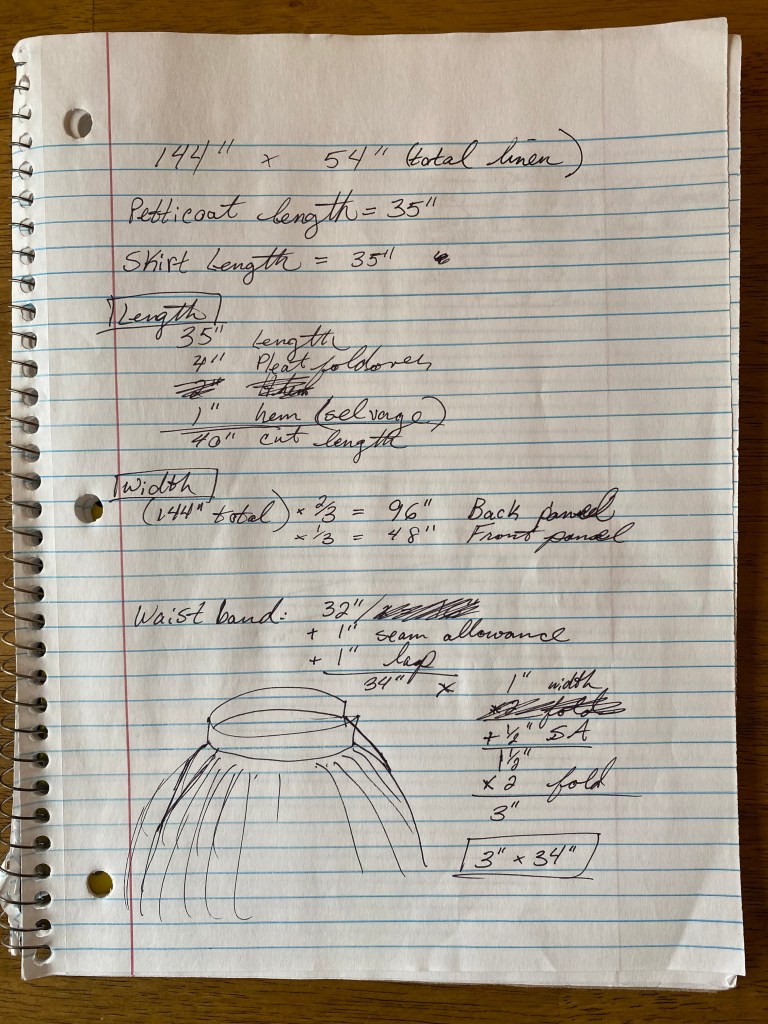
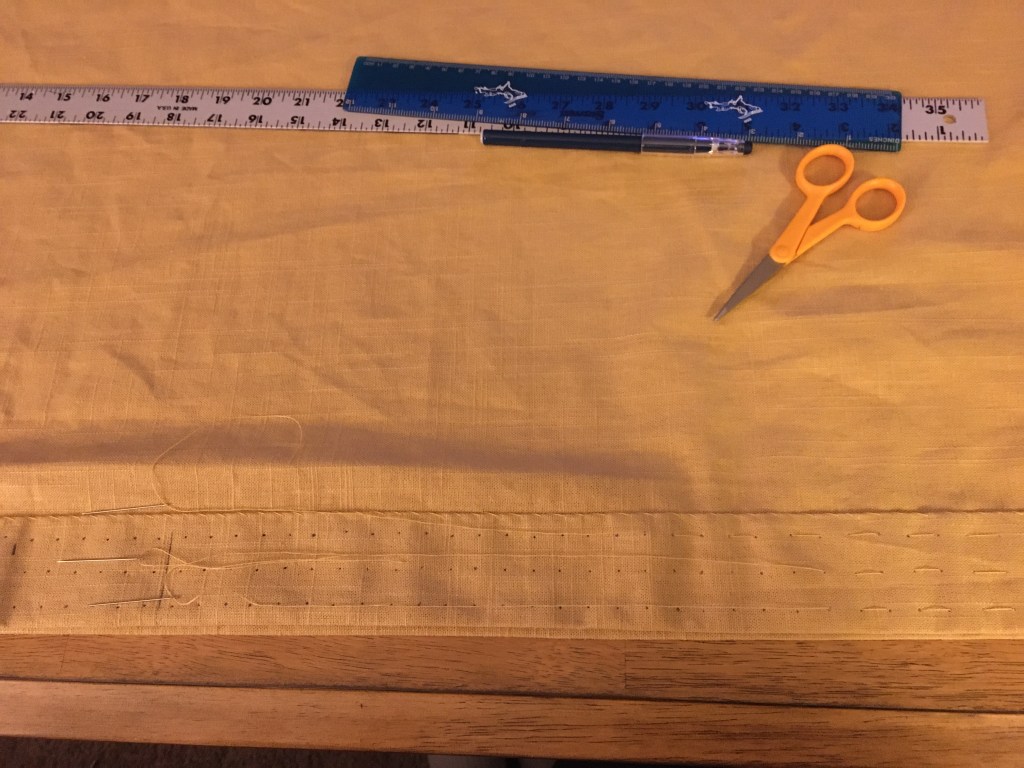
In plotting the draft of the skirt, I planned to use similar dimensions as with the petticoat. Since it is home decor fabric, I was able to get 4 yards of material at 60” in width which gave me a bit more volume to work with. Overall, in looking at paintings and fashion plates from my time period, I wanted more fullness in the back than the front. I also wanted to mirror the flat center front, bound by pleats as I had achieved in the petticoat. To do this, I used ⅔ (96”) of the original length as the back panel and ⅓ (48”) for the front. In hindsight, I could have kept it all as one piece and only had one seam at the back or side. Live and learn.
The length of the skirt was based on the length of the petticoat plus 4” for folding over the top for the pleating and 1” for the hem. I planned to use the selvage on the hem line to save on a bit of finishing time.
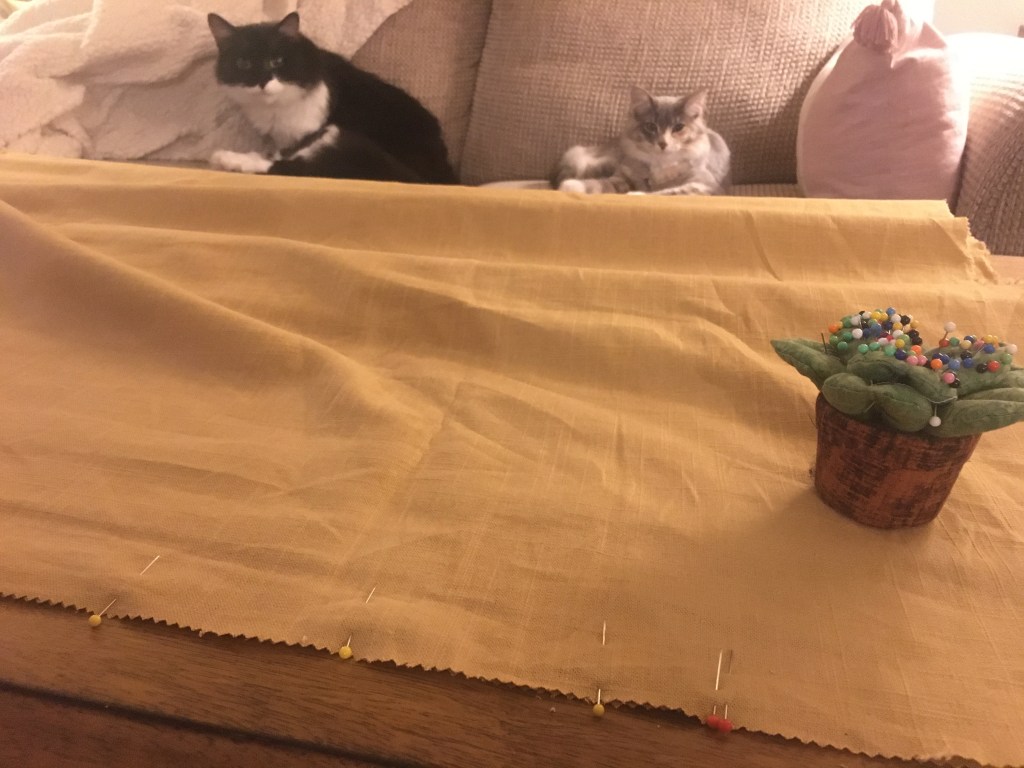
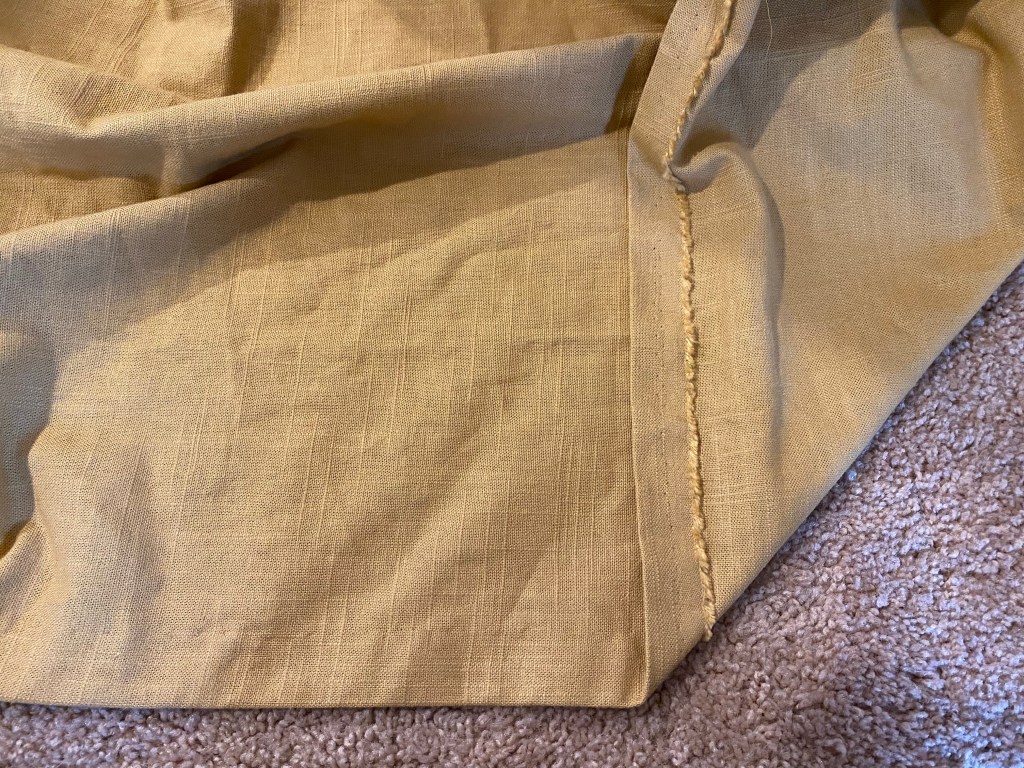
The front and back panels were finished by cutting with pinking shears and then machine stitched together using heavy duty thread due to the weight of the fabric. I used polyester thread in a matching color and a large stitch length. Both sides were stitched to 8” below the top to allow for closures.
The 1” hem and top fold over were ironed to make stitching easier and felled with an extremely tiny prick stitch. I took advantage of the selvage on the hem so I would only have to fold it once and thus saved on excessive bulk.
I tried taking only one or two threads from the front fabric since my thread wasn’t an exact match and was visible if stitched through. Since the material was thick already, I did not use an extra bulk layer in the top fold over like was done for the petticoat.

Then began the cartridge pleating process again. I initially draped the skirt on Molly (my “me” sized mannequin) over the petticoat and pinned mock up pleats in place to get a general idea of the depth I would need for the pleats. To do this, I pinned the skirt at the side seams, center front, and center back to the corresponding spots on Molly. Then, each quarter is halved, pinned at the halfway point on Molly. This process is repeated until there is little room left to pin.

This gave me about ½” depths to my pleats for both the front and back. This was different from the petticoat on the front since I had compensated for the 8” flat center front by reducing the panel width. This time, I got smart and made a template out of cardboard with my markings that I could use. The template gives three parallel threads at ½” apart lengthwise and widthwise.
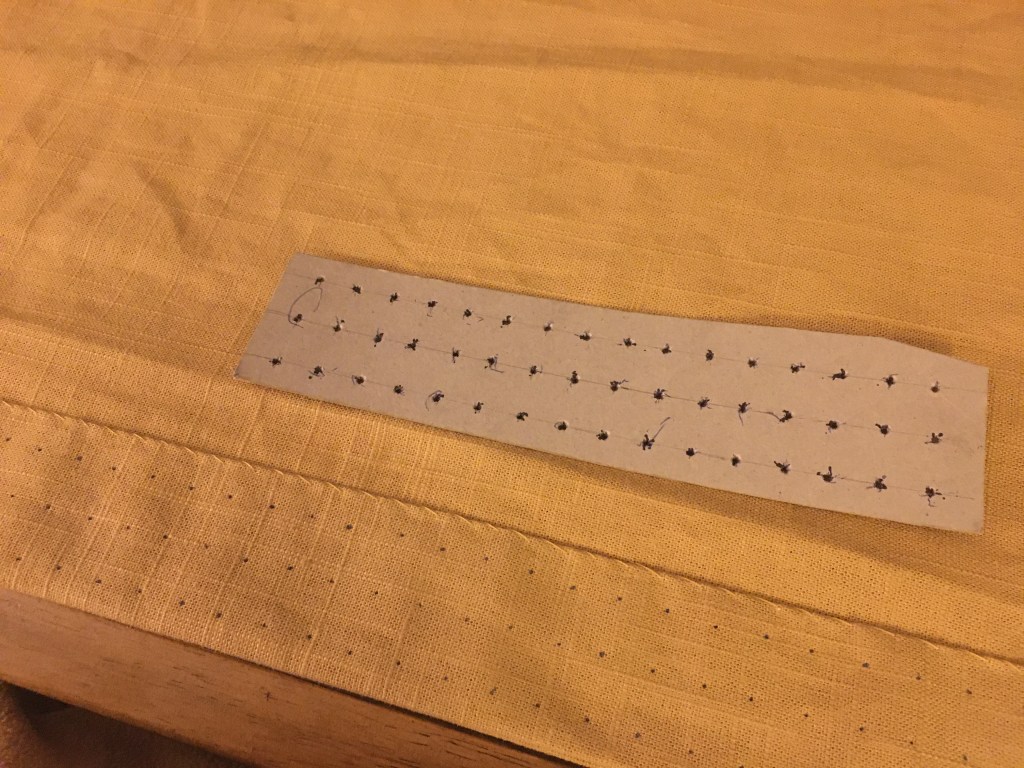
I tried not to think too hard about the pleat depths and width beyond the mock up and template since I would be able to wiggle the width as necessary onto the final waistband.
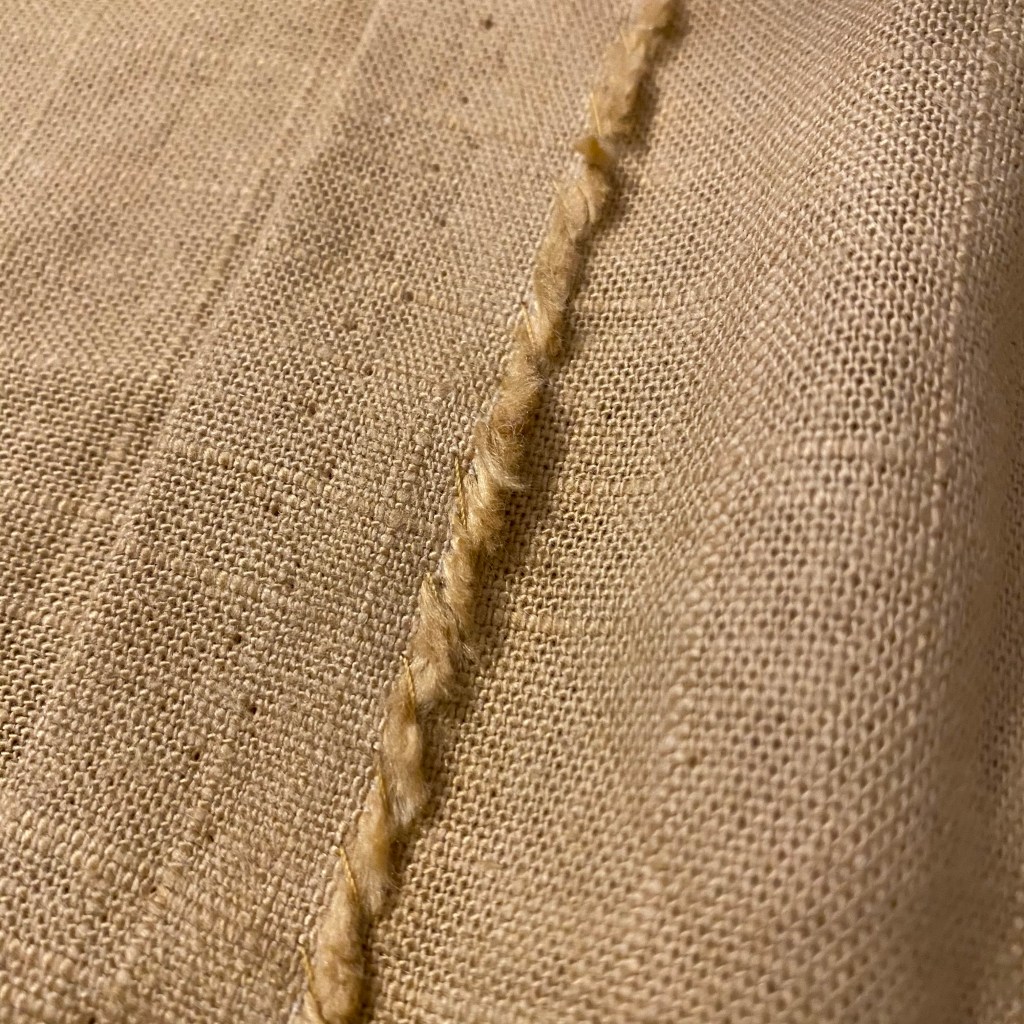
For the pleats, I followed the same method as with the petticoat using thick buttonhole thread in a matching color and stitch running stitches at my marks. These were then pulled and temporarily tied together while I made my waist band
For my waistband, I measured my natural waist while wearing the petticoat since the skirt would need to fit over the extra waistband layer. I then added 3” to this length for finishing and overlap length. Though I had stitched the skirt panels with two side openings, I changed my mind so there would be only one opening at the left side and an overlap to hide the closure.
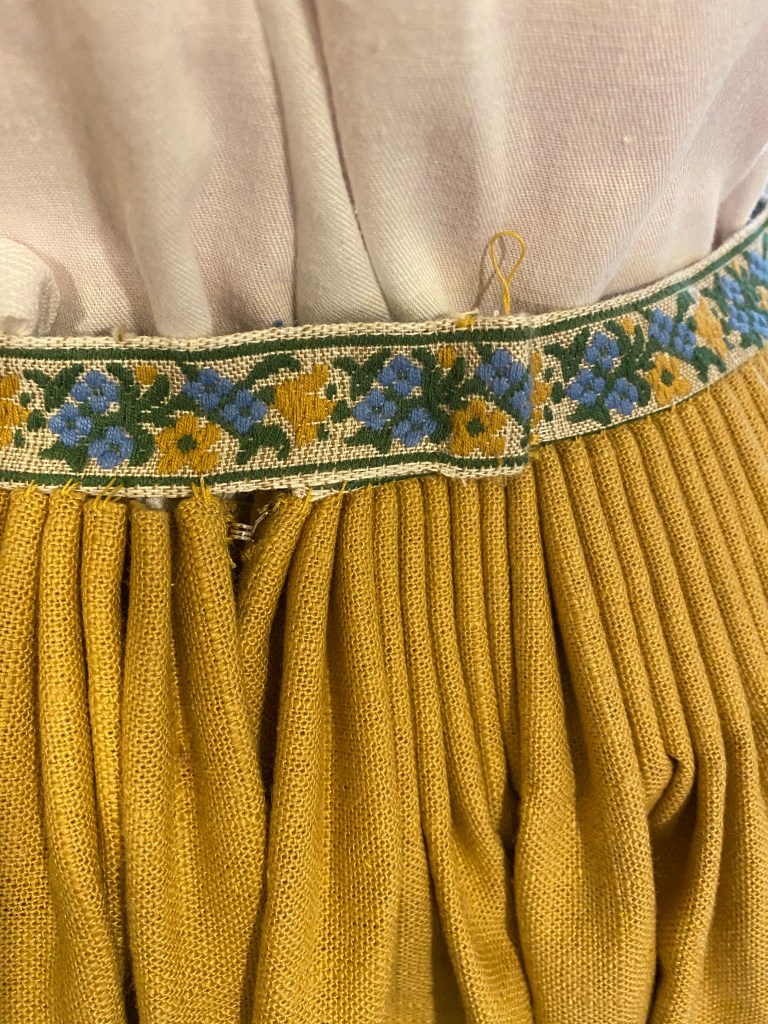
For my waistband, I use the vintage jacquard ribbon from Studio RicRak that I had been originally inspired by. The waistband would eventually be hidden under the stay when worn, but it was a lovely touch and the yellow in the ribbon was an exact match to the skirt color!
Both ends of the ribbon were quickly whip stitched (“felled”) to finish.


I then marked the right side seam point with a red pin, and the beginning of the overlap portion with a blue pin. The finished pleated skirt panels were pinned to the ribbon about every three to five pleats. The back section of pleating ended up being a bit too small, which was remedied by removing the temporary knots in the thread and releasing a bit of tension to expand the pleats to match the waistband.
The pleats and flat front were whip stitched to the ribbon with the heavy duty thread and the extra left side opening was closed. To finish, a skirt slide and bar was added to the overlap, and hook & eyes were added at the top of the side closure and 2” down to keep the cartridge pleats next to the opening tight together when worn.
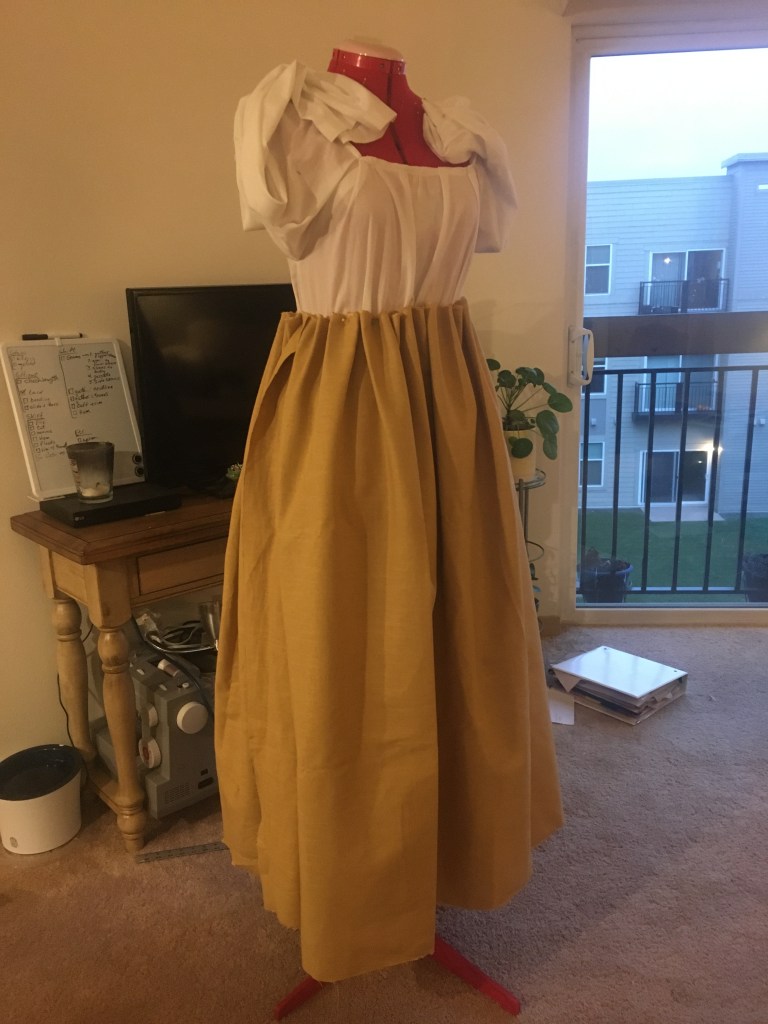
This is where I started backtracking. When put on Molly, the cartridge pleats looked too stiff and perfect. It looked almost Victorian. I also wasn’t happy with the distinct line where the fold over ended due to the third row of stitches to make the pleats.
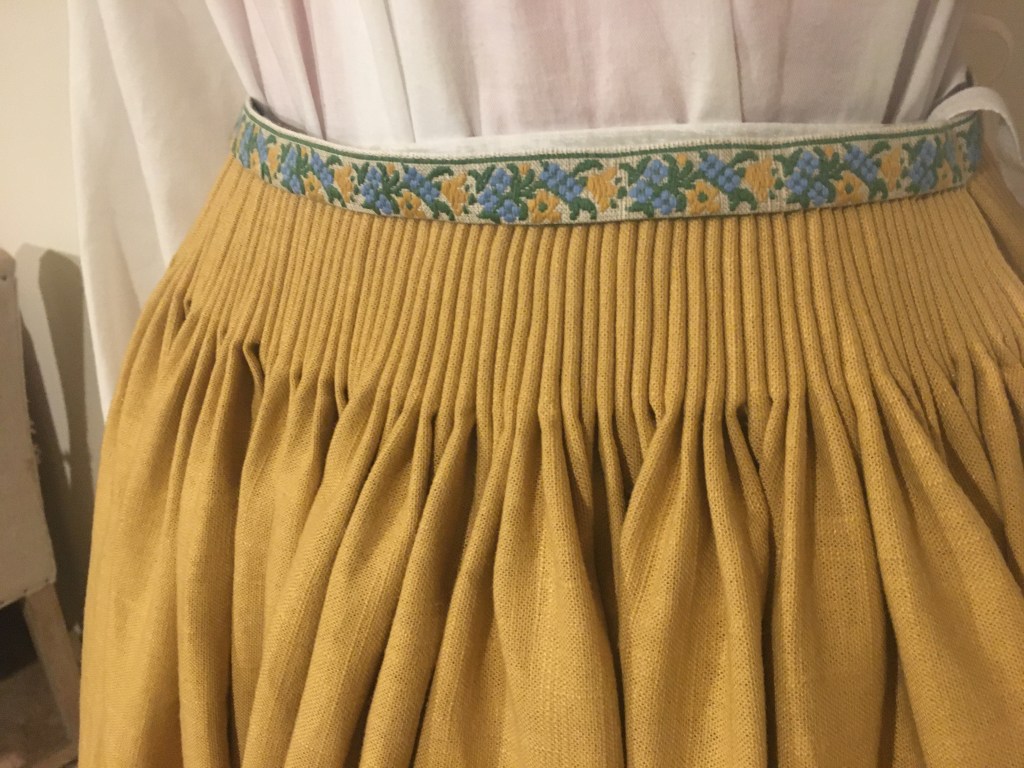
Since my pleats were stitching in place on the waist band, I simply removed the three rows of pleat threads. It was a very subtle change to do this, but I felt the released volume gave a better shape outwards from the hips and rear rather than the tight pleats.
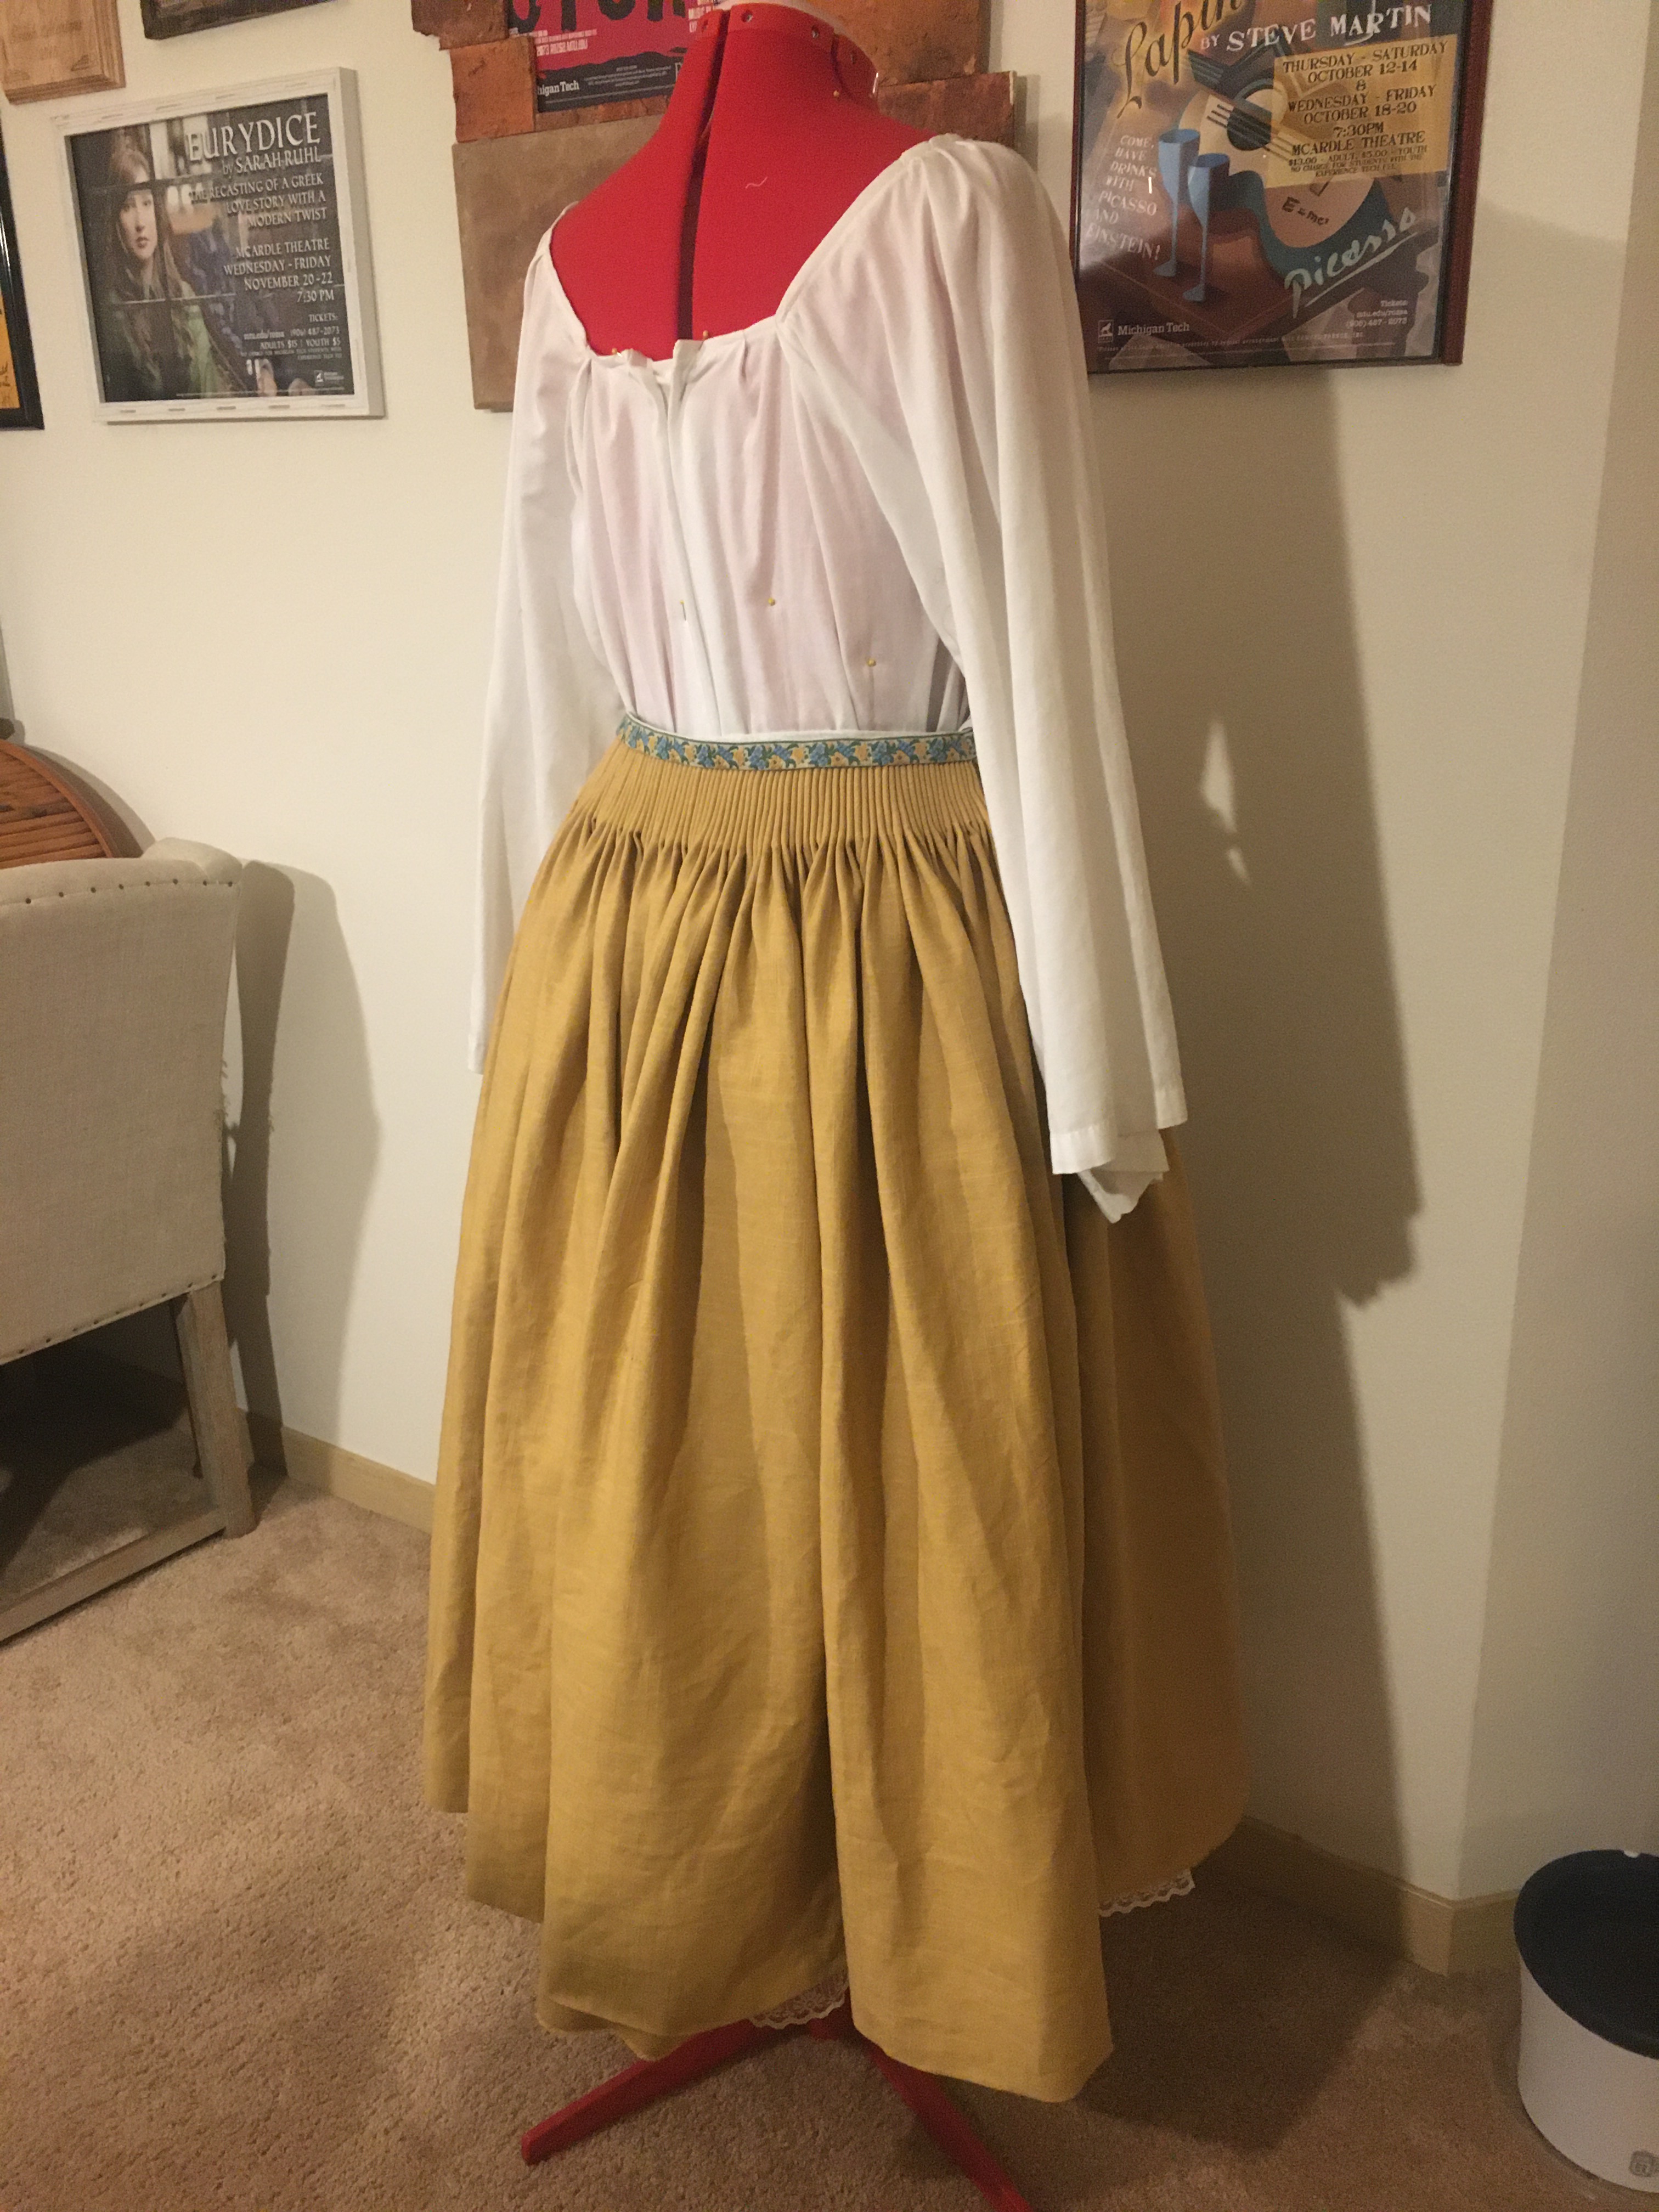

Overall, I was very pleased with the look and how the length allows for the petticoat lace to peak out from under the hem, especially when in movement.
The sheer bulk of the home decor linen did weigh down the garment a bit and I am considering adding a hip-roll to achieve the 17th century look I am designing for.
Check back on the next posts to see where we go from here!

[…] The Goose Girl: Peasant Skirt […]
LikeLike
[…] The Goose Girl: Peasant Skirt […]
LikeLike