
Now that I had completed the structure and fit (See The Goose Girl: Bodice Beginnings to Boning), I could line the stays, finish with binding, and add eyelets and cording.
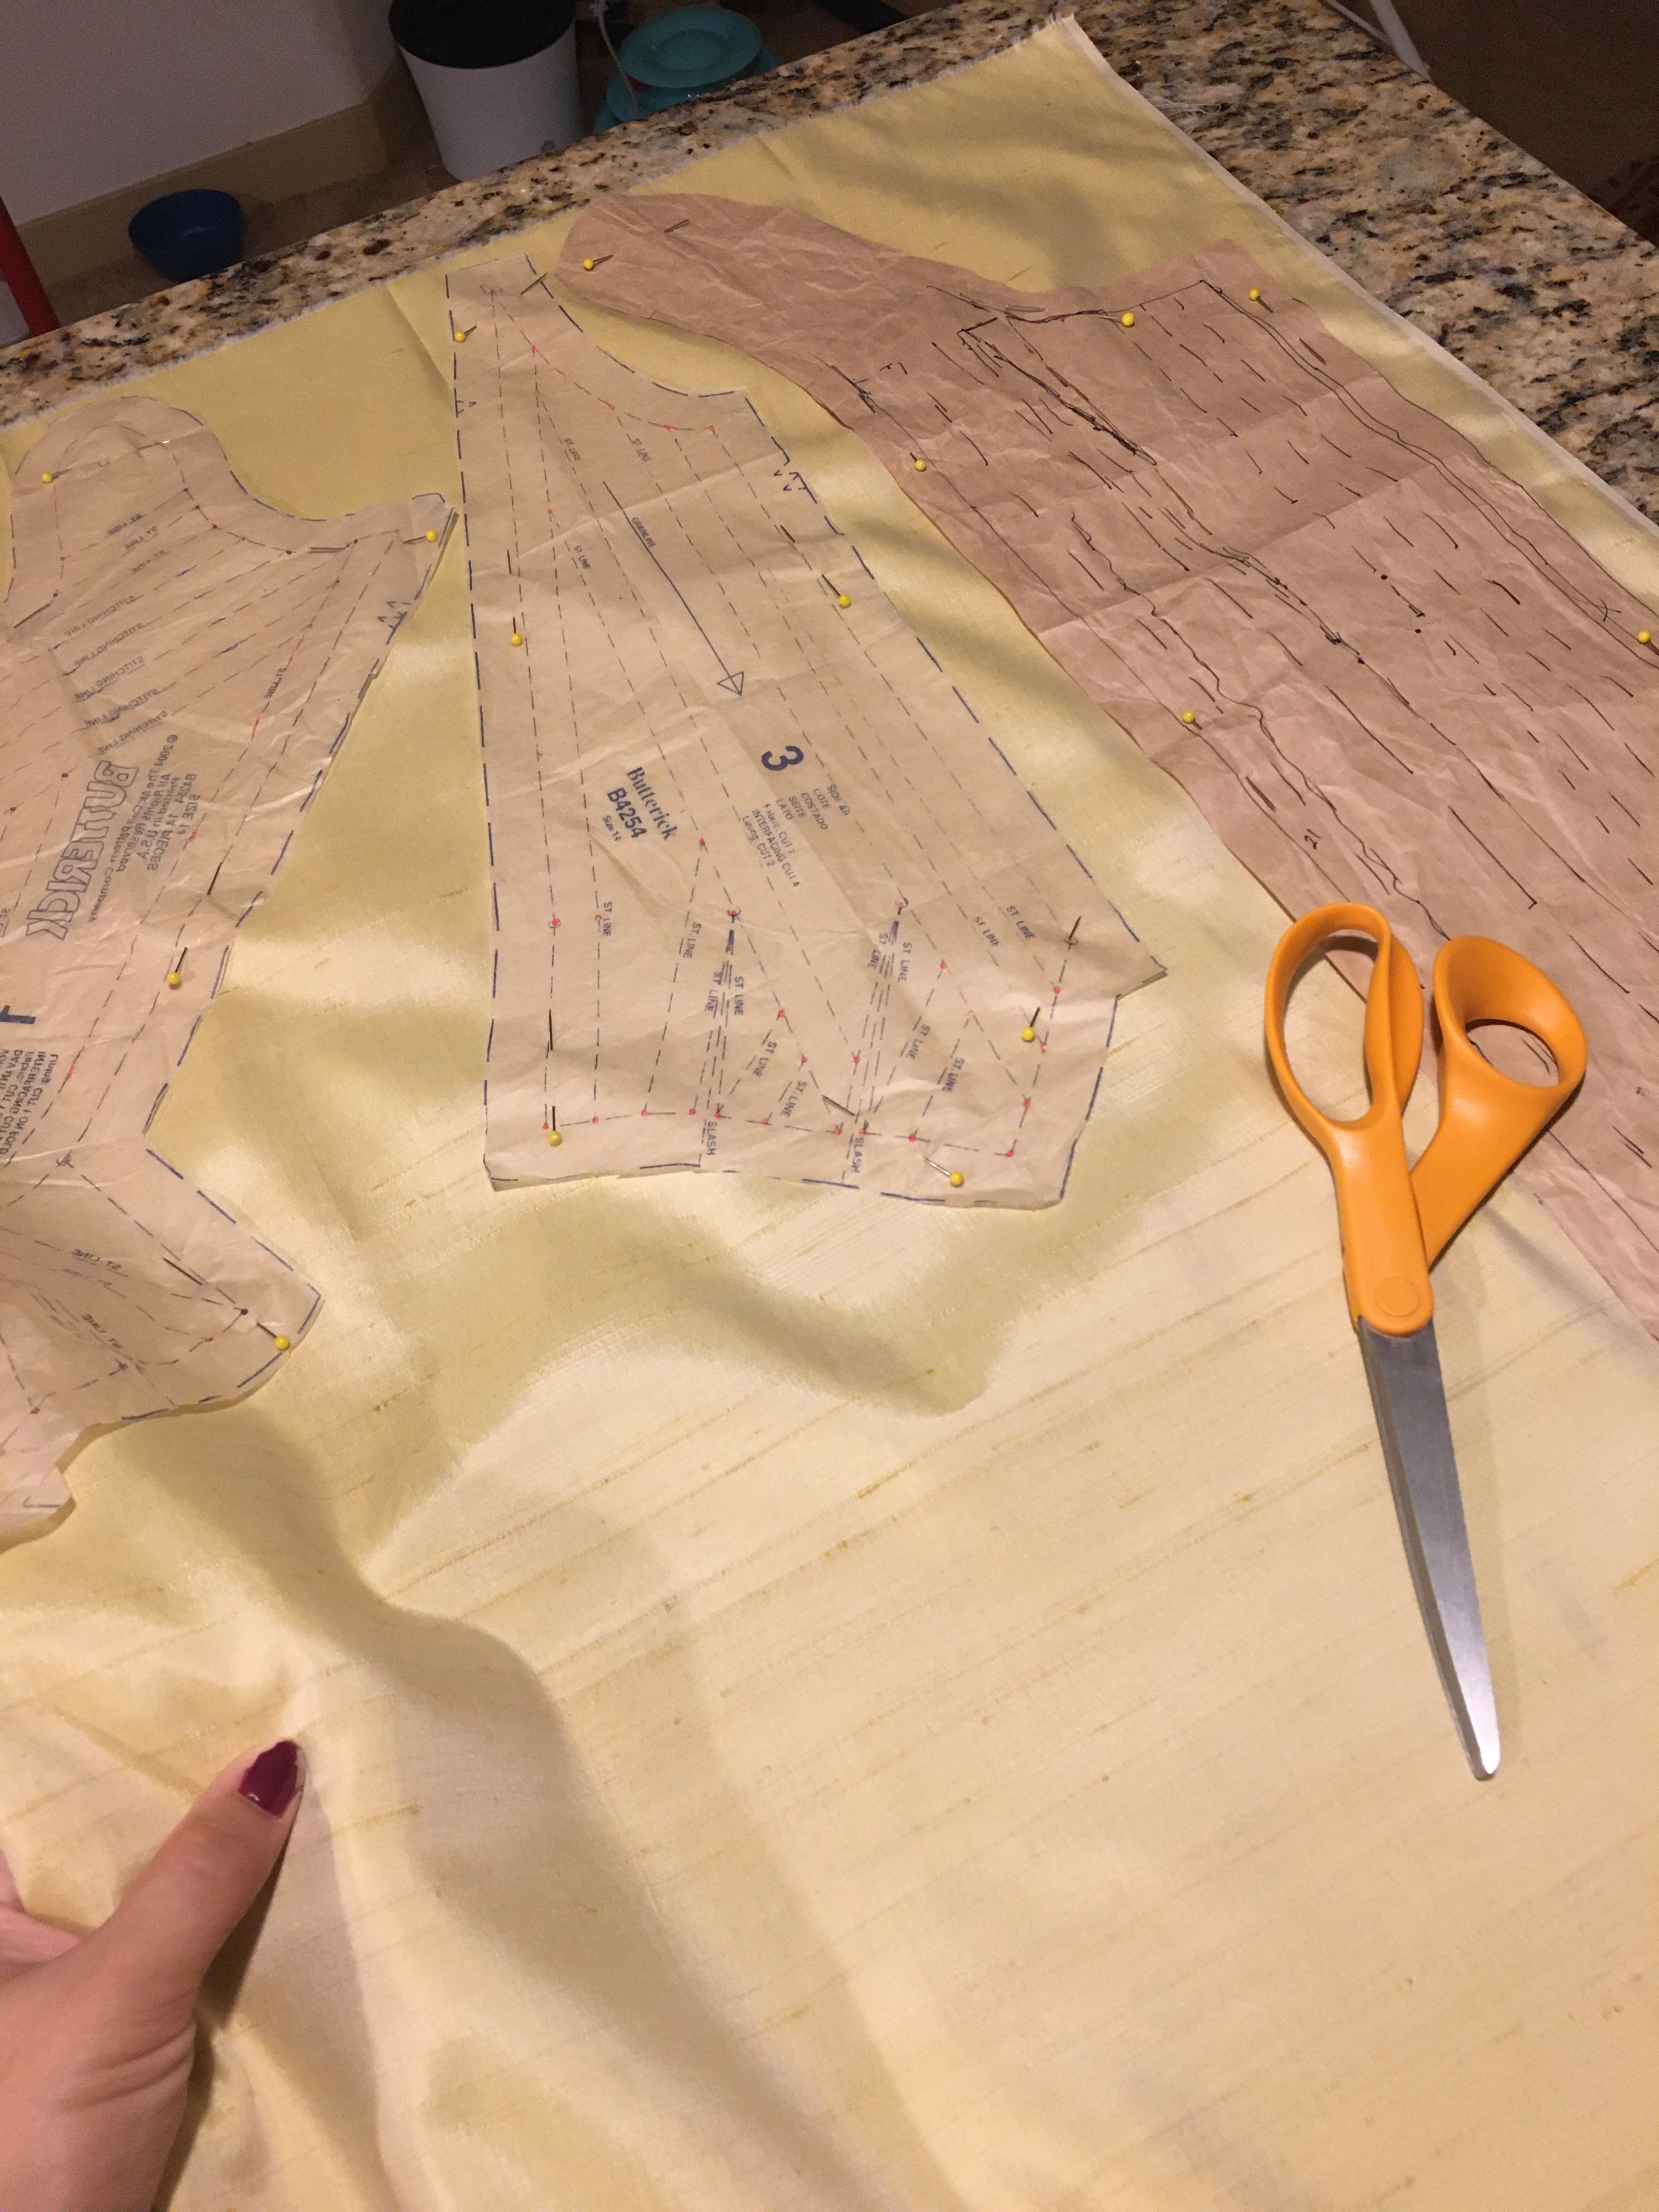
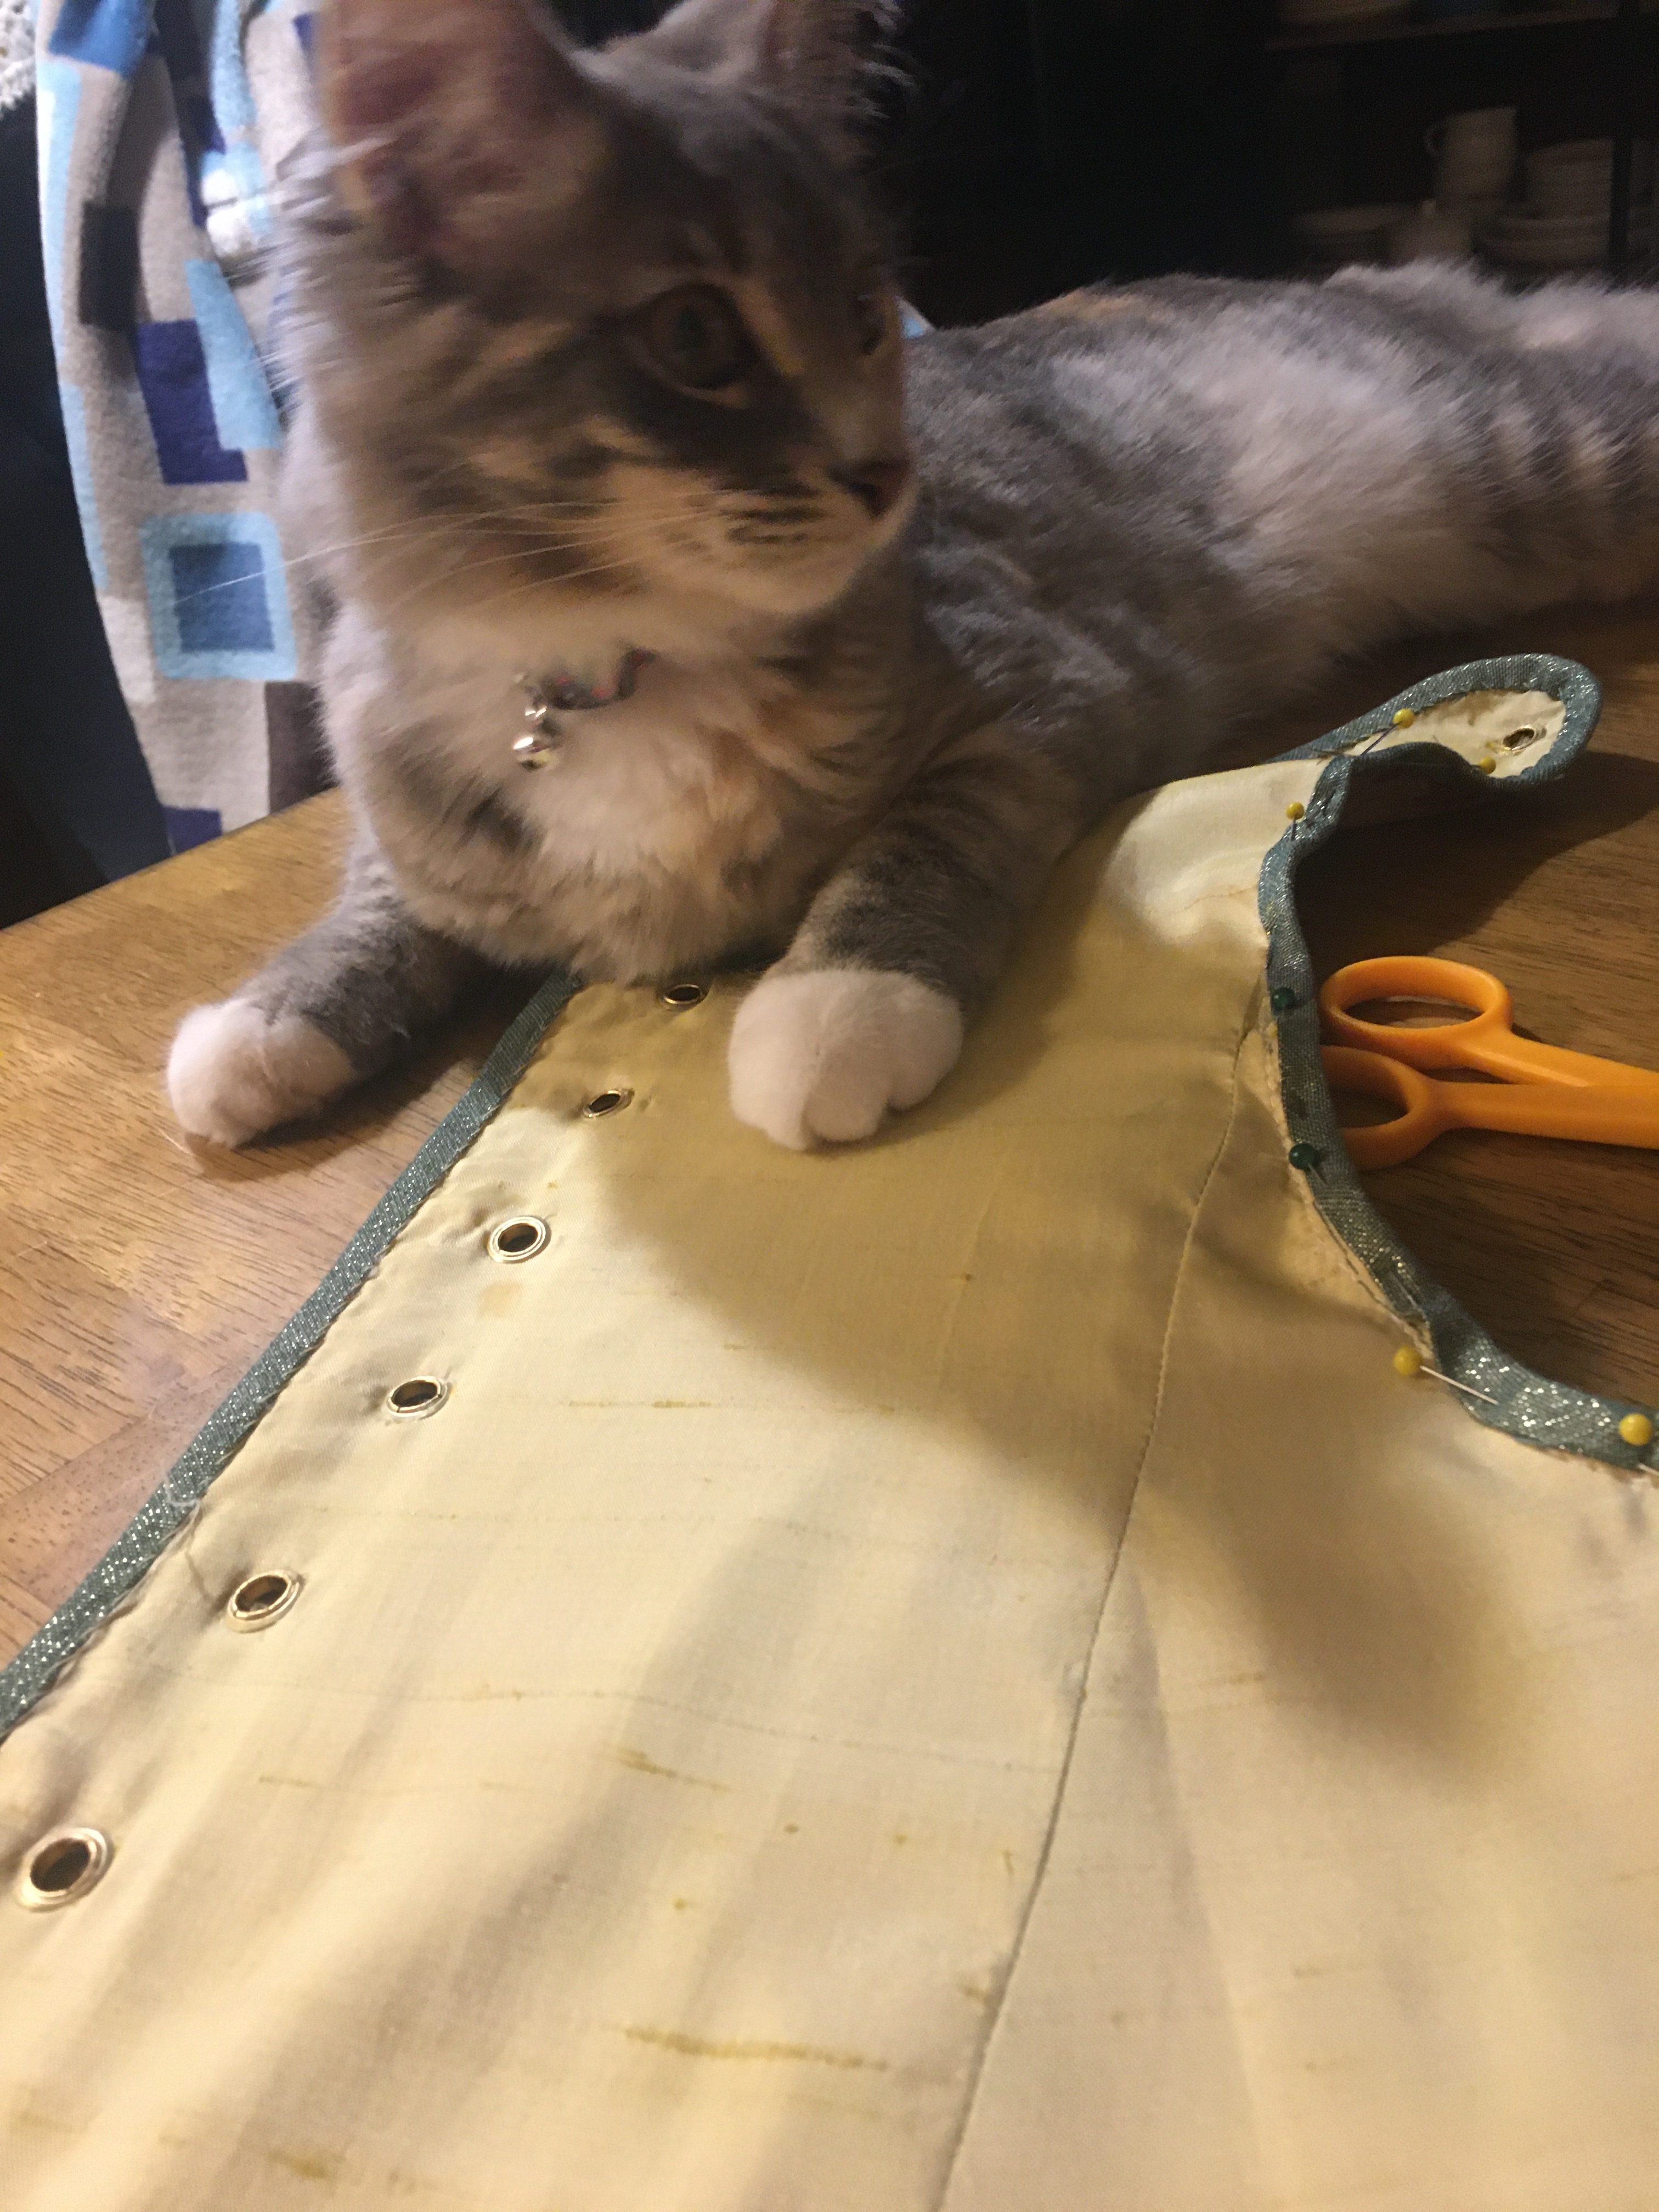
For my lining, I use the same pattern as with the fashion fabric. I decided to use a pale yellow fabric I had found at a vintage sale in downtown Milwaukee. I honestly do not think it is pure silk, though it has a similar look and feel. I tested a couple swatches using the burning method and bleach test and got mixed results. When burnt, the material turned to very light ash rather than melting. When placed in the bleach, the material broke apart and some of the fibers broke down fully after hours, but not all. So I think it is a silk-poly mix. It also has a lovely color, texture, and is far too small of a piece to use for anything substantial (though it has amazing drape).
The fabric was also a sweet nod to “The Yellow Lady” portion of Shannon’s novel. Isi is described in the book as having yellow-blonde hair that is distinctly Kildendrean (her home) versus the local dark brown or black hair colors of the Bayern people. Throughout the novel, the Bayern workers she grows close with and the other locals describe the princess as “The Yellow Lady”. I liked the idea that this tell-tale color would not be visible to the outside, much like the character’s hair.
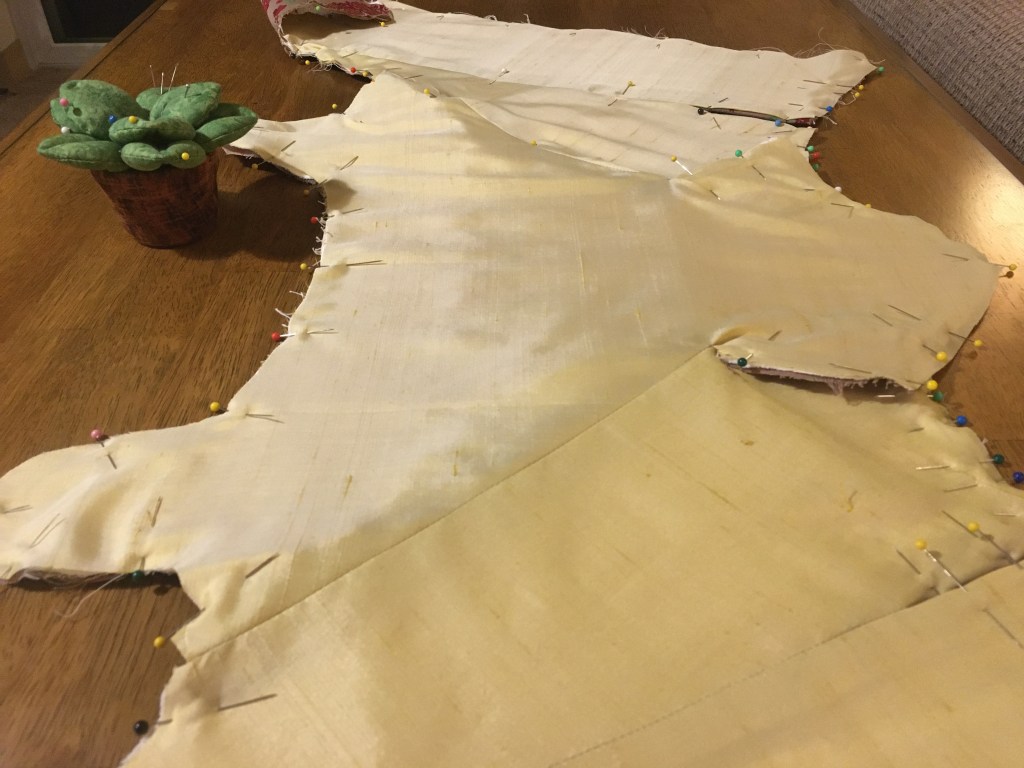
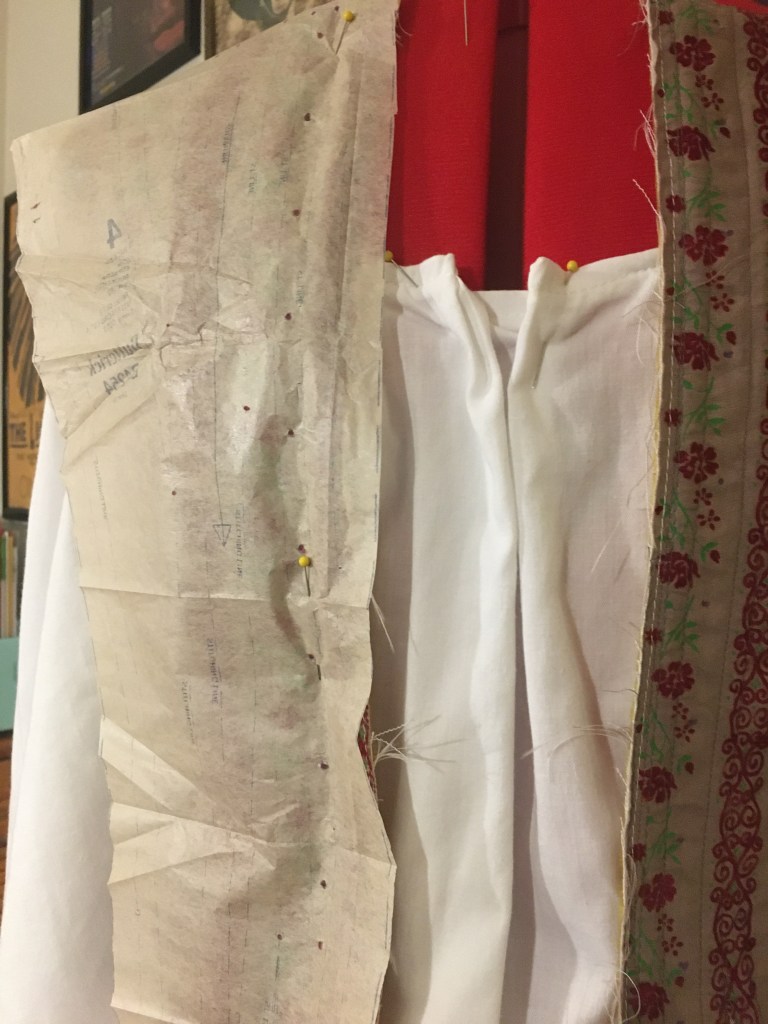
The lining was stitched at the seams, like the fashion side, and pressed open. The wrong sides of the lining and structured outer layers were pinned and then basted together on the stitching lines. I had to be careful around the tab areas at the bottom since I had stupidly slashed these open for the outer layers. Rather than risk missing the corners of these with the machine, I hand basted the bottom edge to have more control.
Now that the garment was all in one piece, I planned to finish the edges with a very narrow bias tape binding.
I had a few choices in selecting my binding and the choice primarily came down to color. It would have been best to match the fashion fabric and make bias tape from the original material, but I had not dyed enough initially to do that and worried I would not be able to exactly reproduce the shade.
My second thought was to use a contrast color: green.
Green would tie into the screened color in the stay fabric pattern and would complement the Bavarian landscape inspiration nicely. However, small, double fold ,1/4″ bias tape is difficult to find commercially in anything other than the staple white, black, and cream. I would be making the bias tape by hand.
To make bias tape you need:
- Fabric
- Meter stick
- Right angle ruler
- Fabric pen
- Bias tape maker (plastic or metal)
- Iron
- Thread
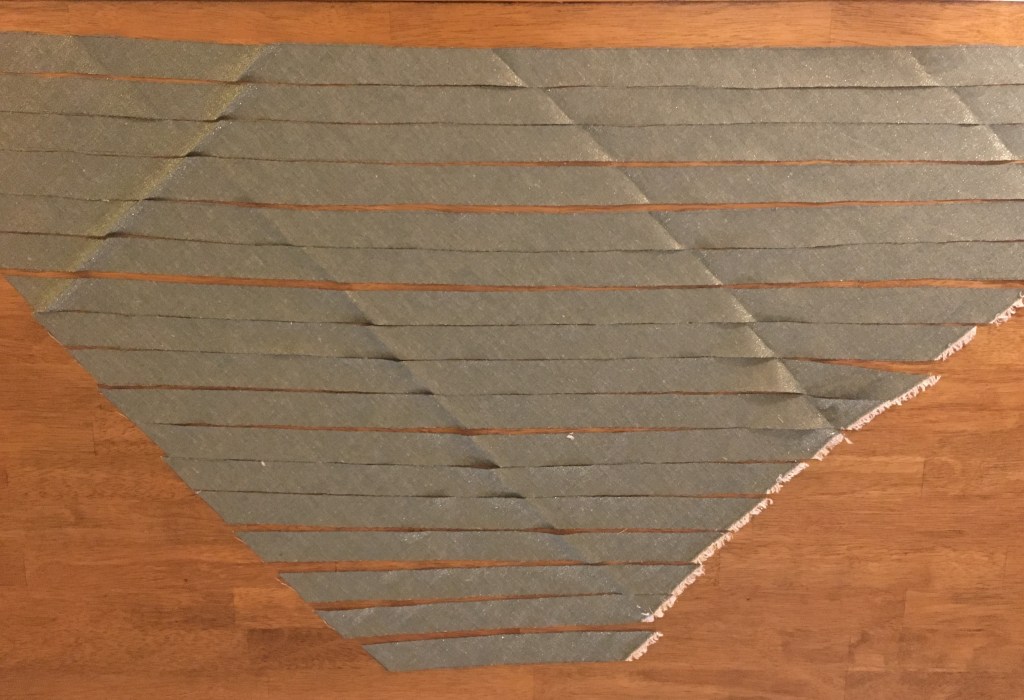
I found some green cotton with gold thread in the warp on clearance at Joann’s and purchased 1 yard. I pulled the material from opposite corners a couple times to keep the grain of the material in line before cutting.
Lines are marked using a right angle ruler at the farthest corner of the fabric. I cheated here and used the selvage as my straight edge rather than pulling a thread to make a proper straight line.

I then use my meter stick to mark parallel lines offset from the right angle based on the size of the bias tape needed. In my case, I was making 1/4″ double fold which equates to 1″ overall to be cut. Luckily, my meter stick is exactly 1″ wide.

If I were making larger or smaller bias tape, I would mark the width needed along the selvage and then draw lines upward using the right angle ruler and meter stick. You can also cut an exact square up from the selvage, mark the necessary width on both the cut edge and selvage, and connect the dots. Any method works, as long as your strips are always on the bias.
I check my angle with my right angle ruler every 5 strips or so to ensure I’m still on track.
These strips are then cut and prepped for stitching. I cut way more than I ended up needing, but if I’m putting in the effort and have plenty of raw material, I like to make extra.
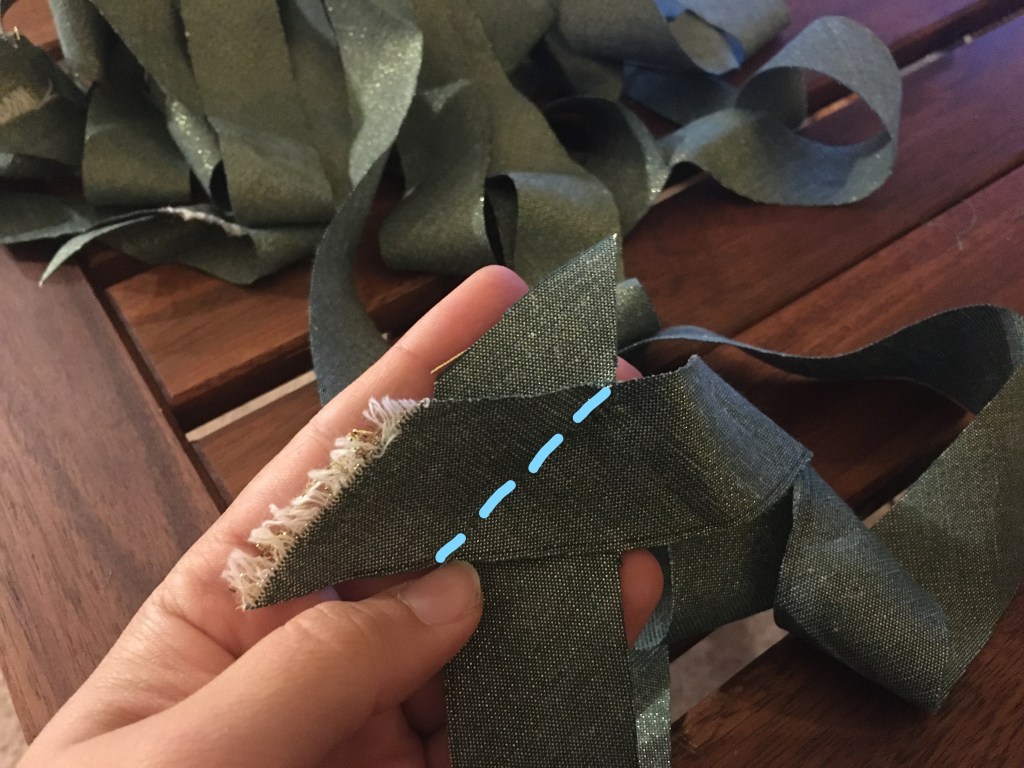
To stitch, the strips are placed fashion sides together perpendicularly and stitched at a 45-degree angle. It takes a time or two to line up just right, so take a couple scrap pieces to test the method first. Always use thread that is either an exact or close match since the thread may show ever so slightly after ironing. This depends primarily on the strength of the fabric.
The tails are trimmed back, pressed open, and the full length of strip is ran through the bias tape maker, ironing as you go. I like to use stainless steel bias tape makers since I can get right up close to the maker with the iron on full steam. But 3-D printed bias tape makers are quite common and cheap. They’re also more customizable for sizing and often have attachments to make double fold all on one iron pass.

1. Slide the strip of fabric into the large end of the tape maker. Be careful that it is aligned in the center. 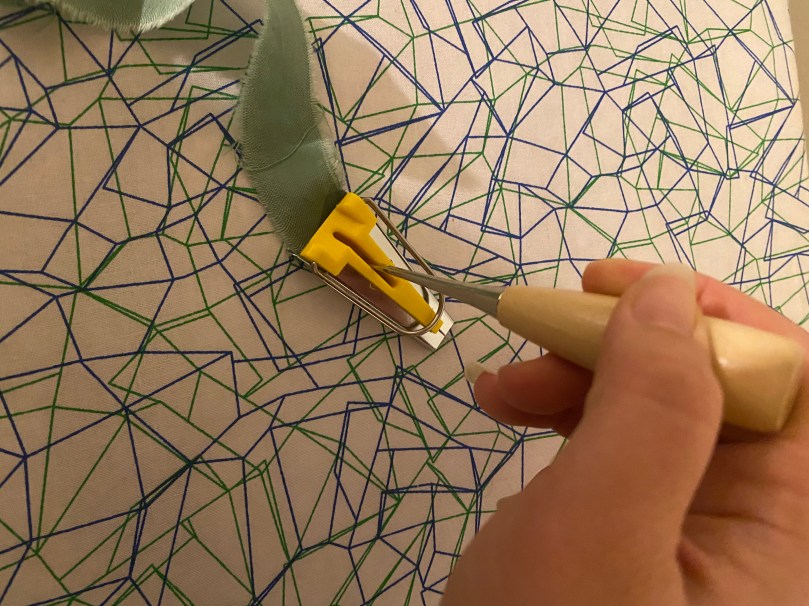
2. Using a pin, awl, or other thin object, feed the strip through the bias tape maker using the slot in the center. 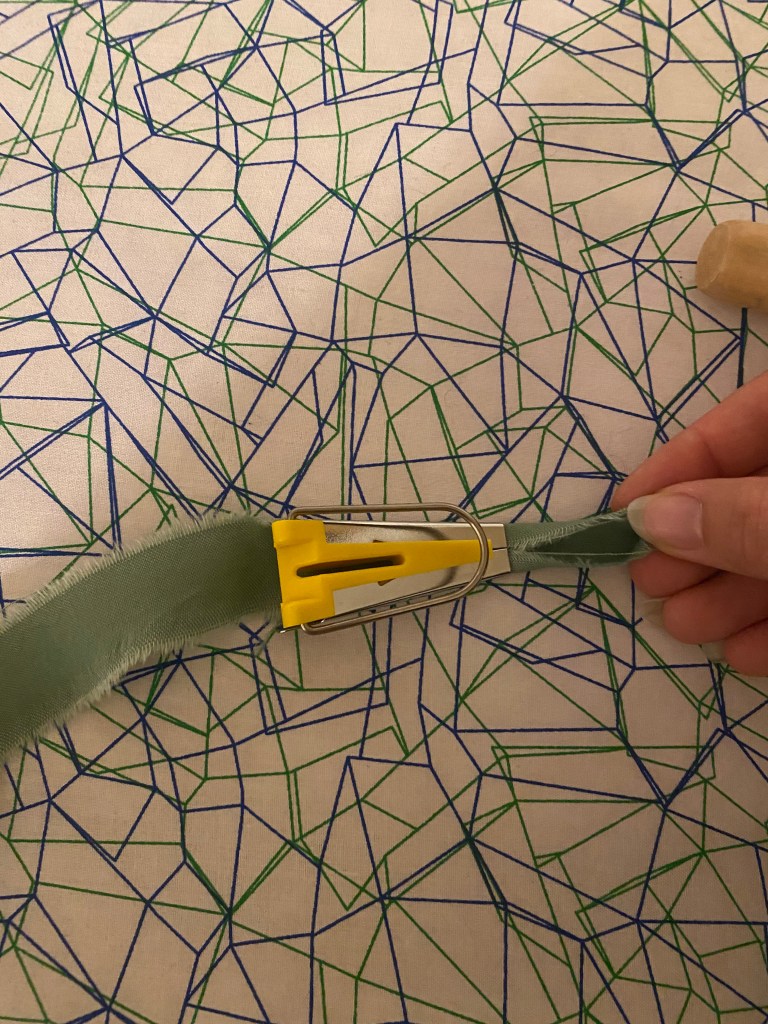
3. Once a small tail is through, carefully pull ensuring folds are even 
4. Pin the small tail to the ironing board 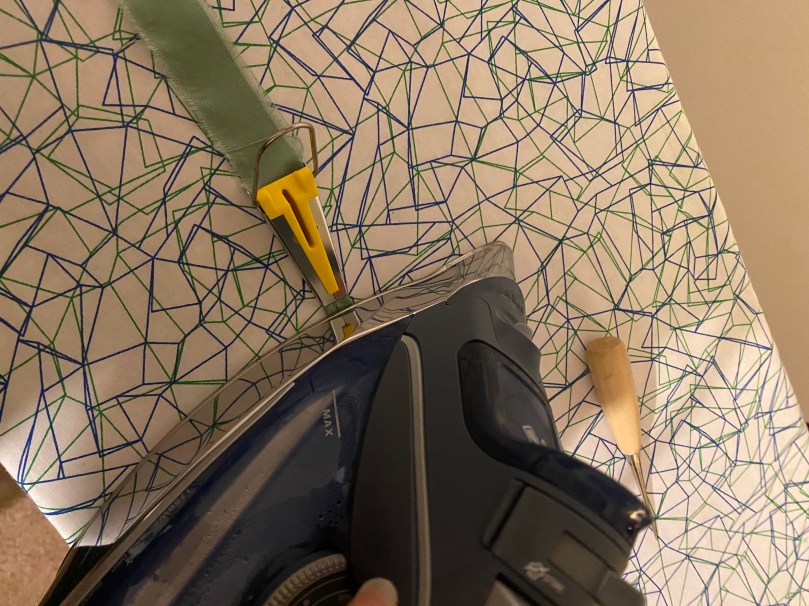
5. Begin ironing from pinned end, pushing bias tape maker with side of iron. 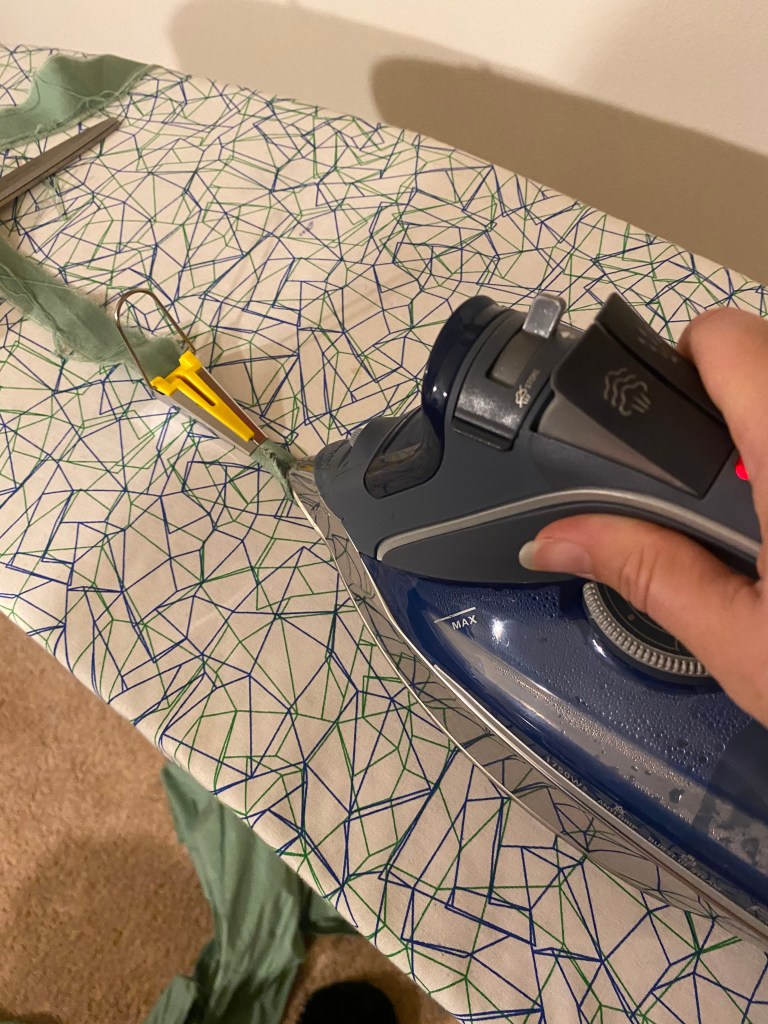
6. Continue to iron and slide bias tape maker along strip chain. Guide fabric into tape maker and check that folds are centered often. 
7. Final single fold bias tape.
My bias tape maker generates single fold bias tape at 1/2″ that I then fold over and iron again for double fold.
1. Remove pin from one side of tape, re-pin with wrong side folded inward. 
2. Pre-flatten fold with your fingers as you iron double folded tape. 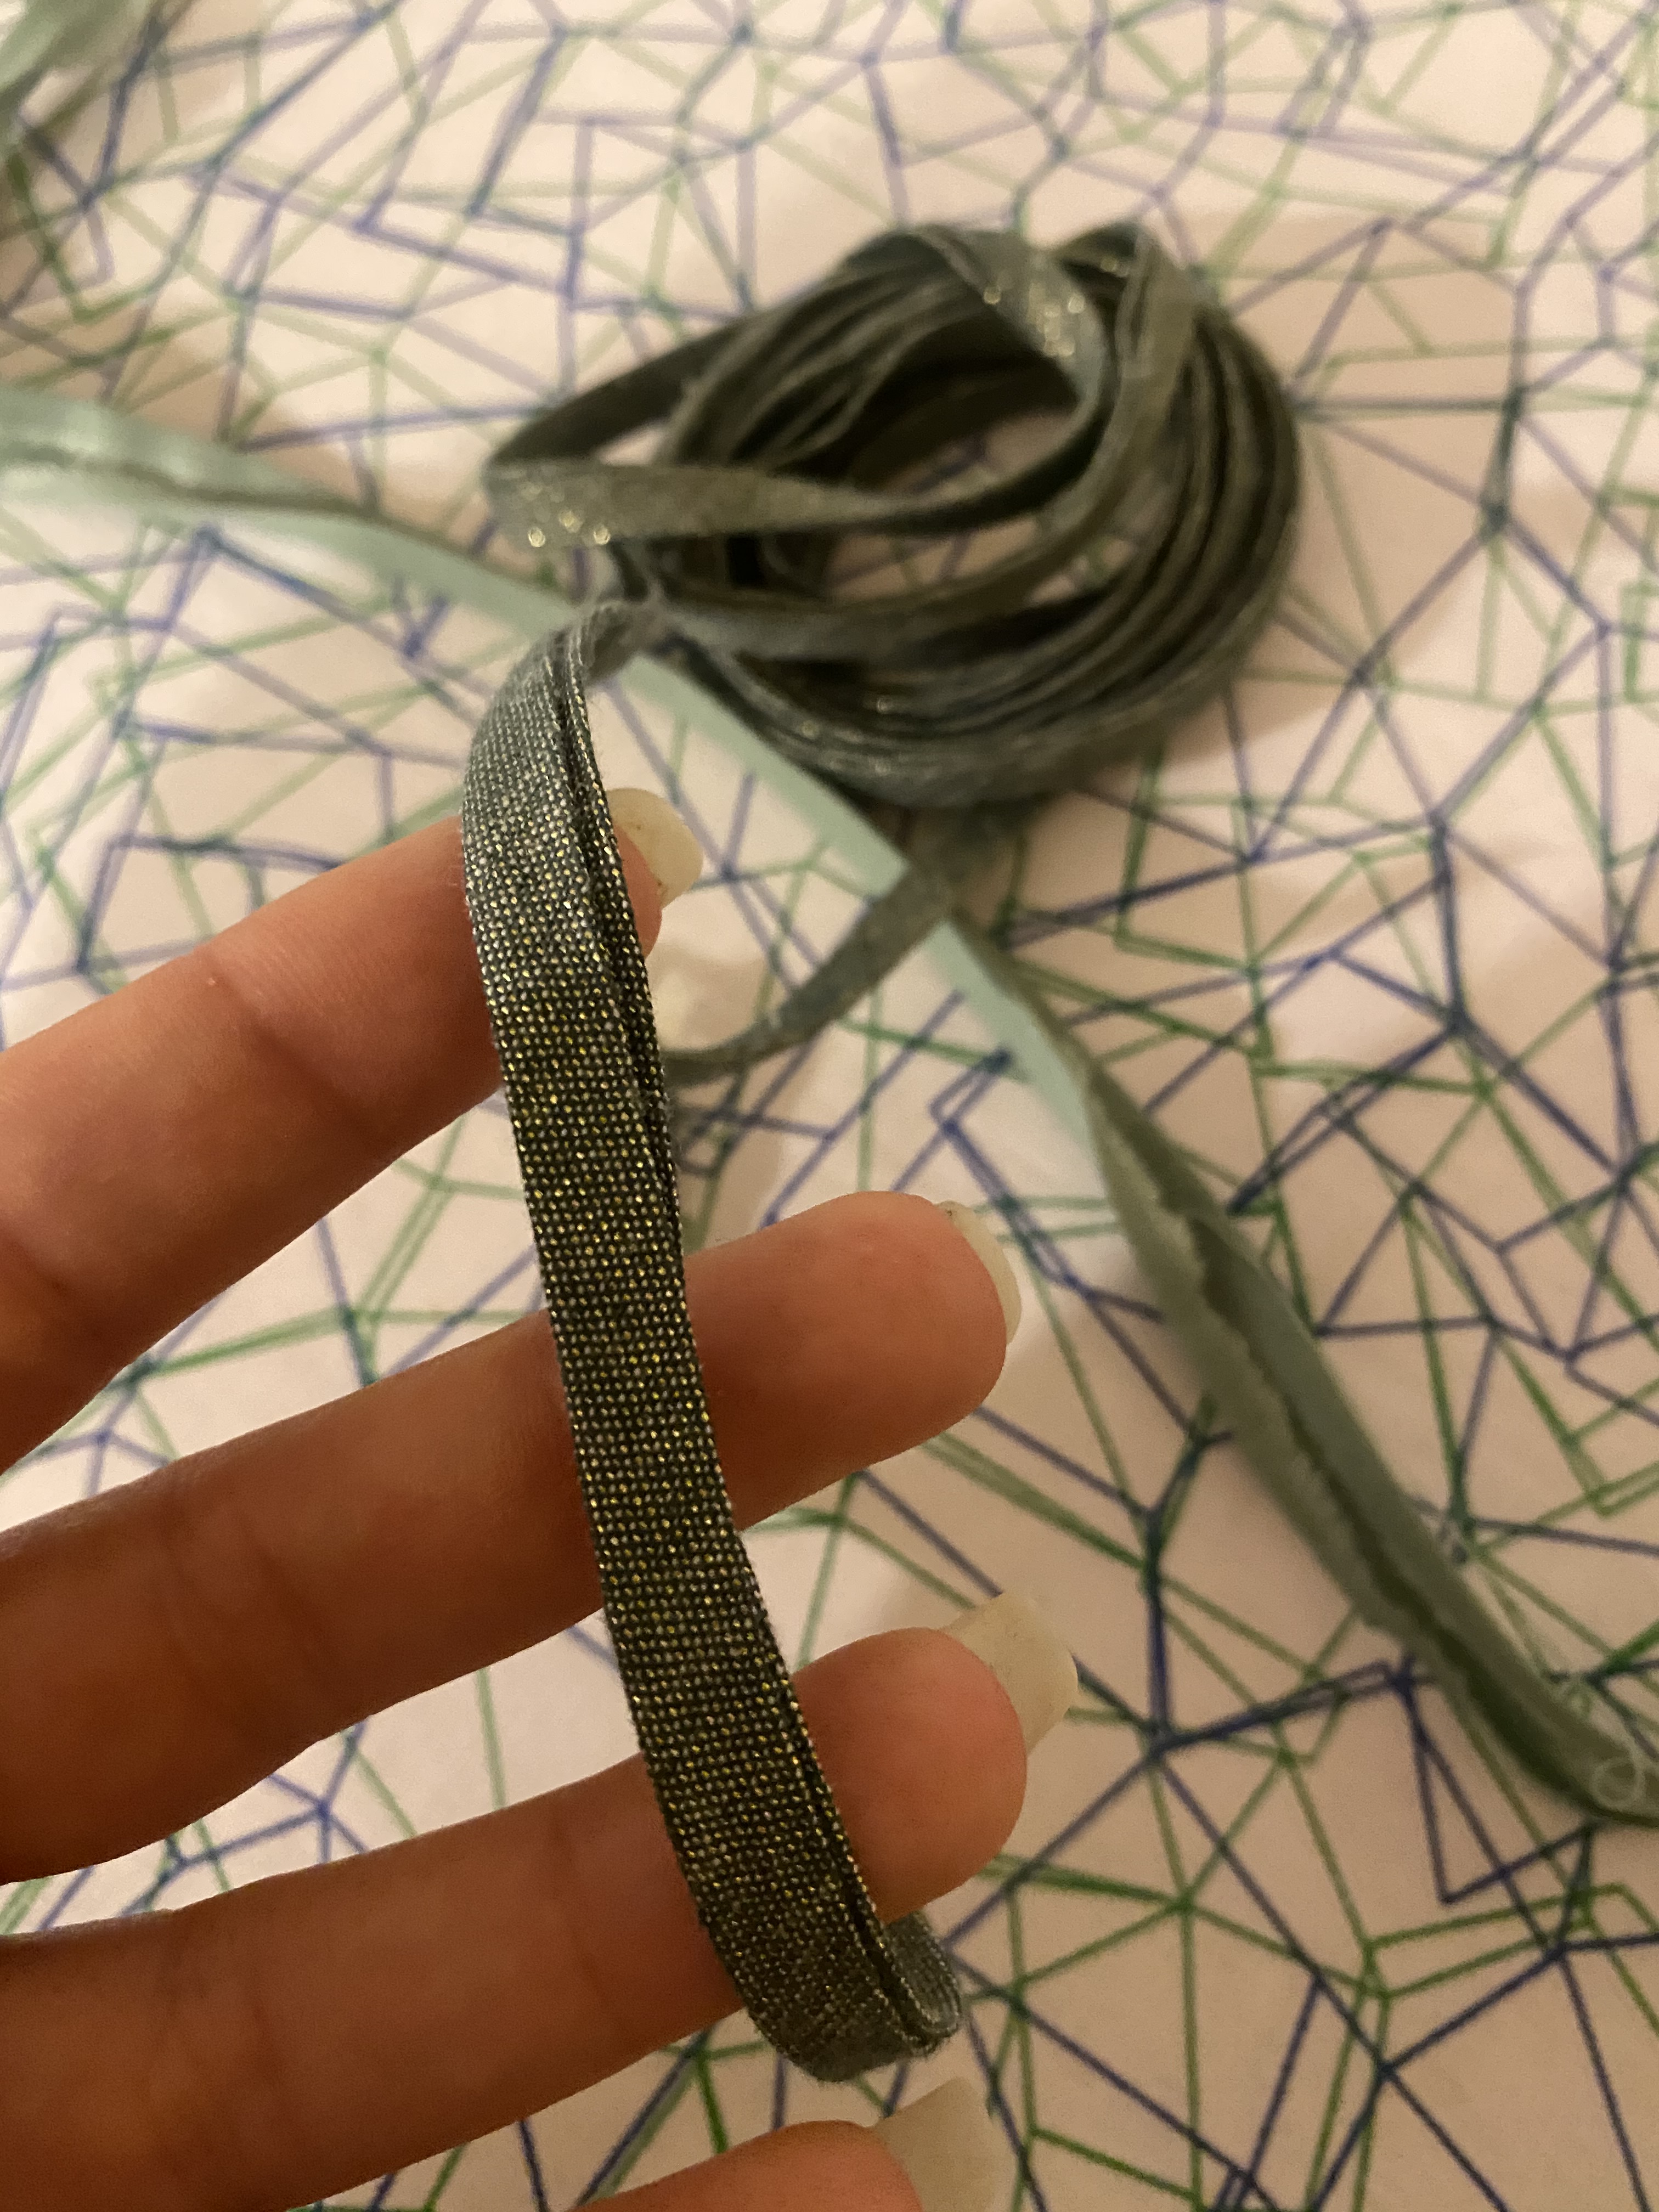
3. Completed double folded bias tape
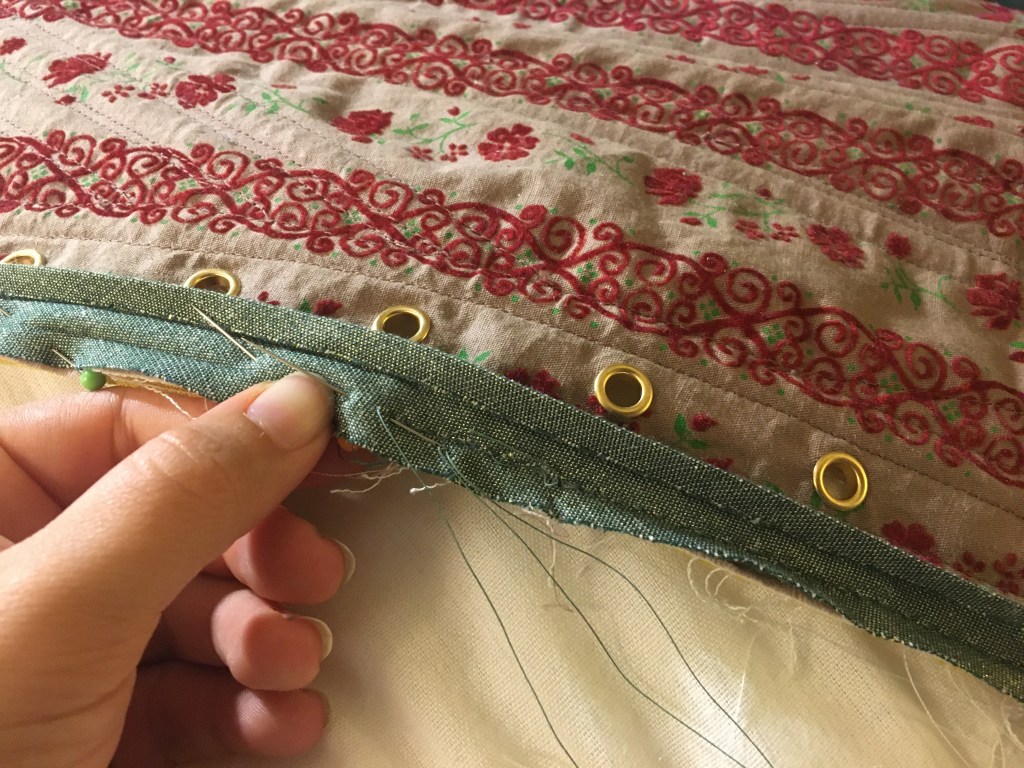
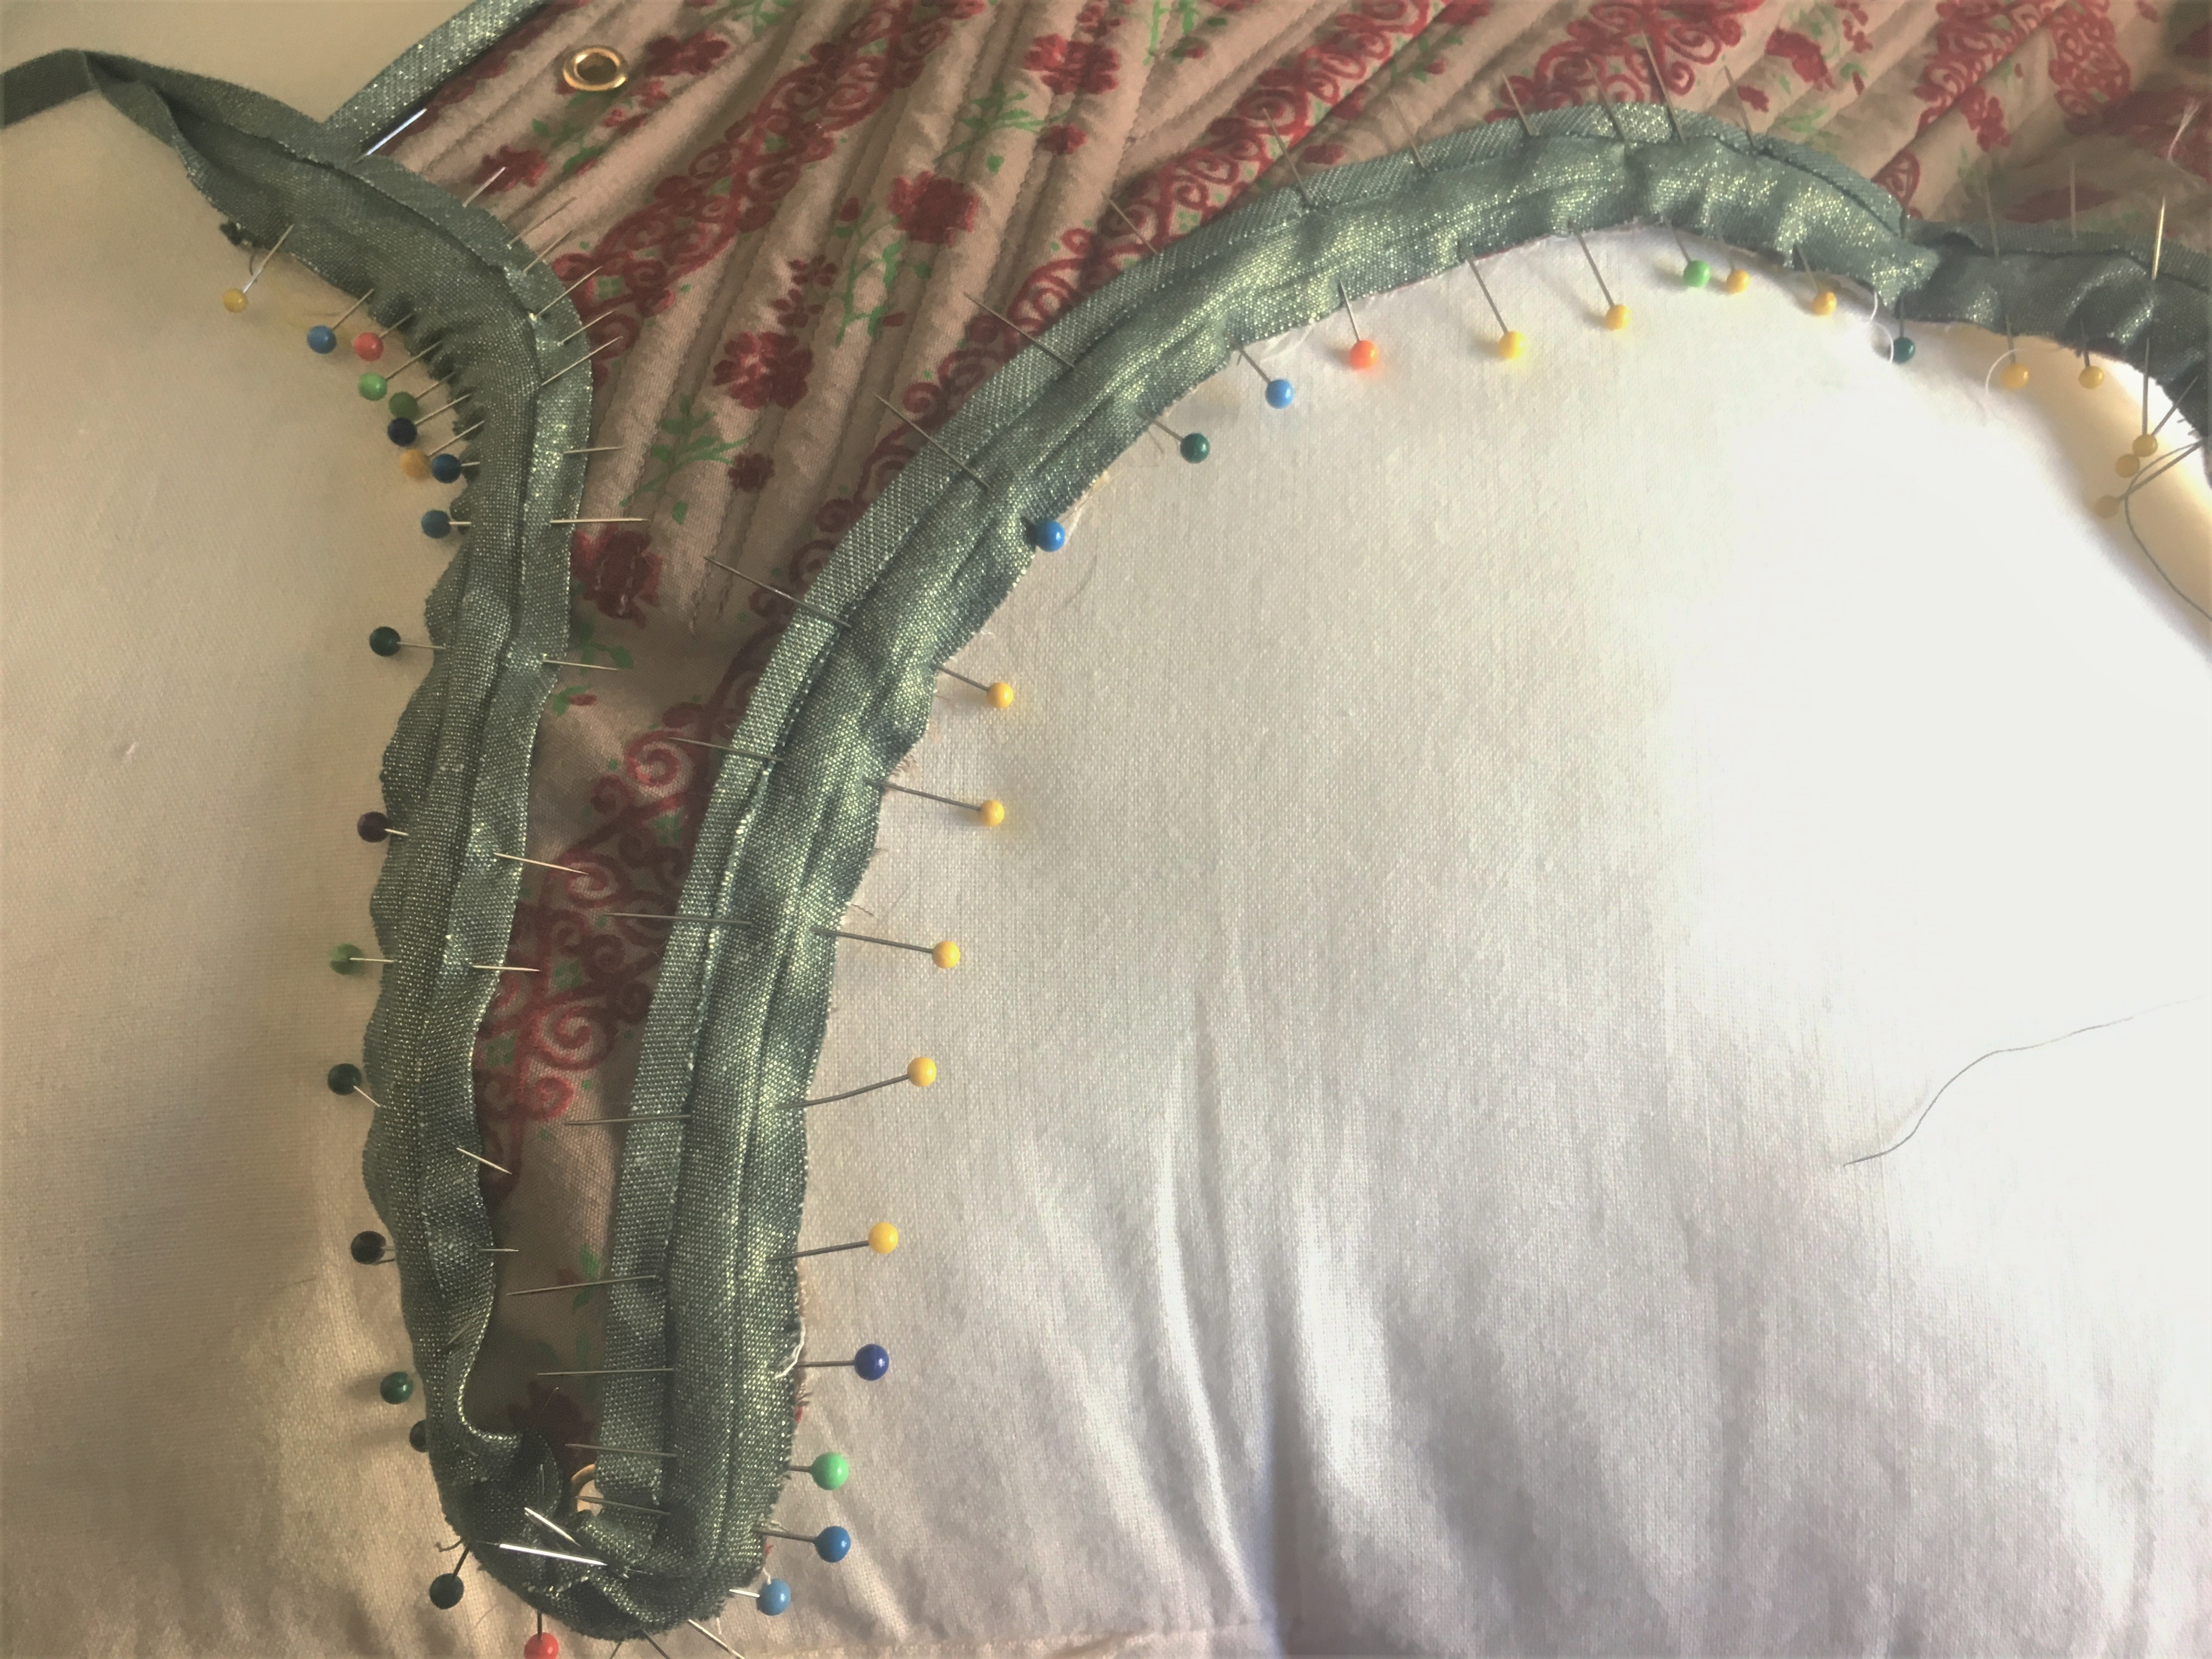
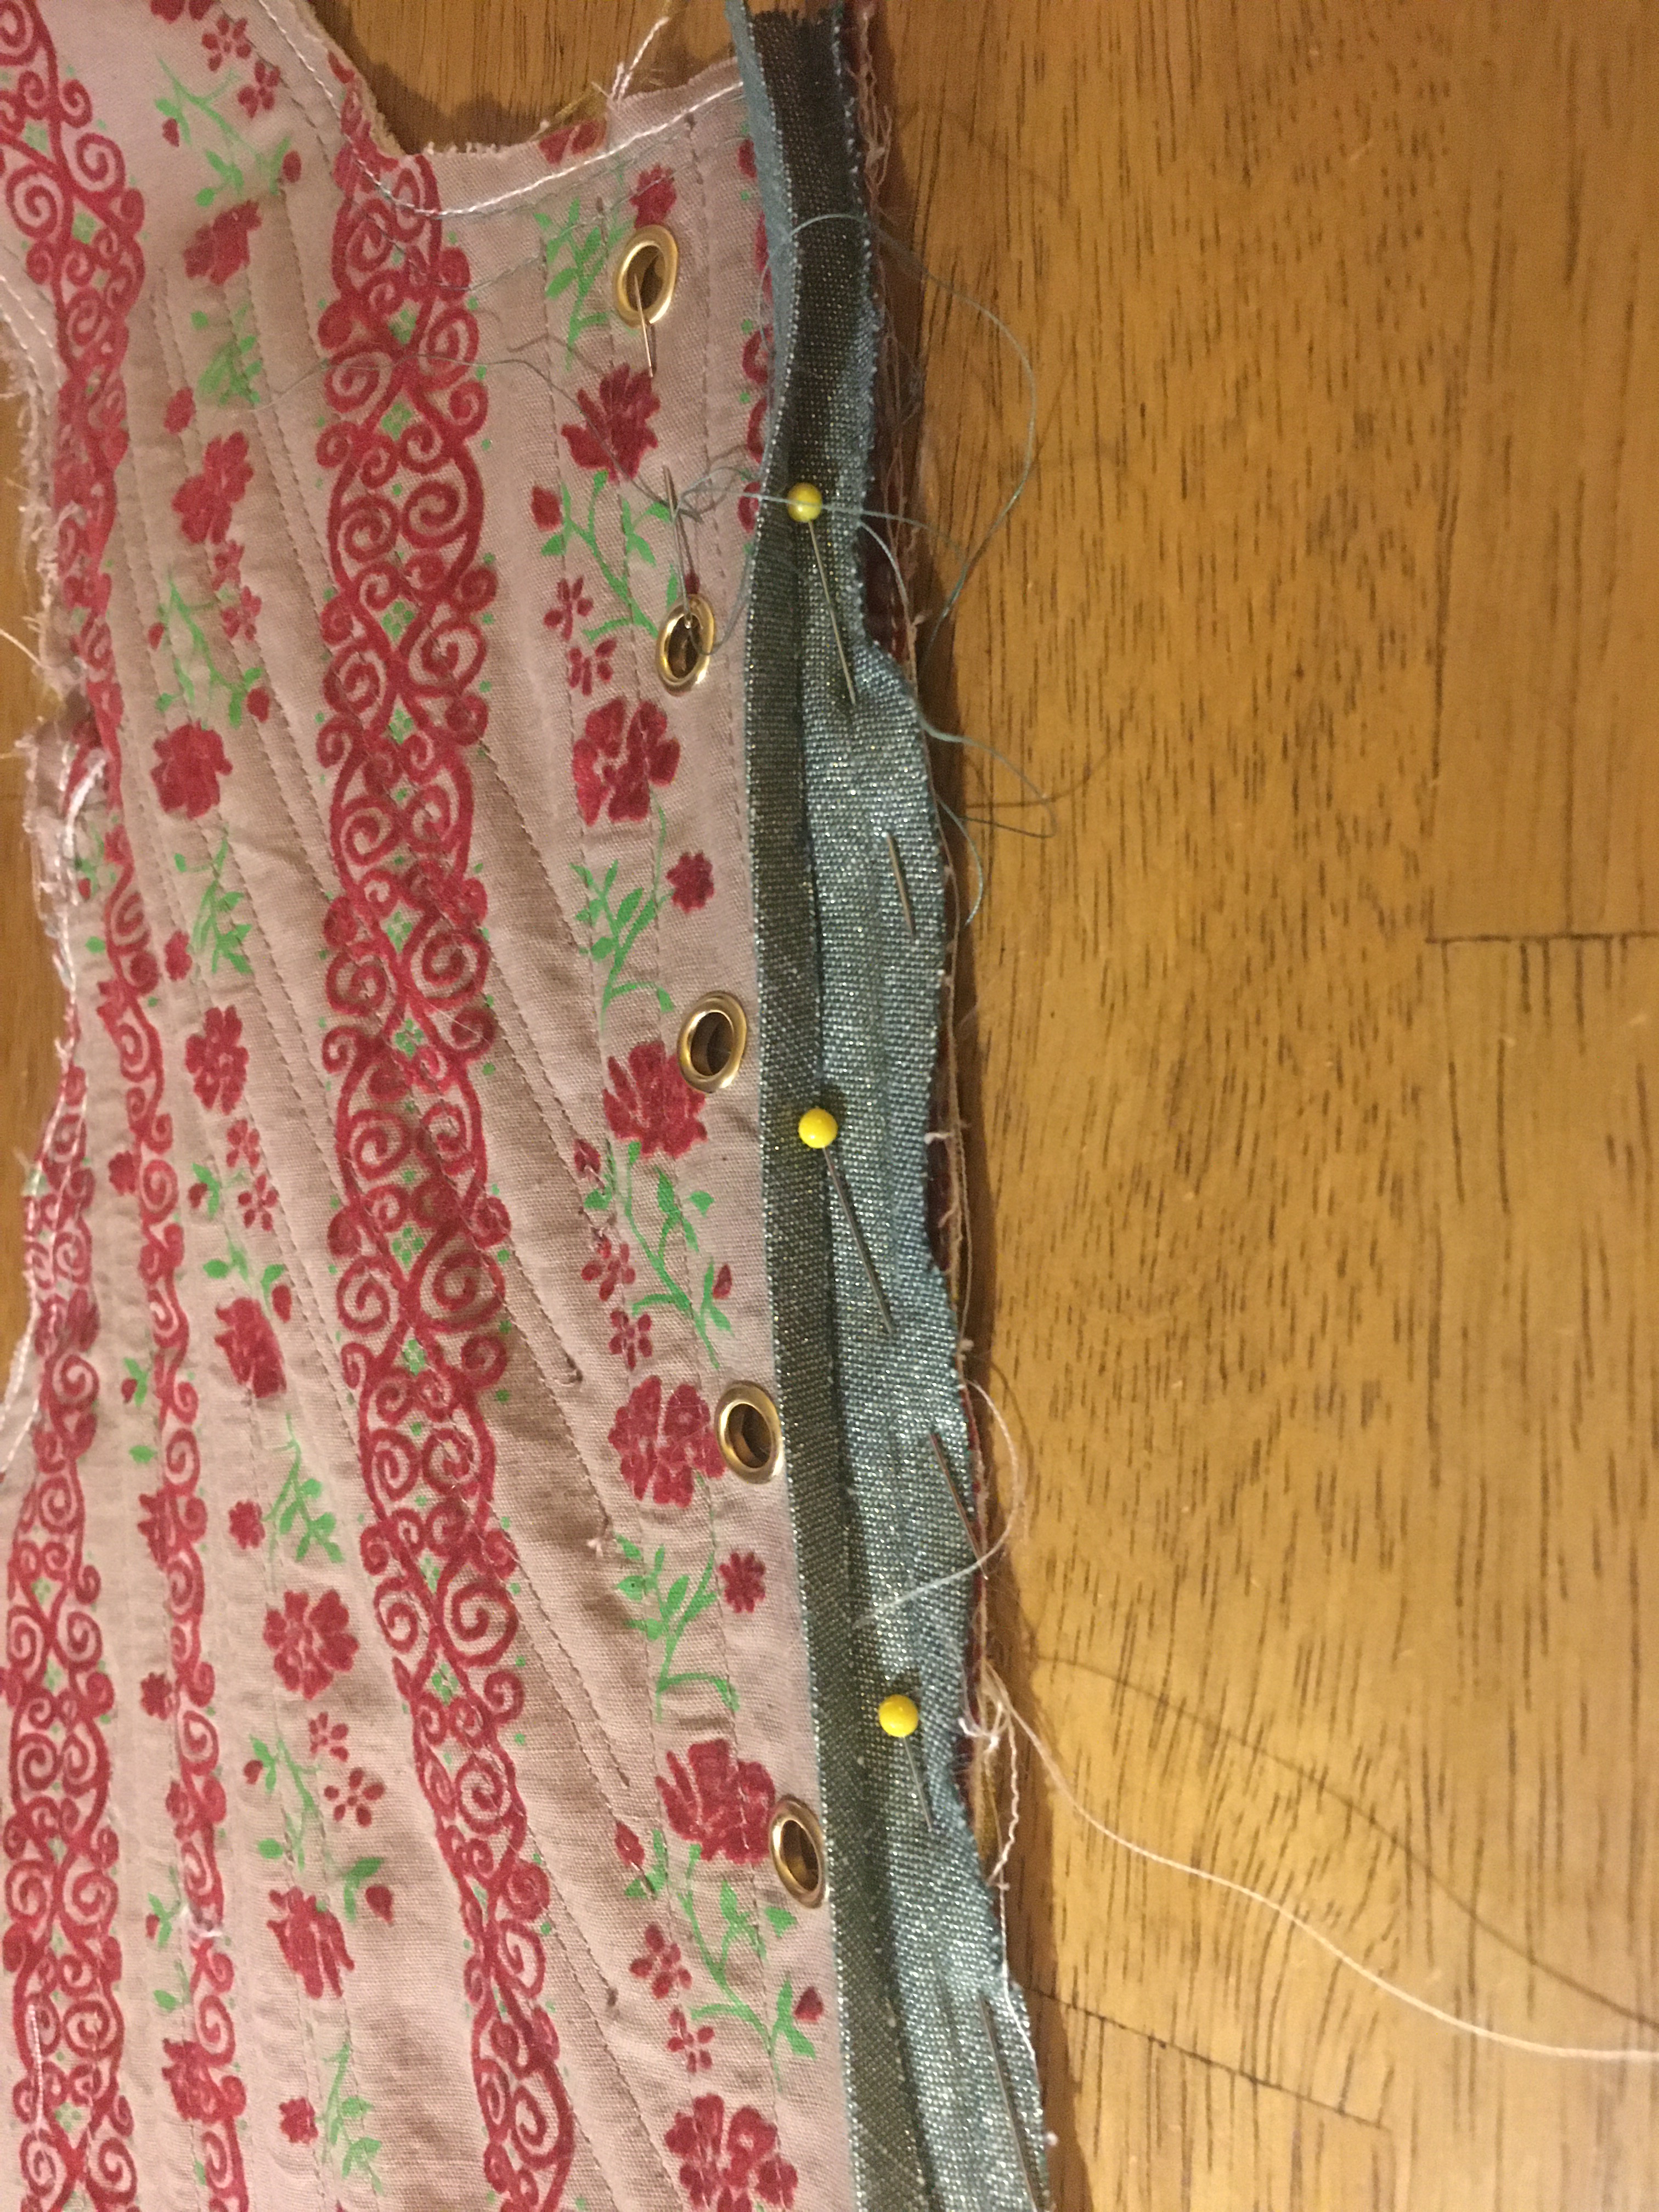
The bias tape can then either be applied by hand or machine. I’m attaching by hand because of all my crazy corners with the tabs. I start by folding open the bias tape and pinning the right side along the edge of the stay. This is back stitched in place using the ironed crease as a guide.
This continues all around the garment with care taken along the curved sections and tucks due to the tab inner corners.
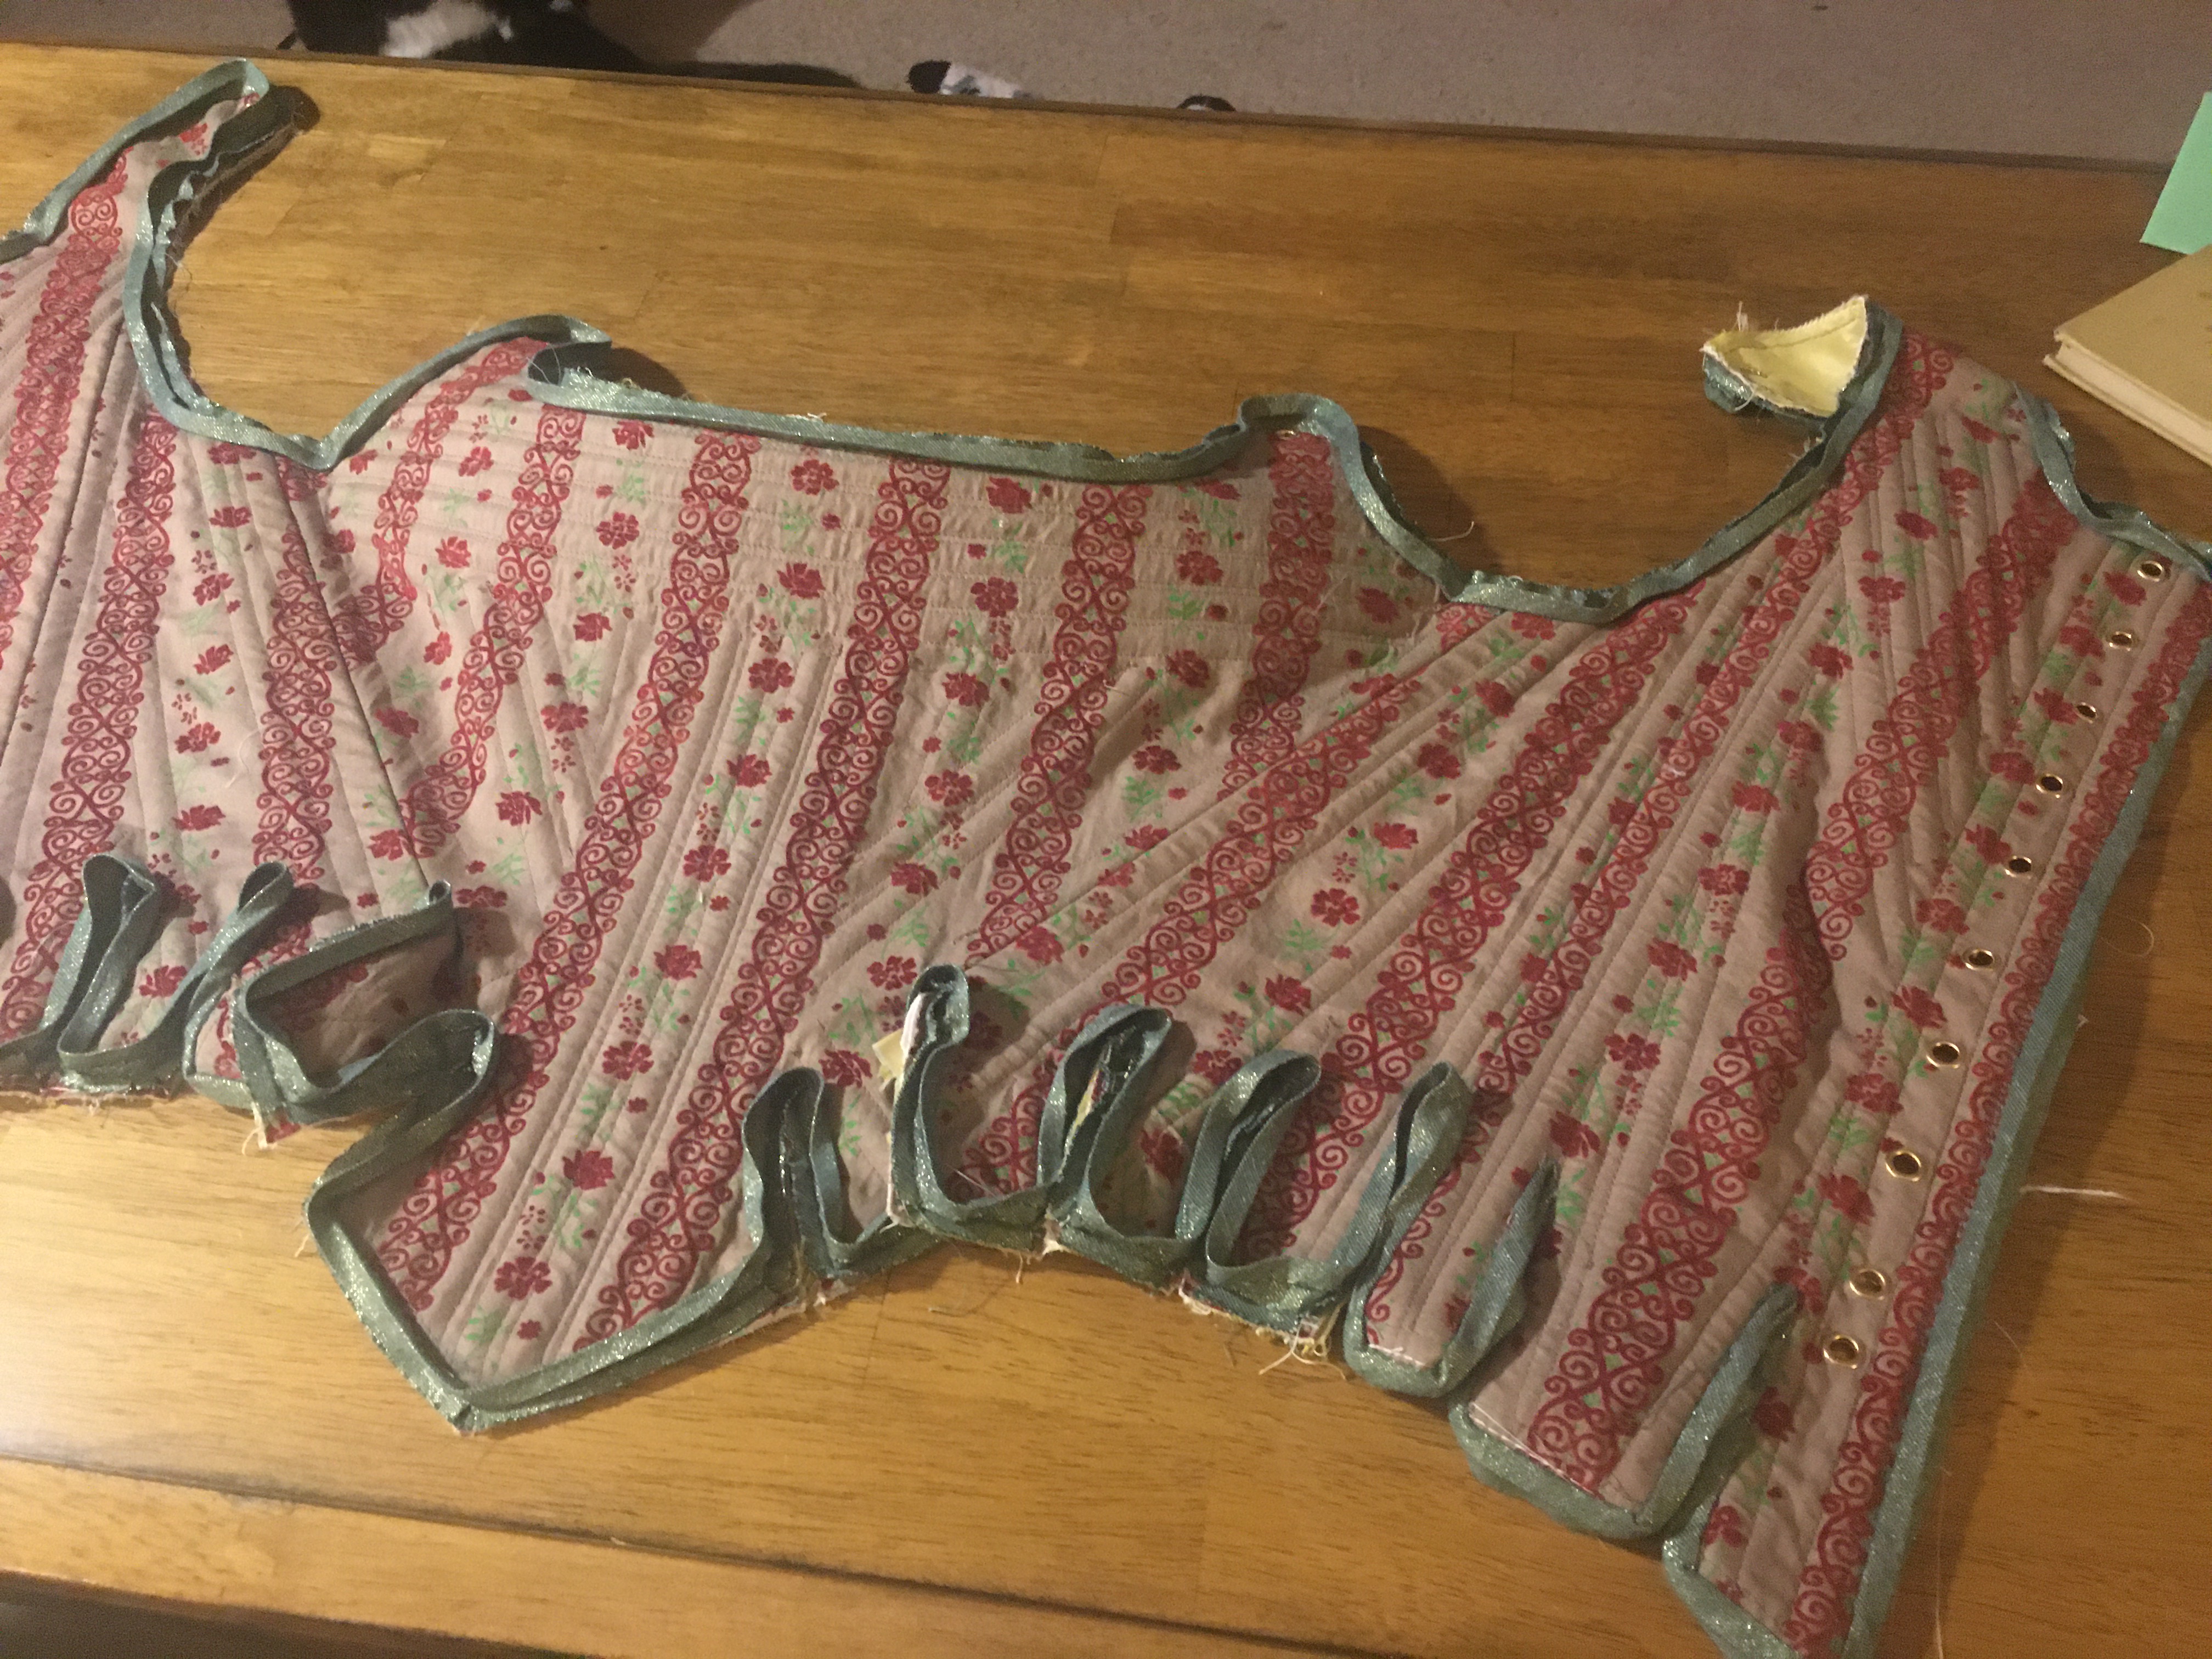
After finishing with my tiny backstitches on the front, the bias tape is folded over the edges, pinned on the inside, and felled in place with tiny whip stitches. Since this was facing toward the body, visible stitches was not an issue. The process of tightly folding and stitching the bias tape was a bit tricky at the top of the tab slashes. I had to wiggle the fabric and wham it down a bit more than I would have liked. Though, again, the important part is the outside where the bias tape needed to be straight and tight; the inside could be as messy as needed.

As you might see in the prior photos, I had taken a break from hand stitching to create the structure for my eyelets. I use a cheater method for eyelets that is no where near historically accurate, but makes my eyelets stronger with use of metal grommets.
For my cheater method of stitched eyelets, you’ll need:
- 1/4″ metal grommets
- Tailors awl
- grommet pliers or shank and hammer
- embroidery floss
- sharp, fine embroidery needle
The first step is to mark the locations of the eyelet using the pattern or calculating equal distances based on how many eyelets to be applied. Here, I made an error that is probably by greatest regret of the project. I used the eyelet locations as indicated by the original pattern which are located mirror image of each other from left to right rather than an offset or staggered pattern that would have allowed the stays to have spiral lacing. Spiral lacing would have been more period specific, but what is done is done.
After marking the eyelet locations, you can use the tailor’s awl to create eyelet holes without breaking the threads. By doing this, the surrounding material stays structurally sound and there is less likelihood of breakage, fraying, or stretching due to the tension the lacing will create. My tailor’s awl is about 1/4″ just below the grip and thus creates the exact size I need. If you were to make eyelets without grommets, you would begin stitching at this point.

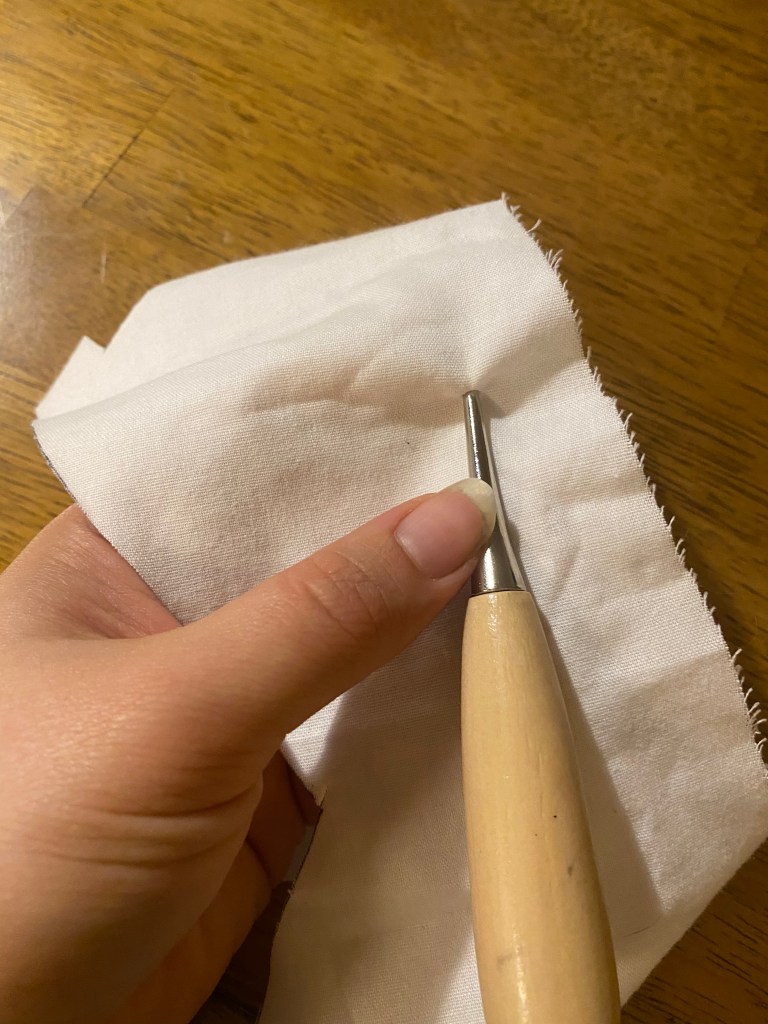
Slowly work the awl into the material by wiggling it between the threads 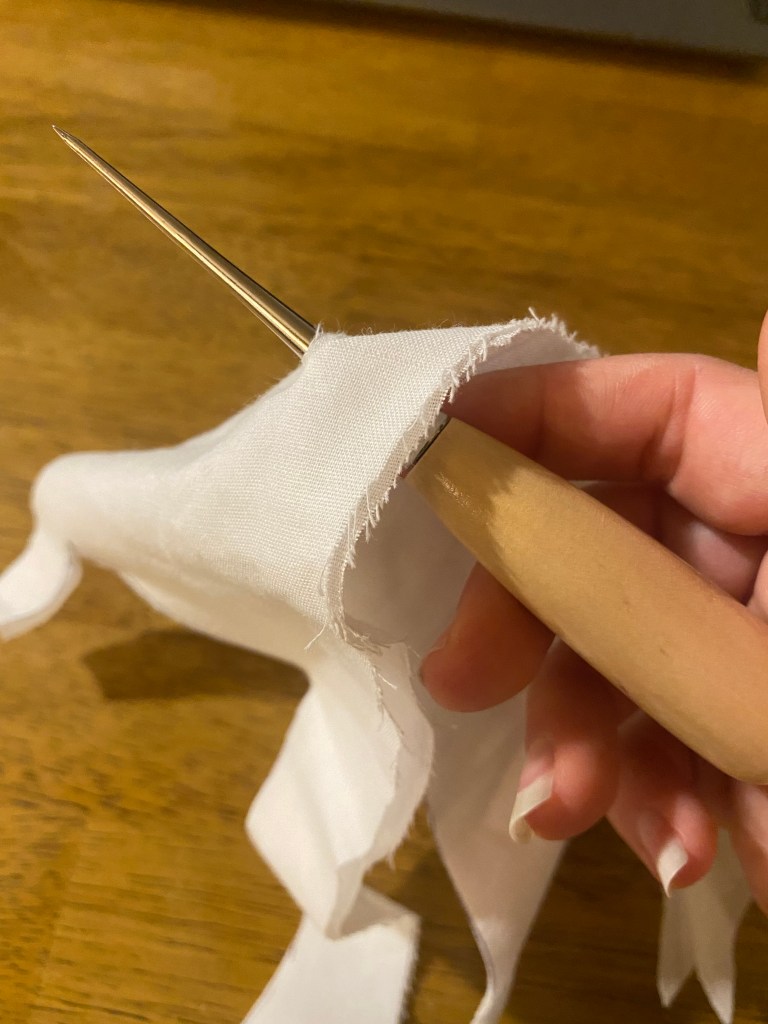
Further expand the hole by pushing the material up along the awl. I have a small sharpie mark for about where I achieve my eyelet size consistently 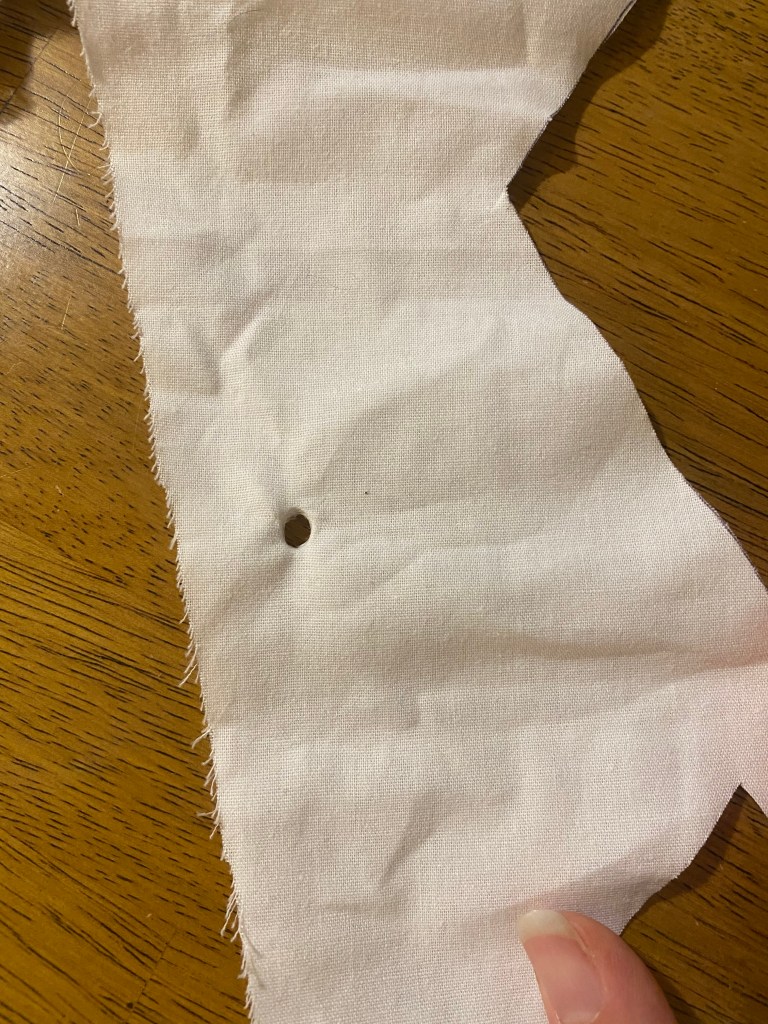
Fashion side of the material after removing the awl. 
Back side of material after removing the awl.
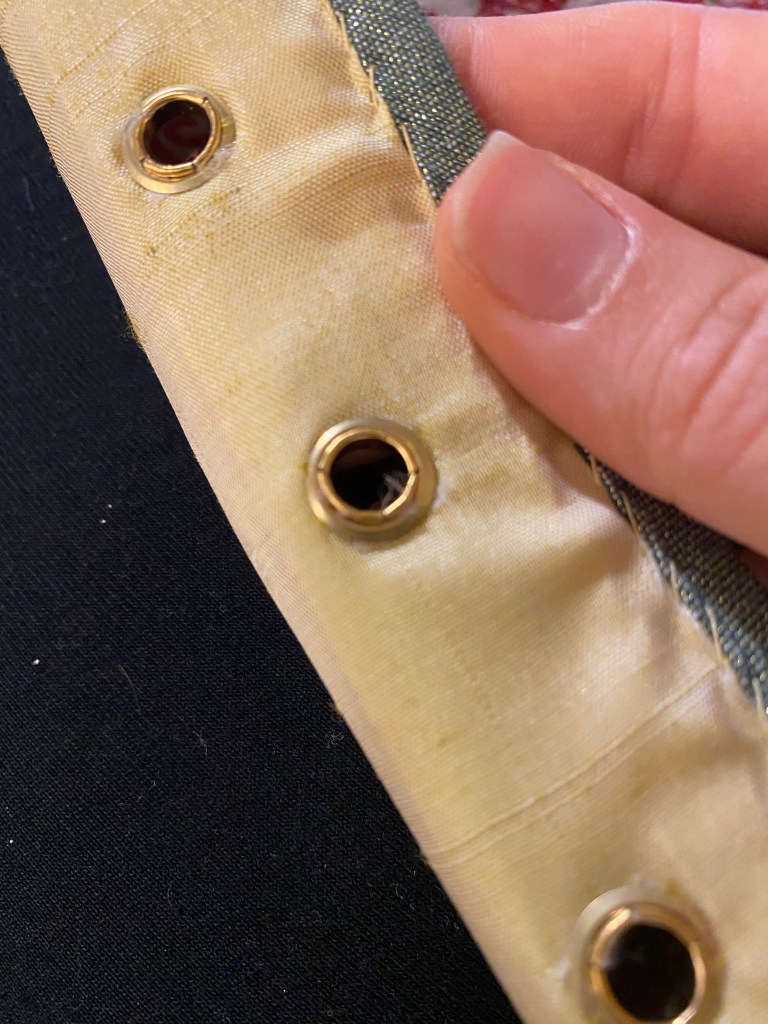
Since I am hard on my lacing and the stays do not have a busk to support the eyelets, I am opting to use metal grommets under my stitches. I had 1/4″ gold eyelets on hand from a previous bulk order and applied them using a shank and hammer. I have a grommet pliers but was unable to get a nice, clean finish with these because of the surrounding fabric thickness. The pliers didn’t give me as much control and caused me to catch the fabric in the metal teeth a few times. Not a great use of $35….. thanks Dritz…..
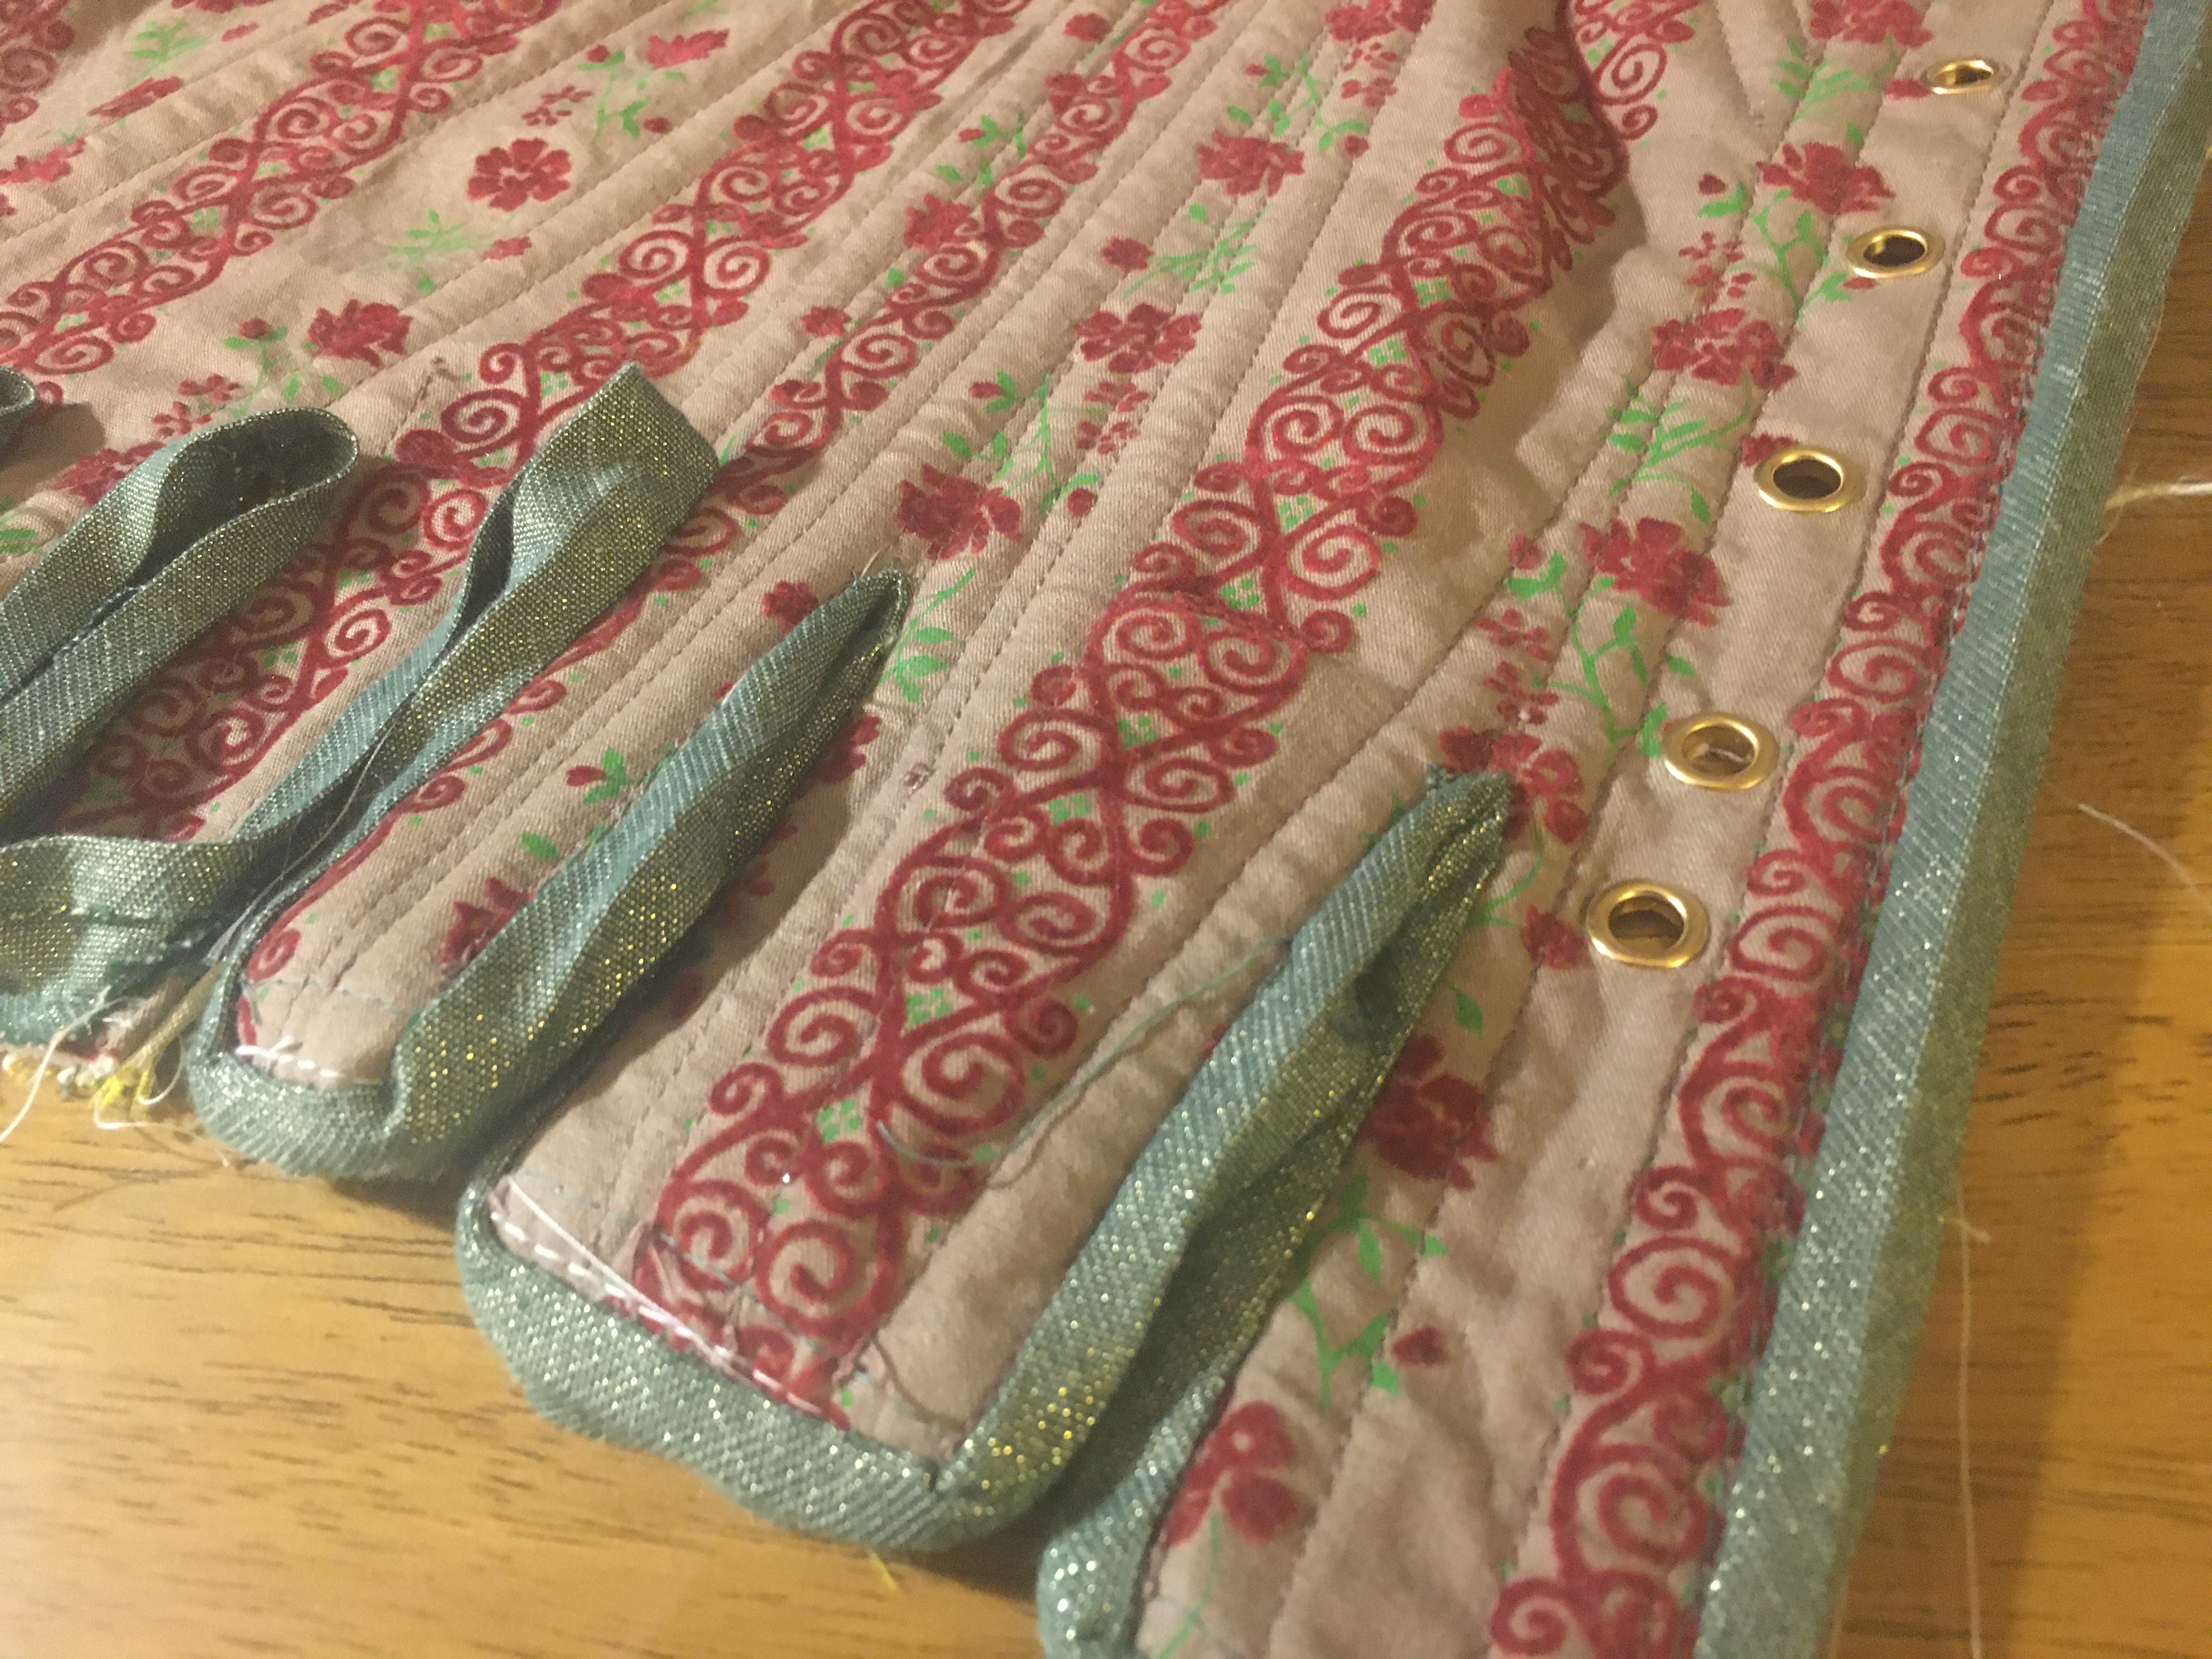
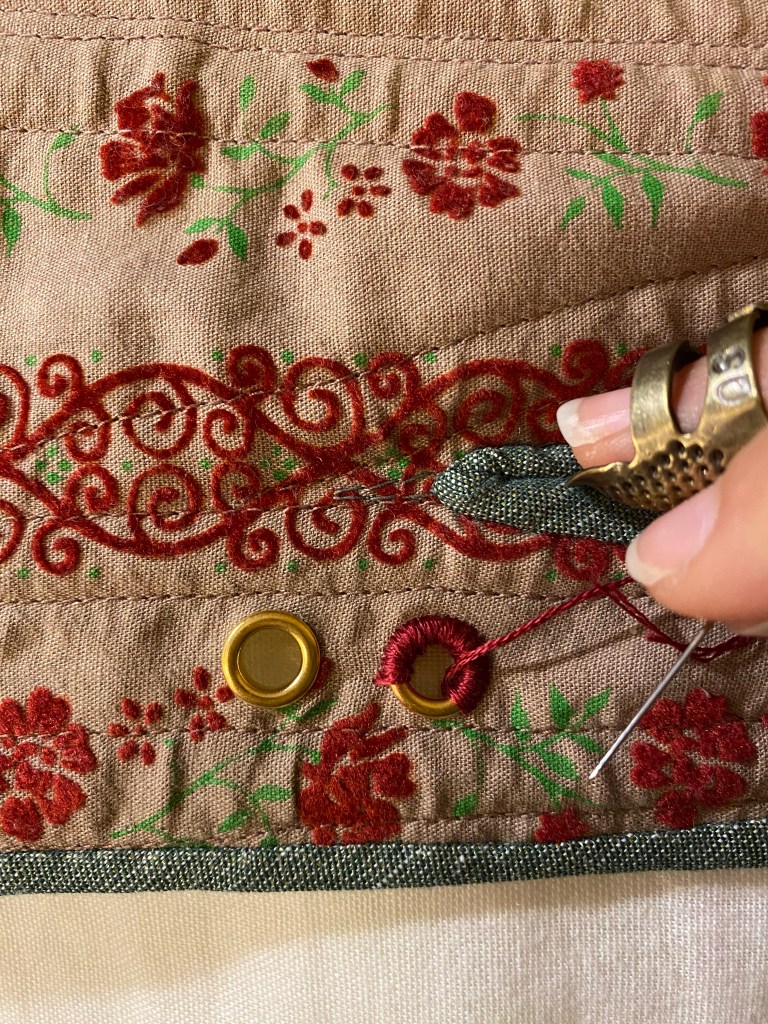
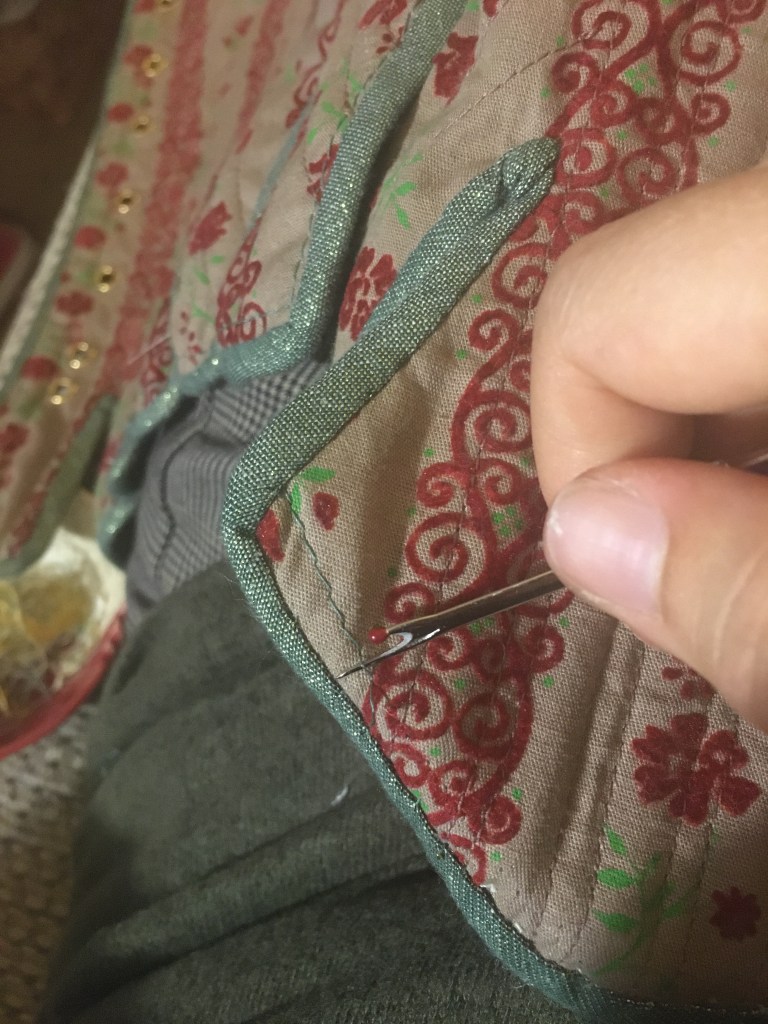
Now that all the neat metal grommets are in place, they can be covered by embroidery floss to give a great historical finish look. I use two strands of floss at a time which is faster than using thread, but gives a smooth finish to the stitches. The eyelets are covered simply by large whip stitches around the ring by starting from the back and stitching down through the fashion side of the fabric around the outer edge of the metal grommet.
This can take a LOT of time, especially if your thread knots. When I first started with this method, it could take up to a half hour per eyelet to fully cover the metal grommet. Once I am into a rhythm though, I can complete one per 5-10 minutes. I’ve found that using 3 strands of floss (or even 4 if you have the right sized needle) can seriously reduce the time to stitch them, but will also make the eyelets have a “coarser” look. I also noticed that using more stands makes hole itself smaller due to the excess bulk when the additional strands wind around each other rather than lying flat as you can achieve with only 2 strands.
A lot of time and attention, but it sure looks nice when it’s done.
With the eyelets done, the garment is complete and wearable! All that was left was to remove any baste stitches still visible from the front. I used green and white thread when baste stitching (both on the machine and by hand) so that I could easily find and remove them later.
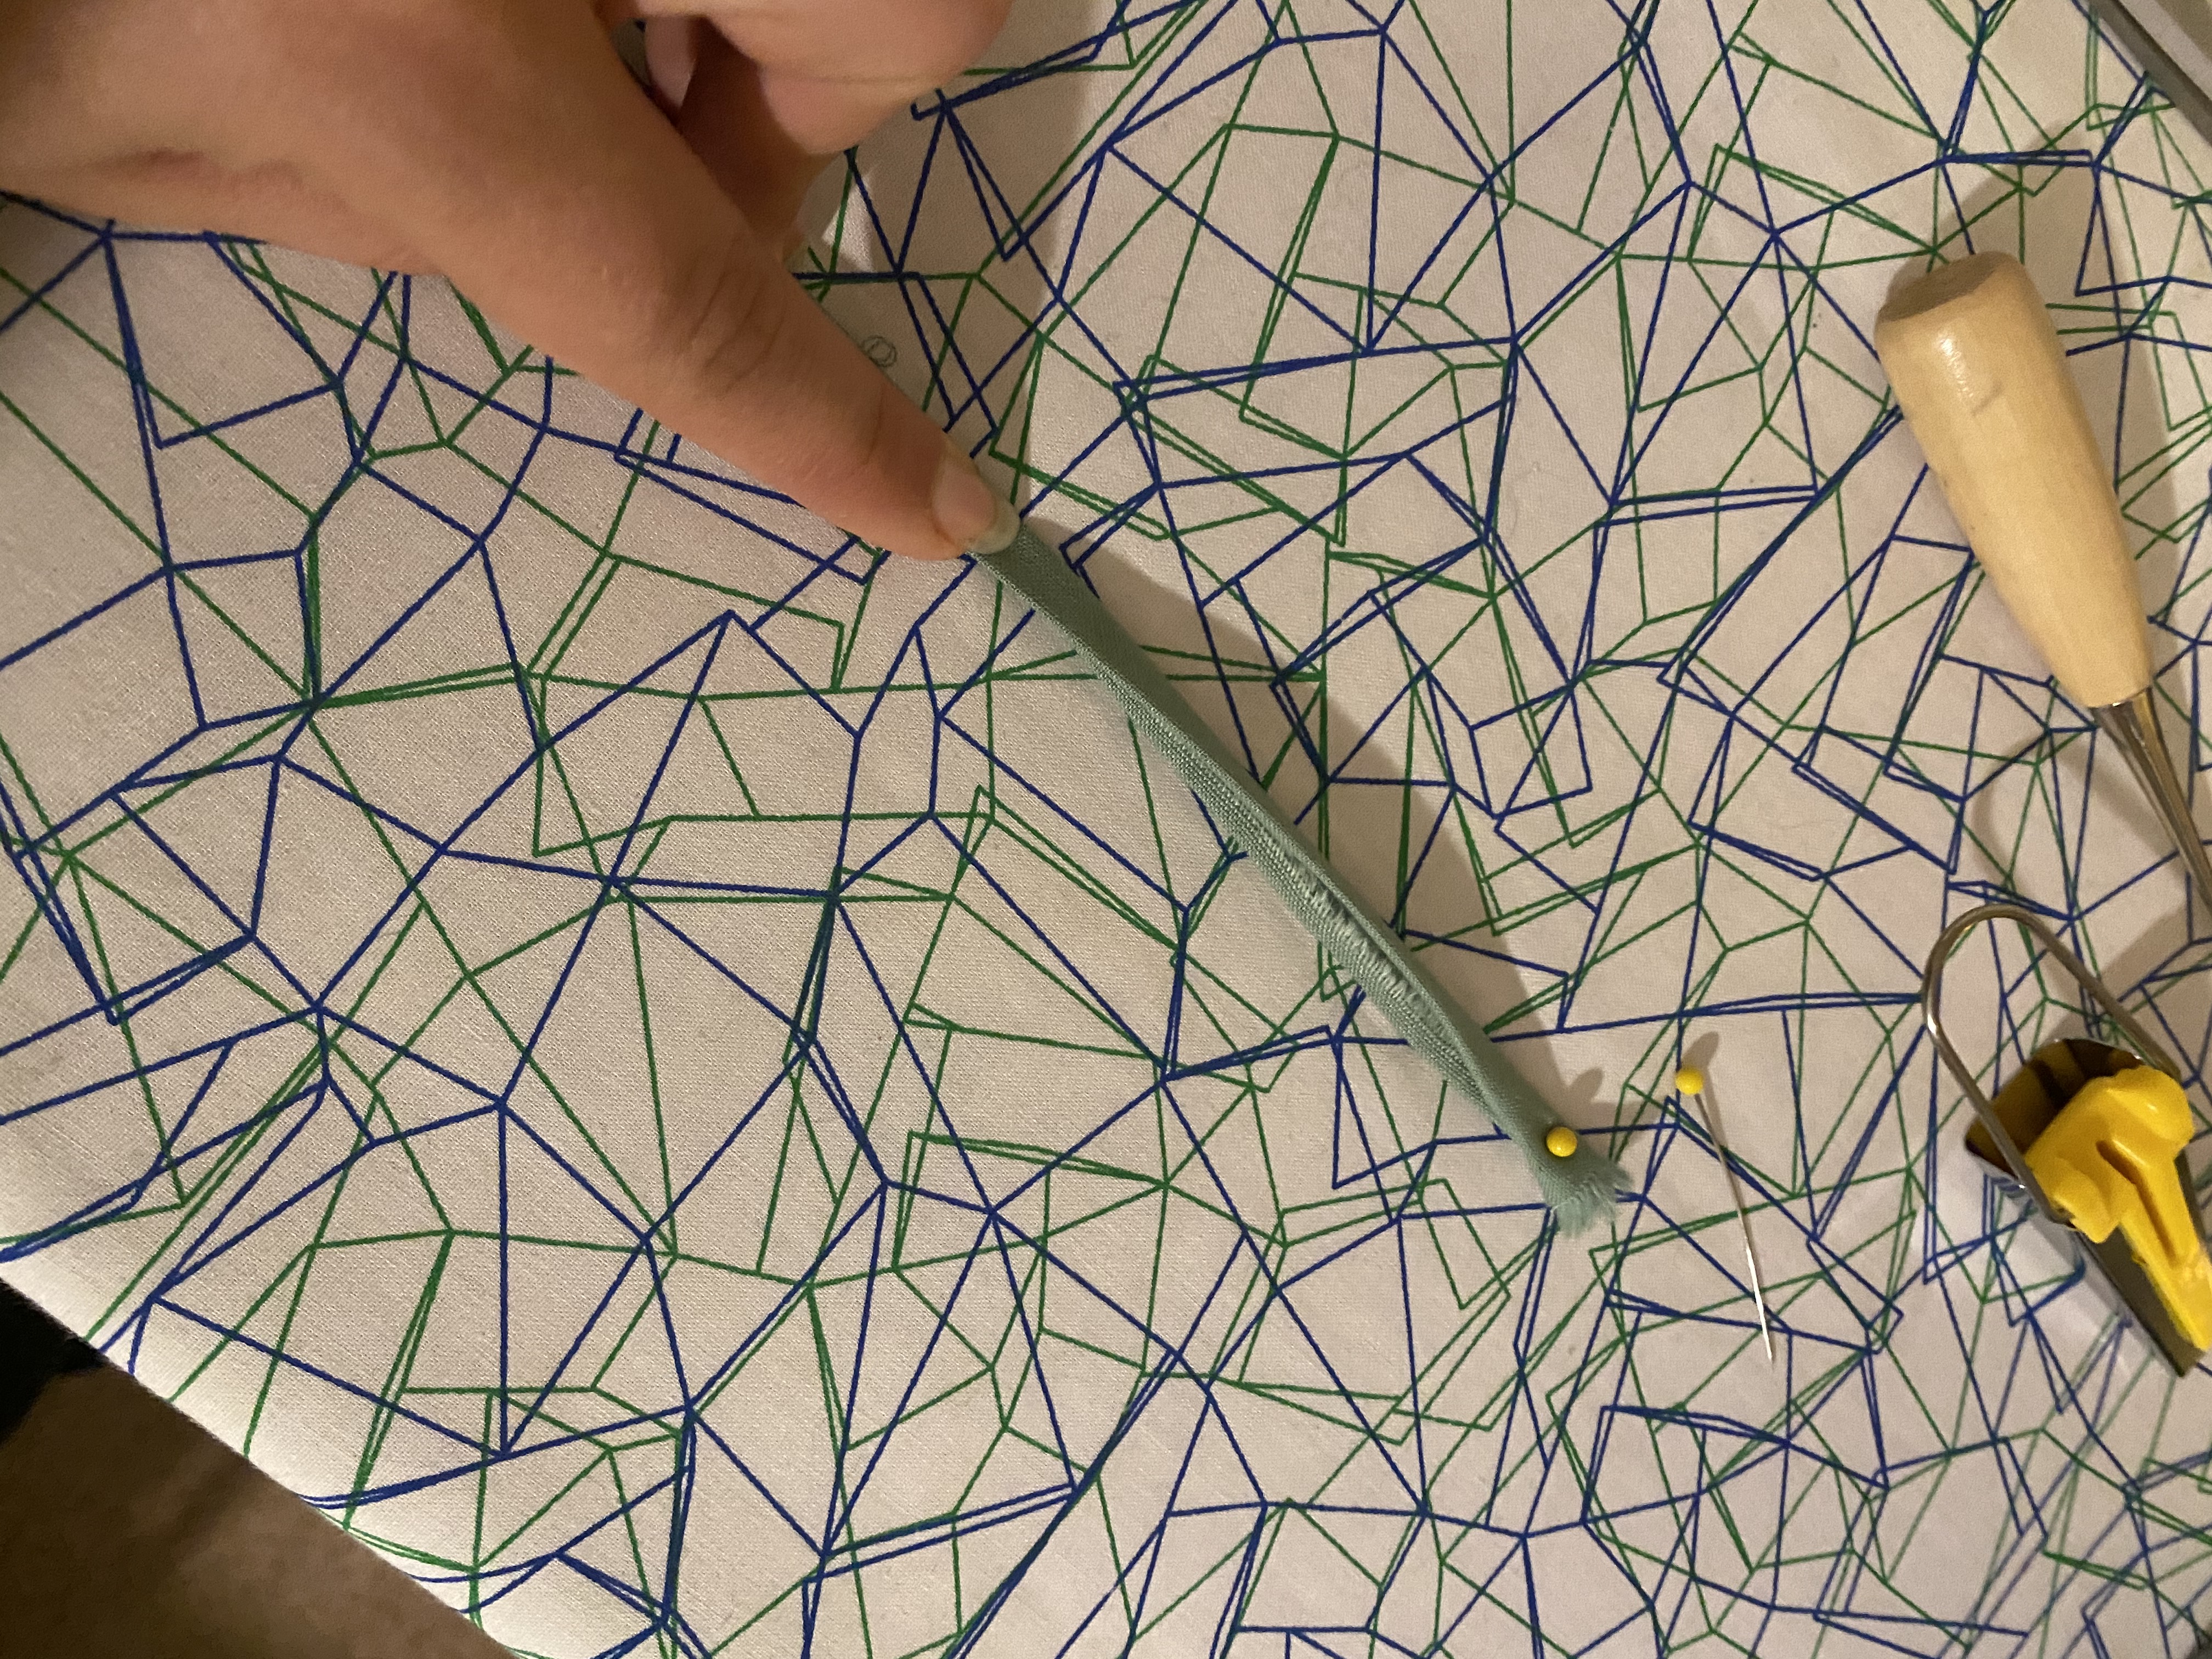
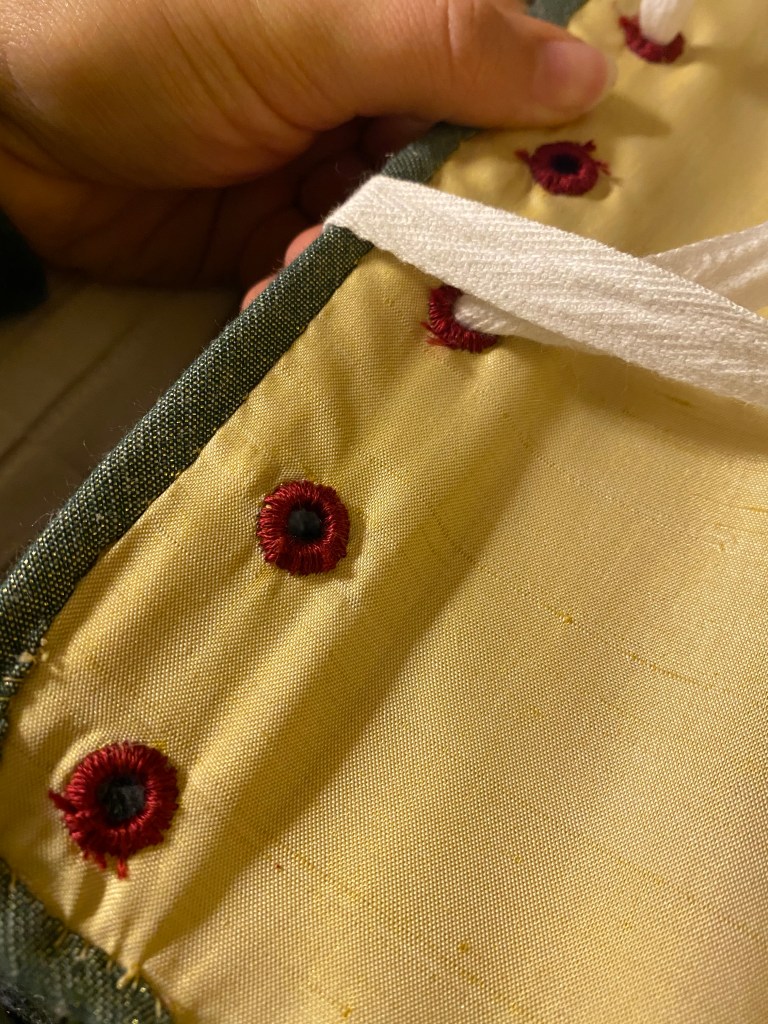
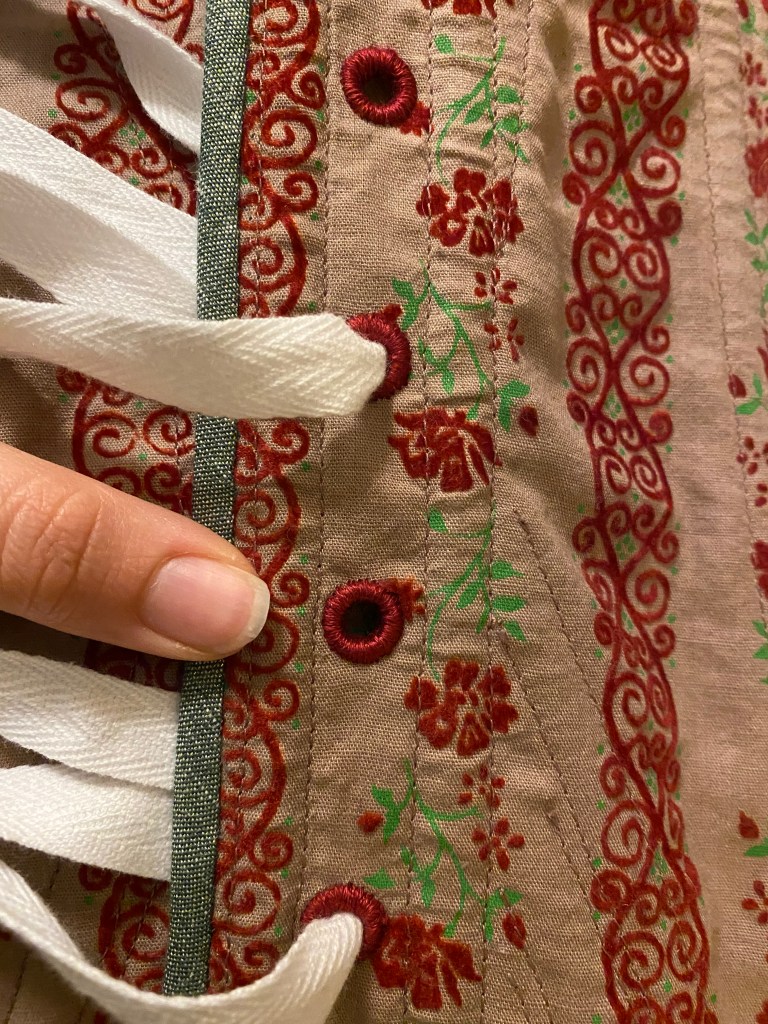
Finally, it was time to replace the cotton twill tape that I had been using as lacing for the fit tests. Though strong, the bright white cotton clashed horridly. Since I had made so much excess green bias tape, I was able to repurpose the tiny tape as lacing. All I had to do was slip stitch the folded edges of the bias tape and finish the ends.


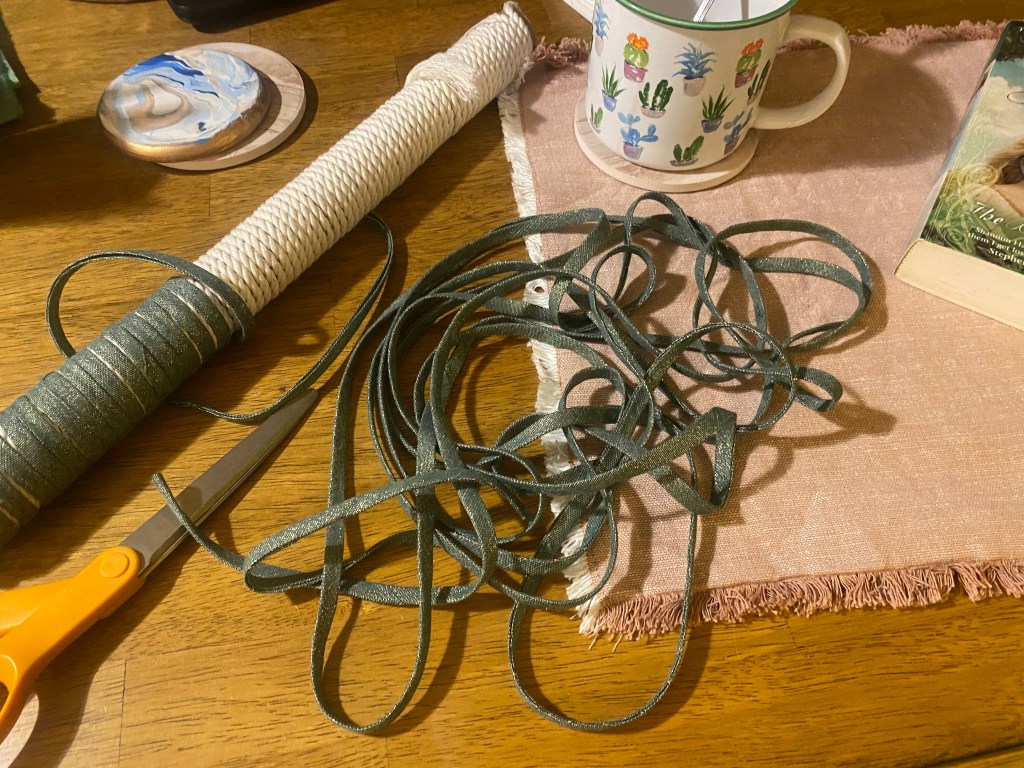
And there it is, in all its wonderful finished glory! Now, time to wrap up the other garment elements.
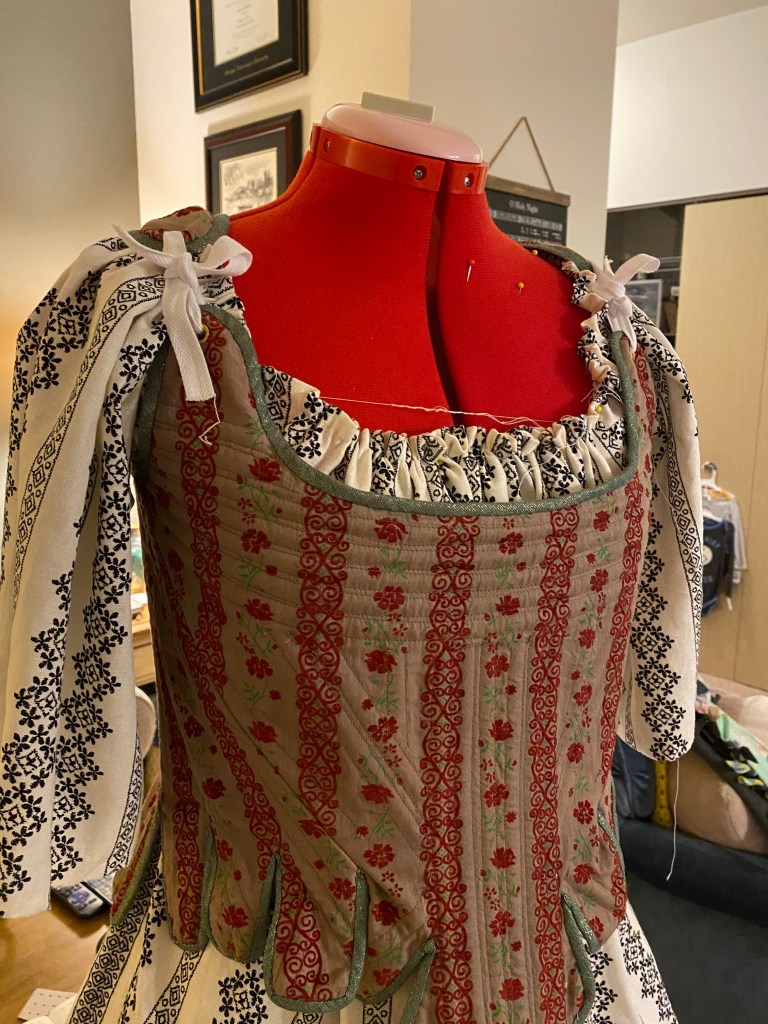

Lots of work, beautifully finished! 🌸
LikeLike
Beautiful, inspiring project and post!
LikeLike
[…] The Goose Girl: Bodice Finishings to Flare […]
LikeLike
[…] The Goose Girl: Bodice Finishings to Flare […]
LikeLike