Blue Tudor Gown: Building the Foresleeves

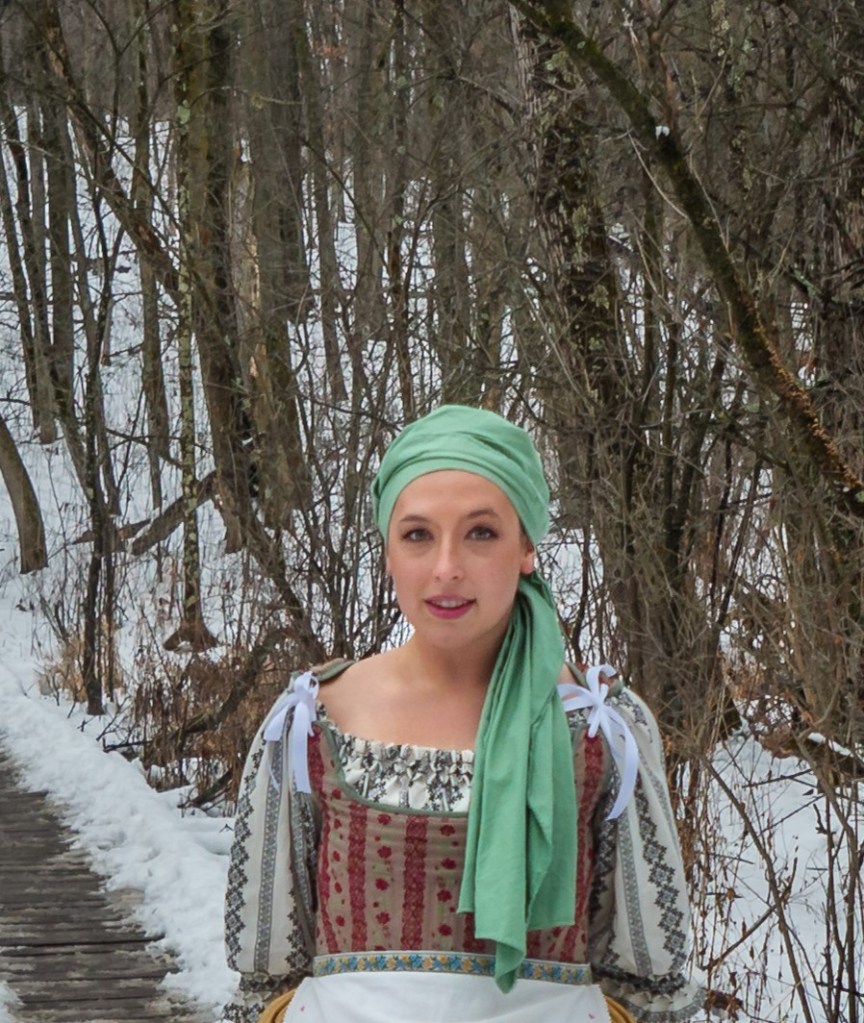
With the construction of the gown and supportive kirtle, work could begin on the accessories including the foresleeves and plaquette. The foresleeves are a type of false sleeves worn on the forearm that was often in a complementary or matching fabric as the main gown. The wing portion angles toward the turned-back sleeves of the gown and gives a smidgen of support to the draped sleeves to open them.

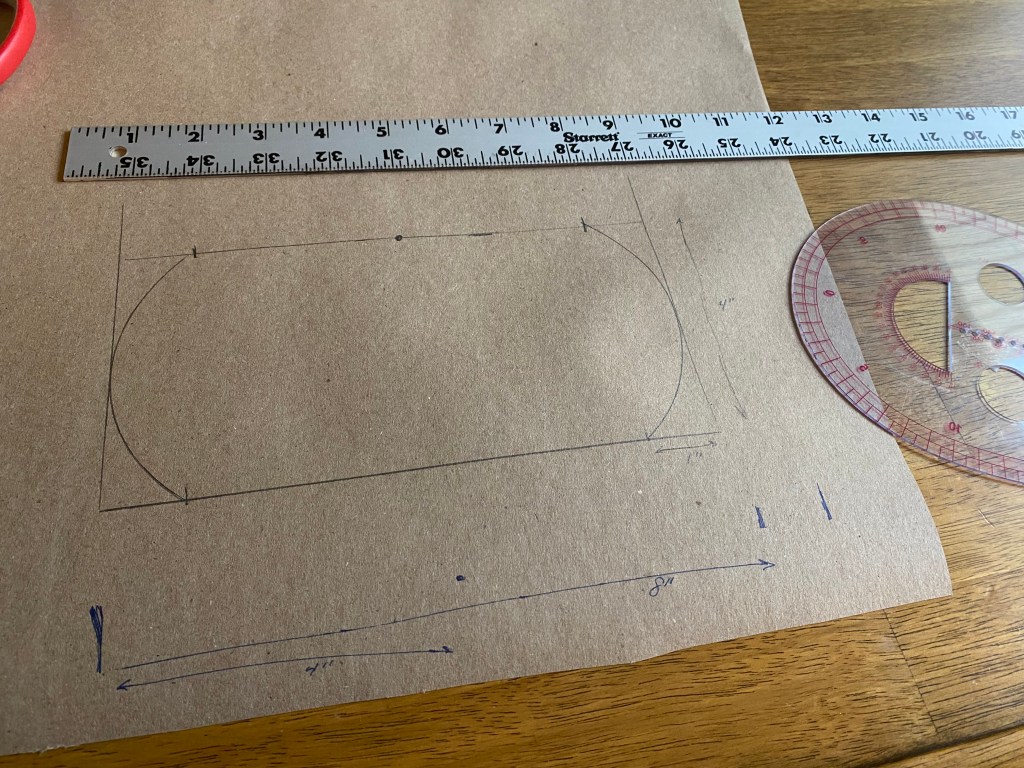
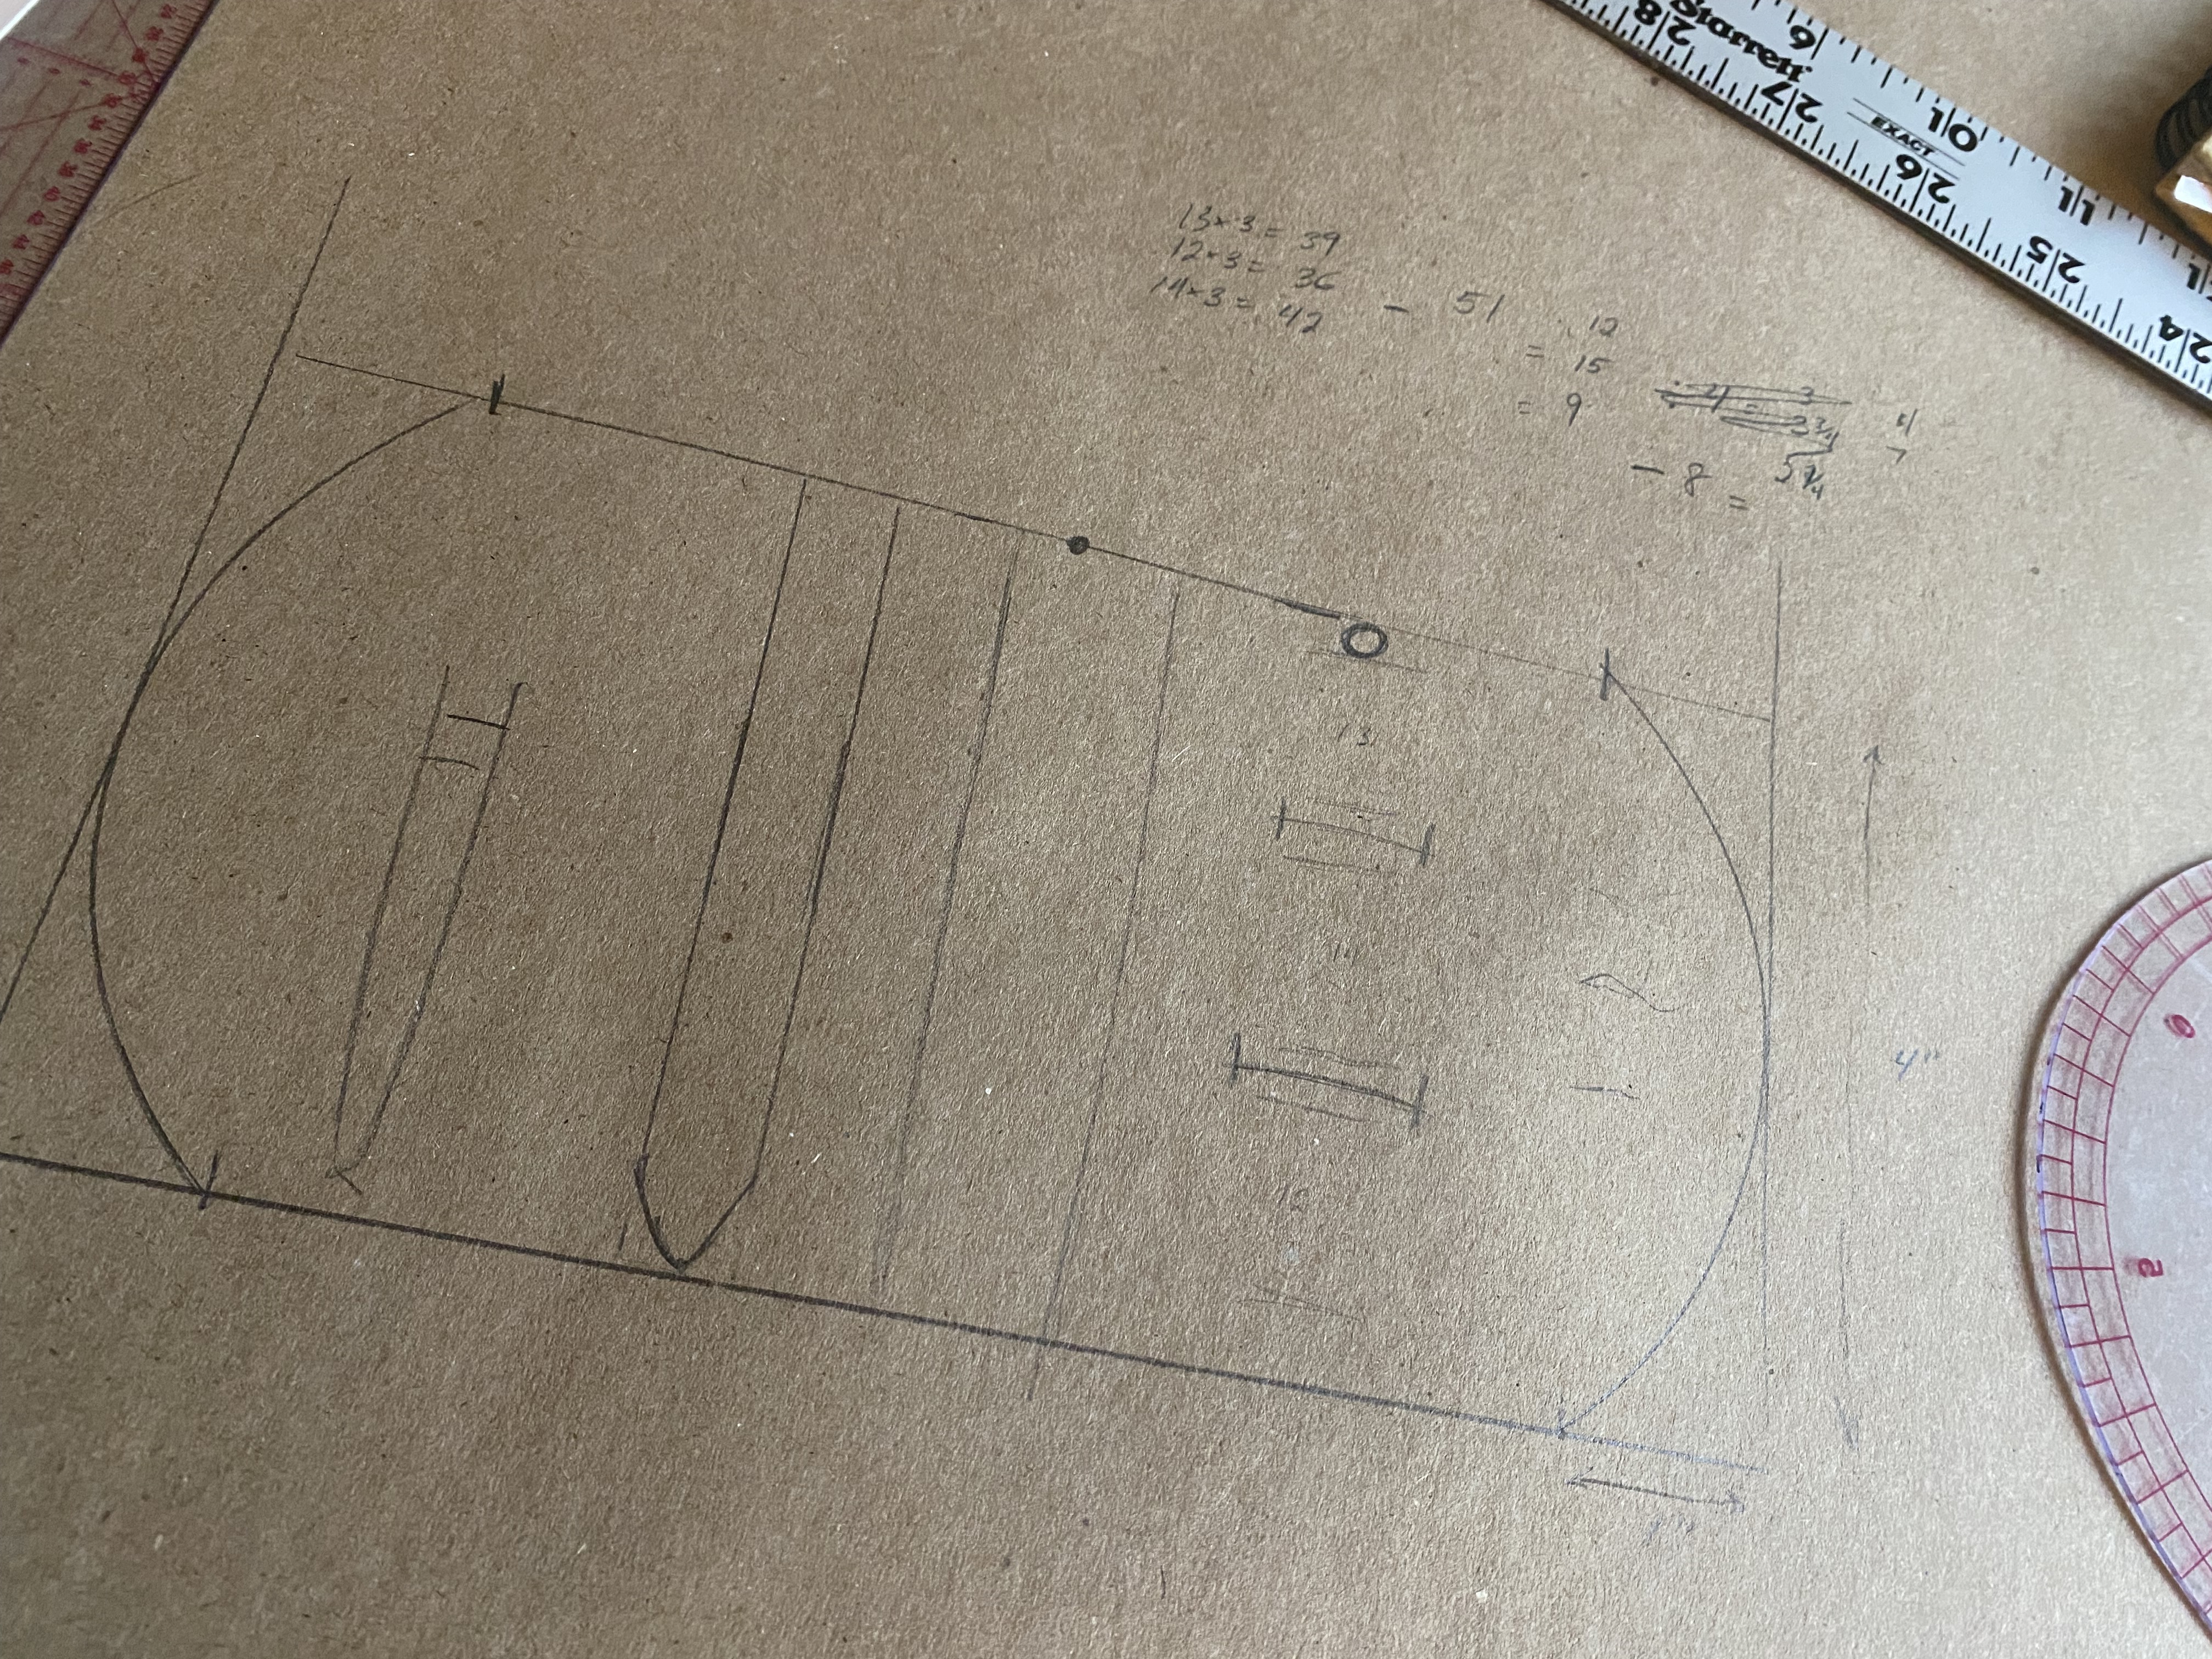
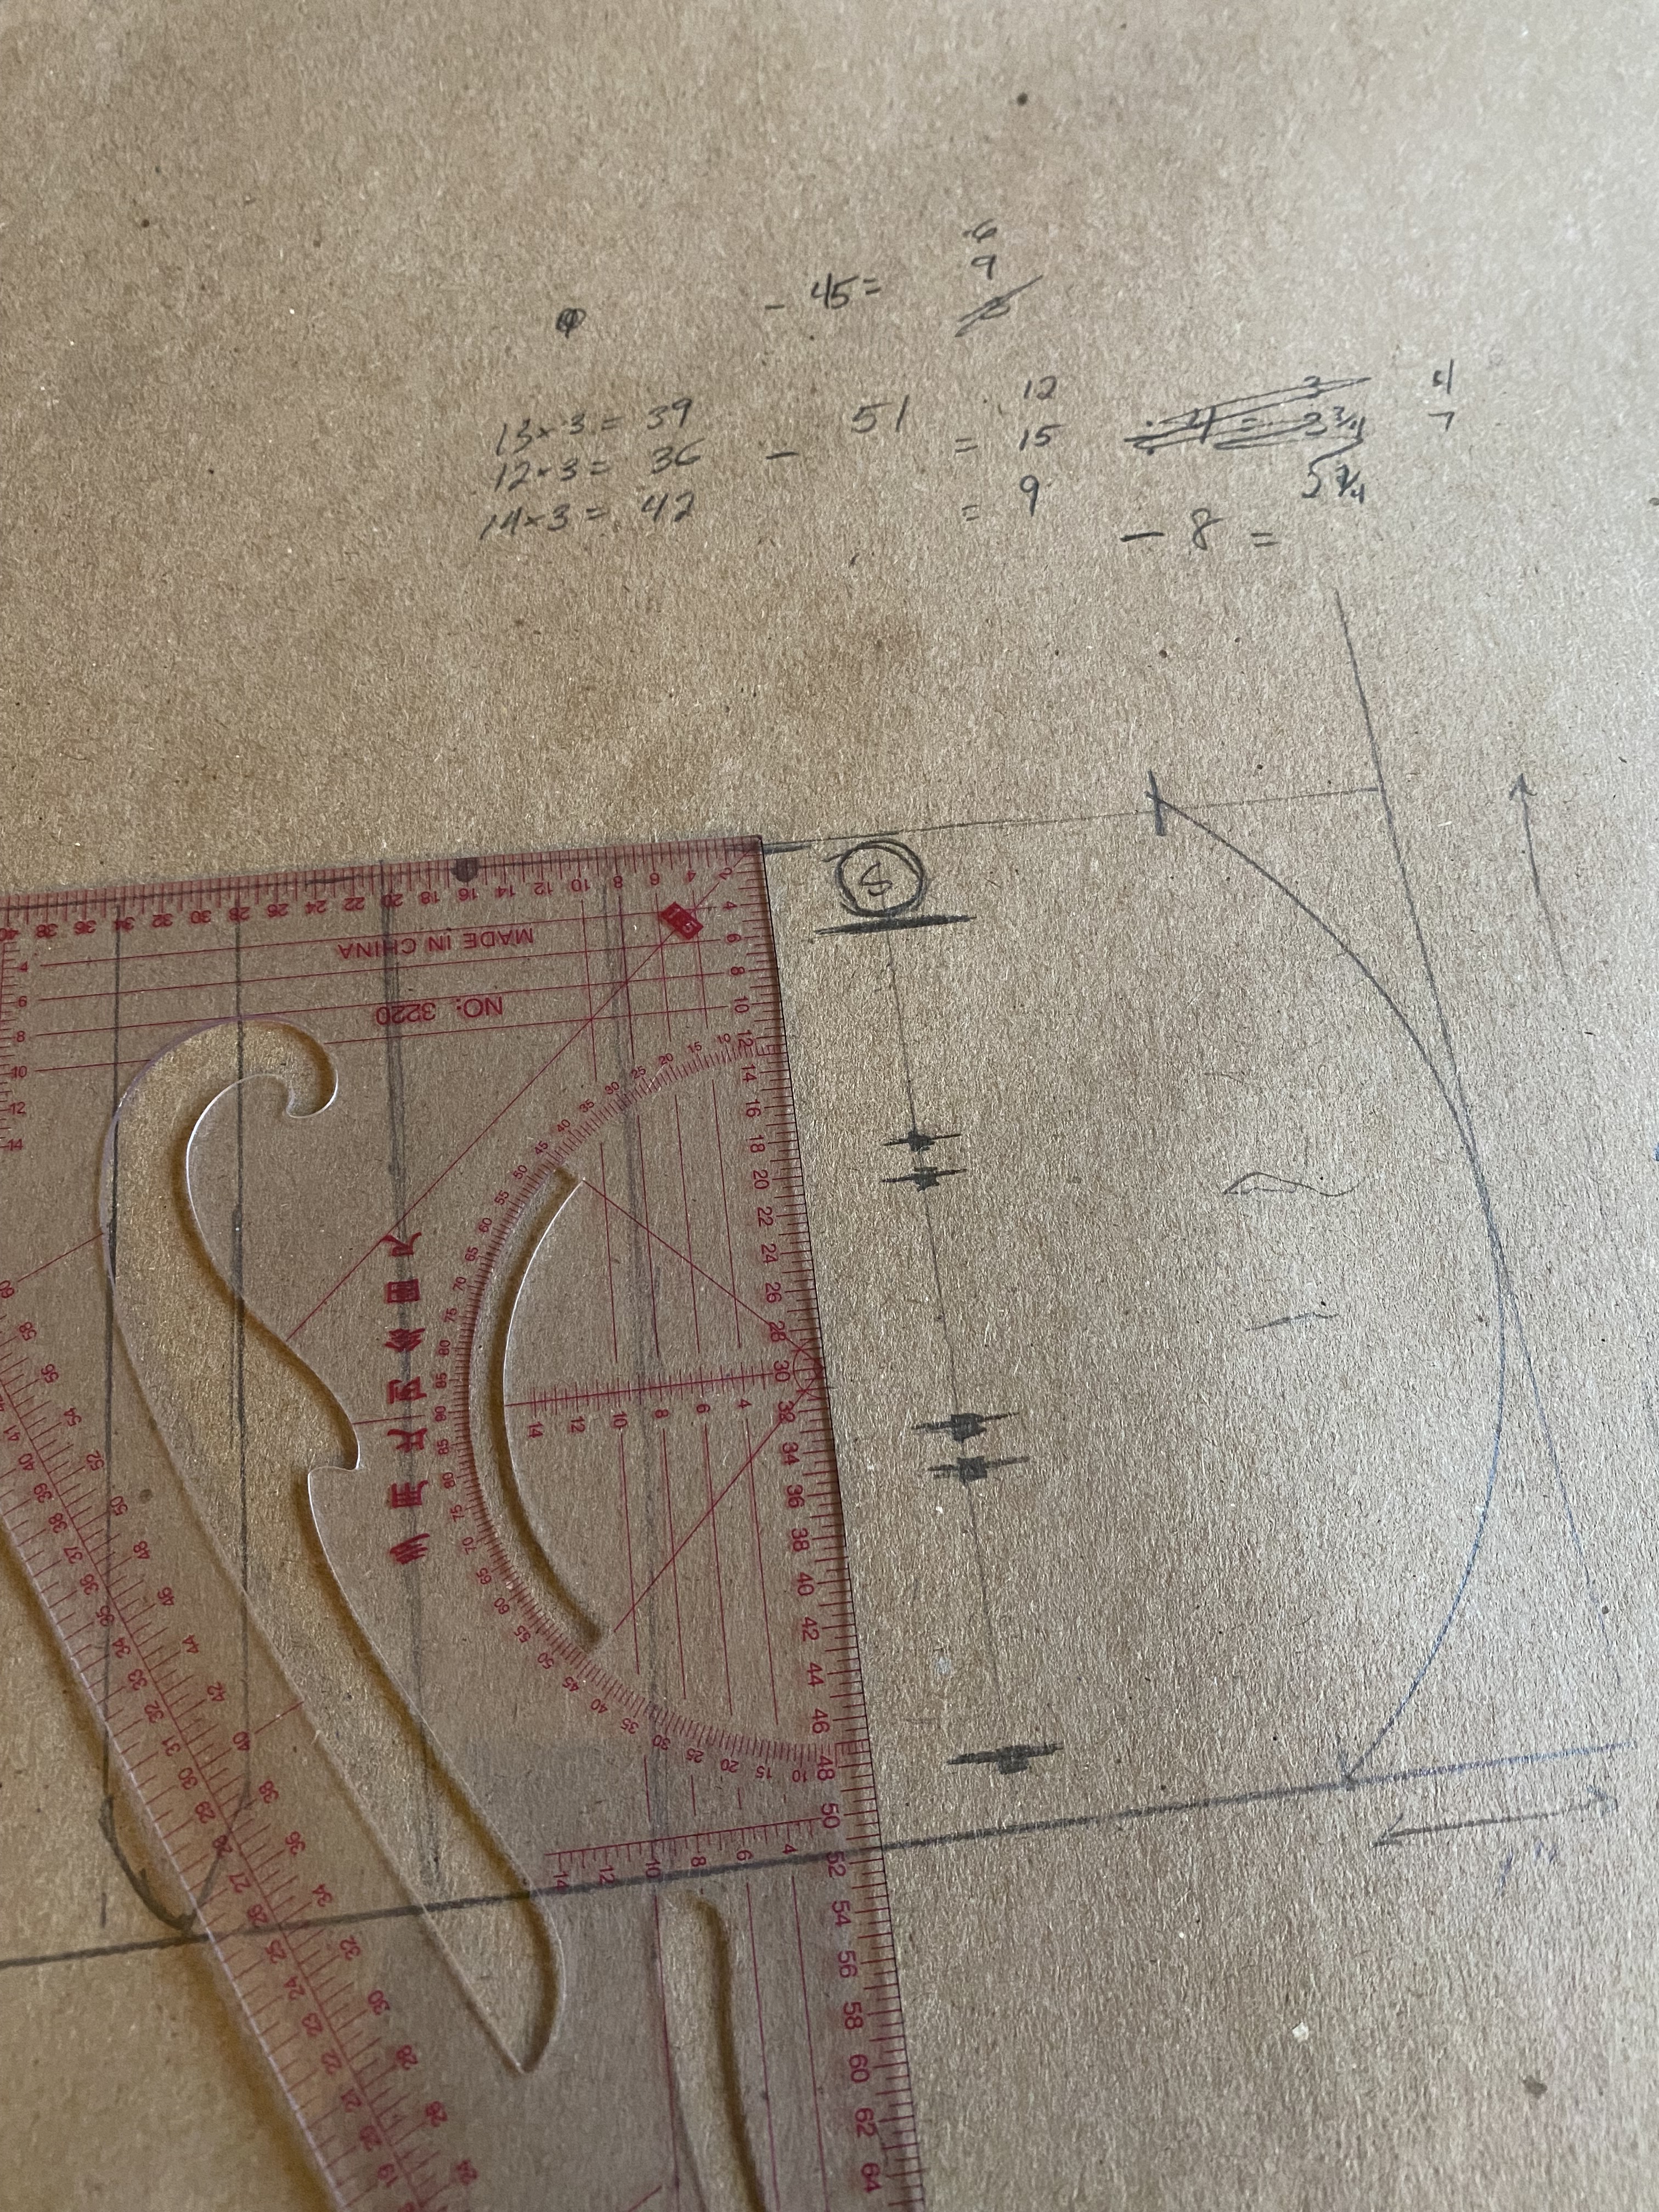
I am again using the pattern from The Tudor Tailor with only minor adjustments based on the length of my forearm. The mockup of the foresleeves alone was such an odd feeling. They reminded me of cosplay looks where the character has oversized bracers rather than a delicate, feminine accessory.

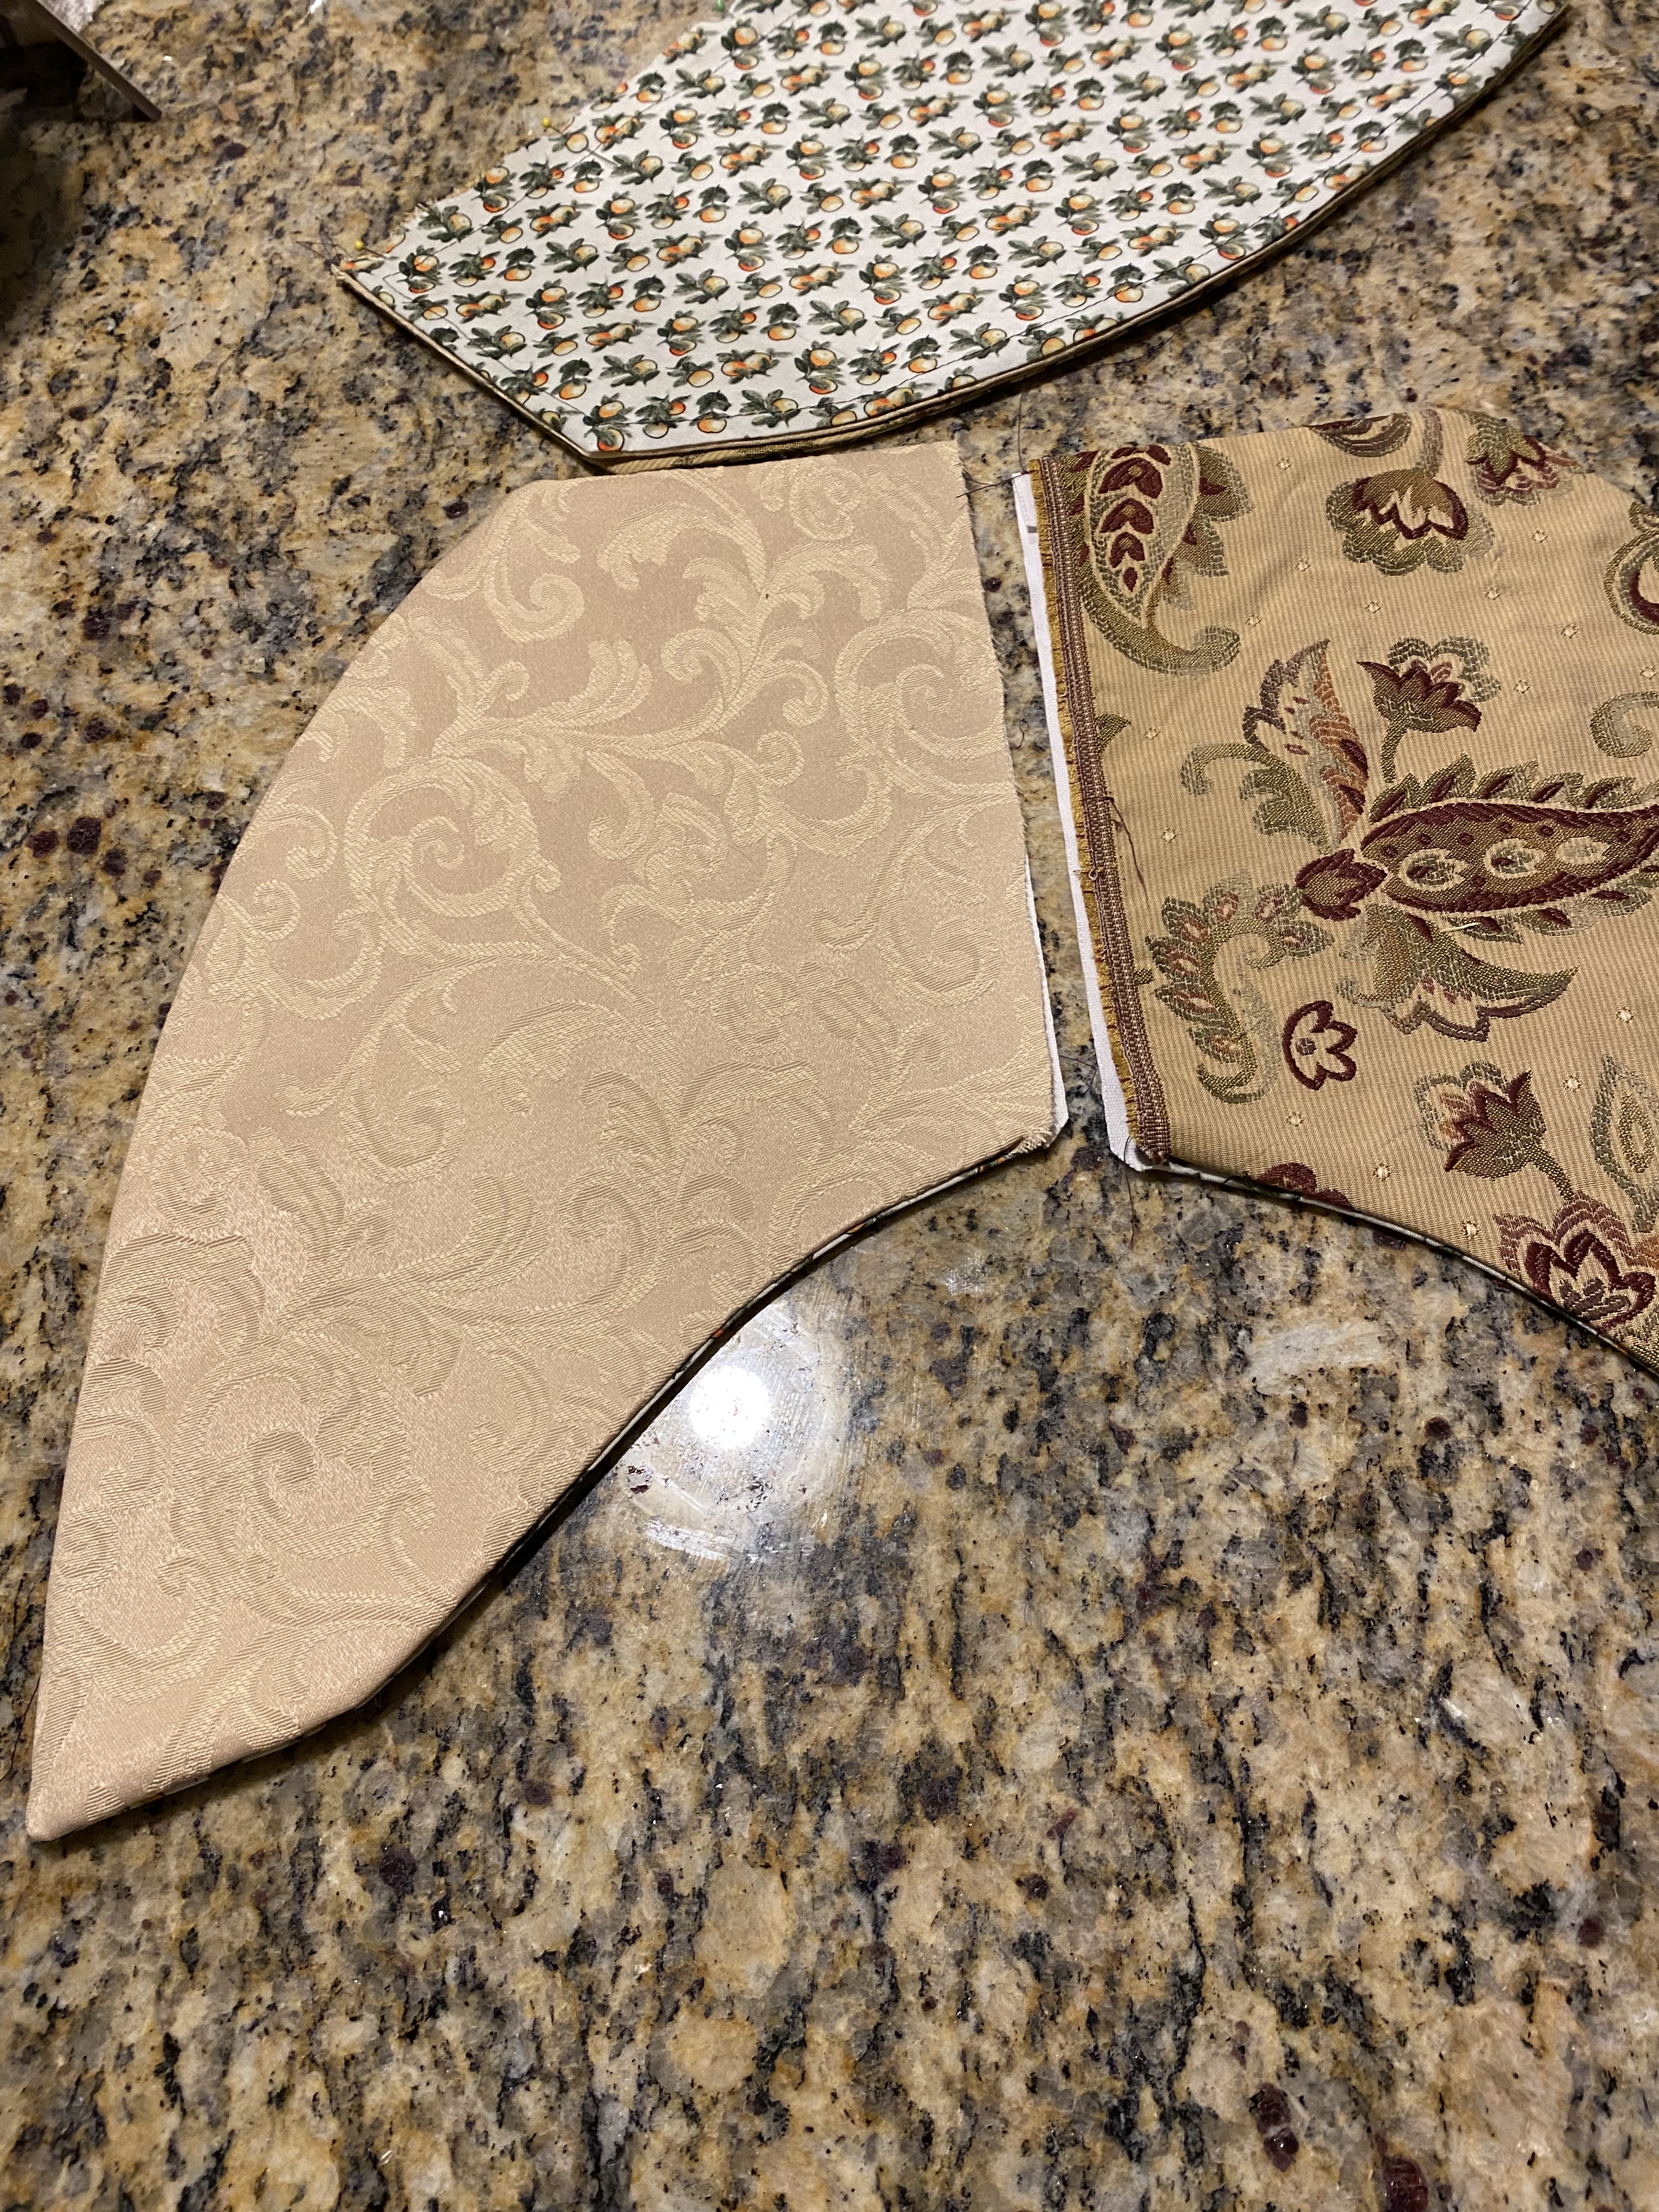
In constructing the foresleeves, I had very minimal fabric remaining that matched the contrasting fabric in the kirtle. It was thankfully just enough to cut two of the foresleeve pattern, but on a fold like the pattern requires. Instead, I cut the two with seam allowance at the top and then cut two more identical pattern pieces from other fabric I had in a similar color palette. Looking back, I wish I had instead used some of the navy blue linen leftover from the gown work for this, but I was stuck in the mindset of wanting the foresleeves to contrast the main gown.

The previously cut foresleeve pieces in the demask are used to cut exact copies in another complimentary fabric.

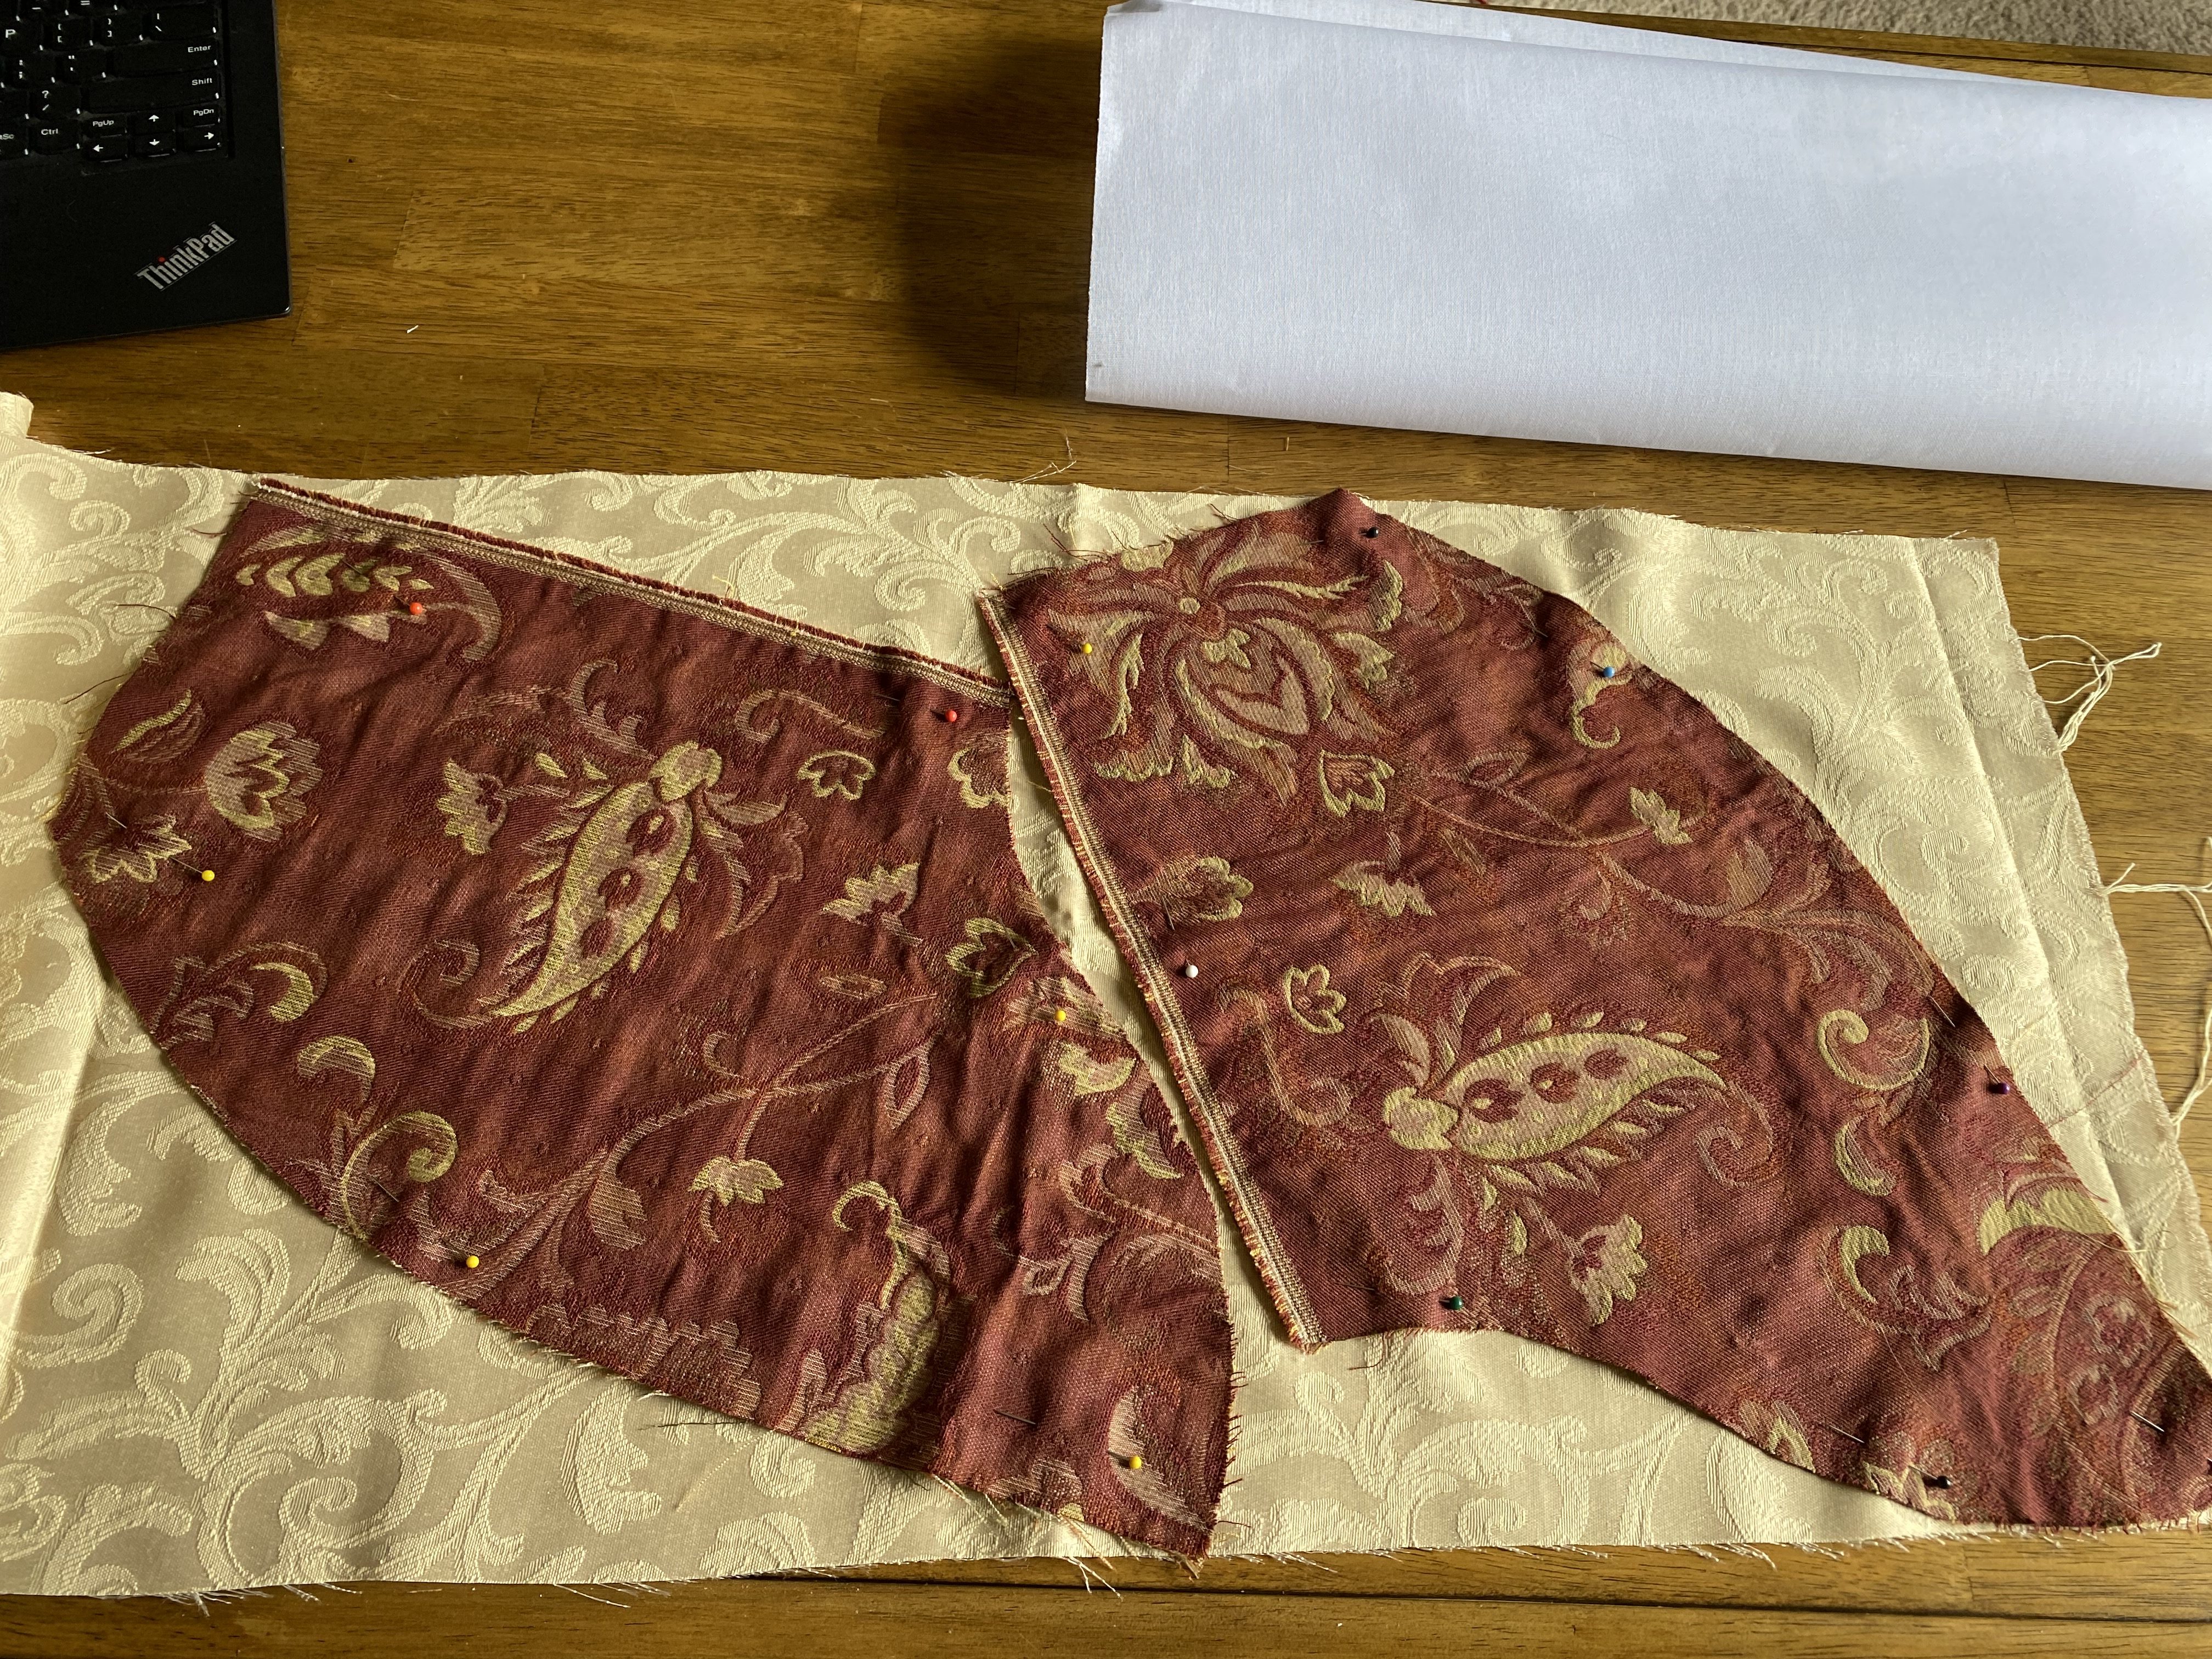
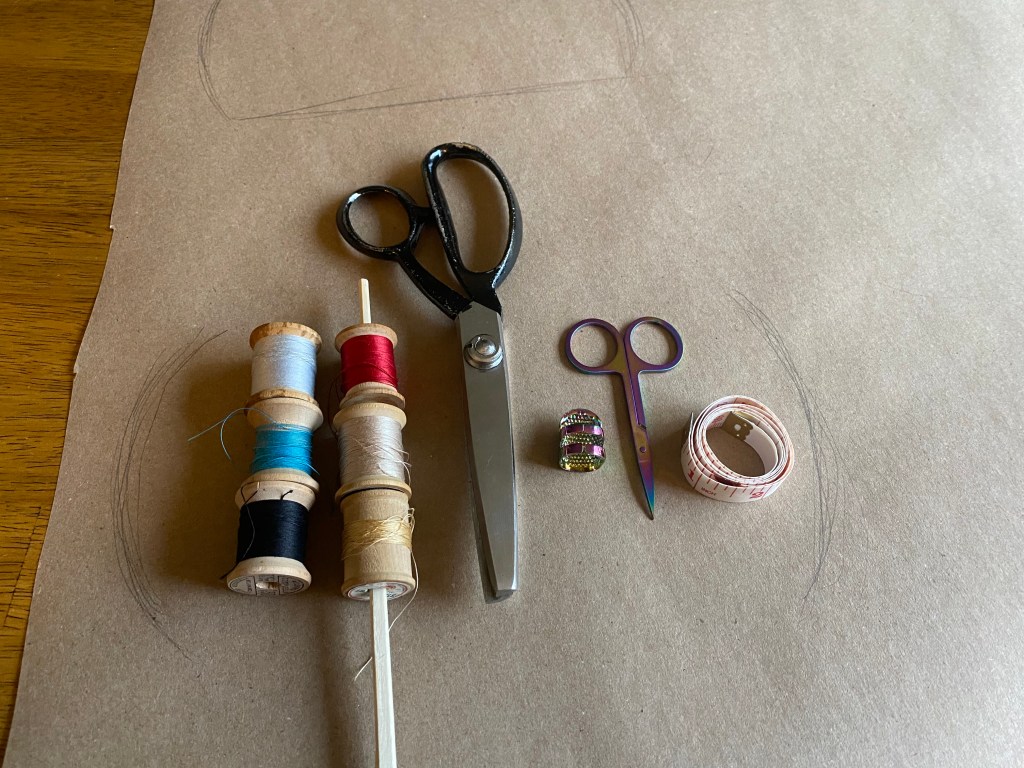
Since the foresleeves need a decent amount of stiffness to look right and the fashion fabrics used are light (cream supplement) and medium (yellow/red demask) weights, I opted to add a layer of buckram to the construction.

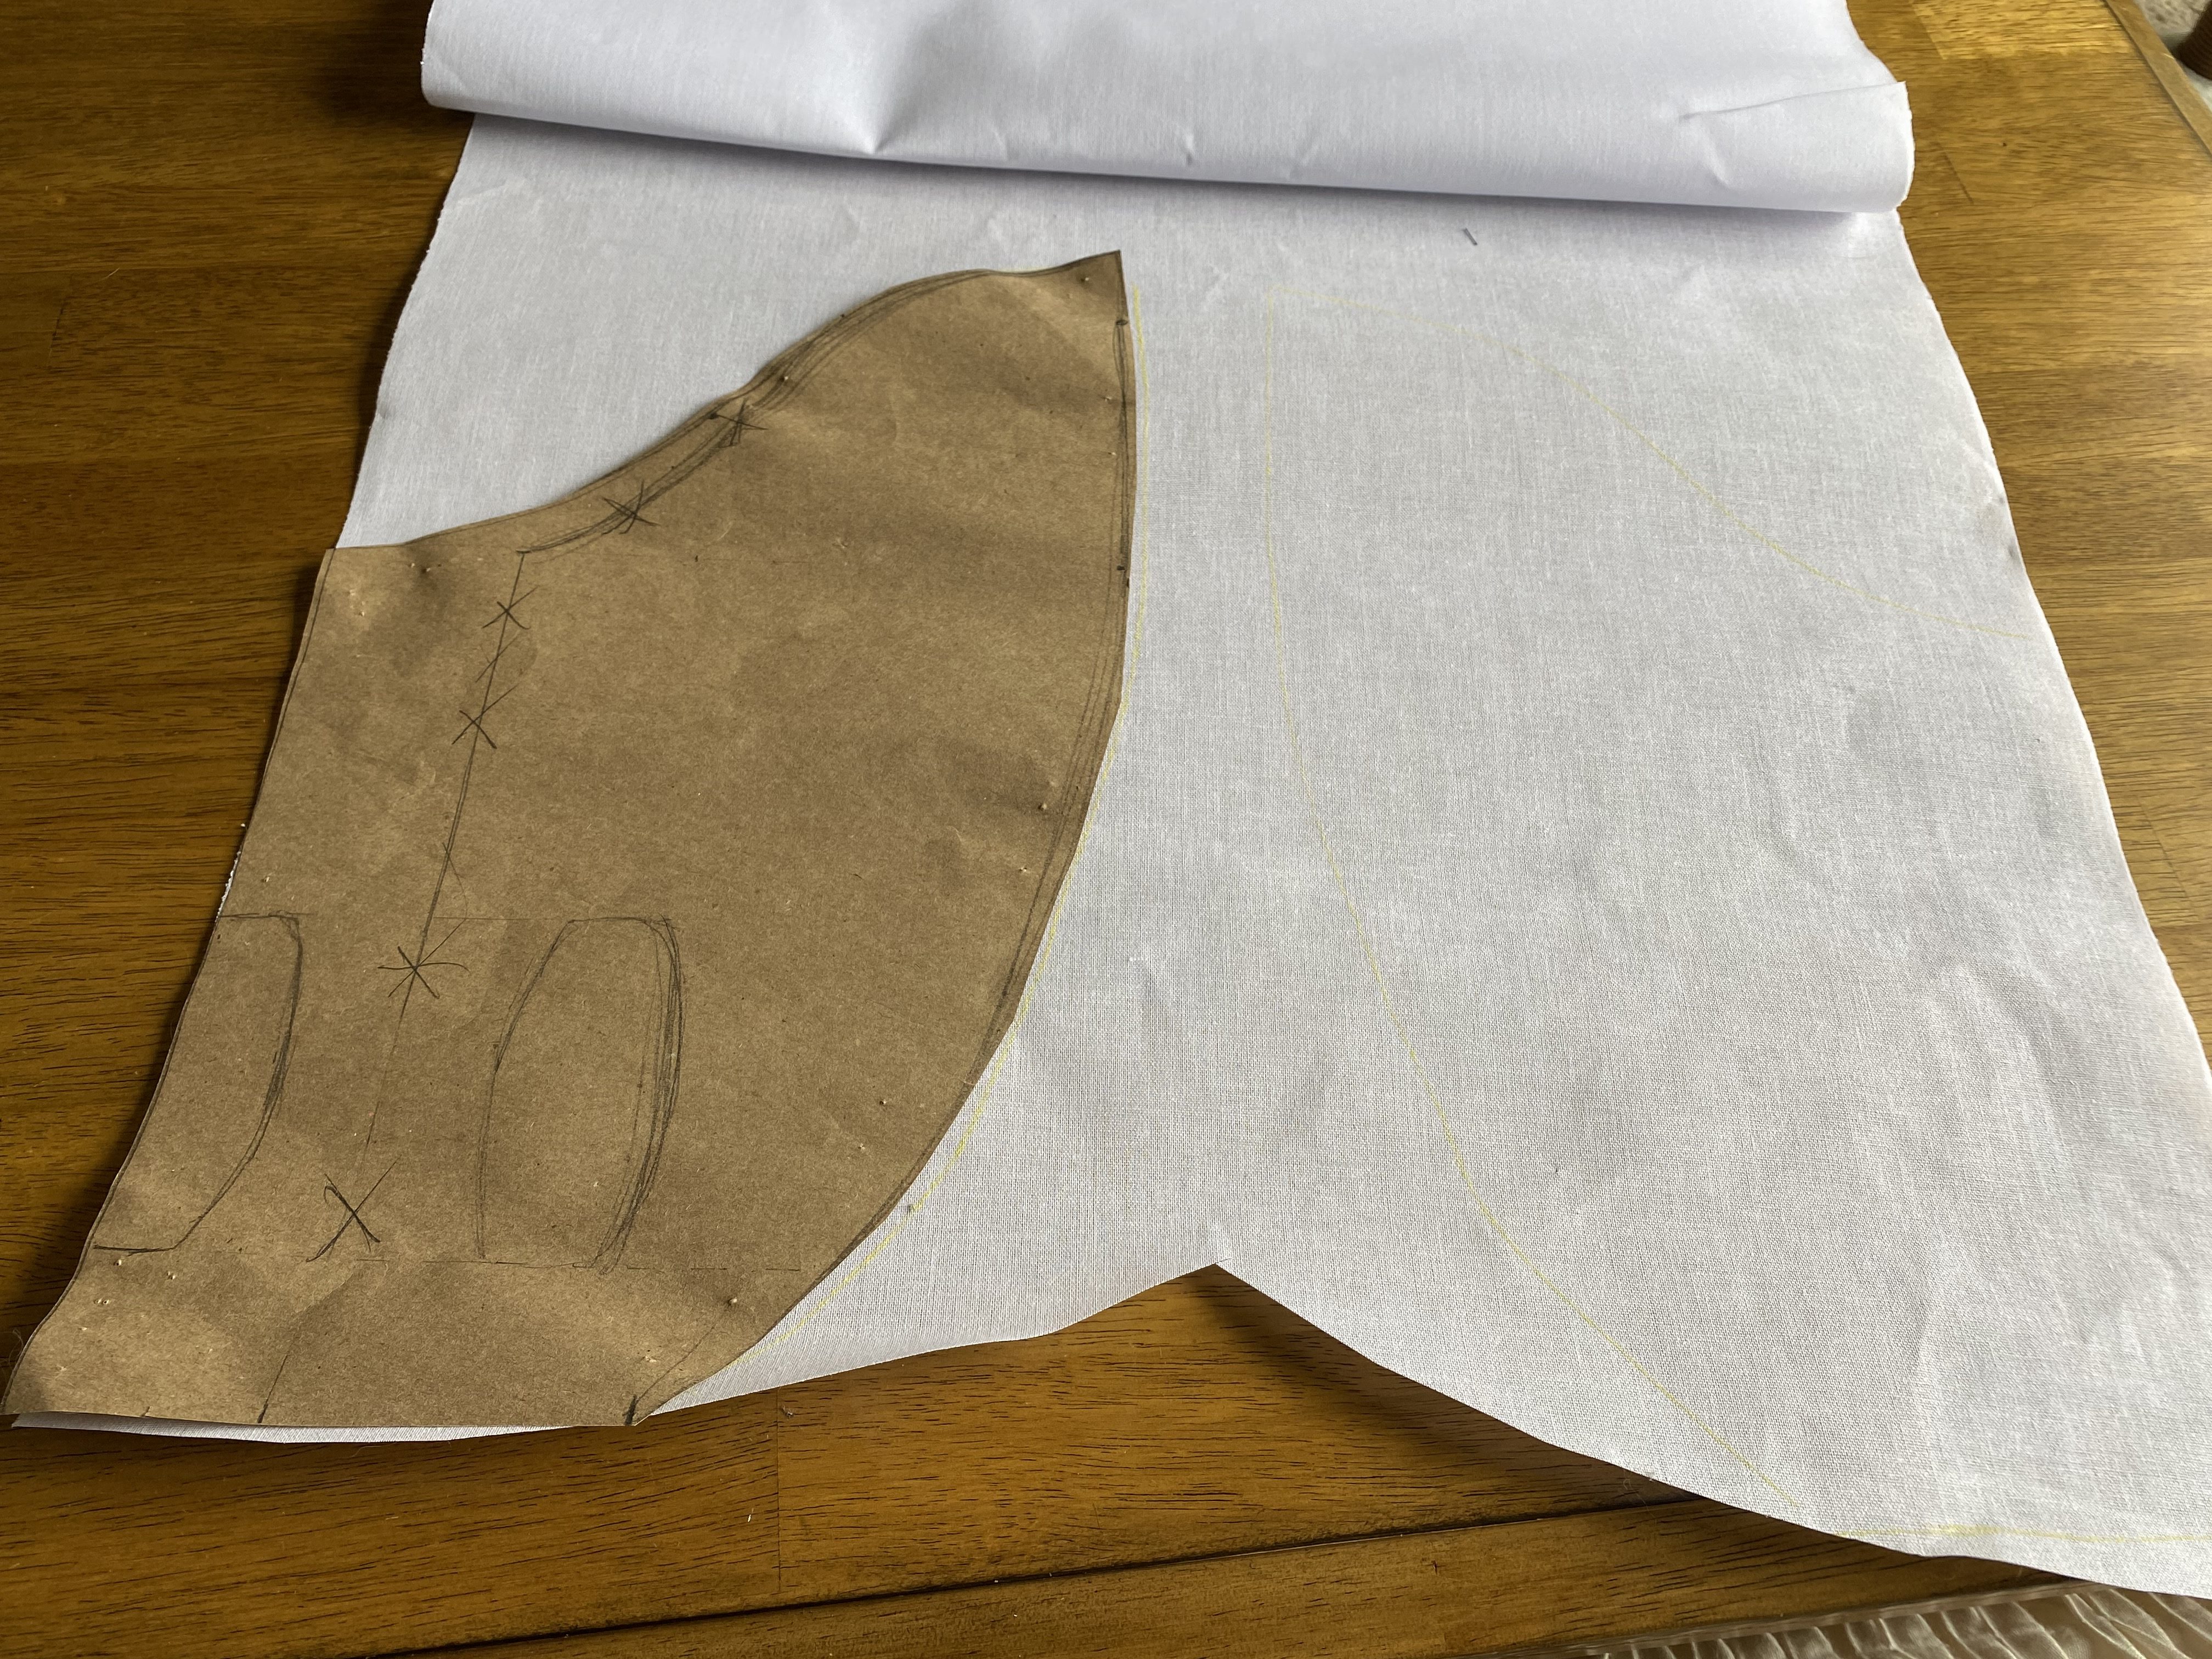
Buckram is a stiff mesh material that is typically used in the construction of hats and bonnets. Here, I am using is like an interlining for the additional strucutre. I cut it from the original pattern paper rather than the cut fabric panels since I do not need or want seam allowance on the buckram or it will cause my seams to be stiff and not turn nicely. I am applying one layer of buckram to each lining with a basting stitch a scant 1/8″ inside the stitching line.

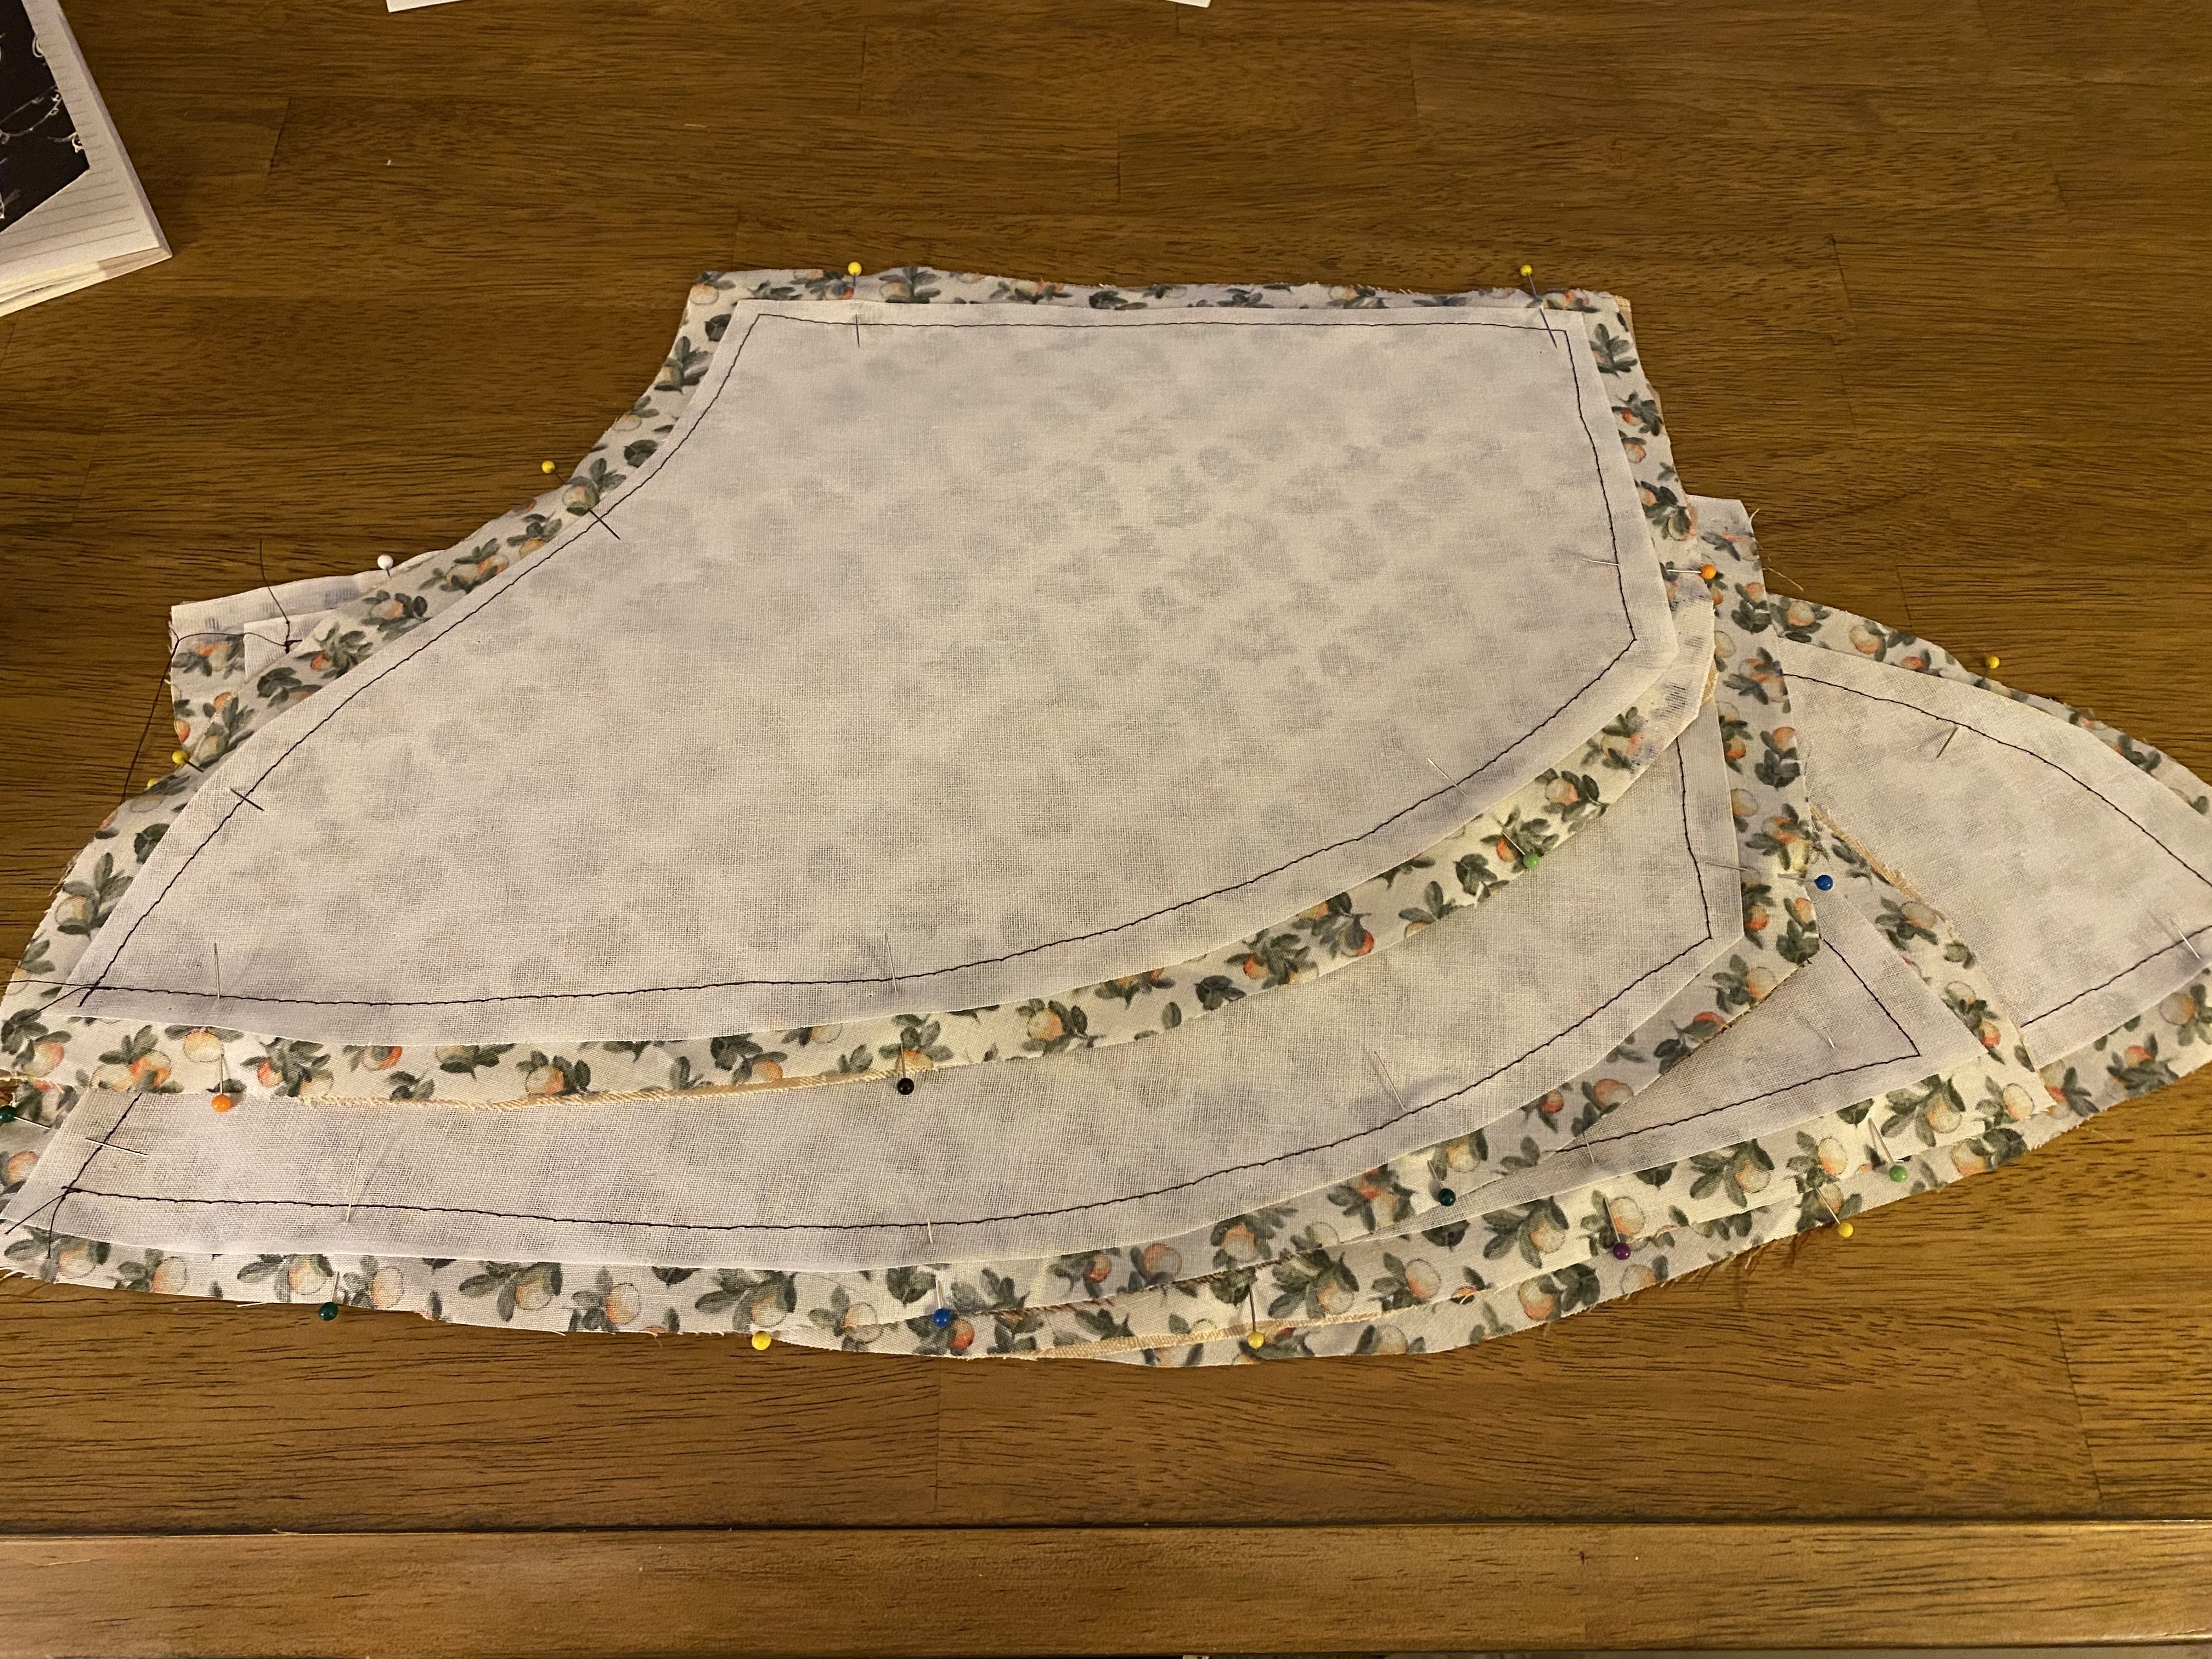
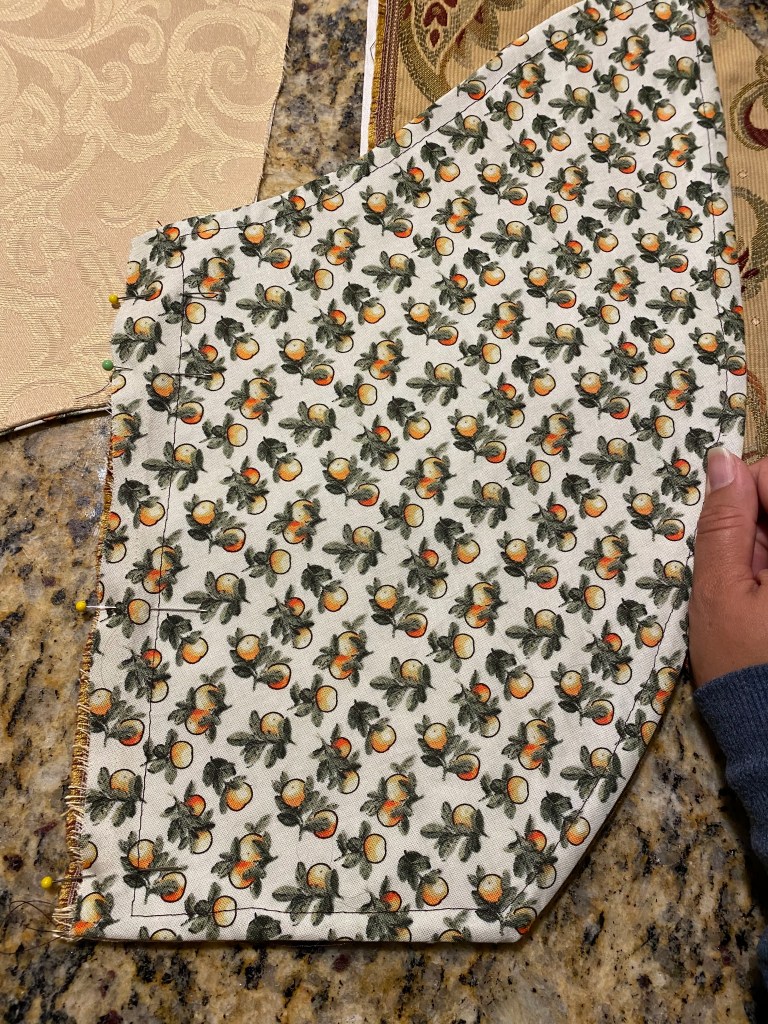
The buckram/lining layers are then stitched with right sides together to the cream and floral fabrics. I only stitch along the front and two curved edges, the top edge is left open so the panels can be turned.

The corners and curves are clipped prior to turning and then all panels are well pressed after turning. One panel made from the cream material and one floral print panel are placed right sides together and stitched along the top unfinished edge. Once stitched, the edge is finished on the inside and pressed open nicely.

It was at this moment that I realized I’d made an error. The pattern, and historical reference, show the foresleeves to have multiple puffs of white linen at both the bottom and body of the foresleeves. I even have it marked on my pattern pieces to leave windows on the body for these puffs around the wrist area. But I had forgotten to cut them and had chosen to seam and turn the edges rather than using bias tape. If I had used bias tape, I could have cut the puff allowance areas and finished the oval openings with bias tape to match. But since I didn’t, I felt that it would look like a mistake. It was also at the point where I didn’t particularly care to add them in. Hence, I decided not to. Creative liberties!

I did still add the puffs at the curved edge of the foresleeves since I had this plan throughout the process. For the puffs, two strips of white Lyocell scrap from another project. The strips measure 36″ by 12″, this is a bit more than what The Tudor Tailor recommends, but it used the full amount of the scrap pieces I had, and whatever could be wrong with a little extra puff factor right?

An attedote on Lyocell: I love it.

I had stumbled upon a bolt of lyocell at my local Joanns when searching for affordable white linen for a skirt I was making for a local theatre production and was blow away by the material. It is lightweight and floated dreamily, felt like the finest linen I’d ever handled if anything closer to a silk feel, but was still sturdy and opaque. It was a perfect material for said skirt and the offcuts I have treasured and used stingily since. I cannot seem to find the fabric locally since, but if I do, I will buy all of it.

Lyocell is a semi-sustainable fabric that can be used in numerous applications. It is produced from eucalyptus trees that grow very quickly and can be replaced easily. It is then processed and can be blended with other materials. Since it is from organic fibers of the eucalyptus tree, it is biodegradable and depending on the source, maybe carbon neutral. However, if it is blended with synthetics, it loses these properties. Hence, a semi-sustainable fabric.

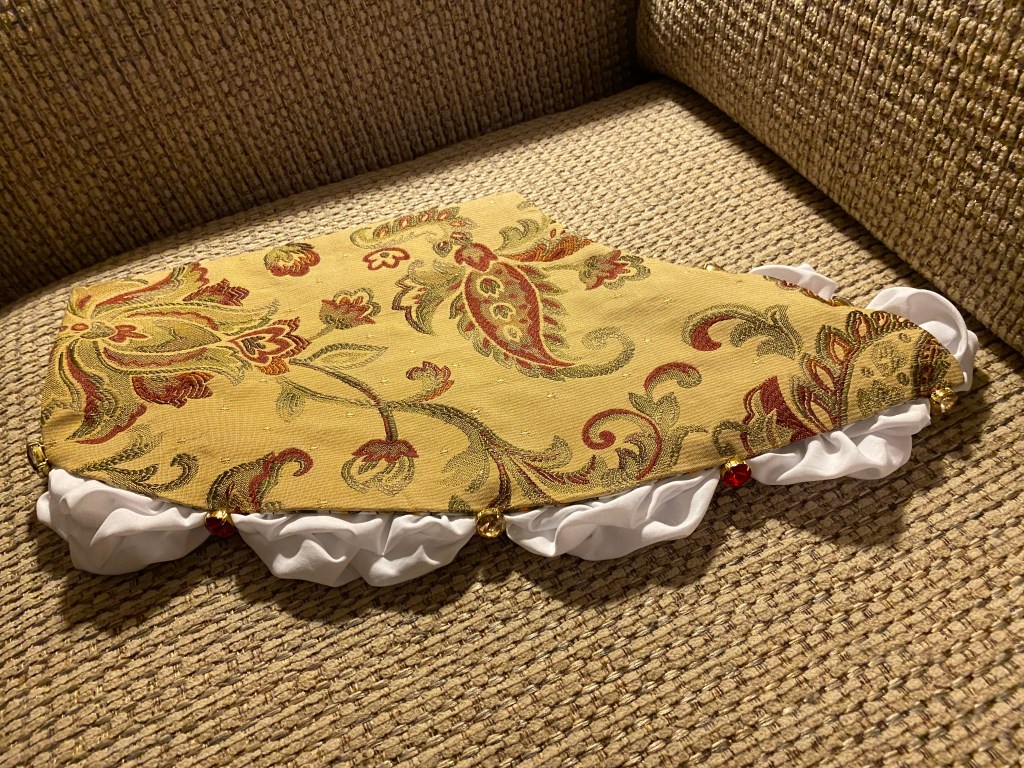
Back to the puffs. I return to the foresleeves and visualize where each puff would gather with gems. This was primarily determined by optimizing how many gems I had remaining after the gown to work with. Of the larger gems, I had enough ruby and champagne-colored gems left to make seven gather/attachment points which translated to six puffs.

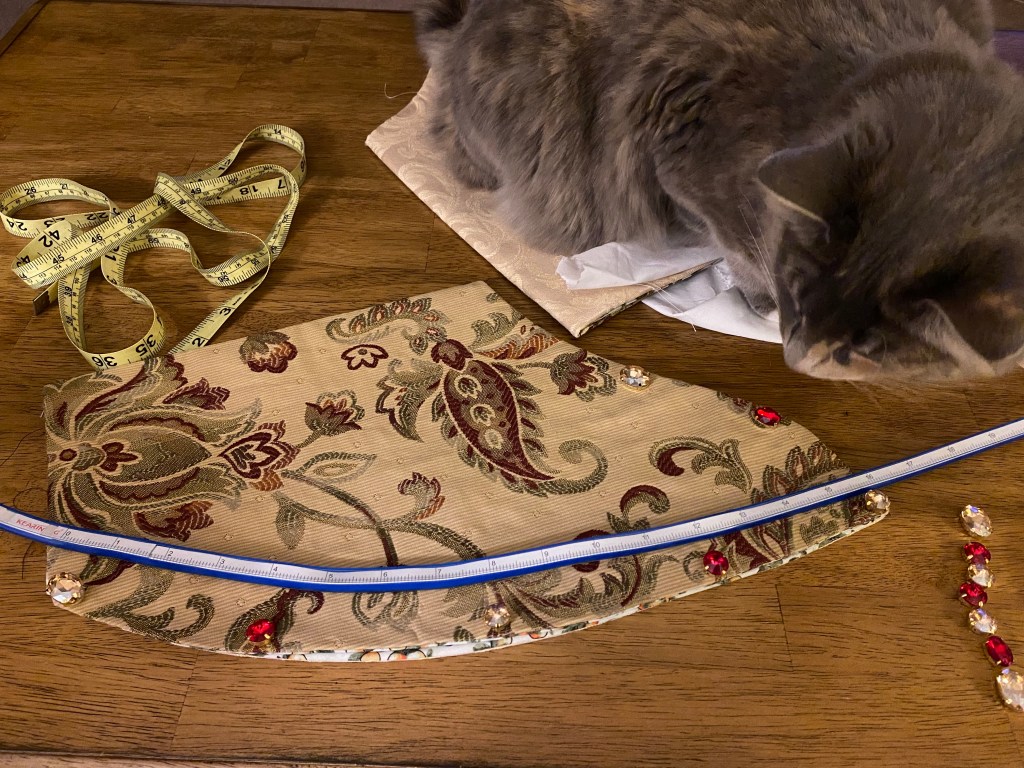
Six puffs would be beyond perfect too. Since my fabric strips were 36″ long, each puff would evenly measure 6″ in length. To prep, the lyocell strips are finished with a quick zig-zag stitch (my serger was broken, unfortunately) and then marked with each 6″ point. I stitch a course running stitch with heavy-duty thread at the gather points and leave long tails hanging so I could find them later.

Here is a comparison between the ungathered (bottom) and gathered (top) strips

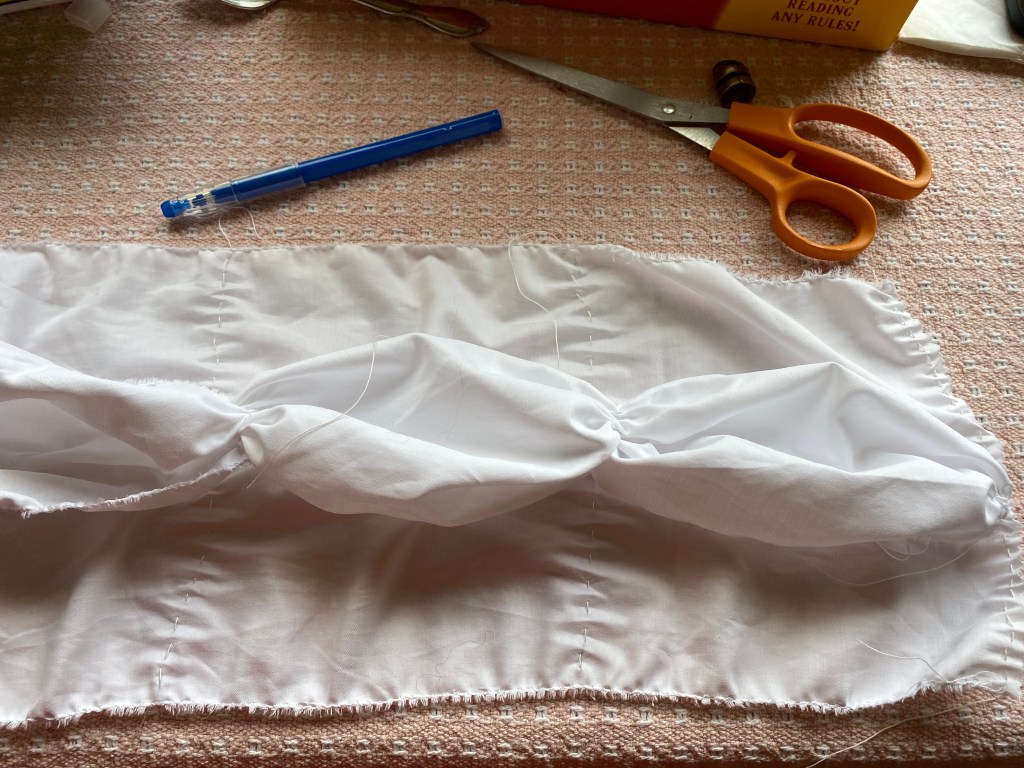
To apply the white lyocell to the foresleeves, I pin the material to the interior of the foresleeves at each gathering point. The strips were a tad longer than the area they were to be placed in, so I did a bit of pin gathering between each gather point. To do this, I pull the excess material up from the lining it is to be pinned to, find the center of the excess, pin down to the lining, and repeat until all material is generally gathered and pinned in place.

The material is pinned to the foresleeve interior only at the gather points. Note that the ends of the lyocell are folded over to allow for finishing the end edges.
After rough gathering the remaining material, the white lyocell is stitched to the lining with a whip stitch 1/4″ from the edge.

Once stitched in place, the hanging gather threads are found, pulled tight, and knotted in place. Then the foresleeves are turned out. Using the excess thread from the gather points, I stitch the gathers tight and add the gems.

Here are the finished results!

There are quite a few other accessories still to go, so continue to follow along as we finish the gown itself and accessories:

Blue Tudor Gown: Intro

Blue Tudor Gown: Building the Kirtle

Blue Tudor Gown: Outer Gown

Blue Tudor Gown: Gown Front Plaquette

Blue Tudor Gown: French Hood

Making a Sewing Holster for Renaissance Faire

As the summer moved into the heat of August and the relief of cooler autumn was on the horizon, ‘twas time for the push to be ready at a moment’s notice for the Renn Faire. I had enough costume pieces from other projects to sufficiently pull a full outfit, but I’ve been a tad lacking in accessories lately. I previously made a teacup holster and really enjoyed the process and results. So, ‘twas time to make another holster, this time for sewing.

At RennFaire, so many people have the standard dagger or sword holsters or loops for steins or potion bottles. But that’s just not quite my speed. Instead, I want to envision my character waiting on the sidelines of battle, ready with a needle and thread to repair the colors. A neat little vignette to channel a character through at the faire.

To start, I made a quick sketch of the general shape of the holster and gathered some of the items I would want to be attached or hung on it. I grabbed a few wooden thread spools, a pair of snips, a thimble, measuring tape, and my great-grandmother’s pinking shears. 

They became rusty and dull before coming to me and I haven’t had the chance to fix/clean them, so this seemed a great place to include them in an ensemble. I also decided the holster would stay on my hip by having a slot or loops for a belt to thread into.

I did a bit of sizing up of my hip of how wide and long the holster could be that it wouldn’t be too obnoxious while still being balanced. This ended up being about 4” x 8” for the overall holster. I added curved sides and marked out the center point.

Using the overall size, I arranged my tools onto the holster outline to find the best configuration that was balanced weight and look wise. I started with the pinking shears at the exact centerline due to their significant weight compared to the other tools, and then just fit the others in around it. I ended up adding a short pen and reducing the number of thread spools to help balance out the look.

I then marked the placement of each tool onto the outline. The thread was a bit tricky to figure out initially since I wanted them to sit horizontally, meaning that a vertical strap would be best. However, I didn’t have space for snaps for each individually. I opted to have one single strap that would be permanently fixed at the bottom, thread through slits next to each spool, and then snap in place at the top. The strap could be loosened to release any of the spools at a time. This took quite a bit of figuring to get the math perfect so each spool was evenly spaced and under enough tension to not fall out.

In the image here, each line is a slit. The coupled slits for the center and the top spool allow for the strap to be pulled taut around each individual spool rather than all three as a group.

To draft the holster for the shears, I laid the tool on its right face, traced the front face, turned 90 degrees, traced the bottom, turned another 90 degrees so it is sitting on its left face, and traced the front face again. This also could’ve been done by measuring the surface area of the three faces and straightening, but I wanted to be precise with the tapered angles of the shears.

The snips didn’t have much thickness to them, so I just traced around them at a small offset to allow for ease when slid in place.

The final two pieces to draft were the pen holster and tabs for the thimble and measuring tape snaps. The pen was done in a similar way as the pinking shears while the tabs are just a long and thin pentagon shape that would be attached on one end to the holster and have a snap on the point.

For the first attempt, I made the holster from faux leather I had on hand with a super cute floral etching. The faux leather is fabric-backed and wouldn’t need to be lined which was a nice step to skip. None of my pattern pieces had seam allowance, but I added this when cutting. The main holster would be seamed like a bag with stitching along the bottom and side curves. I planned to add a zipper at the top seam so that the holster could also be a wallet or pouch. So seam allowance was added to all sides and two pieces were cut.

The shears, pen, and snips pieces also needed seam allowance, but only on the sides since the bottoms would remain open. Finally, the tabs and thread loop would be cut without seam allowance.

Construction

All of the slots, tabs, and holsters would be affixed to the front of the holster body before adding the zipper or bag seams. I started with the pinking shears slot to ensure this was in the exact center. I marked on the fabric my stitching lines based on the original pattern pieces and carefully pinned and stitched. I used a matching brown thread and opted for a heavy-duty denim needle on my sewing machine since the material was a bit tough to work with.

Once stitched, I trimmed back the seam allowance to be a scant ¼”. I would’ve liked it to be even tighter, but couldn’t get my scissors any closer without scratching the holster body layer.

Next were the pen and snips which were added in the same way as the shears. For the snips, I pinned the piece flat to the main body layer and stitched it to a point at the bottom rather than leaving it open.

For the thread spools, I marked the location of each slit and cut them carefully with an Exacto-knife. The strap was stitched down at the bottom, threaded through the slits, and adjusted around the thread spools before affixing the snap. At the same time, I also stitched the thimble tab and added a snap.

And kaboom! The front was ready! I had forgotten to stitch the measuring tape tab to the snip’s pocket before it was stitched on and decided I would come back to it and sew it by hand later if I wanted to add it in the end.

With right sides together, the front and back main body panels were stitched together from 2” from the top on the curves. The gap would be left to allow for the belt to thread through at the end.

An 8” zipper in a matching color is stitched to the top seams. Any zipper technique can be used, but I opt for the invisible zipper method to get as close to the teeth as possible with as little seam ripping as possible. I had to be very careful when stitching the zipper to the front panel to make sure the pinking shears pocket and spools snap were not caught in the seam. In hindsight, I should not have stitched these as close to the seam allowance to make this easier.

Before turning the bag out, I reinforced the top of the belt slot with backstitches so that the weight of the holster wouldn’t strain on the zipper seam.

And there you go! The first iteration was completed. It wasn’t quite perfect, especially the thickness of the material, but the shape and fit were great.

Second Time around

Ok. The first go at it was pretty cool. But it just wasn’t quite right. First, faux leather was way too soft to hold its shape decently when worn. The snips were actually the first thing to fall out, but overall, it was buckling and floppy in a way I just wasn’t thrilled with. Also with turning the perimeter seam and not being able to iron faux leather, I just wasn’t keen on how bleh it looked. Last, the balance was a tad off without the measuring tape.

So, it was time for a second attempt. This time, I used a purse from a thrift haul that was a much more supple faux leather. The material would hold its shape much better. When I started taking the purse panels apart for cutting, I was able to scavenge some of the trimmings as well as the leather piping it had at the top and sides. I decided to add the piping into the seam to give structure. I also decided to lengthen the overall shape to be 6” x 8”.

Once the purse was deconstructed and pieces cut, I lined the holster body panels with cotton since the purse material wasn’t very smooth on the inside. I flatlined each piece with cotton using fabric glue.

In construction, the front pieces were added as explained for the first attempt, except with the addition of a tab for the measuring tape. Rather than cutting a strip of leather for the thread spool strap, some of the scavenged piping was used. Then, before stitching the body panels together, I added a black zipper.

For the body panels, they were initially glued with wrong sides together with the piping sandwiched between to avoid the look issues with turning the bag out. Once the glue had set (about 2 hours), I added a quick topstitch as much for the look as security of the seam.

Since it was a much stiffer material, I wasn’t too keen on hand stitching the snaps in place. I instead used fabric glue for these.

The final result of the second try was a much nicer product. It had a better weight and holds its shape when worn on the belt. I’ll keep both iterations in case I ever need two, but I DEFINITELY prefer the second.

I’ve included the pattern I drafted for my holster here if anyone would like to make their own. You can also follow this process to customize your holster for your favorite go-to tools for a more practical holster too!  

A few notes:

  1. The pattern does NOT include seam allowances. You must add these when cutting or copy the patterns to new paper and add the seam allowance before cutting fabric. I used a seam allowance of ½” on my tutorial.
  2. Make sure when you print the document, you change your printer settings to “Actual Size” rather than “print to fit” or “Scale” since these would change the printed dimensions. You can check that it was printed correctly by measuring the square on the page, it should measure exactly 1” x 1” to be correct.
  3. I highly recommend using a stiffer fabric, faux leather, or adding structure such as interfacing with lighter fabrics. It’s tougher to stitch and work with but truly gives the right look.
  4. Measure the belt you intend to wear with the pattern to make sure the slot is wide enough. My tutorial allows for a 2” belt.

Have fun with the pattern and be sure to share with me your versions!

The Goose Girl: Scarves and Aprons

All the elements of the Goose Girl garment were complete and wearable, but a couple final touches were left. Apologies are in order for how late this is in getting out for when I finished it, and honestly, lack of photos in this post. Here is a lot more of my musings, and not too much process to be shown.

Way back in August, at the start of this project, I had found a beautifully embroidered dresser scarf and vintage jacquard ribbon from the vintage shop, Studio RicRac.  These two pieces were the inspiration for the original design and I was determined to incorporate them into the final garment, though I had found other fabrics to use for their intended purpose in the stays.  

The jacquard ribbon had been used in the skirt thus far, but the dresser scarf still remained and it was the perfect size for a small apron.  After some quick plotting, I decided to make the apron double sided with a pocket that Izi could ideally be collecting goose feathers in while in the field with her charges.  This was especially exciting to decide upon since it would mean I wouldn’t have to cut the dresser scarf and could use it in its entirety.

I folded the scarf in half widthwise and whip stitched from about half way from the fold to the end of the fabric, around the bottom curve, and up to the same point on the other side. The whip stitching was done on the fashion side using cream silk thread that I was able to bury in the preexisting lace trim.  

Once set, the pocket apron was whip stitched to the remaining 2 yards of jacquard ribbon that would tie in the back.  


The headscarf was the next accessory for the final garment.  Shannon Hale’s retelling of the classic tale describes Princess Ani as having yellow (blonde) hair that was extremely distinctive from her fellow palace workers and Bayerns who all had dark brown, brunette, or black hair.  It was a defining feature throughout the book that Ani had to keep hidden to protect herself from discovery. It was also an identity that would later come back when she would go with the workers to the king to reveal herself: they called her the Yellow Lady. 

Fortunately for Ani, Shannon Hale’s culture of Bayern women wore headscarves when working in the fields or forest.  In the novel, Ani takes advantage of this cultural garb by wearing her headscarf whenever not alone in her room.  I wanted to be careful when portraying this element as accurate to my chosen interpretation of Bayern as Bavarian.  In researching, I found that headscarves are common in Central and Eastern Europe, but are typically worn by married women.  

I returned to the drawing board at a bit of a loss, unable to find good inspiration.  Then, I stumbled upon the wonderful ladies at Wrapunzel Blog who simply explained any and all kinds of head wraps that they wore as part of their daily dress.  The best and most inspiring part was from Naiomi in her video “Is it Offensive if I Wear a Head Wrap”.  I had stumbled upon the video when I felt at a loss of if my design was wrong to proceed with since I was not wearing it for religious purposes.  But her explanation was beautiful and exactly what I needed to hear to have the confidence to move forward with the concept as fashion and following with cultural inspiration rather than a gimmicky costume. 

Their videos and discussions on dressing modestly are quite lovely, and I recommend them to anyone looking for a calming practice.  After looking more in depth at their discussions and inspiration, I decided to go very simply with their “Royal Wrap” where a single scarf is wrapped twice around the crown of the head. 

To make my wrap, I used one yard of light green cotton quilting fabric I had previously purchased to make bias tape for another project.  I used a store bought scarf I wear in the winter and tested the Royal Wrap method as a template for size of material to cut.  The cotton was a bit stiffer than the soft kits the Wrapunzel ladies use, but I loved the complementary green color to the overall Goose Girl garment and the nod to the character’s green eyes from the novel.

The edges were finished simply with a tiny rolled hem and I left the piece unpressed to leave in the wrinkles and crinkles for added texture.  

On the day of our professional photoshoot of the full garment, I modified the wrap slightly by shifting the length to one side which was wrapped around the crown of the head and leaving the short tail loose.  I felt this gave a nice return to the original inspiration of the Eastern European head scarves which are tied simply at the nape of the neck and left hanging loose. 

A huge thank you to the wonderful resources and ladies at Wrapunzel for the knowledge and confidence to finish the look in this way.