The foundation garment for gowns in the 16th century, otherwise known as the Tudor Era, was the kirtle. The structured garment precludes the bodies that were characteristic of the Elizabethan Period, stays from the 17th century up until the advent of the corset in the 19th century onward. The kirtle can be a structured bodice coupled with a petticoat or underskirt that would serve as the window panel for dresses like the Henrician lady’s gown or fashionable French Gowns. In the case of the underskirt, the structured bodice and skirt were joined to make one garment.

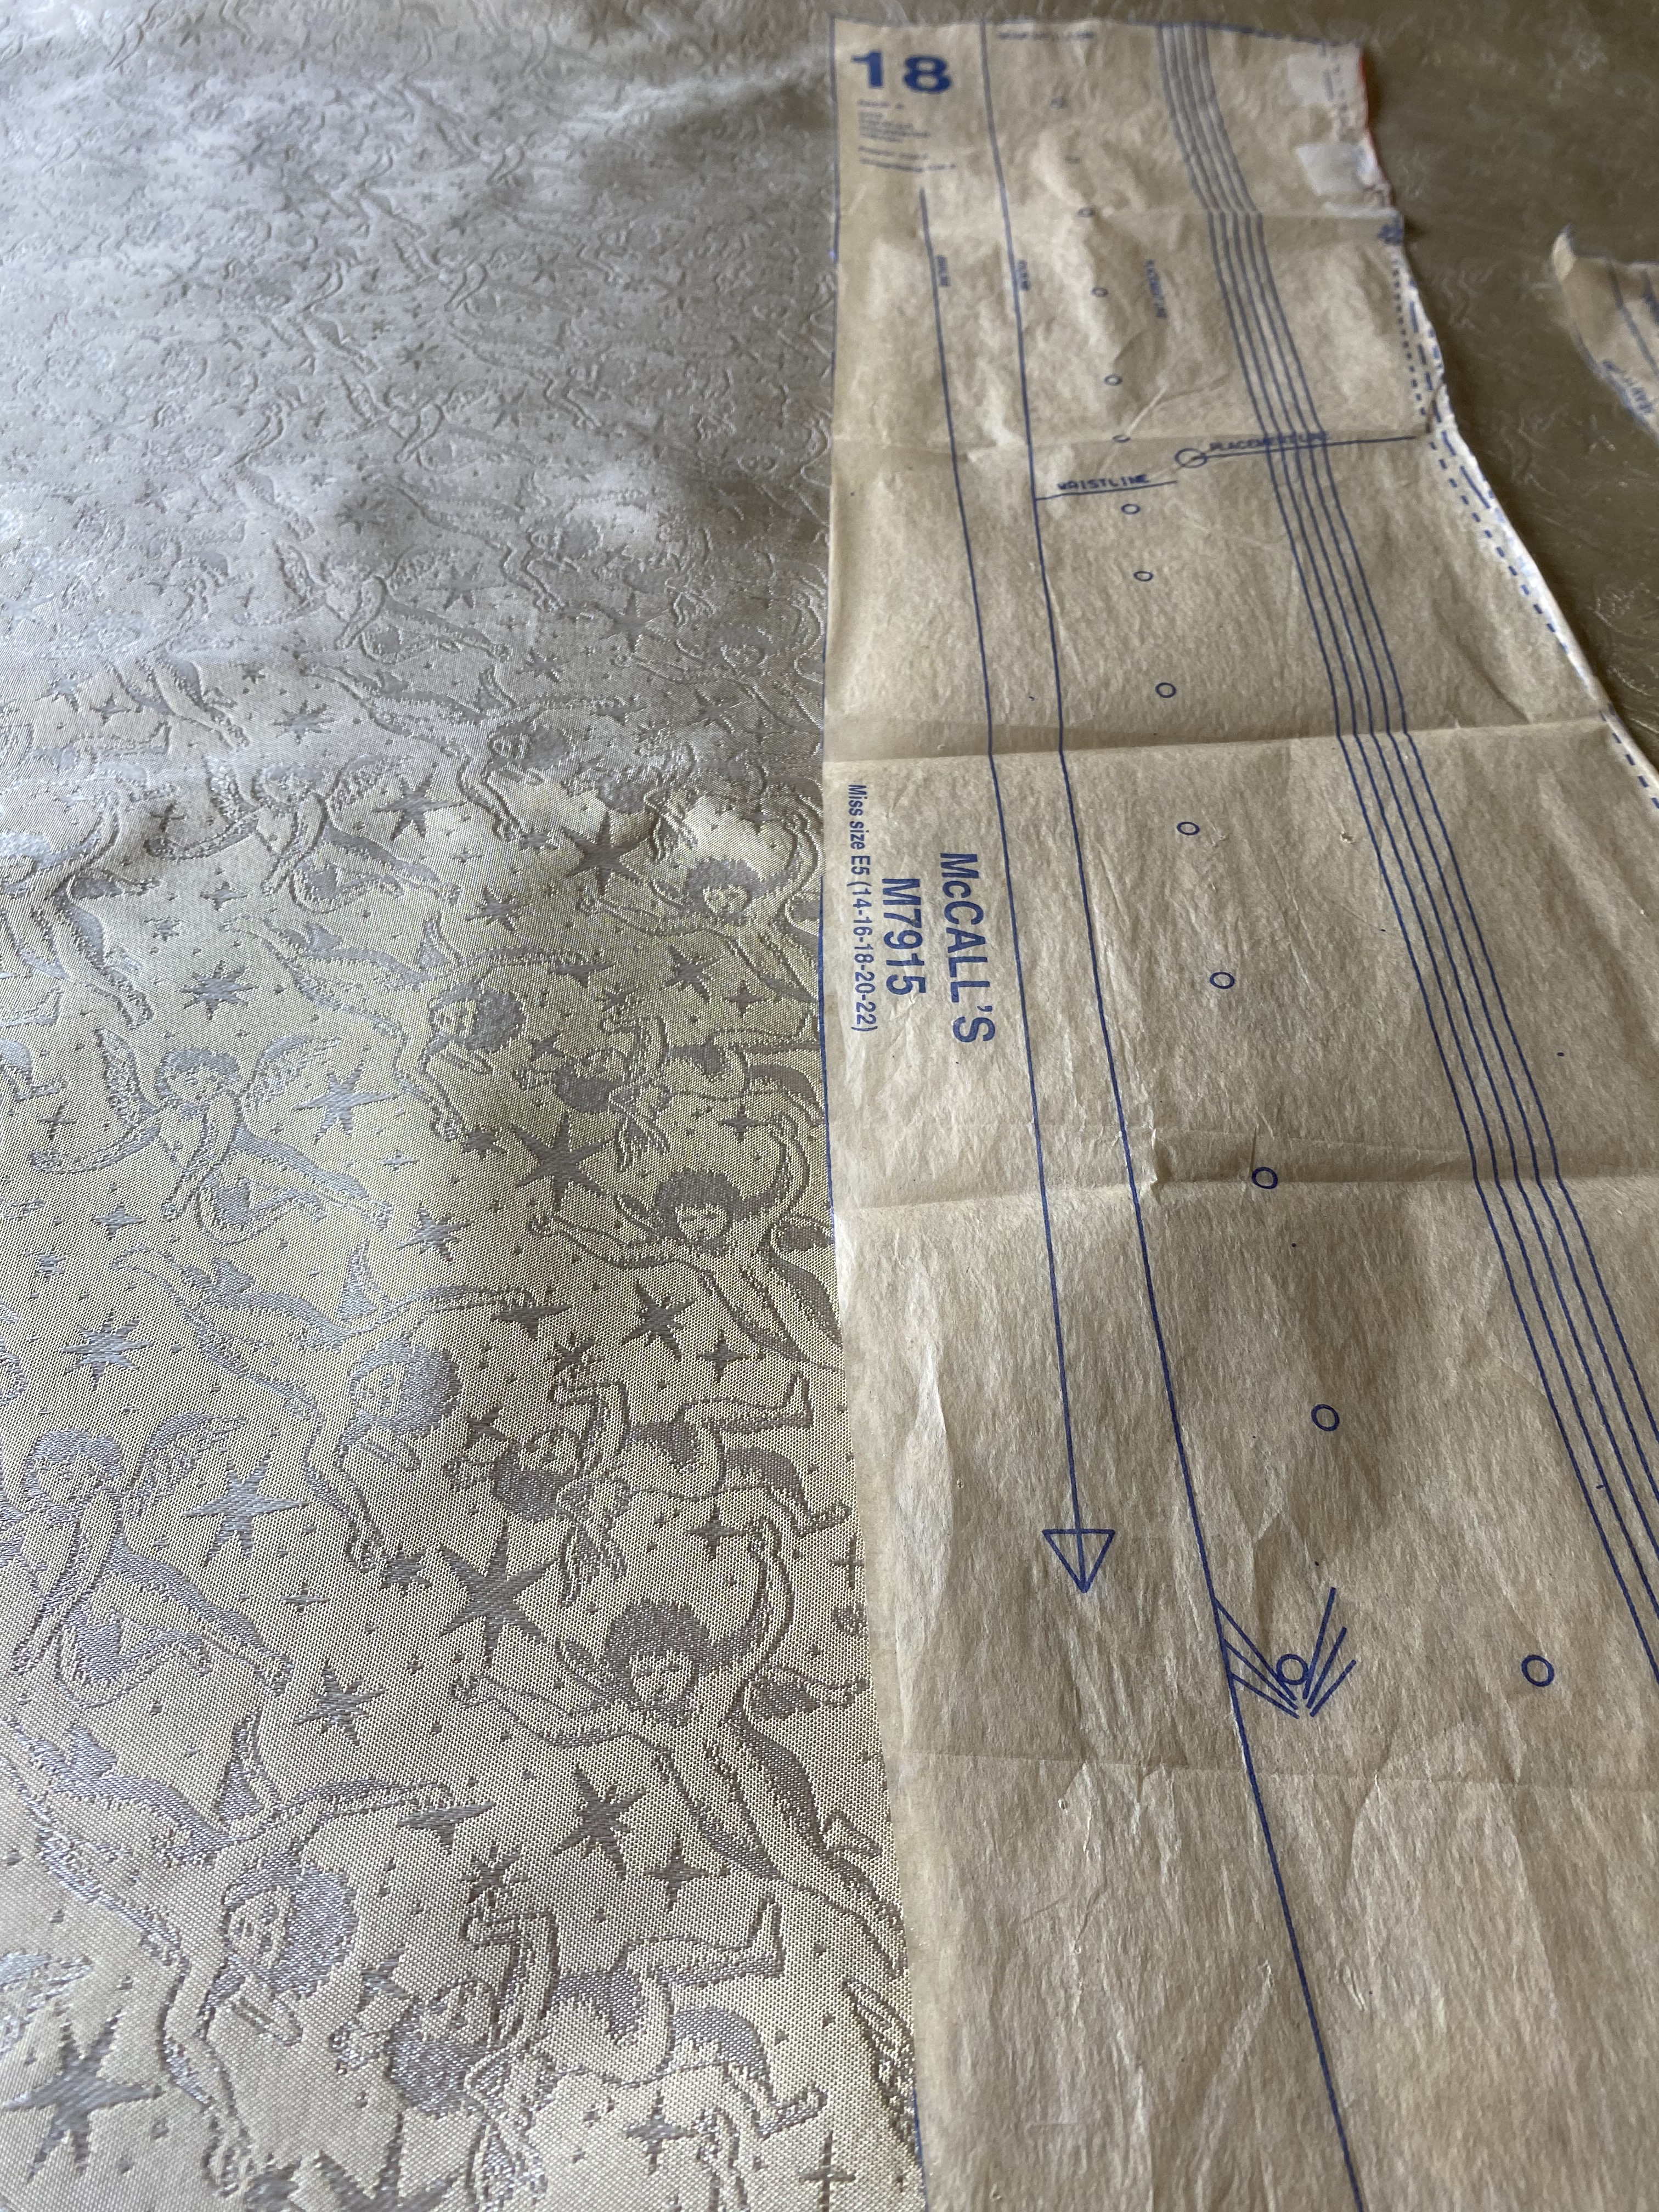
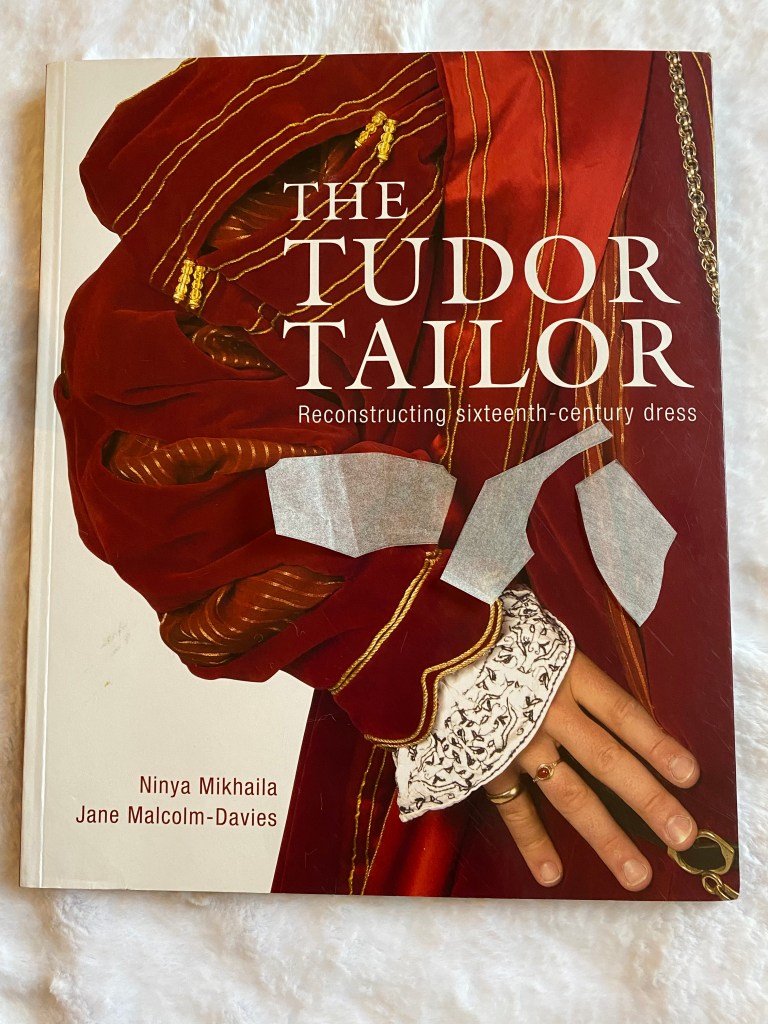
Historically comprised of tightly-woven linen and whalebone, the structured bodice created the shape of the period: low, square neckline; lifted bosom; and straight, angled waist. For my kirtle, I use the pattern provided by The Tudor Tailor book.
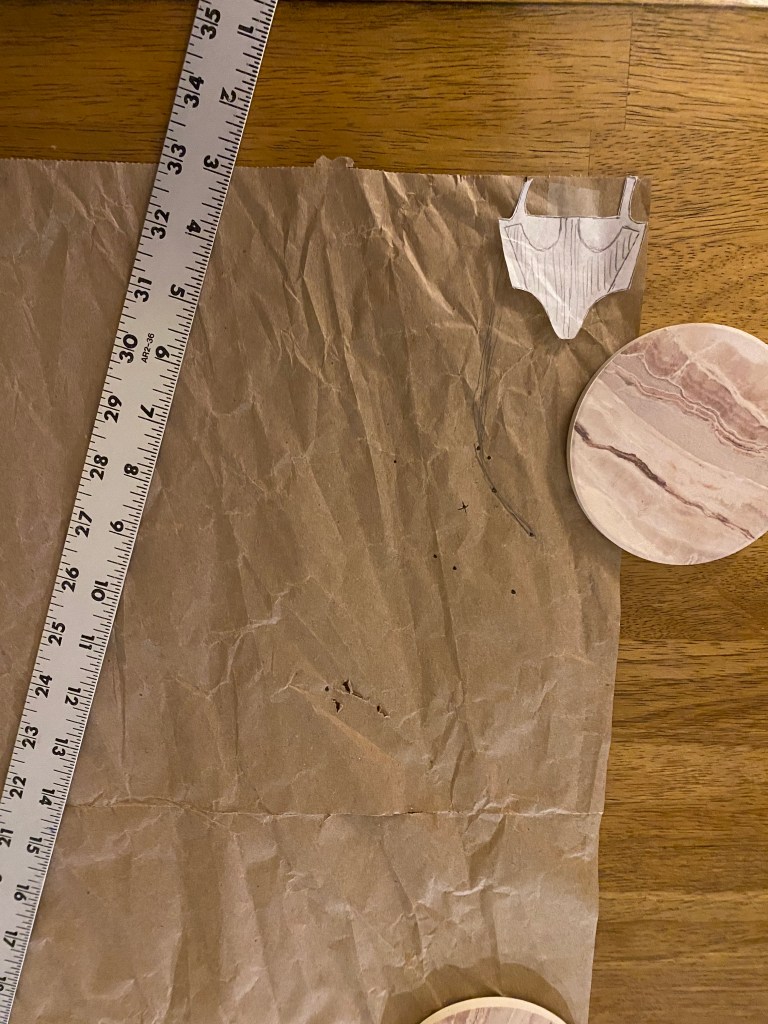
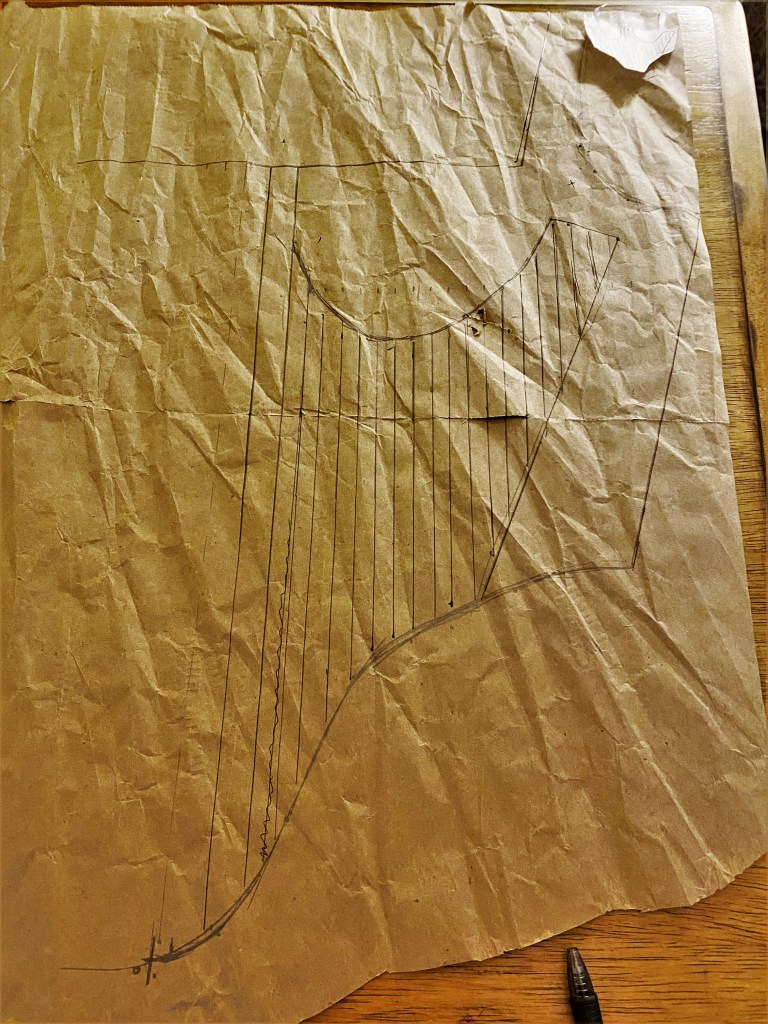
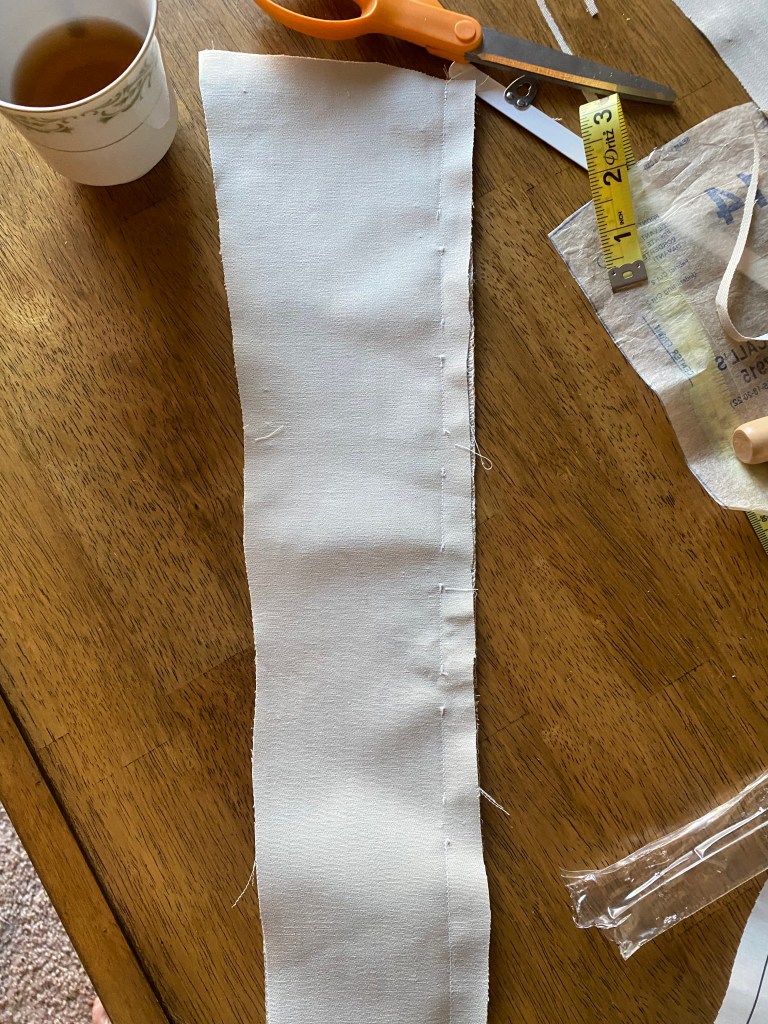
I transferred the pattern pieces using parchment paper and then scaled using a 1:8 scale as instructed by the book. Fortunately for me, the provided pattern is nearly my base measurements already (bust, waist, hip) but I did end up taking the pattern in by 1″ at the side seams and adjusted the shoulder straps quite a bit from the mockups. I also noted that the pattern would be at least 6″ too long and would address that later when cutting the skirt.

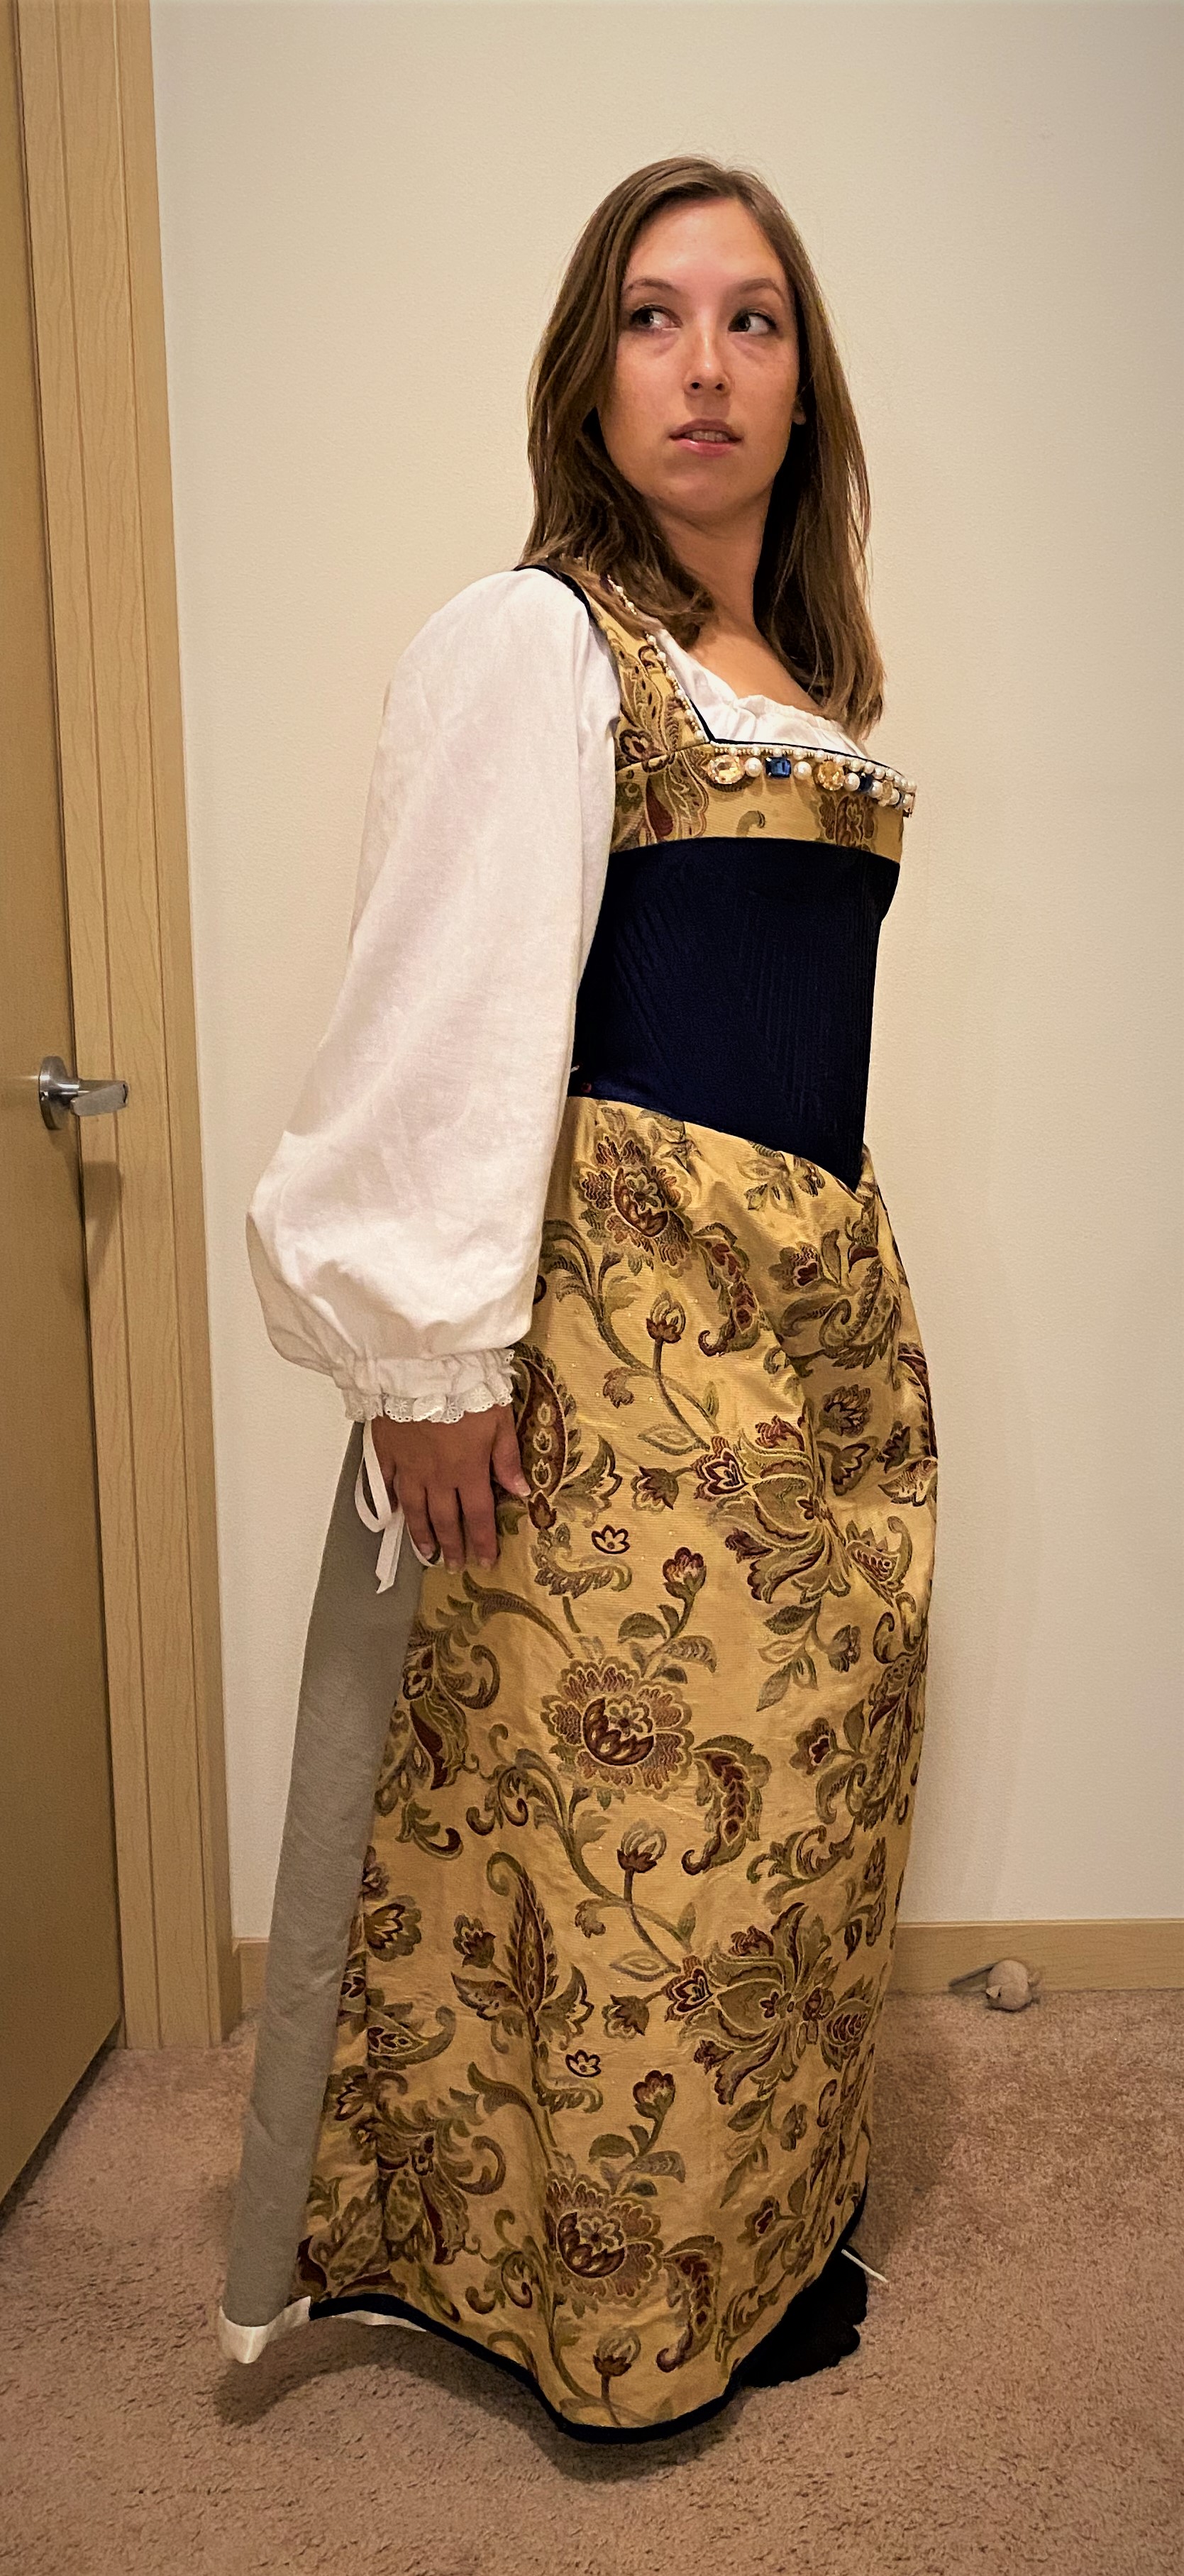
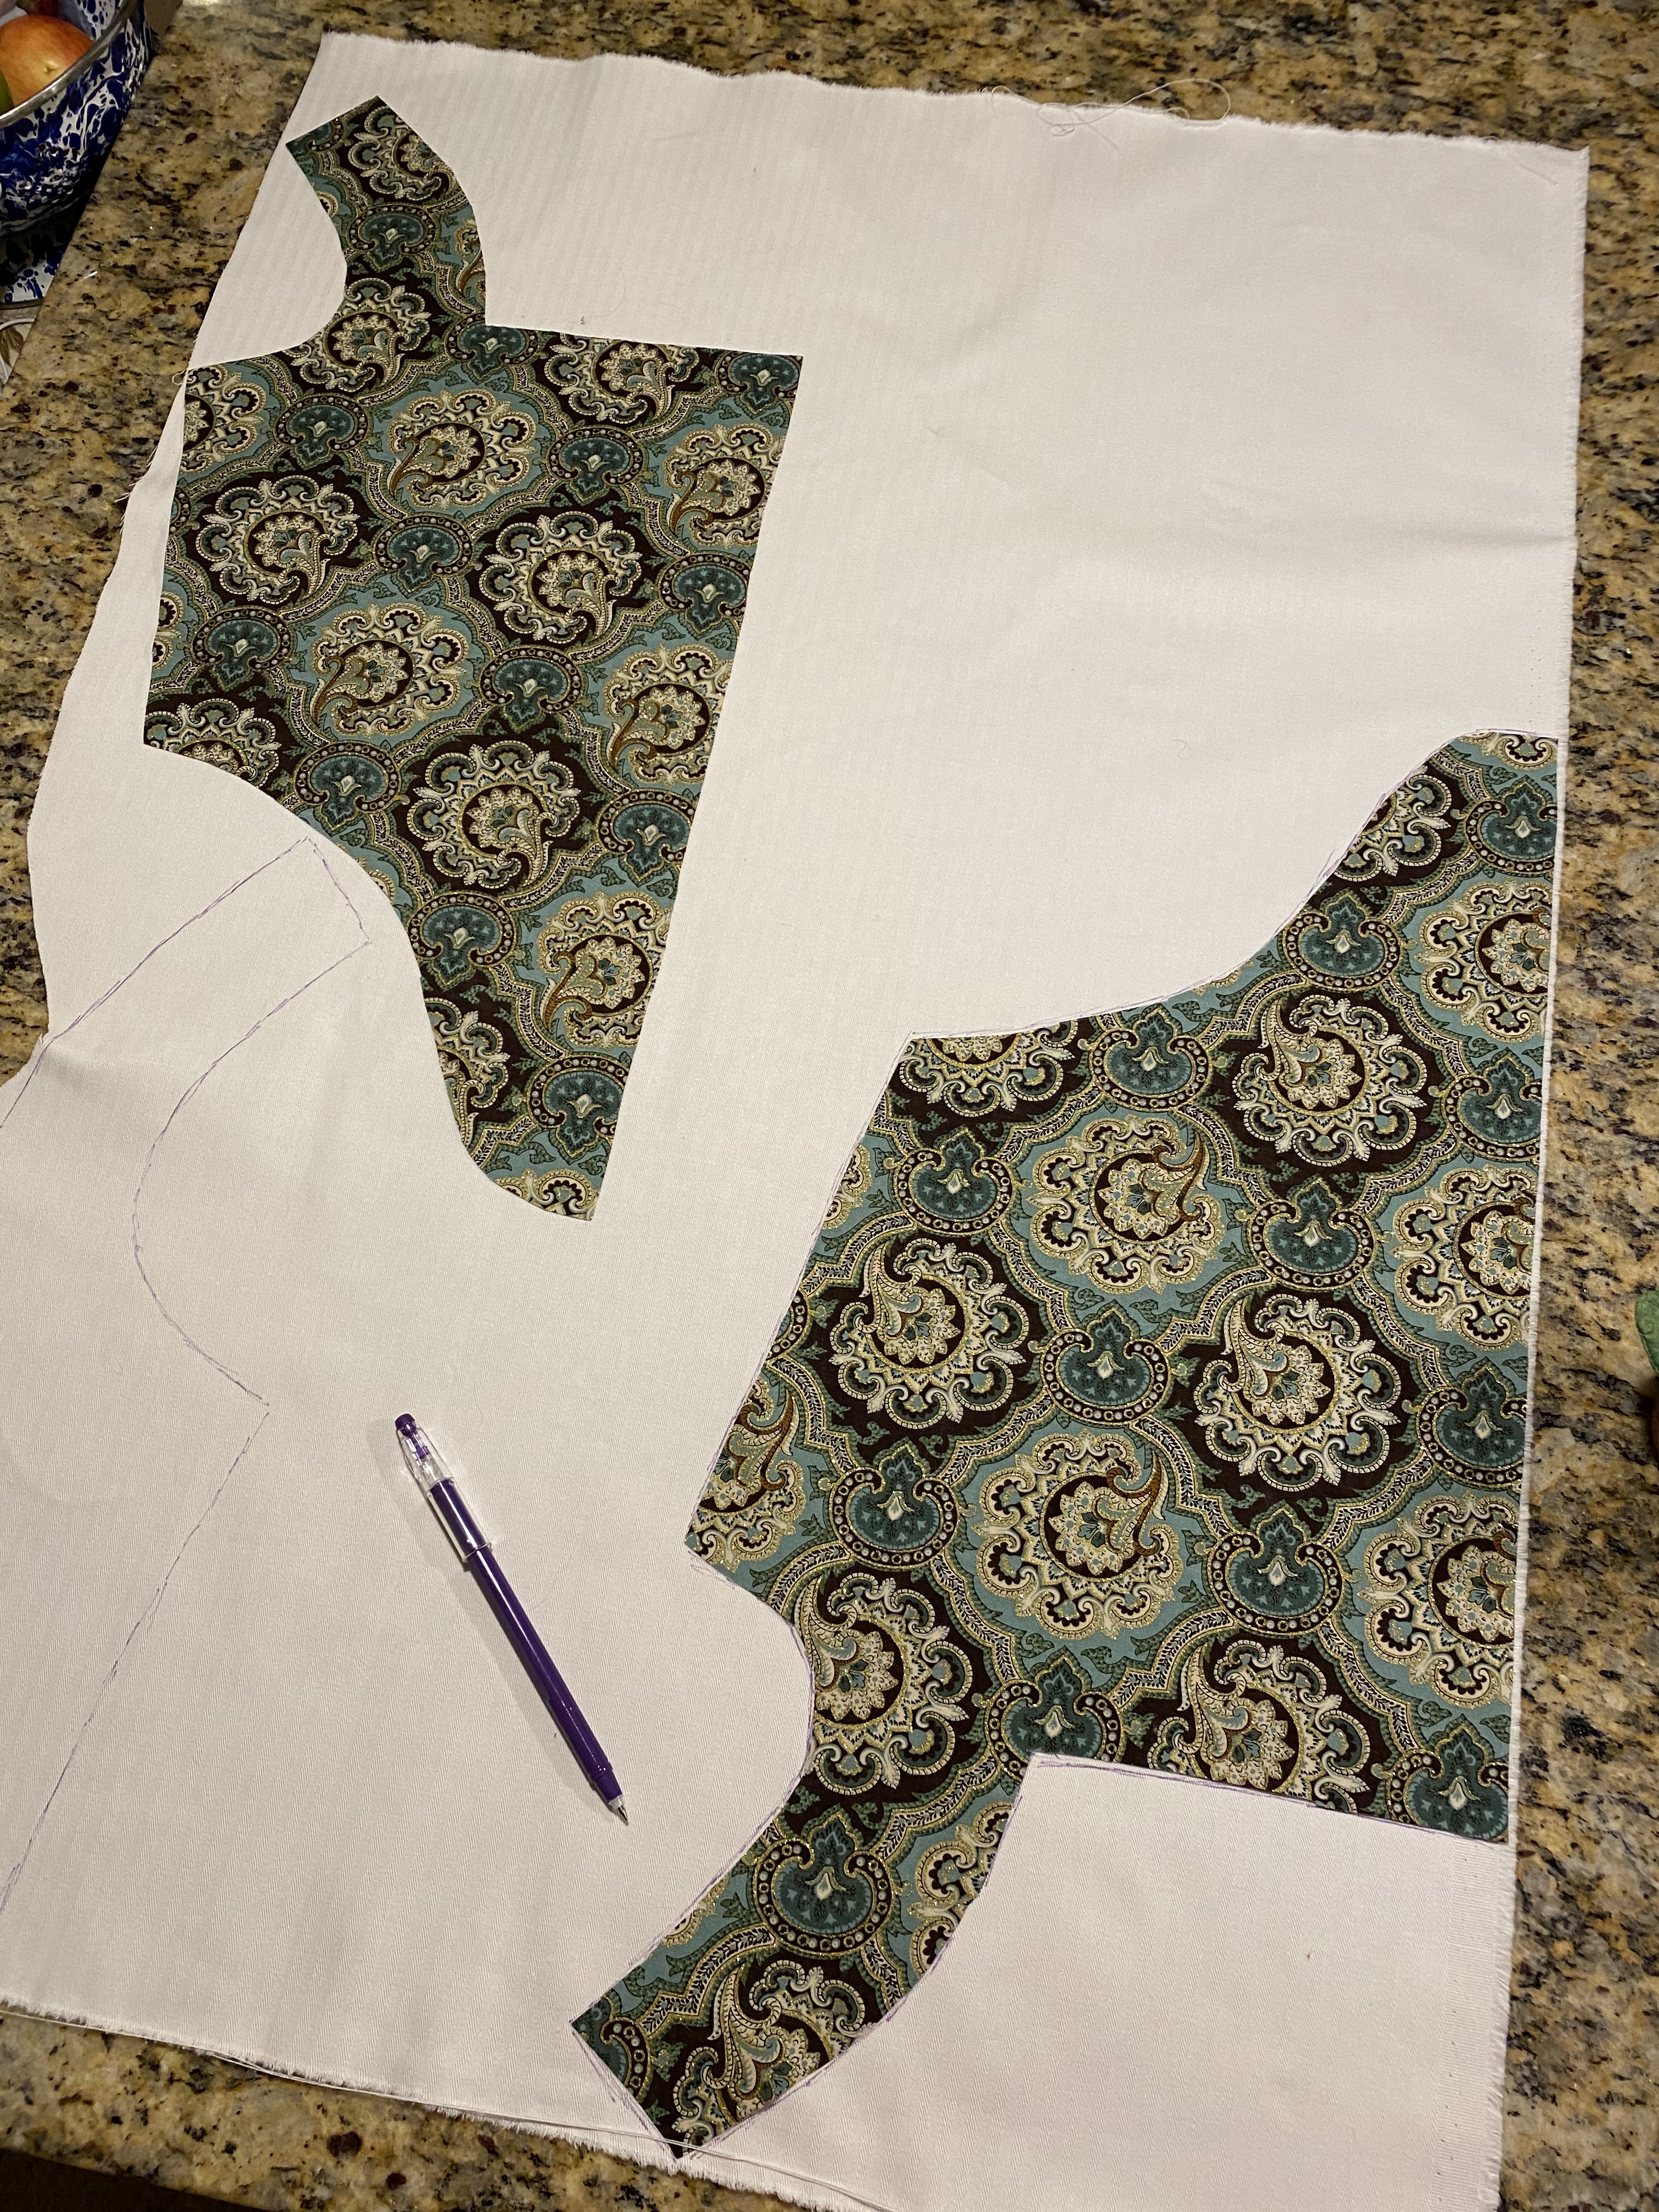
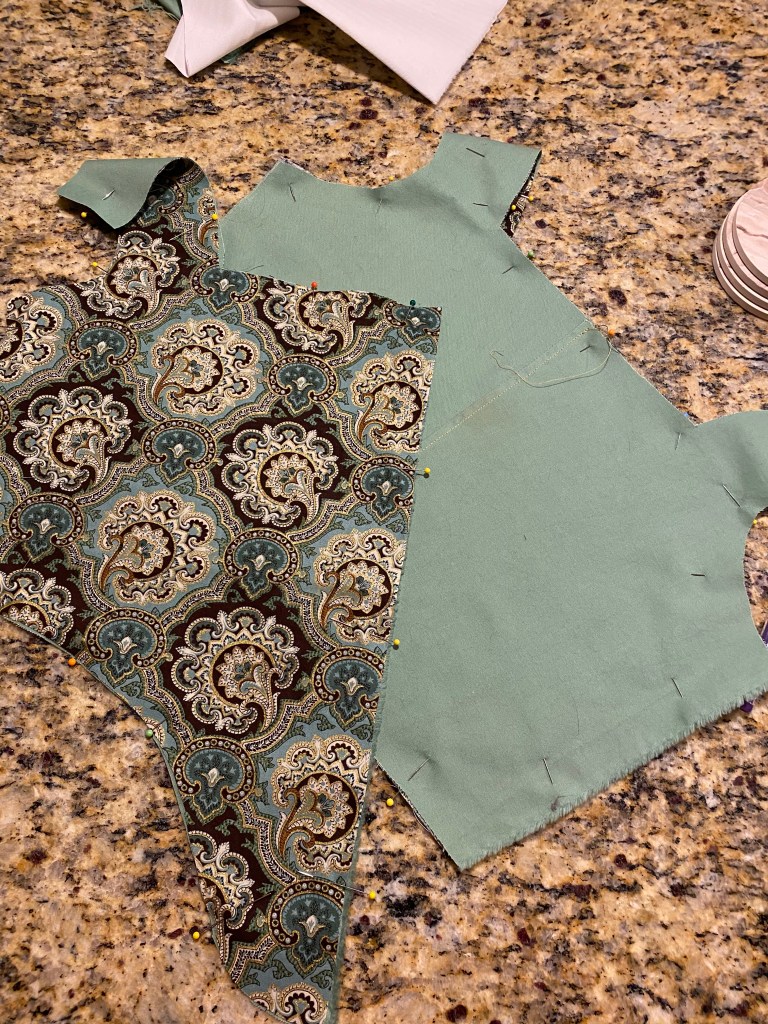
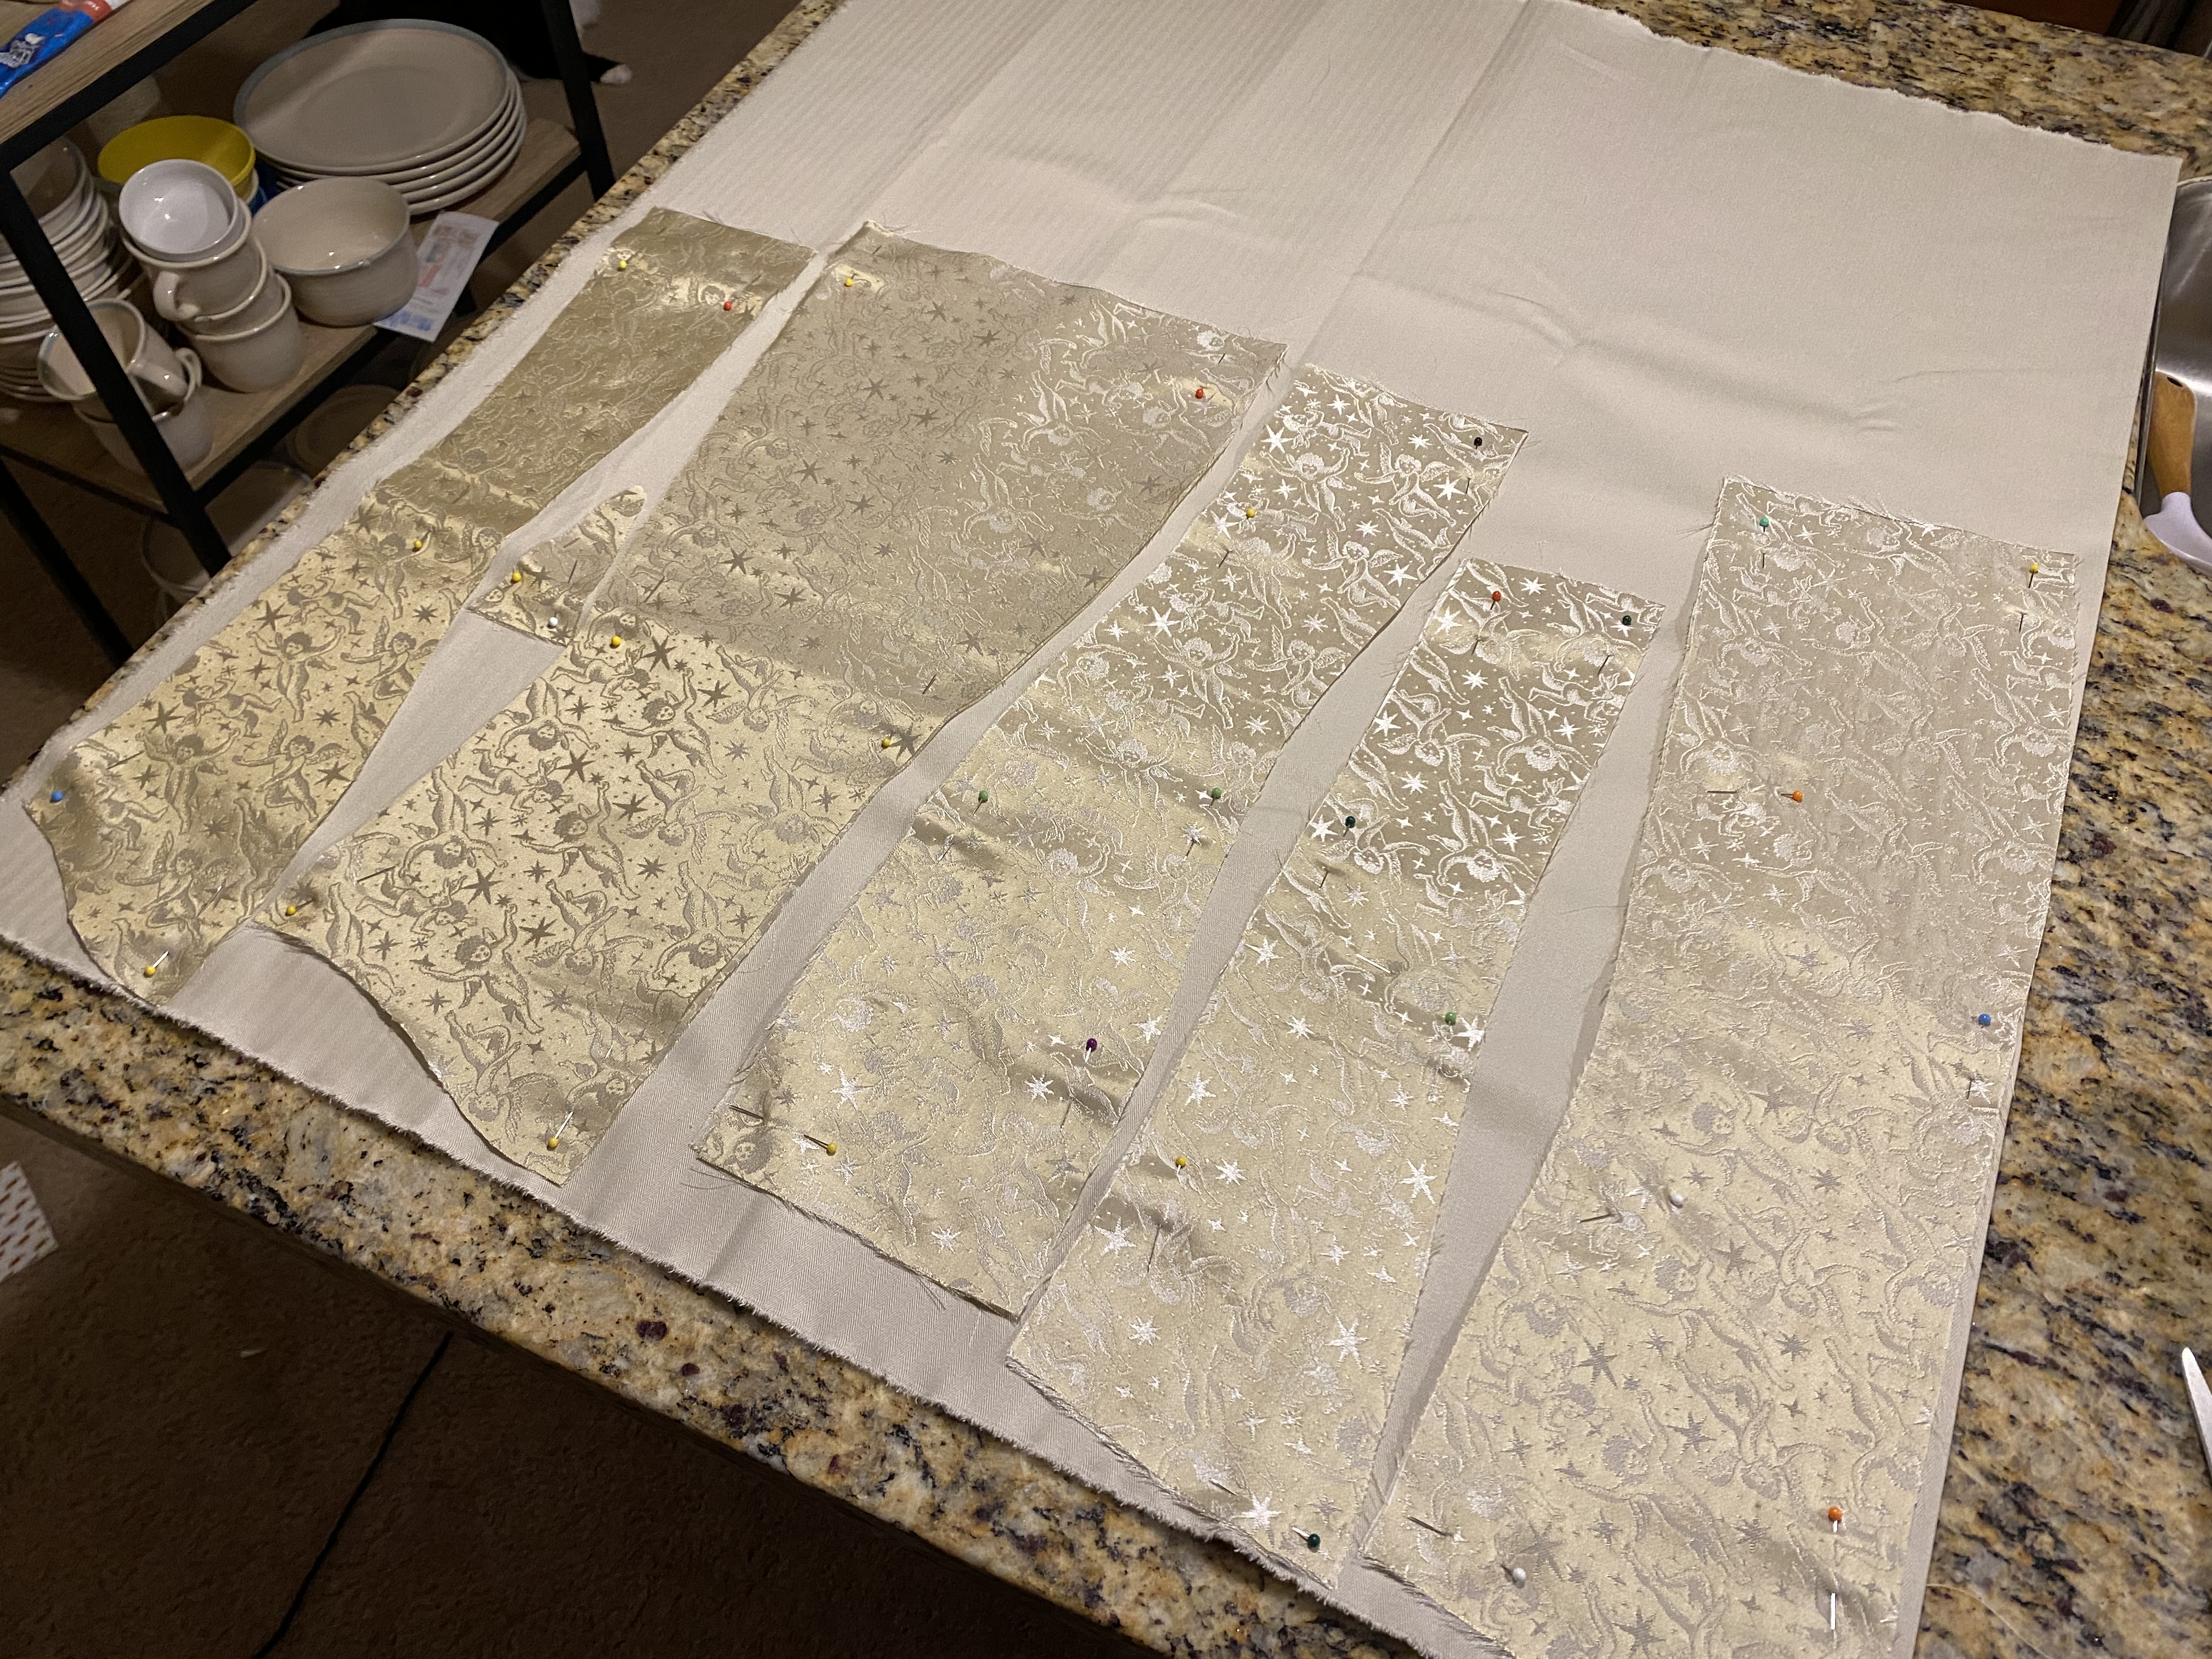
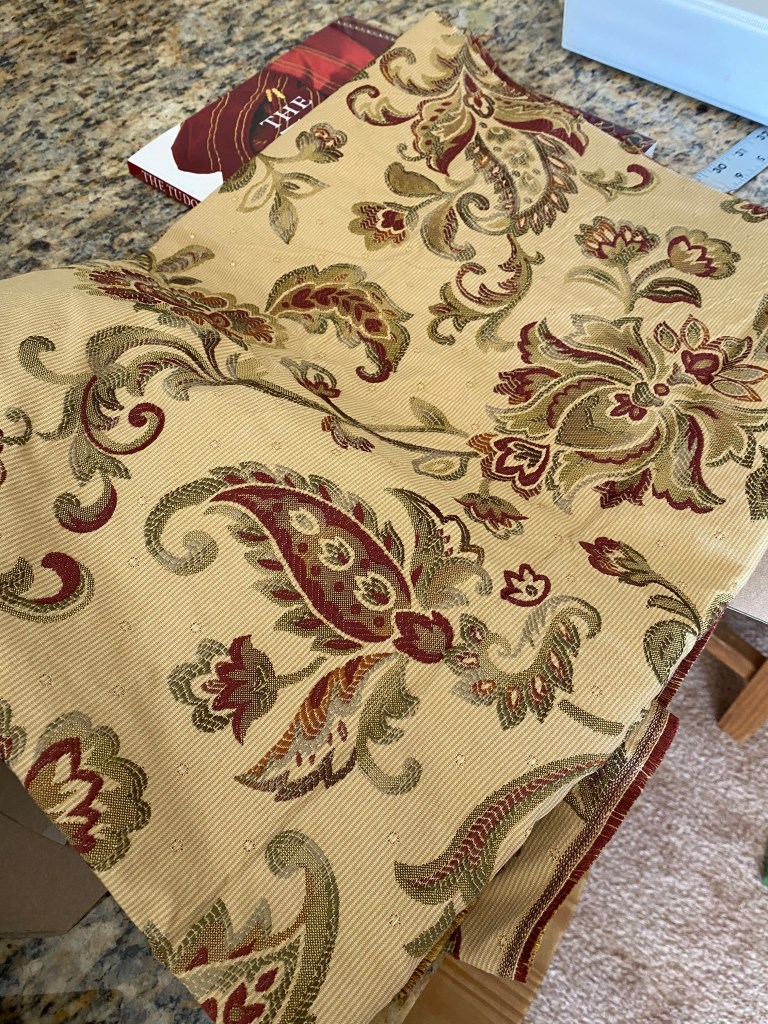
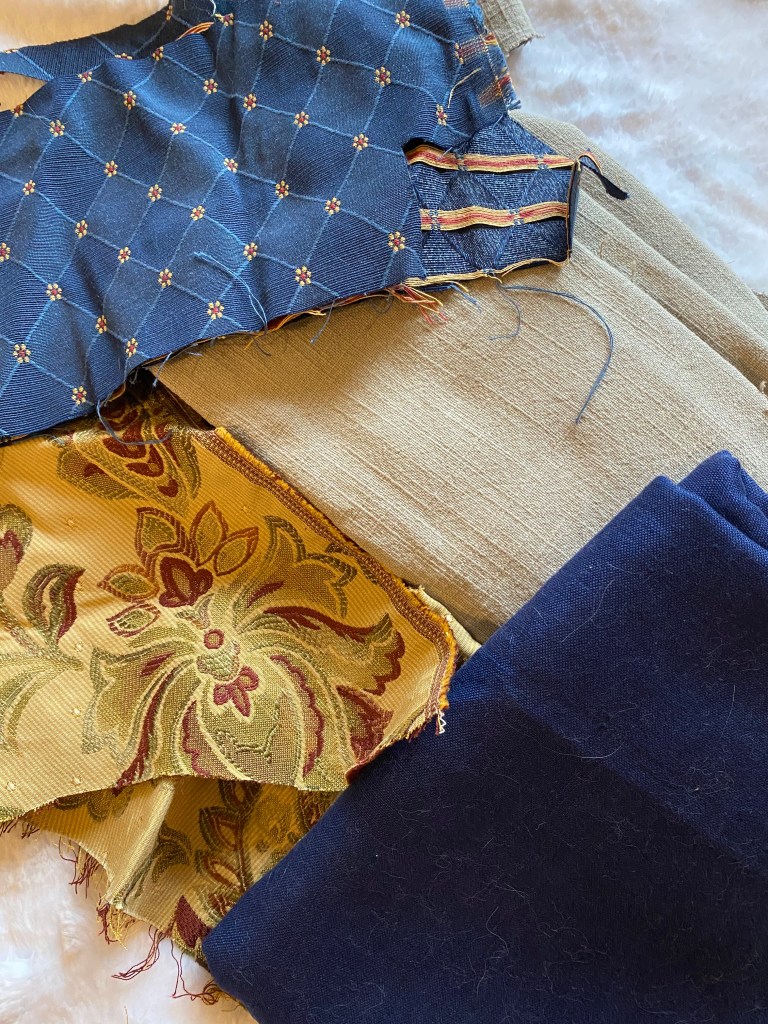
By this point, I had decided to use the navy blue, geometric fabric from the original project for the over-gown and wanted to combine this with a yellow and burgundy floral patterned upholstery fabric I had from a yard sale. The yellow/gold and burgundy/red in the floral pattern was the exact shade of colors as the center of the diamond pattern of the blue fabric and would complement nicer than the silvery gold geometric I originally planned to pair. In addition, the floral was close to being a damask pattern that would’ve been fashionable for the Tudor period. The only flaw in this thinking is that in most reference paintings for the project (see image above), the geometric pattern was usually in the window panel and accents while the floral/damask was used as the main fabric. I was really pleased with the combination though and planned to roll with it.
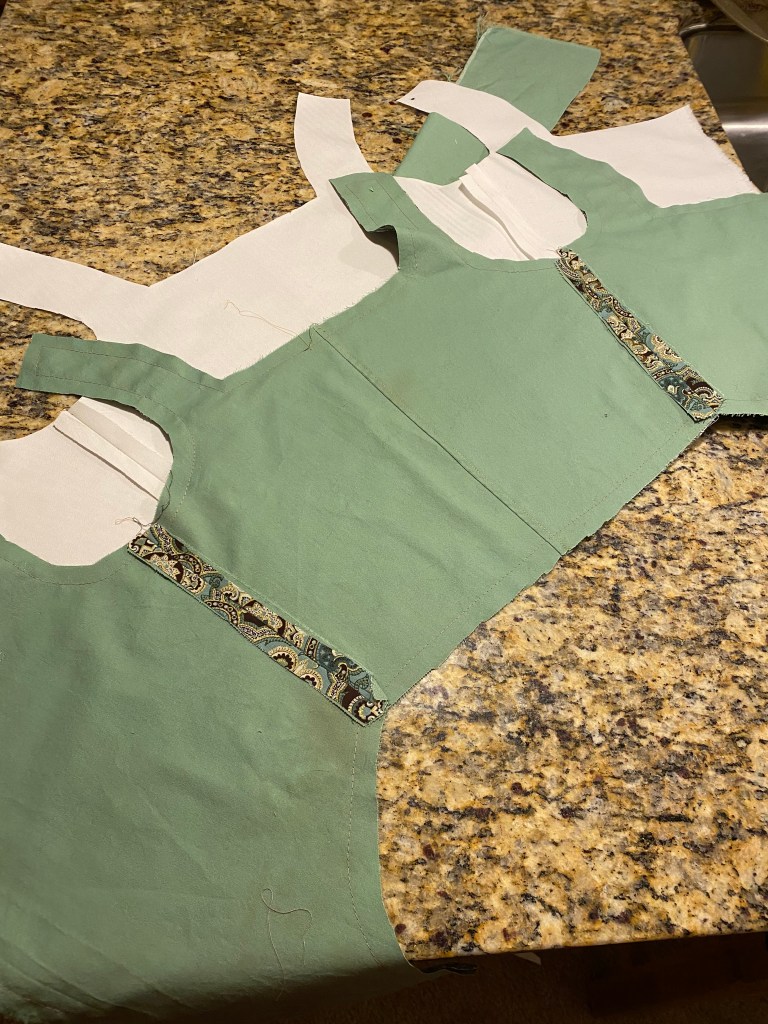
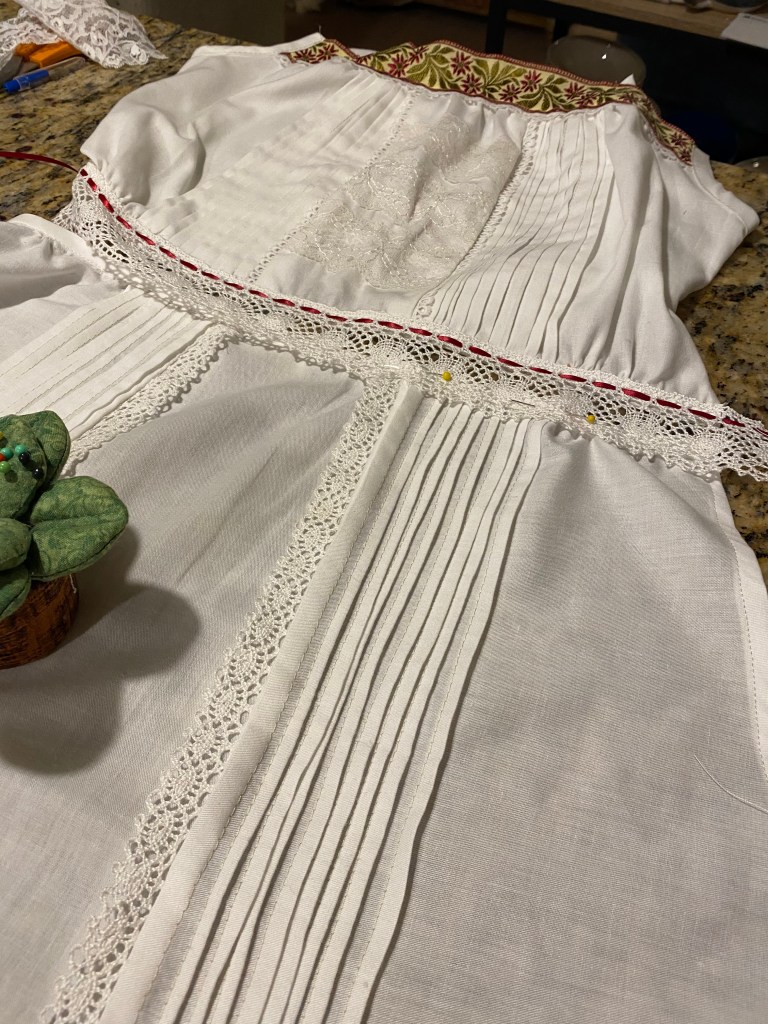
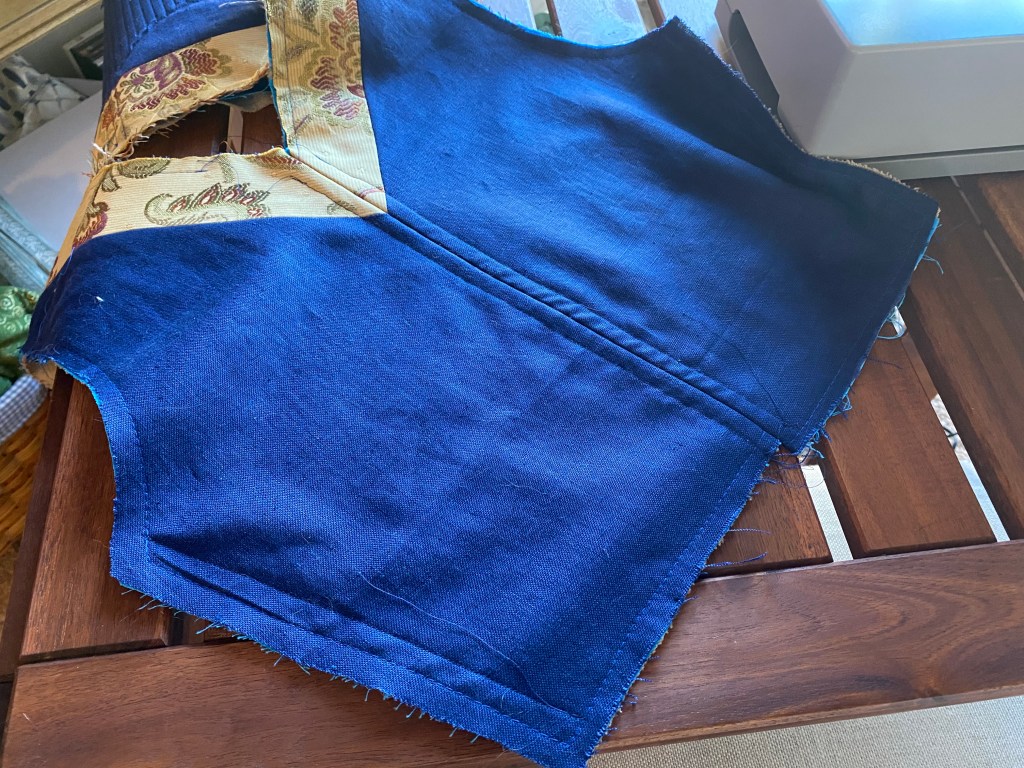
For the kirtle bodice, I used a mixture of fabrics to give the correct structure and look. The fashion side of the bodice is pieced with navy linen I had on hand ($6 for 6 yards at a rummage sale, score!) and the red/gold floral fabric at the neckline to match the window panel of the skirt. Since the linen was actually quite lightweight and I worried about the integrity of it once boning was added, I interfaced the pieces with scraps of tightly woven cotton. Finally, the interior of the bodice made use of heavy-weight tan linen from a drapery clearance.
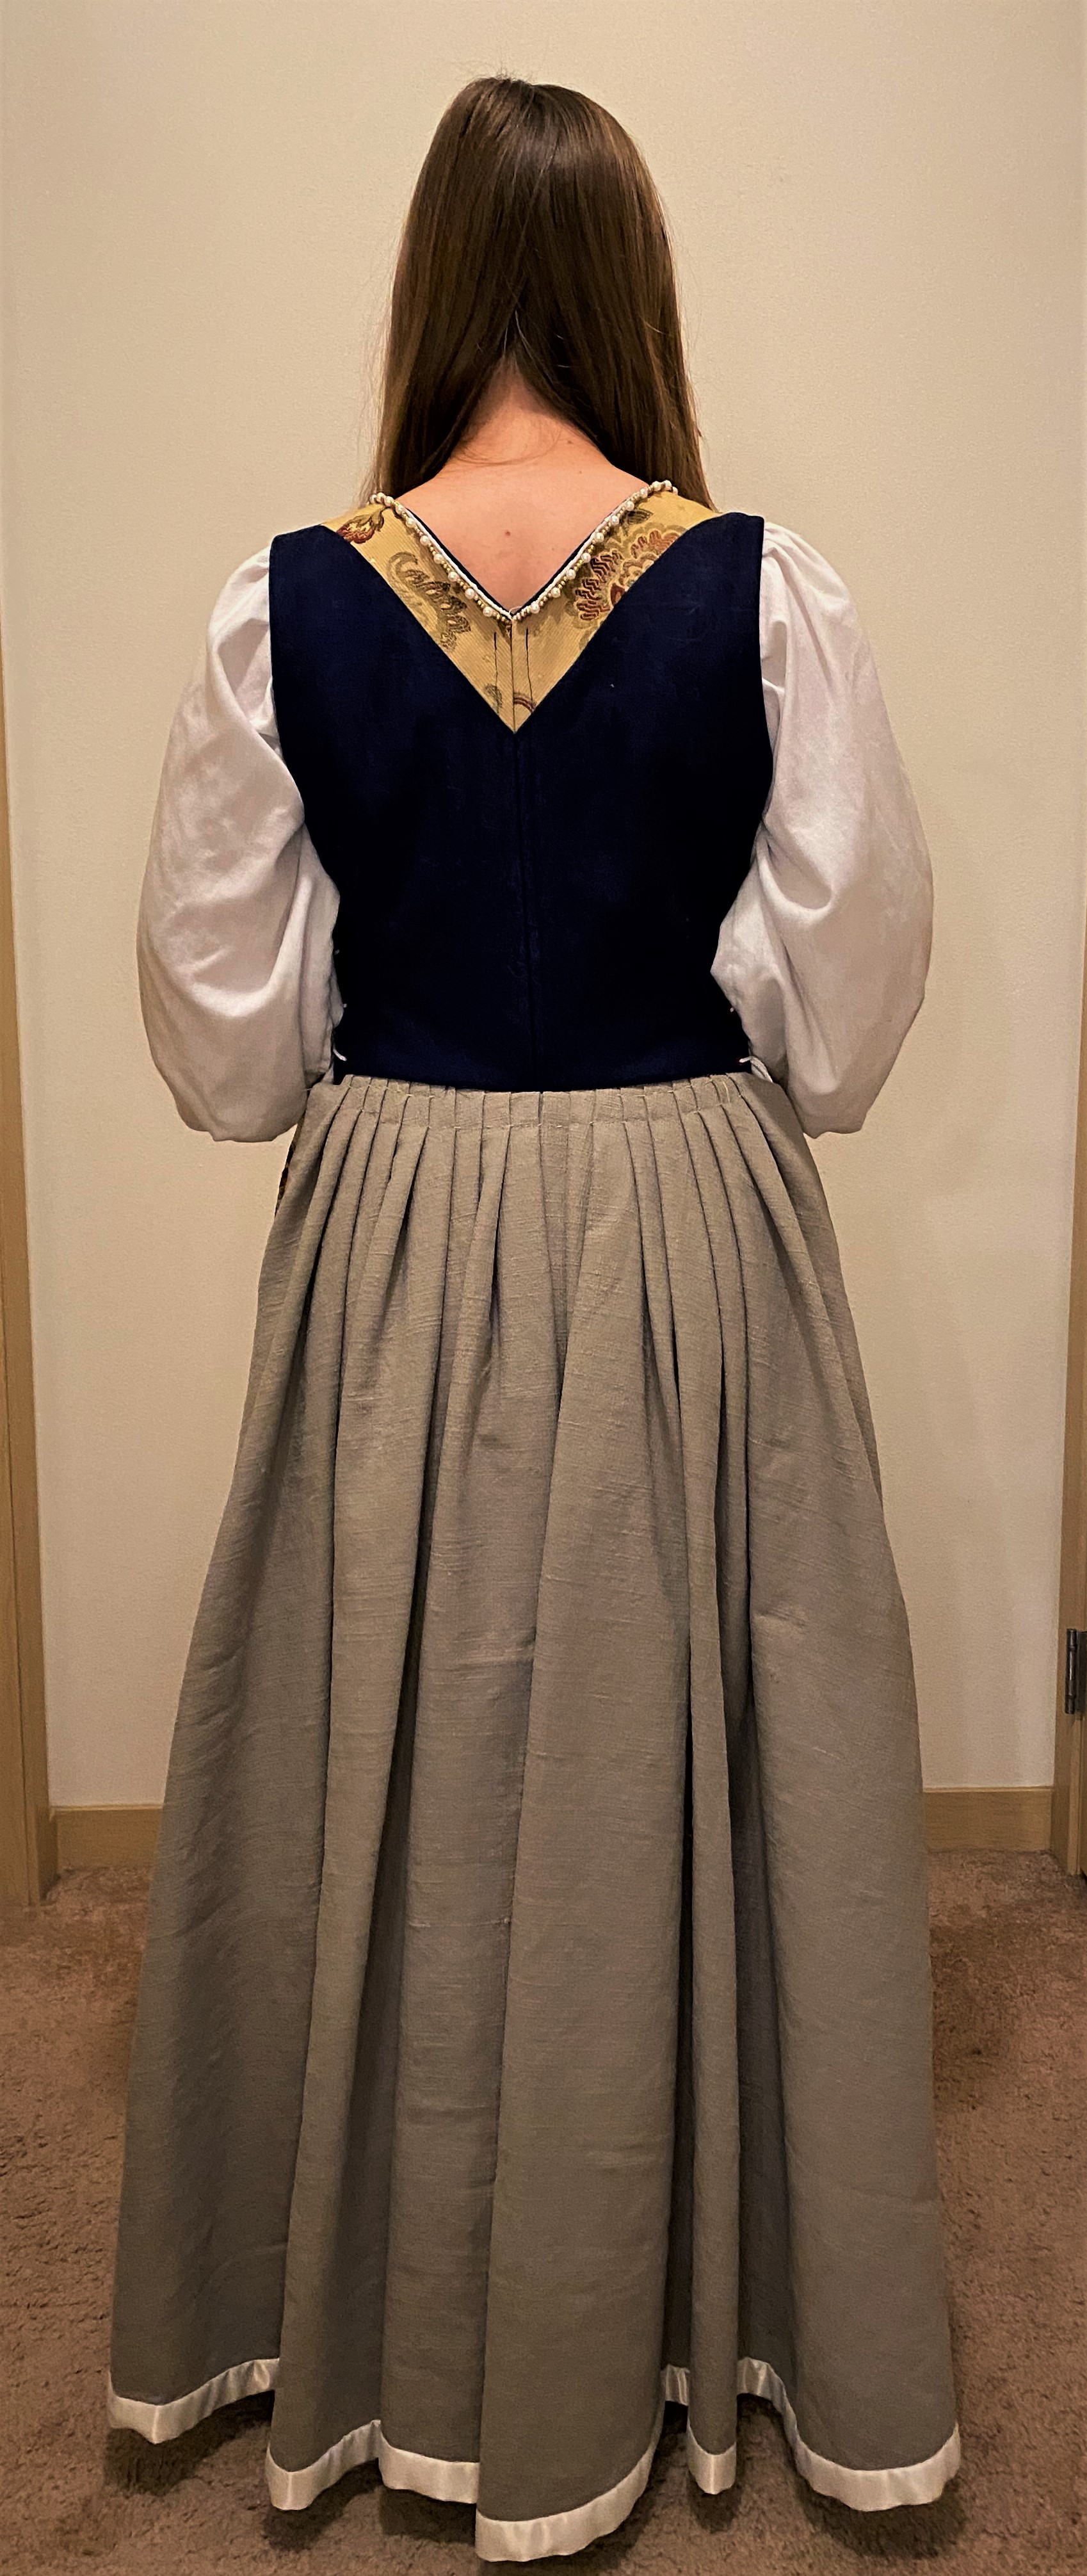
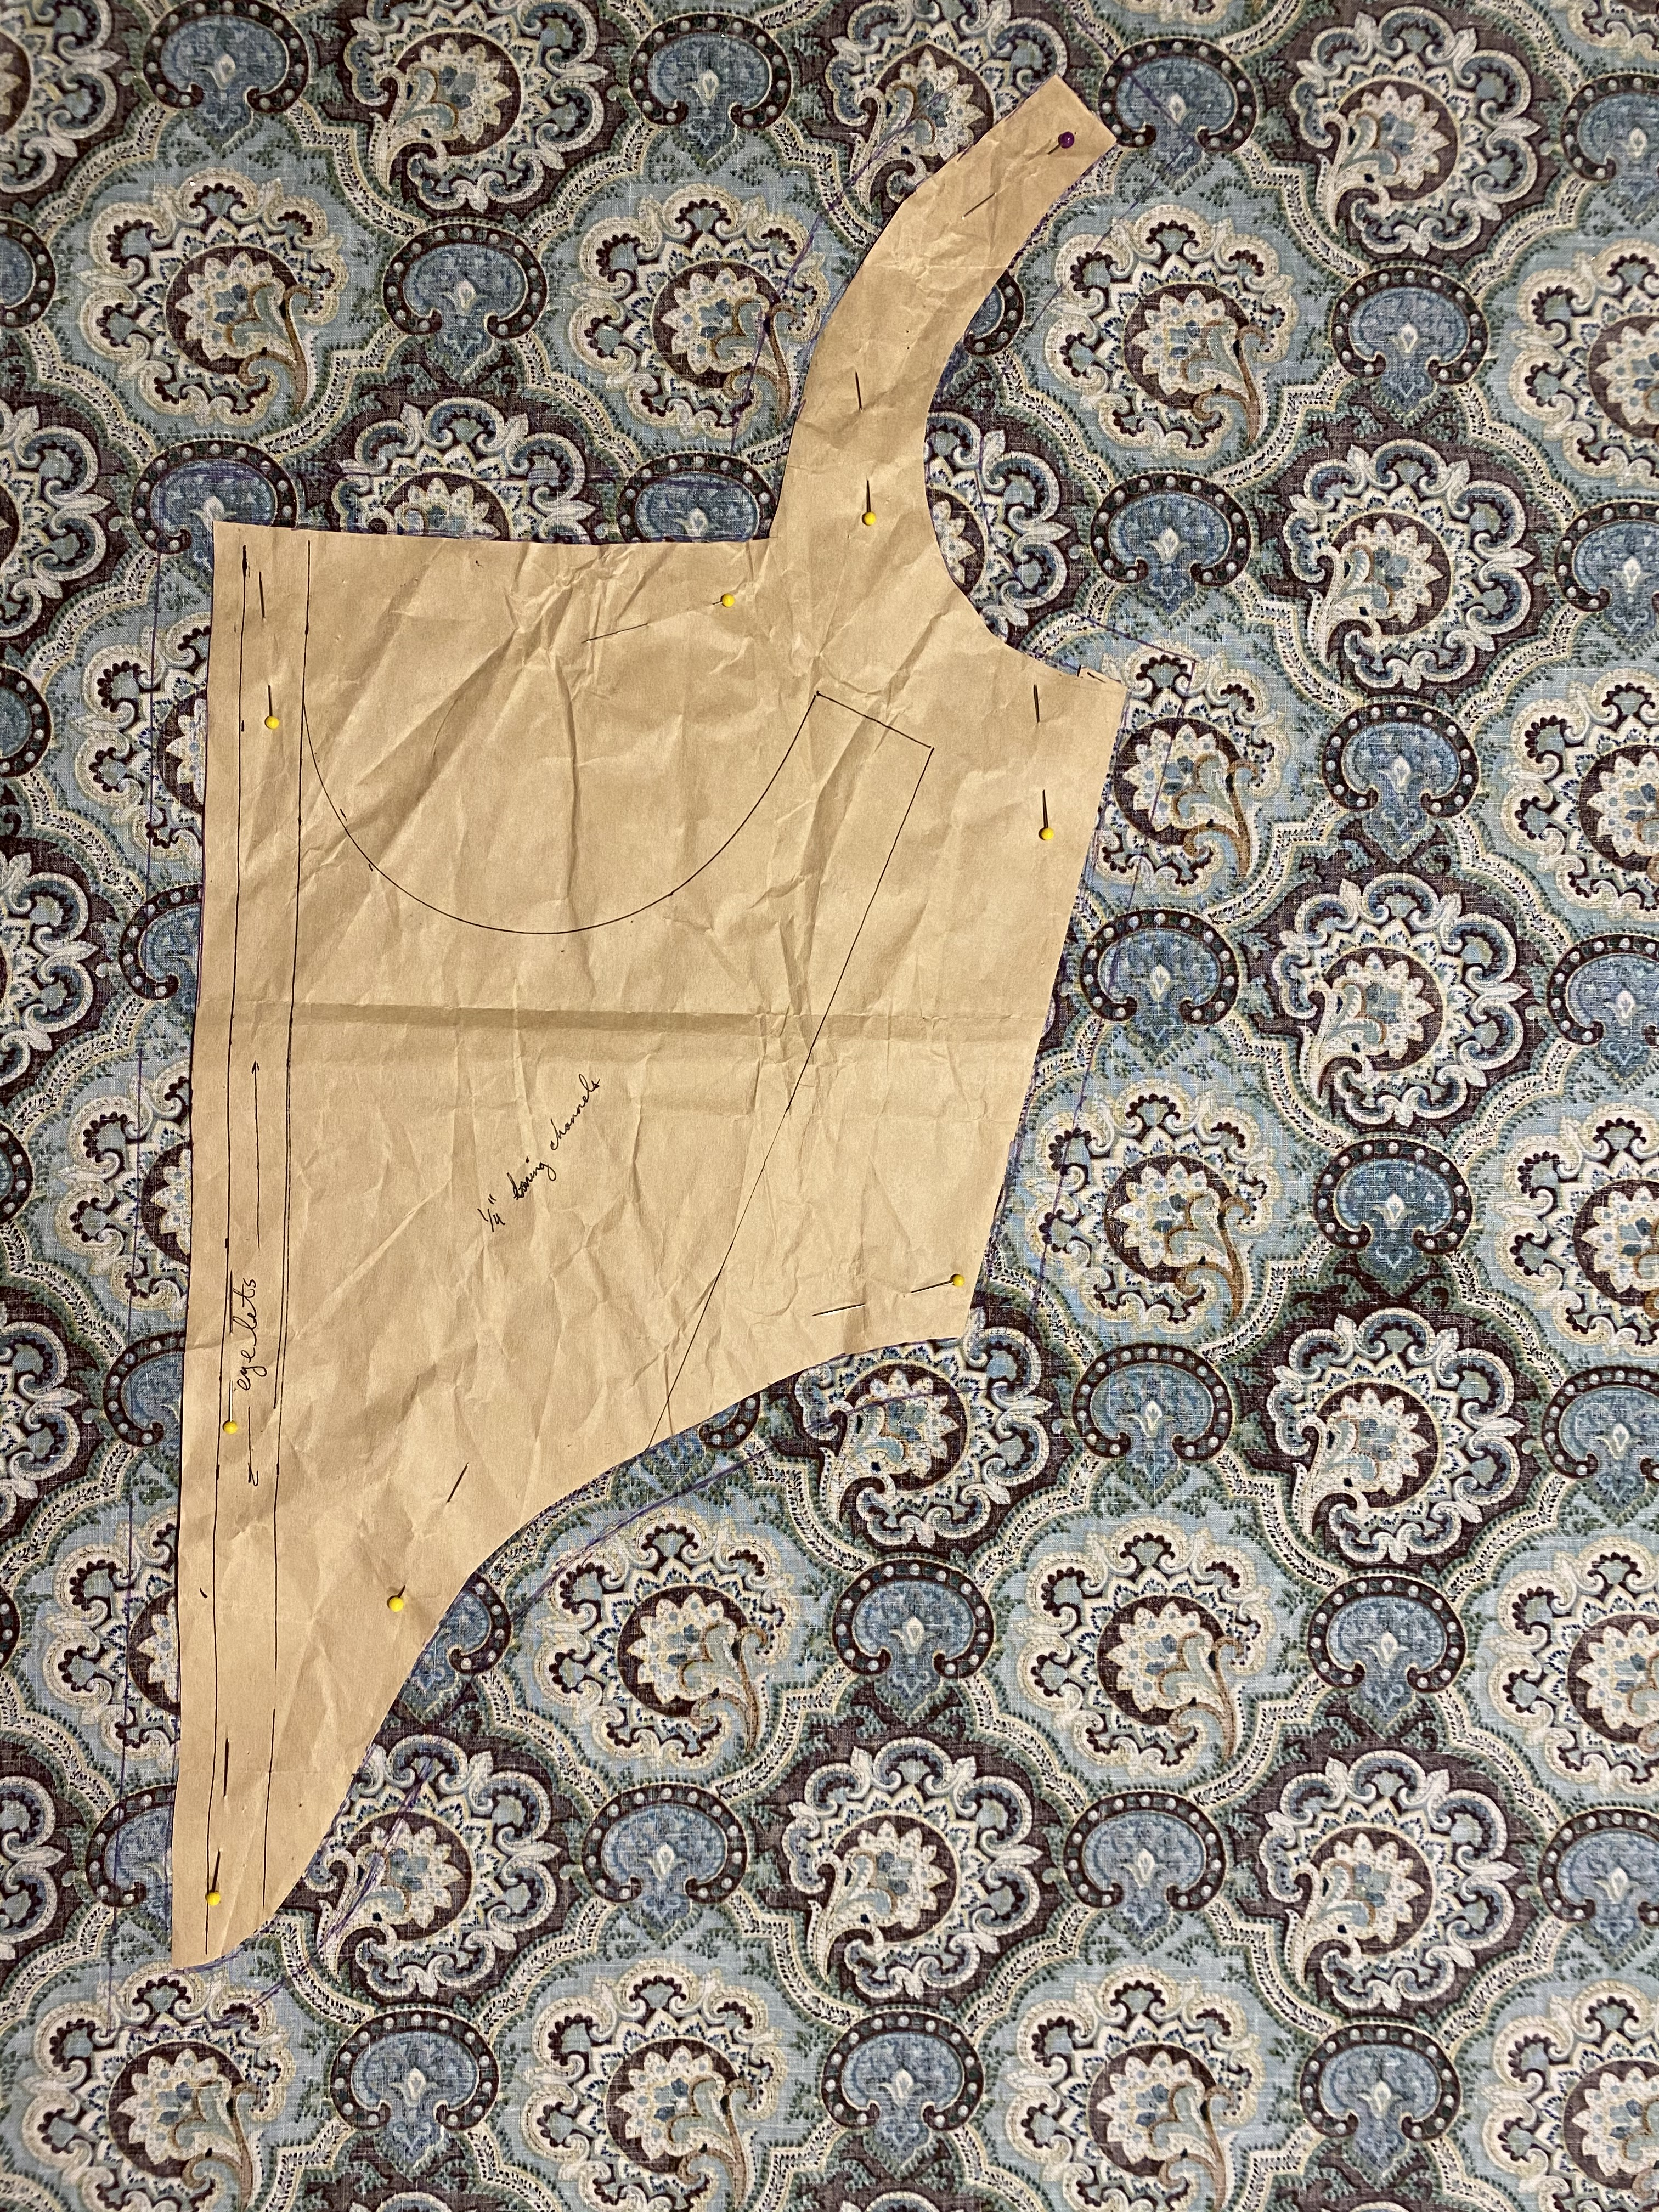
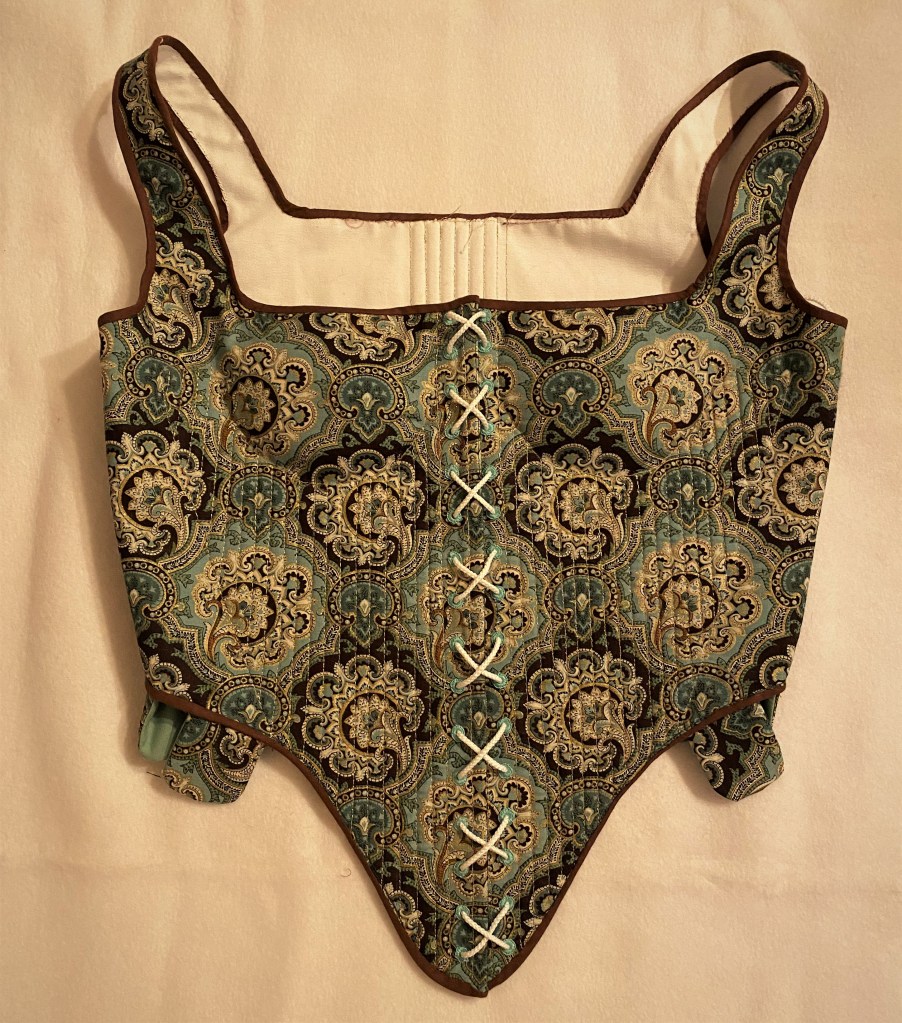
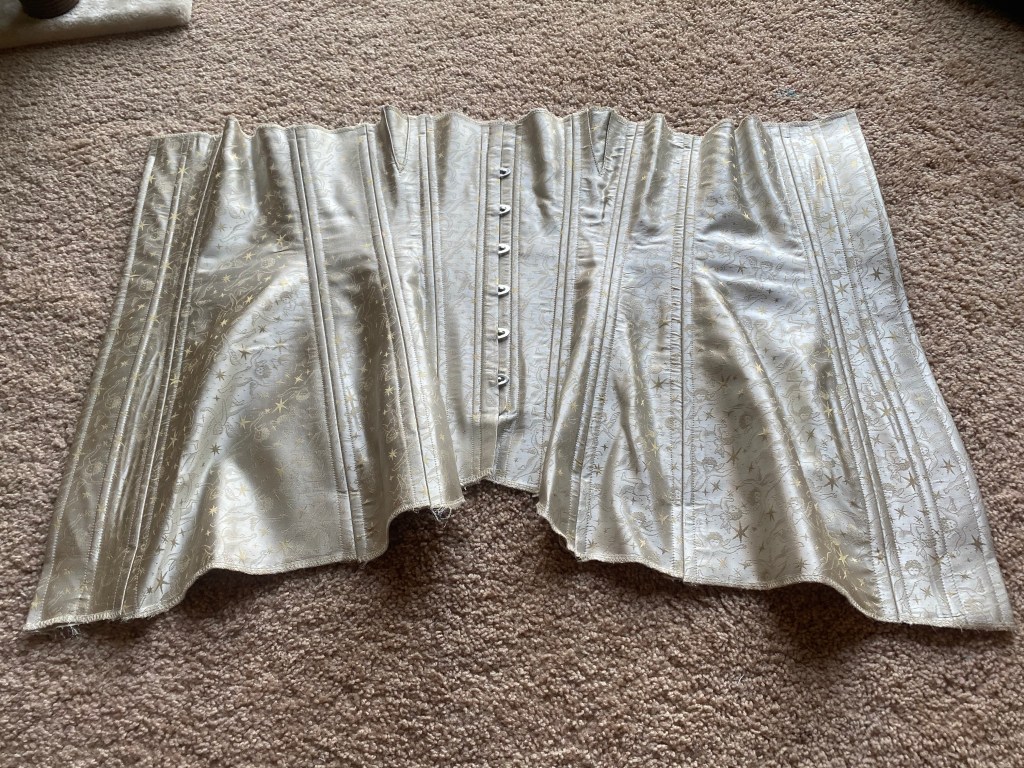
The bodice is constructed of a front and back with the straps extending from the back to the front. I opted for two side closures rather than a single back lace-up since it would allow me to lace myself into the garment. The side closures also will allow the garment to adjust size easier. I cut the panels in the blue linen, minus 2″ for the pieced neckline, plus 1/2″ for seam allowance. The 2″ strip of floral was then cut and stitched in place.
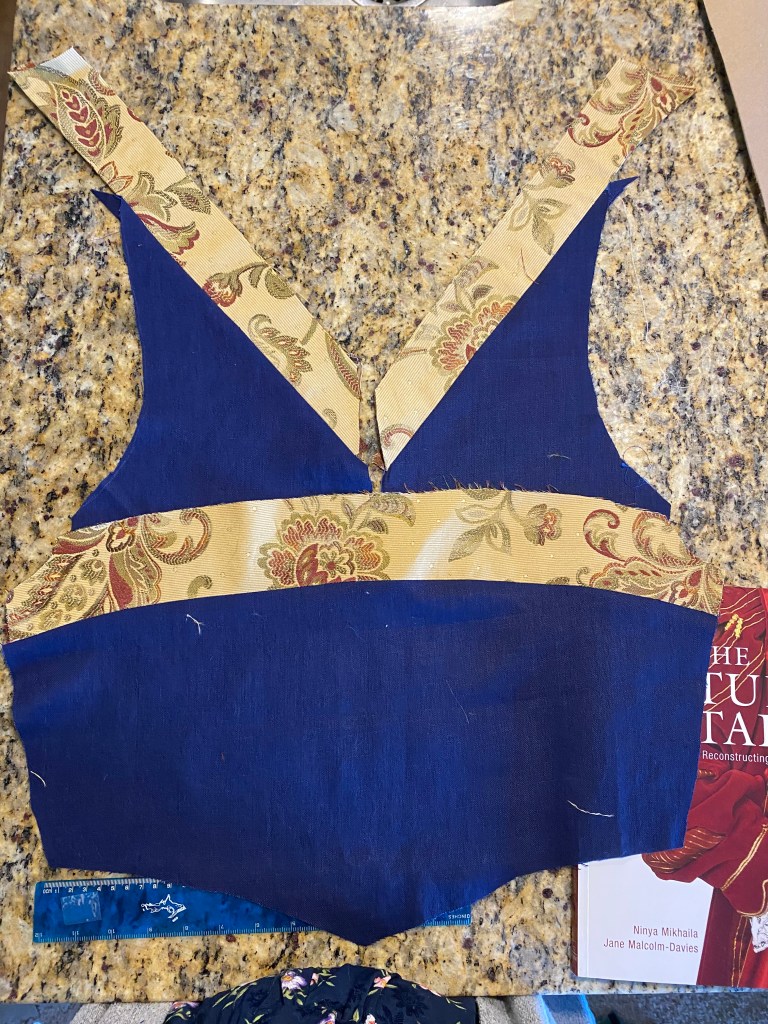
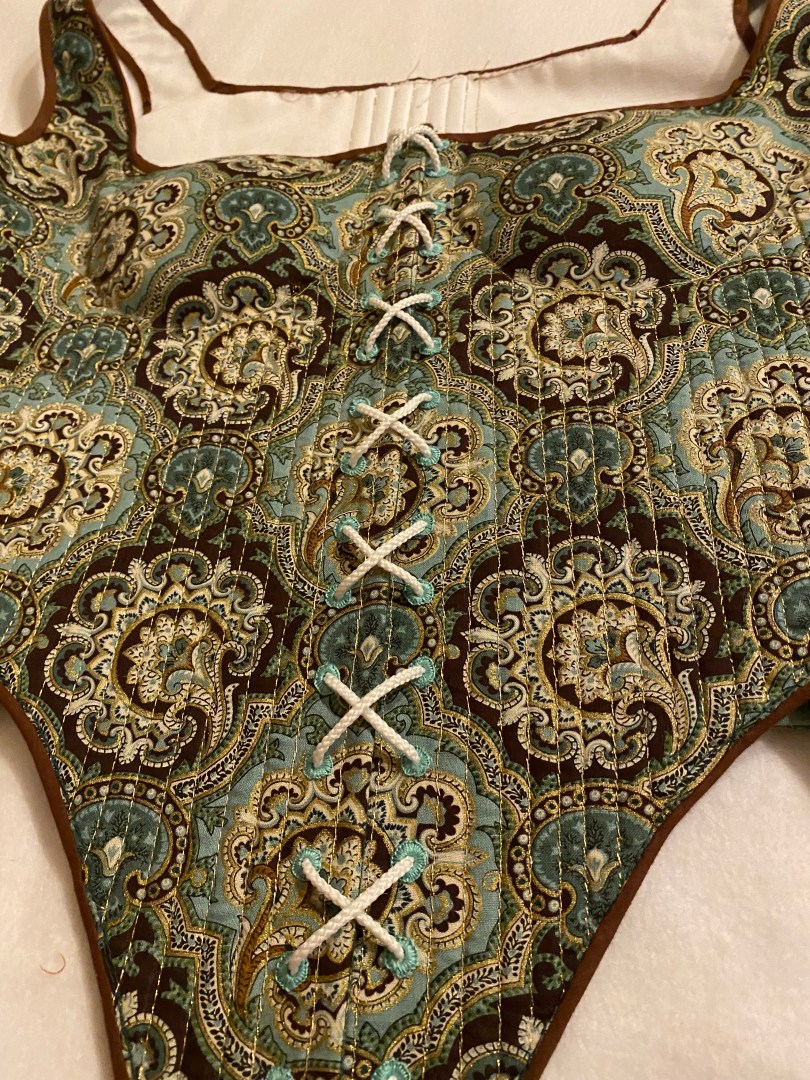
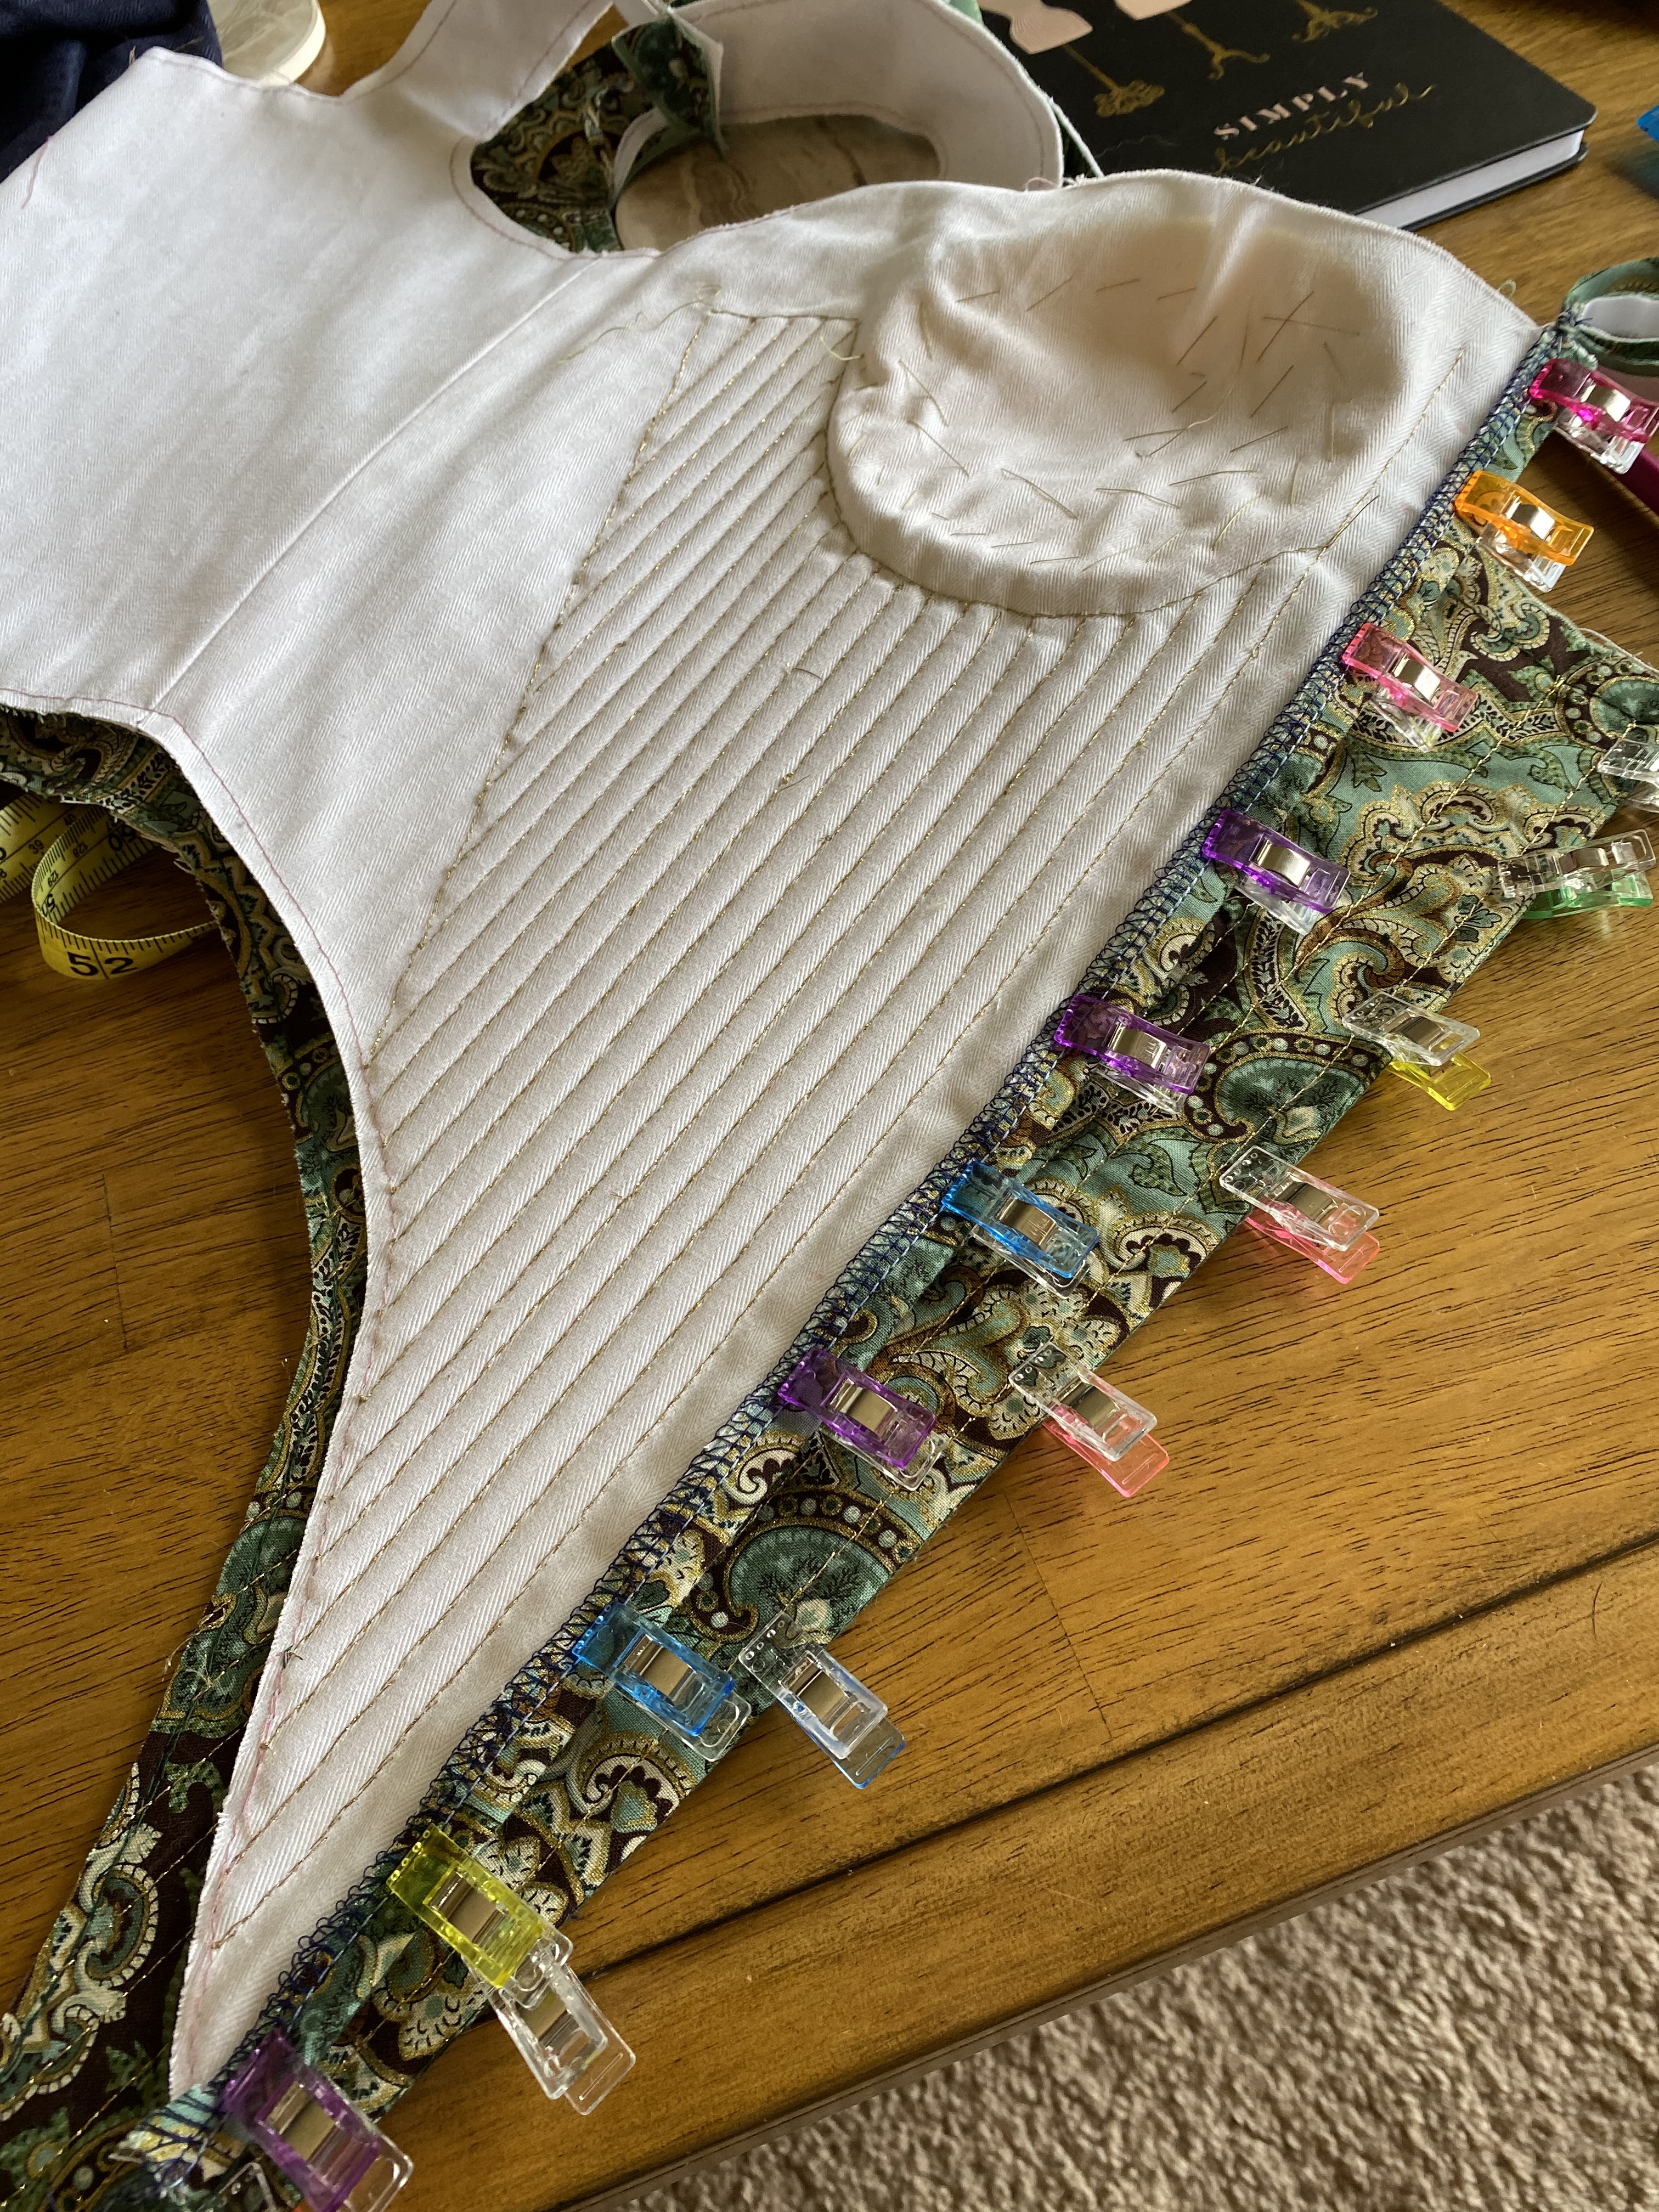
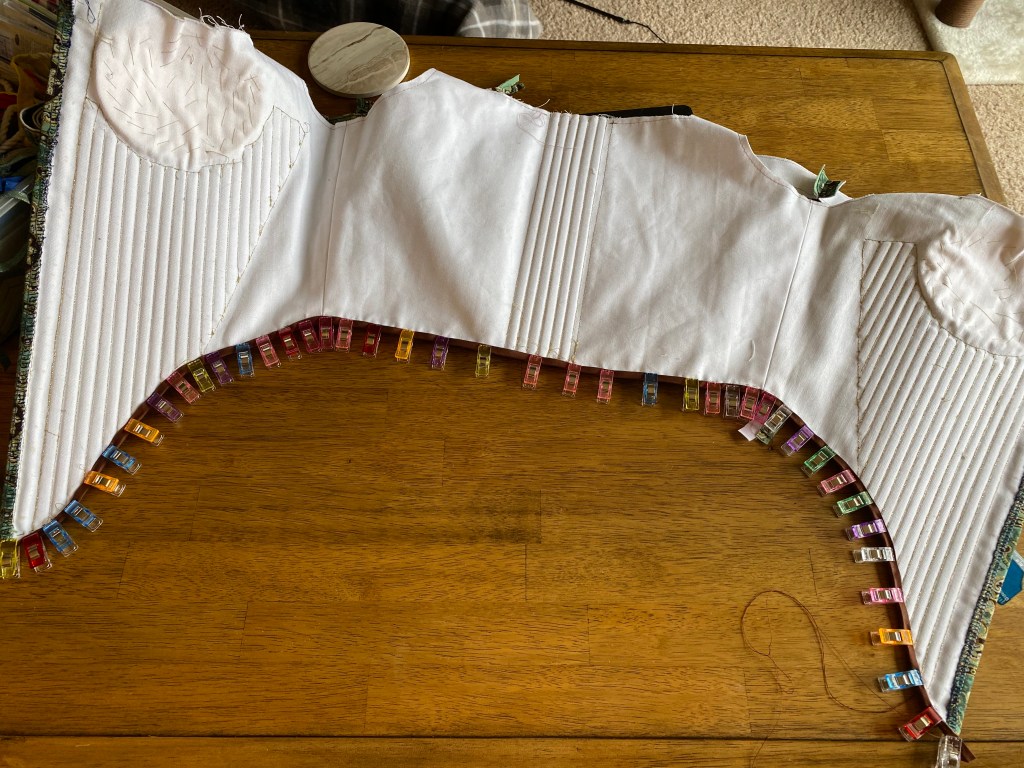
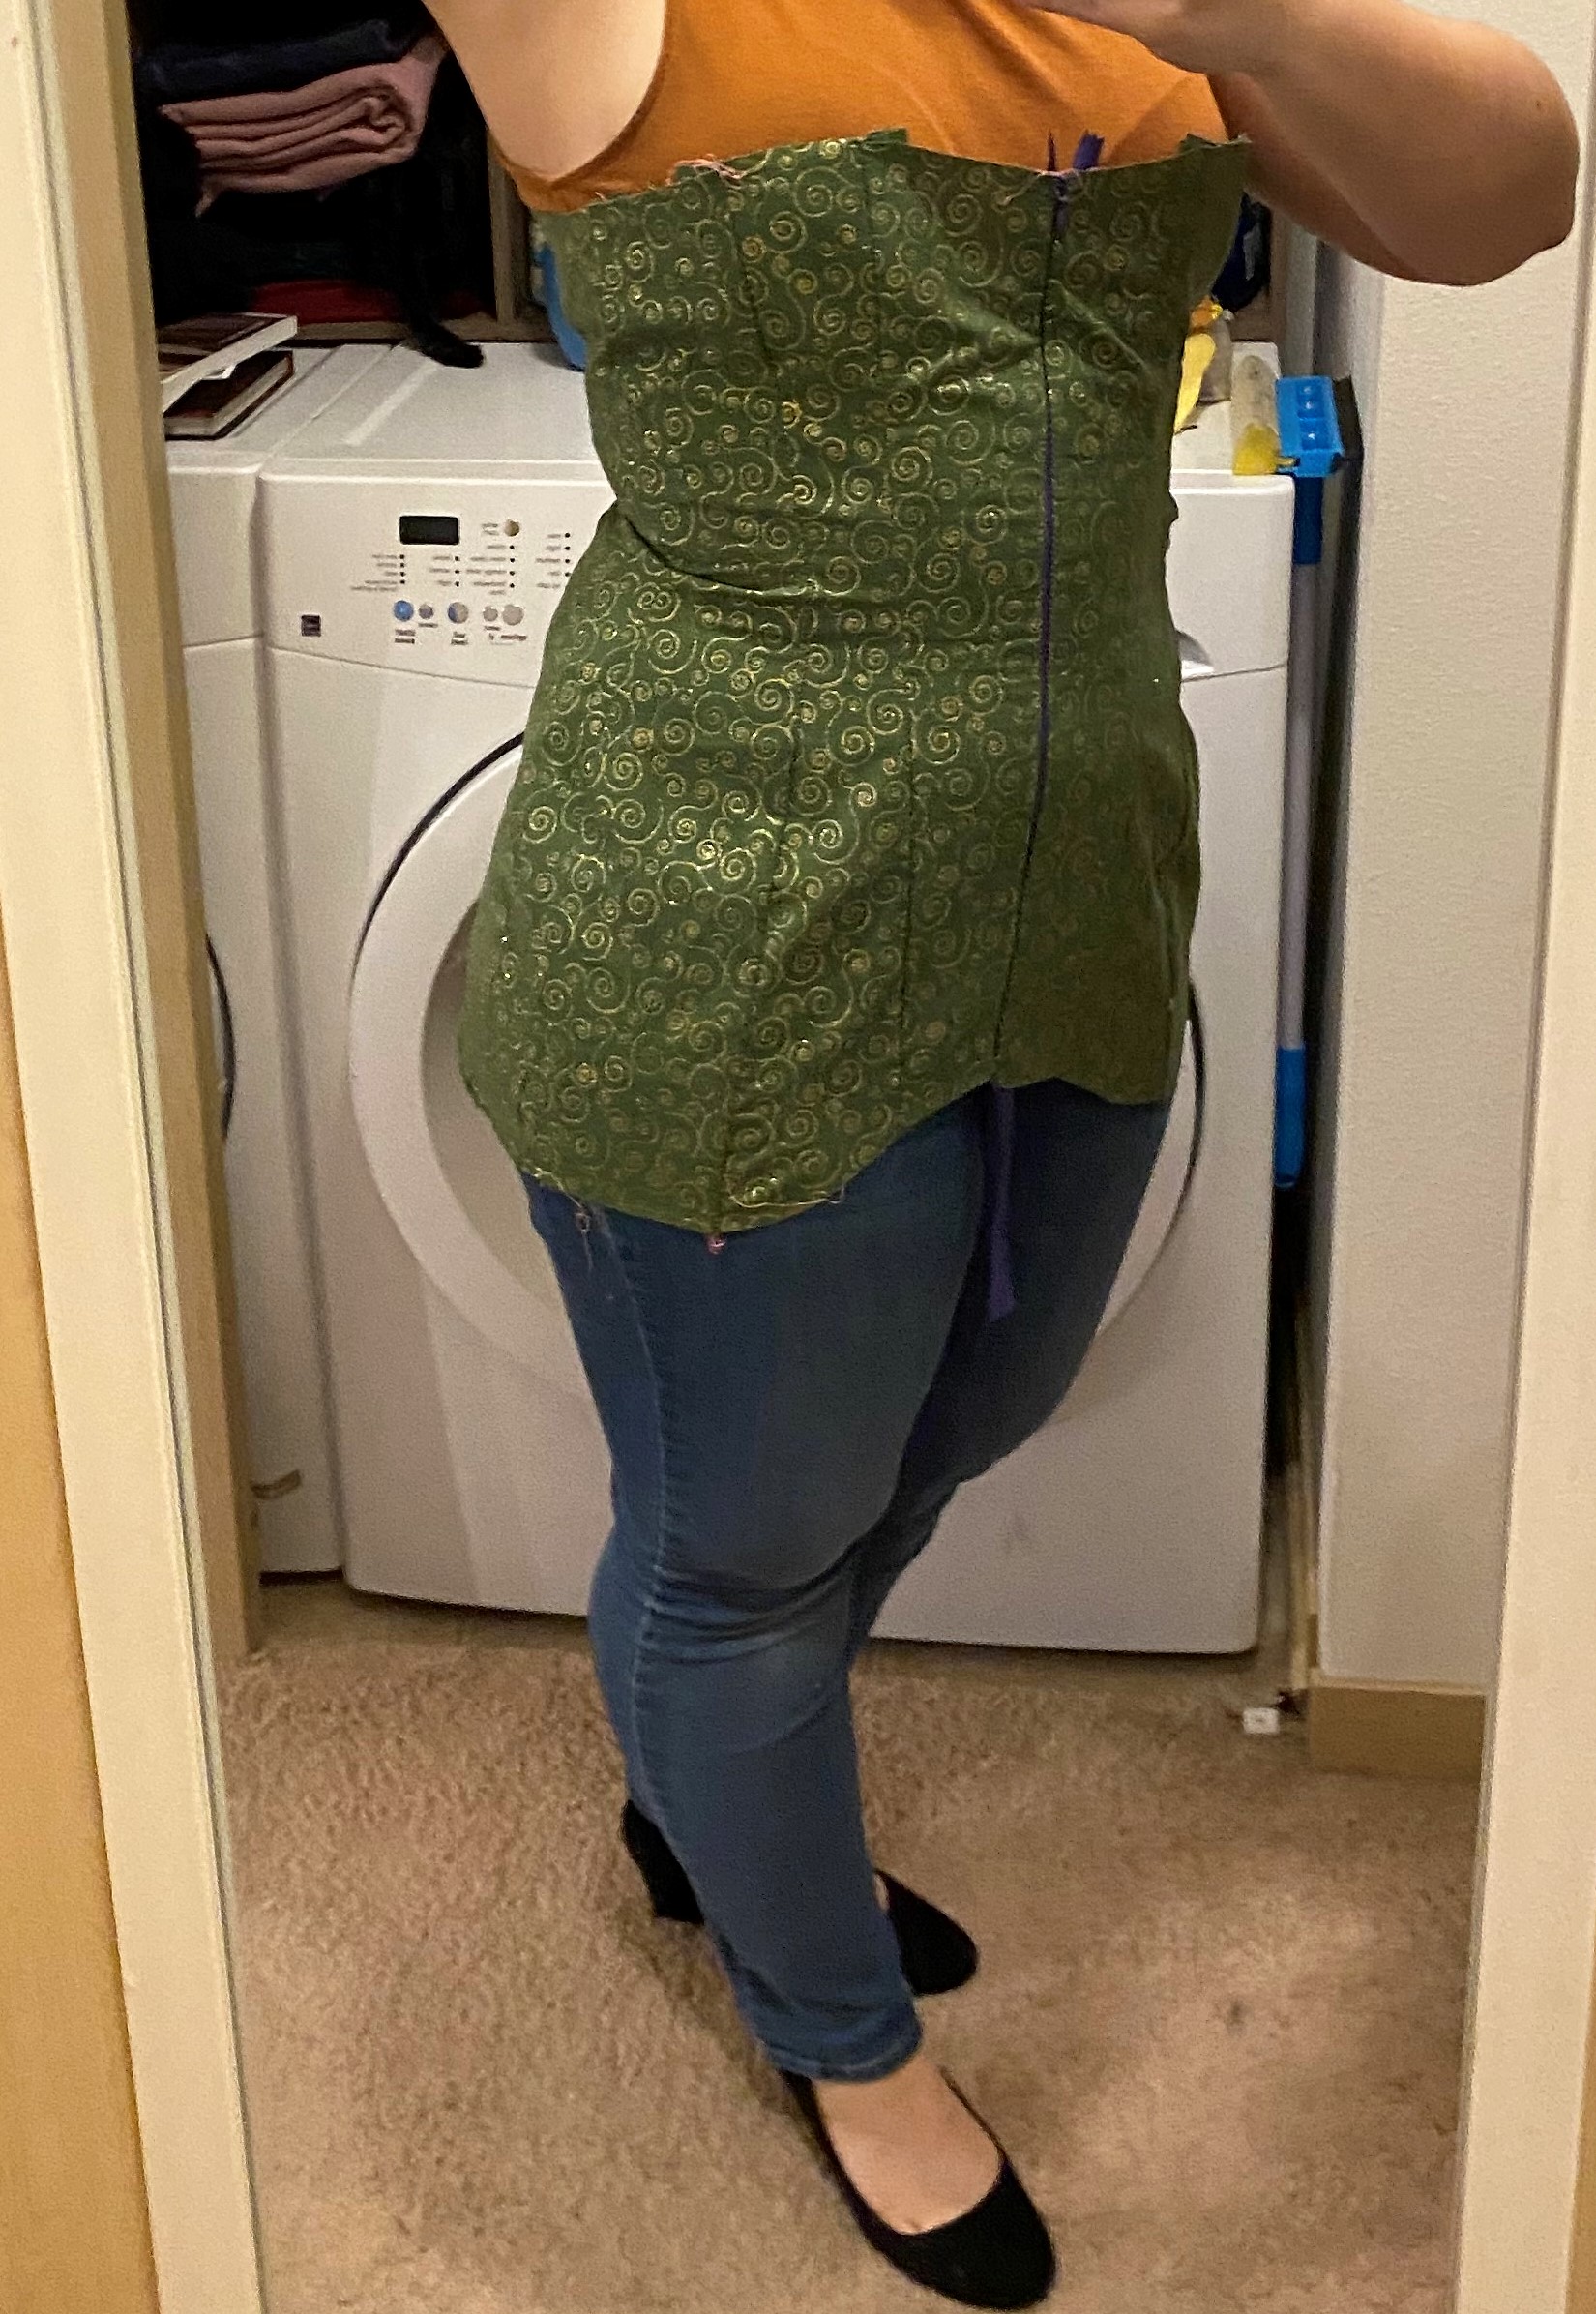
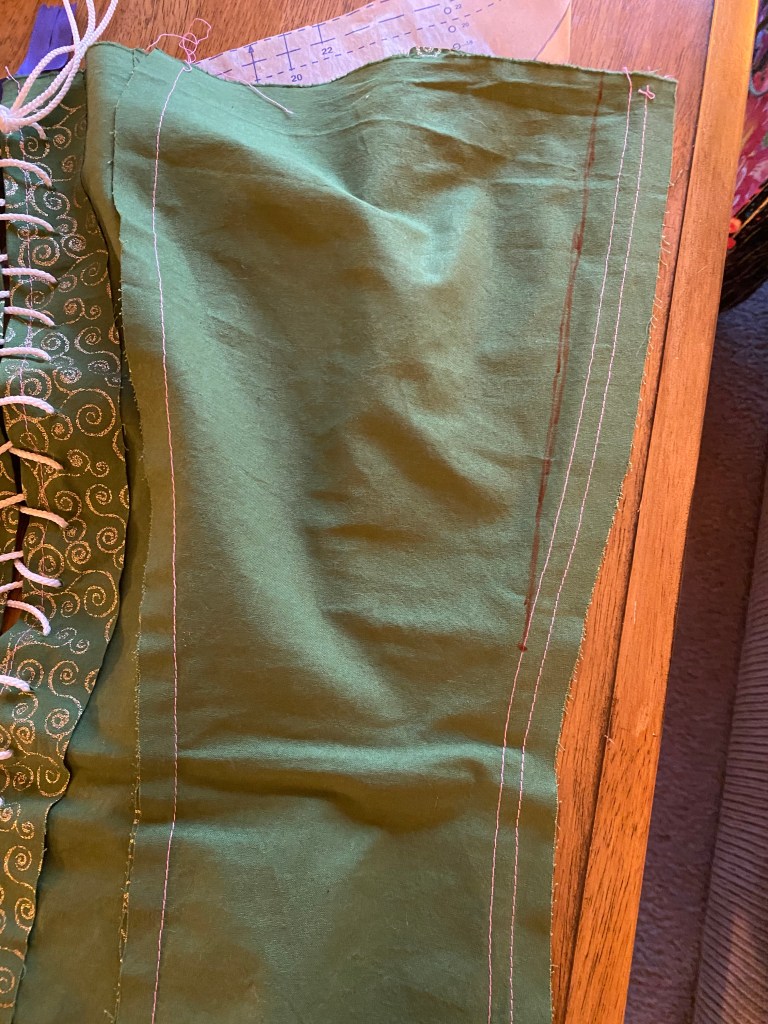
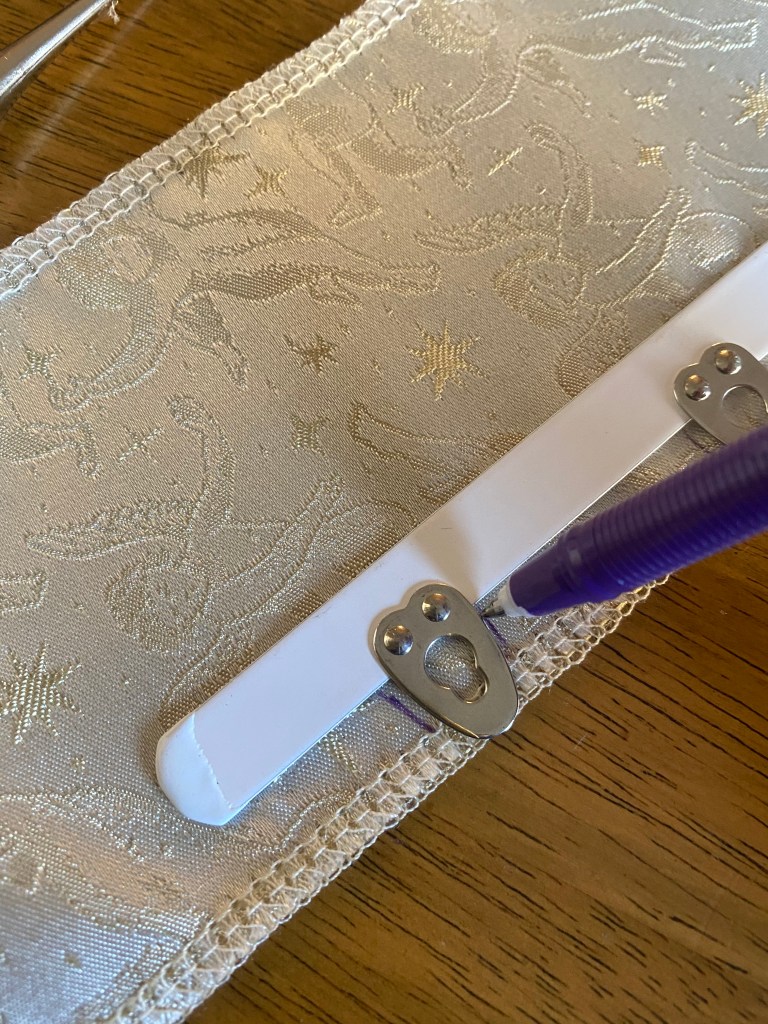
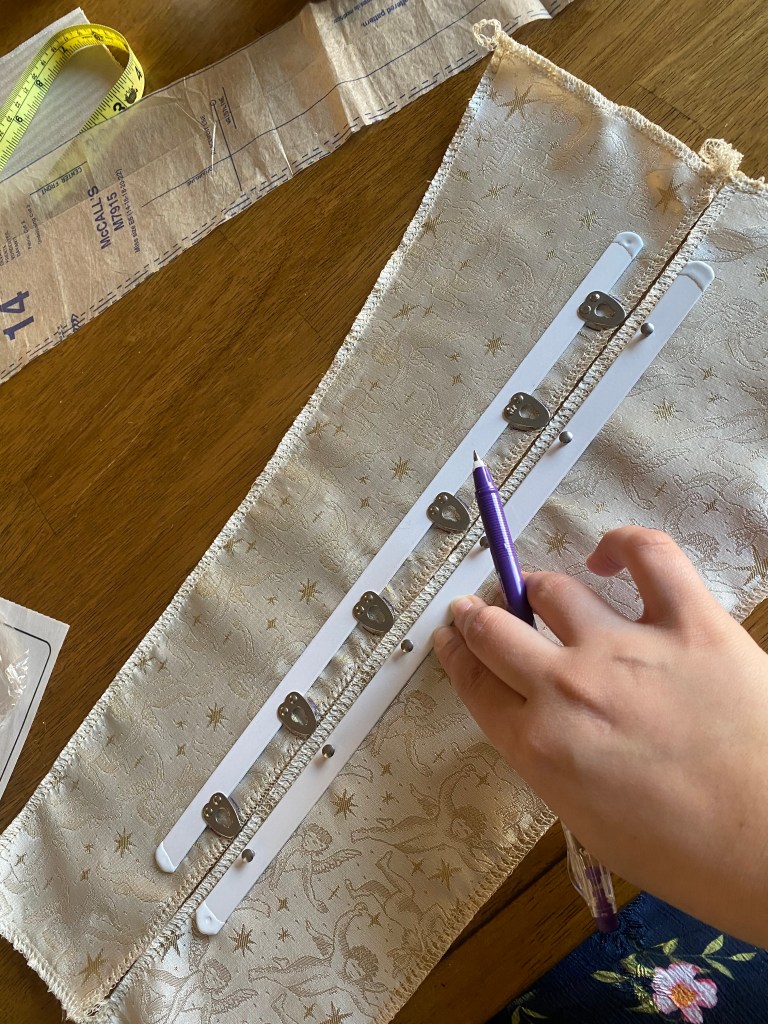
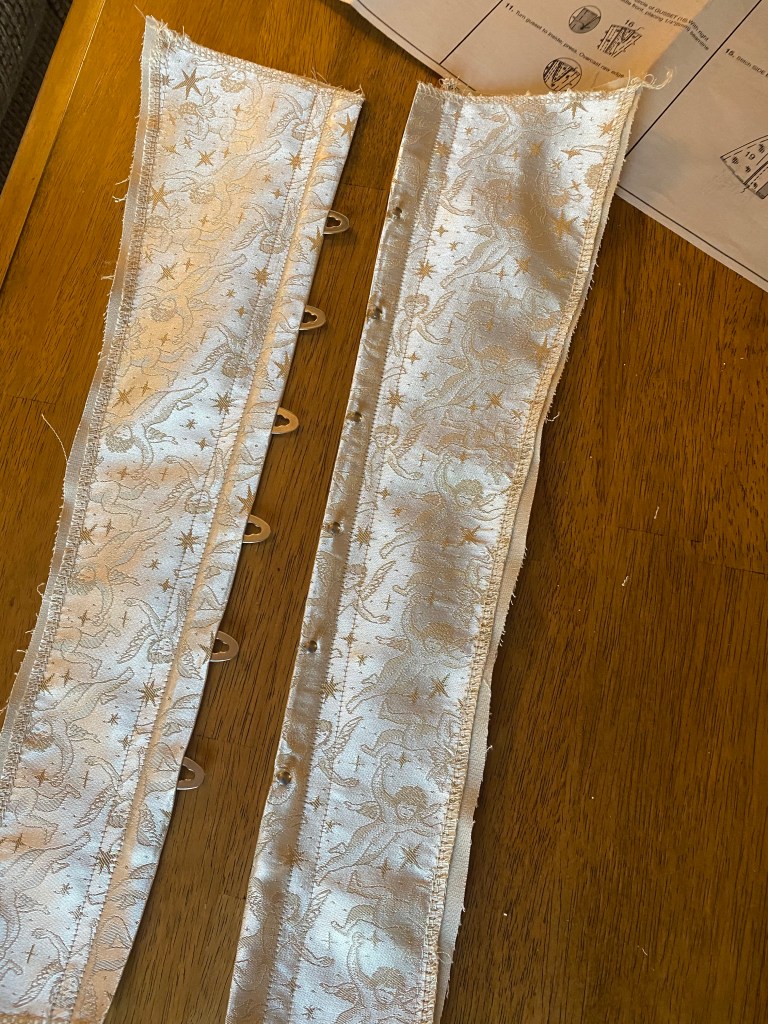
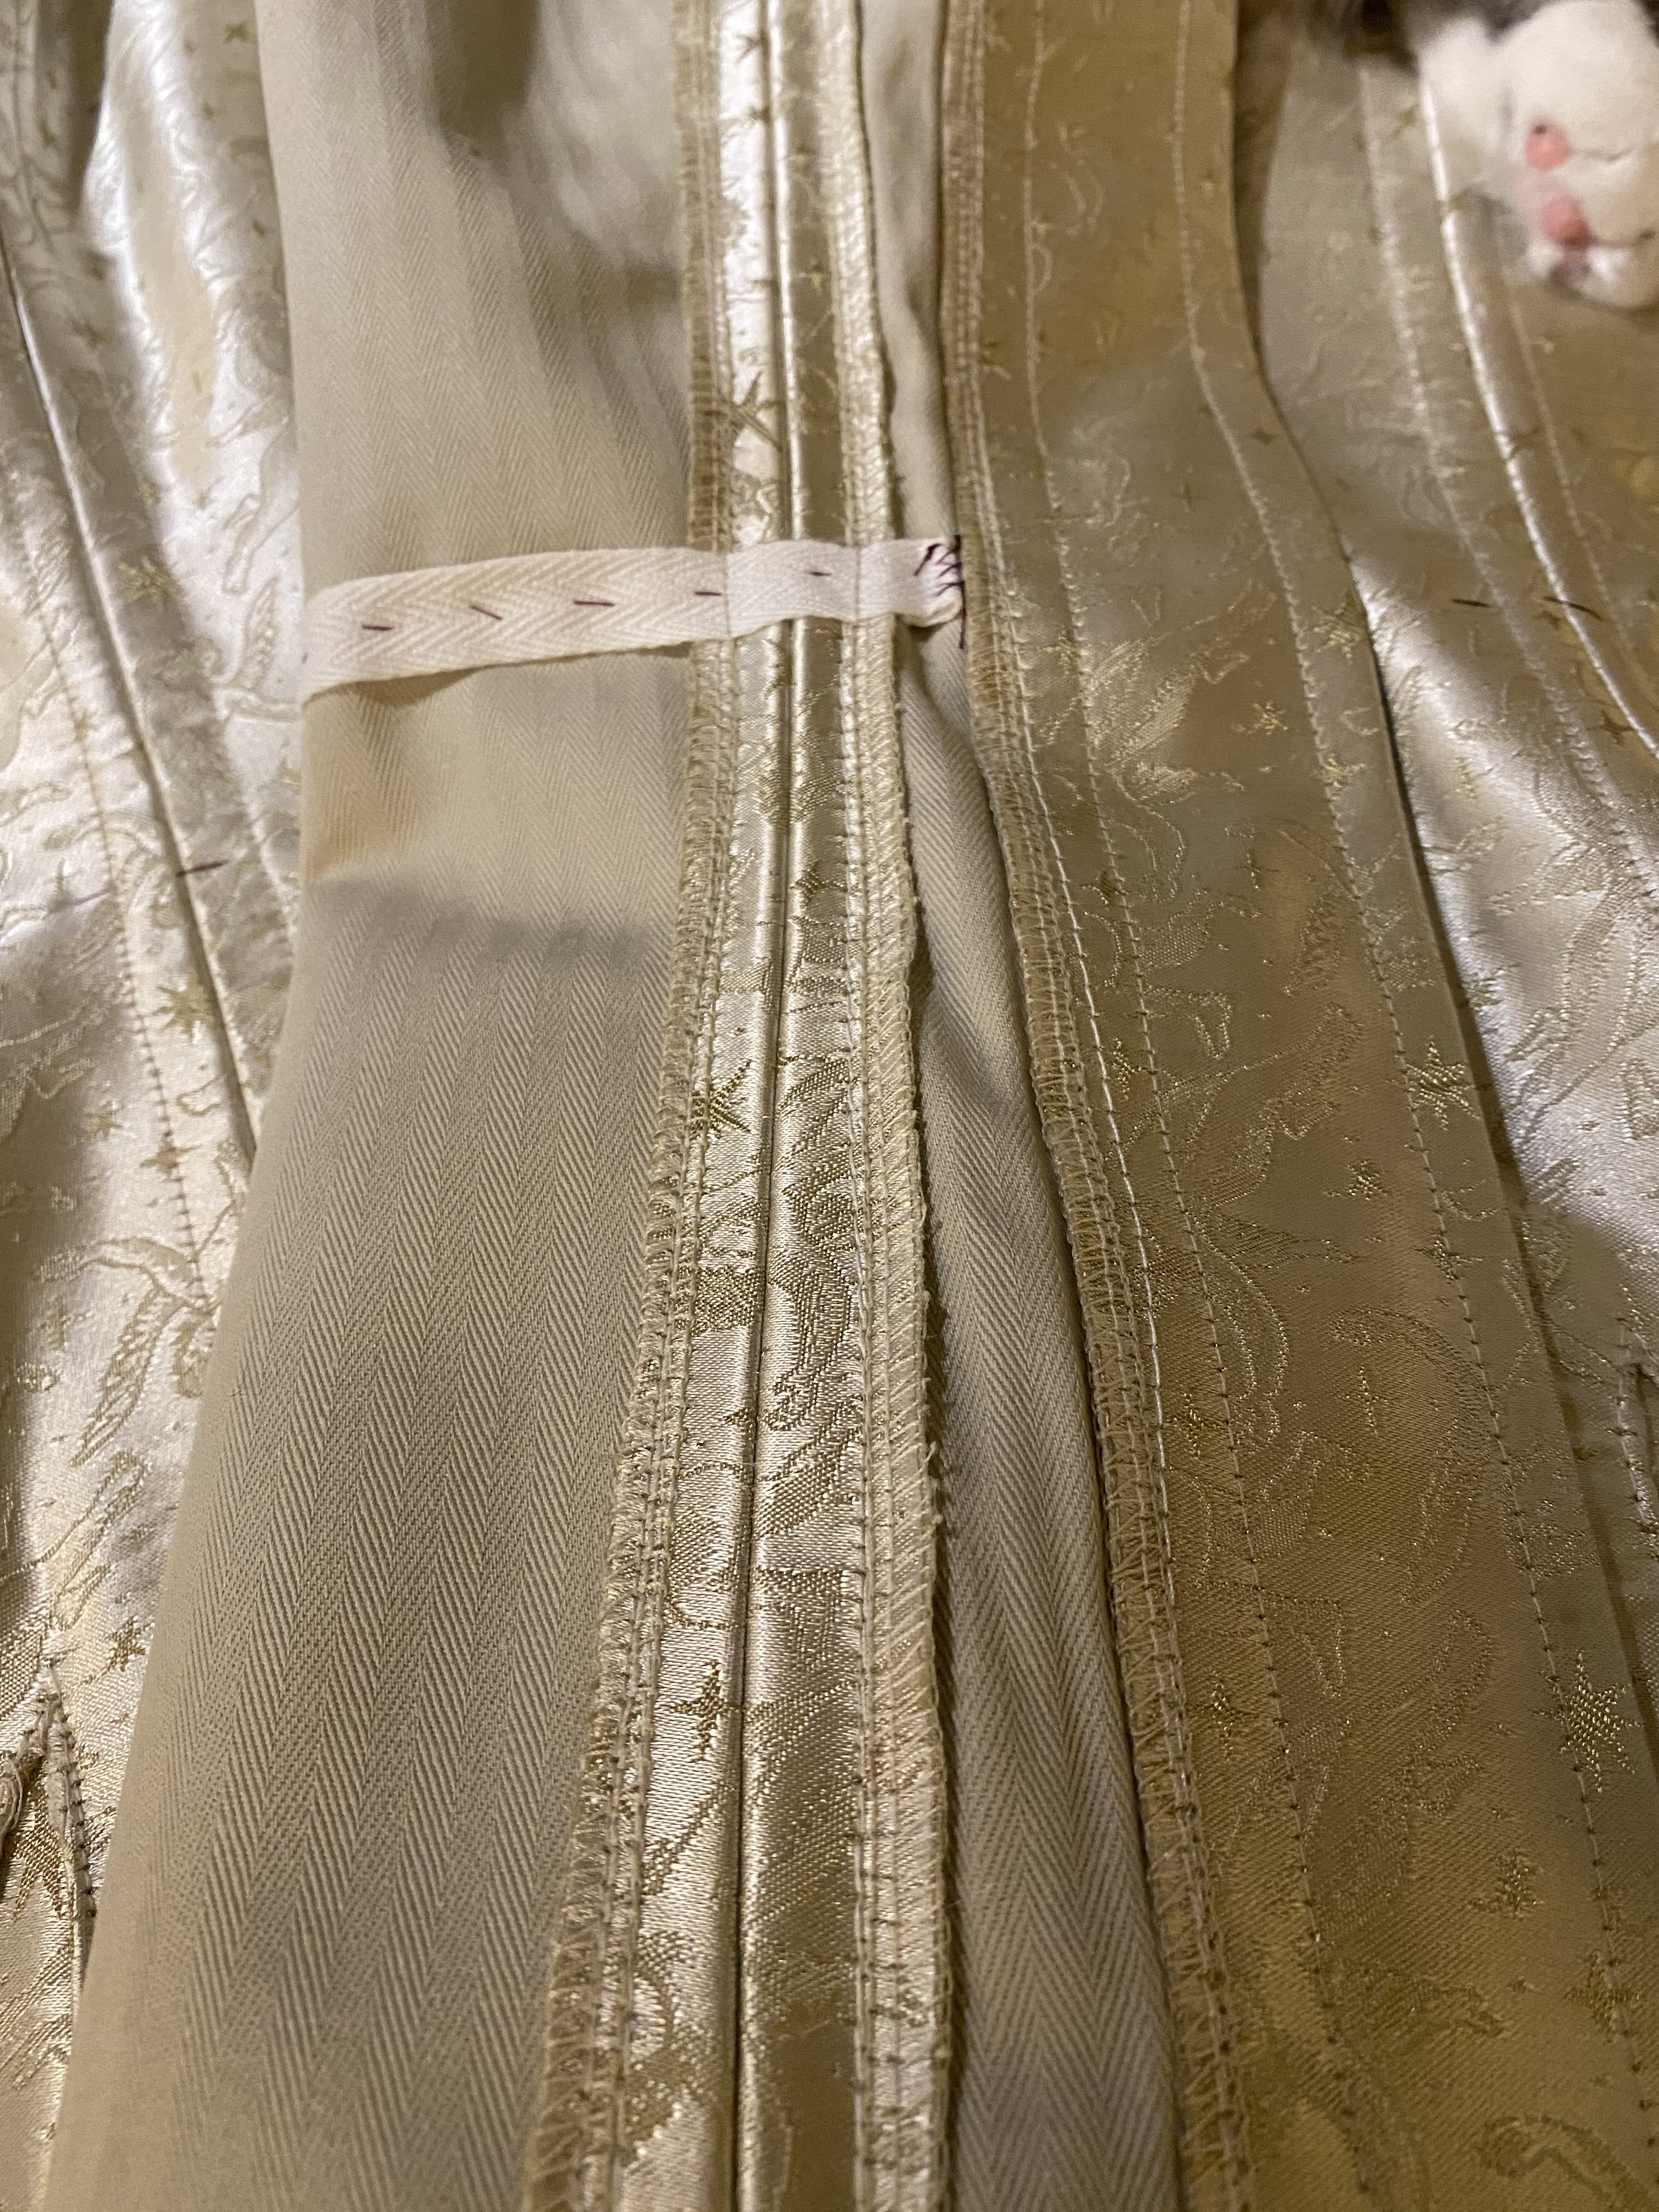
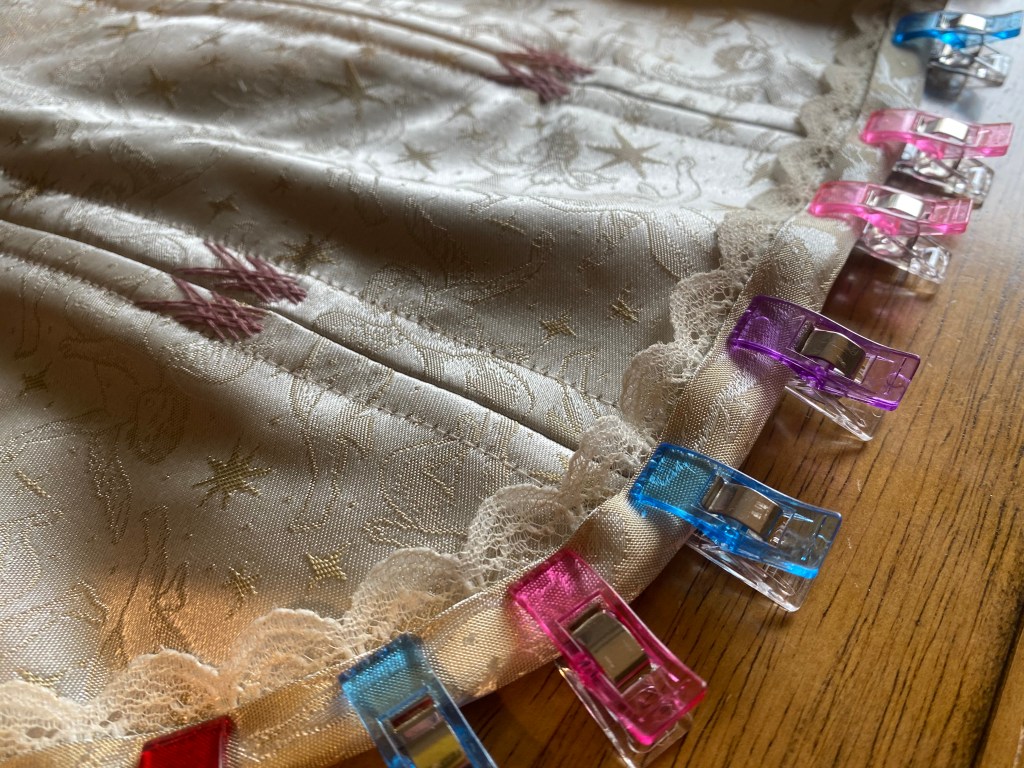
To finish off the back panels, two 1/4″ boning channels were added at the center back and one on each side seam to support the eyelets that would be added.
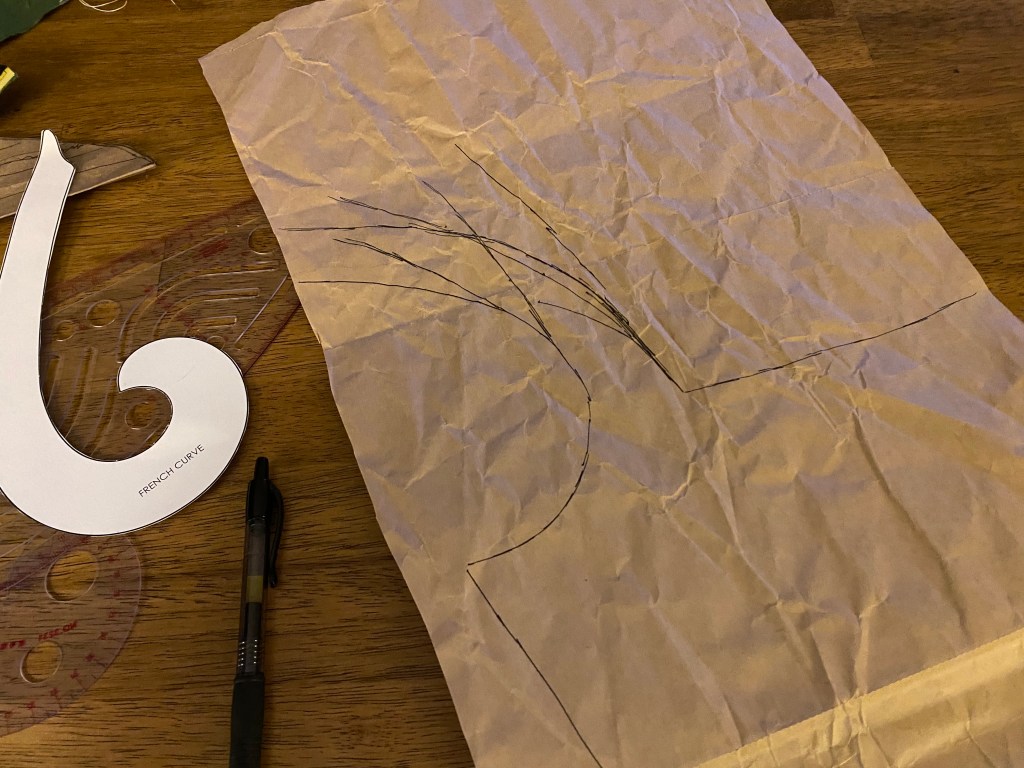
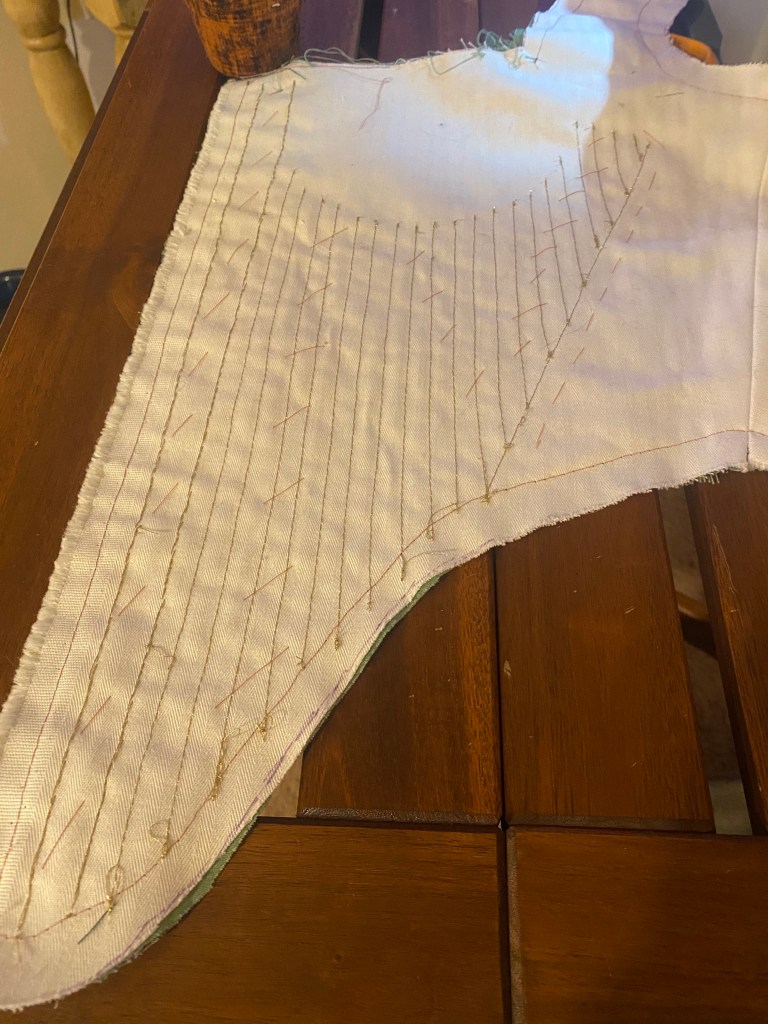
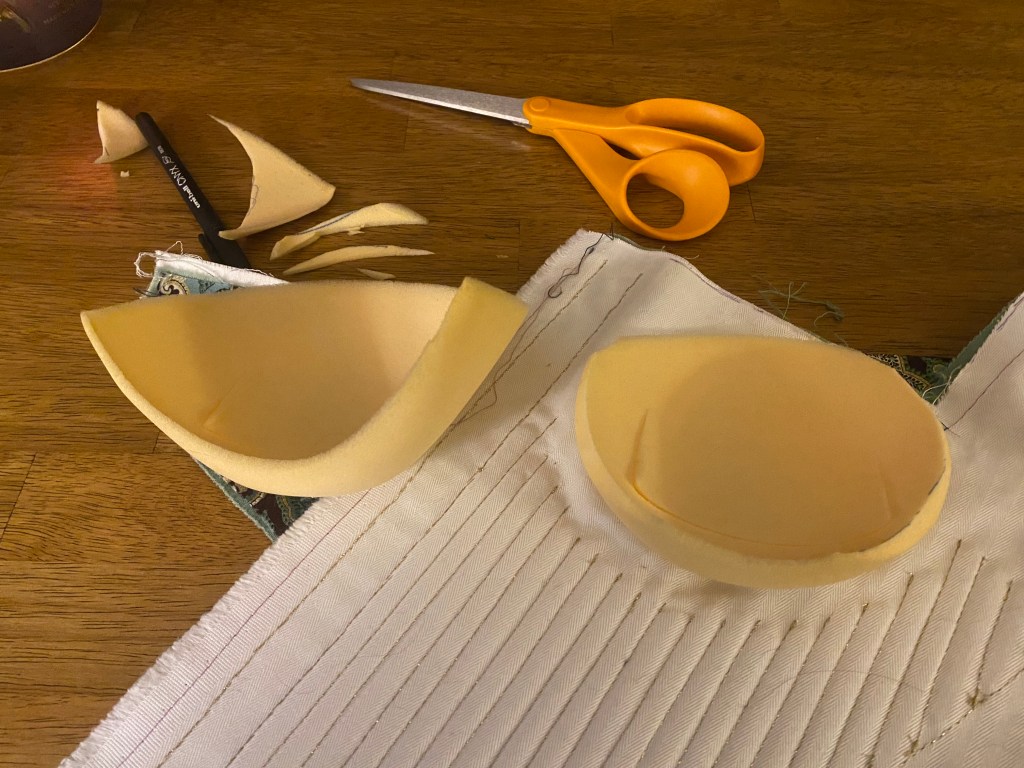
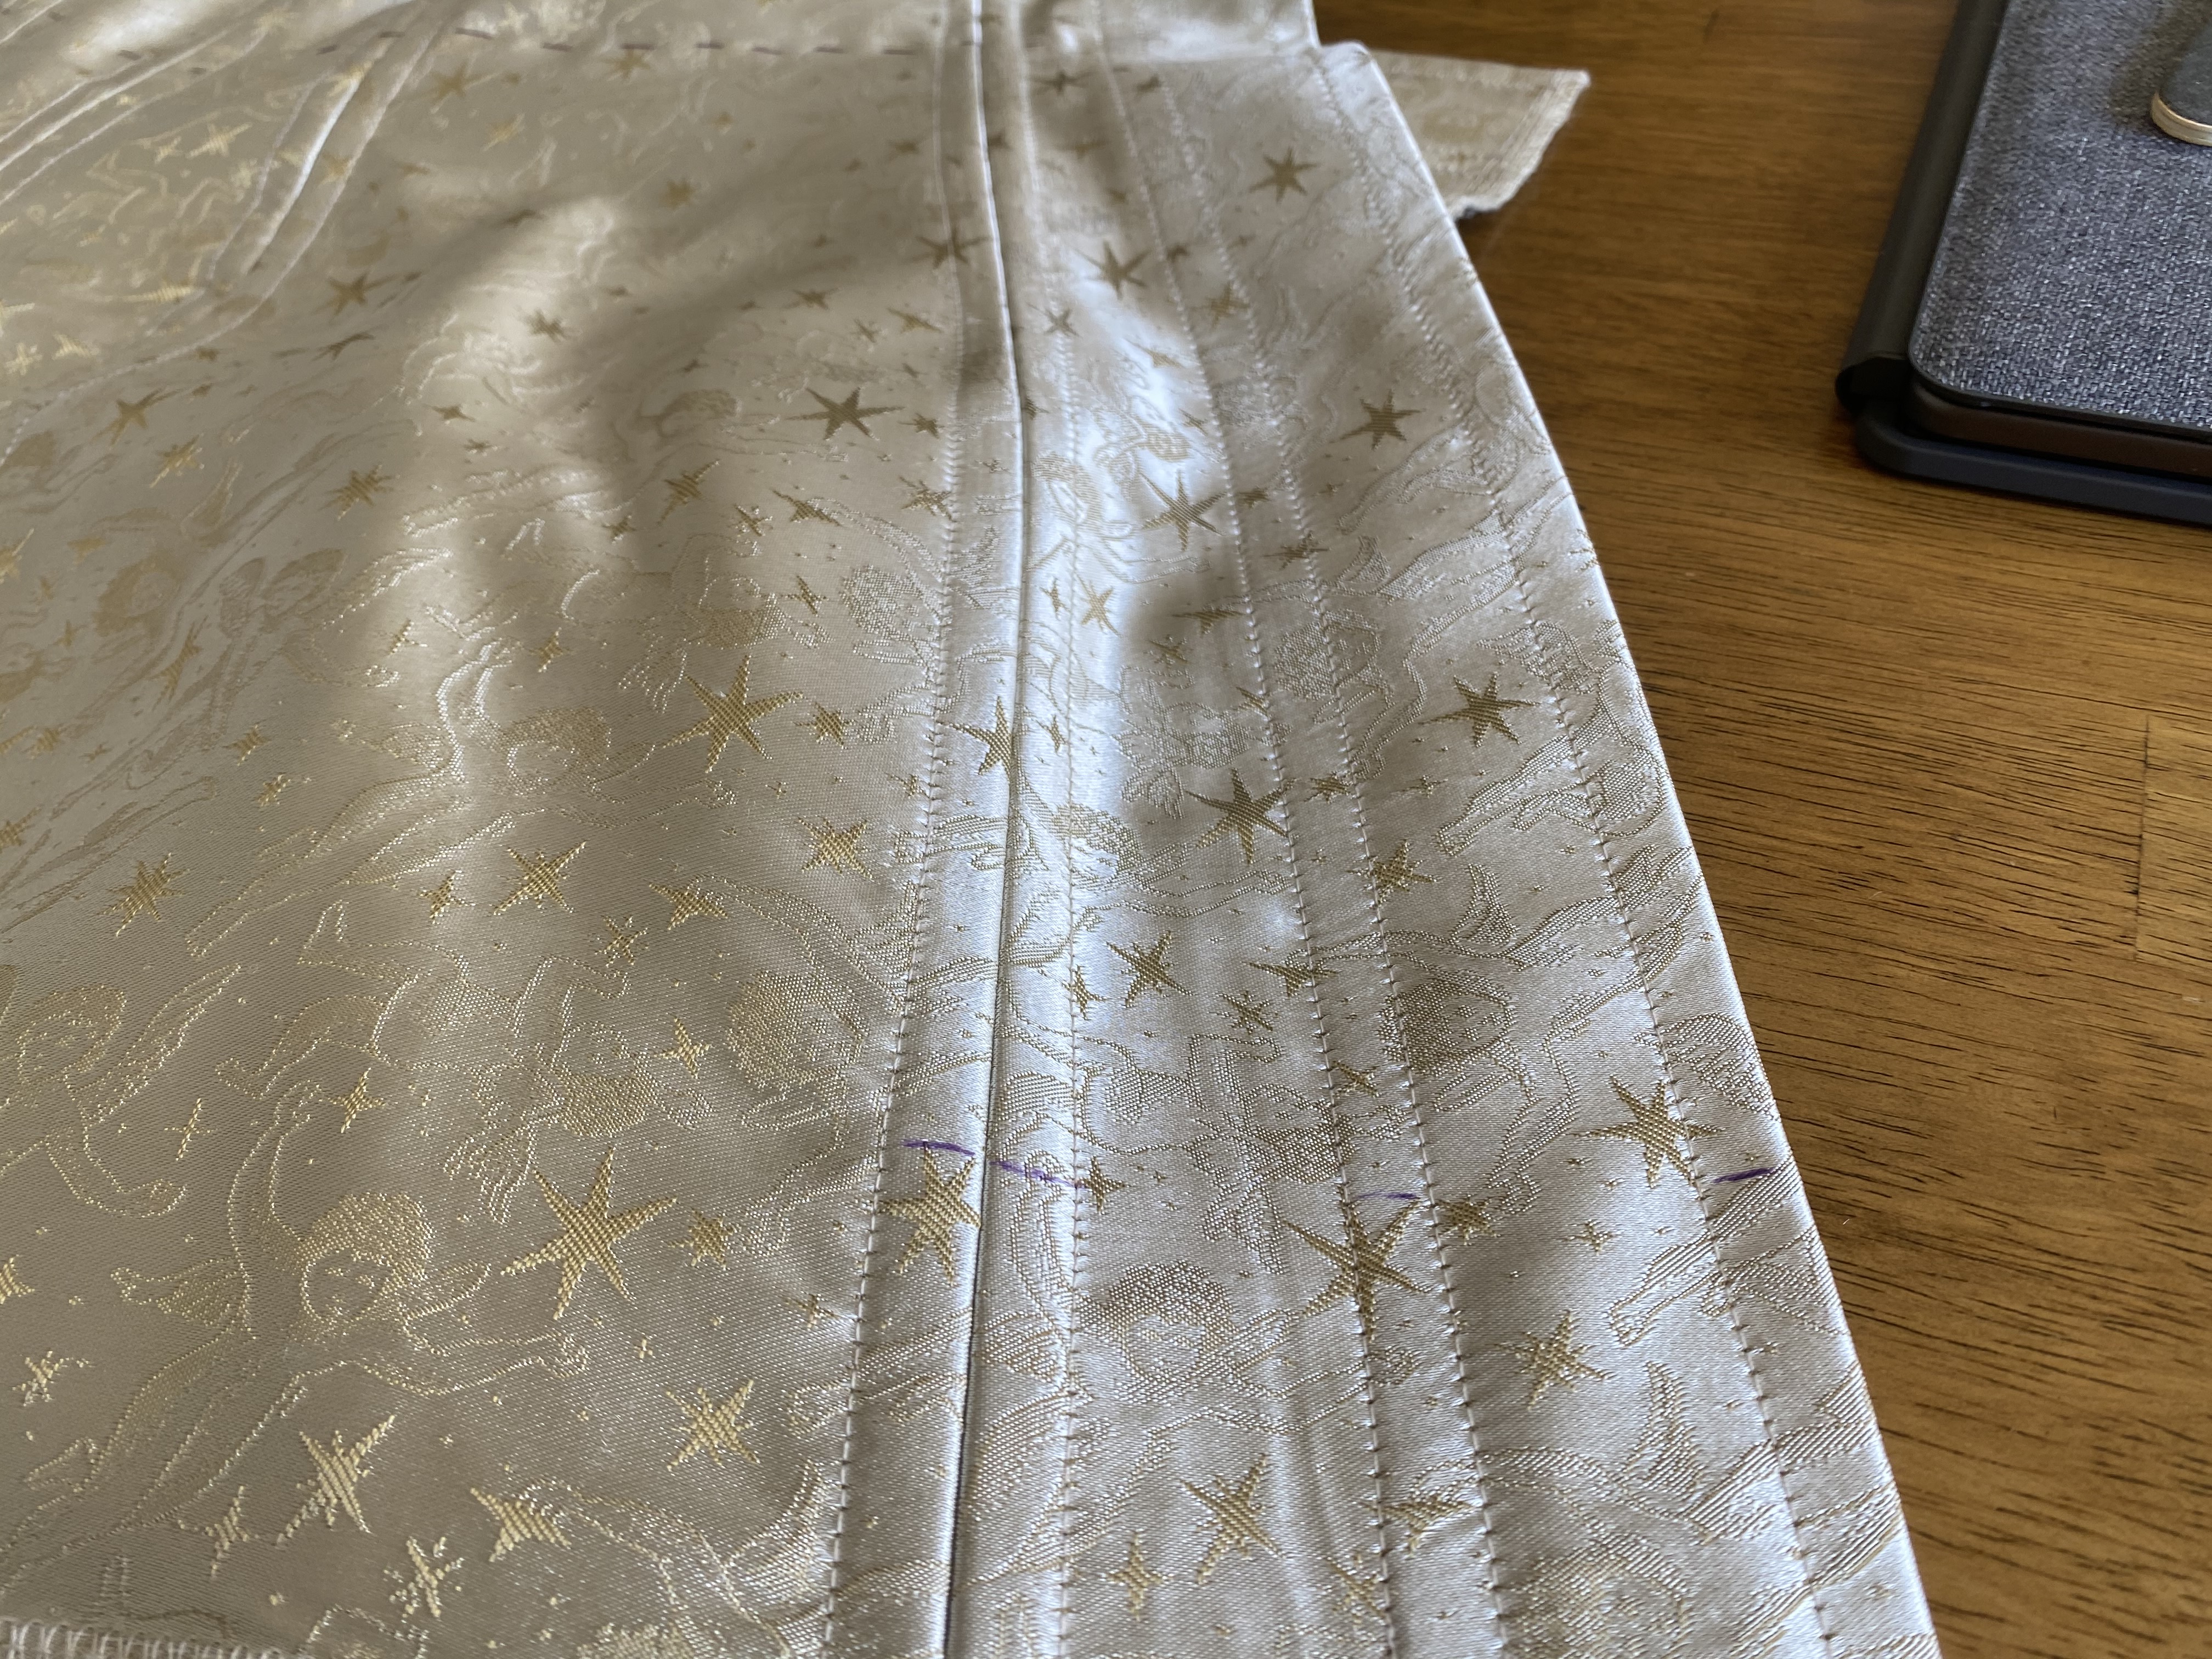
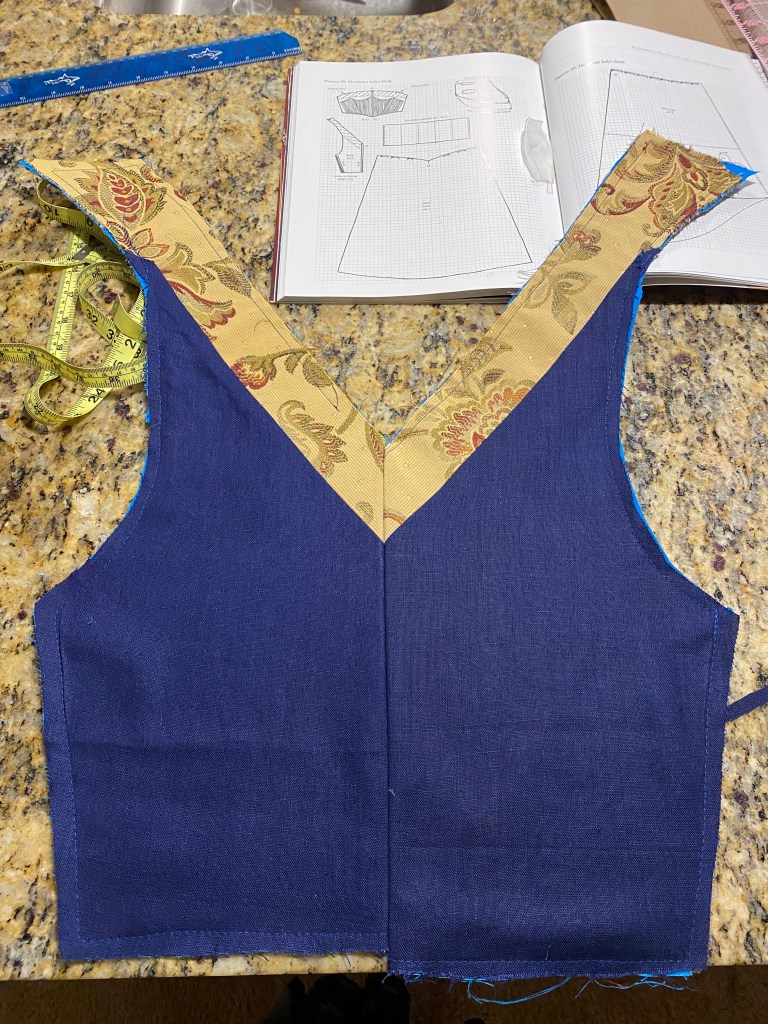
The boning structure on the front panel was a bit more complicated. The front is fully boned (or cord if you prefer) under the bust. I used the grid from The Tudor Tailor pattern to plot out the bust curve and edge of the boning sections by marking the center of the front panel and then marking outward equivalent to the ratio on the grid (1 grid = 1″). The grid was also used to determine the bottom location of the angle lines.
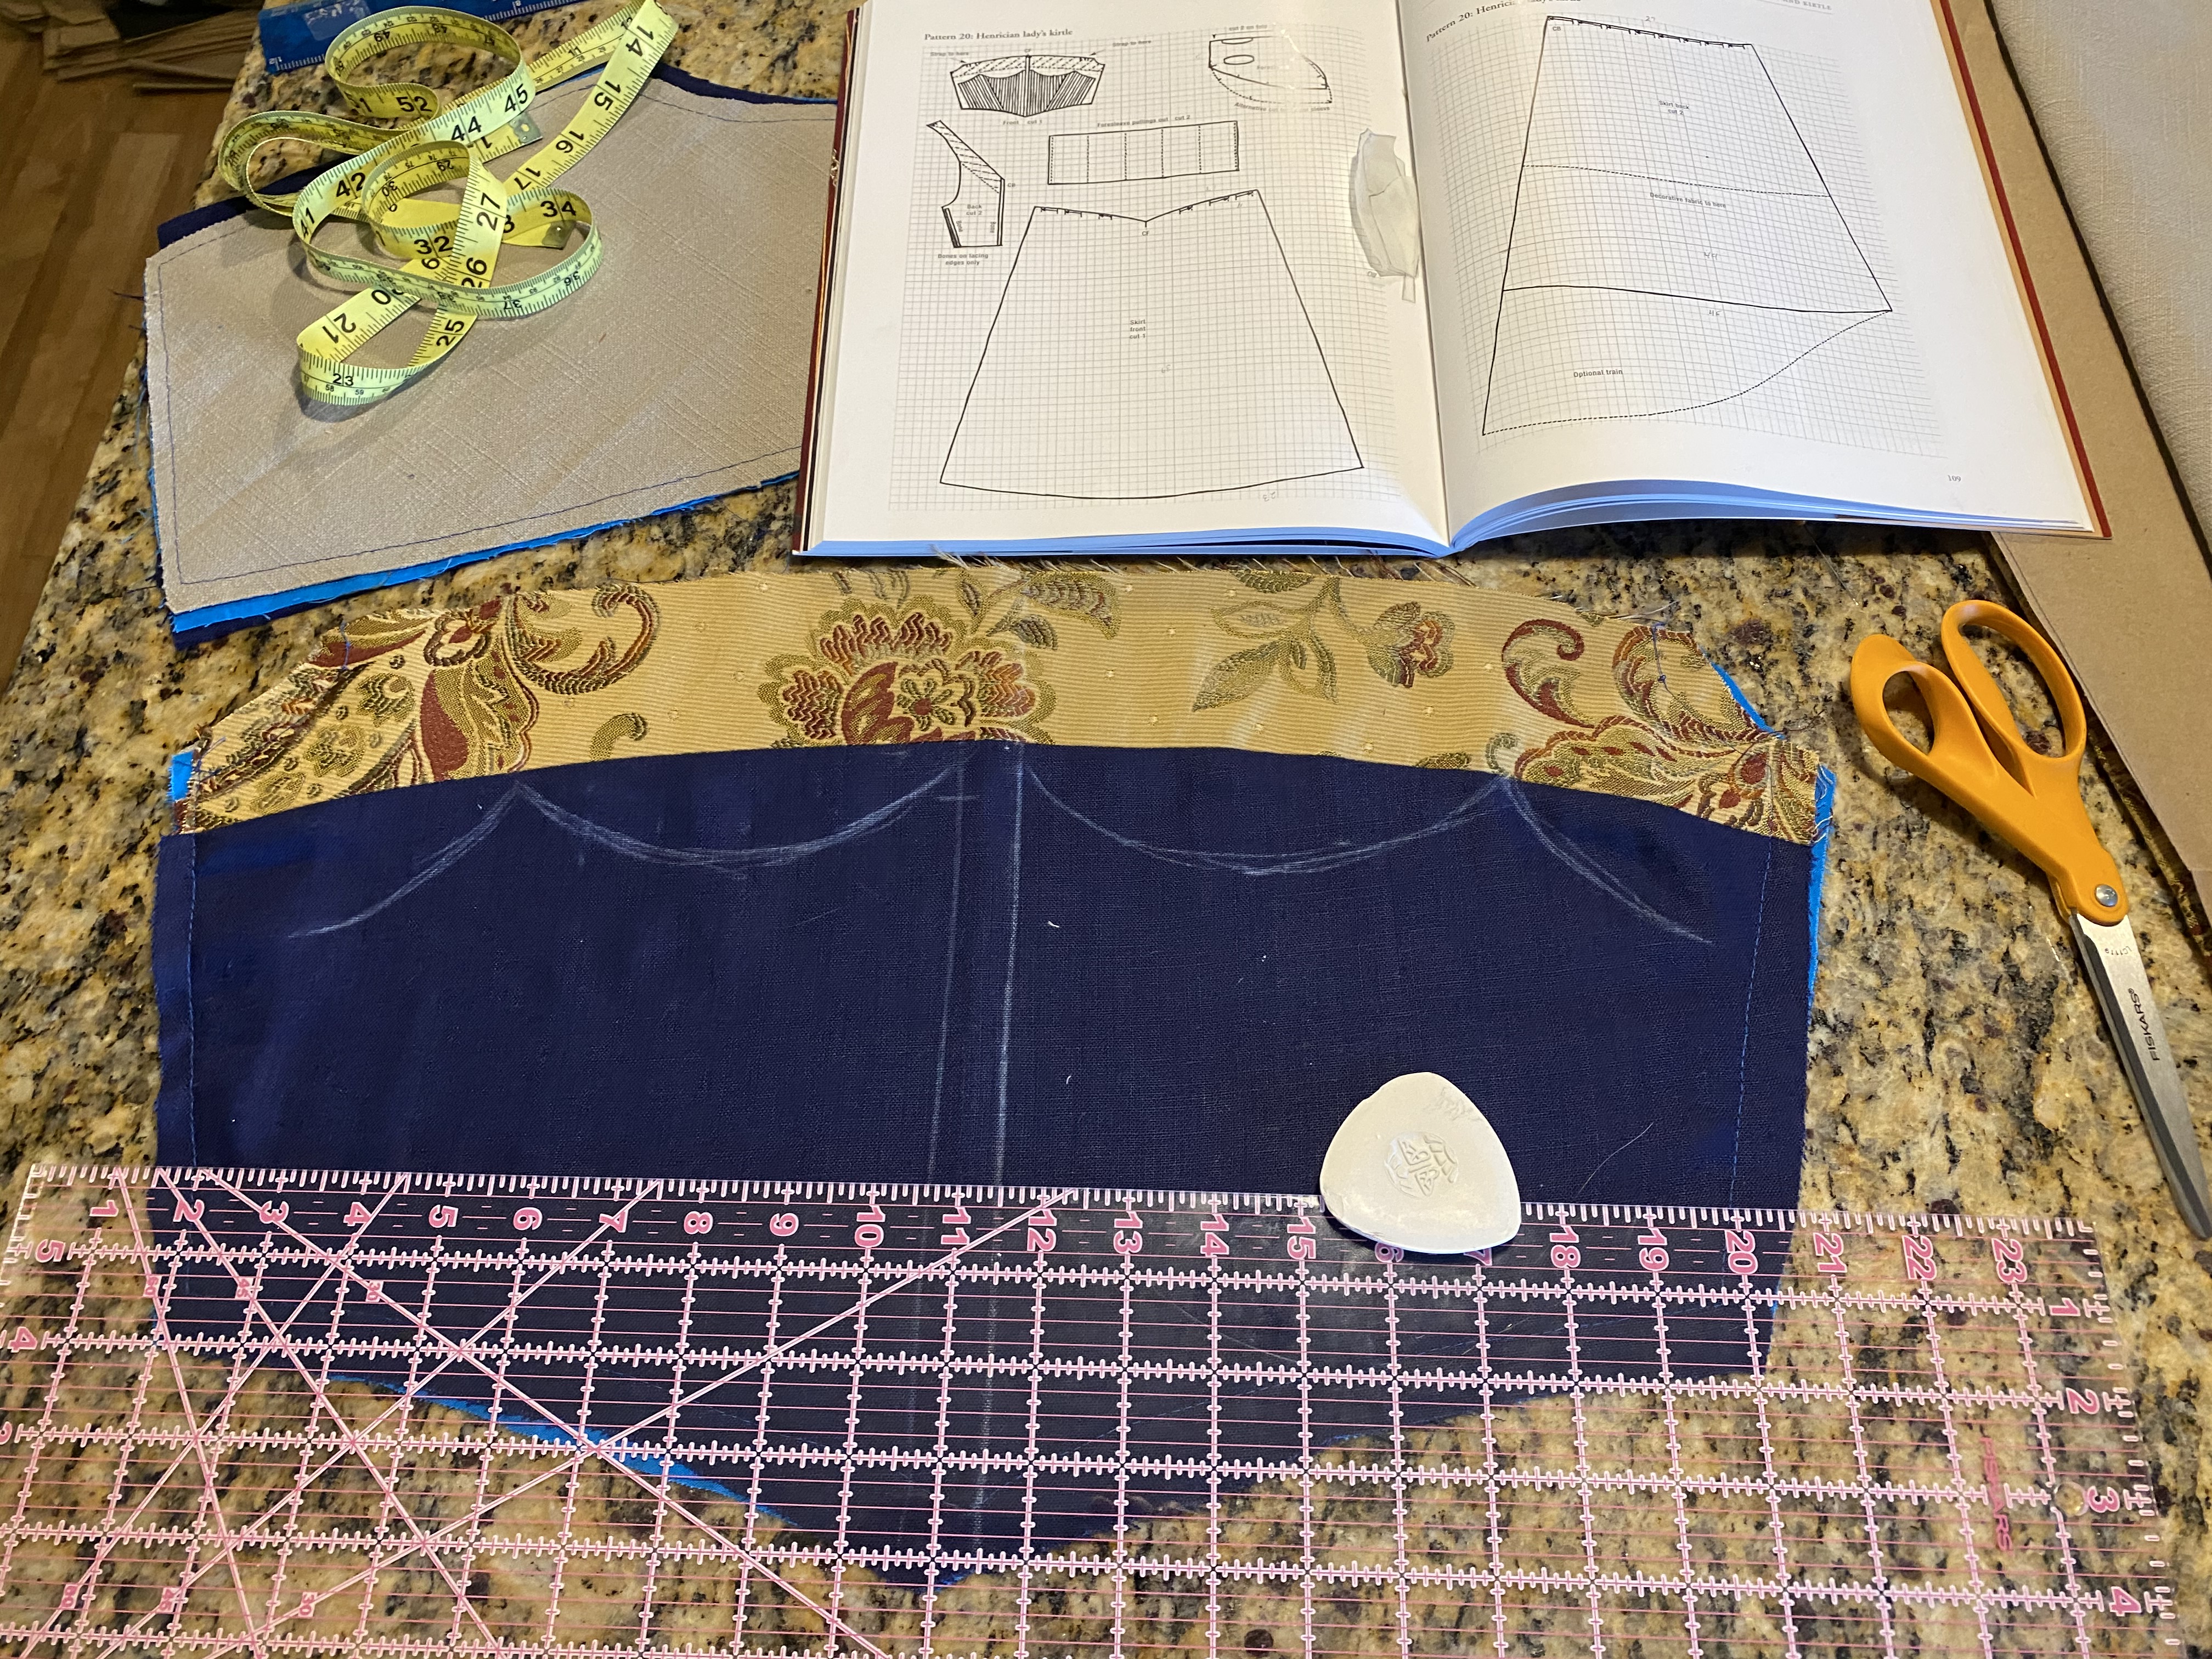

With the outlines in place, the boning channels were stitched based on a 1/4″ spacing offset from the center and two angles, creating three distinct boning sections:
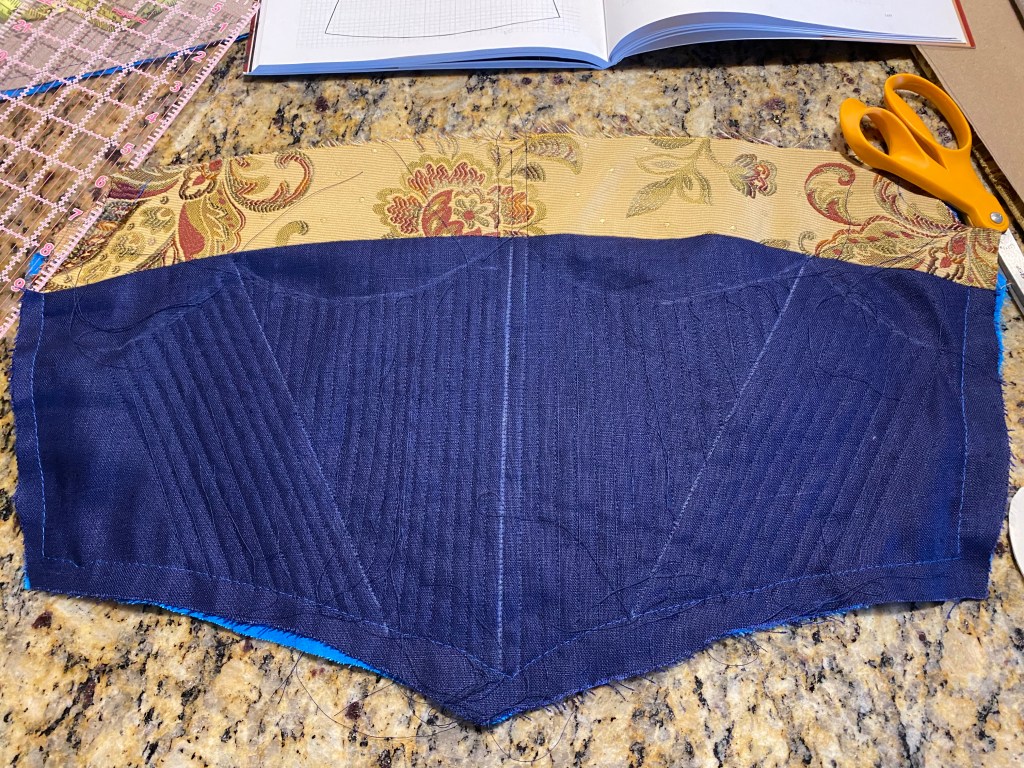
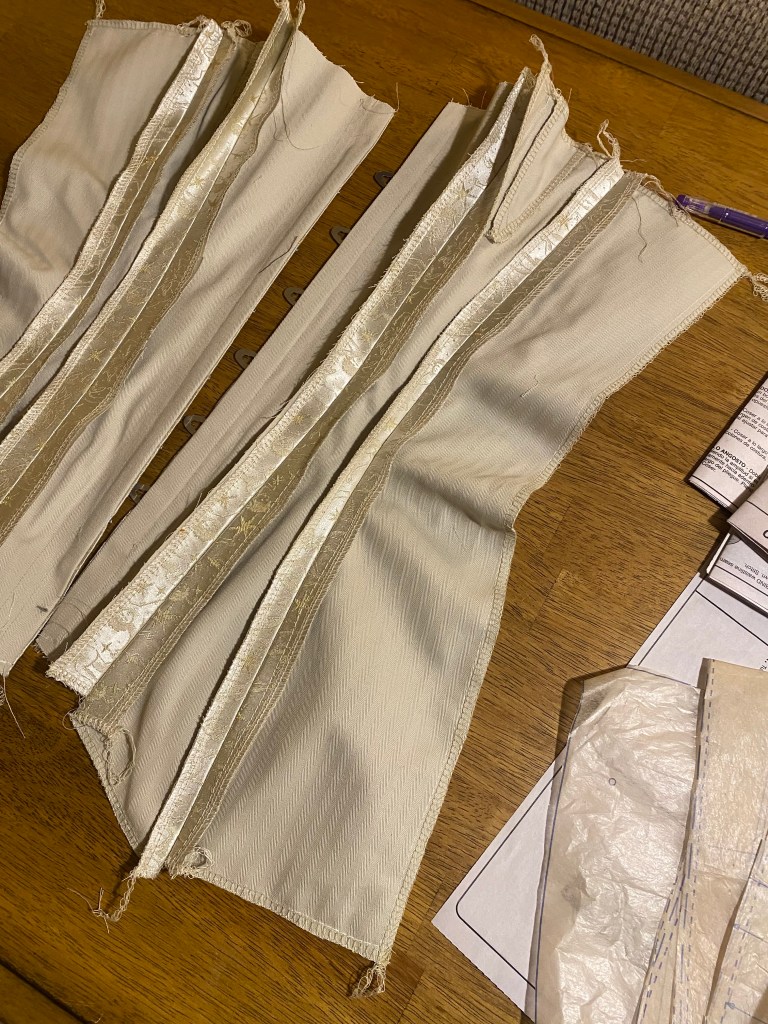
I was actually shocked by how flexible the bodice was with this method. Since all of the bones are vertical, or at a slight angle, the bodice wraps nicely around the front of the body. It provides a good stomach structure and bust support without feeling cinched in. Surprisingly comfortable!
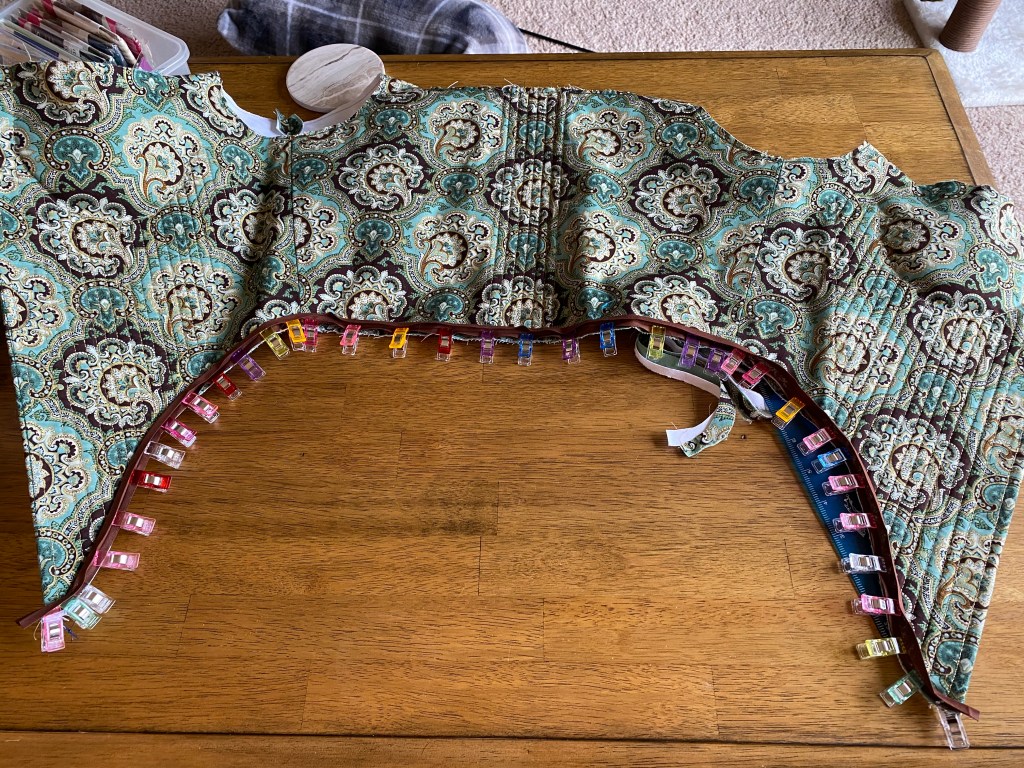
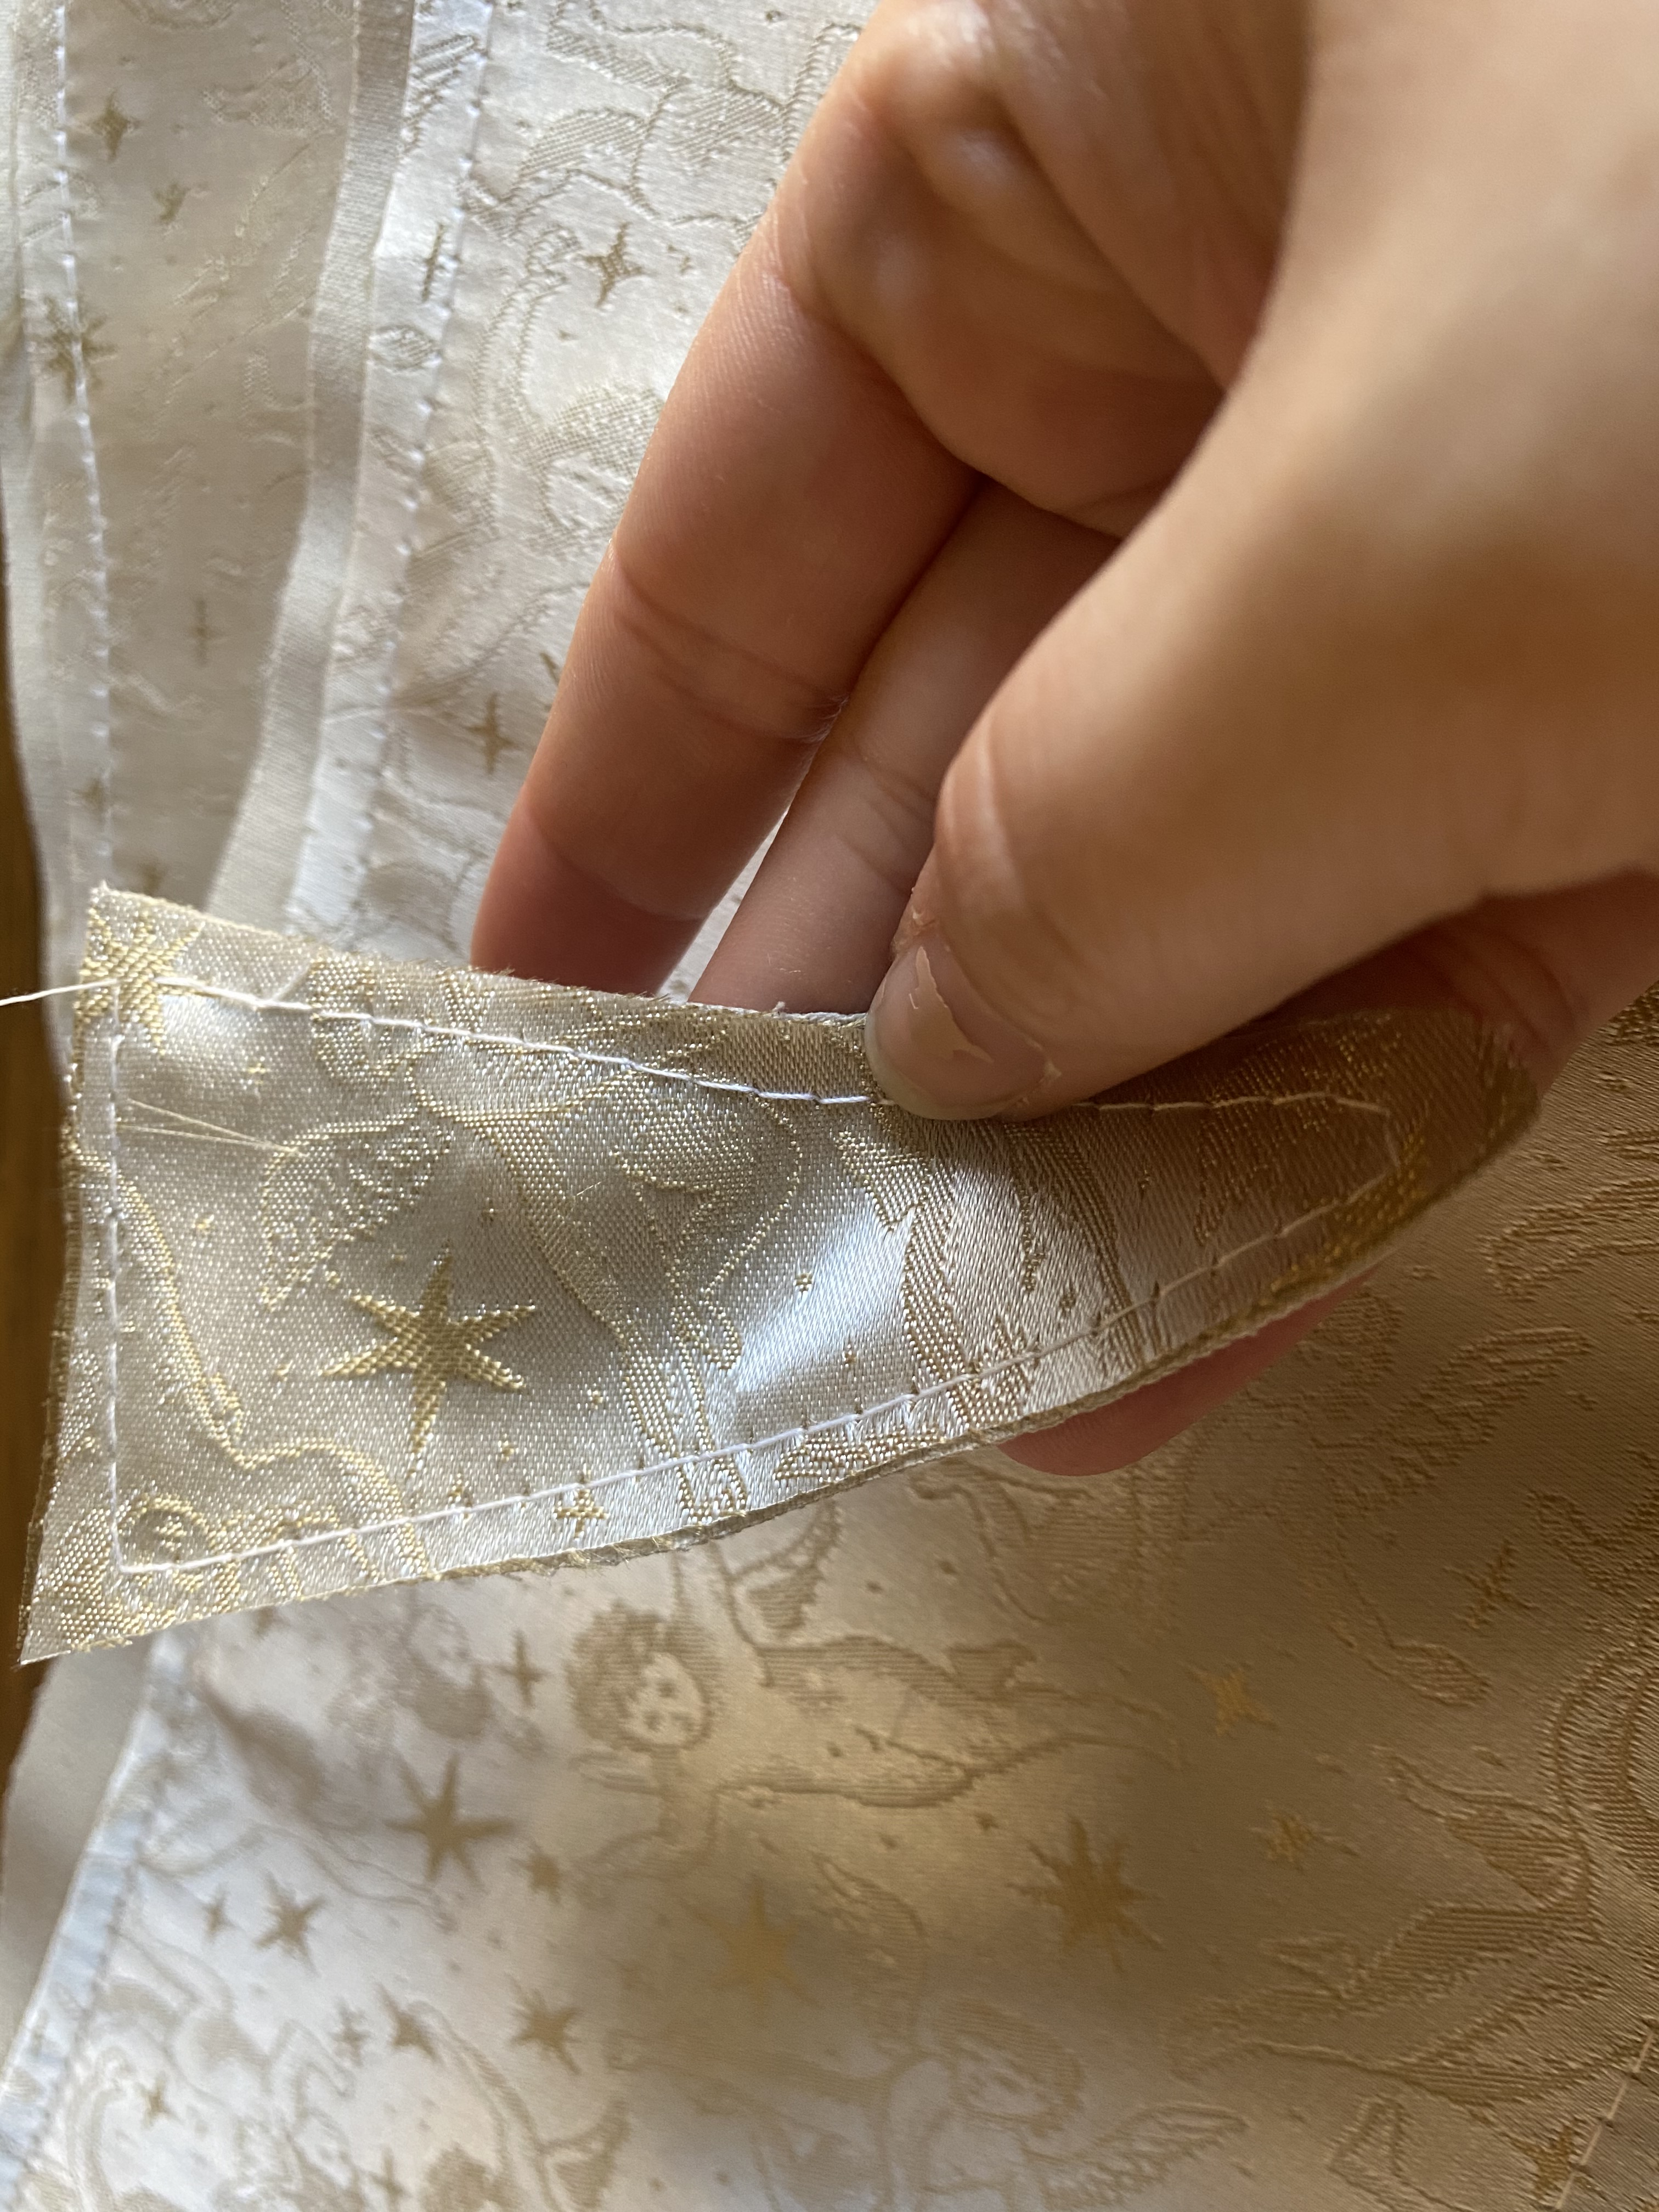
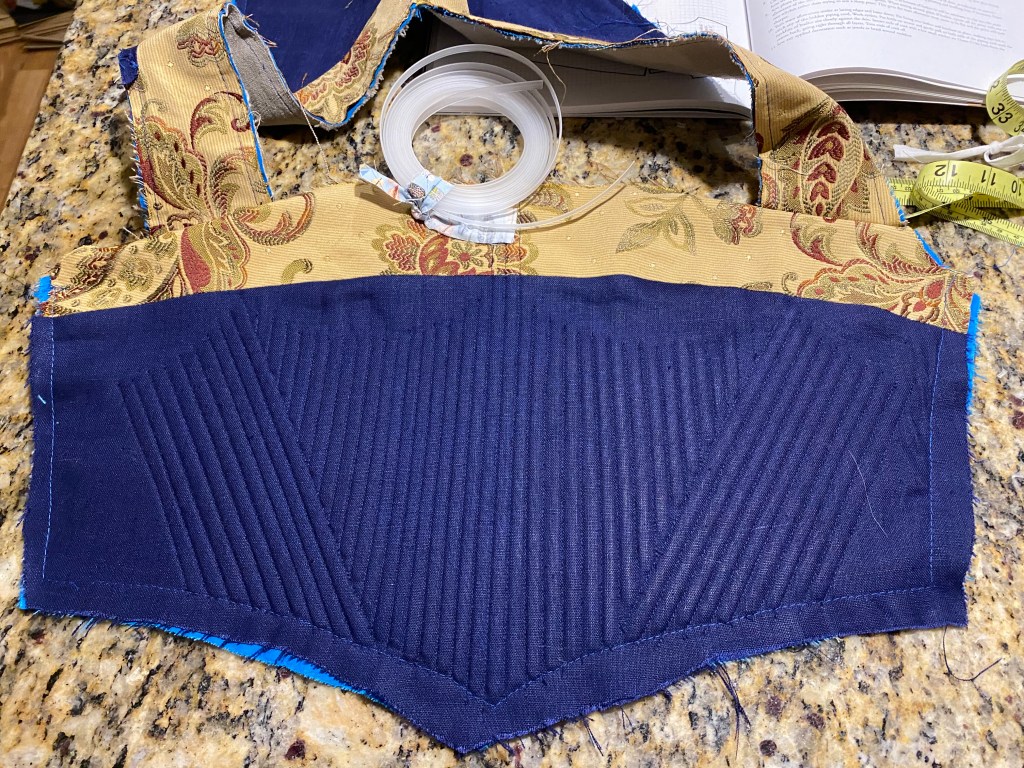
With the panels and boning finished, the straps were stitched to the front panel and all edges were surged to prevent fraying. There was a bit of finessing the fit of the straps when stitching in place and I found using a mannequin much faster than on myself. Nest, I added a strip of navy piping to the neckline edge before folding all the edges over and whip stitching down by hand.
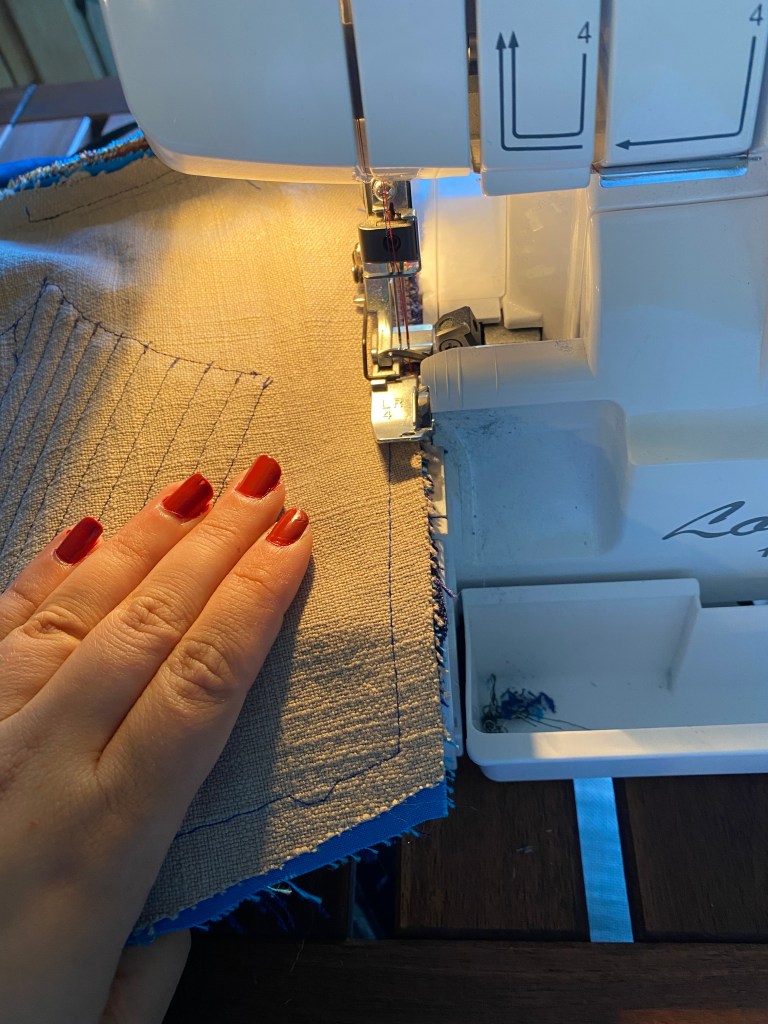
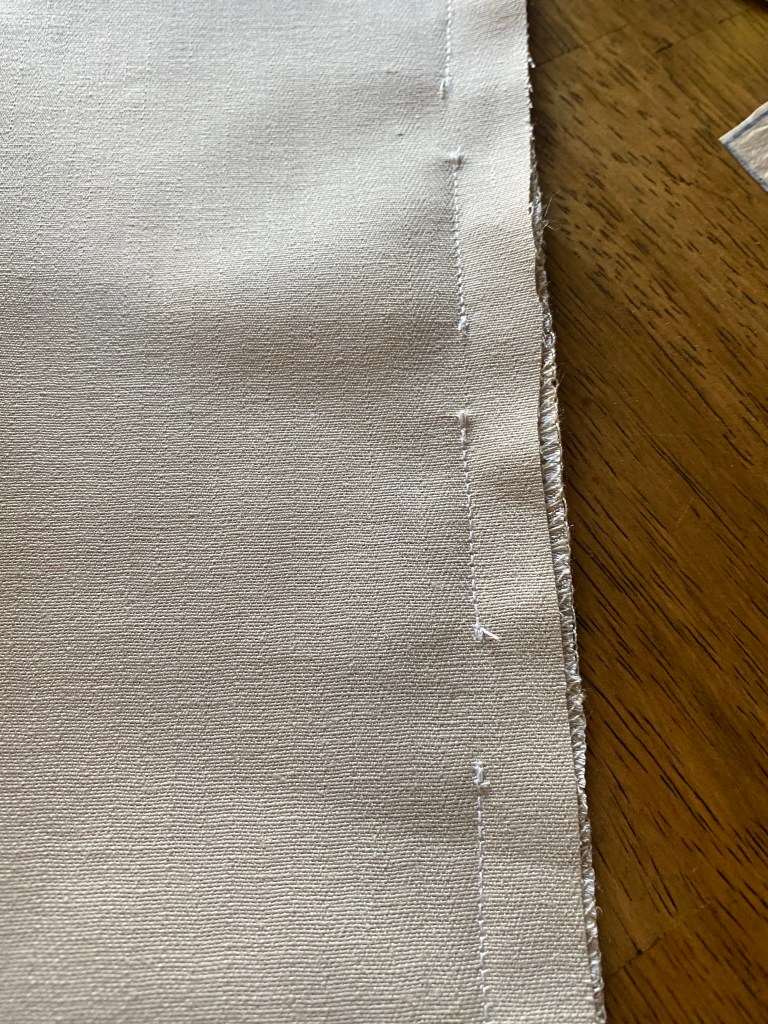
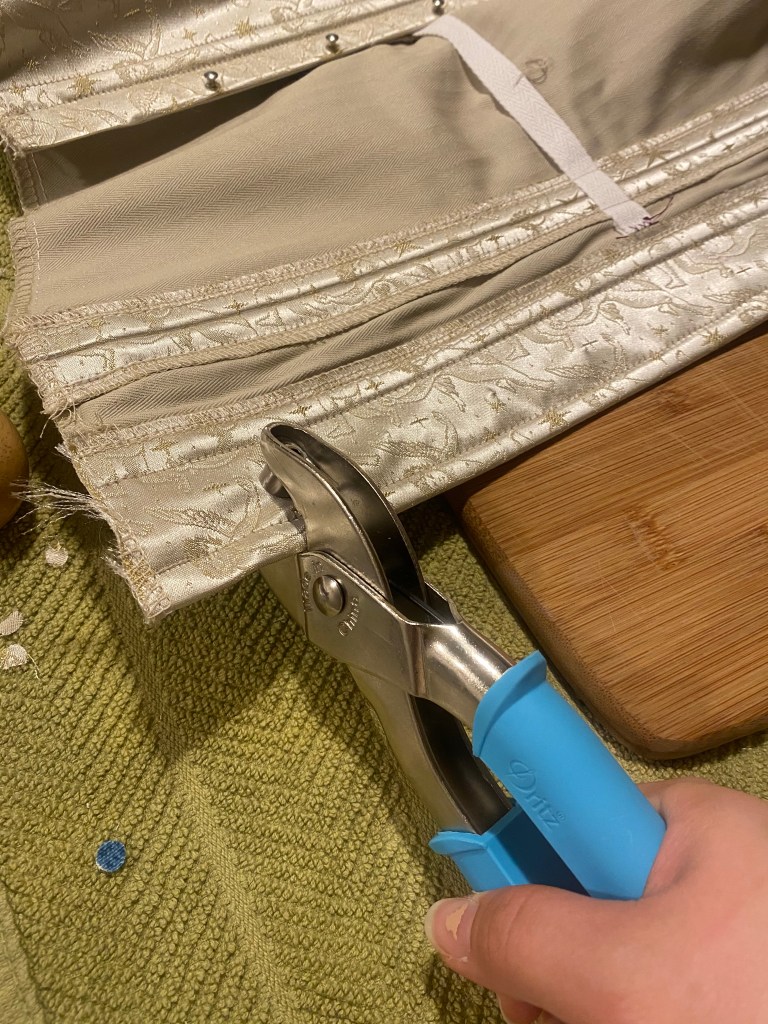
Surging the edges with the cutting function on trimmed down all the fraying that developed while working the boning channels and gave a consistent cut edge with the multiple layers. 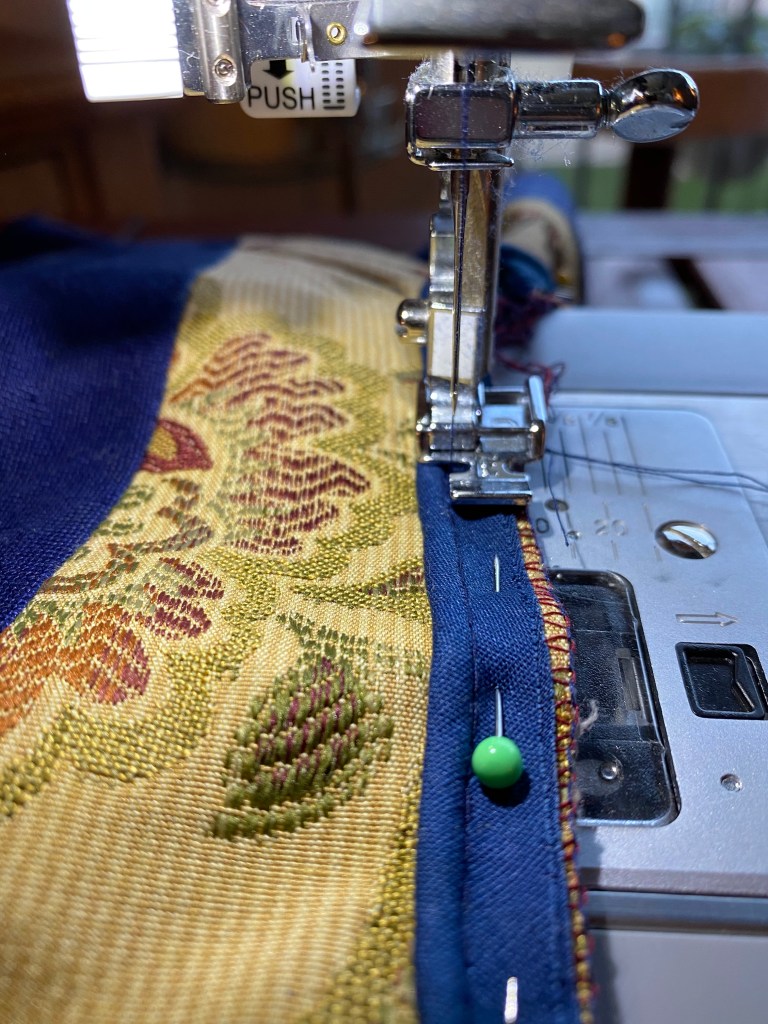
I use a zipper foot when adding piping. There is a specialty machine foot for piping, but I find this works just as well. 
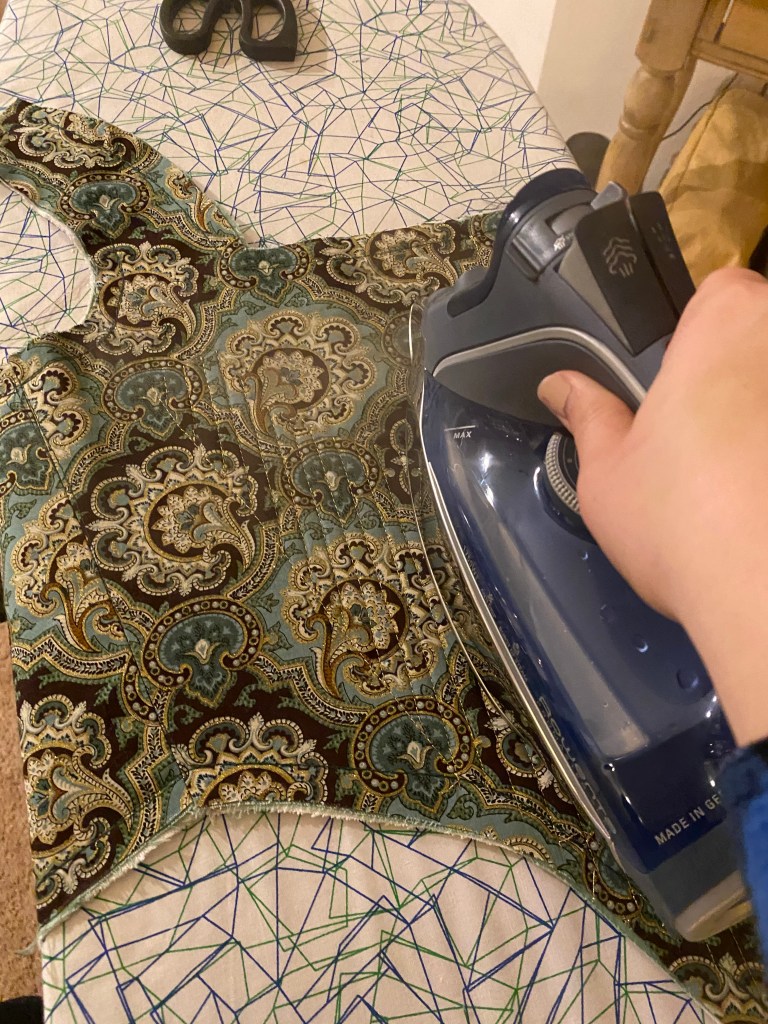
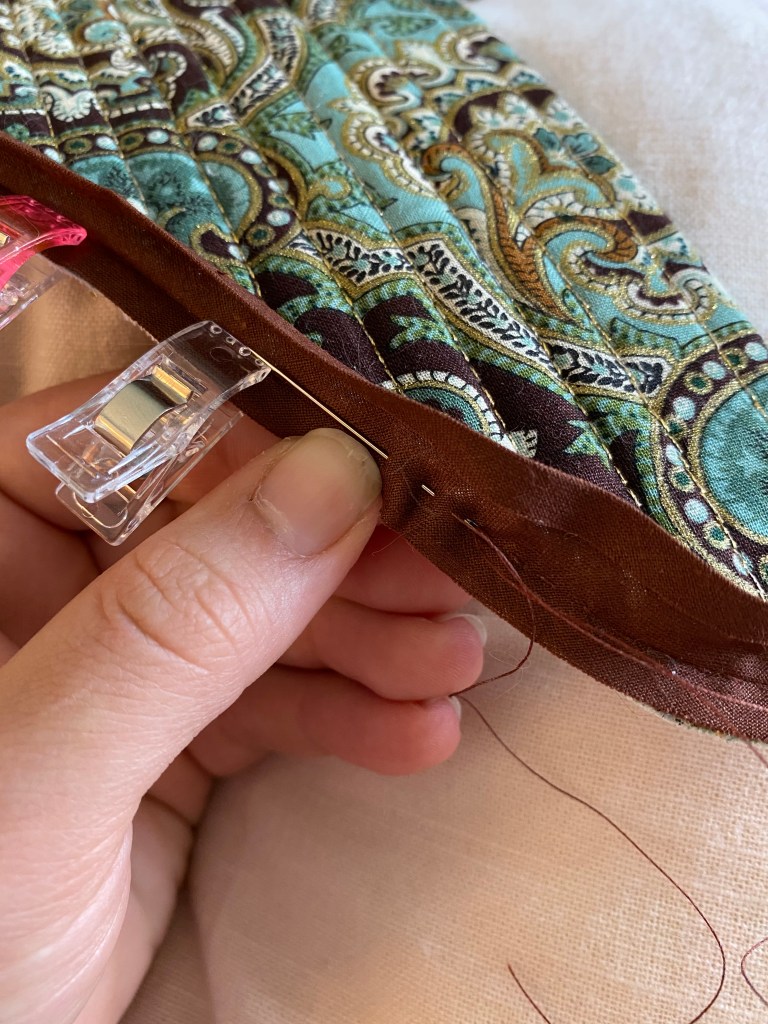
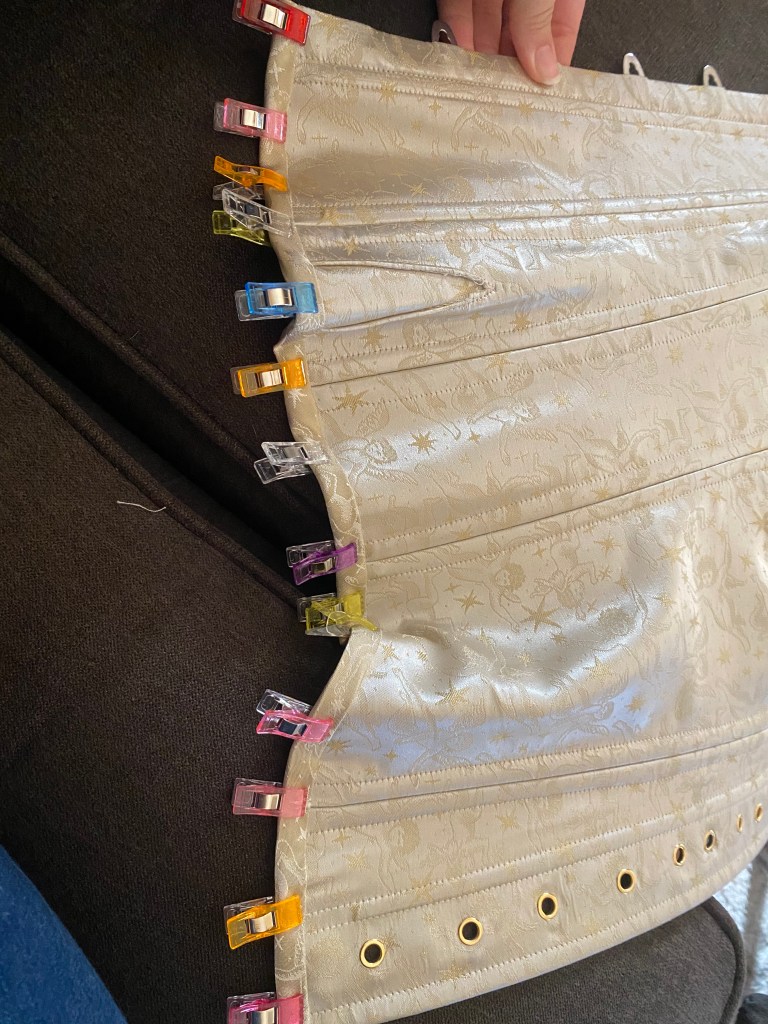
all the surged edges are turned in and pressed. I love clips for hems and finishing edges like this. They’re much faster to use than pins and don’t create ridges like pins do. 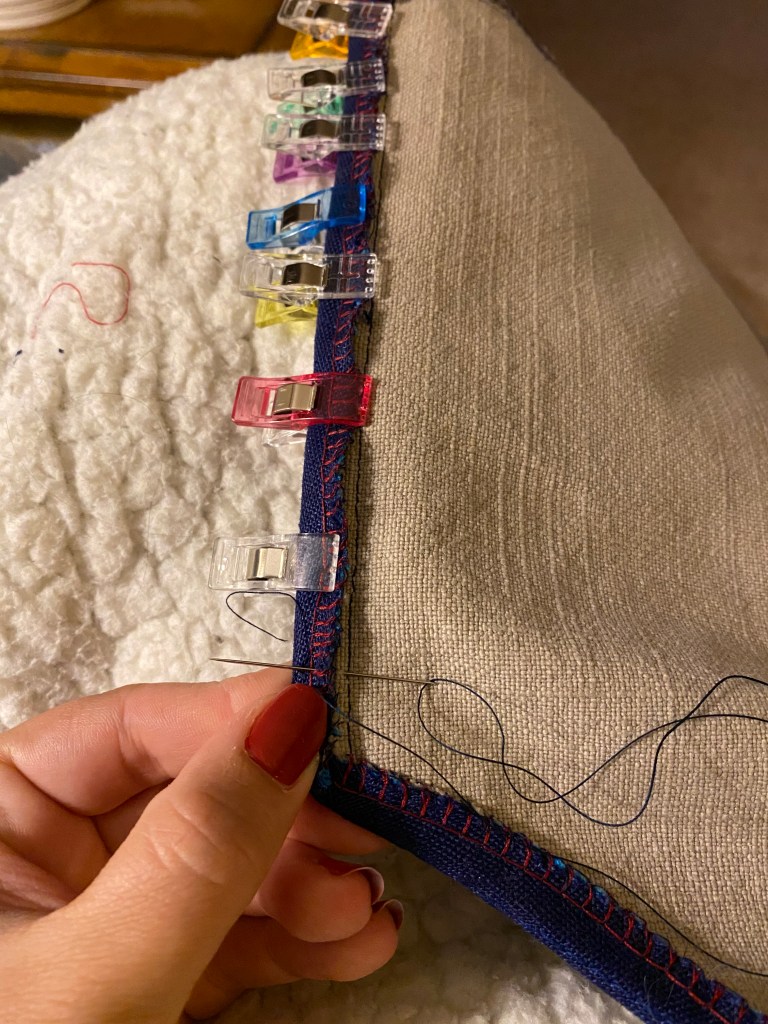
The edges are whip stitched (or felled) with silk thread. 
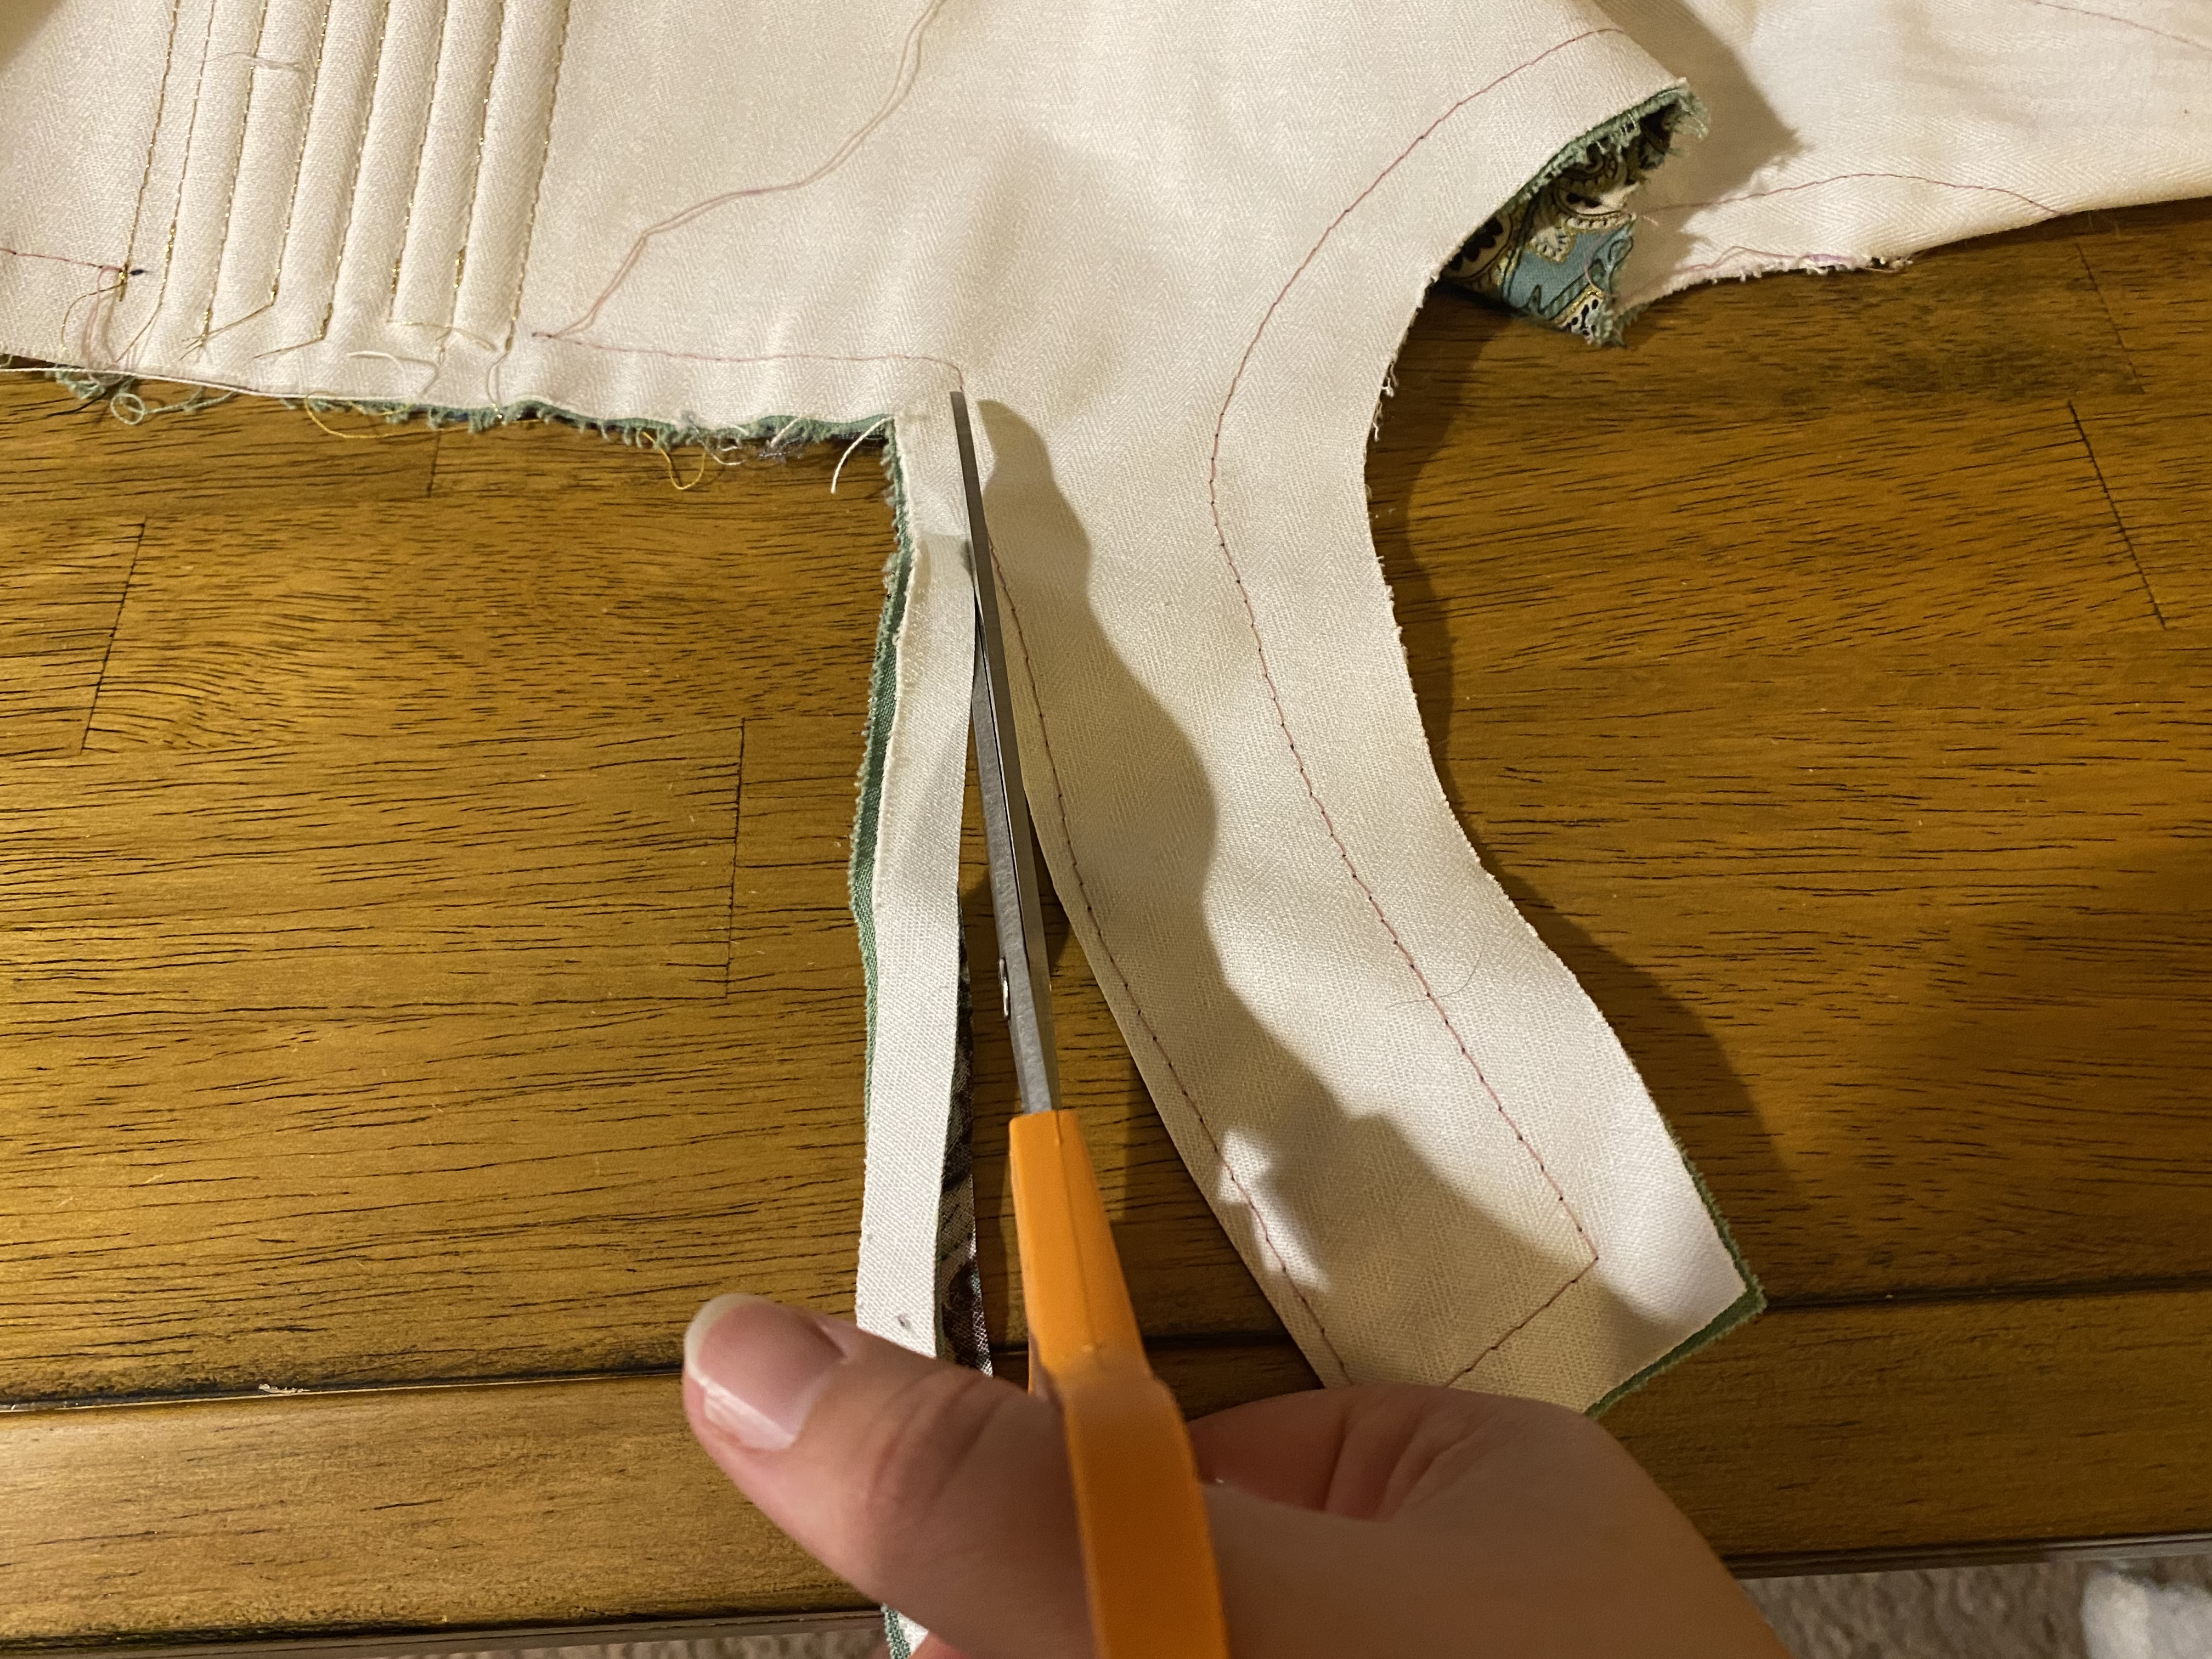
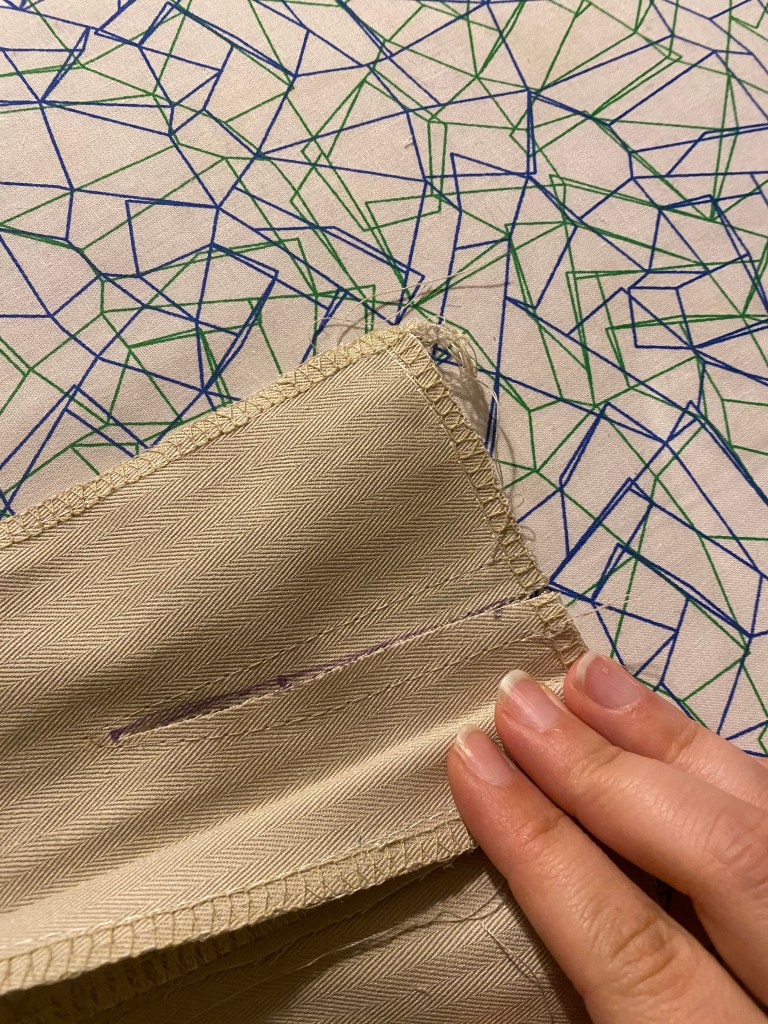
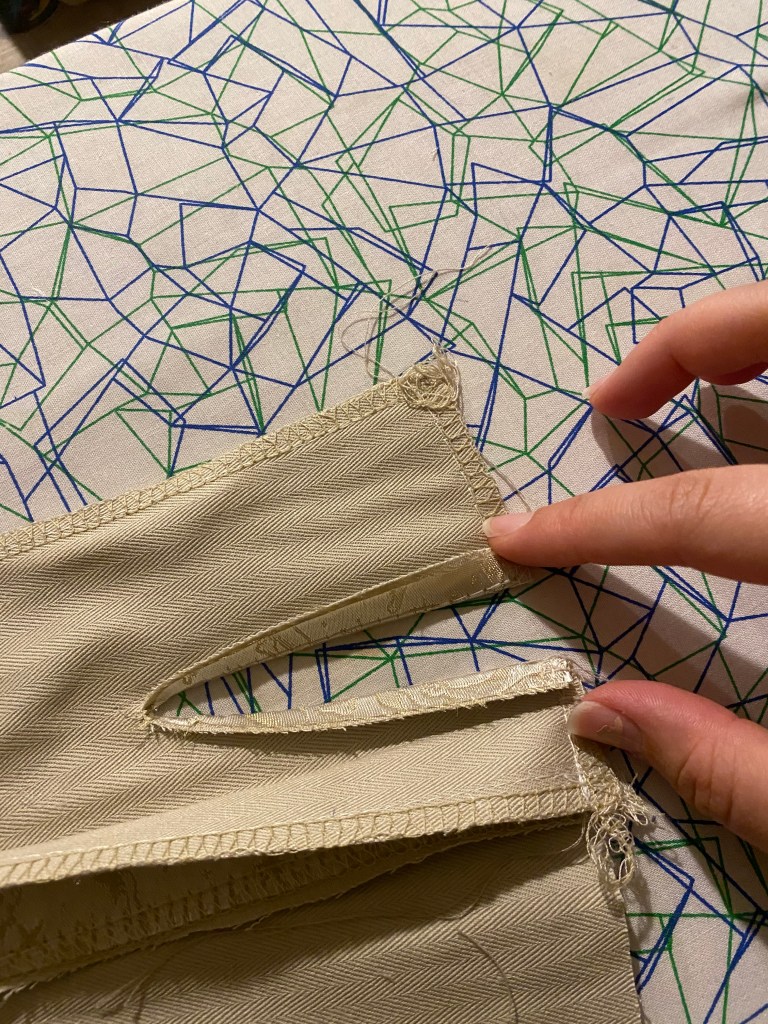
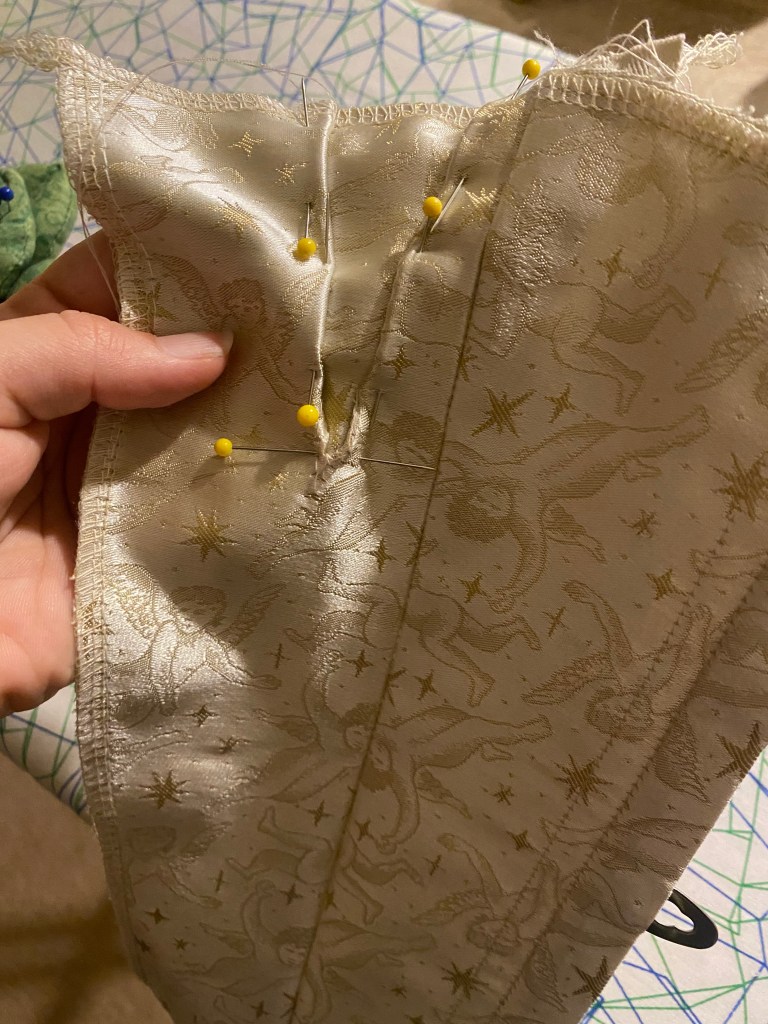
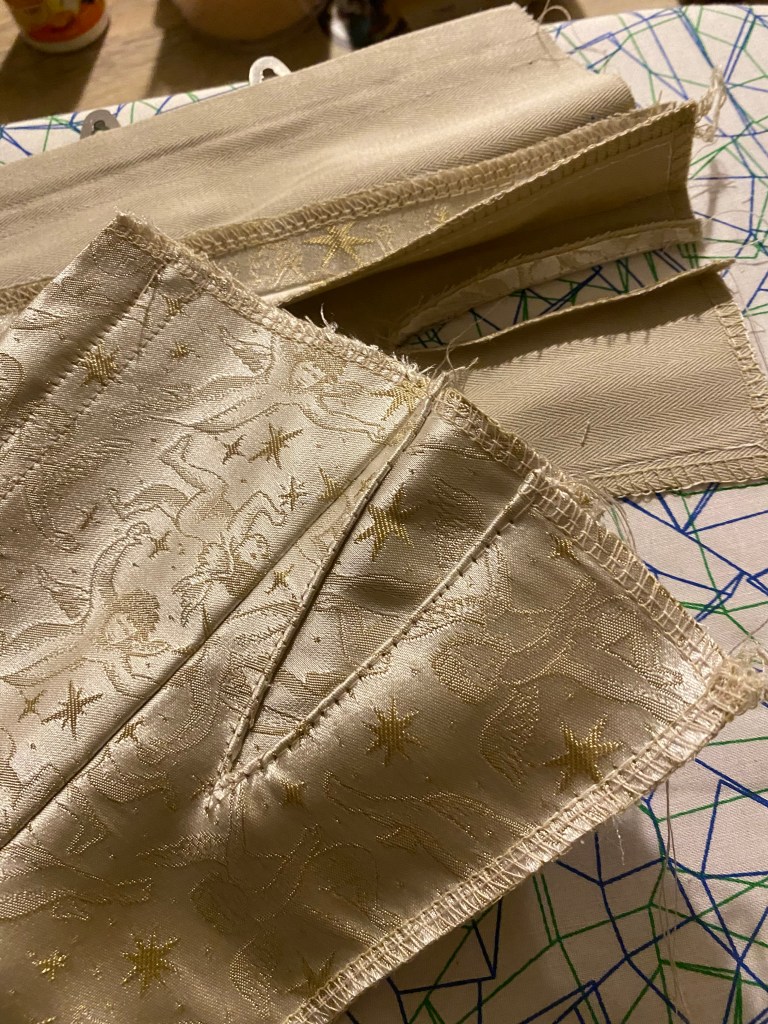
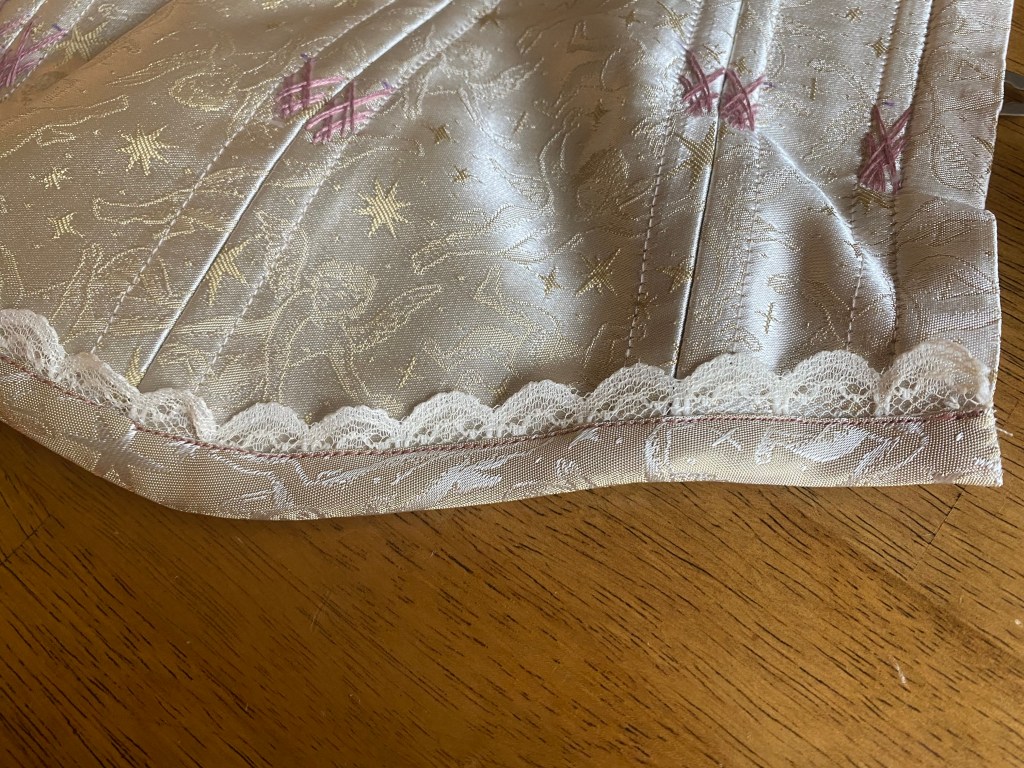
The inner corners of the neckline were so hard to turn and stitch neatly. They had to be clipped in order to make the right angles and the clipping was so close to the edge it worries me that it’ll rip or start to fray. I added a ton of reinforcement stitches here and at the center back to prevent that.
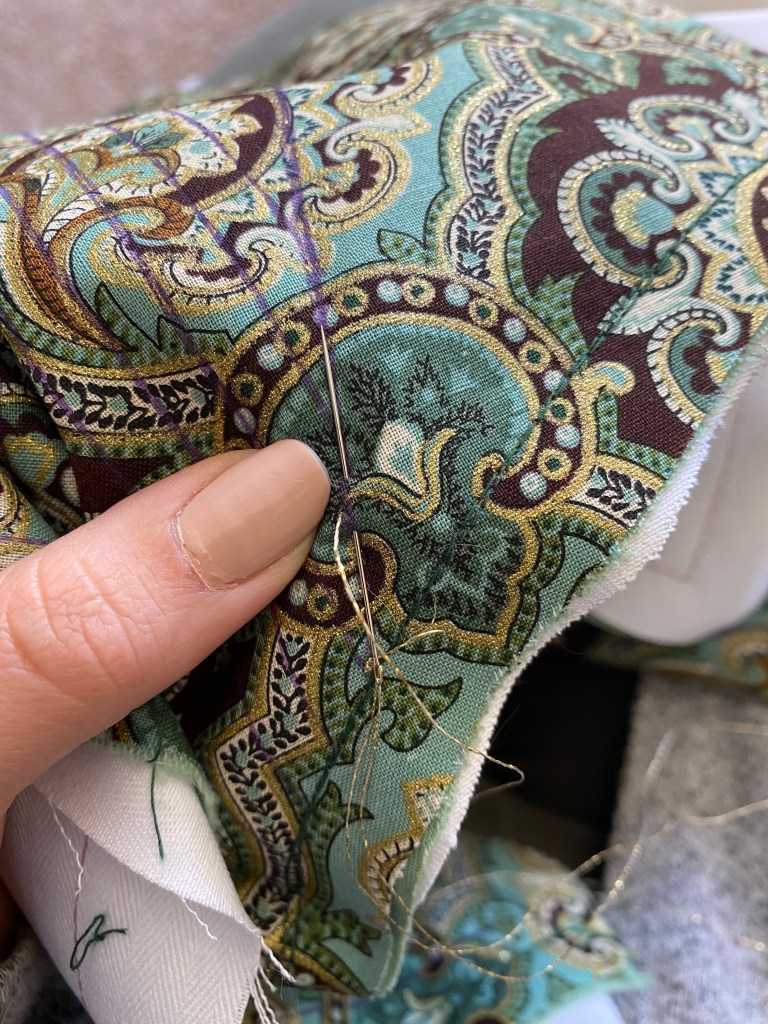
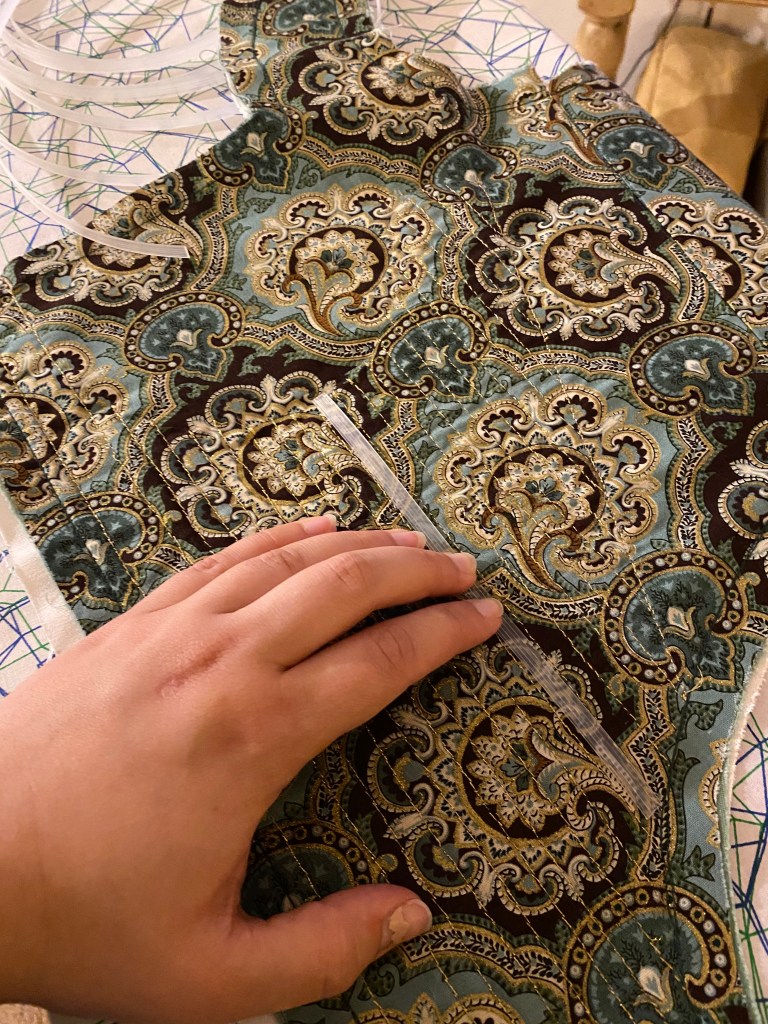
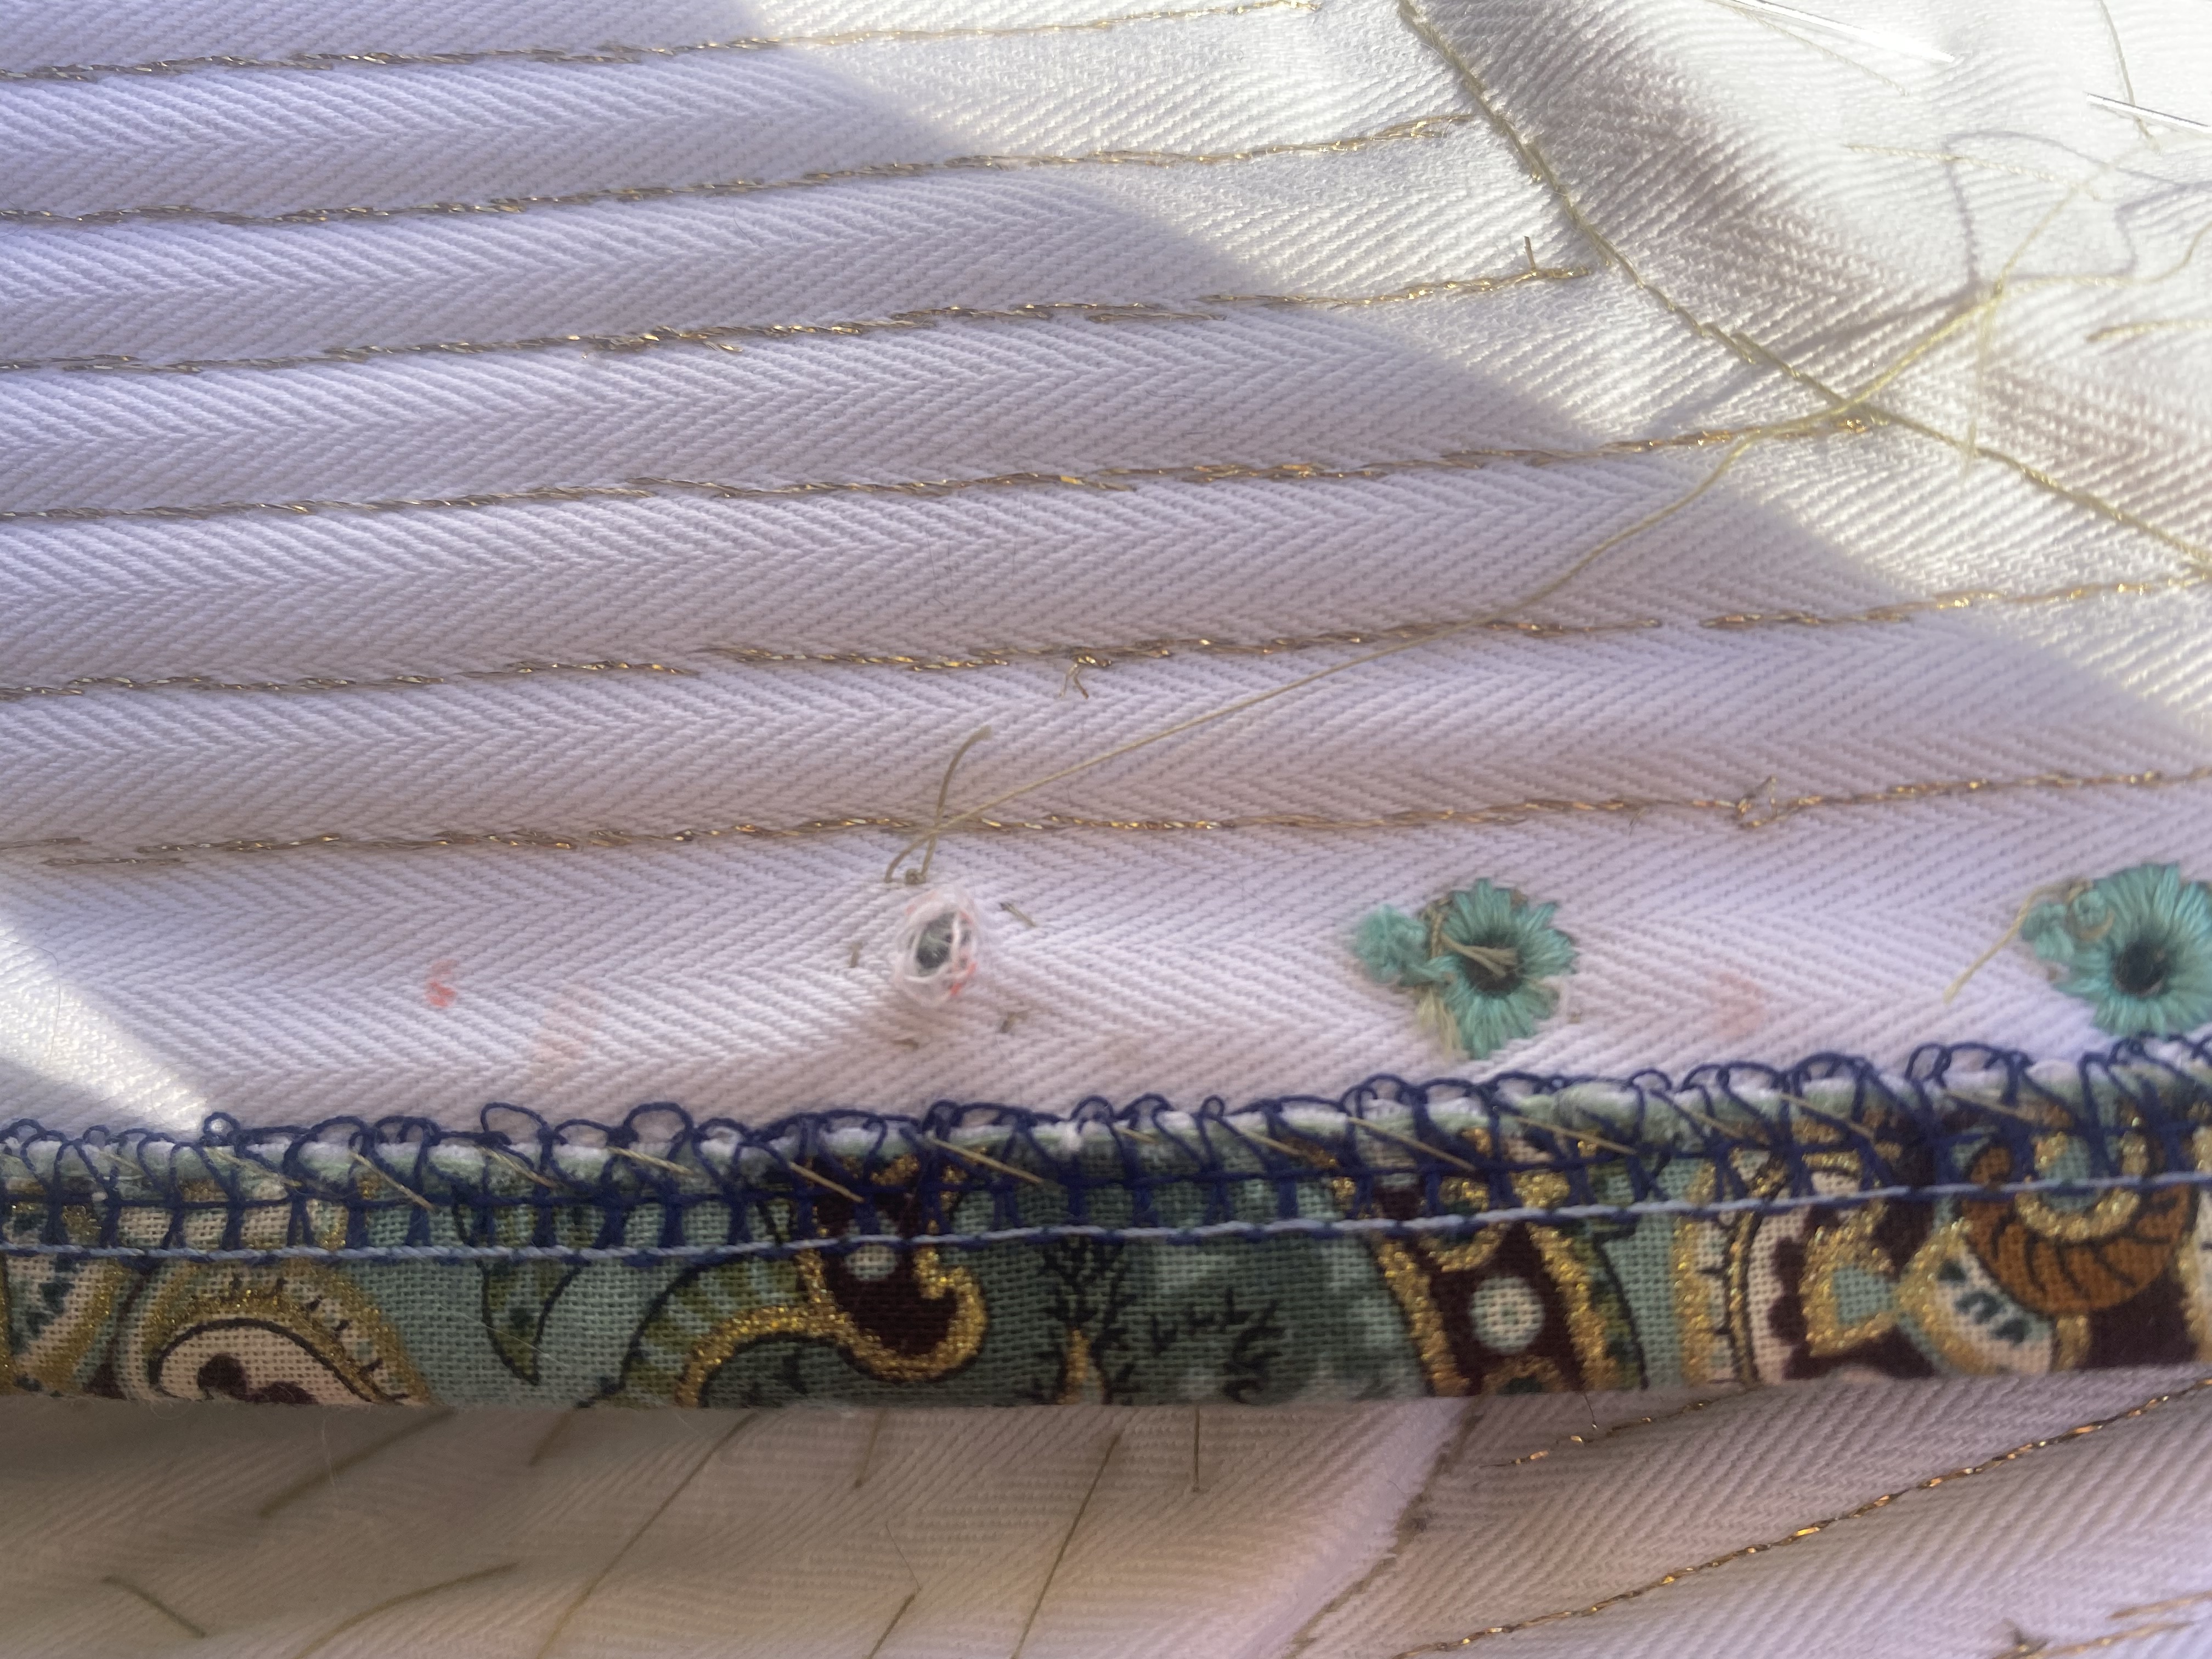
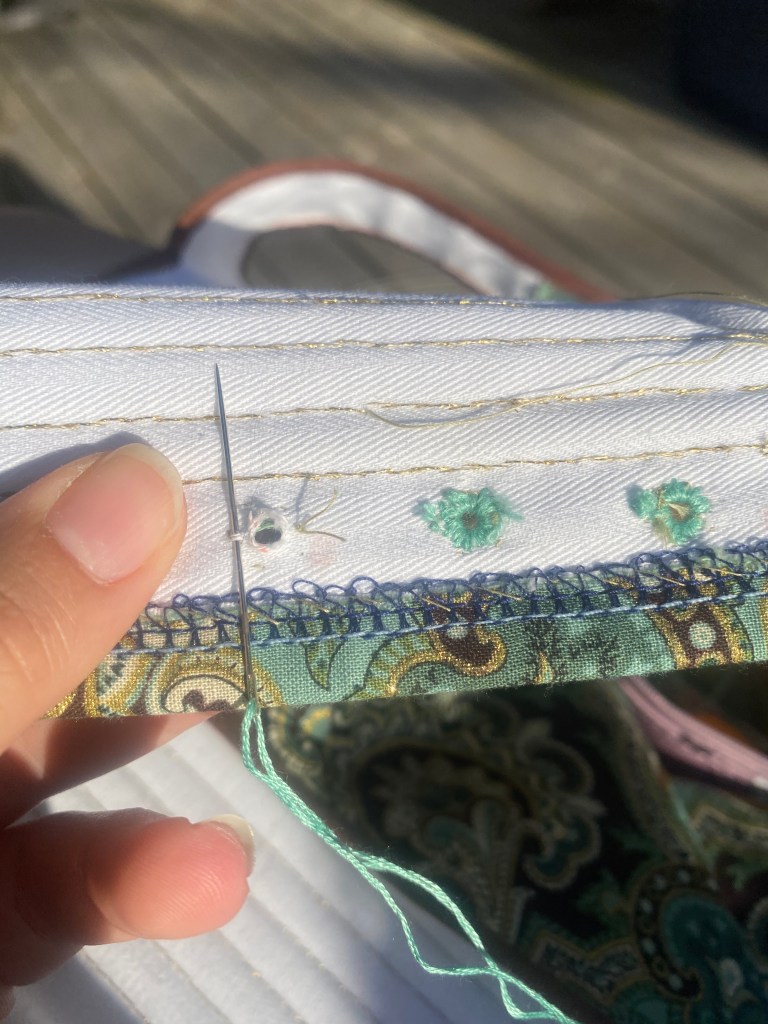
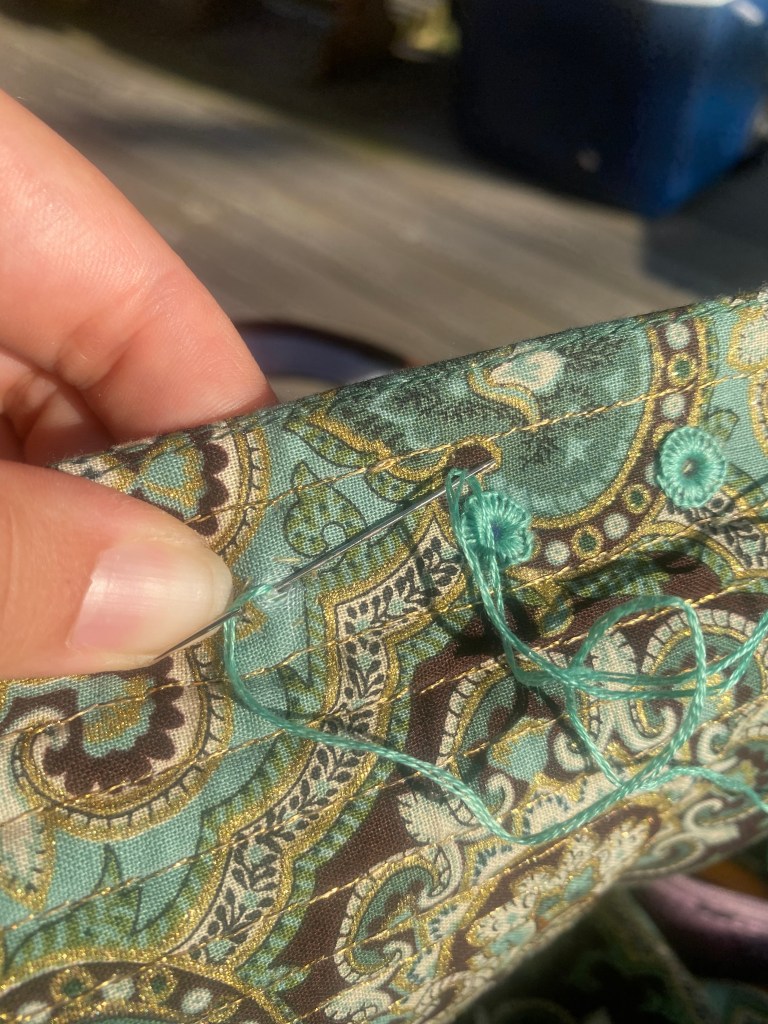
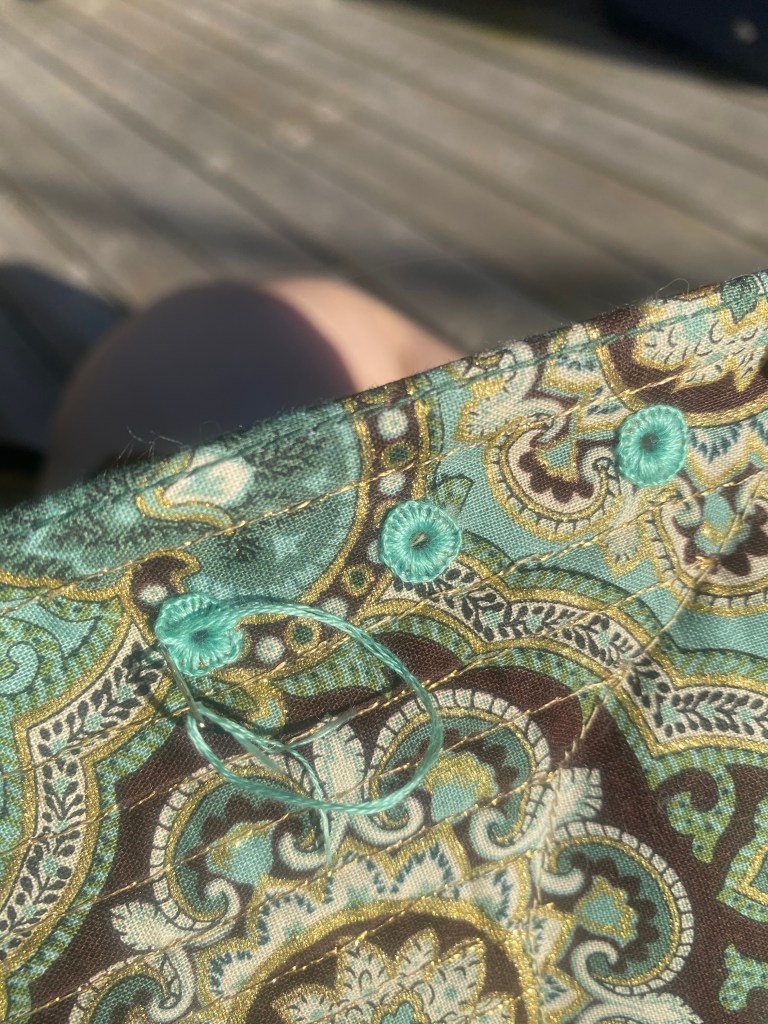
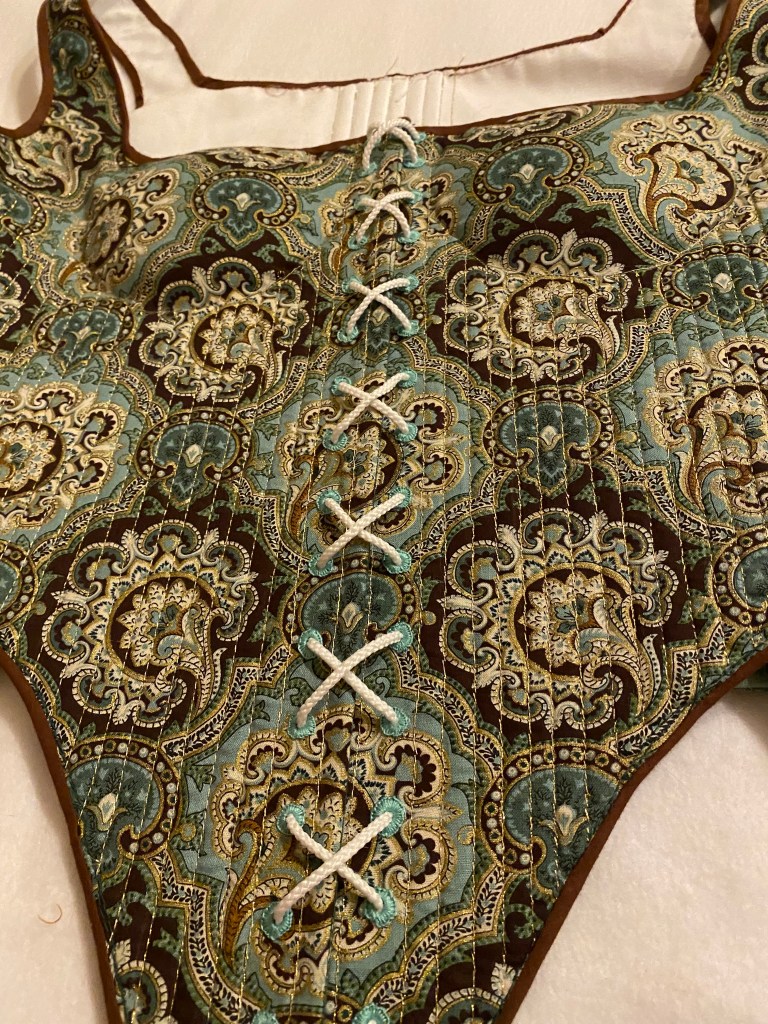
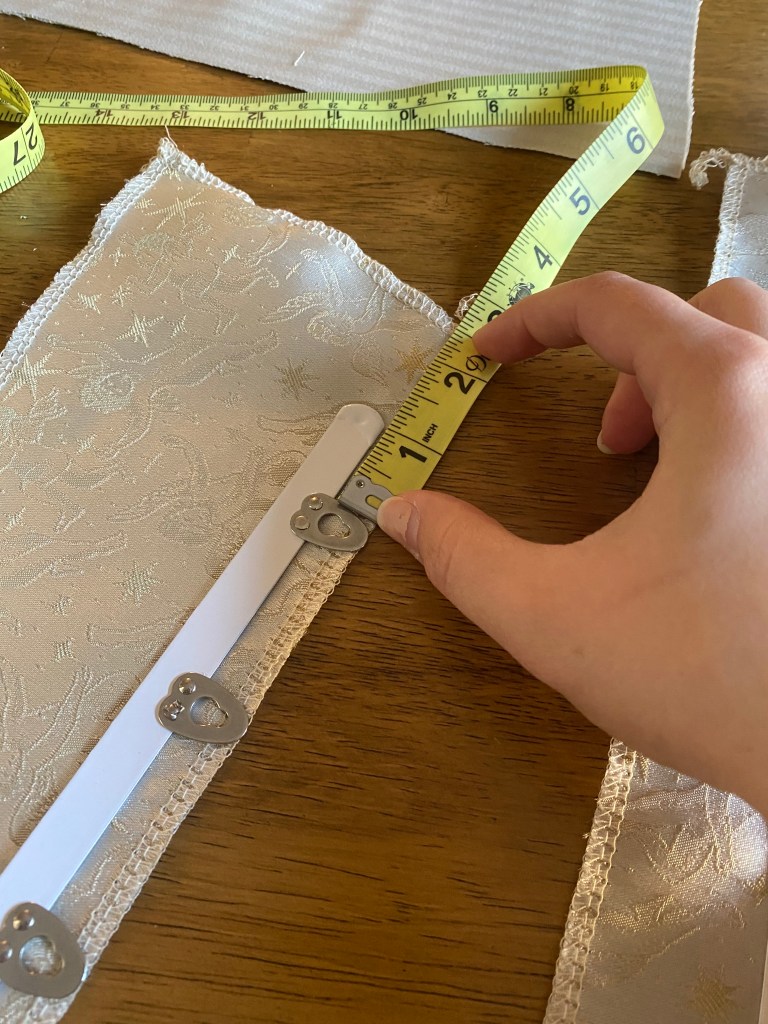
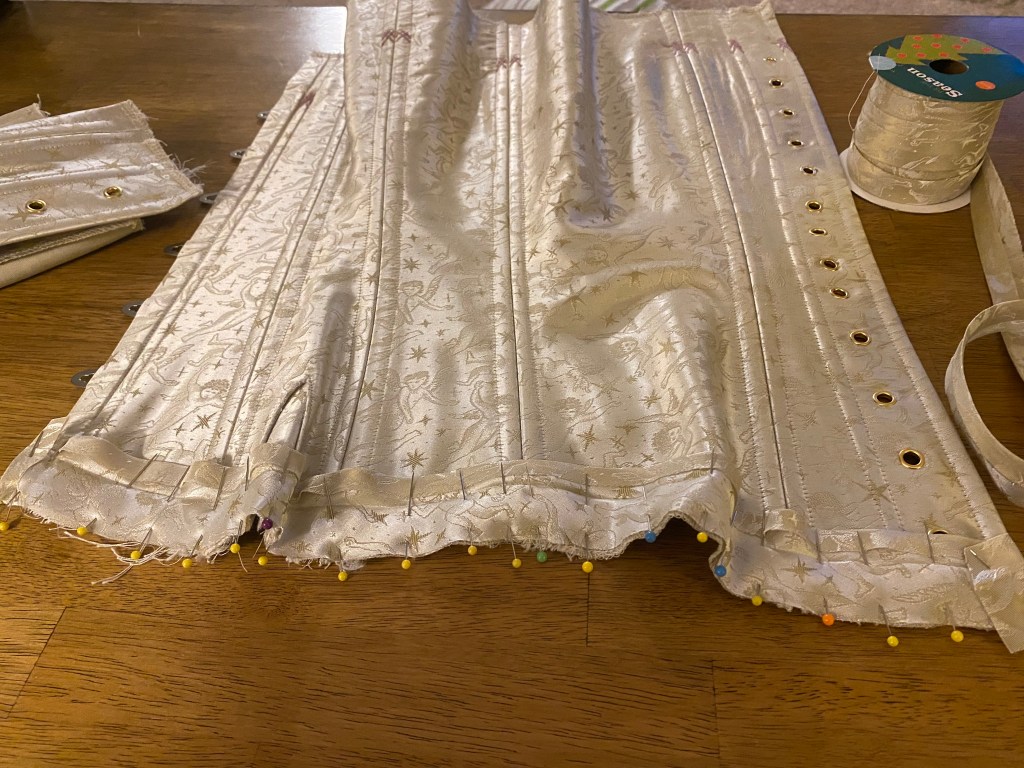
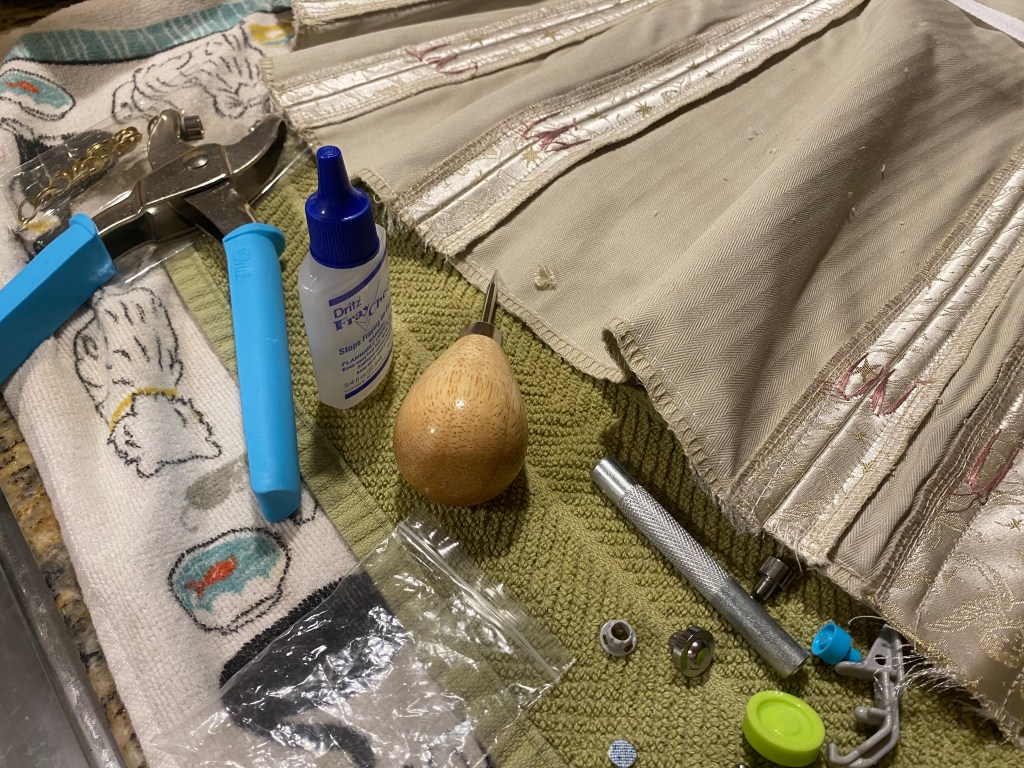
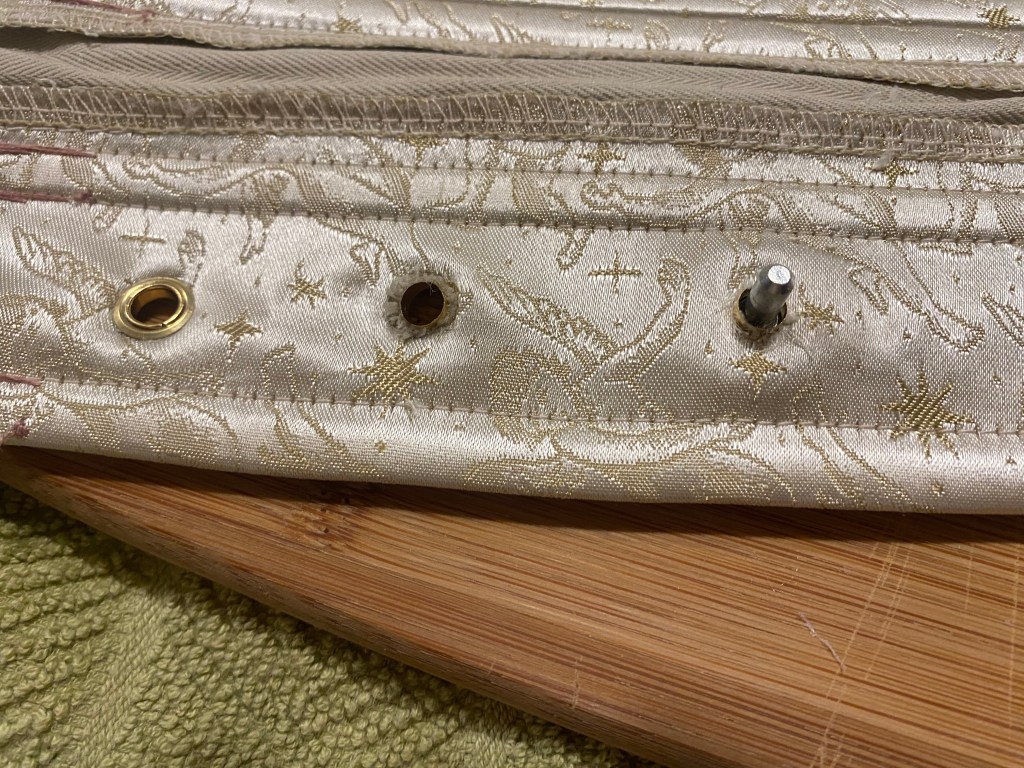
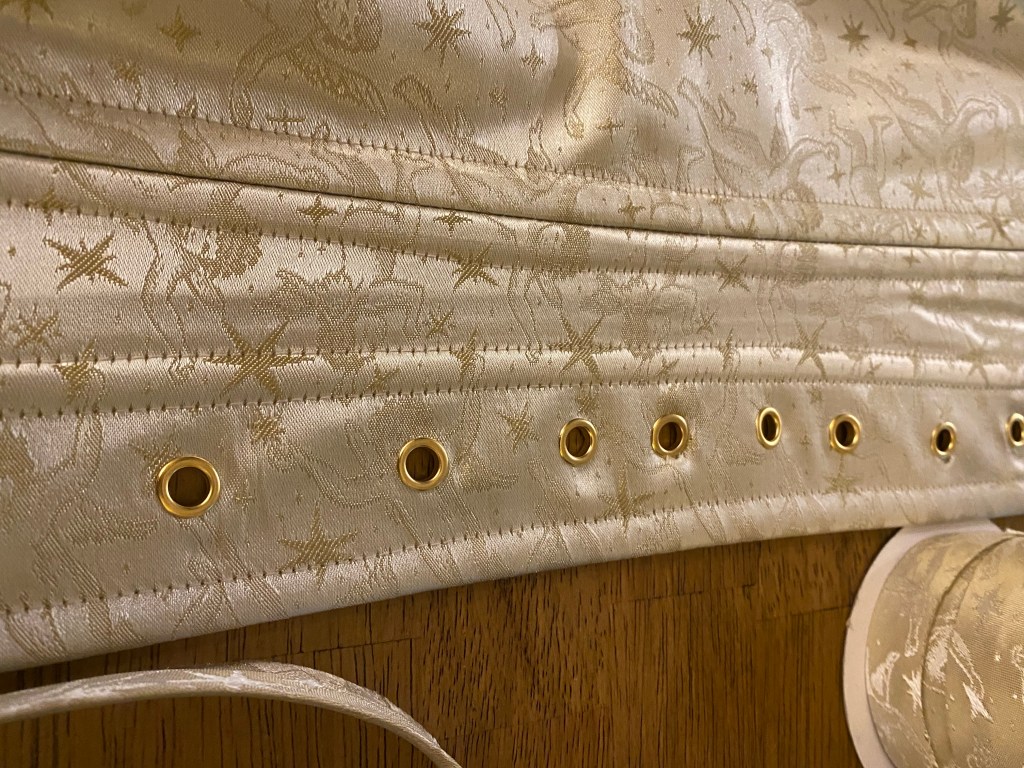
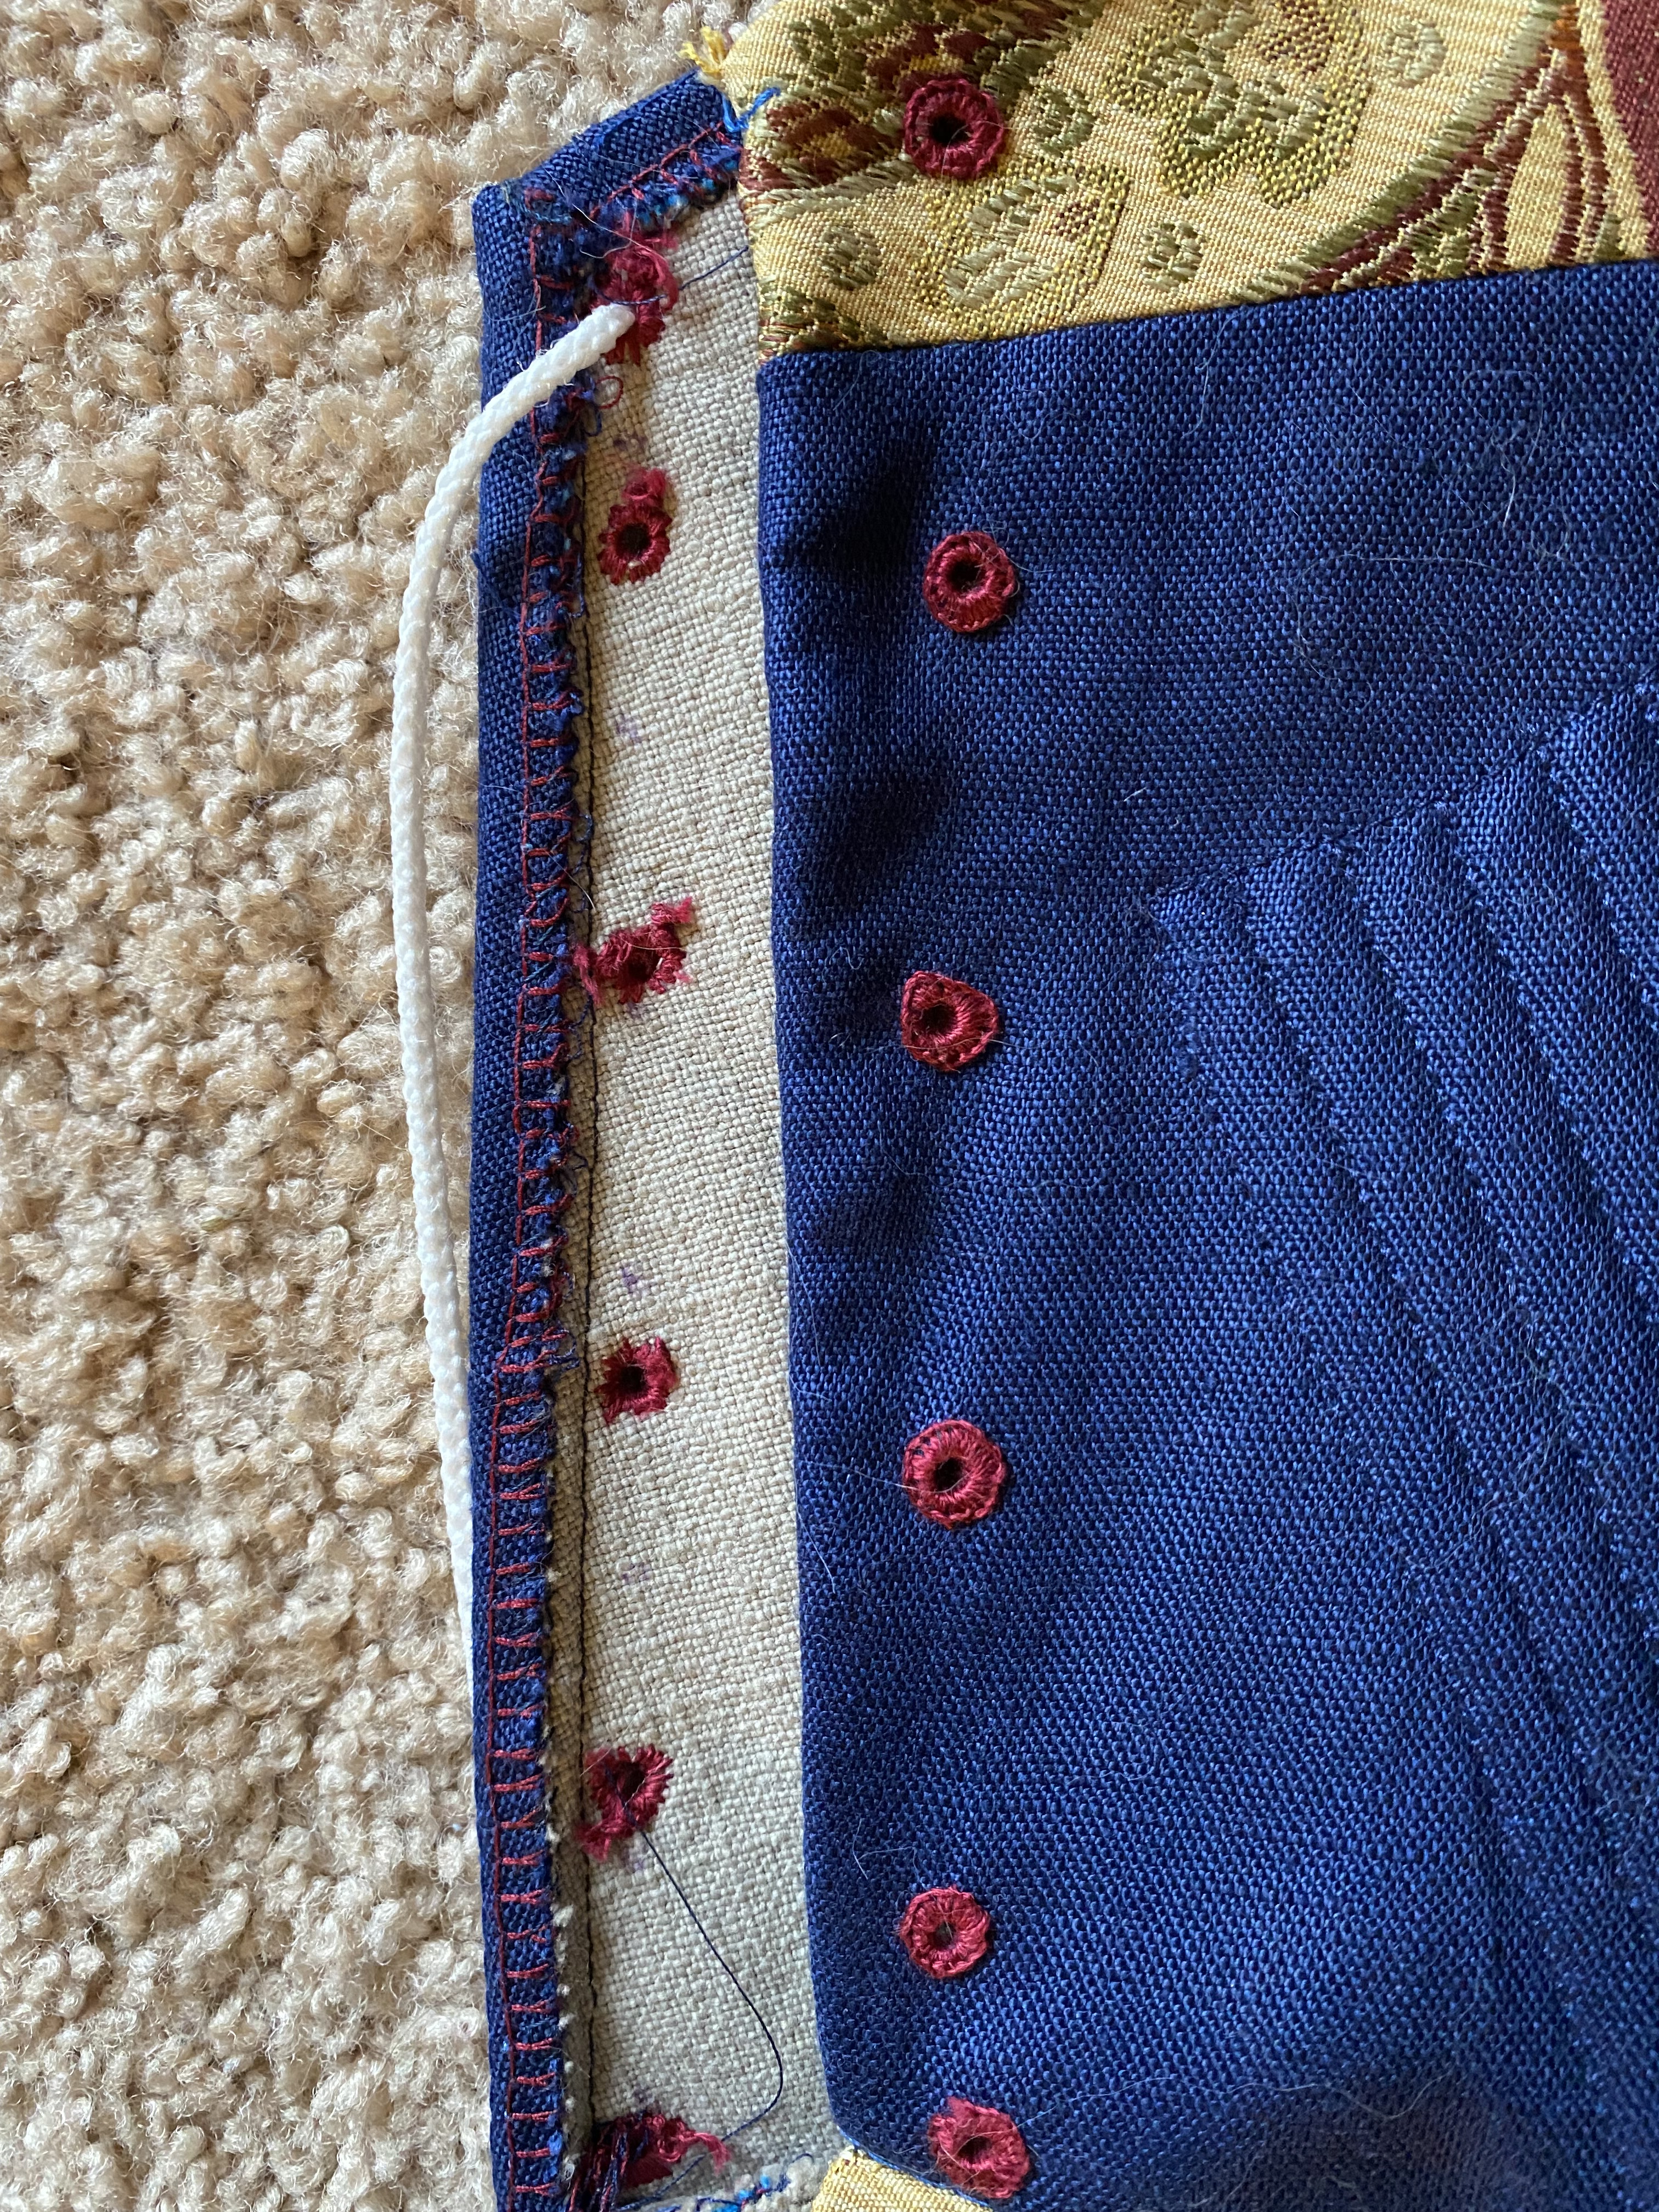
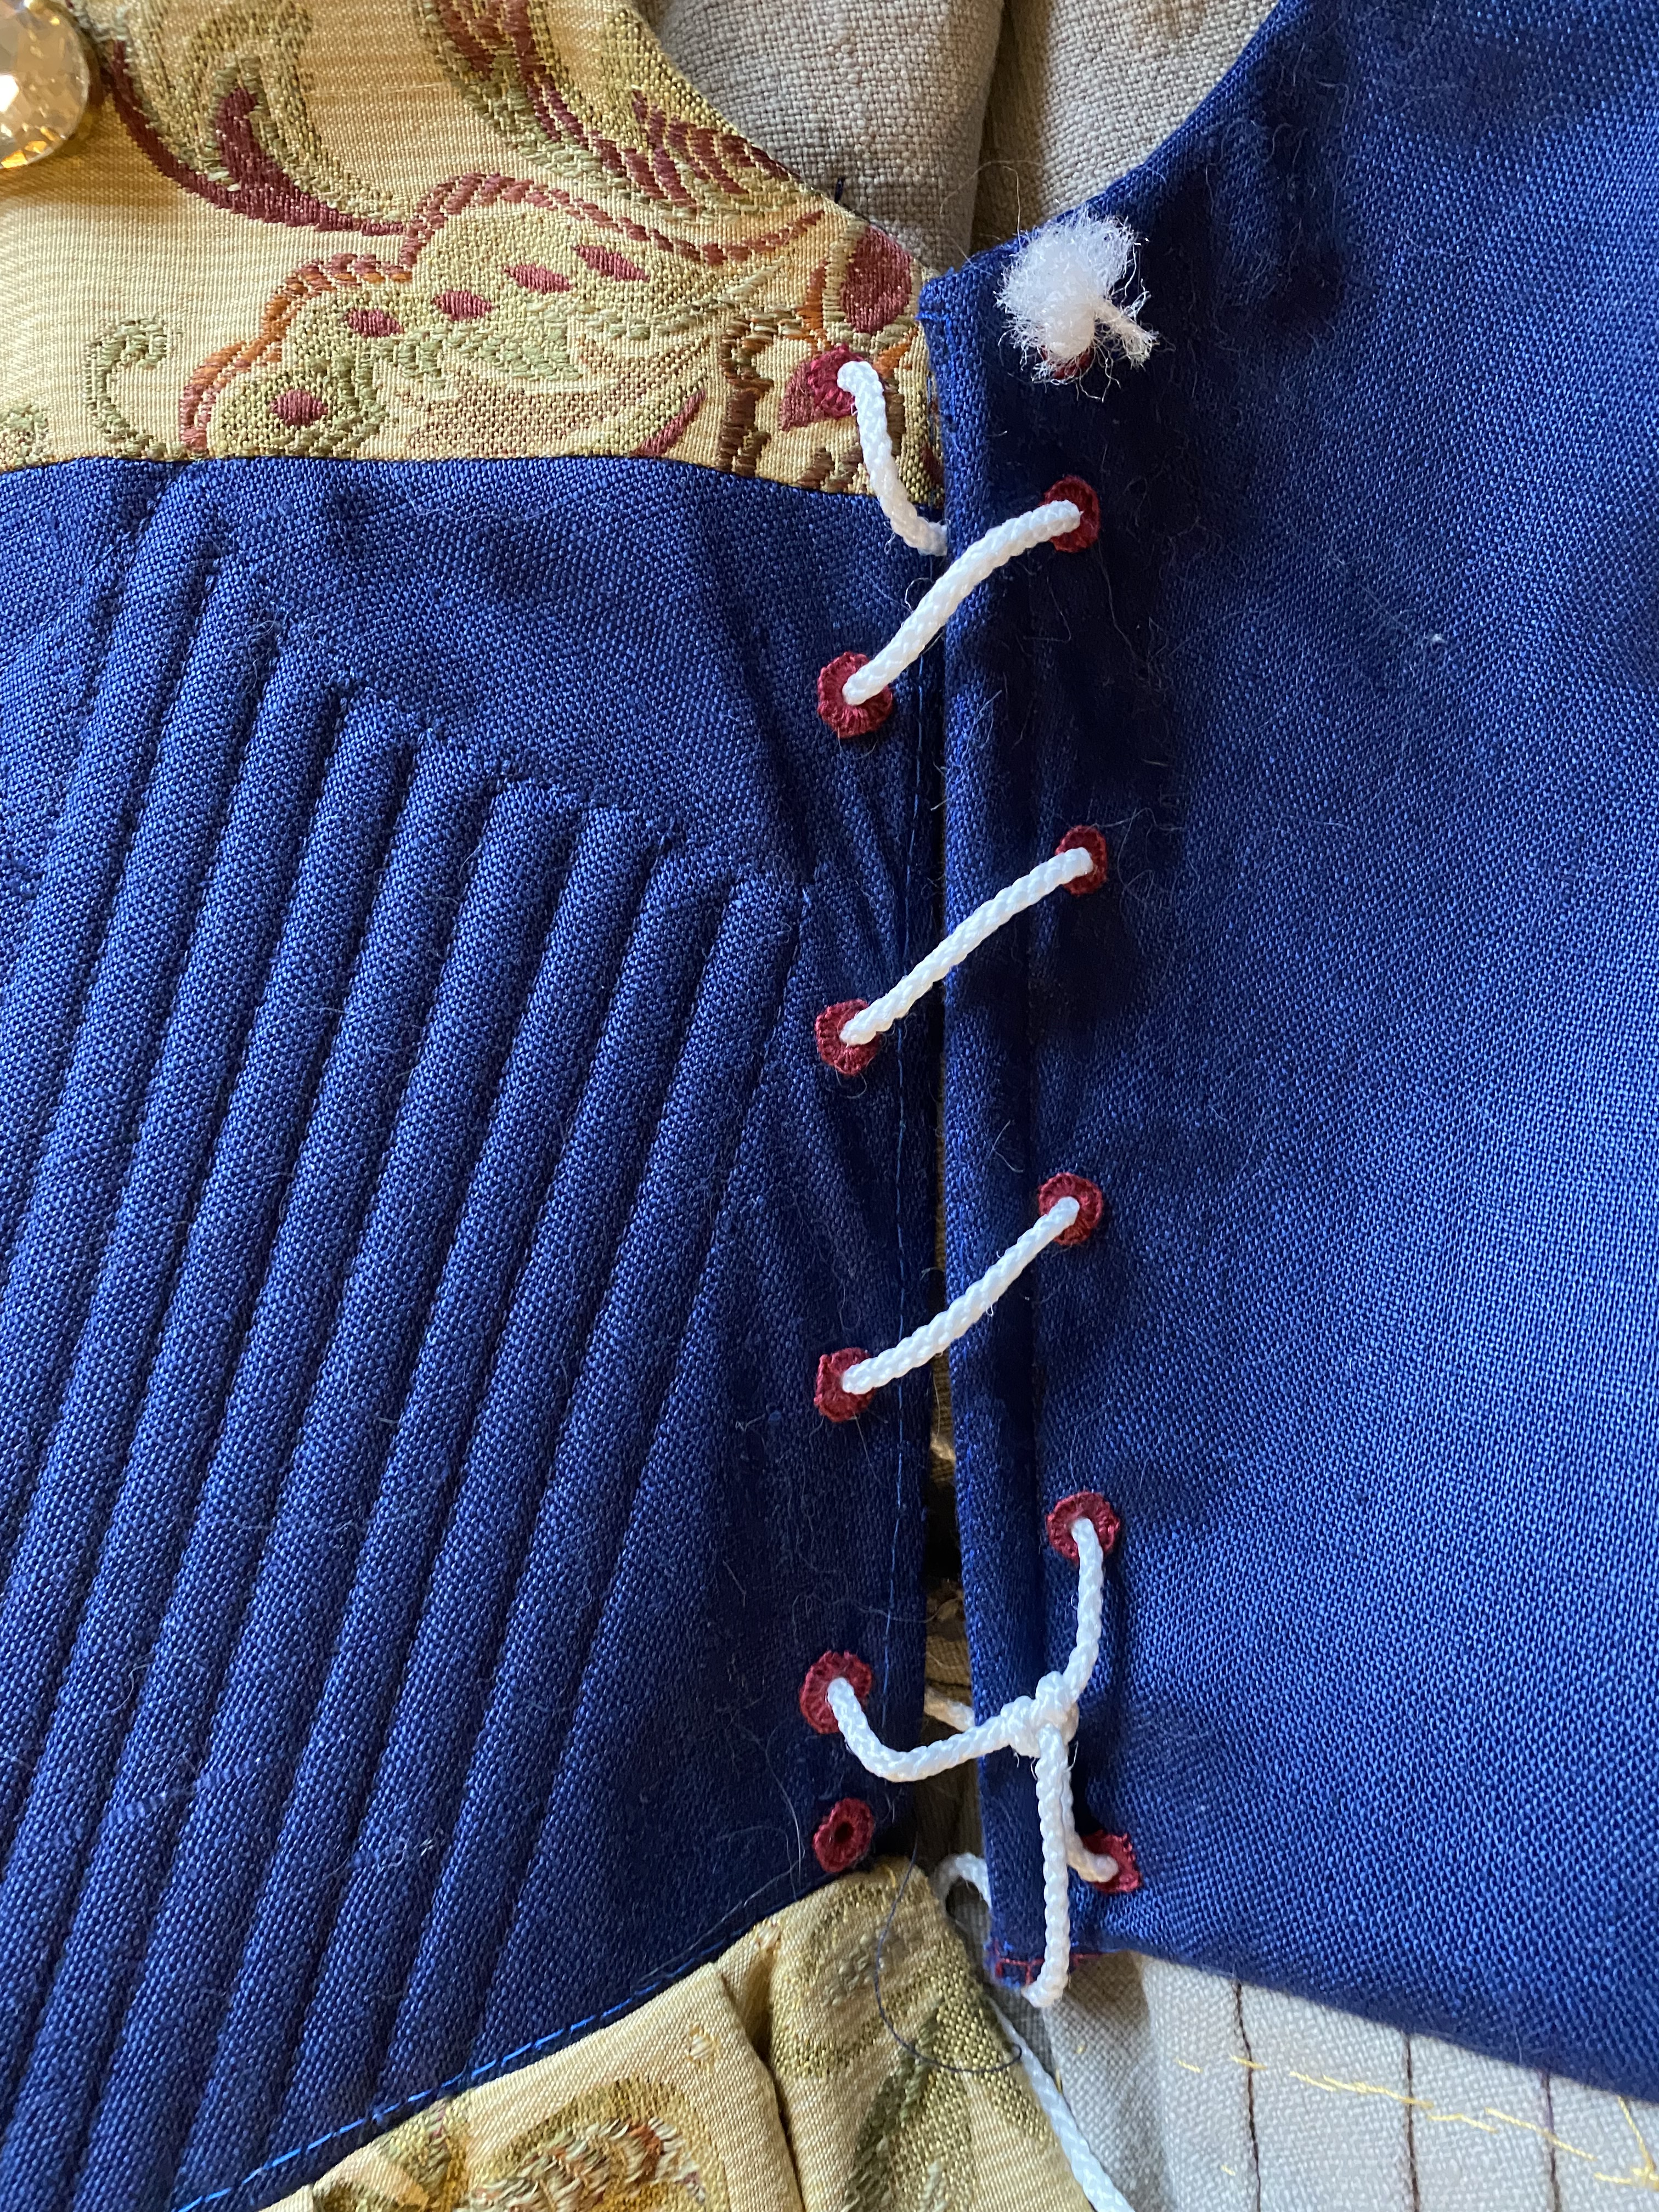
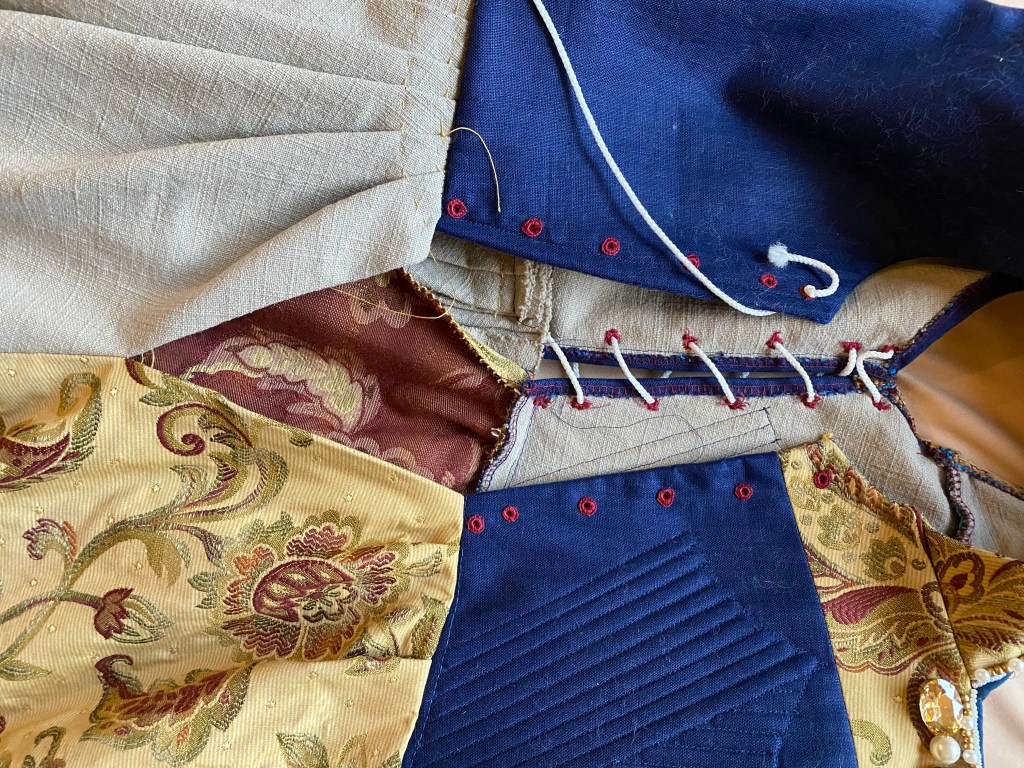
The side seams have spiral lacing with 1/4″ embroidered eyelets. I spaced the eyelets 1″ apart and used bright contrasting burgundy embroidery floss for the stitches. Why not add a pop of interest, they would be covered by the overgown anyway.
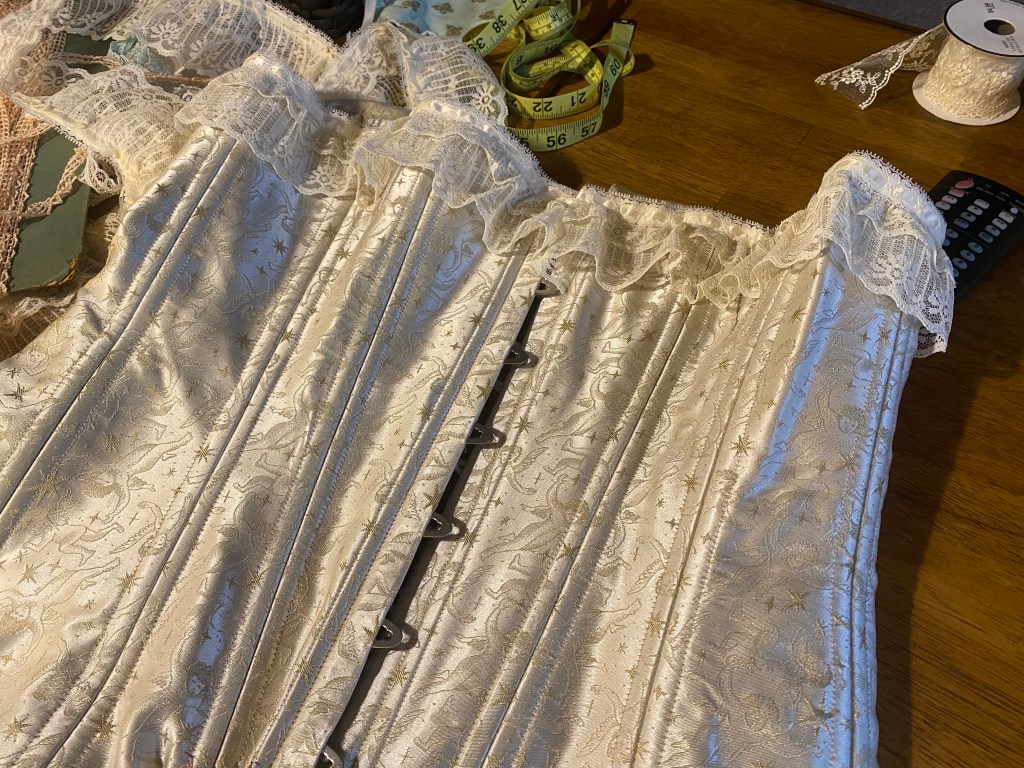
Structure completed, it was time to add some shine to the bodice. The area of the kirtle with the pieced floral fabric would be visible under the main gown. In paintings I looked at, the kirtle has a row of gems, pearls, or other embellishments along this area.
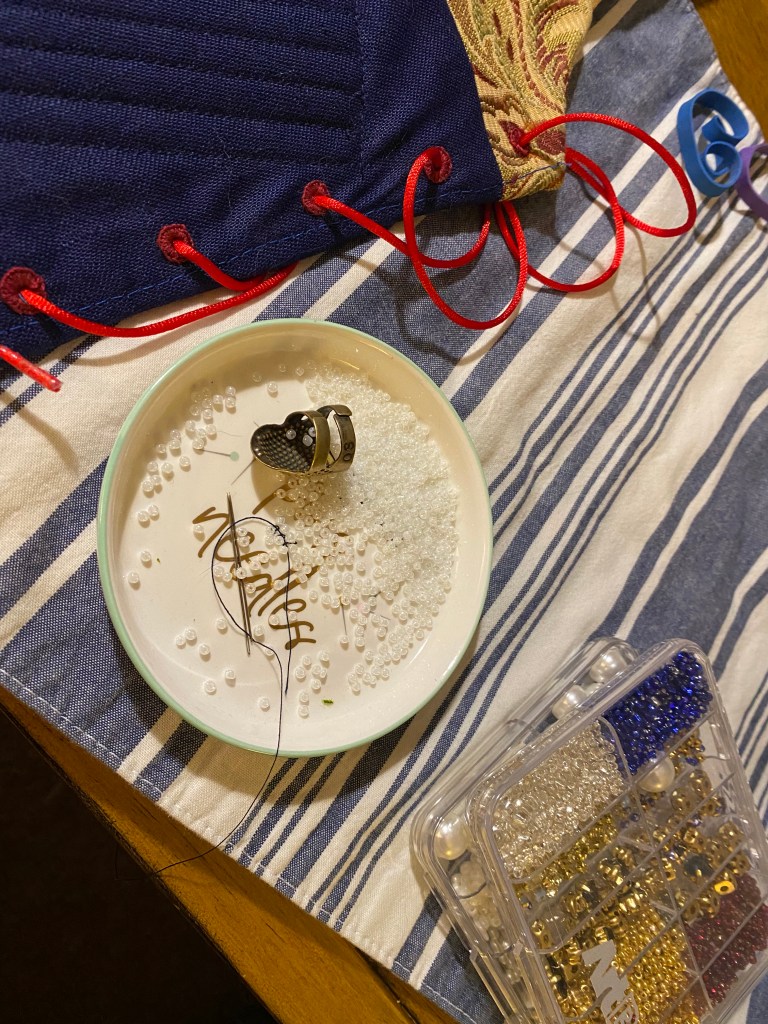
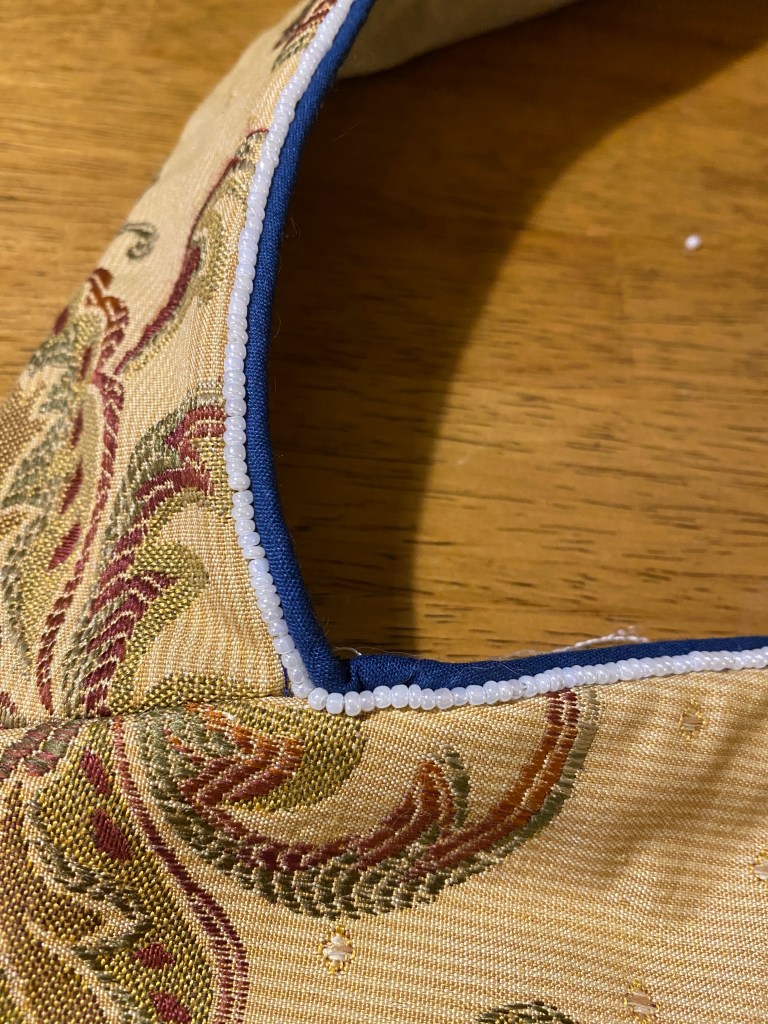
To start, I added a row of seed pearls along the edge between the material and the piping. 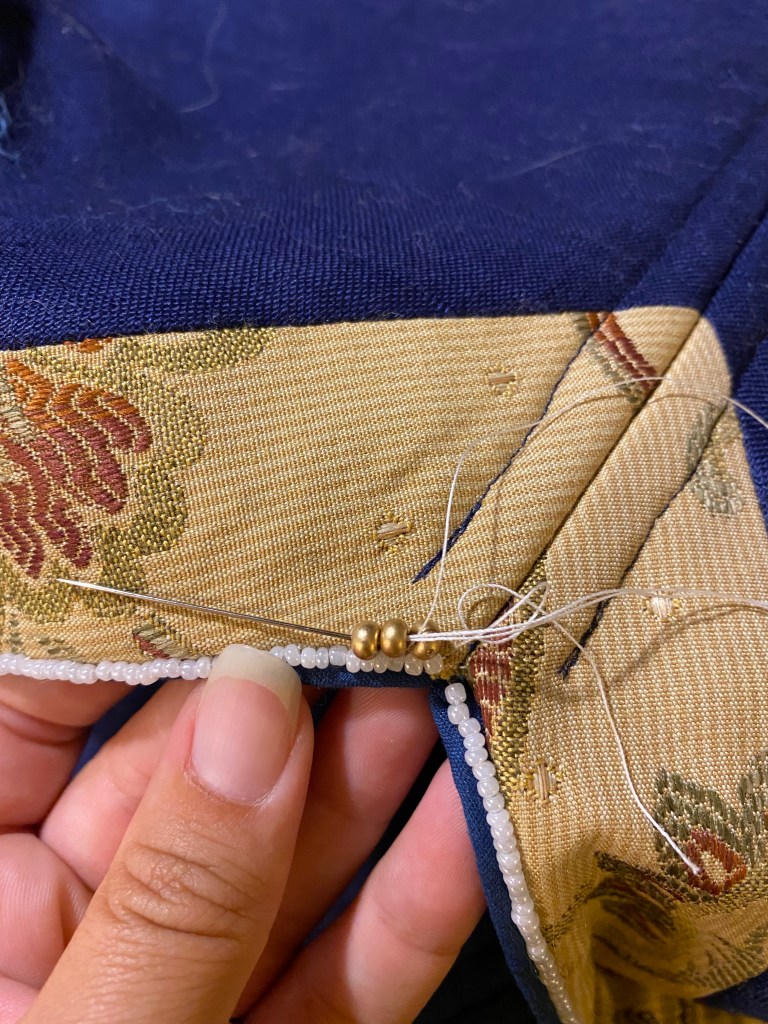
Then a row of alternating gold glass beads and . . . 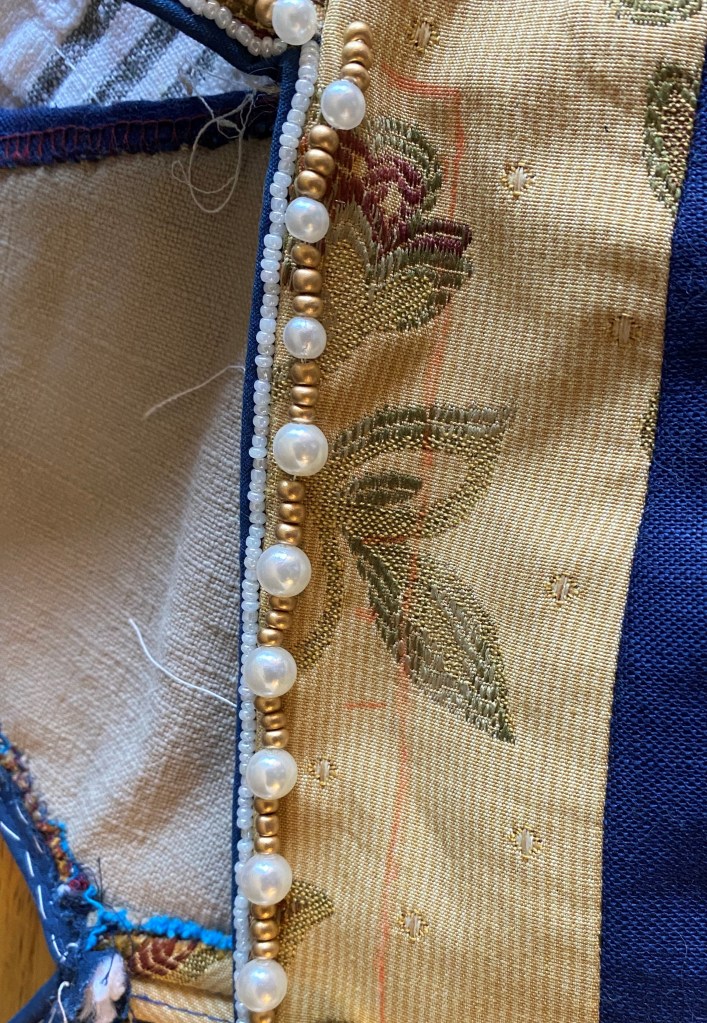
…faux pearls! I used 6mm pearls alternating for the straps and 8mm pearls along the front neckline.

The skirt of the gown is relatively simple, and yet a place I made many errors. I had very little of the floral patterned fabric to work with; however, since I am short, I was able to cut back on the required yardage significantly. Perks of being fun-sized! I also did a bit of patching to make it work. Little did I know when cutting, that I had accidentally cut the piece on the fold with the fold going the wrong way. Luckily, the bottom hem is relatively square, but the seam with the bodice is not and this caused a lot of issues with how the skirt hangs. Even with cutting back to create the point, it still isn’t quite right. But, I only had just so much fabric and had to make it work.

The second major mistake was fabric choice for the unseen portion of the skirt. The yellow floral fabric is very stiff, and I needed something of similar weight so it wouldn’t get all funky. I chose a “linen-look alike” drapery fabric that I thought was on clearance at Joann. A lesson to check labels carefully. The roll I had grabbed was on sale, but the backup the sales associate grabbed when the first roll ran out, was not. I ended up paying full price on not-so-great quality fabric. It did its job, but certainly didn’t look or feel as good as it should’ve for the price. I often use fabrics not for their intended purposes (upholstery for apparel for example), but they are usually similar enough and the only way to get the look I want at the price point I can justify. I should’ve taken my time and found the right material rather than settling for the first thing that was slightly doable and then regretting it as soon as I cut it out.
Overall, the fabric was too heavy. Stitching the two fabrics together was no problem, but once the back of the skirt was pleated, stitching to the bodice was a hand-breaking nightmare.

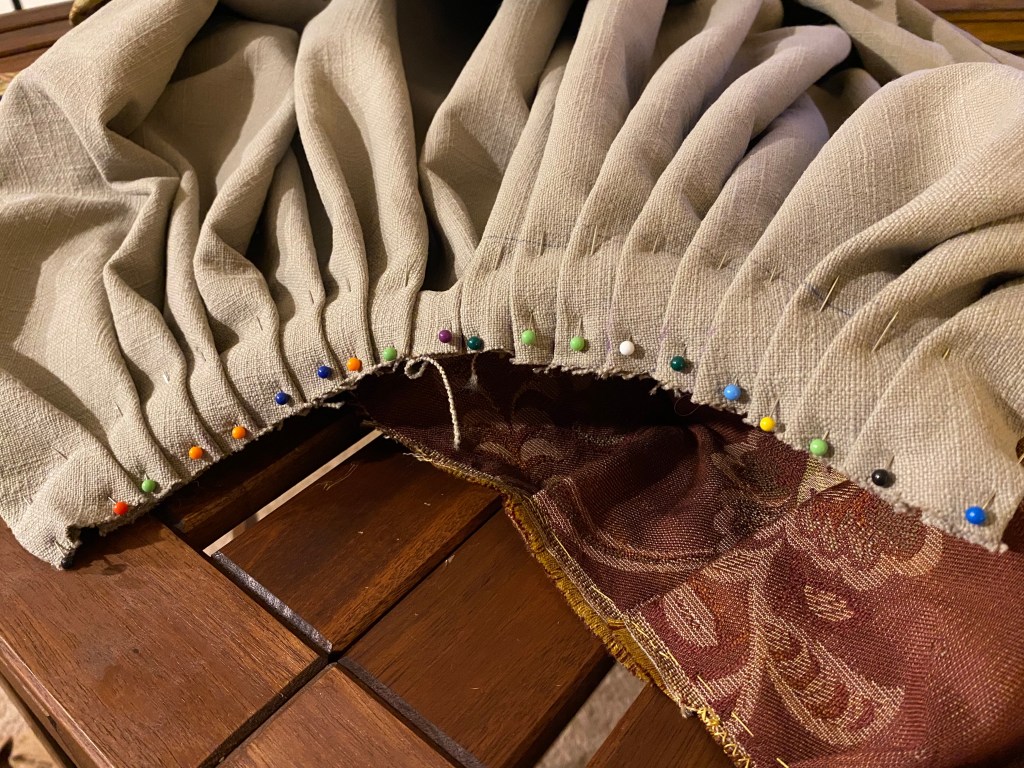
The front and back panels are stitched together up to approximately 8″ below the waistline. The skirt and bodice are stitched together by machine using heavy upholstery thread again to support the weight of the skirt. The areas left open on the side seams of the skirt allow the wearer space to get in and out of the gown as well as the addition of pockets in the future.
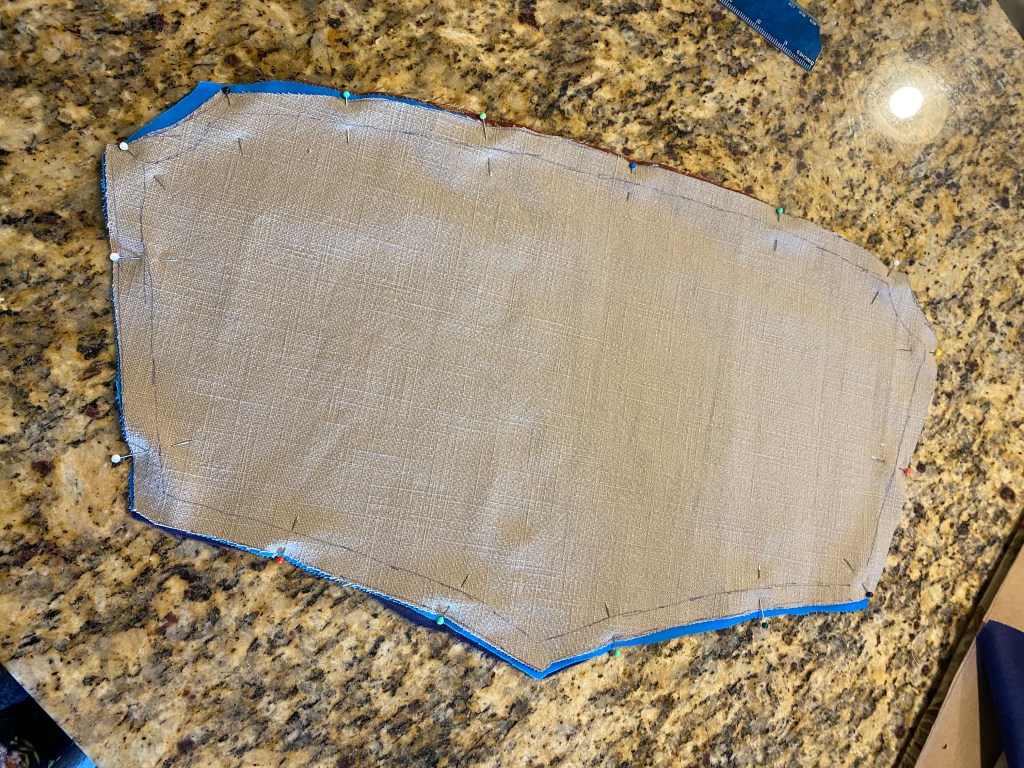
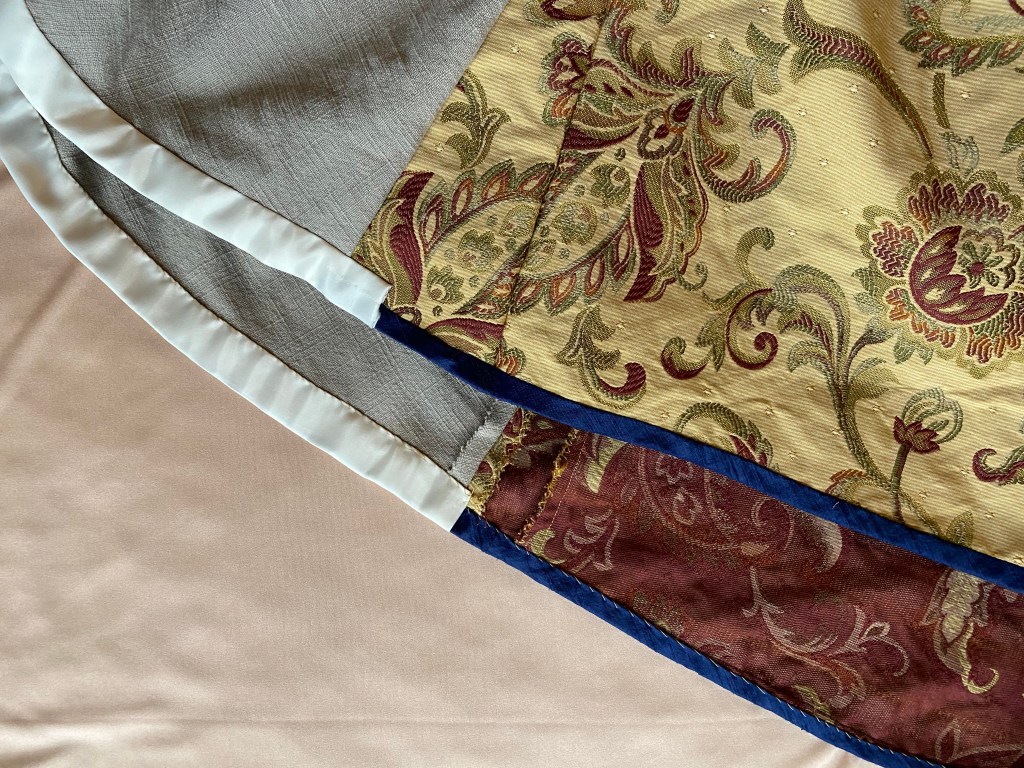
Skirt stitched to the bodice, the garment is hung on Molly the mannequin and the hem is leveled to hit at the ankle bone. This is a bit high for the period, but my reduction in height and forgetting to account for seam allowance at the waist brought my hem higher than brushing the toes. In the grand scheme, this is likely for the best since I’ll be less likely to trip on the front hem now. To finish the hem, I create bias tape from a navy silk ribbon found at Joann’s on clearance. It is probably the most expensive bias tape I’ve ever used in my life, but it looks absolutely flawless when applied. To conserve the use of this material, I switch to a polyester satin blanket binding for the hem along the tan linen section of the skirt.
And that is it! After some careful pressing of the waist seam, surging of the last unfinished seams and lacing up the side seams, the foundation garment is complete. With this, the over-gown can be fit tested and work can start there!