In deciding on the Bavarian styling as my rooted inspiration and wanting to build a 17th century stay as the main structured garment, I couldn’t help but pull from those ever so darling drindls. (See The Goose Girl – Intro to get caught up on the inspiration story).
The colors, the embroidery, the trims. Ugh! To dye for!!
I’m most frequently inspired by the fabric I select and I knew I needed to select the right fabric for my stays first, with the drindl thought in mind. Usually, once I have my concept fabric, I’m and running! However, this fabric I struggled to find.
I initially thought of using some embroidered linen I had inherited from my grandmother to imitate the patterns typical to Bavaria, but it wasn’t quite right. So I began scouring Etsy and vintage shops for larger, more heavily embroidered pieces. I found a lot of pieces I loved, but none were heavily embroidered enough for the rich Bavarian colors I had in my mind. Anything I could find with enough embroidery was pastel, pastel, pastel. The pastel against the cream or white linen was pretty but didn’t quite match the Bavarian theme I had my heart set on.
No! There would be no pastel on this stay.
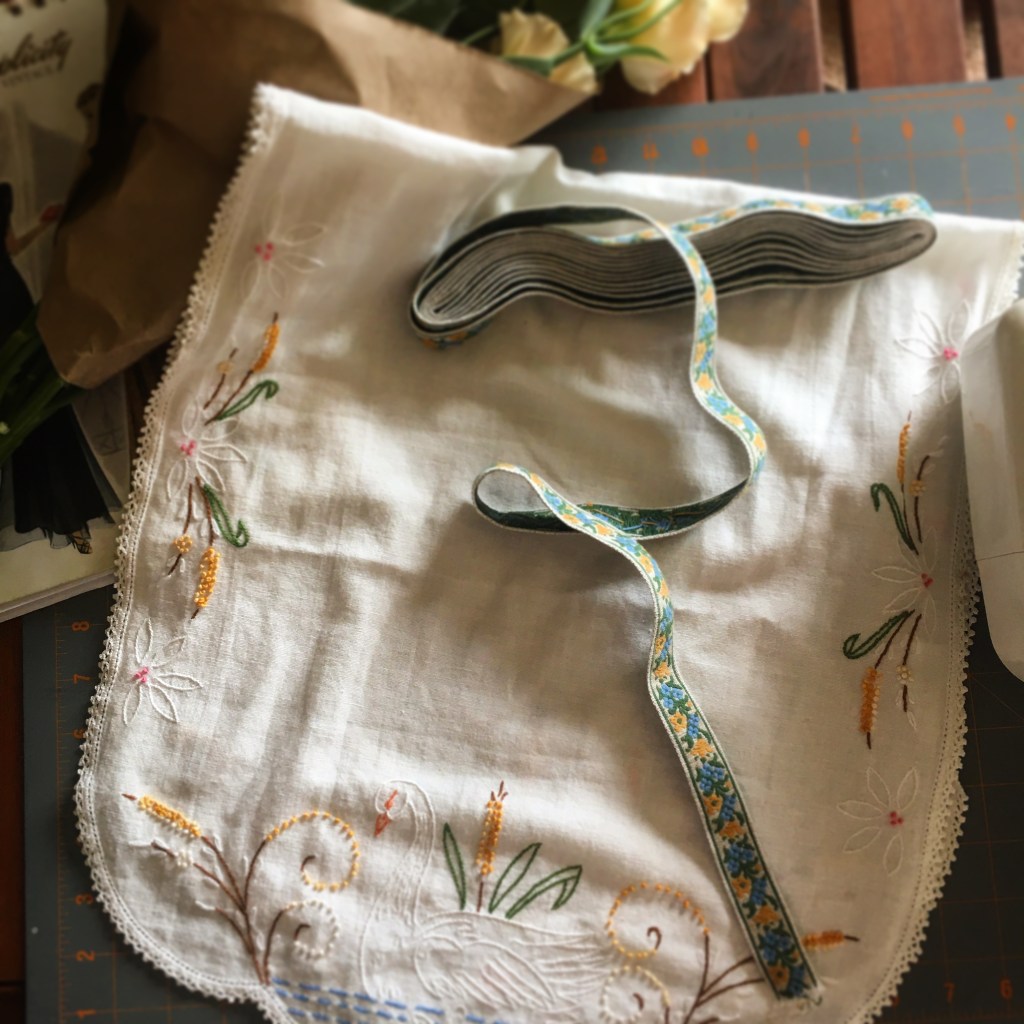
However, in perusing Studio Ric Rac, my local vintage shop, I found the PERFECT piece to inspire. A lovely dresser scarf embroidered with a swan on water and perfect little flowers. And! To top it off, the shop also had a length of vintage jacquard ribbon that complemented perfectly.
Yes, I know, it was swans, not a goose. However, in the novel by Shannon Hale that I was originally inspired by, the Princess learns to speak to the birds by speaking to swans.
Here was a lovely piece that could tie to the contrasting styles of her home and her secret identity against her new world of Bayern. It was perfect, but it was not enough and none of the other pieces I had gathered were the right shade or style to complement the swan.
So I was back to square one.
I thought Etsy would be my friend, but all the beautiful Bavarian embroidery I found was either too expensive for the project or so lovely I couldn’t bear needing to cut it up into pieces. I wanted to put unwanted embroidered pieces to a new use, but not at the expense of someone’s heirloom.
Then, destiny arrived. In the form of a costume shop overhaul sale.
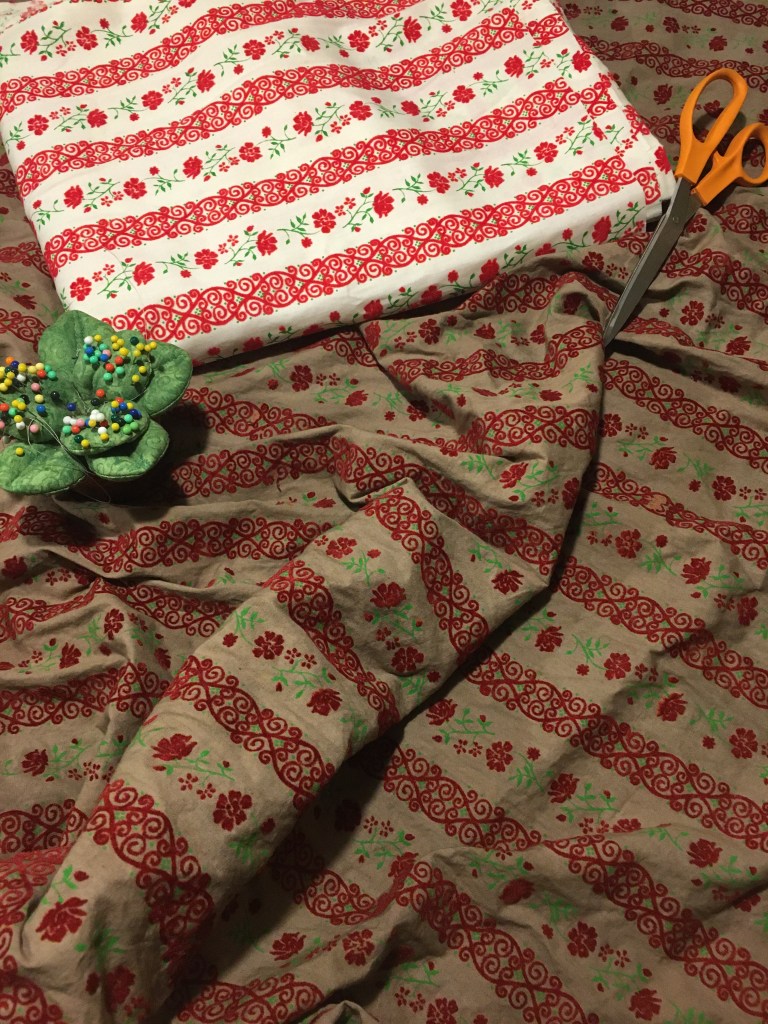
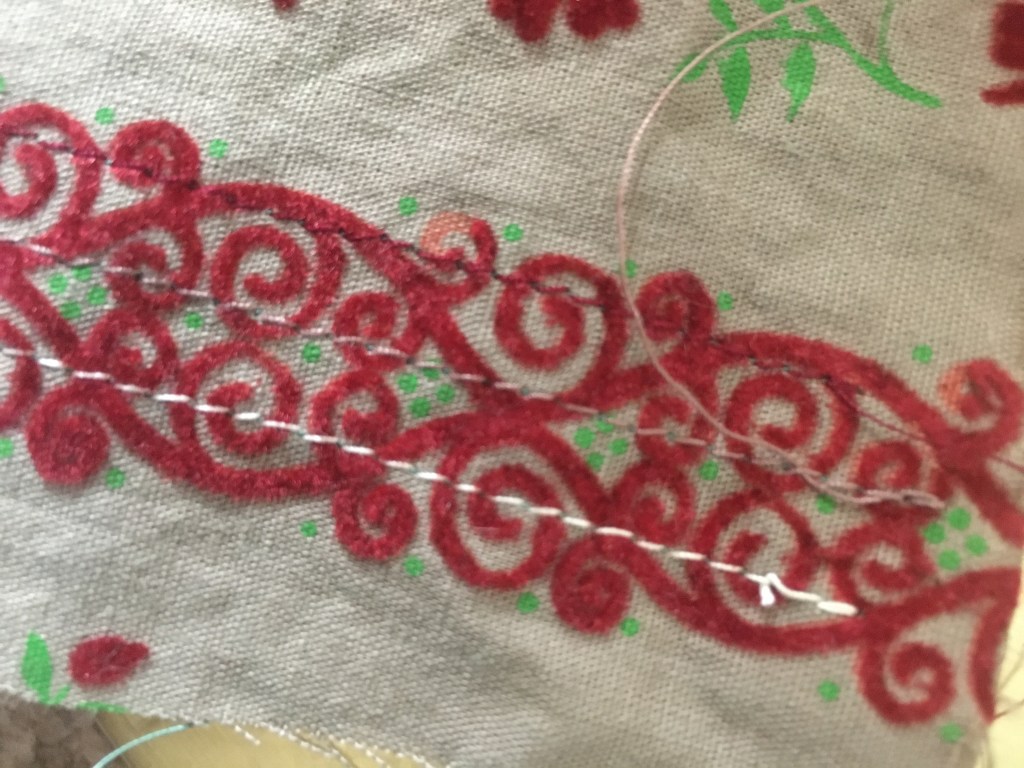
The Racine Theatre Guild was holding a rummage sale after deep cleaning their costume stock and shop storage. There, I found the most beautiful cotton fabric, embossed with stripes of red velvet.
It was gorgeous, it was authentic, it was luxurious, and I could get 6 yards of it for $6 (way more than I needed, but extra is always amazing).

However….it was almost too vivid! I shouldn’t complain since that’s what I had spent essentially the entire summer looking for: vivid, Bavarian inspired, textured fabric. But it was just such a bright red.
So I decided to dye it.
Like what I did for distressing fabric in my Lost Labs of Dr. Z post, I prepped my dye pot and got to work. The major difference here was that I was doing a full dye rather than toning with color. This means I used the full strength quantity of Taupe dye I had on hand rather than the diluted version for distressing.
Its a good idea to always do a test piece and this was especially critical since I had prepped my dye for cotton (base fabric) but wasn’t sure how the embossed velvet would take the dye or react. I’m pleased to say, it dyed perfectly!
Now that I had my fabric, I could begin the process of patterning and stitching my structured bodice.
I decided to use Butterick Pattern B4254 since I had not made a stay or true corset before and wanted a bit of guidance initially. Since it was a commercial pattern, I selected the size that fit my measurements closest, which for me usually is between two or even three pattern sizes. I opted to start with the size that would match my bust measurements and adjust from there. Since my bust includes my rib cage, it would be the least “squishy” measurement and needed to be perfect without help of lacing to fit well.
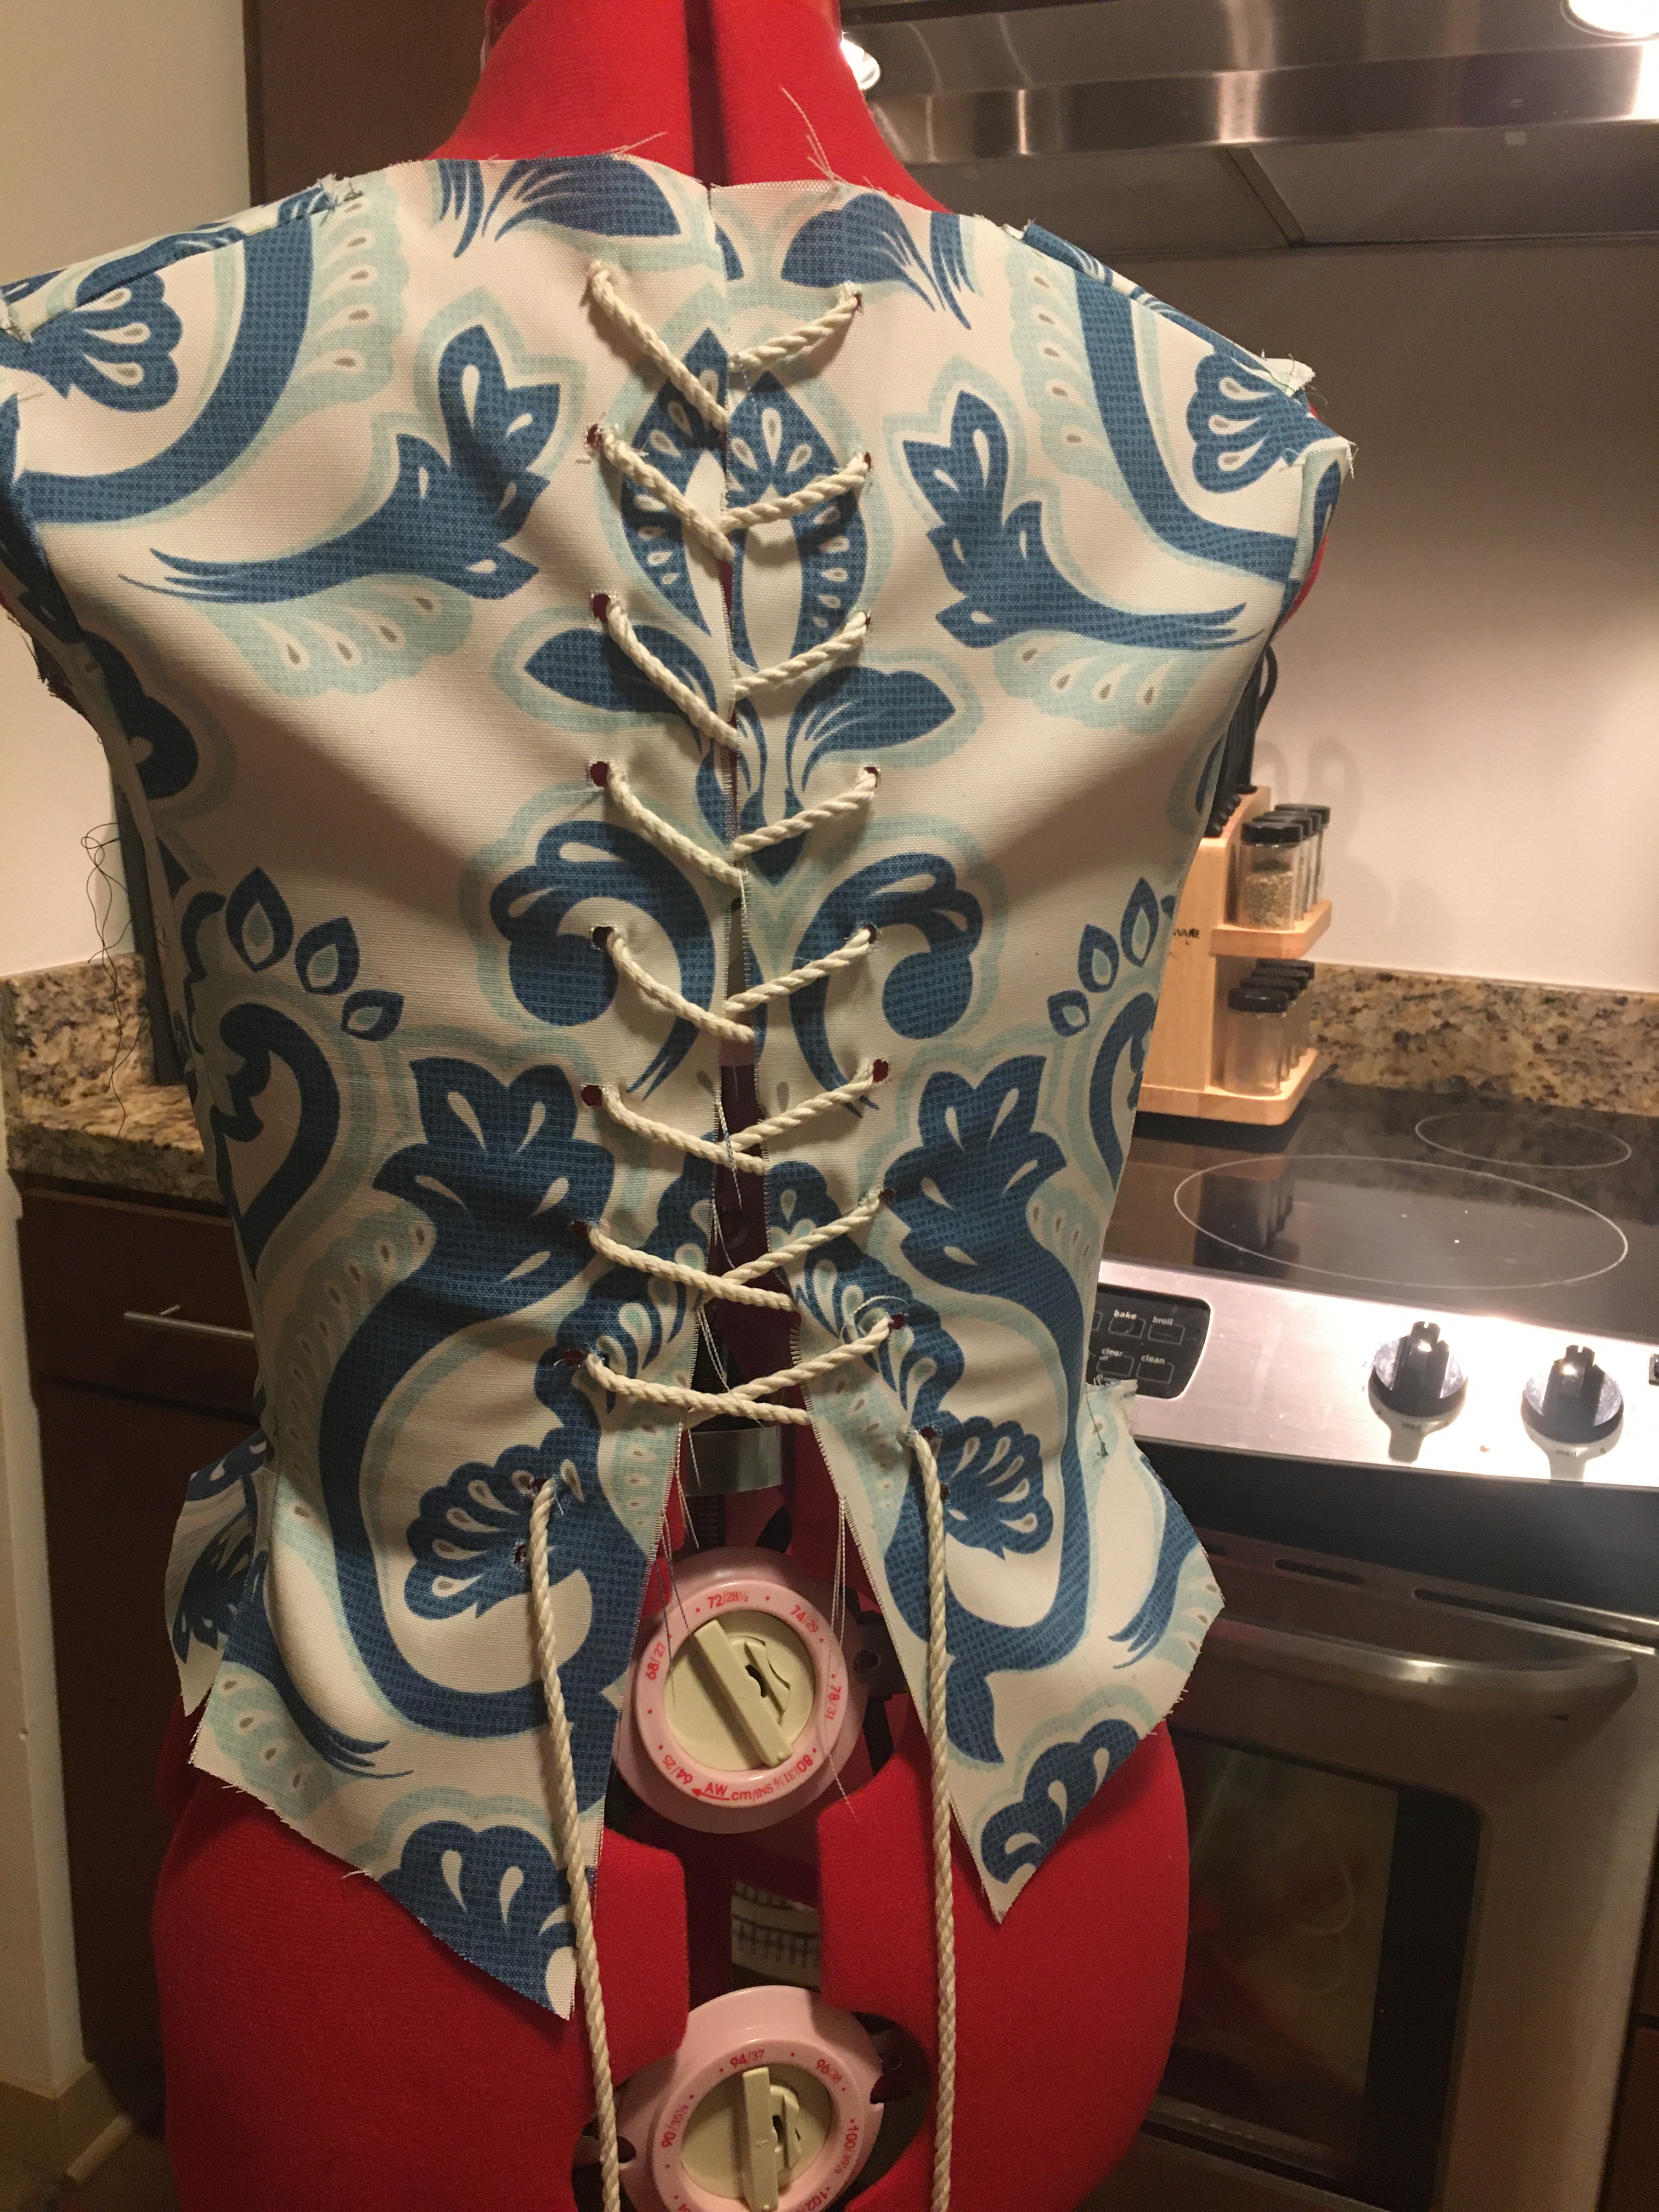
The fitting process began with the first toulie, made from mock-up fabric of clearance outdoor fabric. The fabric is ugly as sin and has a terrible hand, but it is stiff and doesn’t stretch in any direction.
I marked all of my boning channels and began piecing it together, matching stitching lines precisely. I have a short torso and was nervous the stay wouldn’t accentuate my natural waist correctly or have odd bunching because of my hips, so the fitting process made me nervous. After piecing them together, I was able to do a first fitting without bones. A less than helpful experience. It was time to add mock up boning.
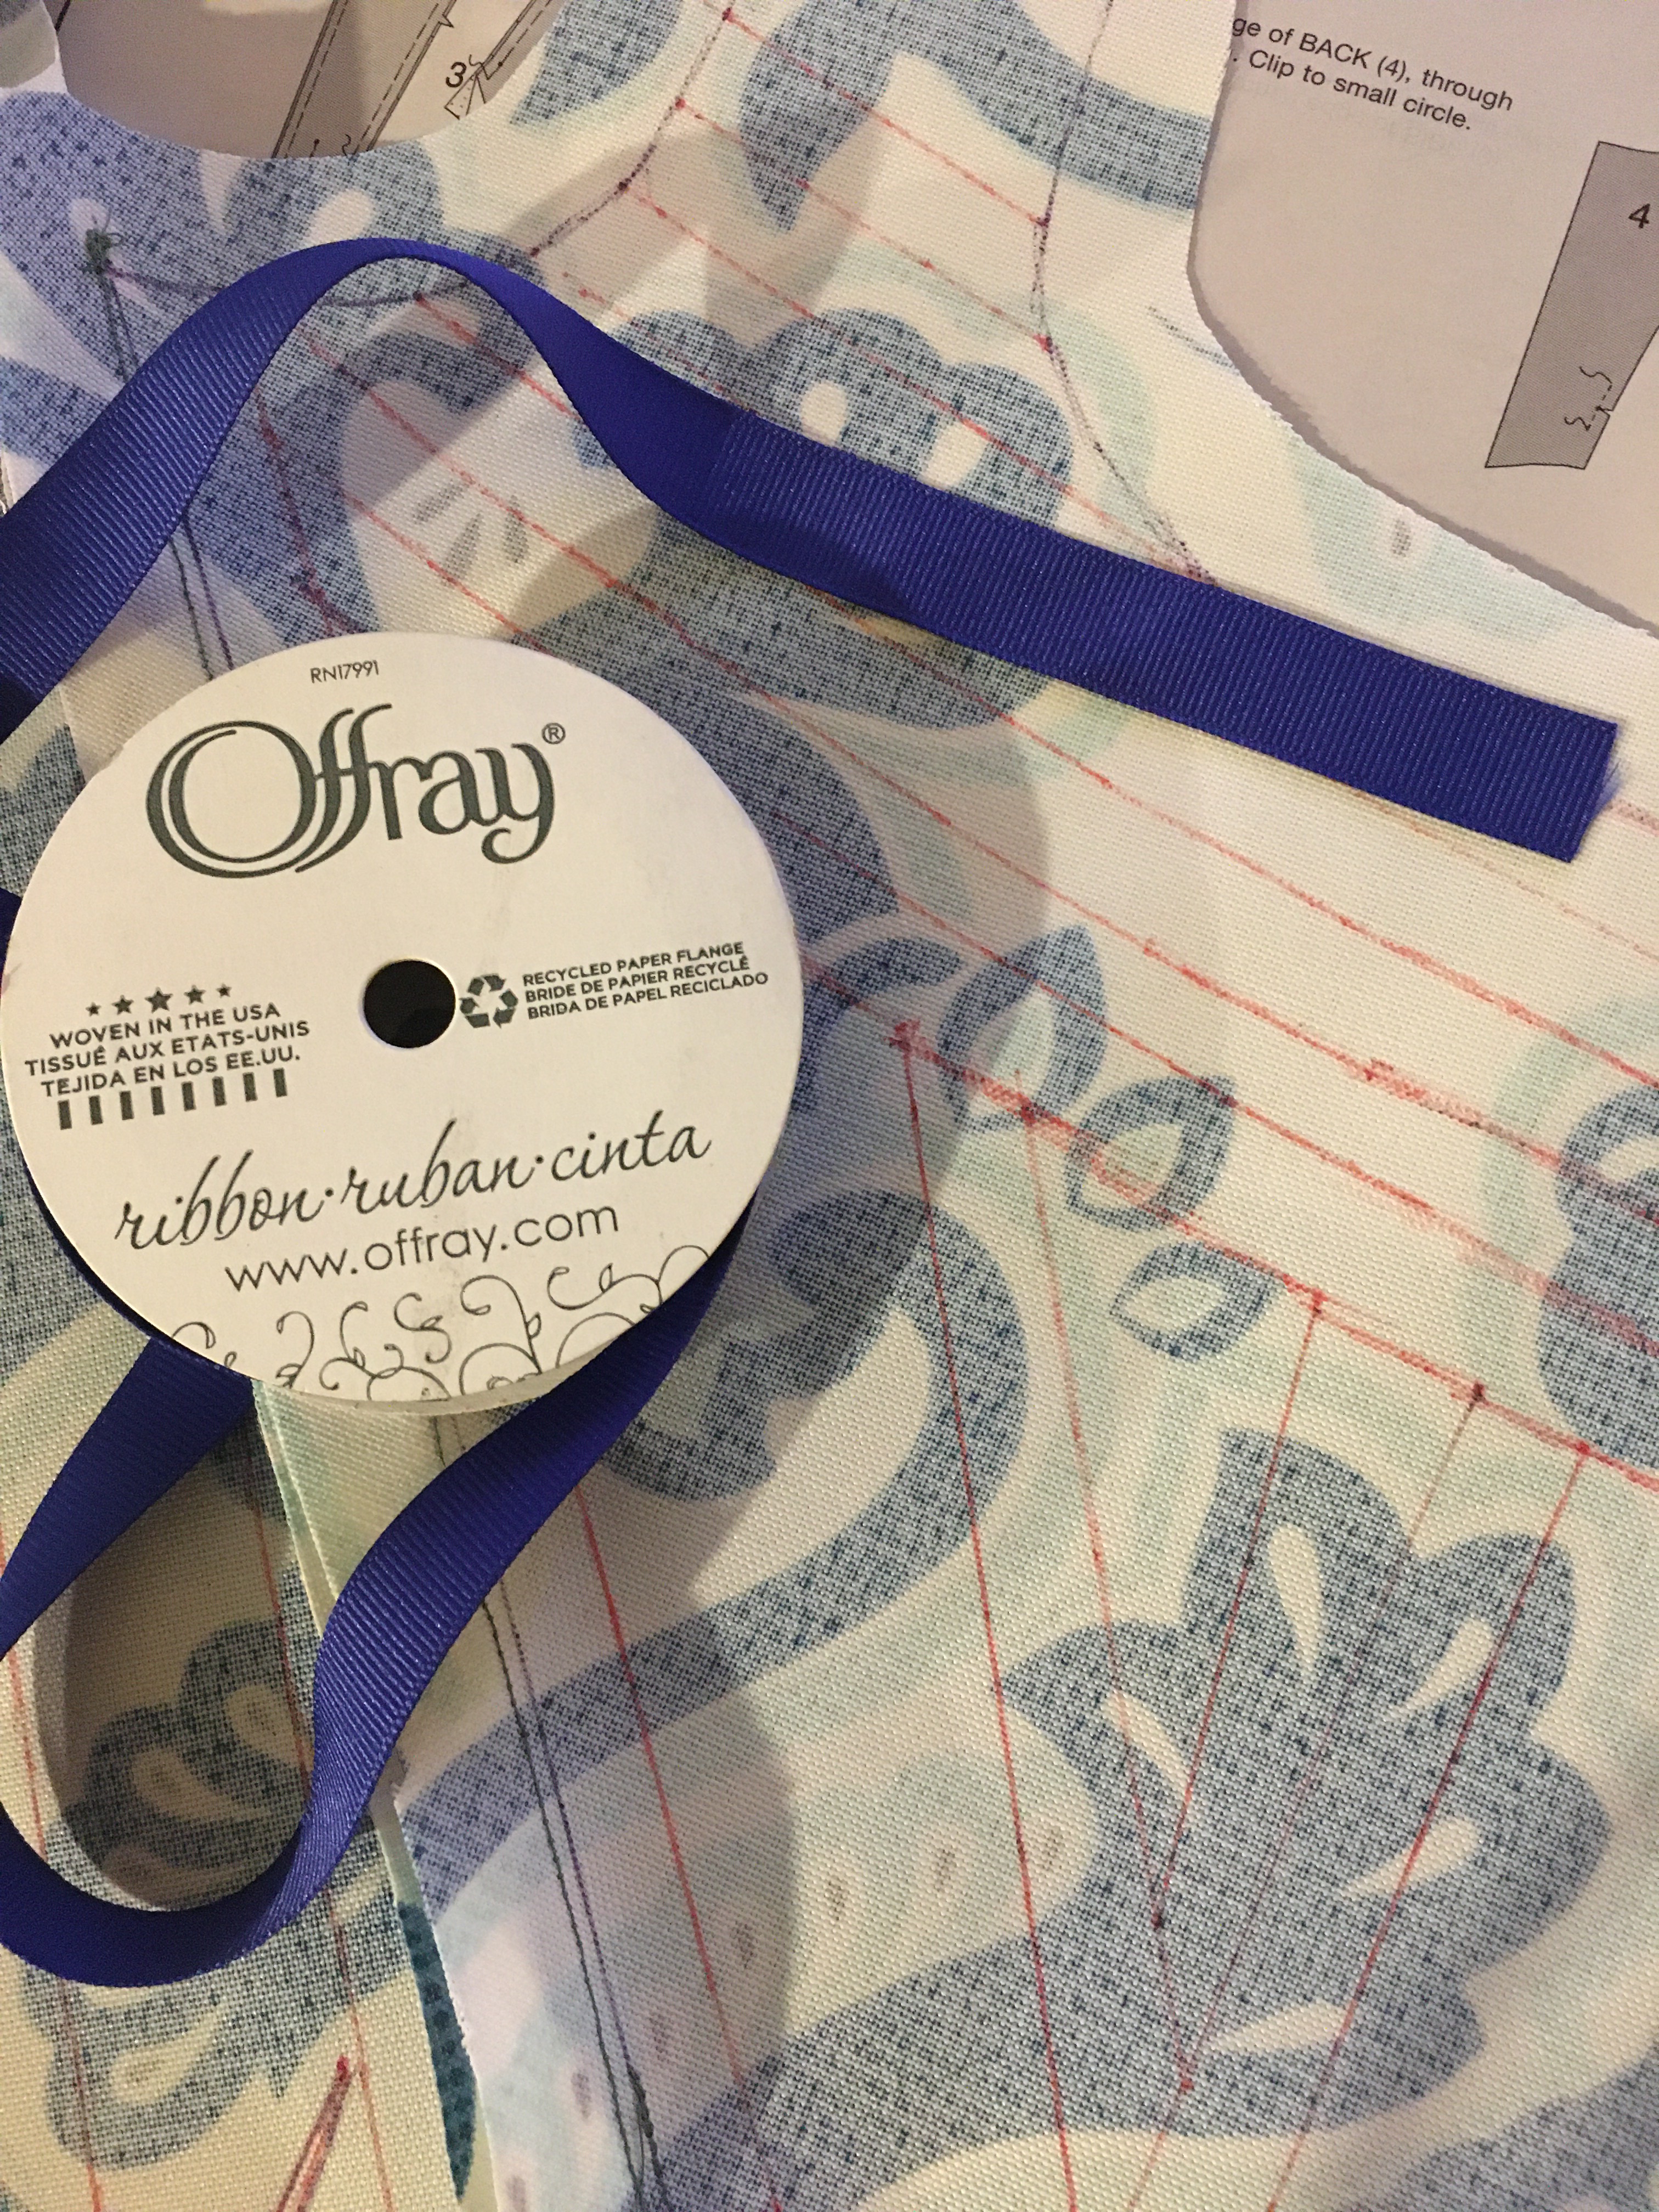
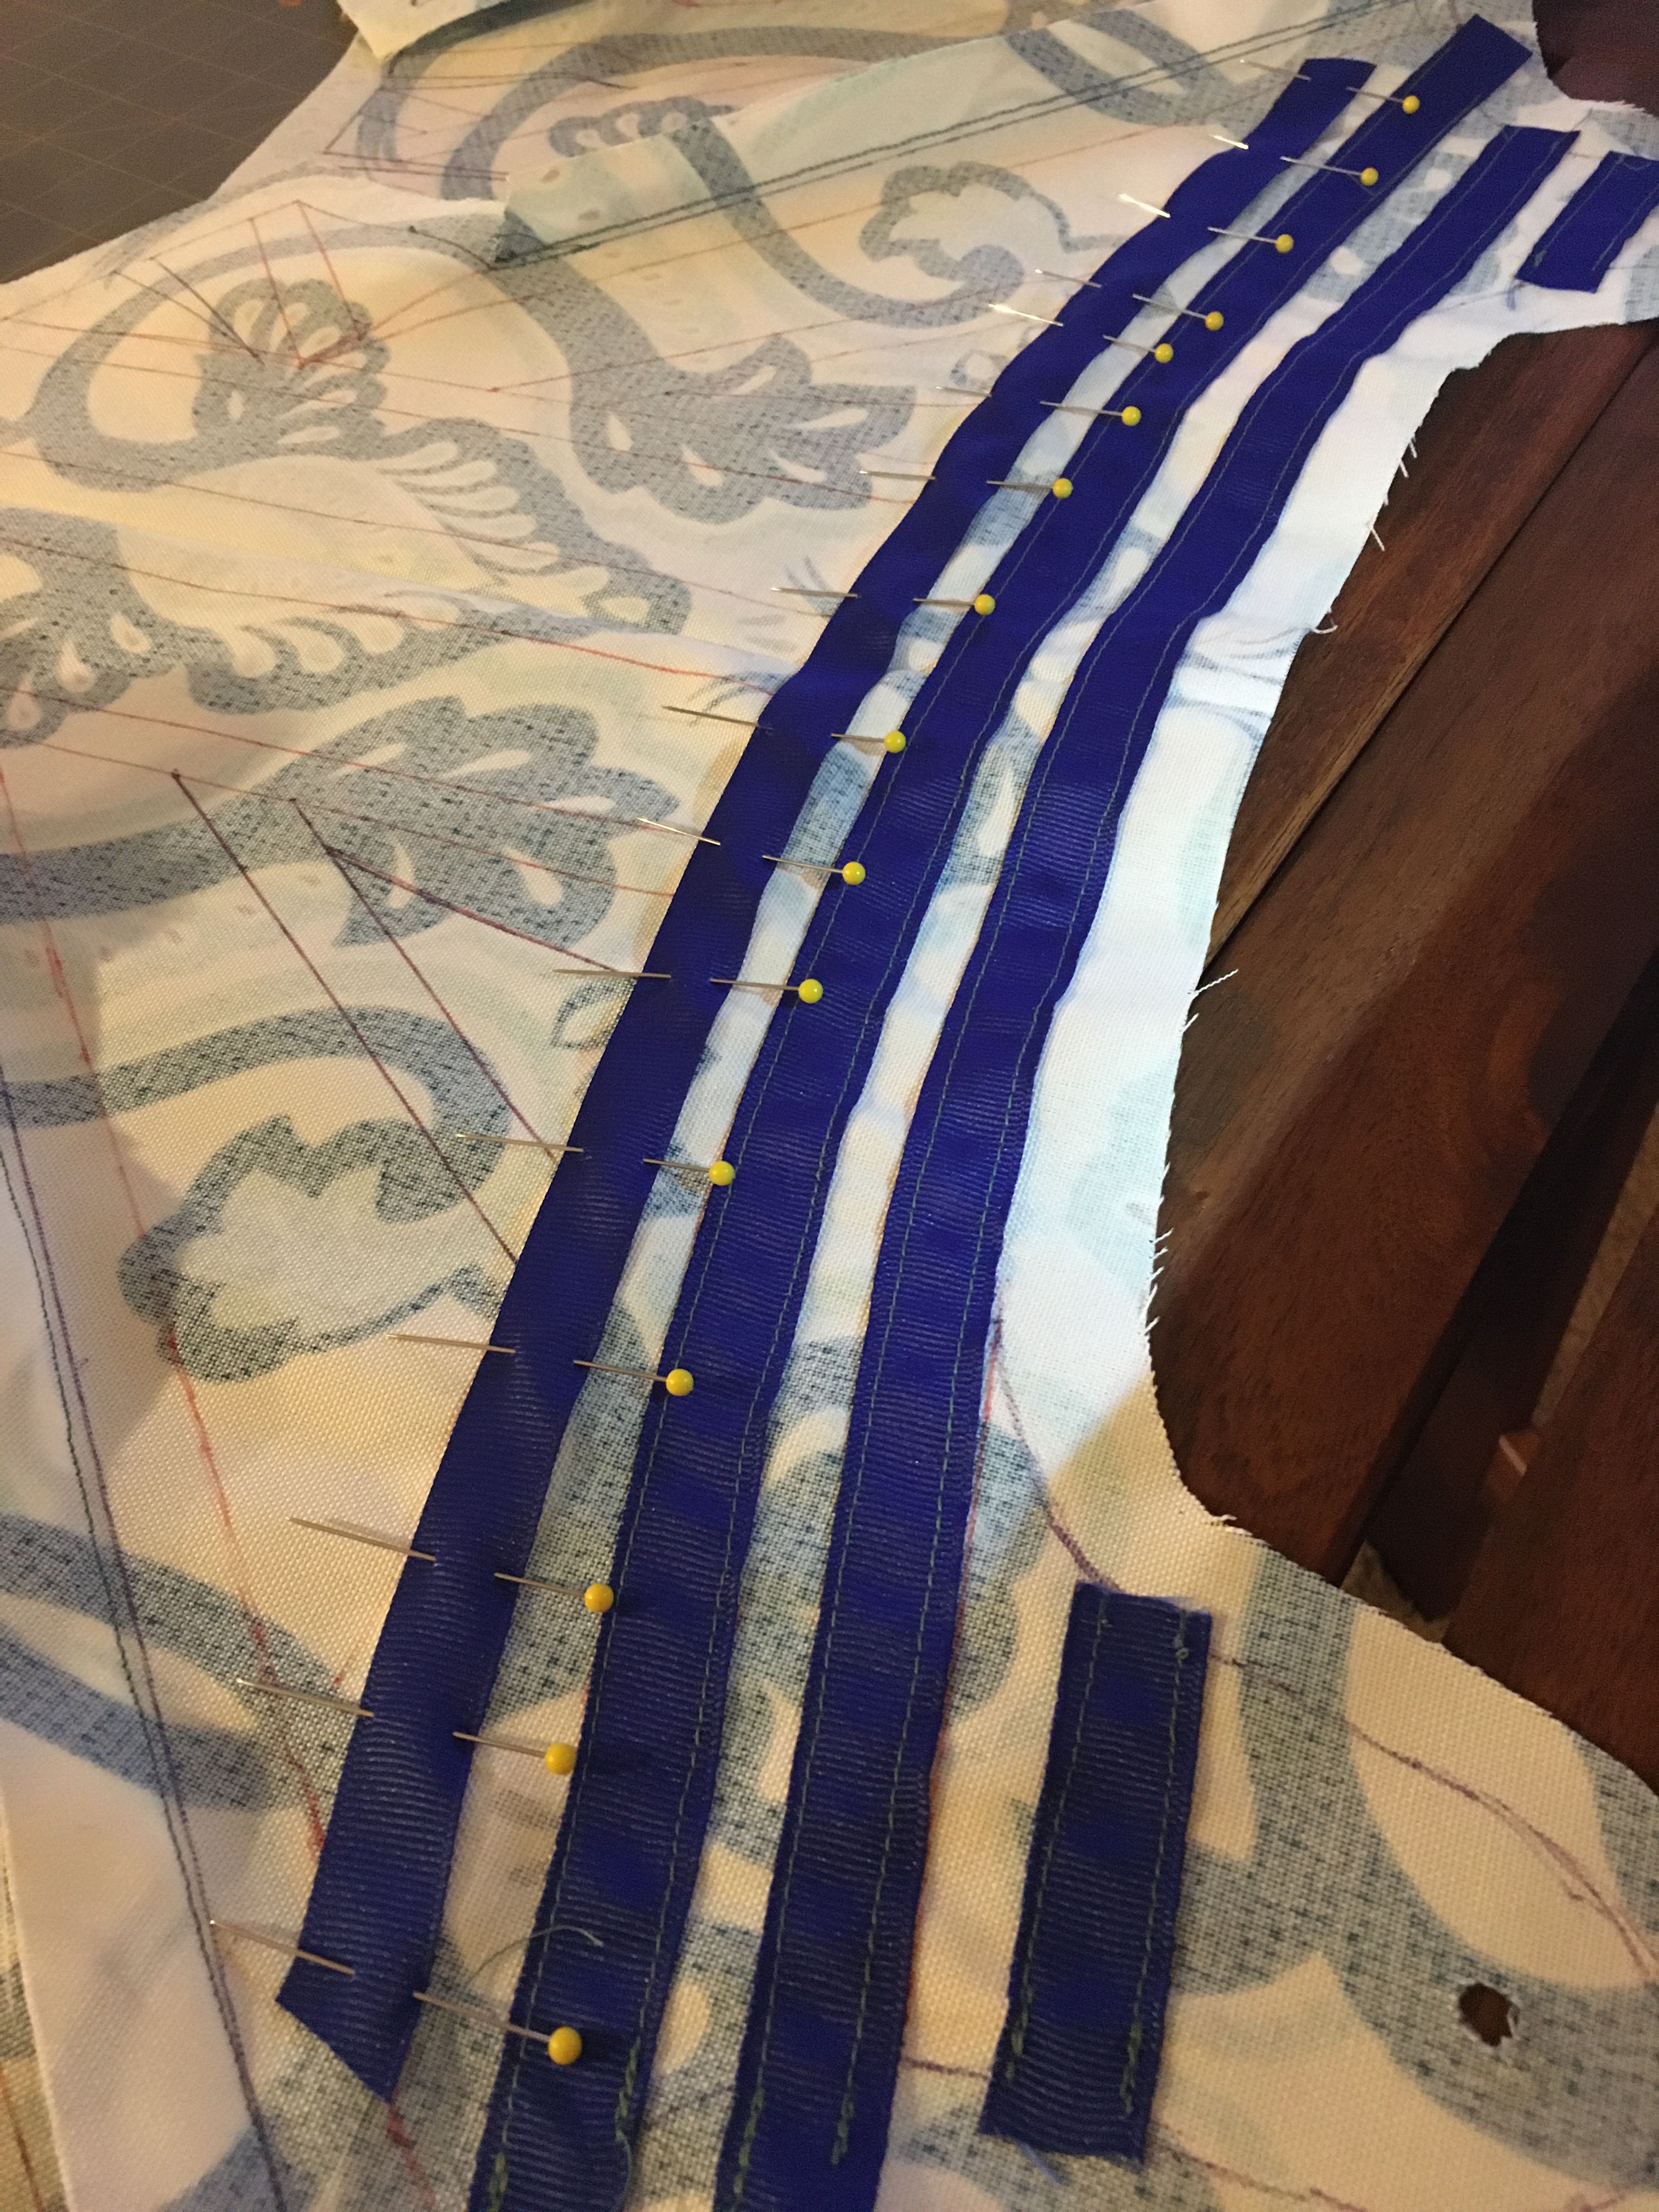
To save on time and budget, I stitched every other boning channel, used gross grained ribbon I had on hand, and 12″ zip ties to test the boning channels. I would not use the gross-grained ribbon in the final garment though since it stretches in the center and can fray easily. But it is a great cheap and fast method to test.
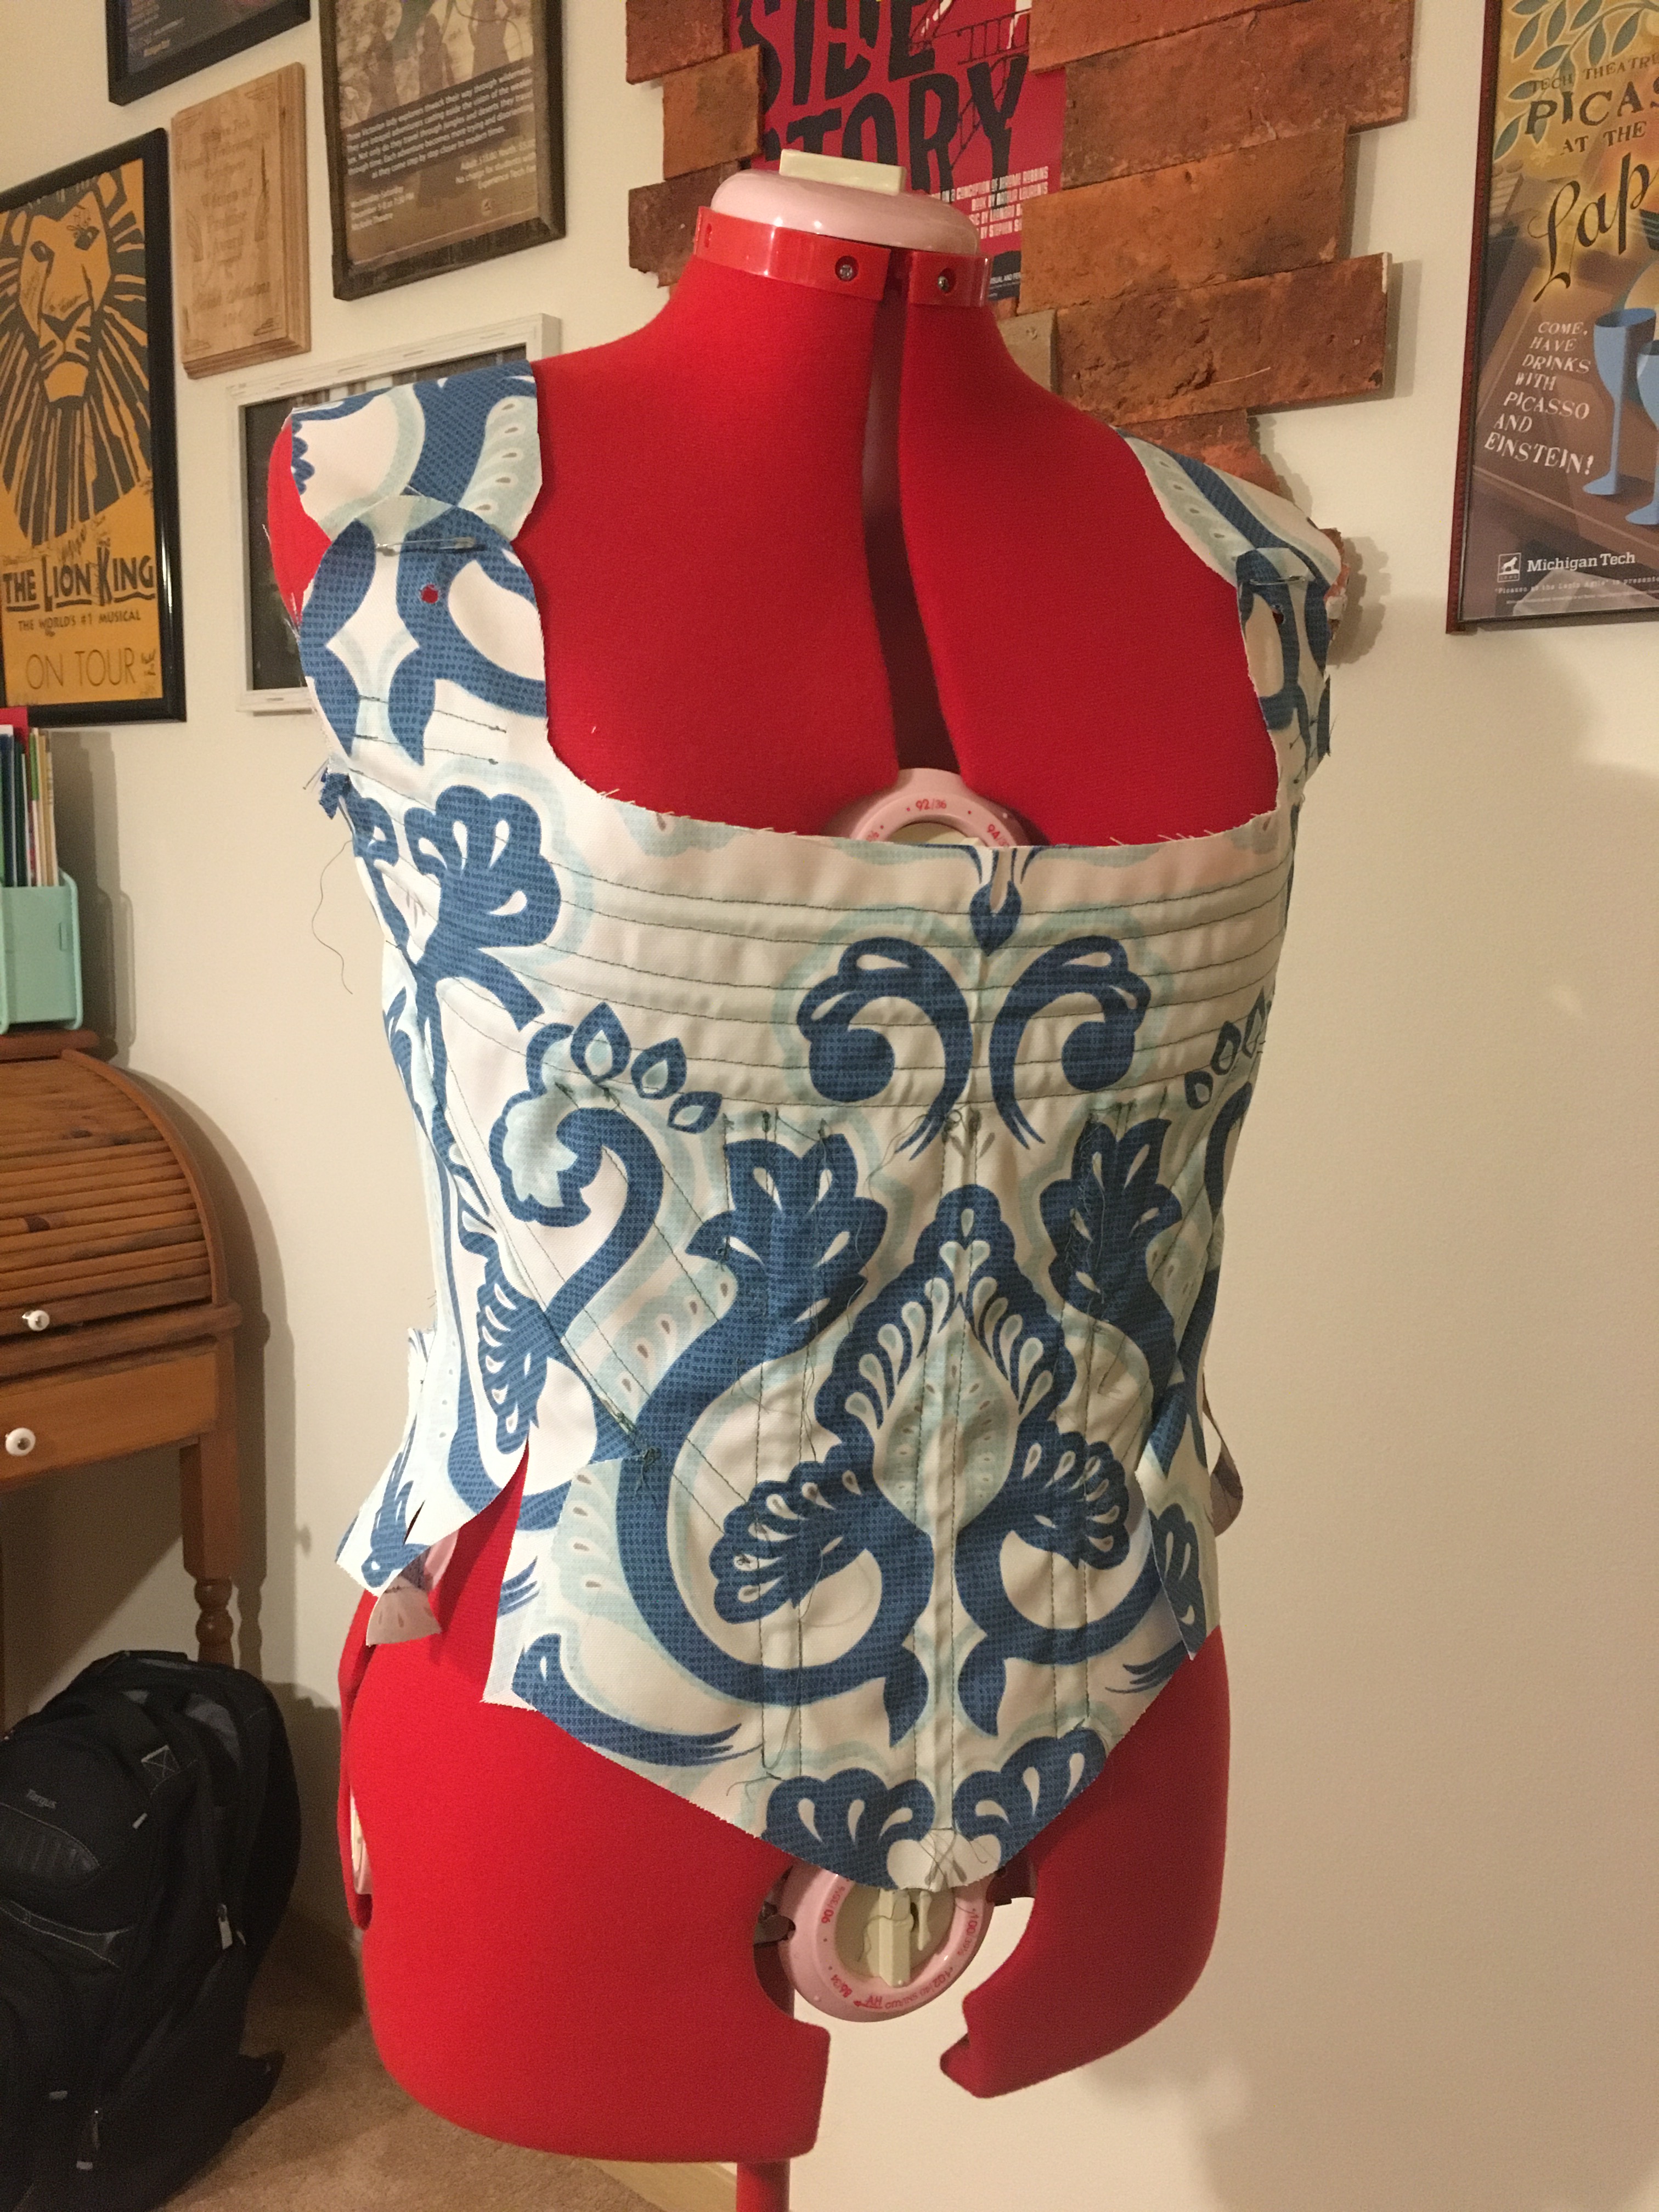
The initial toulie did it’s job and showed just how poor of a fit it was. I could tell that the back would not lace straight due to too much material at the bust and not nearly enough at the hips. This however, was actually a sorta easy fix in the pattern. I essentially needed to reduce the bust by 1″ and add 1″ at the hips.
I copied the back piece to paper, slashed it at the shoulder line along one of the existing boning channel lines, and pivoted it equal amounts closed along the bust line and open along the hip line.
Now, I made the second toulie and again added half of the bones. To save time, and my sanity, I reused the sides and front panels since no changes were made to these pieces.
Here, my fit issues were almost solved and I decided to move forward to the real deal. These are all the materials I would need for the final construction:
- 1 1/2 yards Fashion fabric (red and tan striped cotton)
- 1 1/2 yards heavyweight herringbone coutil
- 1 1/2 yard lining fabric (yellow silk)
- 15 yards 100% cotton twill tape
- 15 yards synthetic whale bone
- 24 metal eyelets
- 8 yards double fold bias tape
- linen thread
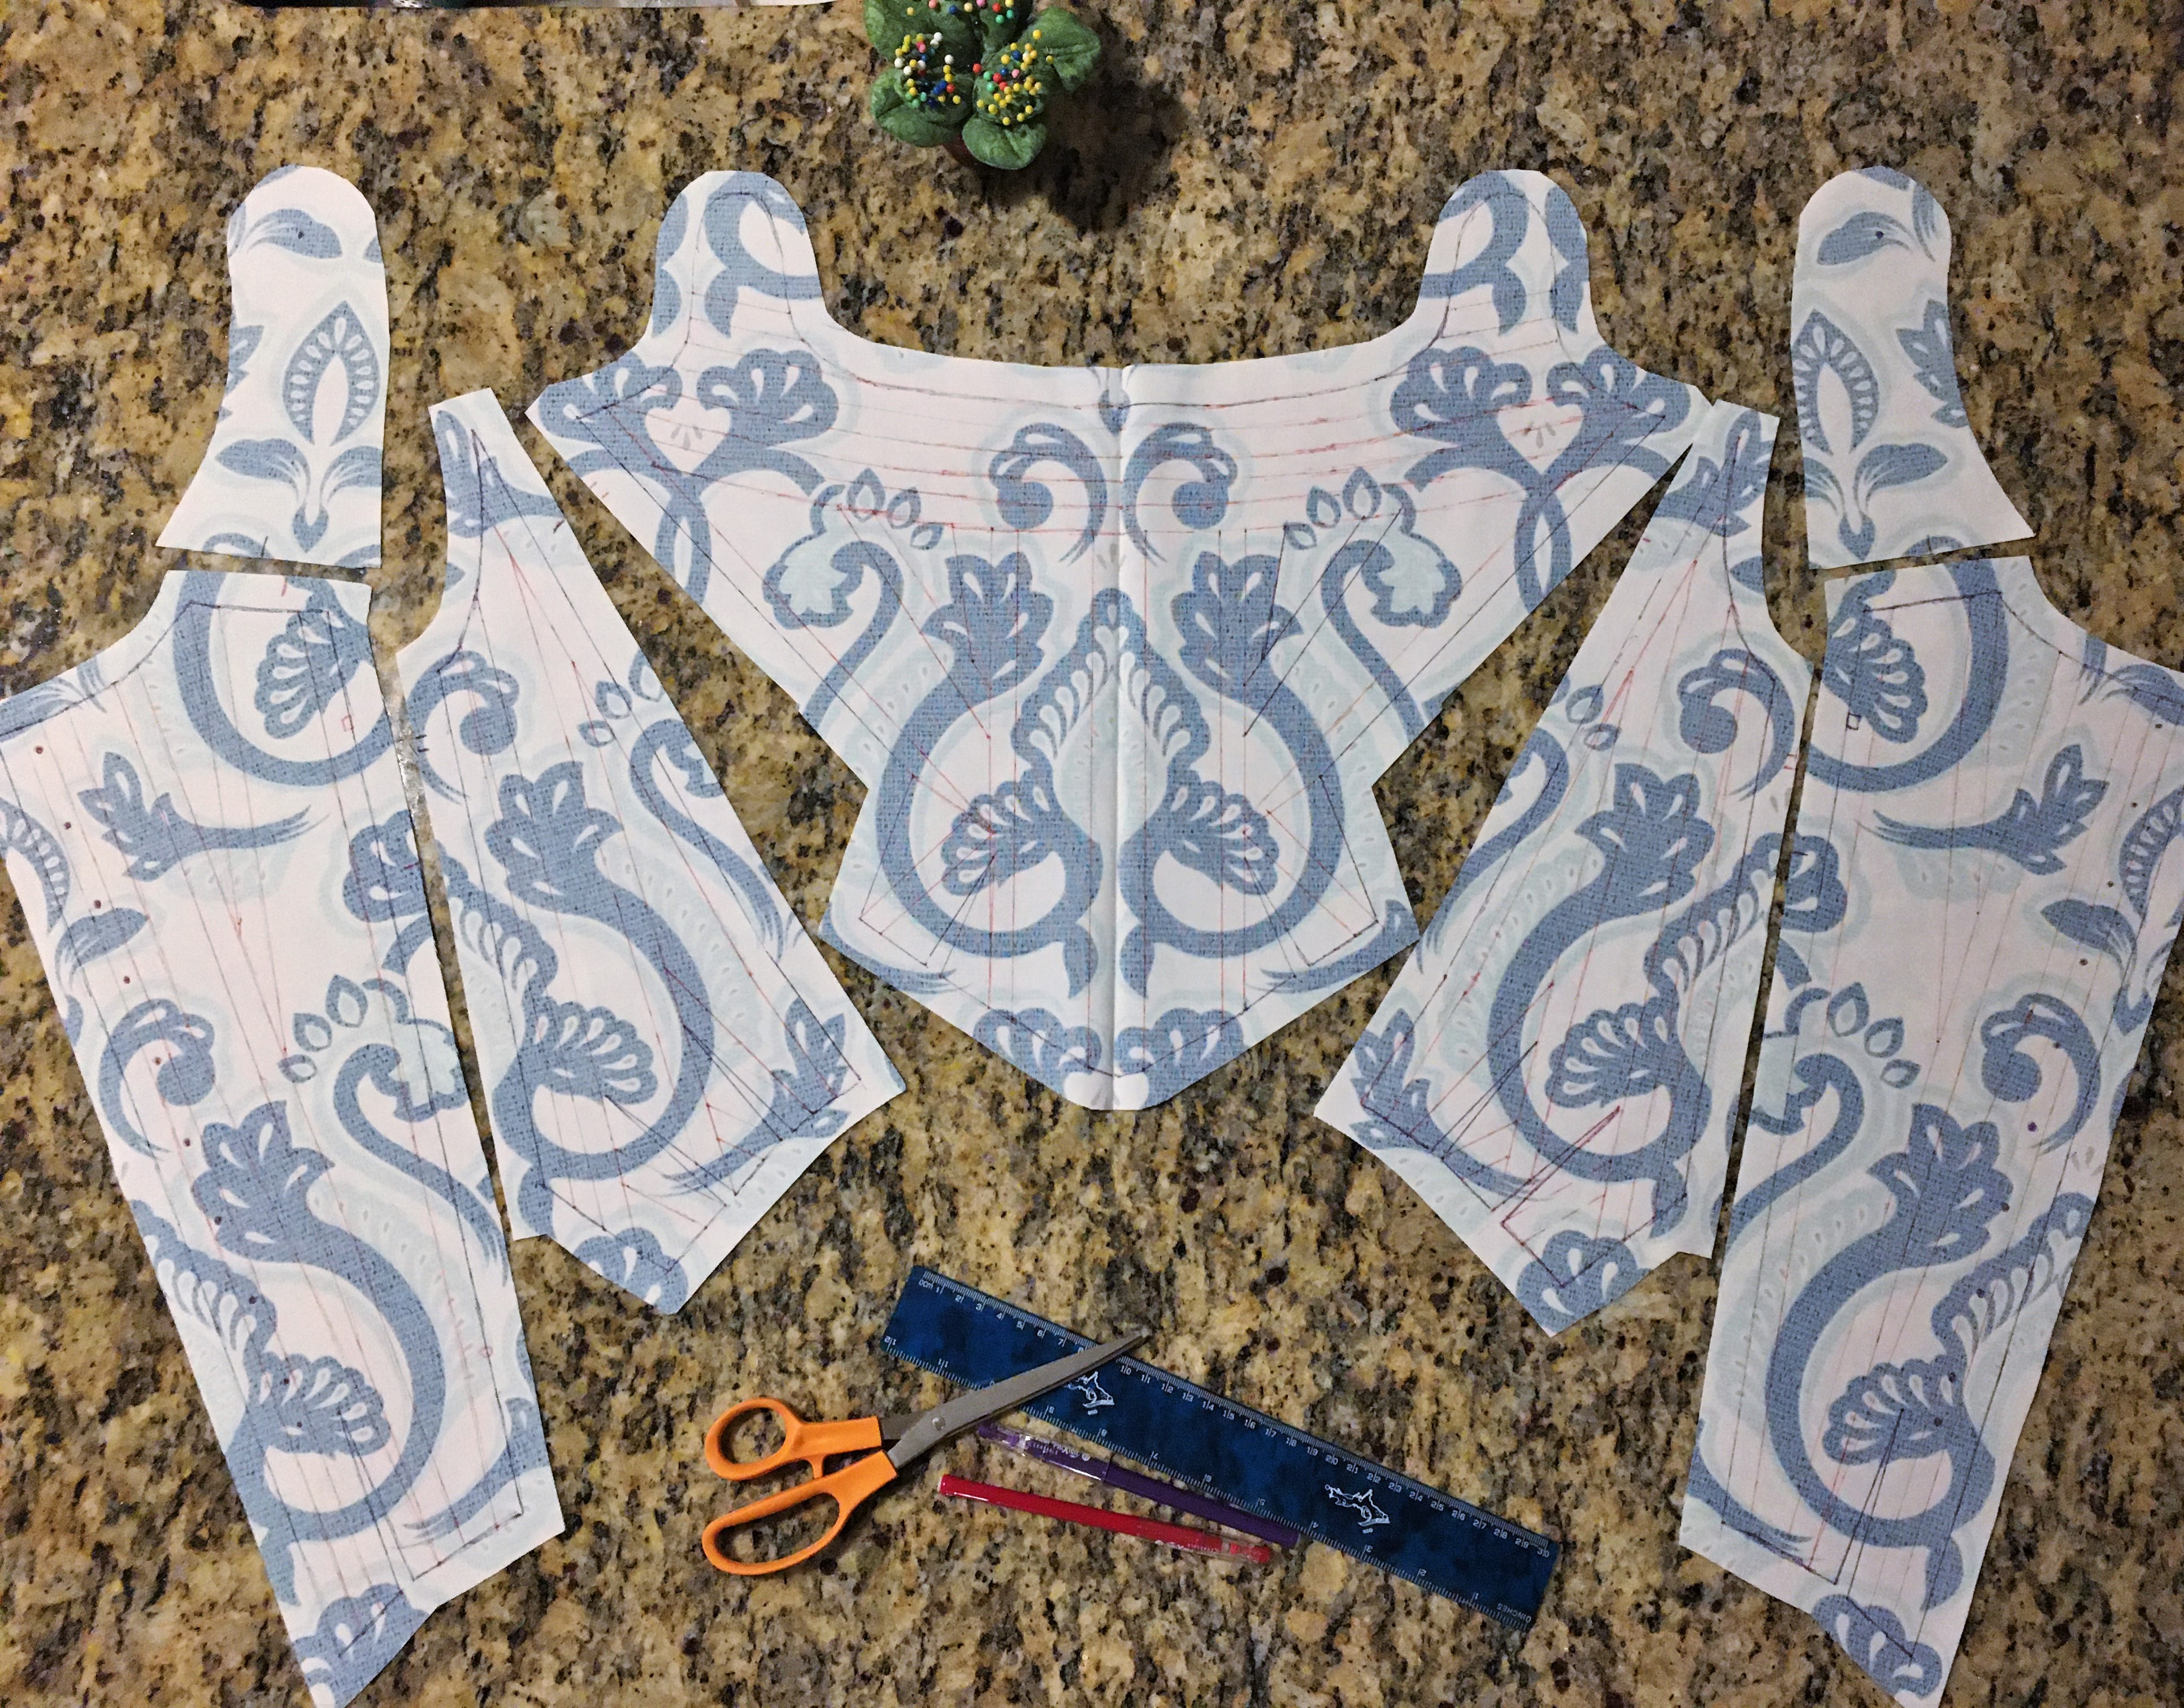
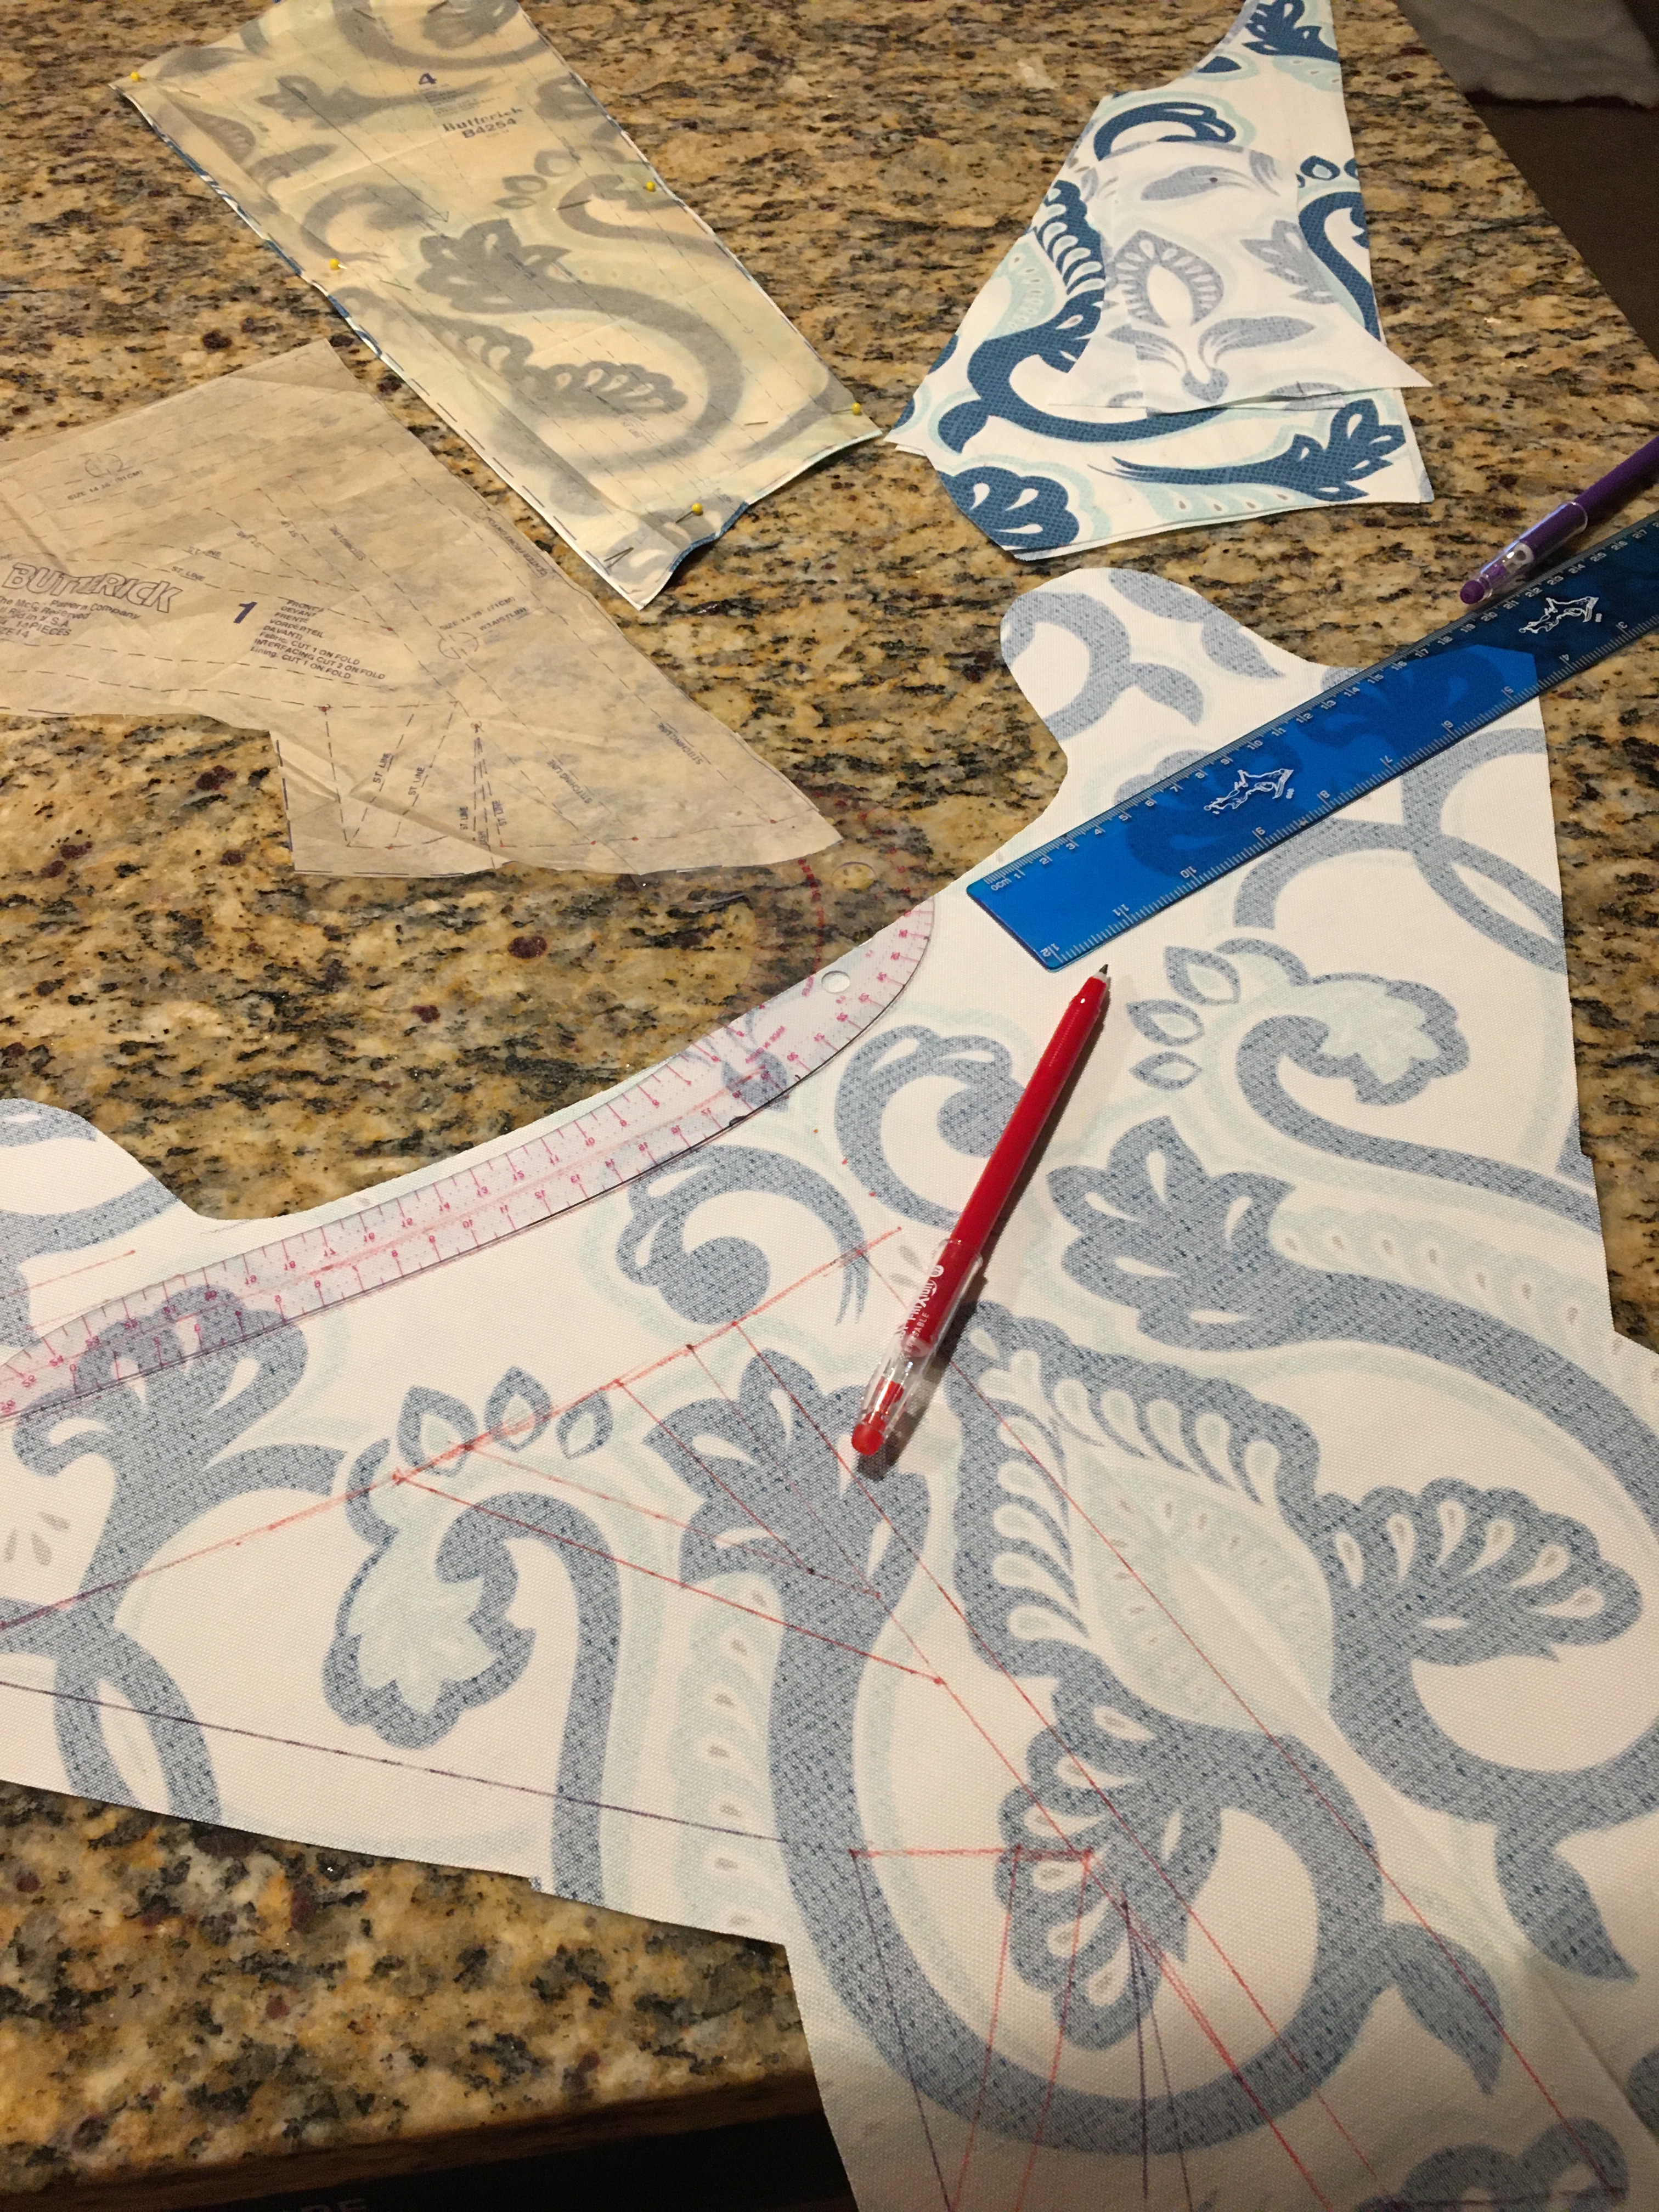
The first step was to cut out all of my pattern pieces from the coutil and dyed fabric. The strong coutil layer would prevent the other two semi-delicate layers (cotton fashion fabric, silk lining) from stretching. My plan was to baste the fashion fabric and coutil together, add the boning channels, and then flat line with the yellow silk.
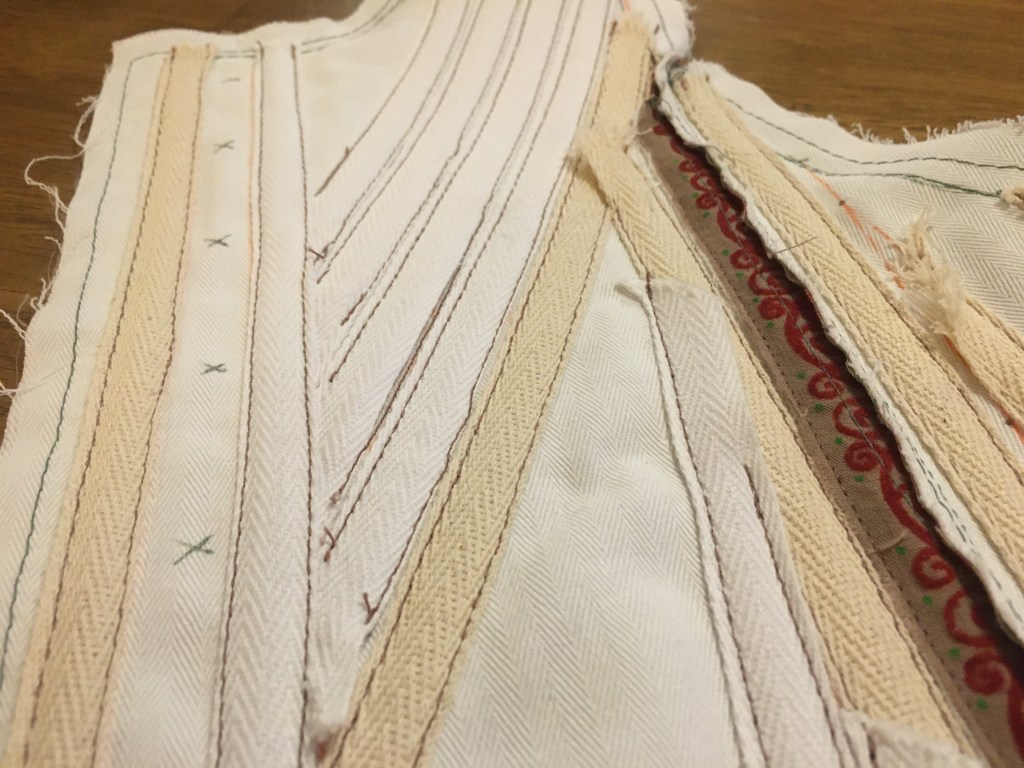
After cutting, I was able to painstakingly mark all of my boning channels and stitching lines onto the coutil which would back the fashion fabric and be visible for channel sewing before adding the lining later. This was a process…
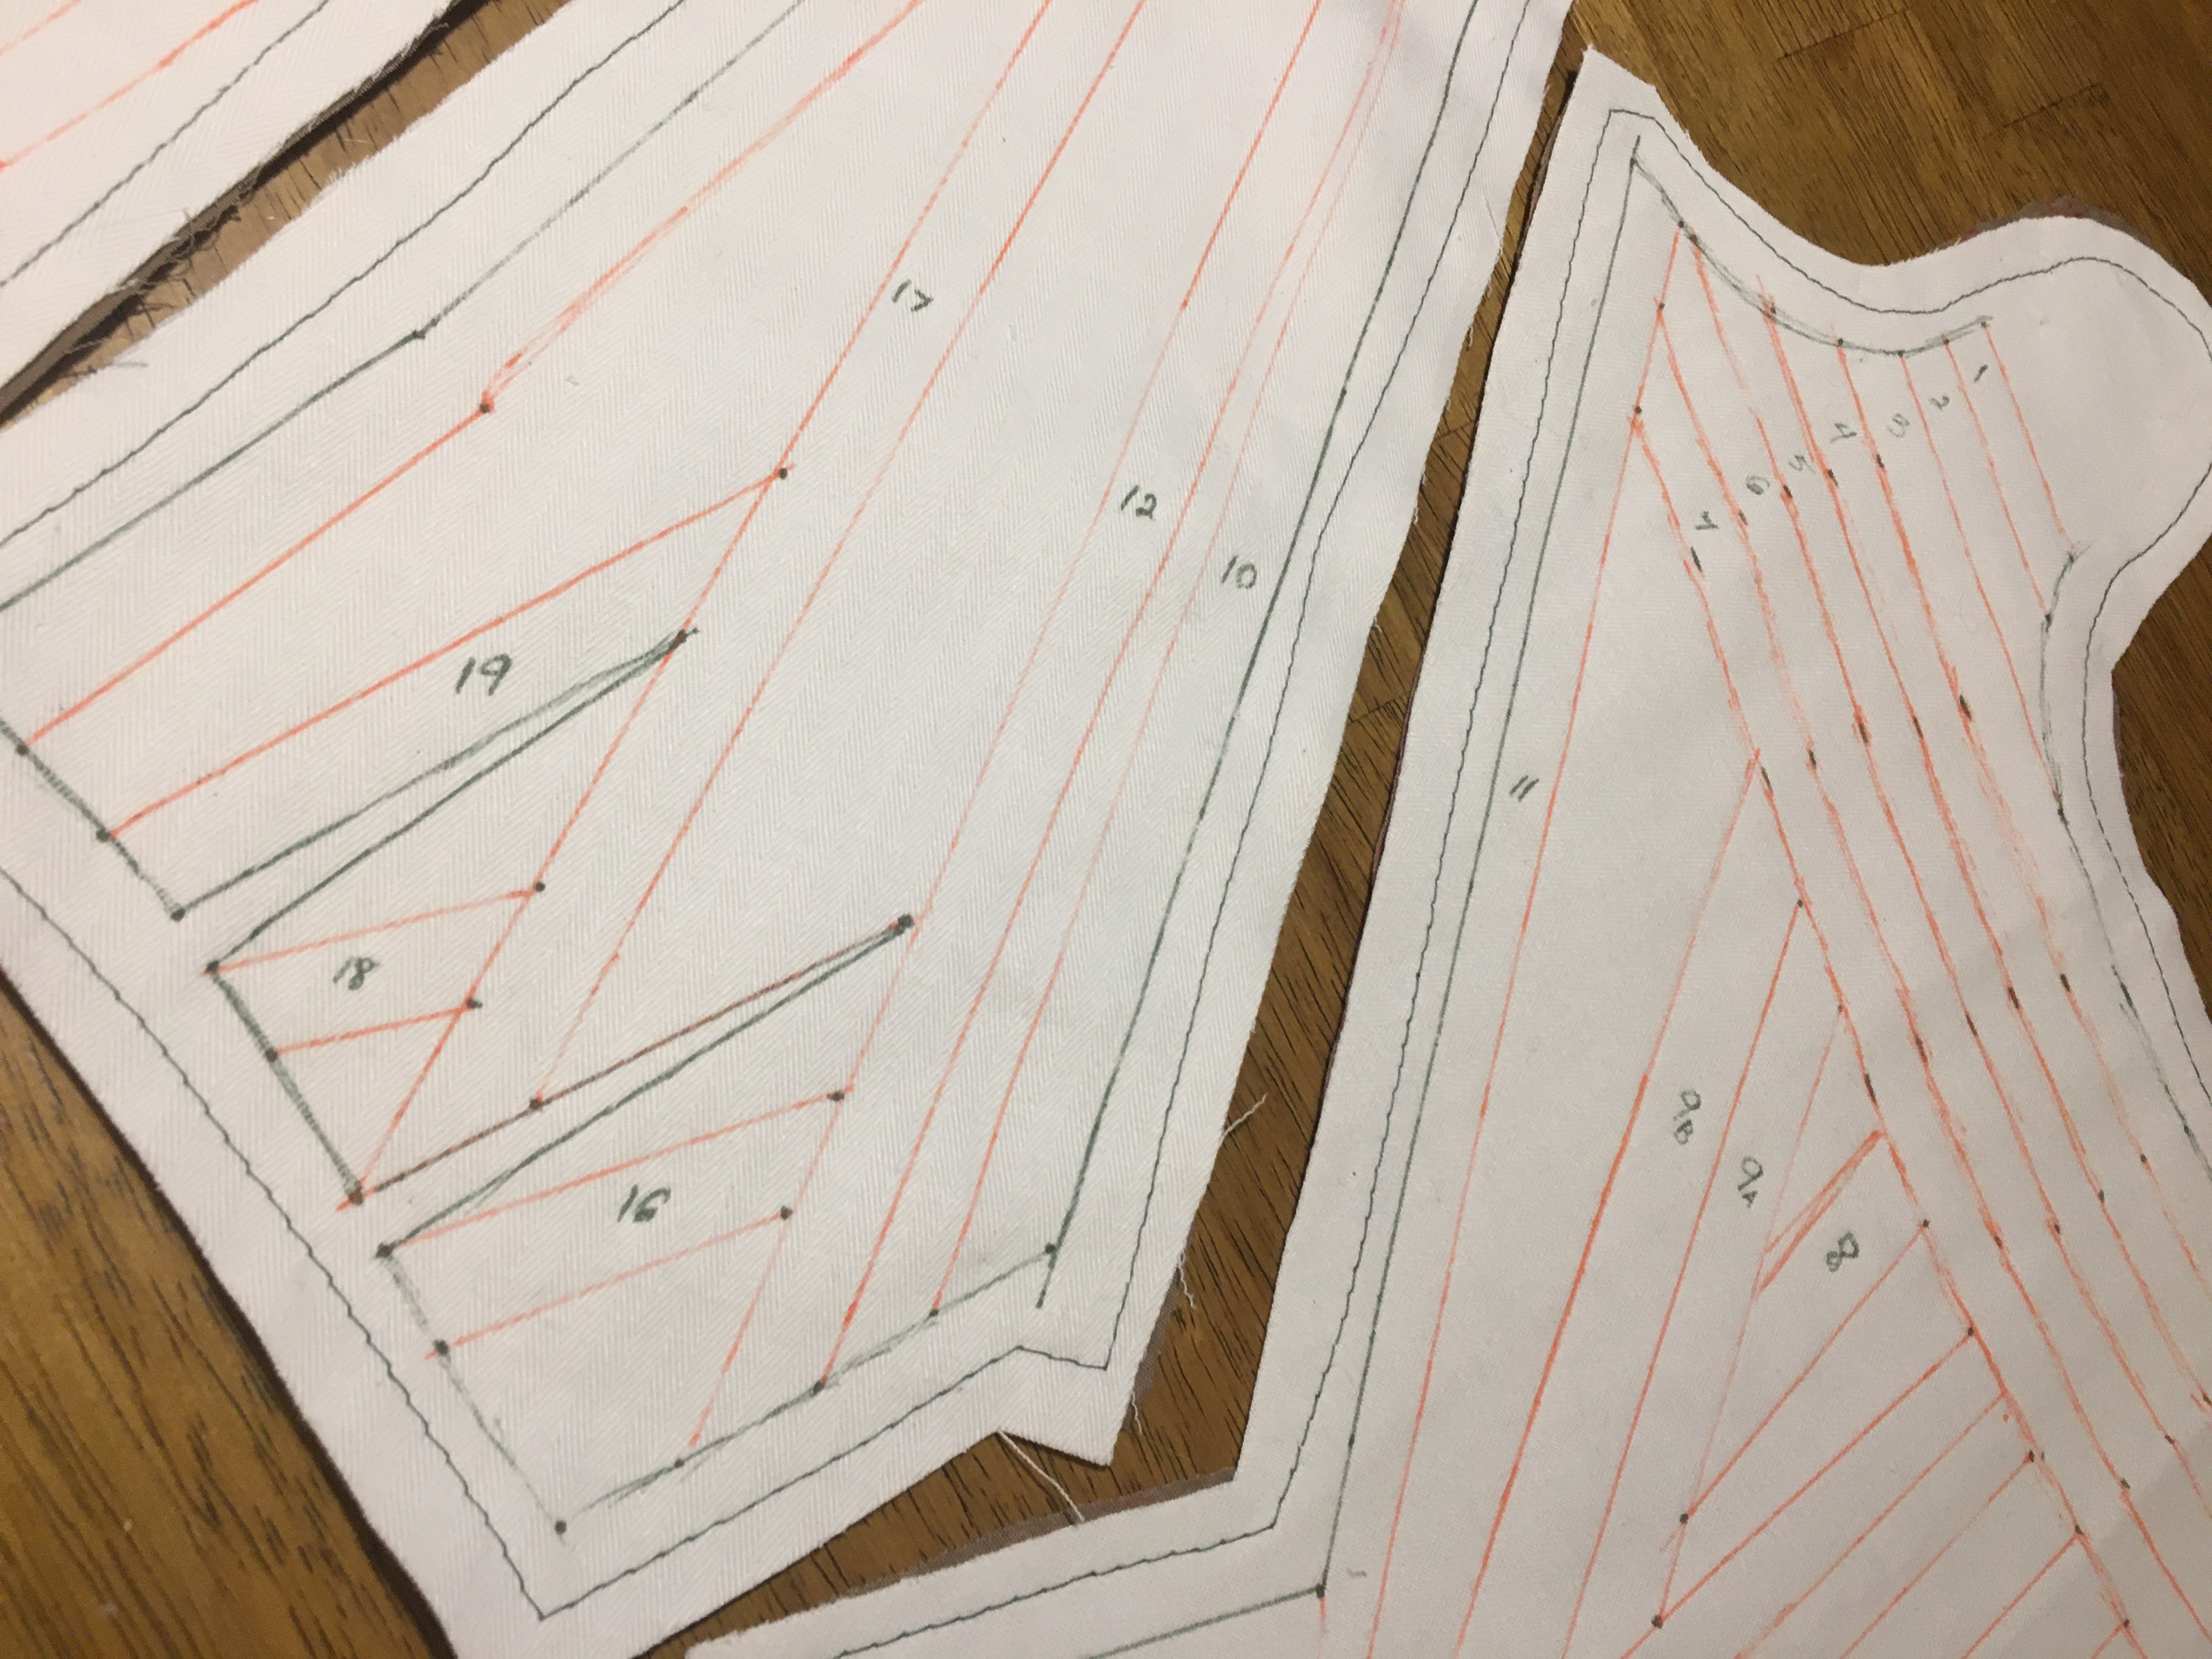

In marking the channels, I numbered them based on the order to stitch them. The order keeps the top of the channels open while closing the bottoms of many of the channels where they meet with other channels.
I had made a few additions and adjustments to the boning scheme of the original pattern from Butterick, mostly to the back panels, and with this I ended up with 56 boning channels. Since there are a few gaps between channel sections, this would be considered a half boned stay that was typical of the later portion of the 17th century.
This marked piece was then baste stitched to my dyed fashion fabric before completing all the seams. I stitched the seams as a generous 5/8″ since I would be attempting to use the seams for a few of my boning channels. This is a practice used a lot in Victorian style corsets which have more panels and thus more seams than my simple stay.
I wanted to press my seams open so badly, but would have to wait for that satisfying moment until I had my channels sewn. All of my markings were done with pens I have with which the ink vanishes with ironing. I love them, but they make sequencing difficult sometimes.
A decision I hadn’t anticipated needing to make was the thread color for the boning channels. Since my stitching would be visible on the outside, the color was a bit more critical than I had anticipated, especially since I was using a patterned fashion fabric. I pulled every thread I had on hand that was either a matching color to the pattern or complemented.
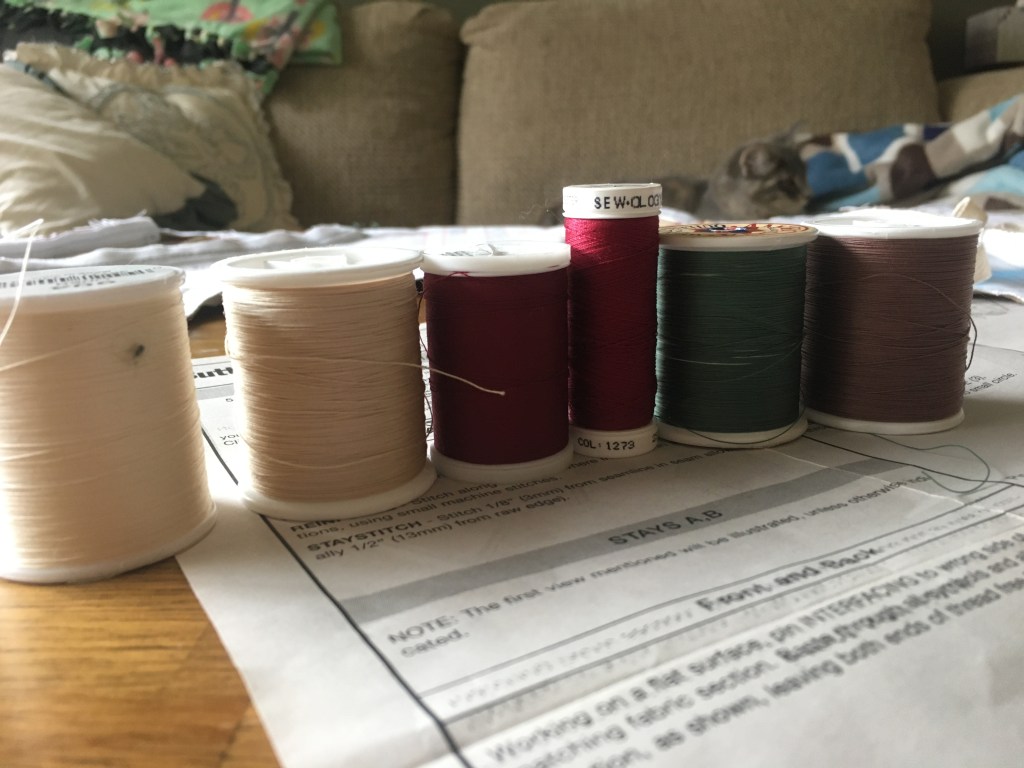
I then stitched straight lines on a scrap piece of the dyed material running both parallel and perpendicular to the lines of the pattern. This would allow me to see how the colors would either blend or pop against the base fabric and the red velvet embossing.
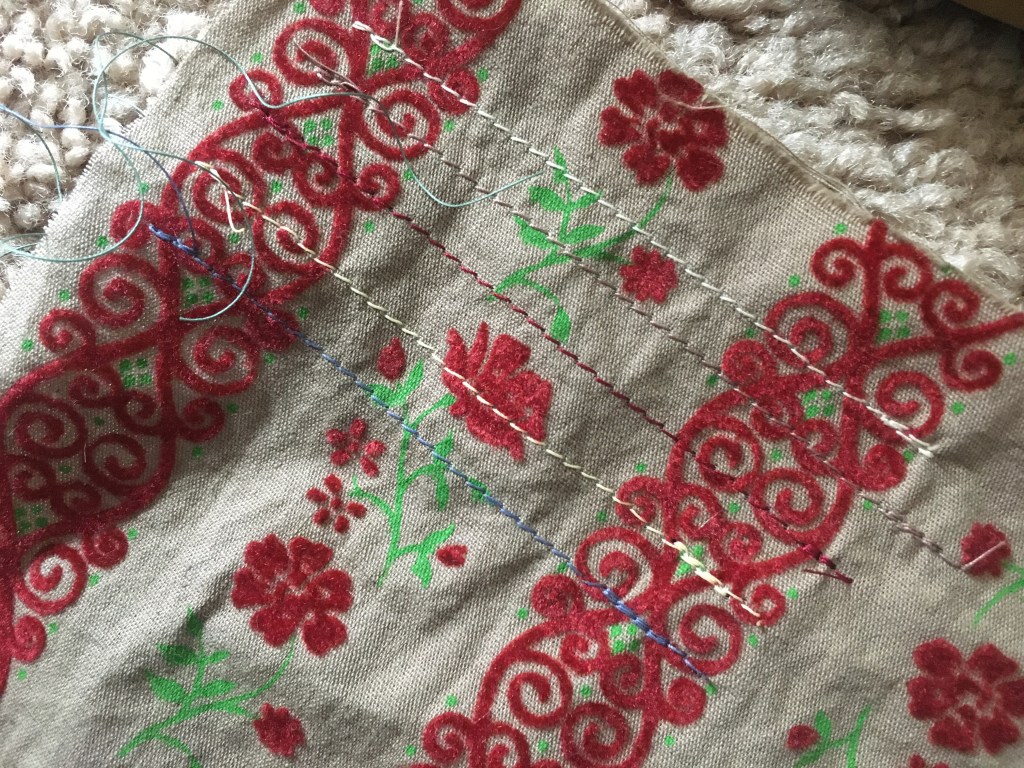
Of the five options I whittled down to, I was between burgundy and tan since they blended best. In the end, I opted for the tan since it matched the base fabric almost perfectly.
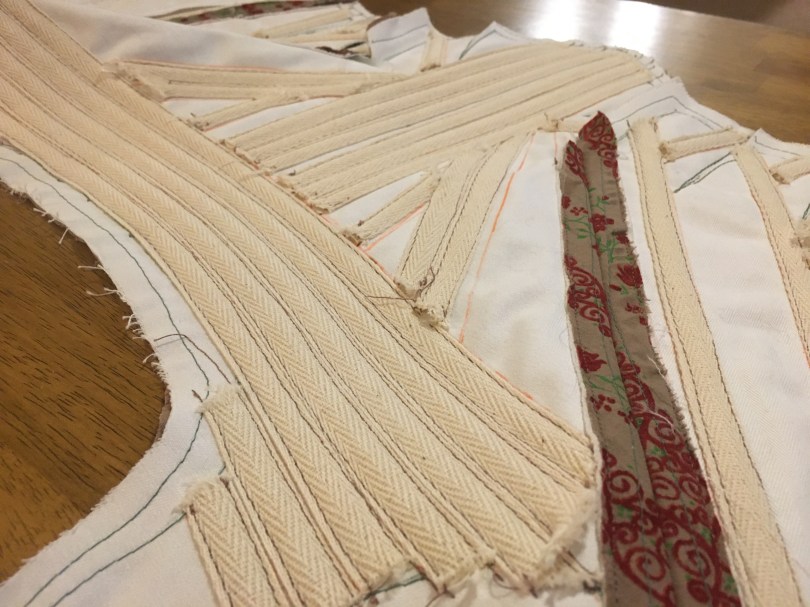
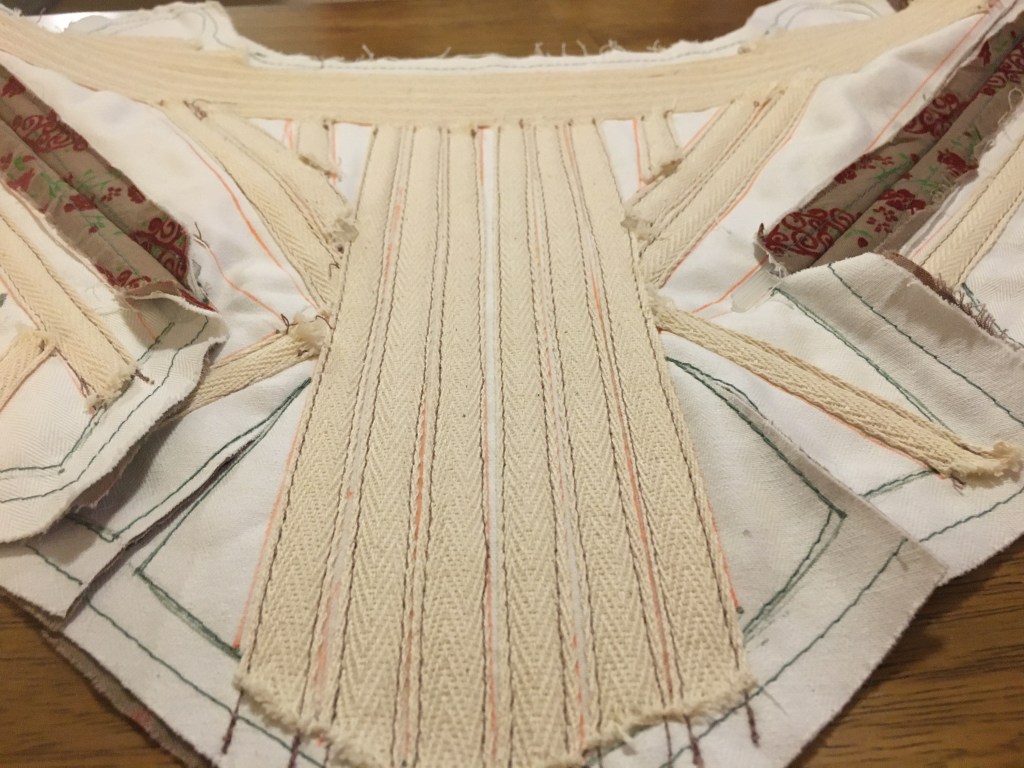
Now, I could start the tedious, though satisfying process of adding the channel casings. I opted to use 1/2″ 100% cotton twill tape rather than the two layer method since I had so many channels and it was easy to work with. I initially bought a few rolls from Hobby Lobby but kept running out and instead ordered some for quick delivery from Amazon (*gasp*, it was a tragedy to do and I feel dirty doing so, but I was on a roll and could get 1-day shipping). The original tape from Hobby Lobby was decent, though it had a bit more give than I would have liked. It was much better in comparison to the Amazon twill tape, which was strong but a bit thin and warped.


Please enjoy a satisfying time-lapse of stitching the boning channels (my apologies for the pajamas, but there are cats at the end!)
After completing the channels, I carefully cut my synthetic whalebone to length for each channel. Each length needed to be pressed into submission since they were wrapped tightly in shipping. To do this, I used an iron on high heat with medium steam and covered each piece with scrap coutil. The straightened pieces were then easily slipped into their channels and closed with prick stitches.


Keep reading on The Goose Girl Part 3: Bodice Finishings and Flare for the final steps in the stay construction:
- Lining
- Binding
- Eyelets
- Lacing

[…] that I had completed the structure and fit (See The Goose Girl: Bodice Beginnings to Boning), I could line the stays, finish with binding, and add eyelets and […]
LikeLike
[…] The Goose Girl: Bodice Beginnings to Boning […]
LikeLike
[…] The Goose Girl: Bodice Beginnings to Boning […]
LikeLike