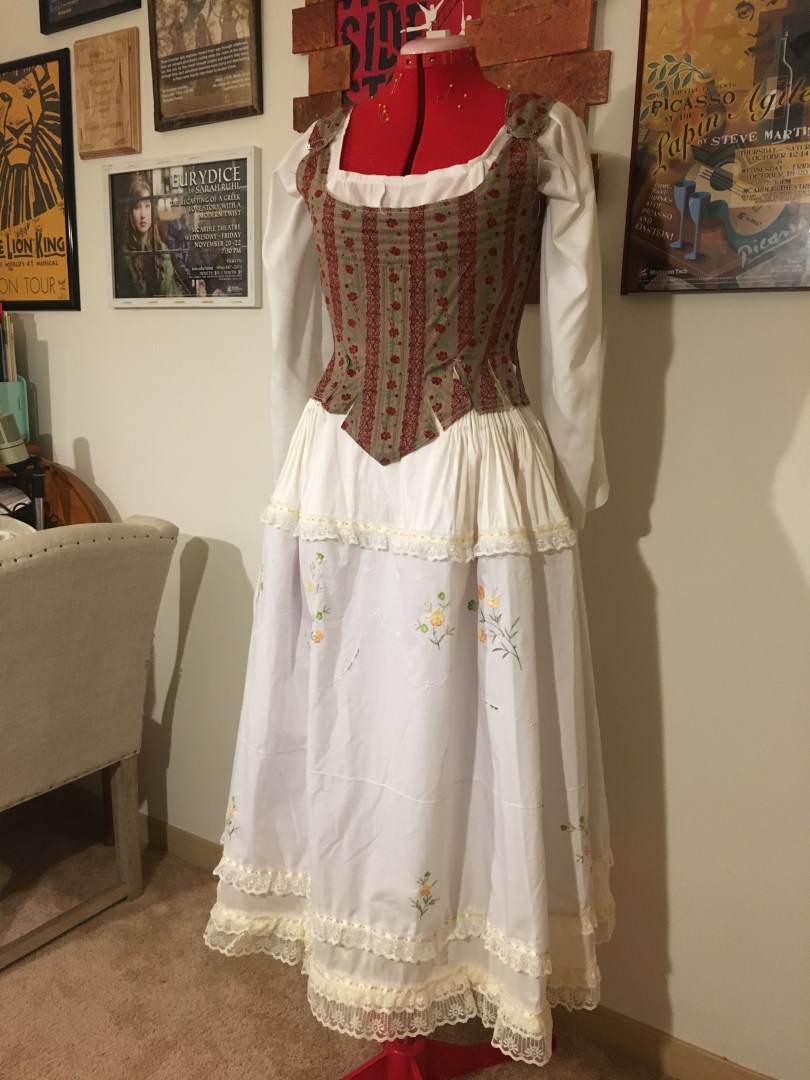
In following the concept of the Goose Girl’s story, the petticoat is a bit more regal and embellished than the rest of the garment. In the original tale, the lady’s maid demands that the Princess hand over her dress while they are on the road together. The maid then wears the Princess’ clothes and rides into the Prince’s city where she is announced as the Princess. But I doubt she would have demanded her petticoat. This let me have a bit of fun with the garment and build on the motif of the Princess’ hidden identity under the coarser worker’s clothing.
While researching the petticoat, I found little specifics that I would have to stick to for my 17th century style aside from the length being just to the ankle. So, I let myself run a little wild here.
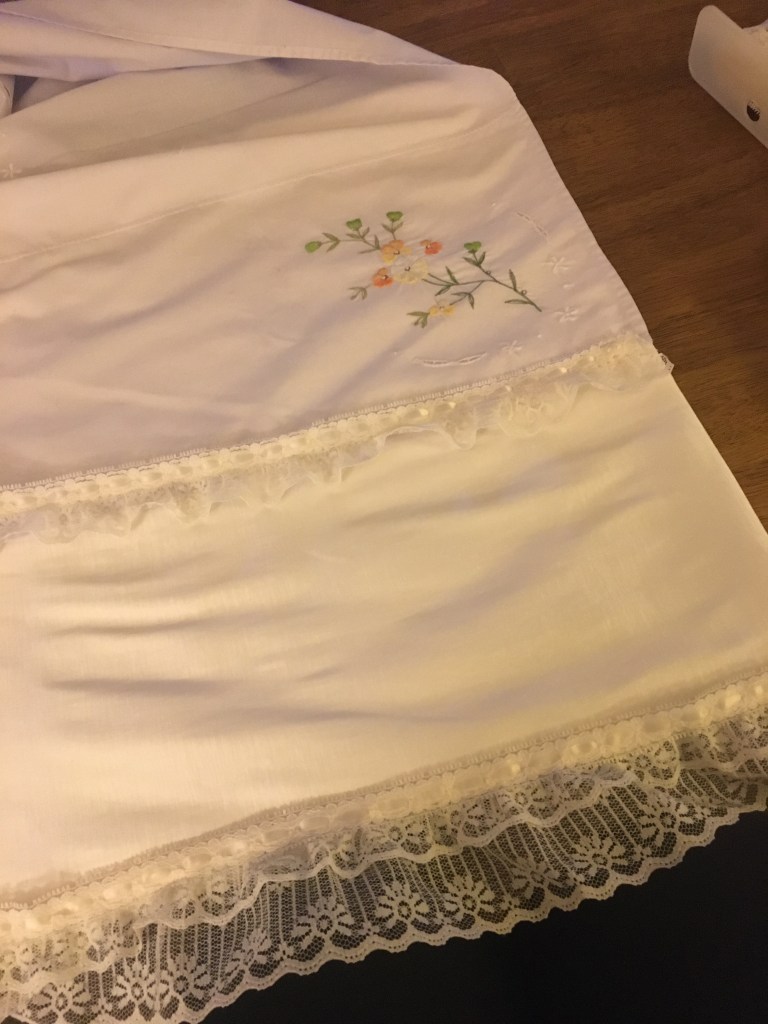
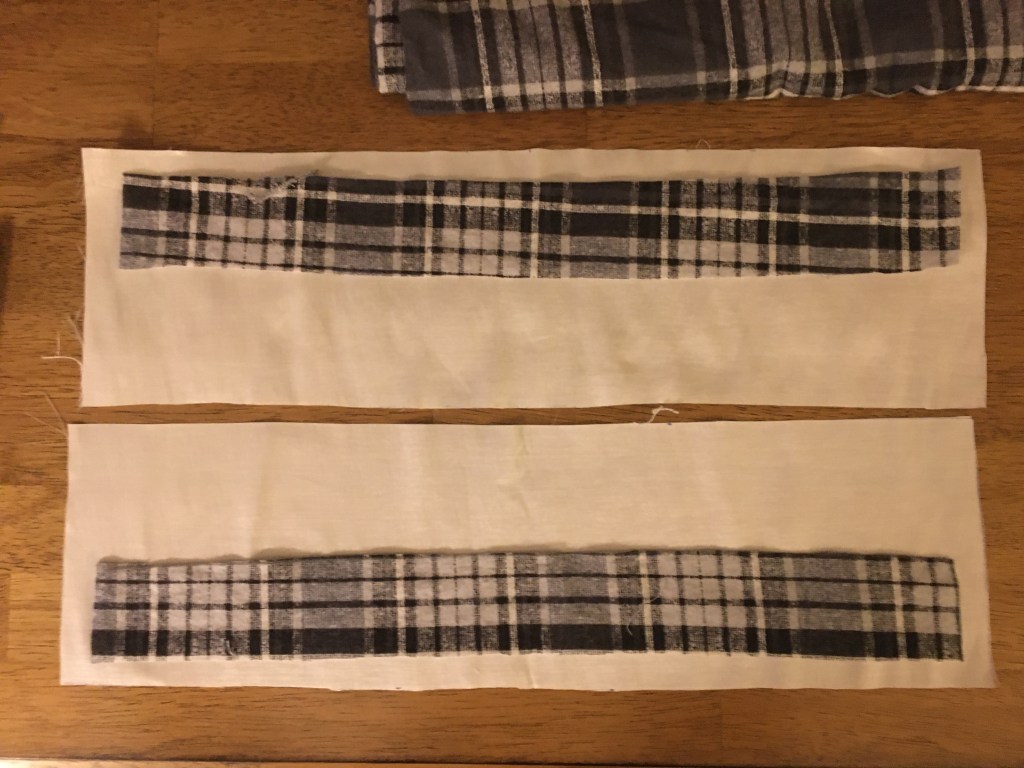
For choosing the fabrics, I wanted to incorporate one of the embroidered pieces I had sourced from vintage shops that were all too pastel for the stay.

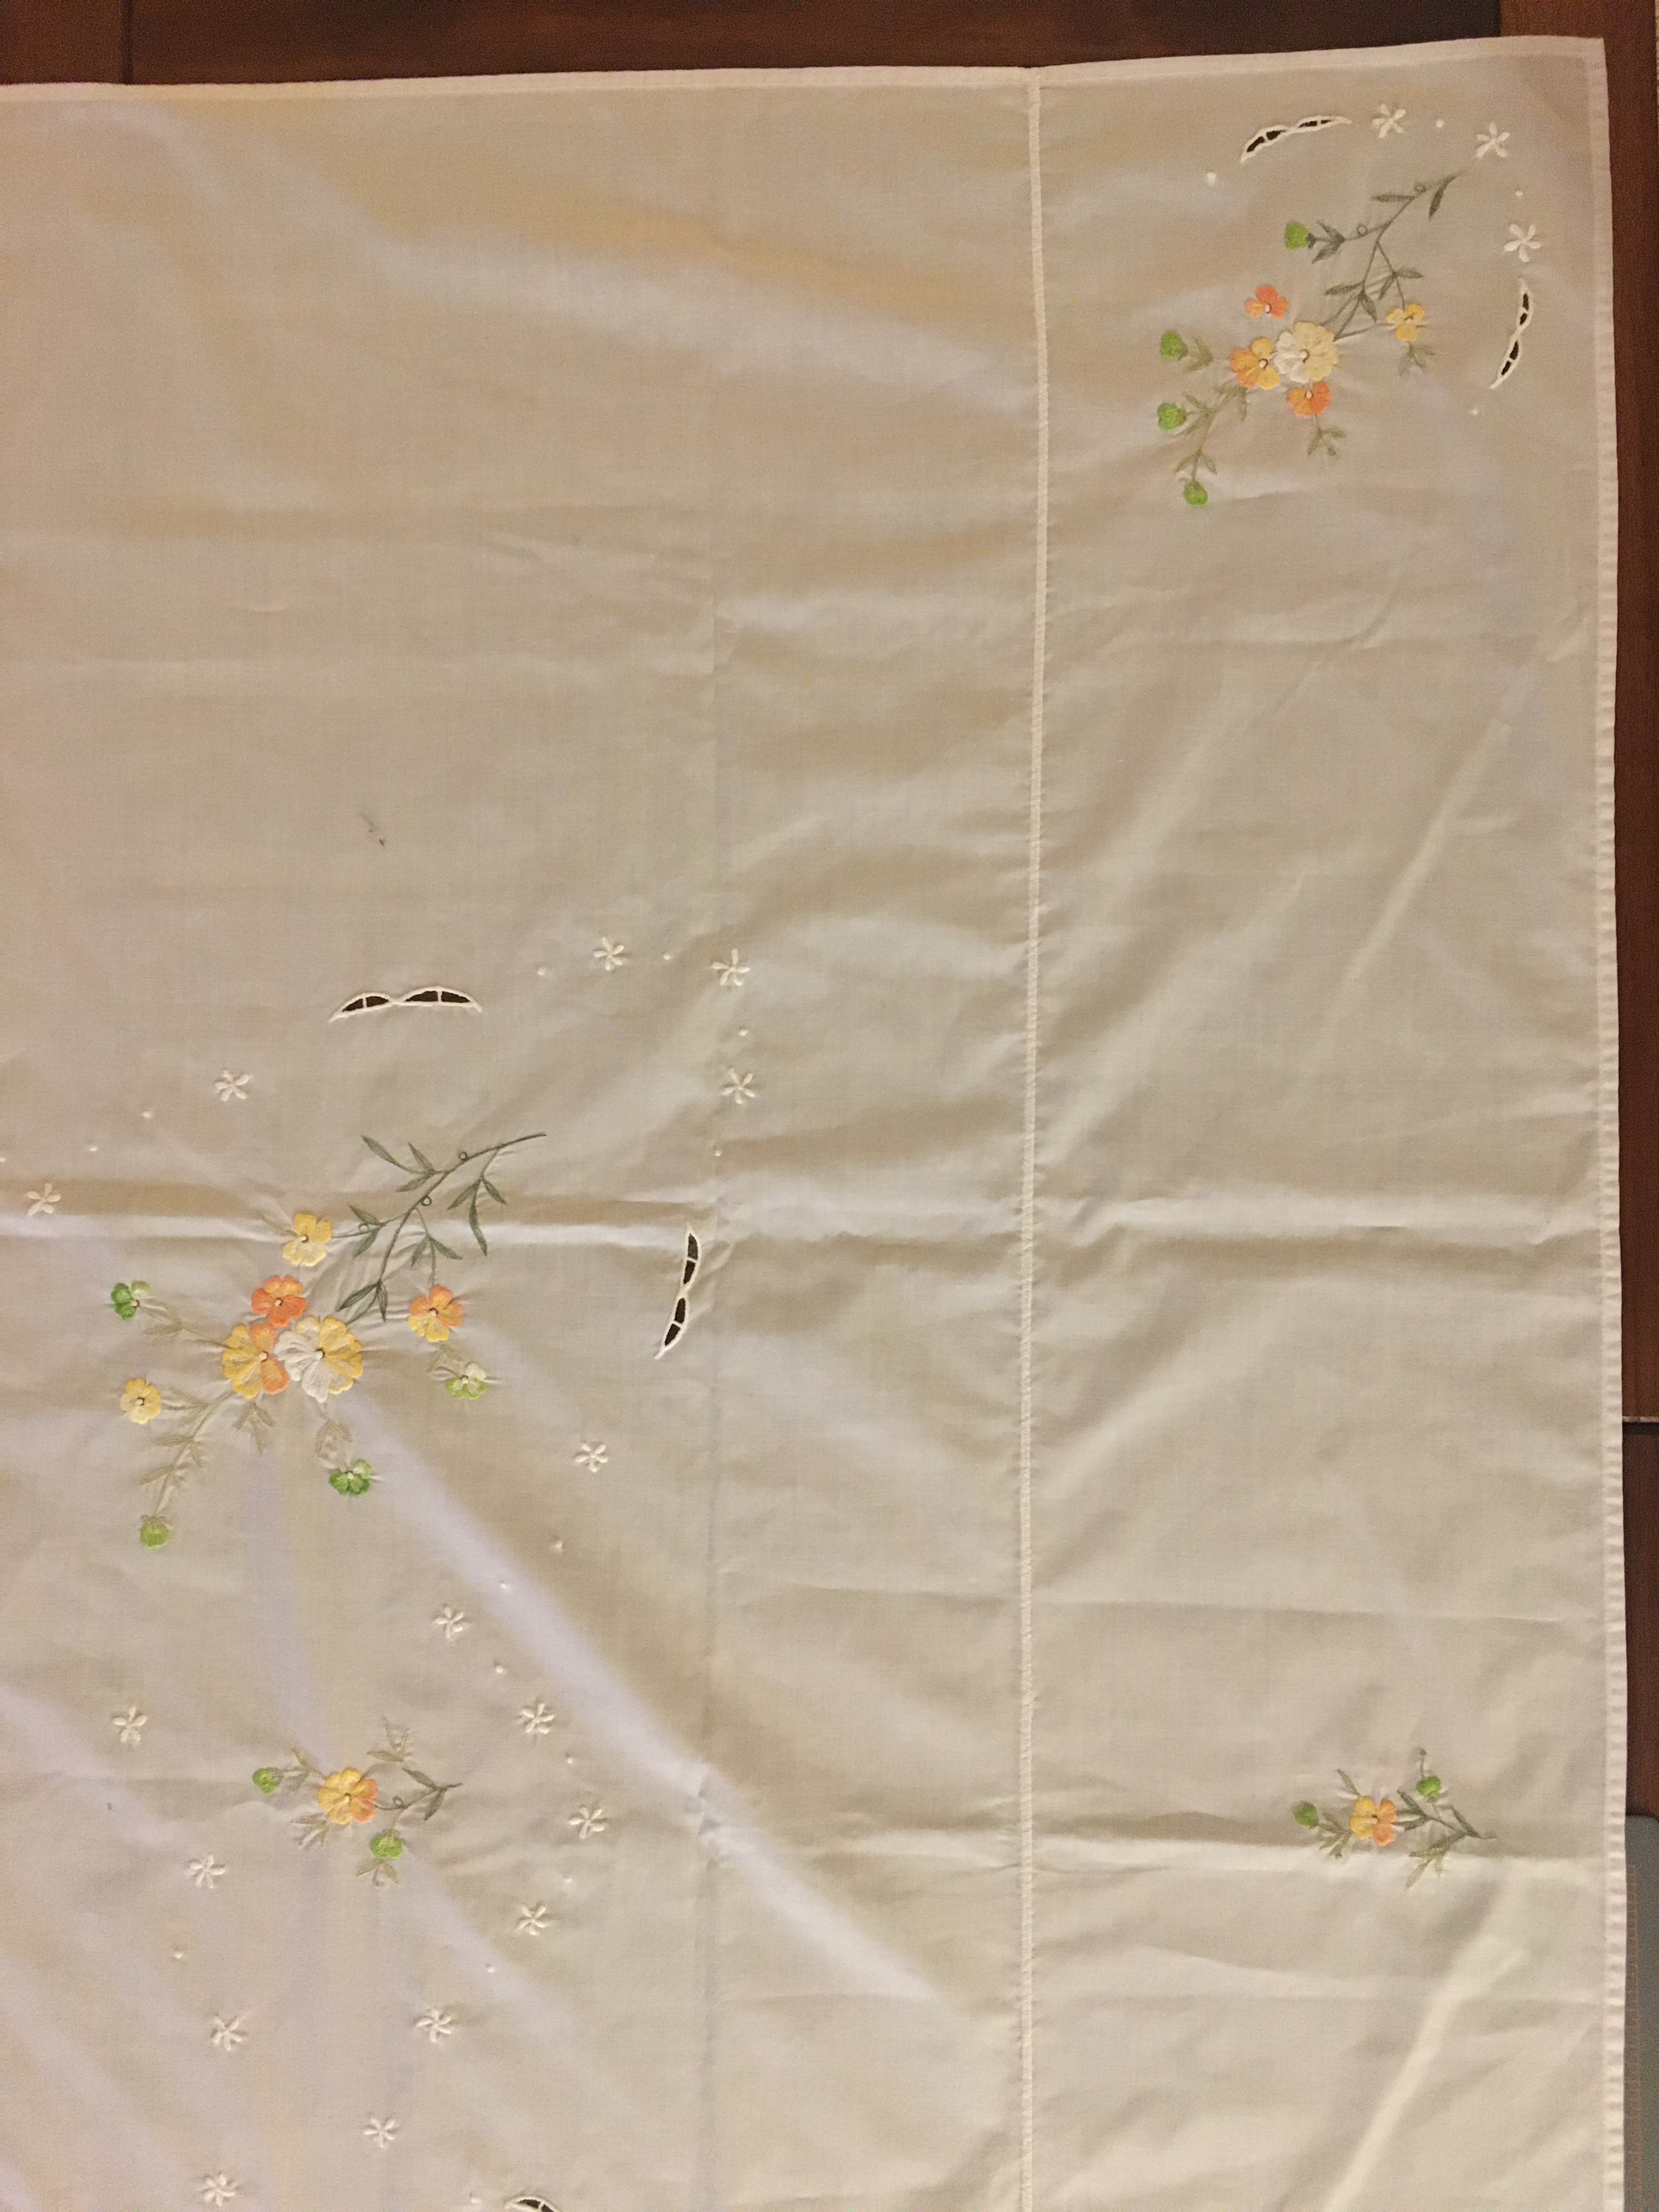
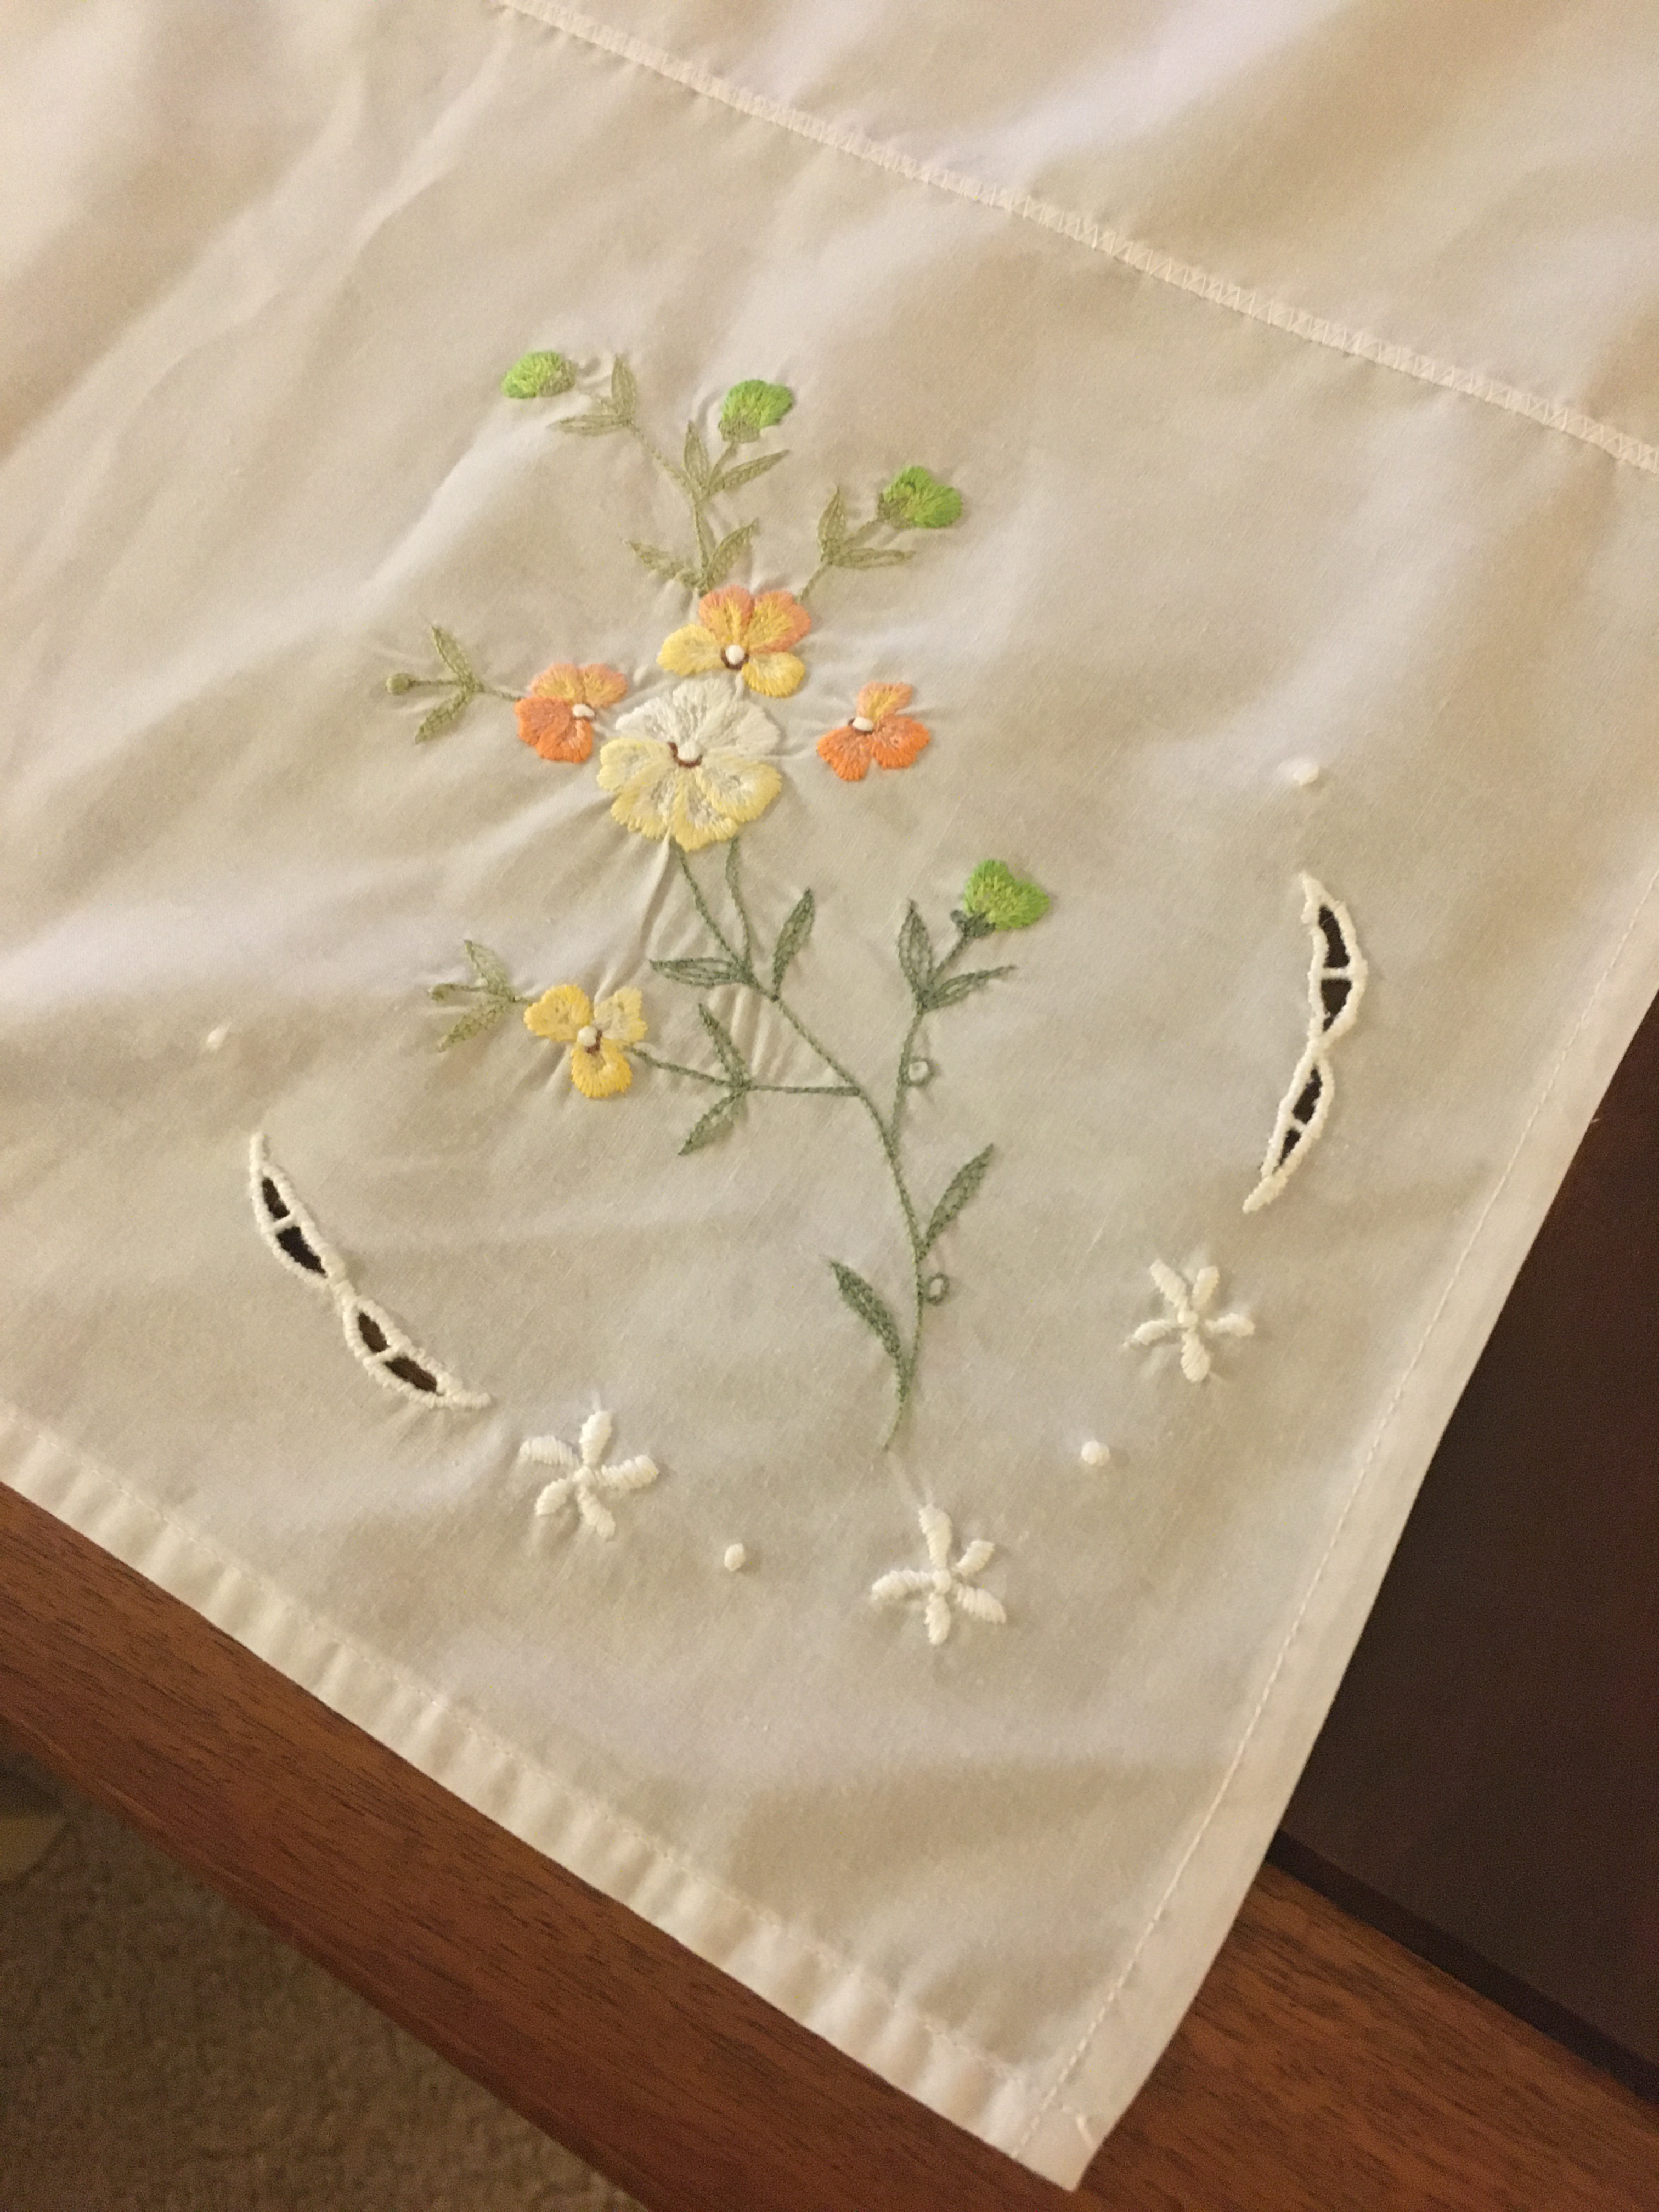
Fortunately, I found the absolute perfect piece at a garage sale in Bay View from Bandit Vintage. This linen tablecloth was hand embroidered with delicate pansies in yellow, orange, and green. Total, the tablecloth measured 54”x 90”

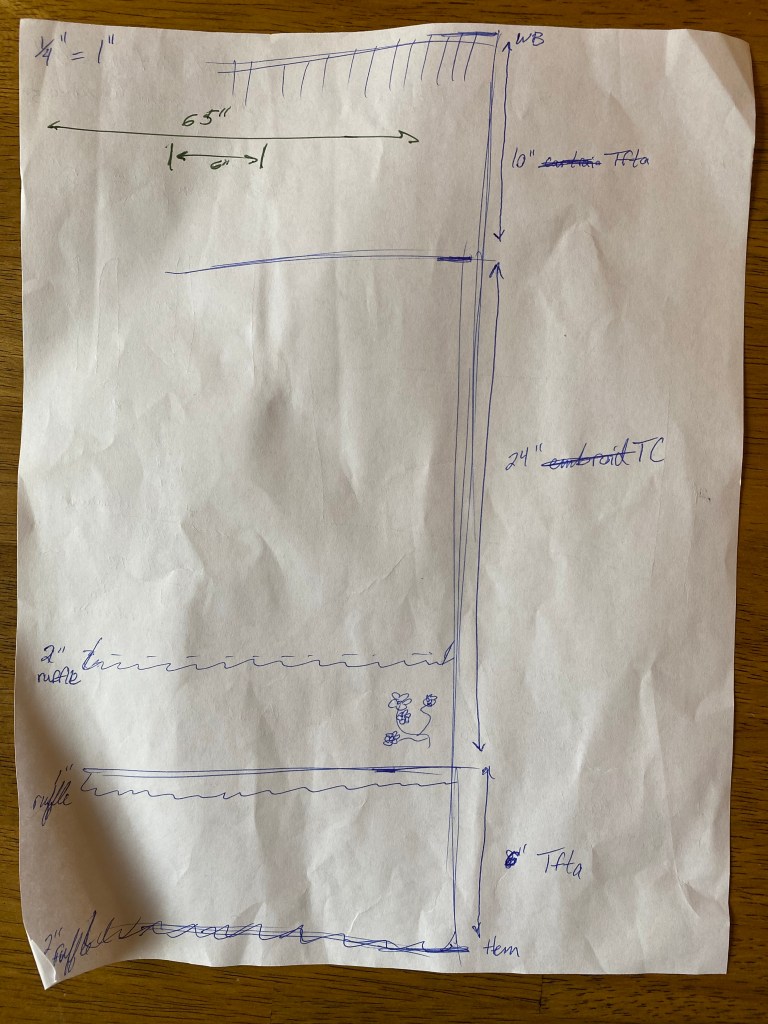
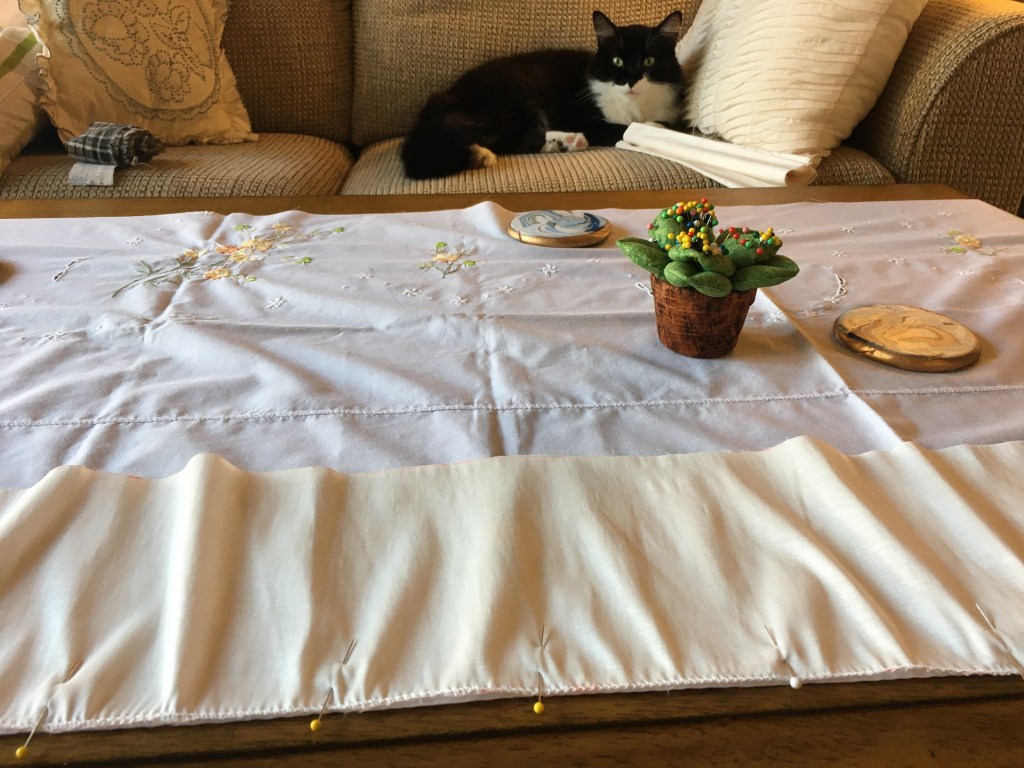
I wanted as much volume as I could get into the petticoat and planned to use cartridge pleats to achieve the effect. In order to make the most of the tablecloth, I decided to cut it in half lengthwise and add a strip of taffeta to the top and bottom for the full length (measuring from my natural waist to ankle bone + seam allowances + hem).
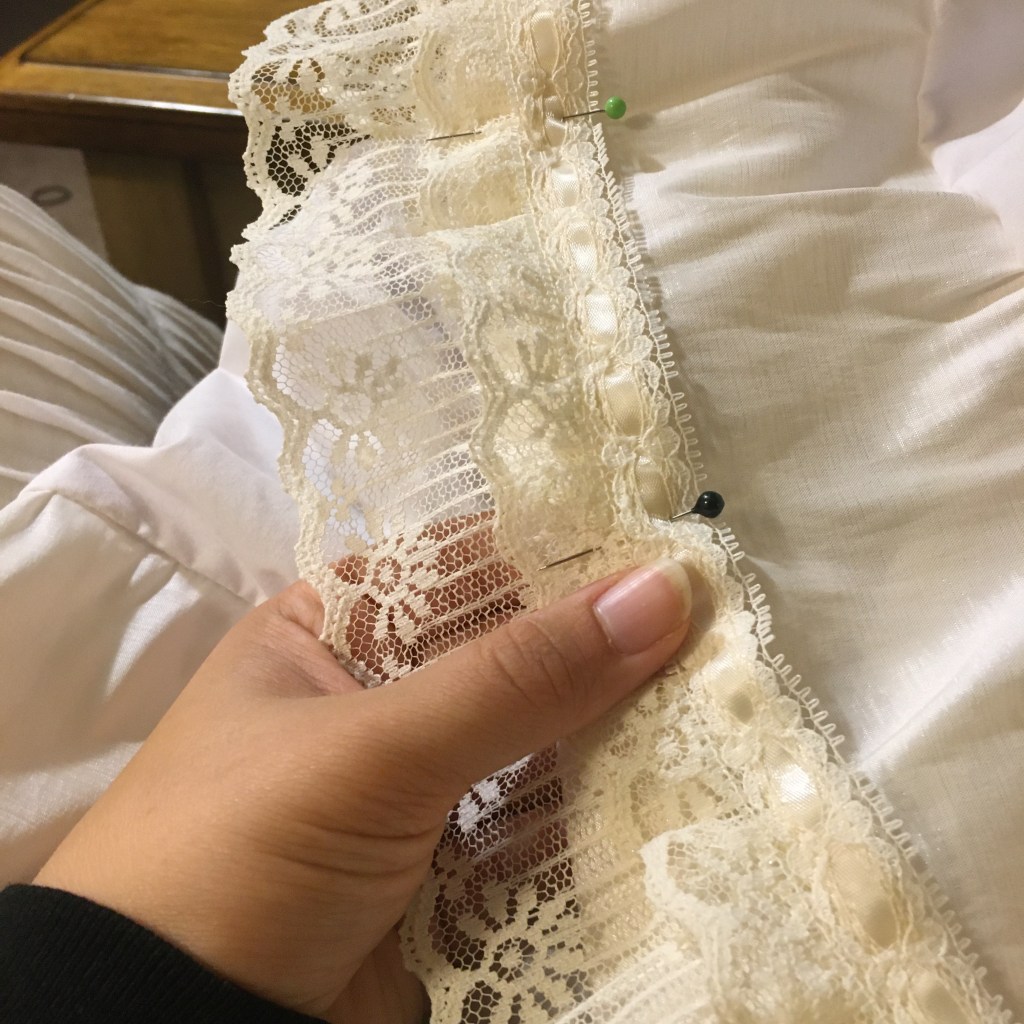
The cream taffeta was found on clearance at Joann’s, had a bit of sparkle to it, and more stretch than I realized. The cream also contrasted the bleach white of the linen. However, I had a massive pile of ribbon polyester lace from my grandmother that would create a lovely transition between the fabrics while hiding the seam lines.
I had to get a bit creative with cutting the taffeta strips since the clearance fabric had an odd wrinkle through the middle and deep crease that would not come out with steam. Compensate, I adjusted my measurements for the strips so that the top strip would cut with the crease at the fold over line and the wrinkle was outside of the bottom strip.
I cut all my strips and finished the edge of the bottom layer taffeta with a zig-zag stitch. While doing and then stitching to the linen, I realized the stretch in the taffeta was causing it to gather slightly. Fortunately, the gathering actually made for a nice ruffle effect at the bottom tier.
However, I wouldn’t be able to finish any of the other edges of the taffeta in this way or I would have that ruffle effect everywhere. Instead, I used a French seam to encase the edges of the quickly fraying taffeta at the upper tier and side seams. The stretch of the taffeta is only in the width-wise direction, so I still had a bit of gathering occur at the top tier seam, but the sides had no puckering. The gathering would later be covered by lace trim, so I was not concerned.
The sides, as mentioned, were stitched together with a French seam and I left about 8” at the tops of both seams unstitched for the side openings.
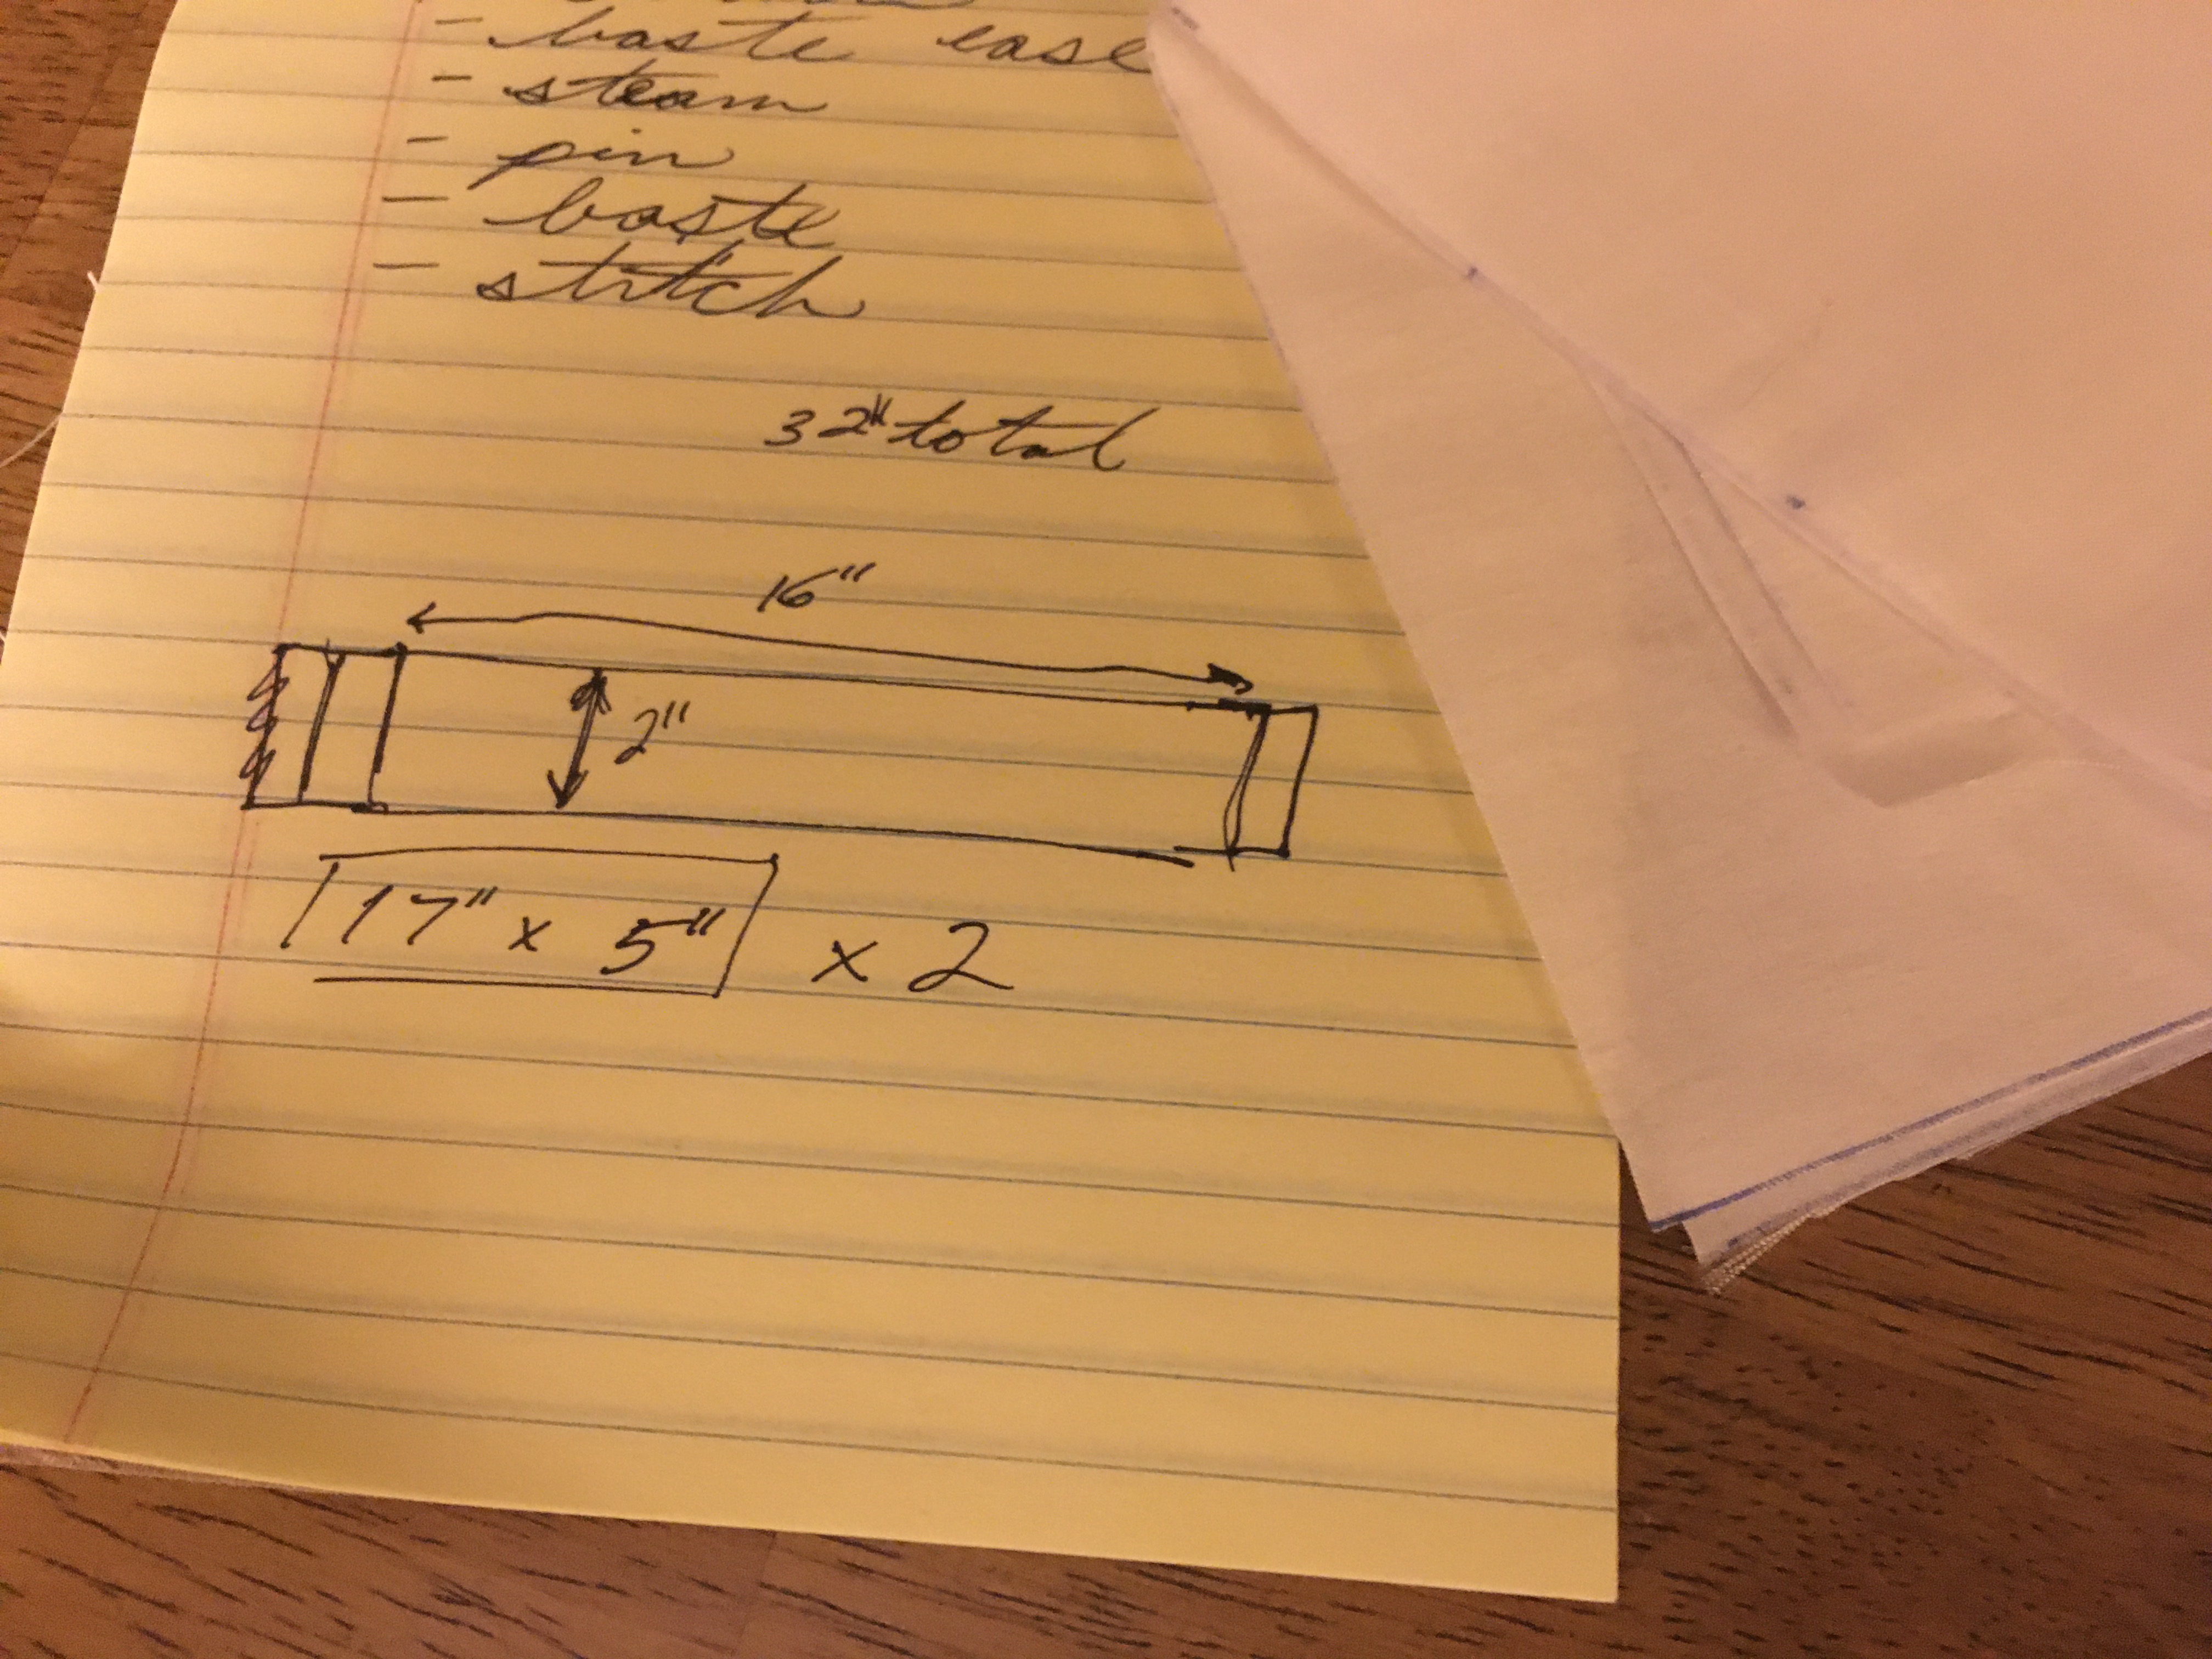
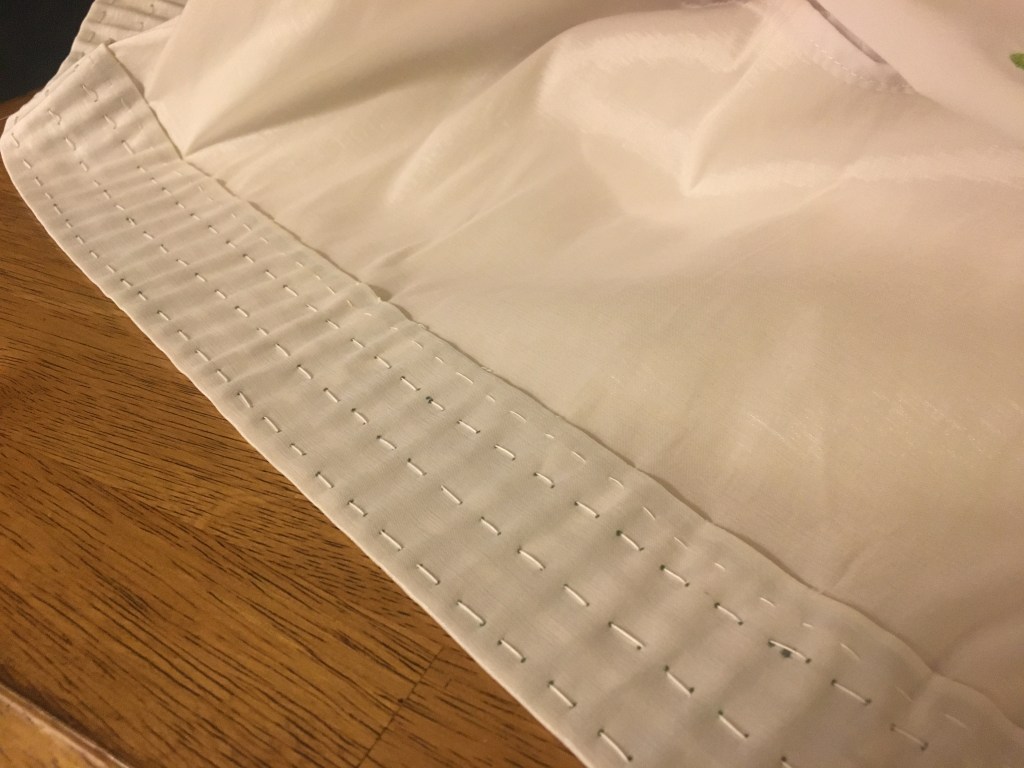
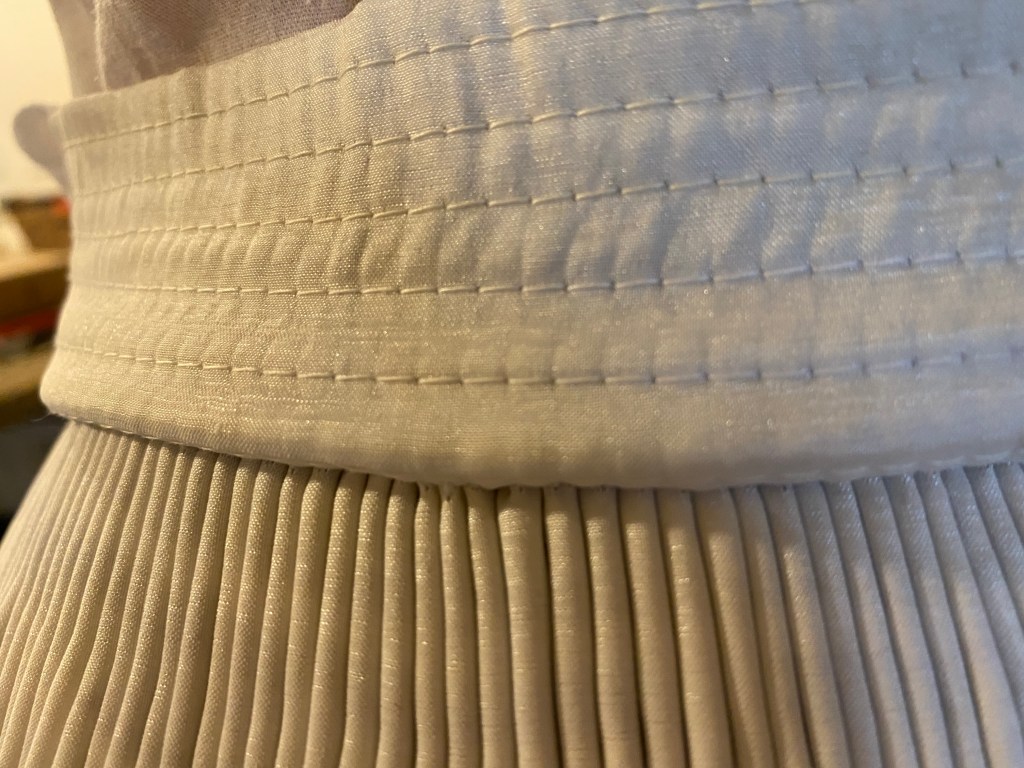
For the waistband, I cut two strips of the taffeta equaling half my waist measurement + 1” for ½” seams. I would be using side closures for the waistband as was typical of the period. I made a mock up to check the sizing and used twill tape attached at the top and bottom of the waist band for ties. I decided on a rather thick waist band (5″ wide)

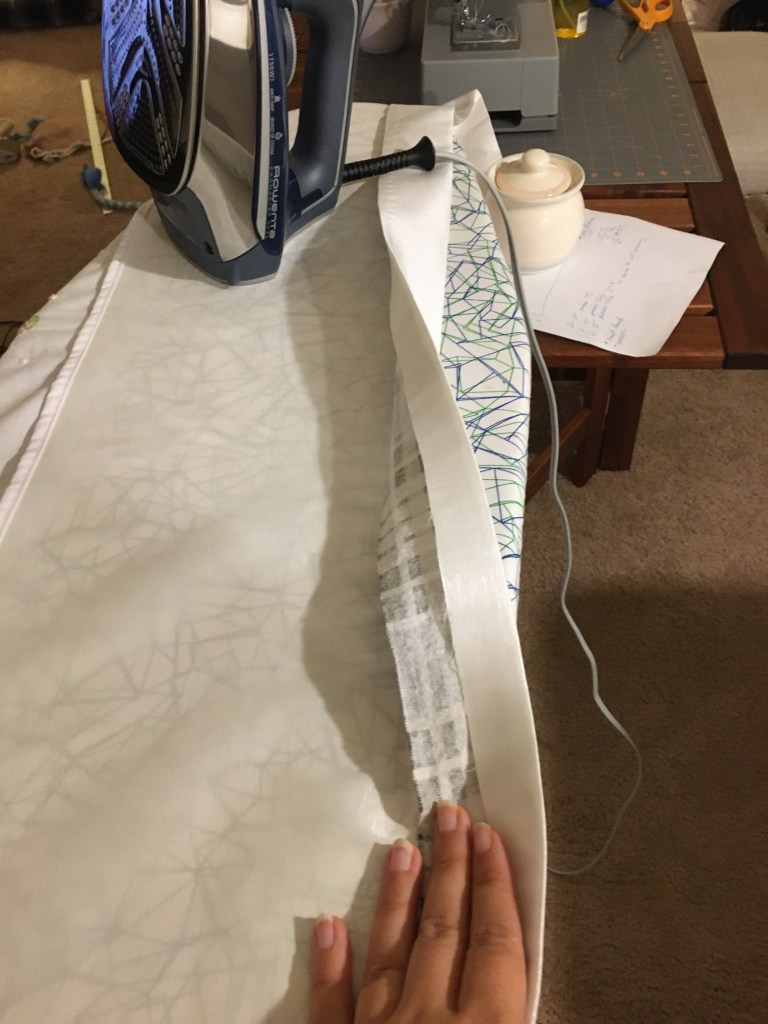
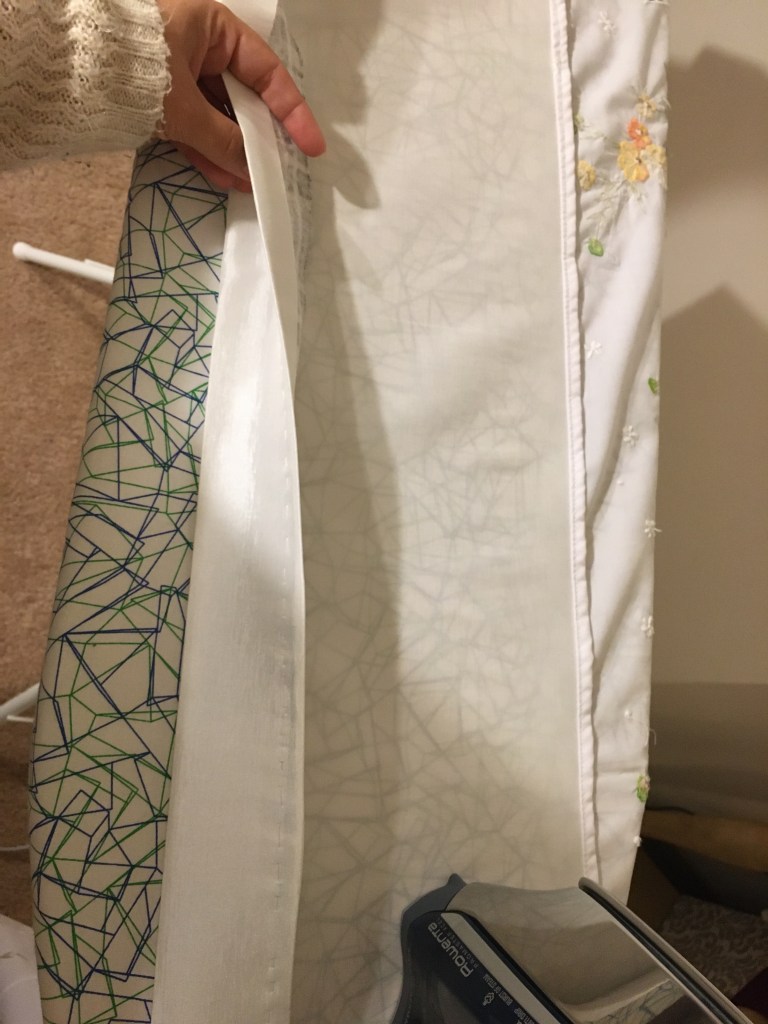
The mockup went well. But as I fit tested it, the taffeta began to stretch. To combat this, I cut two strips of flannel equal to the length of the taffeta, minus the seam allowances, and only half the width since I would be folding the taffeta in half, encasing the flannel.
The flannel was baste stitched inside the taffeta casing to hold it in place. I then pressed the folds with the iron on “synthetic” with a press cloth and steam to make for crisp lines to stitch along. The pressed fold over was hand stitched with a tiny slip stitch. I then carefully machine stitched every ¼” along the width to give additional stability to the band.

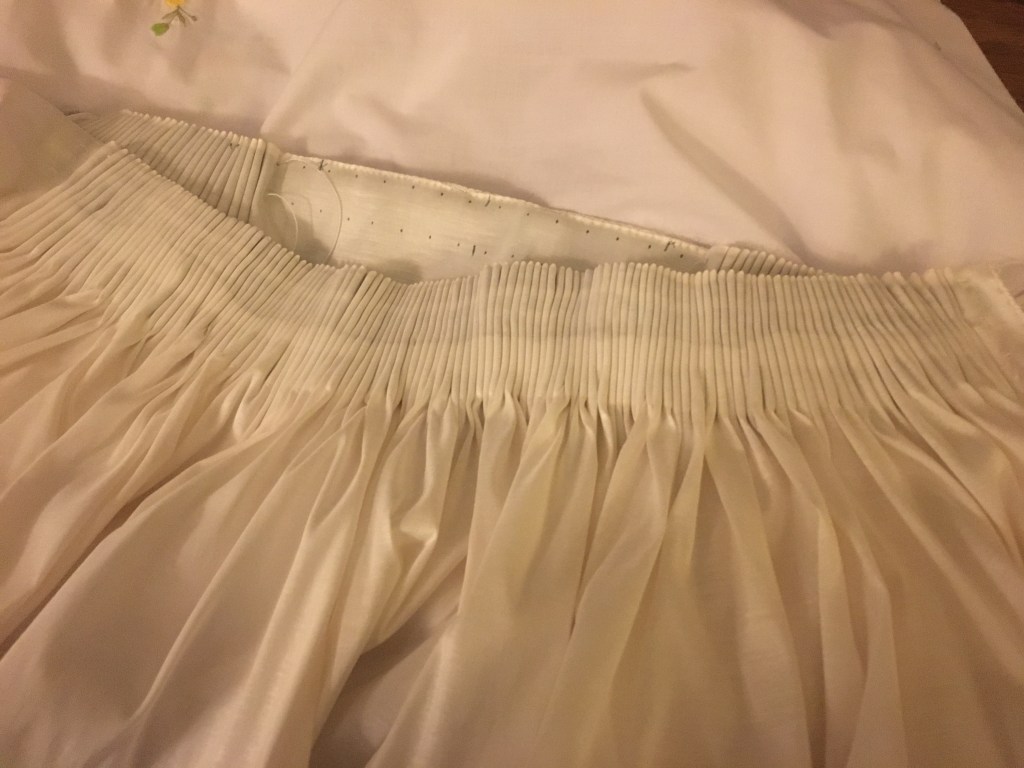
Before attaching to the band, the skirt was prepped for pleating. The flannel was used again at the top of the skirt to give additional bulk when making the pleats since the taffeta was so thin. The taffeta was folded over the flannel, ironed, and stitched like the waistband to finish the top edge.


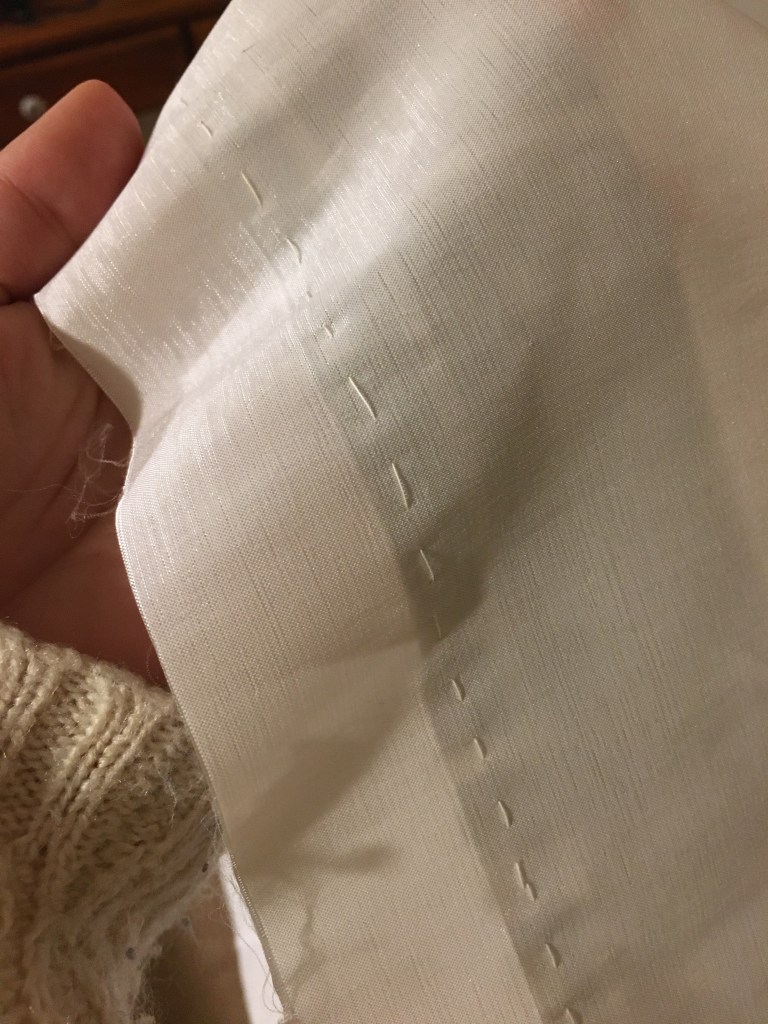
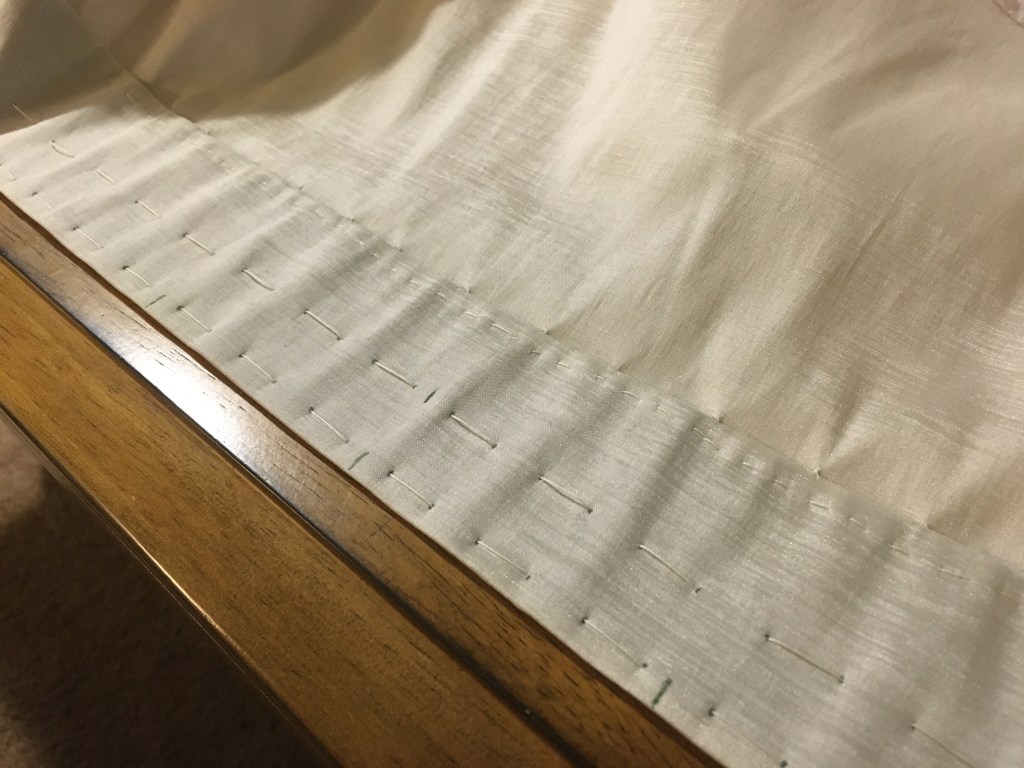
To prepare for the cartridge pleats, the wrong side of the fabric is marked with precise dots for where the running stitches will go. For the front, I marked 2 parallel running stitches at ¼” and ¾” from the top and ⅜” apart.

Once marked, a quick running stitch with strong buttonhole thread is used. With long tails on either side, the pleats are pulled together. I was honestly terrified of this process because of how precise it is but found it to be an incredibly satisfying experience! I want to put cartridge pleats on everything now.
Getting just the right amount of pleats to match the size of the waistband wasn’t nearly as satisfying. I have to admit, it was quite a bit of guess and check on the front. I had made my pleats too deep on the front, and didn’t have nearly enough to make the full length of the waistband. Luckily, this worked out in my favor. I cut the pleat threads at the exact middle of the panel and released enough pleats to make the full length of the waistband. In the end, the front was pleated for 6” from either side while the center is flat, allowing for the stay to sit flush against the body.
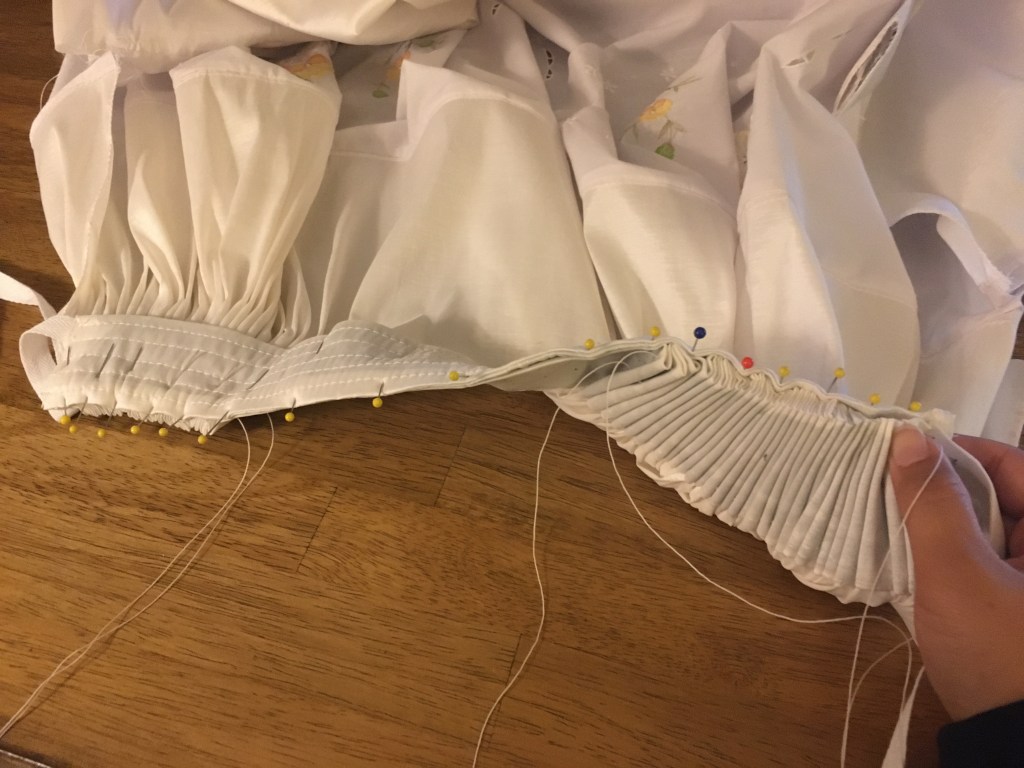
Learning from this, I used different measurements for my back panel: 3 parallel running stitches at ¼”, ¾”, and 1 ¼” from the top and ½” apart. With the change, the length fit to the waistband much nicer.
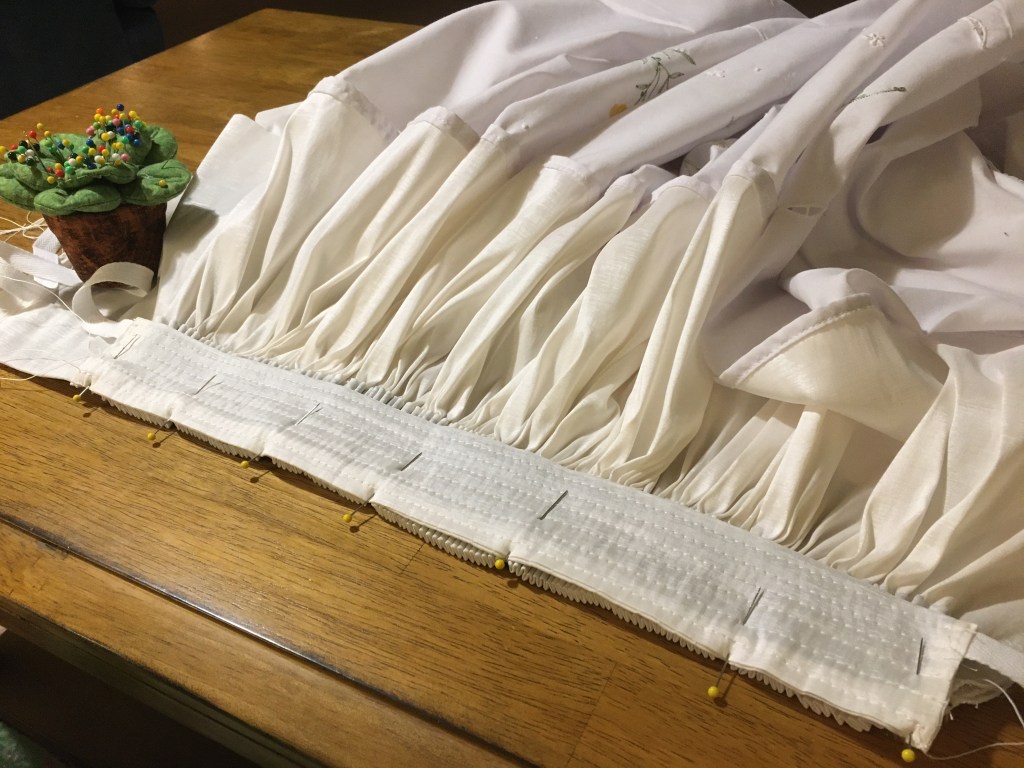
The threads from the pleats were backstitched in place and then the skirt could be attached to the waistband. To attach, the button thread was used again, and the pleats were whipstitched on. I used two stitches for every pleat to ensure a solid hold.

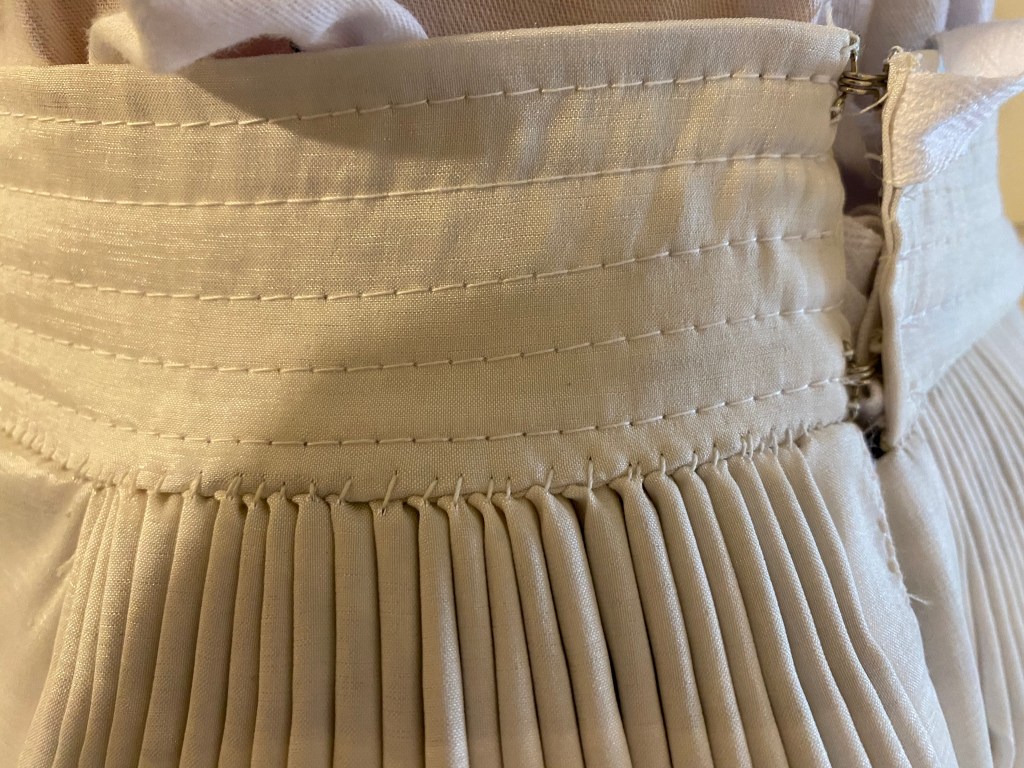
Originally, I finished the side seams of the waistband with cotton twill tape that would be tied around the body, overlapping front and back as was common of 17th century petticoats. But, I added dress hooks to the sides to make a tighter closure.
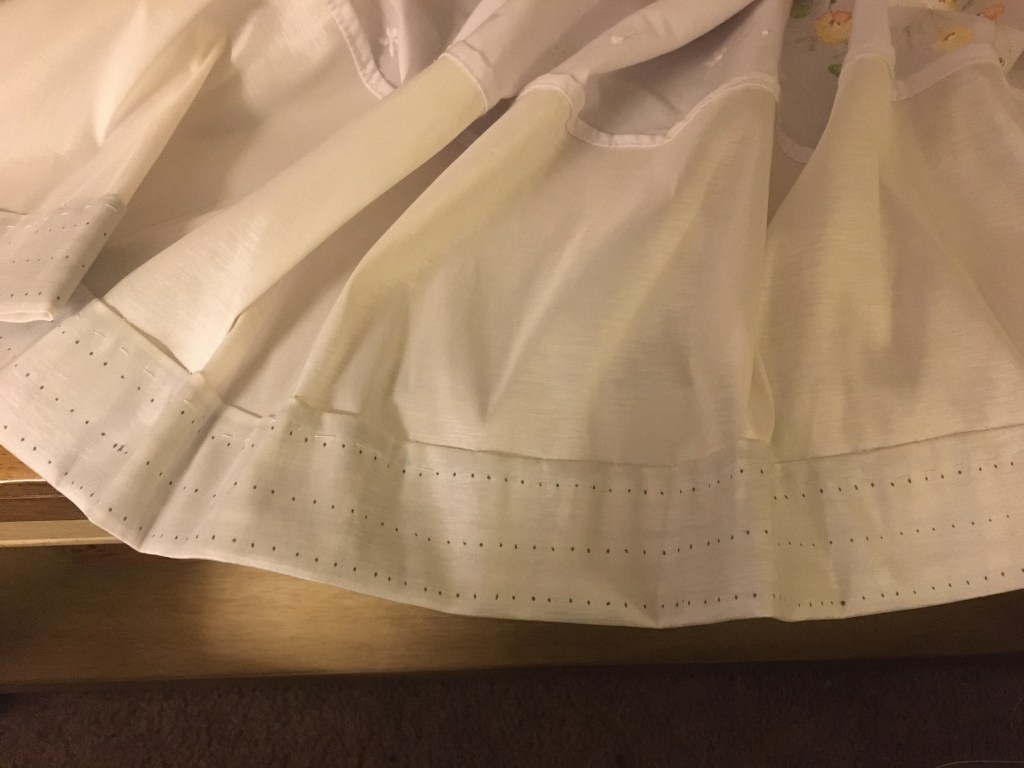
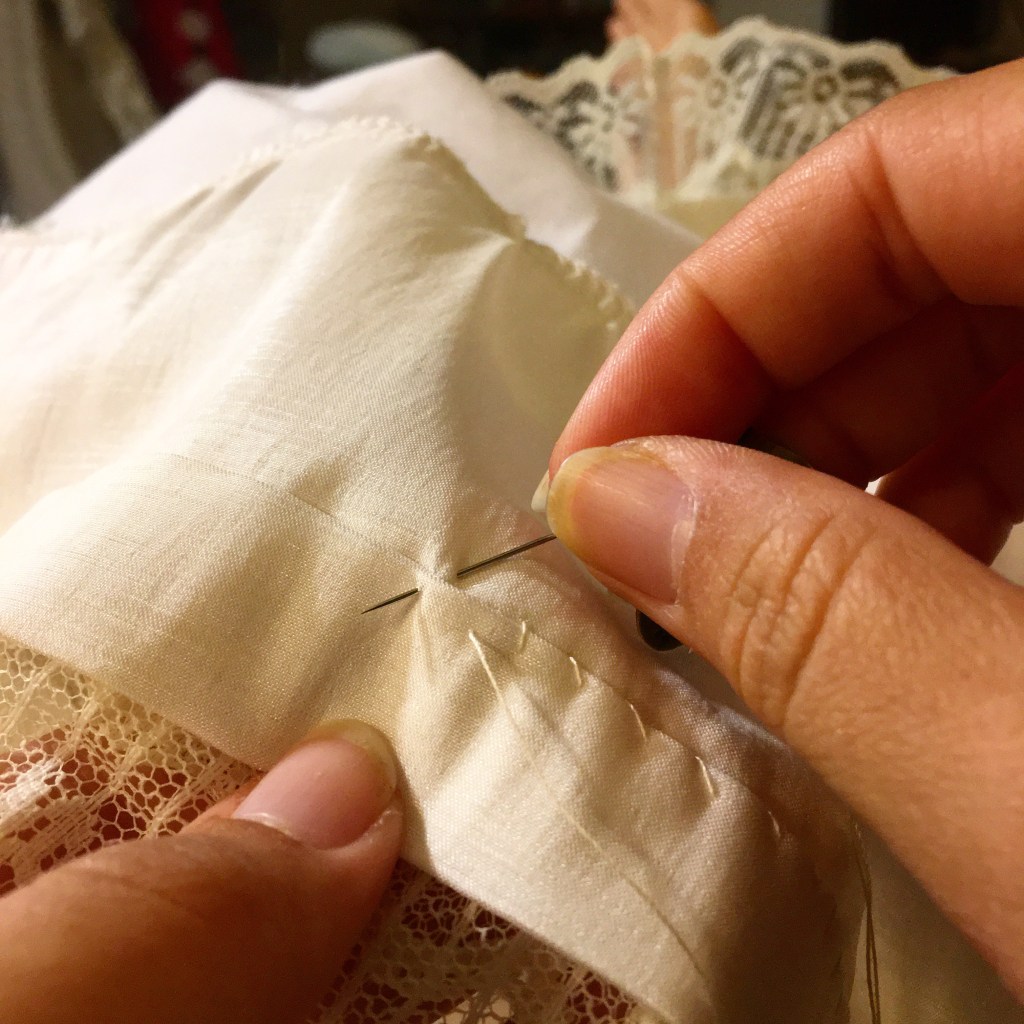
Because of the ruffling effect with the taffeta discussed earlier, I knew I wouldn’t be able to finish the hem or the waistband on the machine. In finishing the hem, I steamed the fold in place so I would have a nice crisp line. I then killed two birds with one stone by felling the hem on the inside while taking small bites of the lace trim with the needle to attach to the front of the hem.
Now, the fun embellishing could begin!
1” ribbon lace trim was applied with a prick stitch at the two seams where the taffeta and linen were attached. At every stitch to the outside, one gold seed bead was strung. From a distance, the beads give just a bit of sparkle. Between the glint from the beads, the sparkle in the taffeta, the hand embroidery, and delicate lace, the petticoat was absolutely over the top lux.
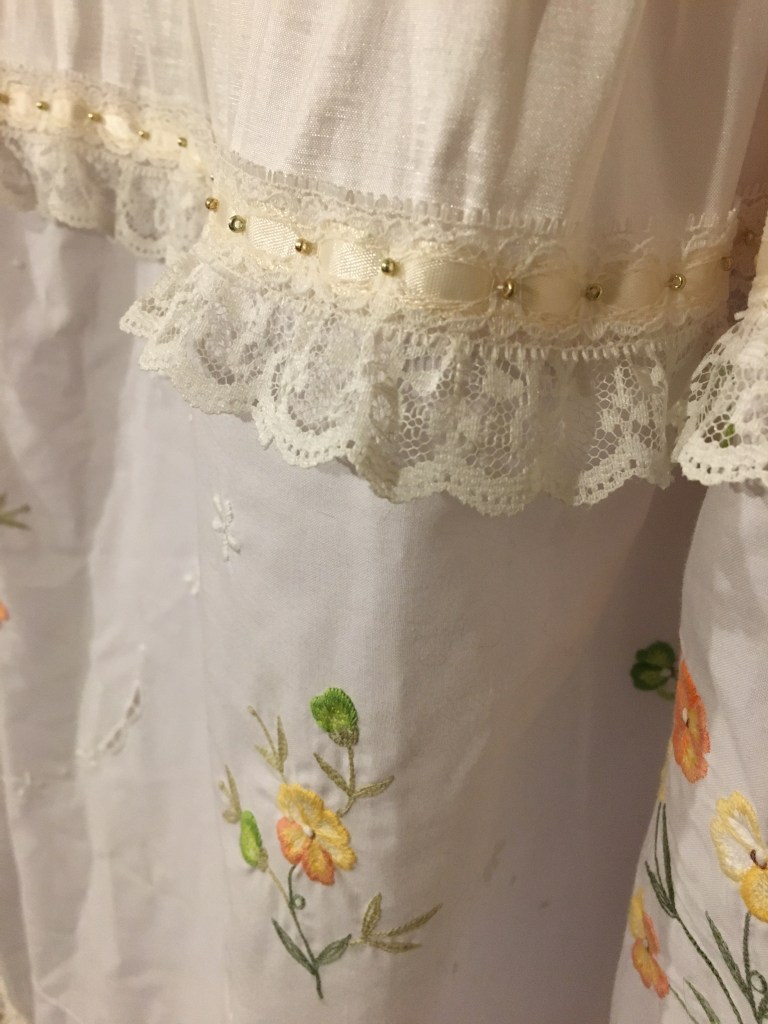

With the taffeta and linen being lightweight, the finished petticoat has lovely fullness at the pleats and float just at the ankle. The final length was a bit long since my bottom tier of trim was 2” past the planned hem. This would need to be accounted for in the skirt construction.

[…] The Goose Girl: Petticoat […]
LikeLike
[…] The Goose Girl: Petticoat […]
LikeLike