While working on a Tudor era gown, I was struggling with fit issues on an unstructured gown. The key there is “unstructured”. My modern body technically fit the gown, but my posture and shape wasn’t quite right for the historical bodice. I opted to make a pair of bodies (pre-cursor to stays which were the pre-cursor to corsets) in an attempt to give the proper historical shape.
There are people out there who have studied costume history who are much better prepared to explain why and how different body shapes were created throughout history. But I highly recommend The Tudor Tailor for explanations of the slight variations of fit and structure throughout the Tudor period of historical dress. The book is fabulous, both for the many patterns included and the details pertaining to fabric, cut, and period techniques. For this project, I am using the Dorthea Bodies pattern from The Tudor Tailor which are reproduced from museum garments from the Elizabethan period.


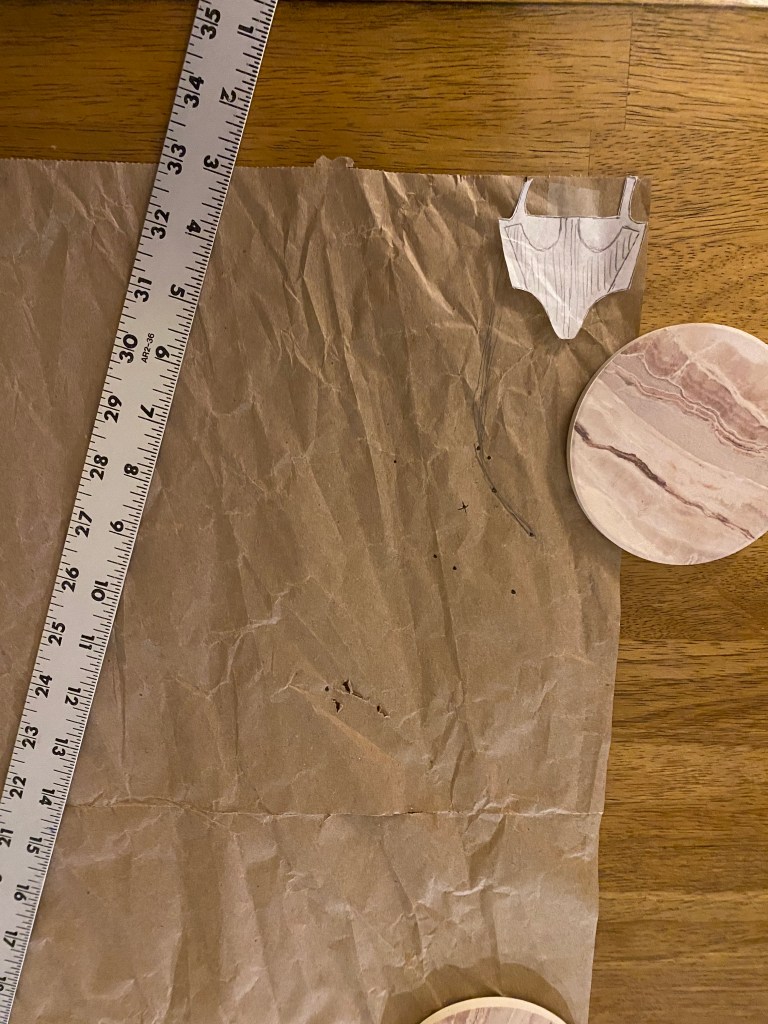
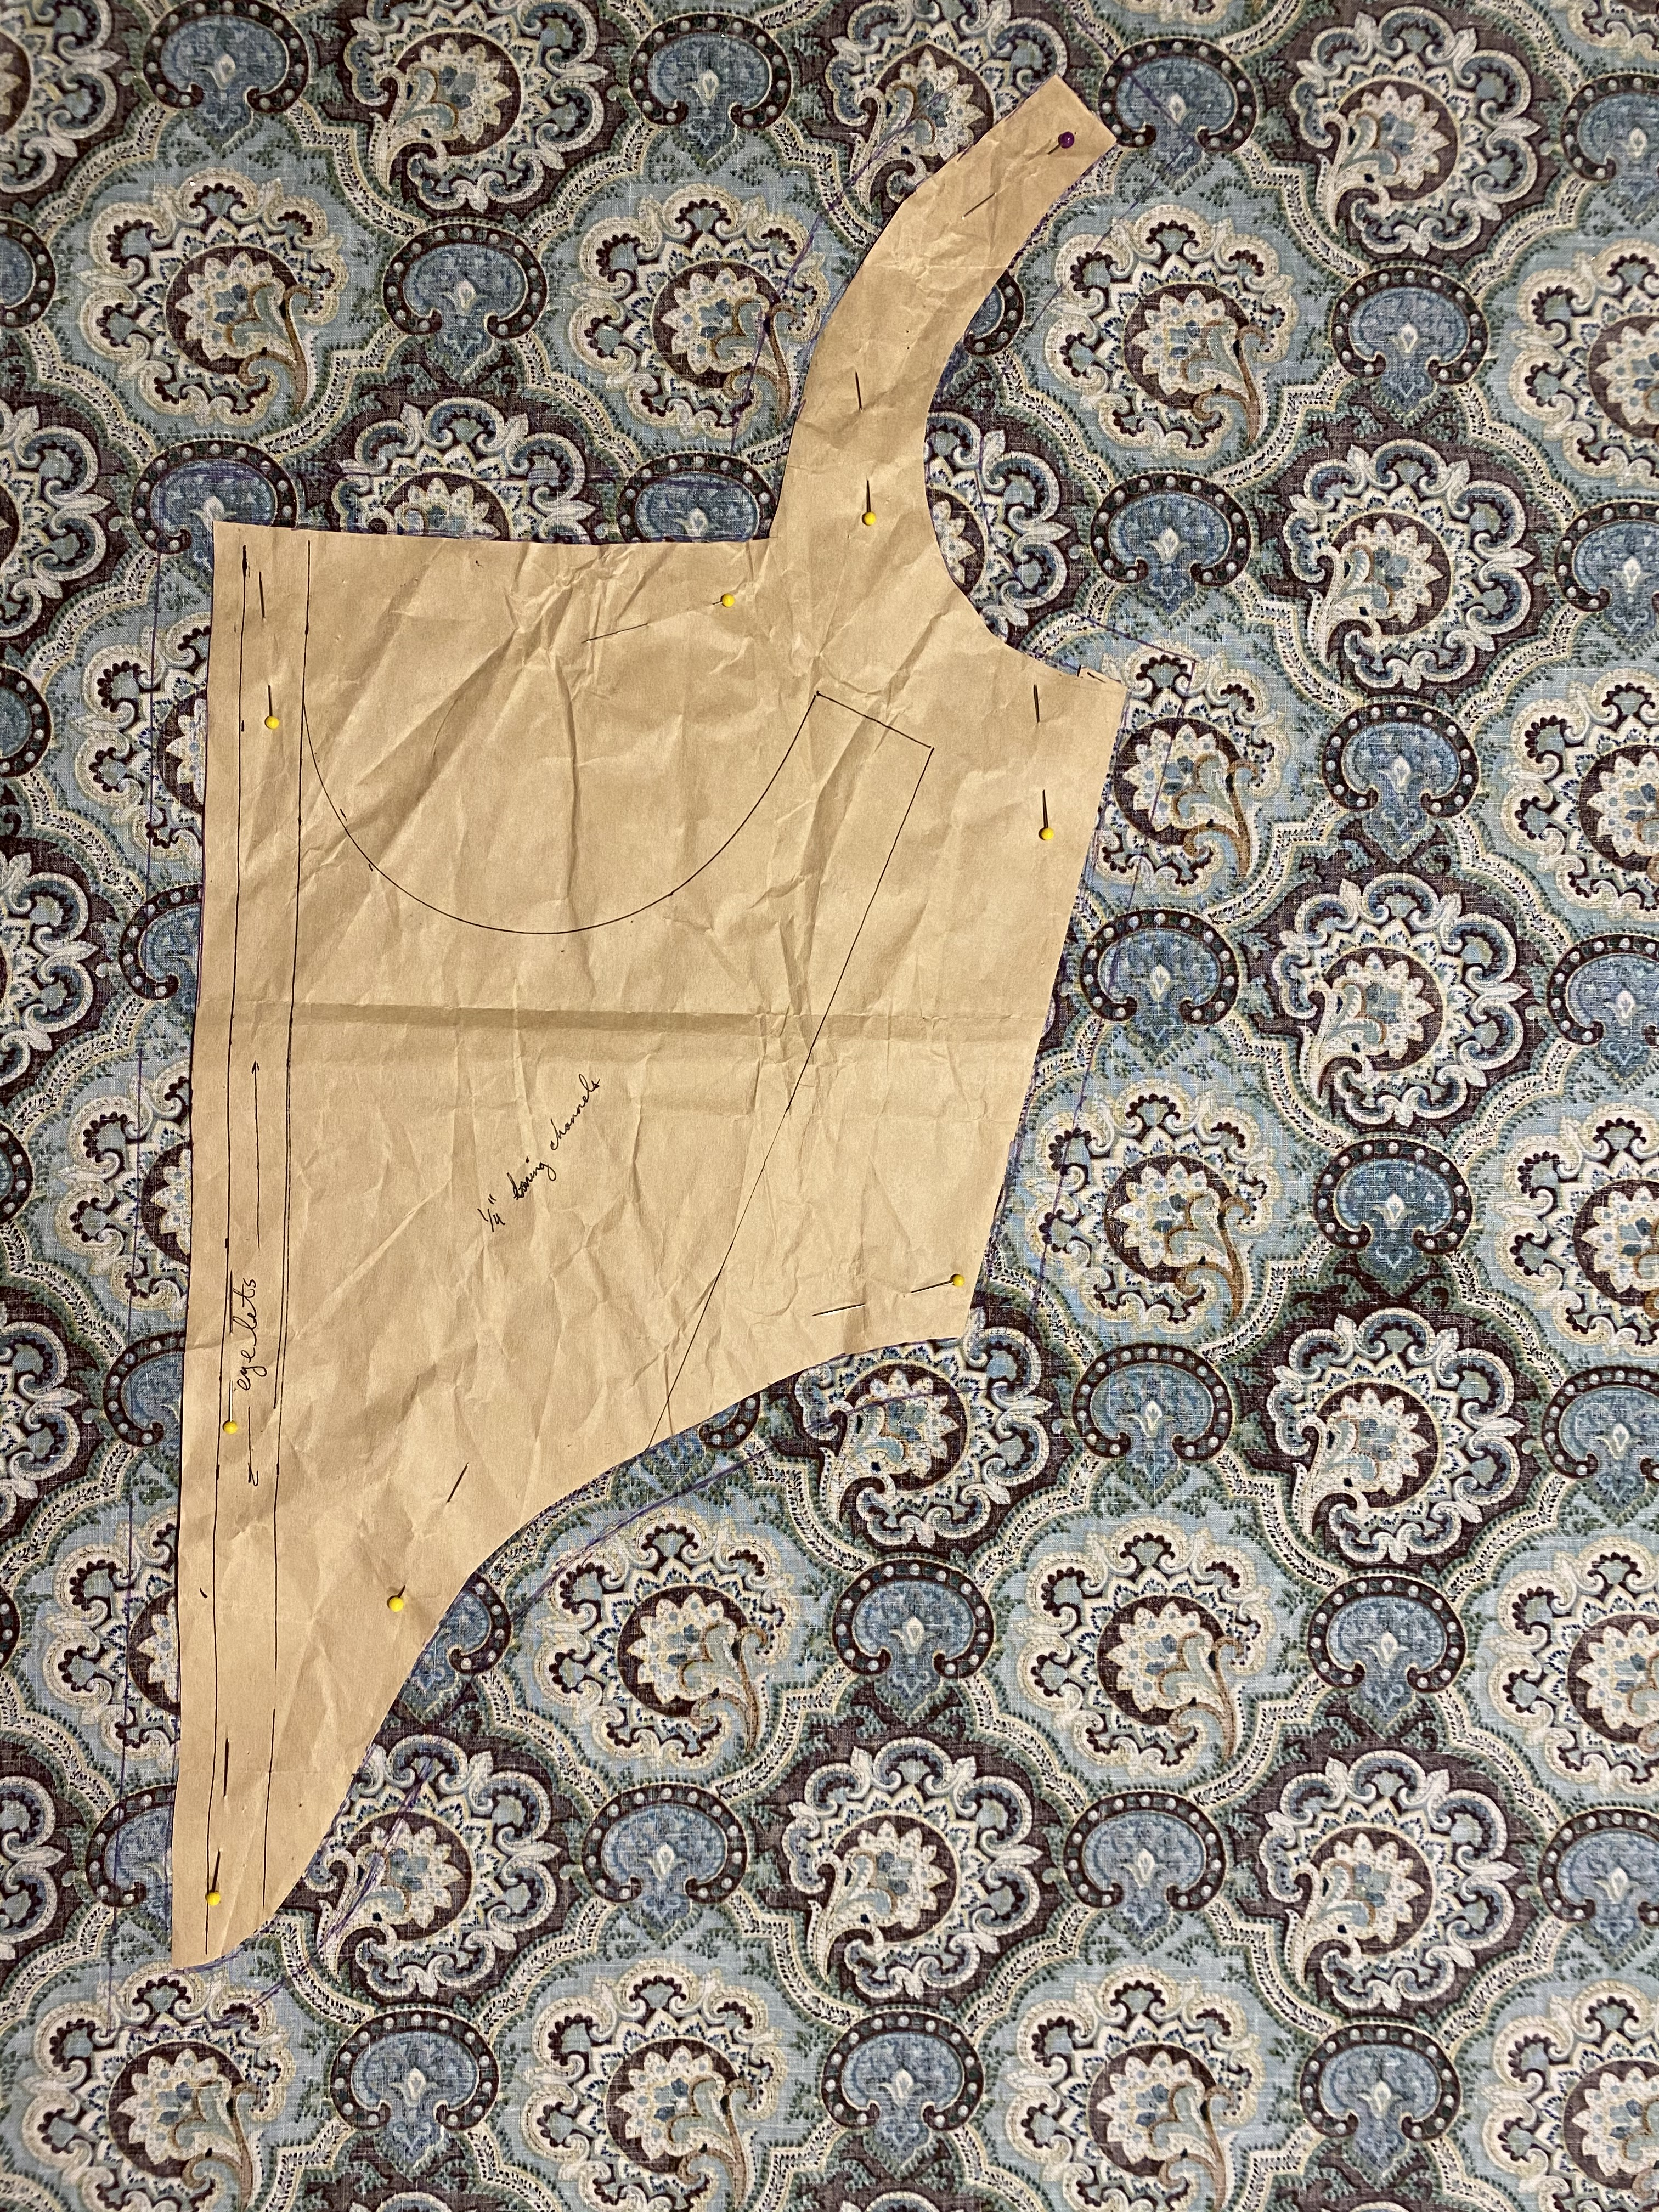
The first step was to trace and scale the pattern so I could begin making mock ups and fitting. This pattern is on a 1:8 grid which means that 1″ on the book page is equal to 8″ for the full scale pattern. This can also be thought of as 1 square on the book page was equal to 1″ for full scale. I like to use the radial method of scaling where I trace the pattern, tape it to my final pattern paper, and mark points for the final pattern from one point in the corner. I use a tape measure and yard stick to do this by marking points along a straight line equal to the tracing paper measurement times 8.
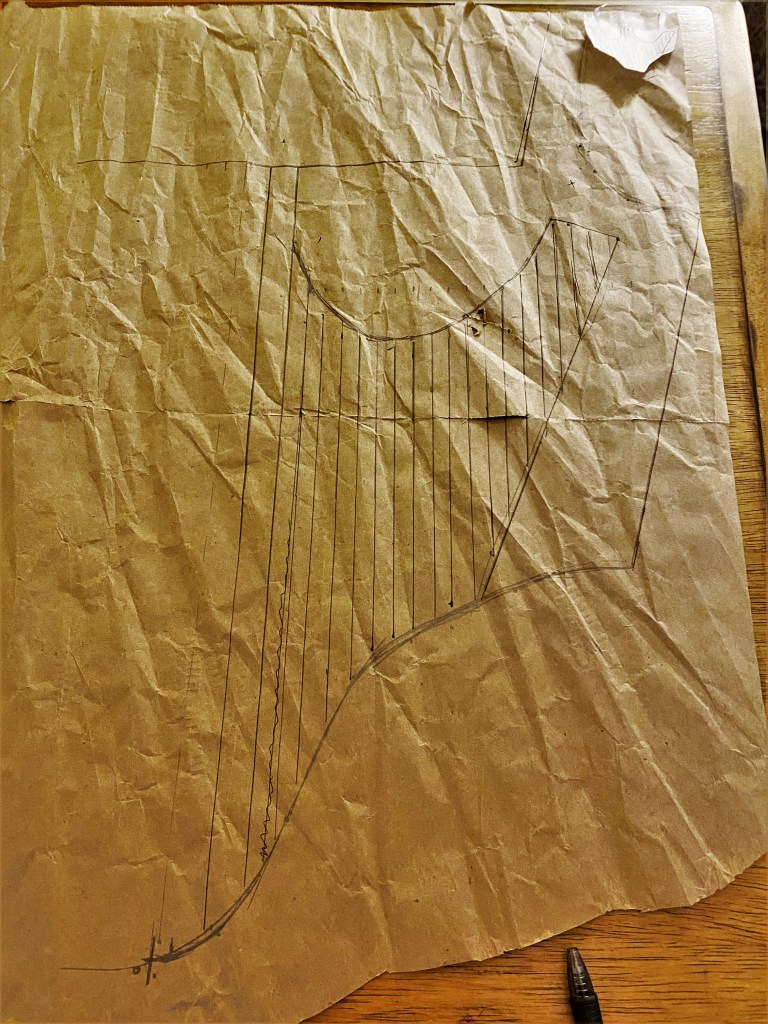
Scaling a pattern using this method is like creating a giant connect the dots. It takes quite a bit of focus, especially on areas with curves. I make enough points to accurately mark my lines and will then go back to the book pattern and count squares to confirm the pattern is correct. You’ll want to start in pencil since you will make mistakes and then go back later in pen and marker for the final pattern.
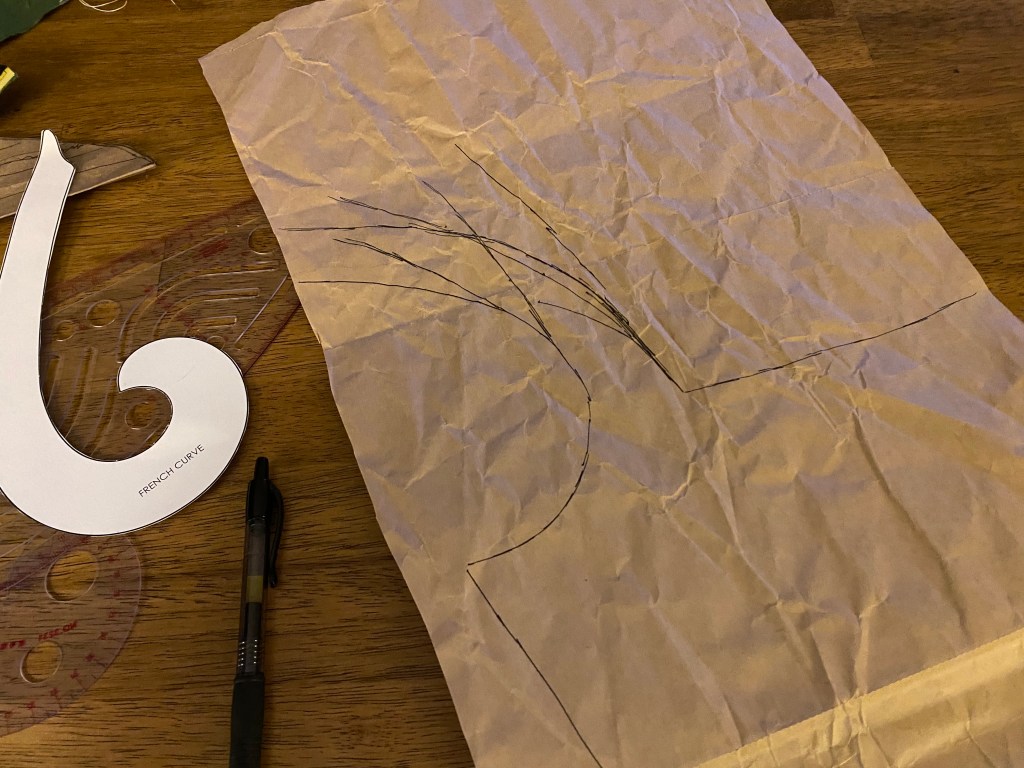
The interior details, in this case the boning channels, are made by completing the outline of their placement and then filling in the boning channels based on the size of bones you are using. I planned to use 1/4″ synthetic whalebone (plastic) and mark my channels as a scant 3/8″.
Once the pattern is is drafted, I started on the mockups and fittings. I am lucky in that my measurements were close enough to the pattern model to start from the book pattern without adjustment initially. The first mockup confirmed my suspicions that the bust needed adjusting (typical for me) and that the straps were too long, and too straight. For the second version, I used a french curve to adjust the strap curves so they sit farther on my shoulder points.
This process took THREE mockups to get right since my first attempt made the straps too curved and then not enough on the second try. Third time was the charm. With the third mockup, I also swapped the eyelet closures to be at the front rather than the back since I prefer front lacing. Back lacing is too difficult for me to lace myself that if I can avoid it, I do.
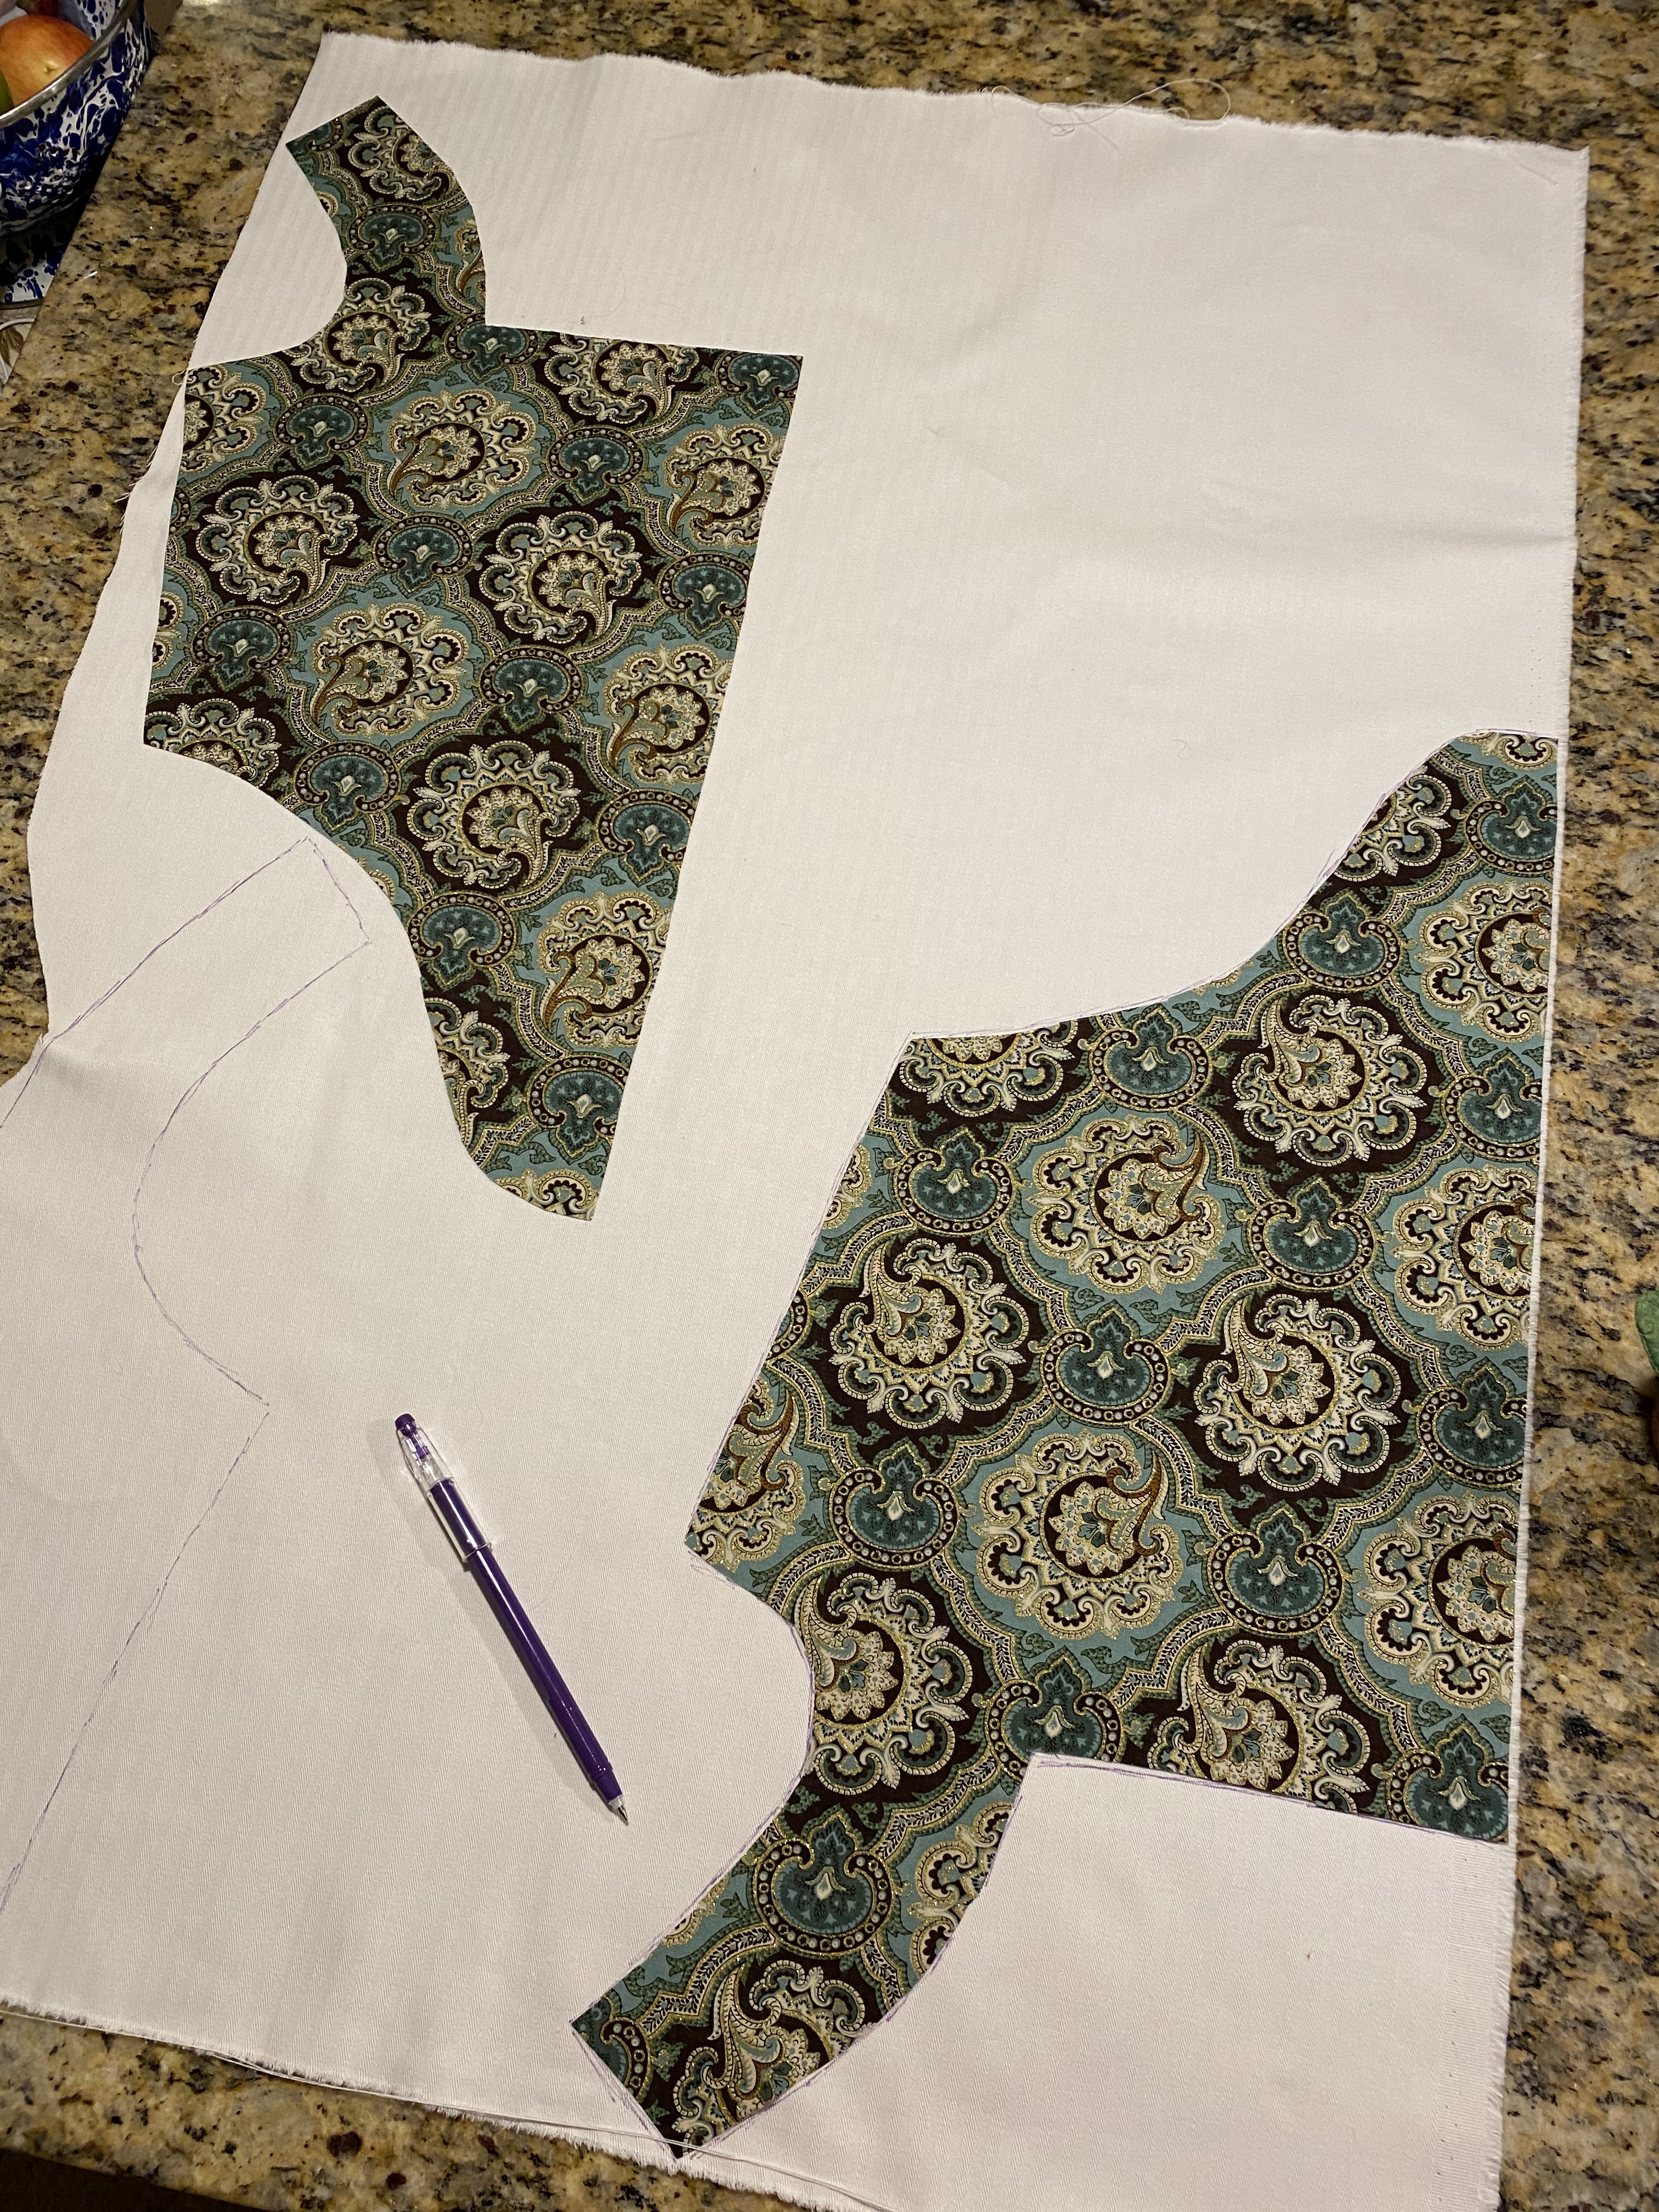
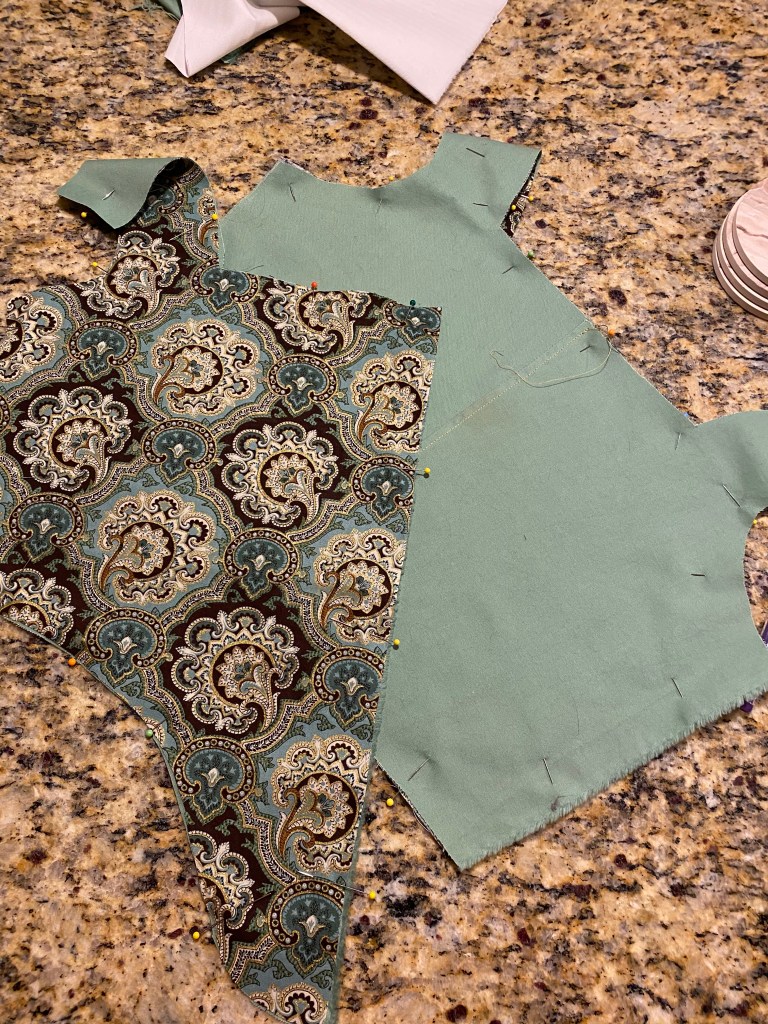
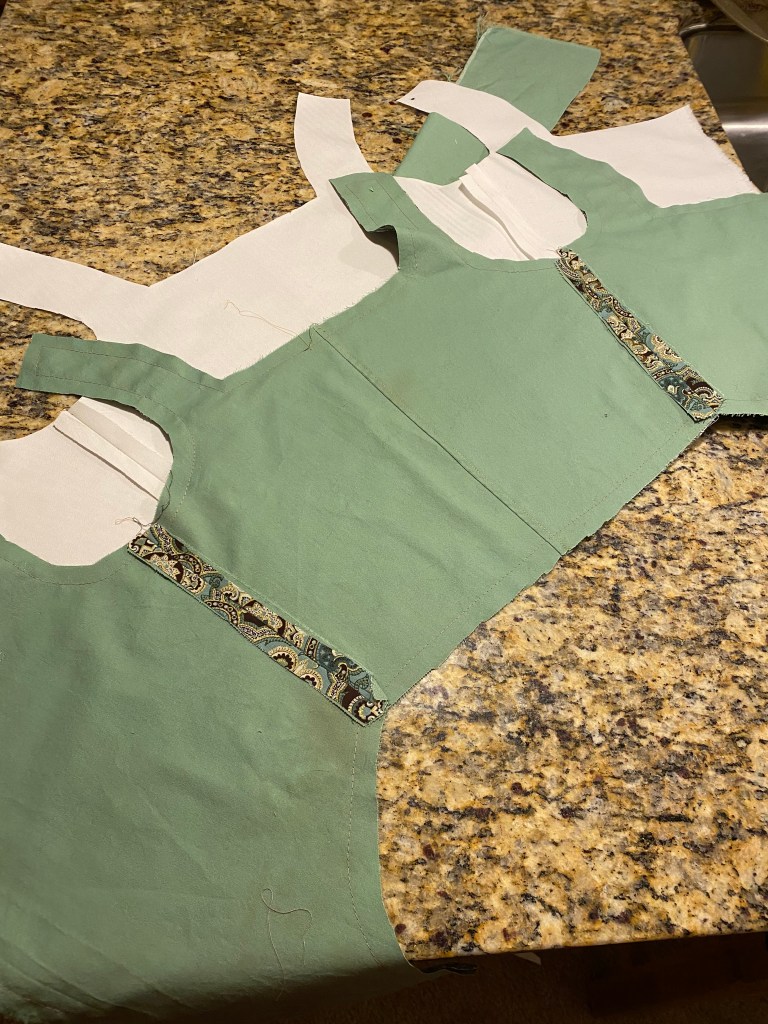
Pattern finished, I could cut my fabric pieces. I planned to use the sandwich method for making my boning channels since all the channels are parallel straight lines. The sandwich method also meant so I would not need a lining or twill tape. In the end, I used three layers: coutil, cotton, and fashion fabric. The outside (fashion) fabric I chose is a brown and teal cotton, but wasn’t strong enough on its own for the boning channels. I used a scrap green cotton as interlining to add structure to the fashion fabric for the boning channels.

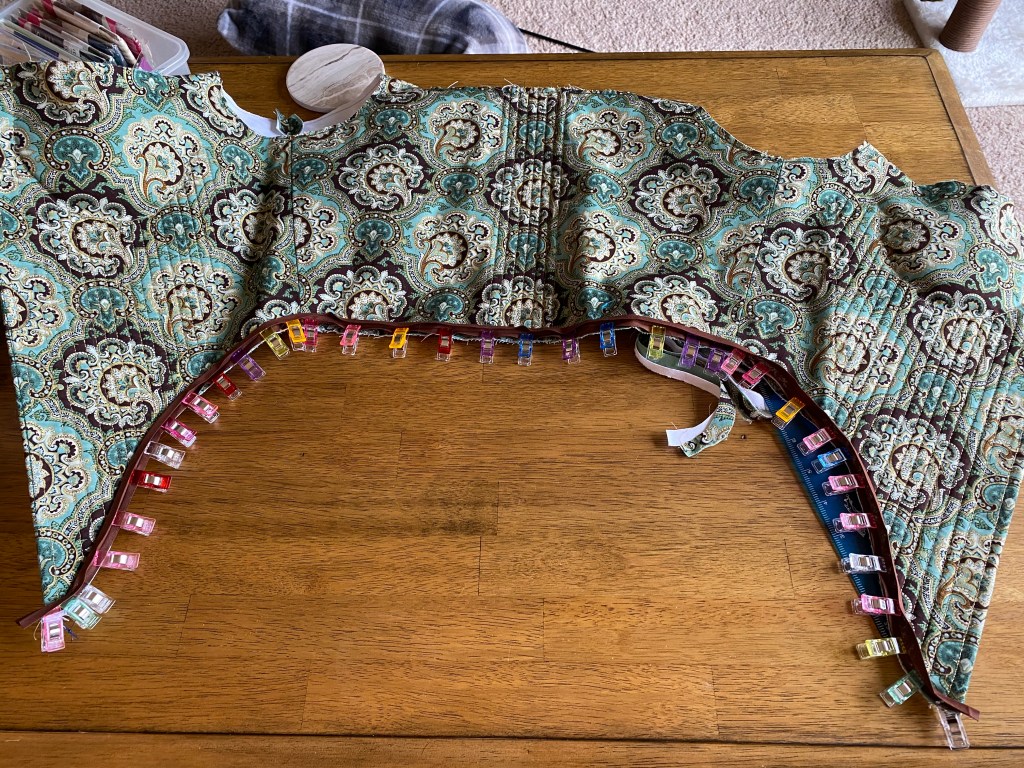
Next, the outside fabric and cotton interlining are basted together before stitching the side seams for the basted layers and coutil. The side seams are pressed open and boning channels are marked. I make all my pattern markings after pressing seams since I use water soluble markers that disappear with heat and steam.
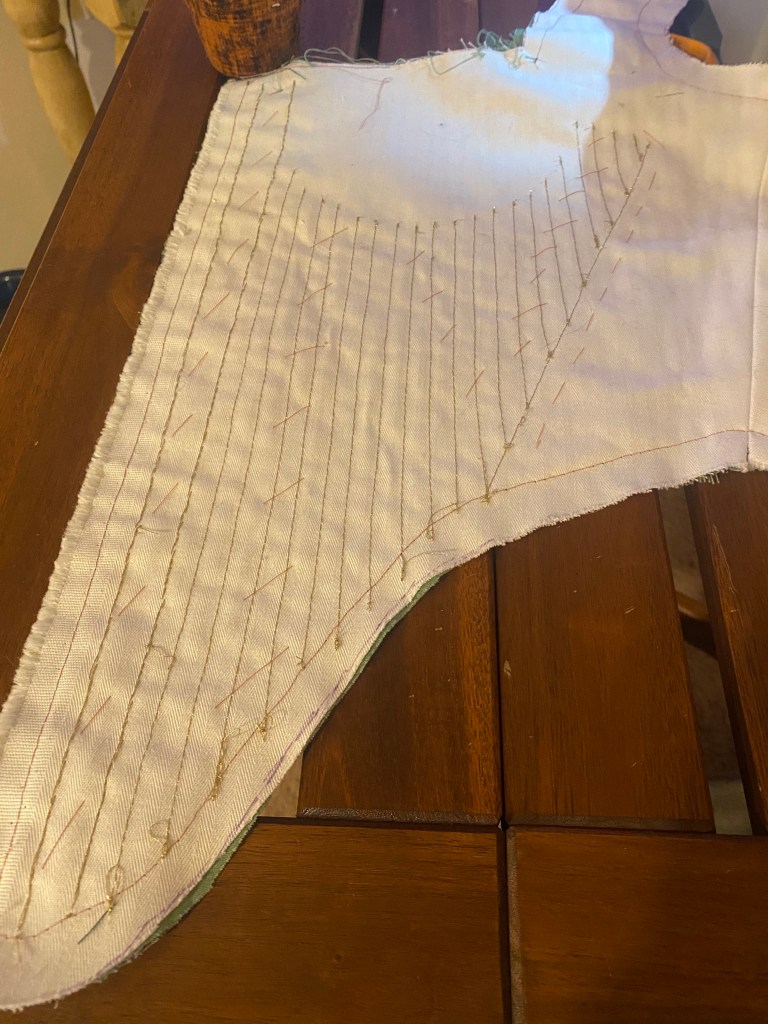
With wrong sides together, the outer layer and inner coutil layers are basted together. I am leaving the neckline at the bust and center back open to allow for insertion of the bones. Since I shifted the lacing to the front, I adjust the boning channels to have 1 channel at the edge, 1/2″ space for the eyelets, and then back to the boning spacing. Adding a bone between the eyelets and the center edge gives structure and prevents the eyelets from stretching individually.

Prior to stitching the channels, I added a few pad stitches throughout the channel area to ensure the fabrics didn’t shift or bunch while making the channels. I did these in a bright thread for easy removal later.
I order plastic boning in 25 yard rolls and cut each section based on the individual channel length. 
Ends of bones are rounded using a sharp scissors (not fabric scissors though) to prevent the bones from cutting through channel stitching. 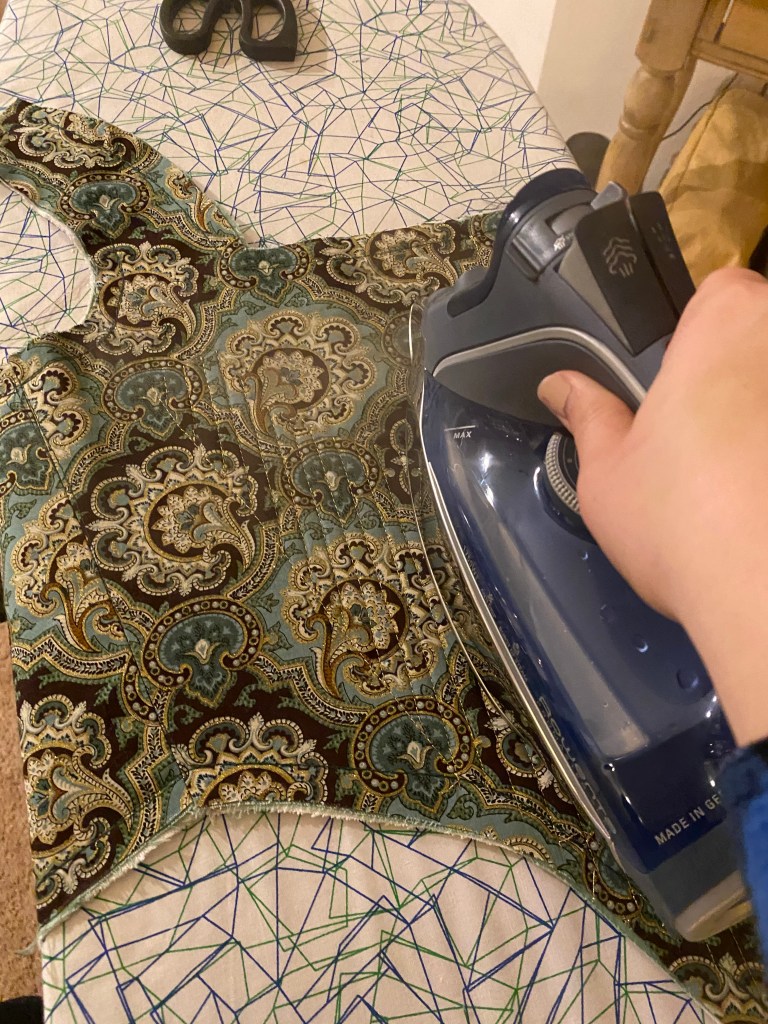
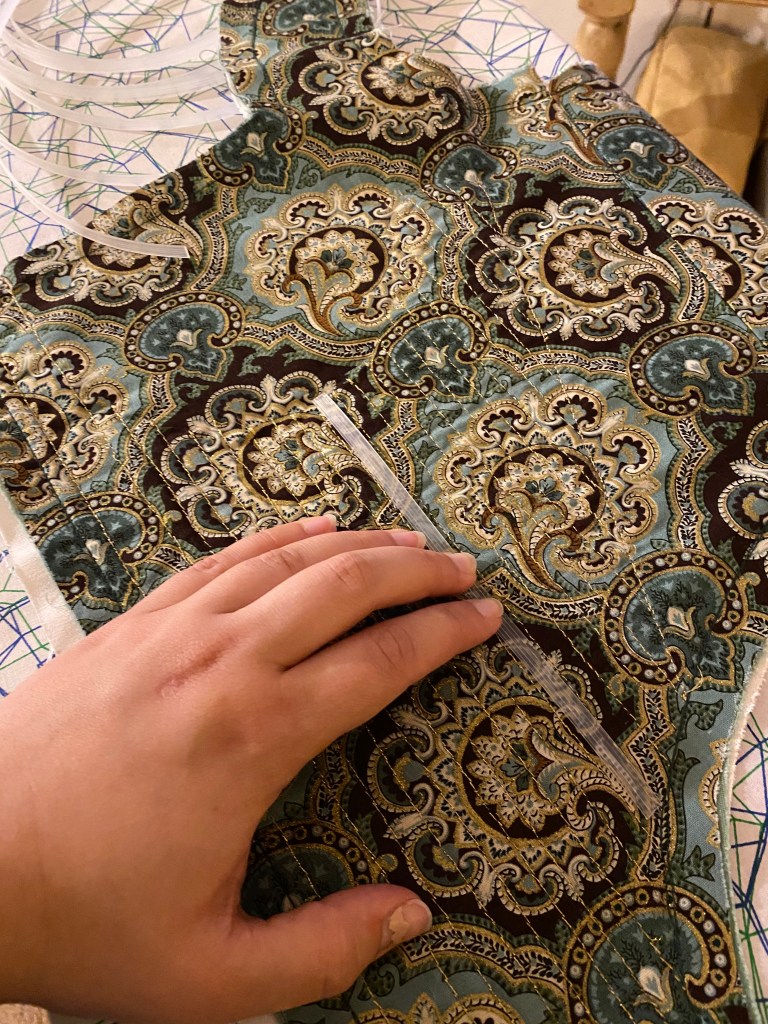
I like to insert the bones into the channels and iron each in place rather than straightening the entire 25 yard roll. I find this more manageable. 
One half completed with bones!
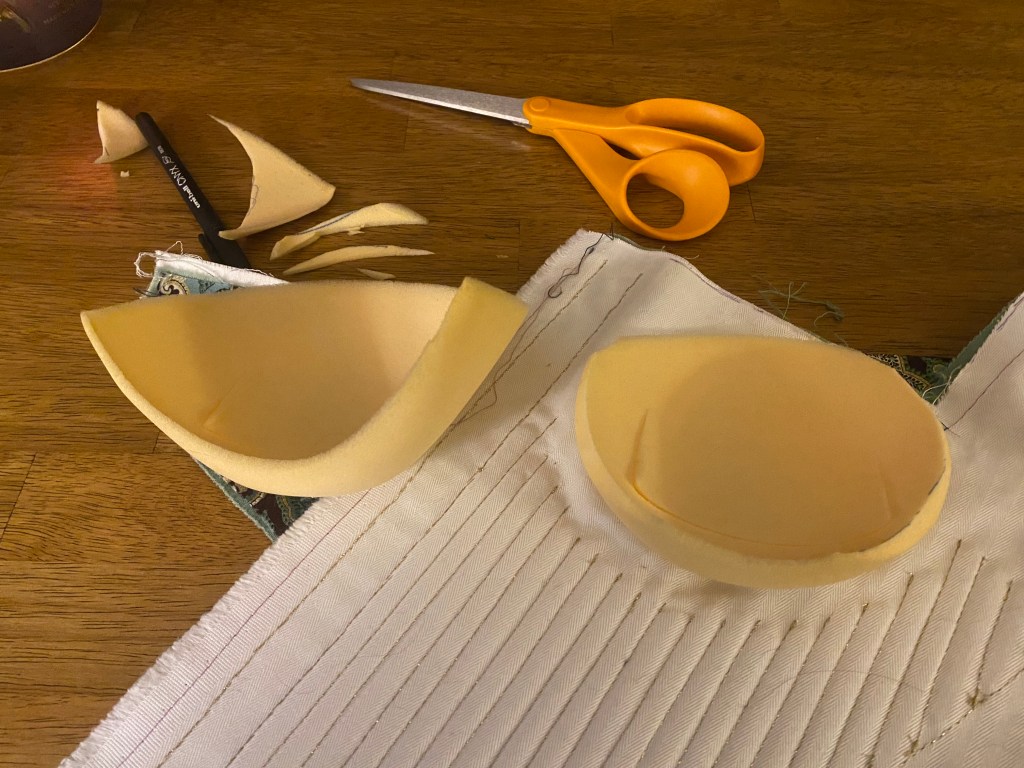
As I’ve said, I often struggle with fitting the bust of garments and one of the major problems with the unstructured gown the bodies were intended to go with is that the bust is too large and cannot be easily modified due to beadwork. Since the bodies have the underbust supported by bones and bust soft, I left the excess material and padded it to assist with the right shape for the gown. I had a pair of shoulder pads on hand from a clearance rack and trimmed these to use as padding. They were honestly super for this purpose since the shoulder pads are tapered to have more padding on one edge and less on the opposite. I fudged the trimmed shoulder pads so that the thicker side would be at the bottom of the cup, providing support.

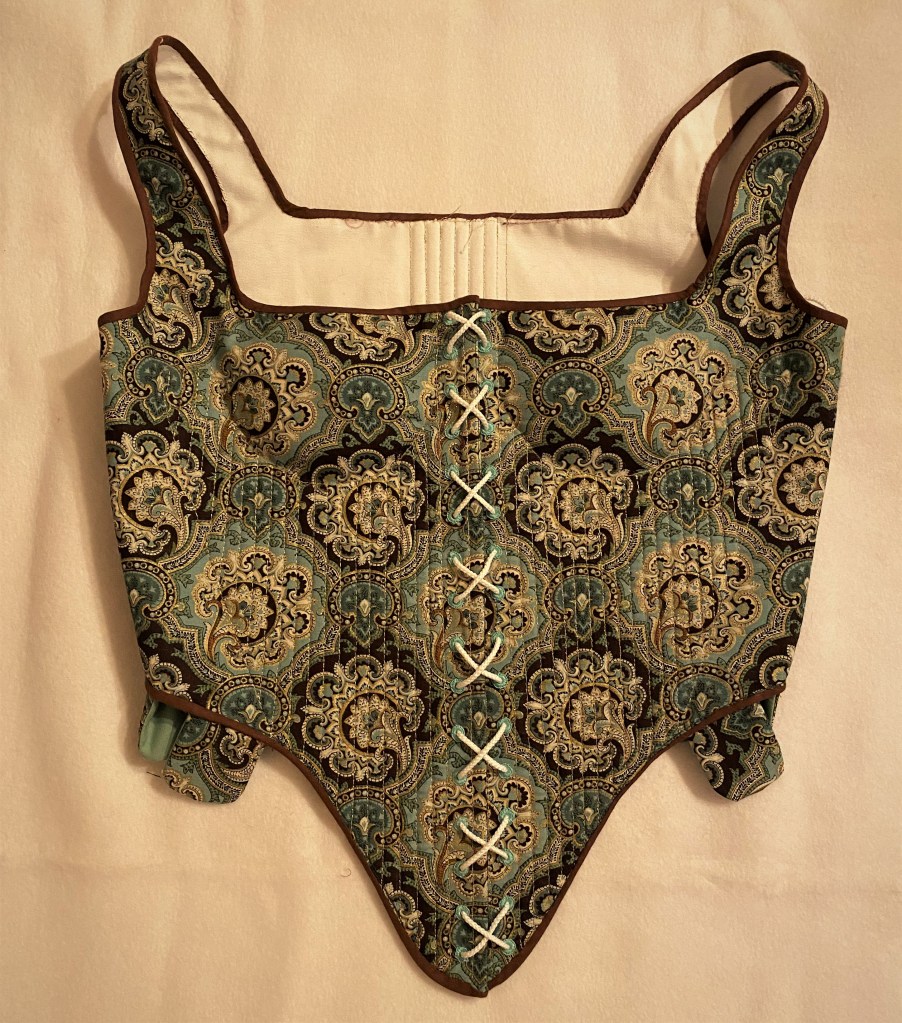
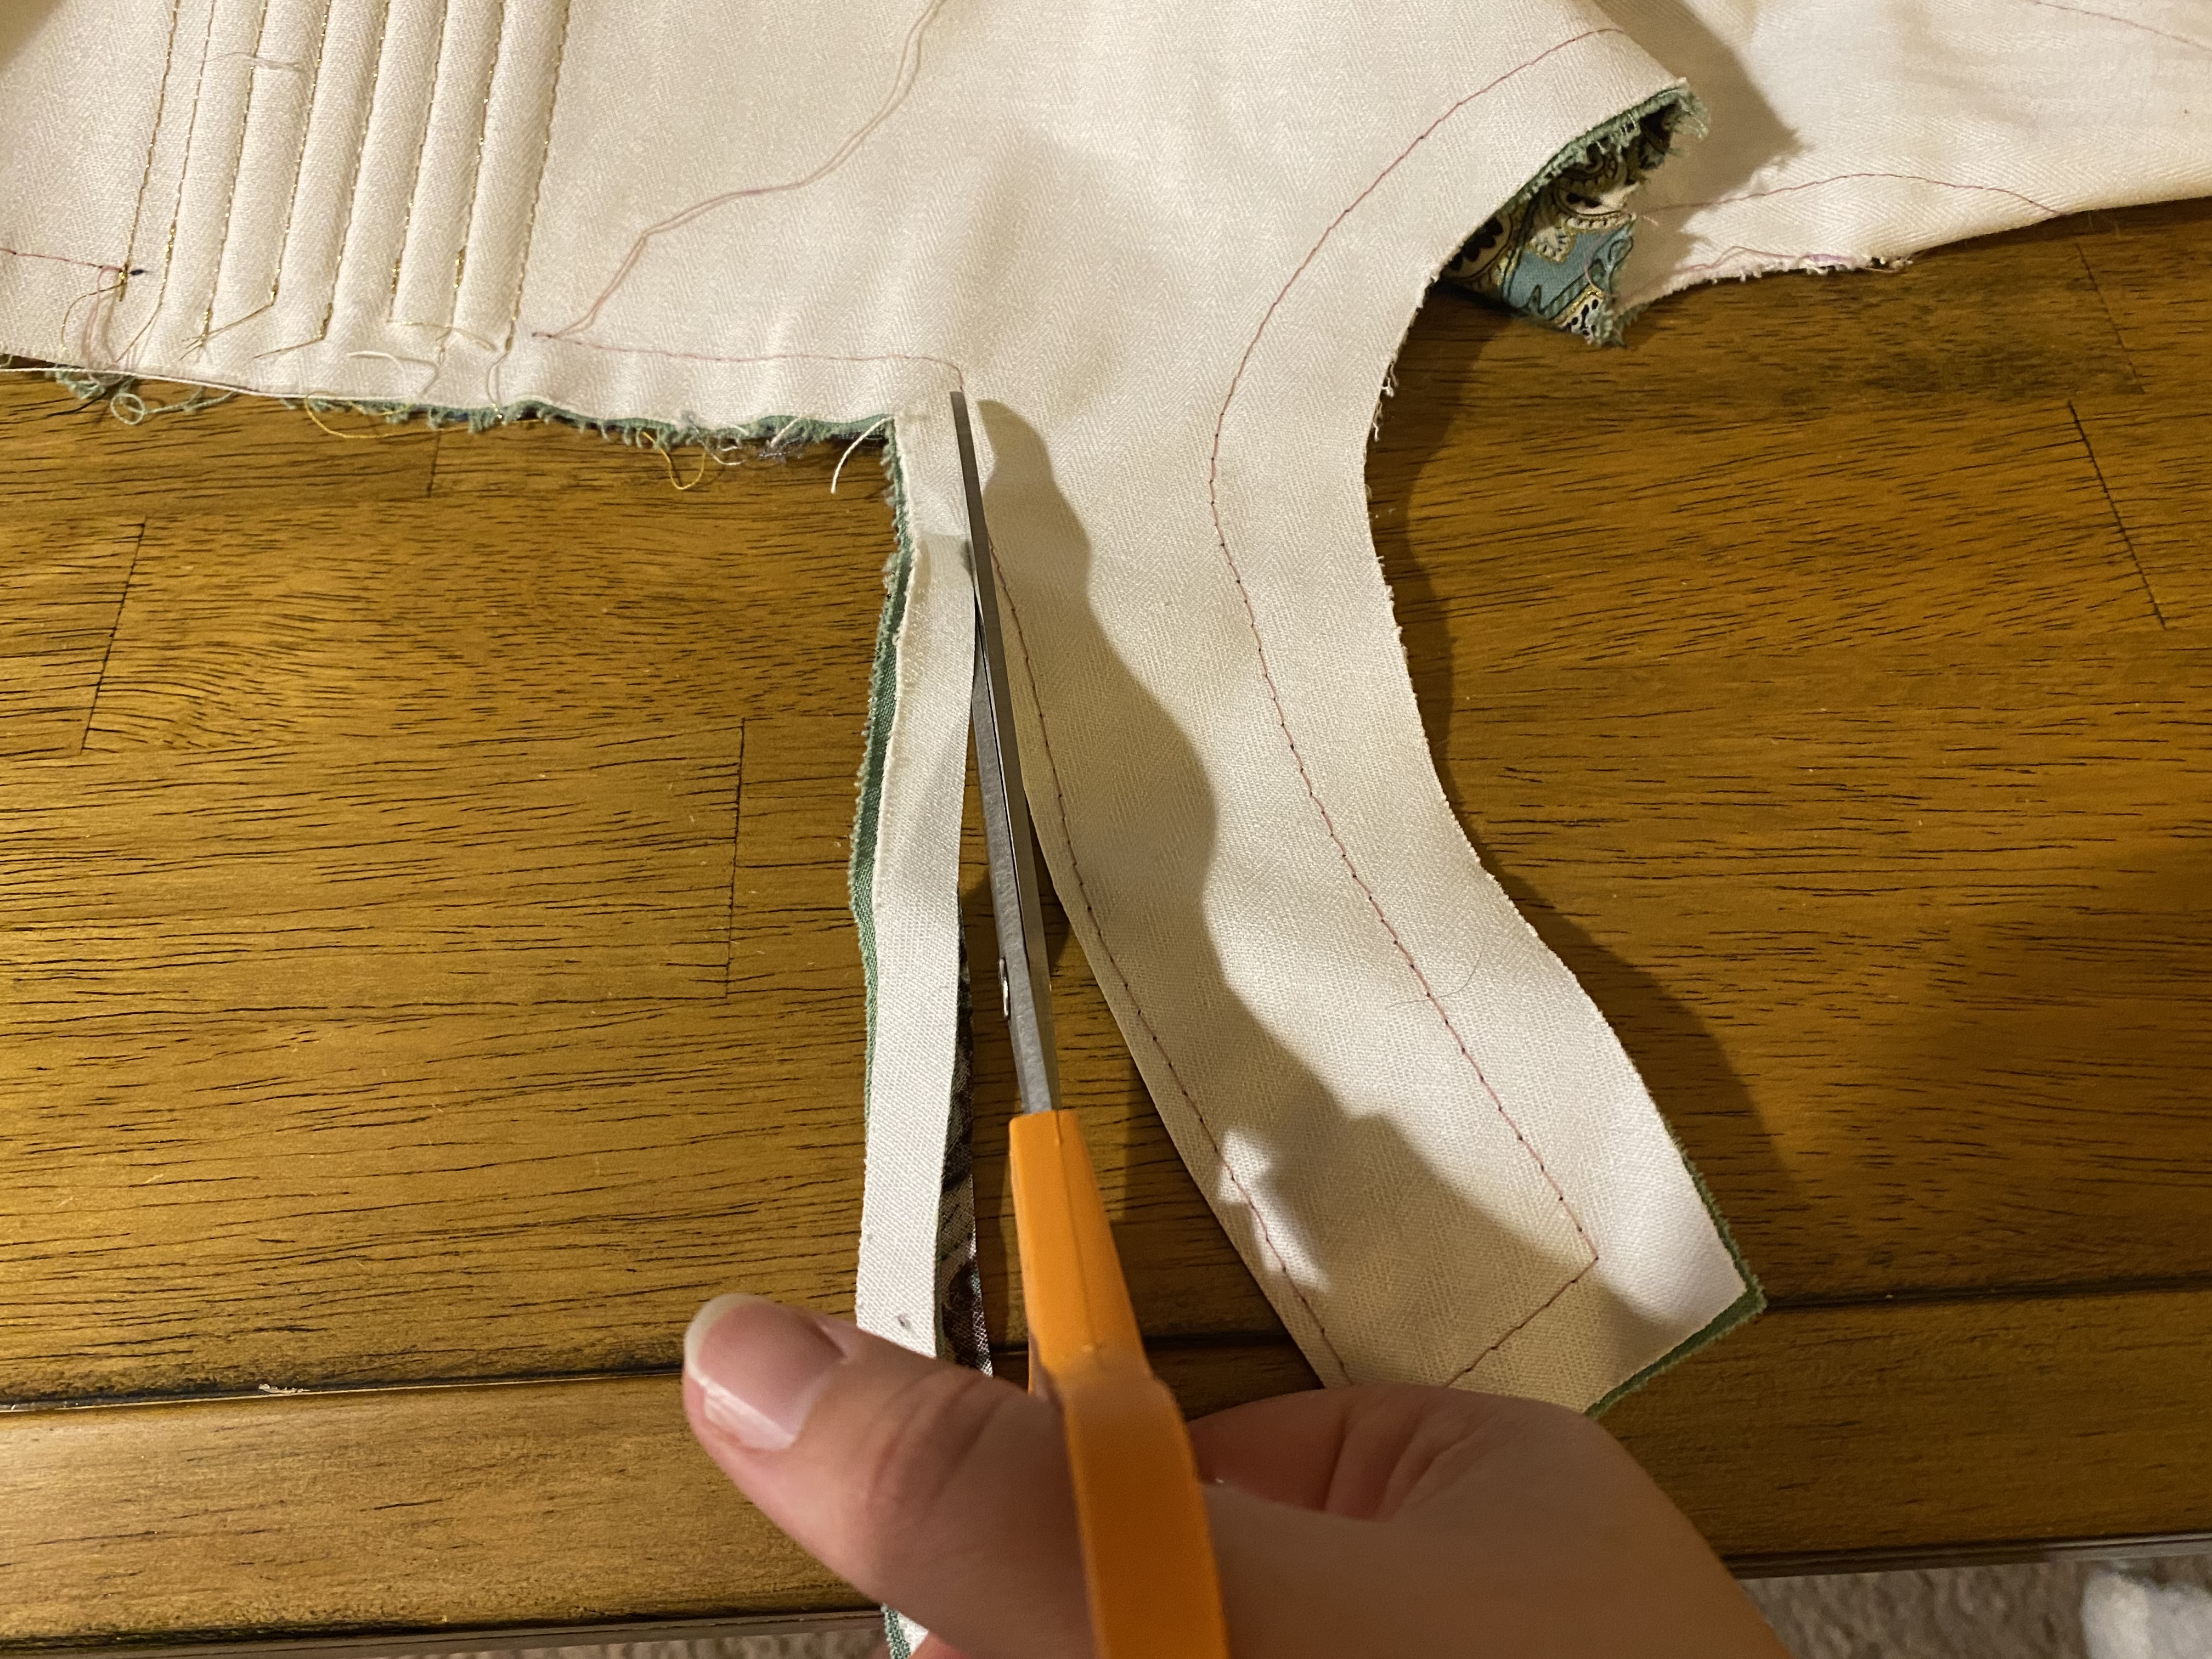
The edges are finished by trimming away the seam allowance to the basted stitching lines and application of bias tape along the neckline and waistline. The center front was surged and folded back rather than having bias tape interrupt my hard work to pattern match the center front.
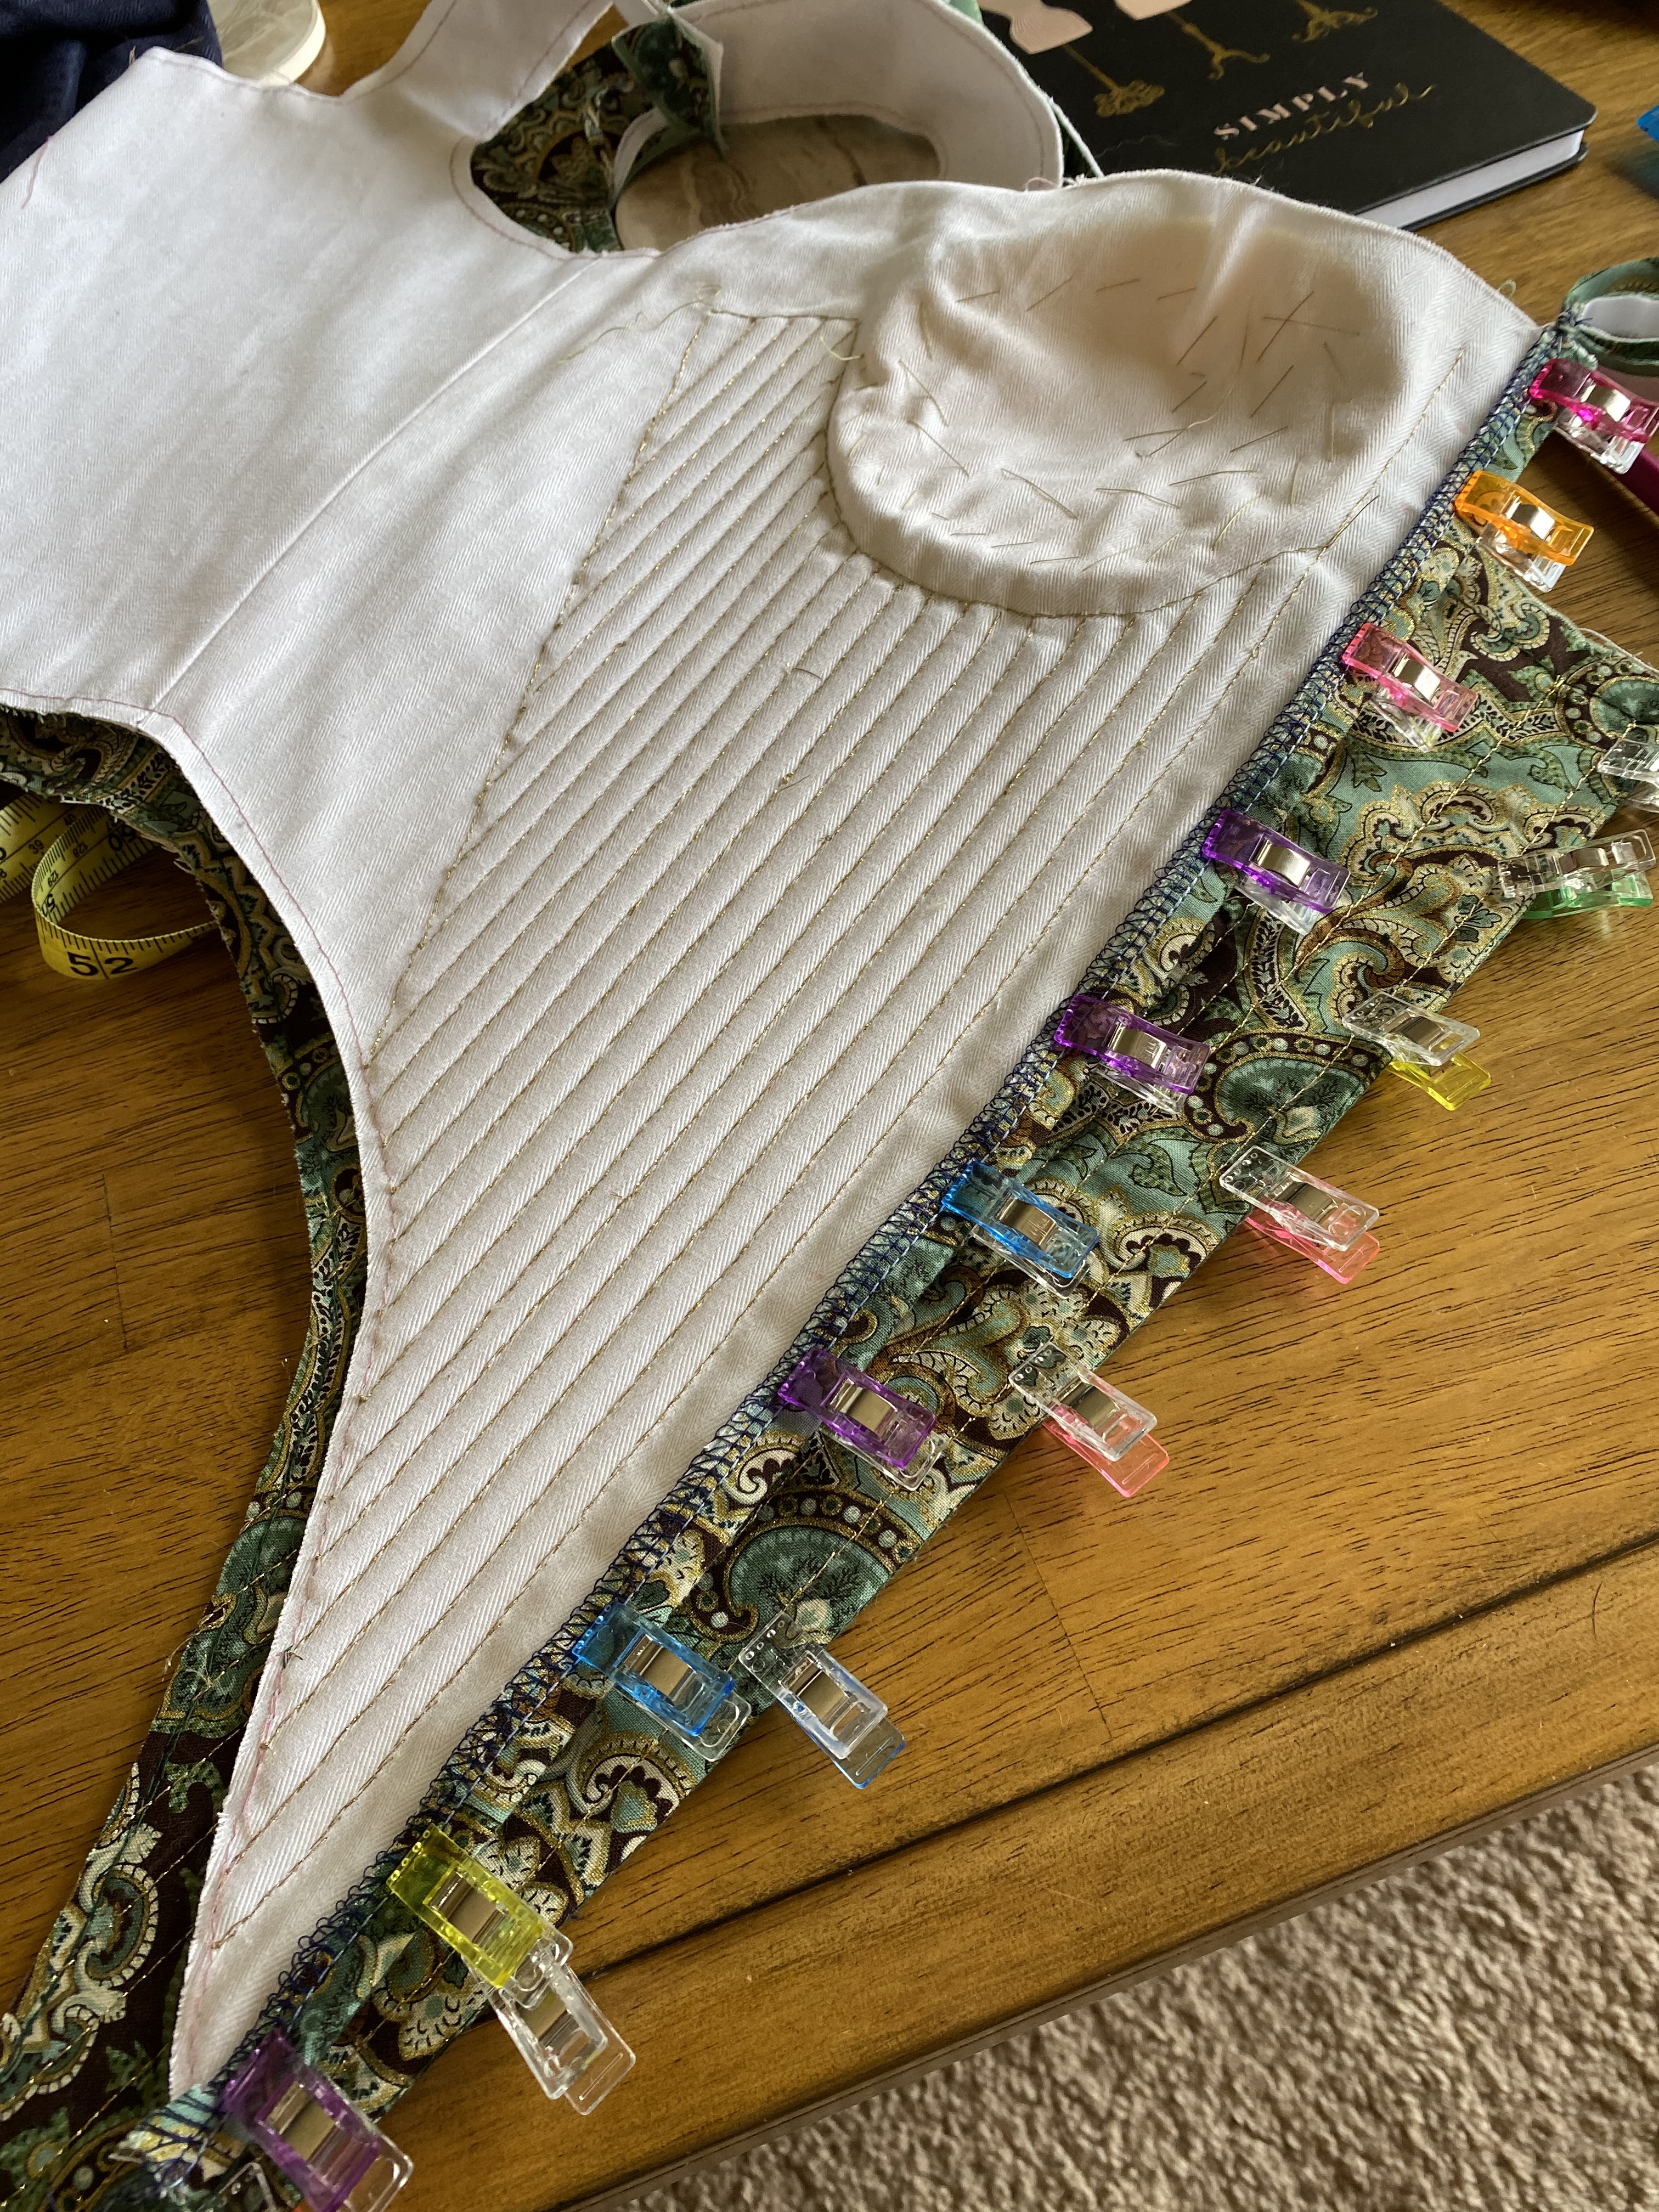
1/4″ double fold bias tape is used in a complementary chocolate color. 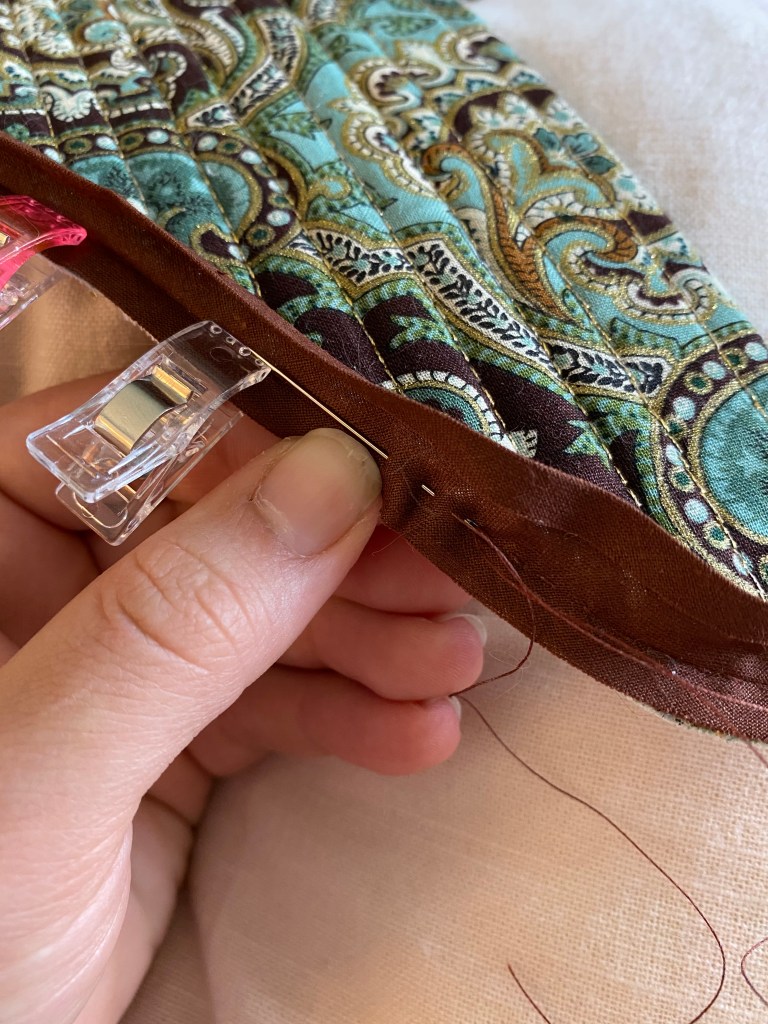
The bias tape is stitched to the front along the interior fold line with a running back stitch (2 running stitches, followed by one back stitch) 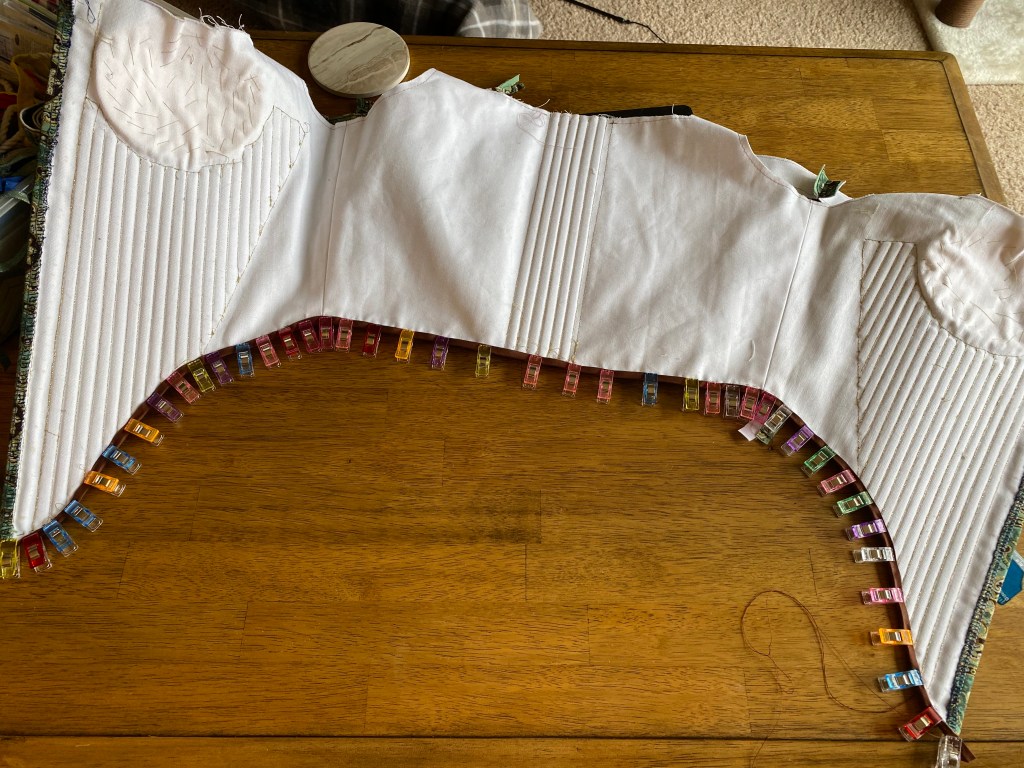
The bias tape is folded to the back and whip stitched in place.
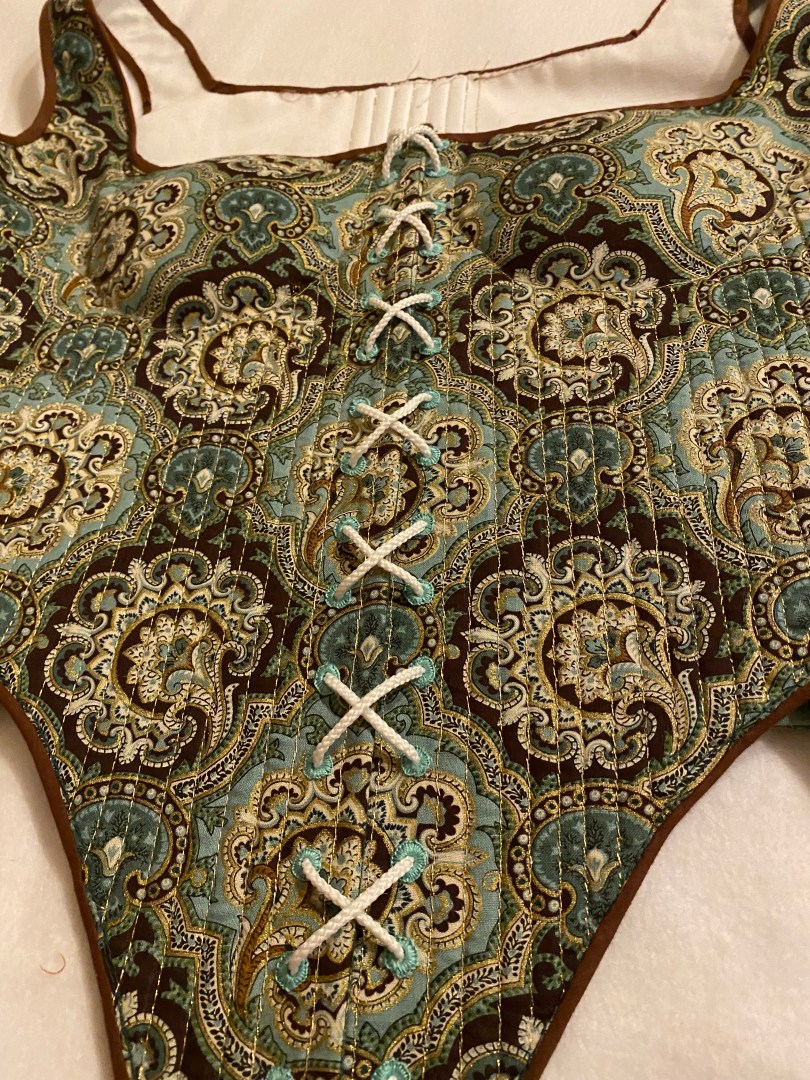
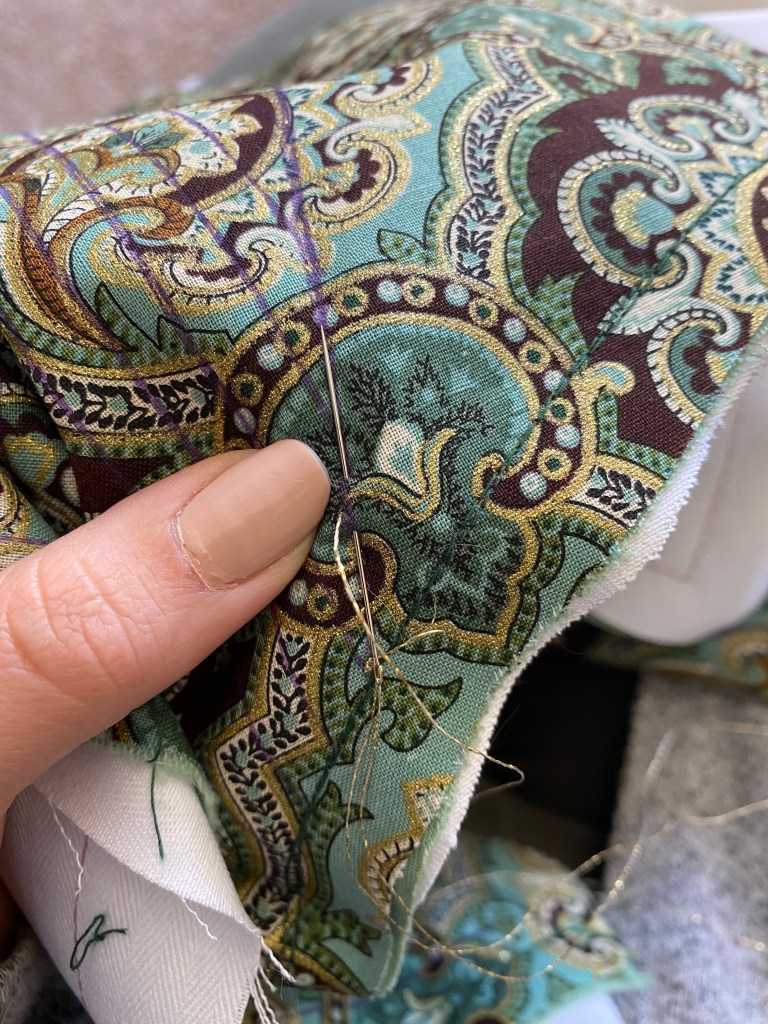
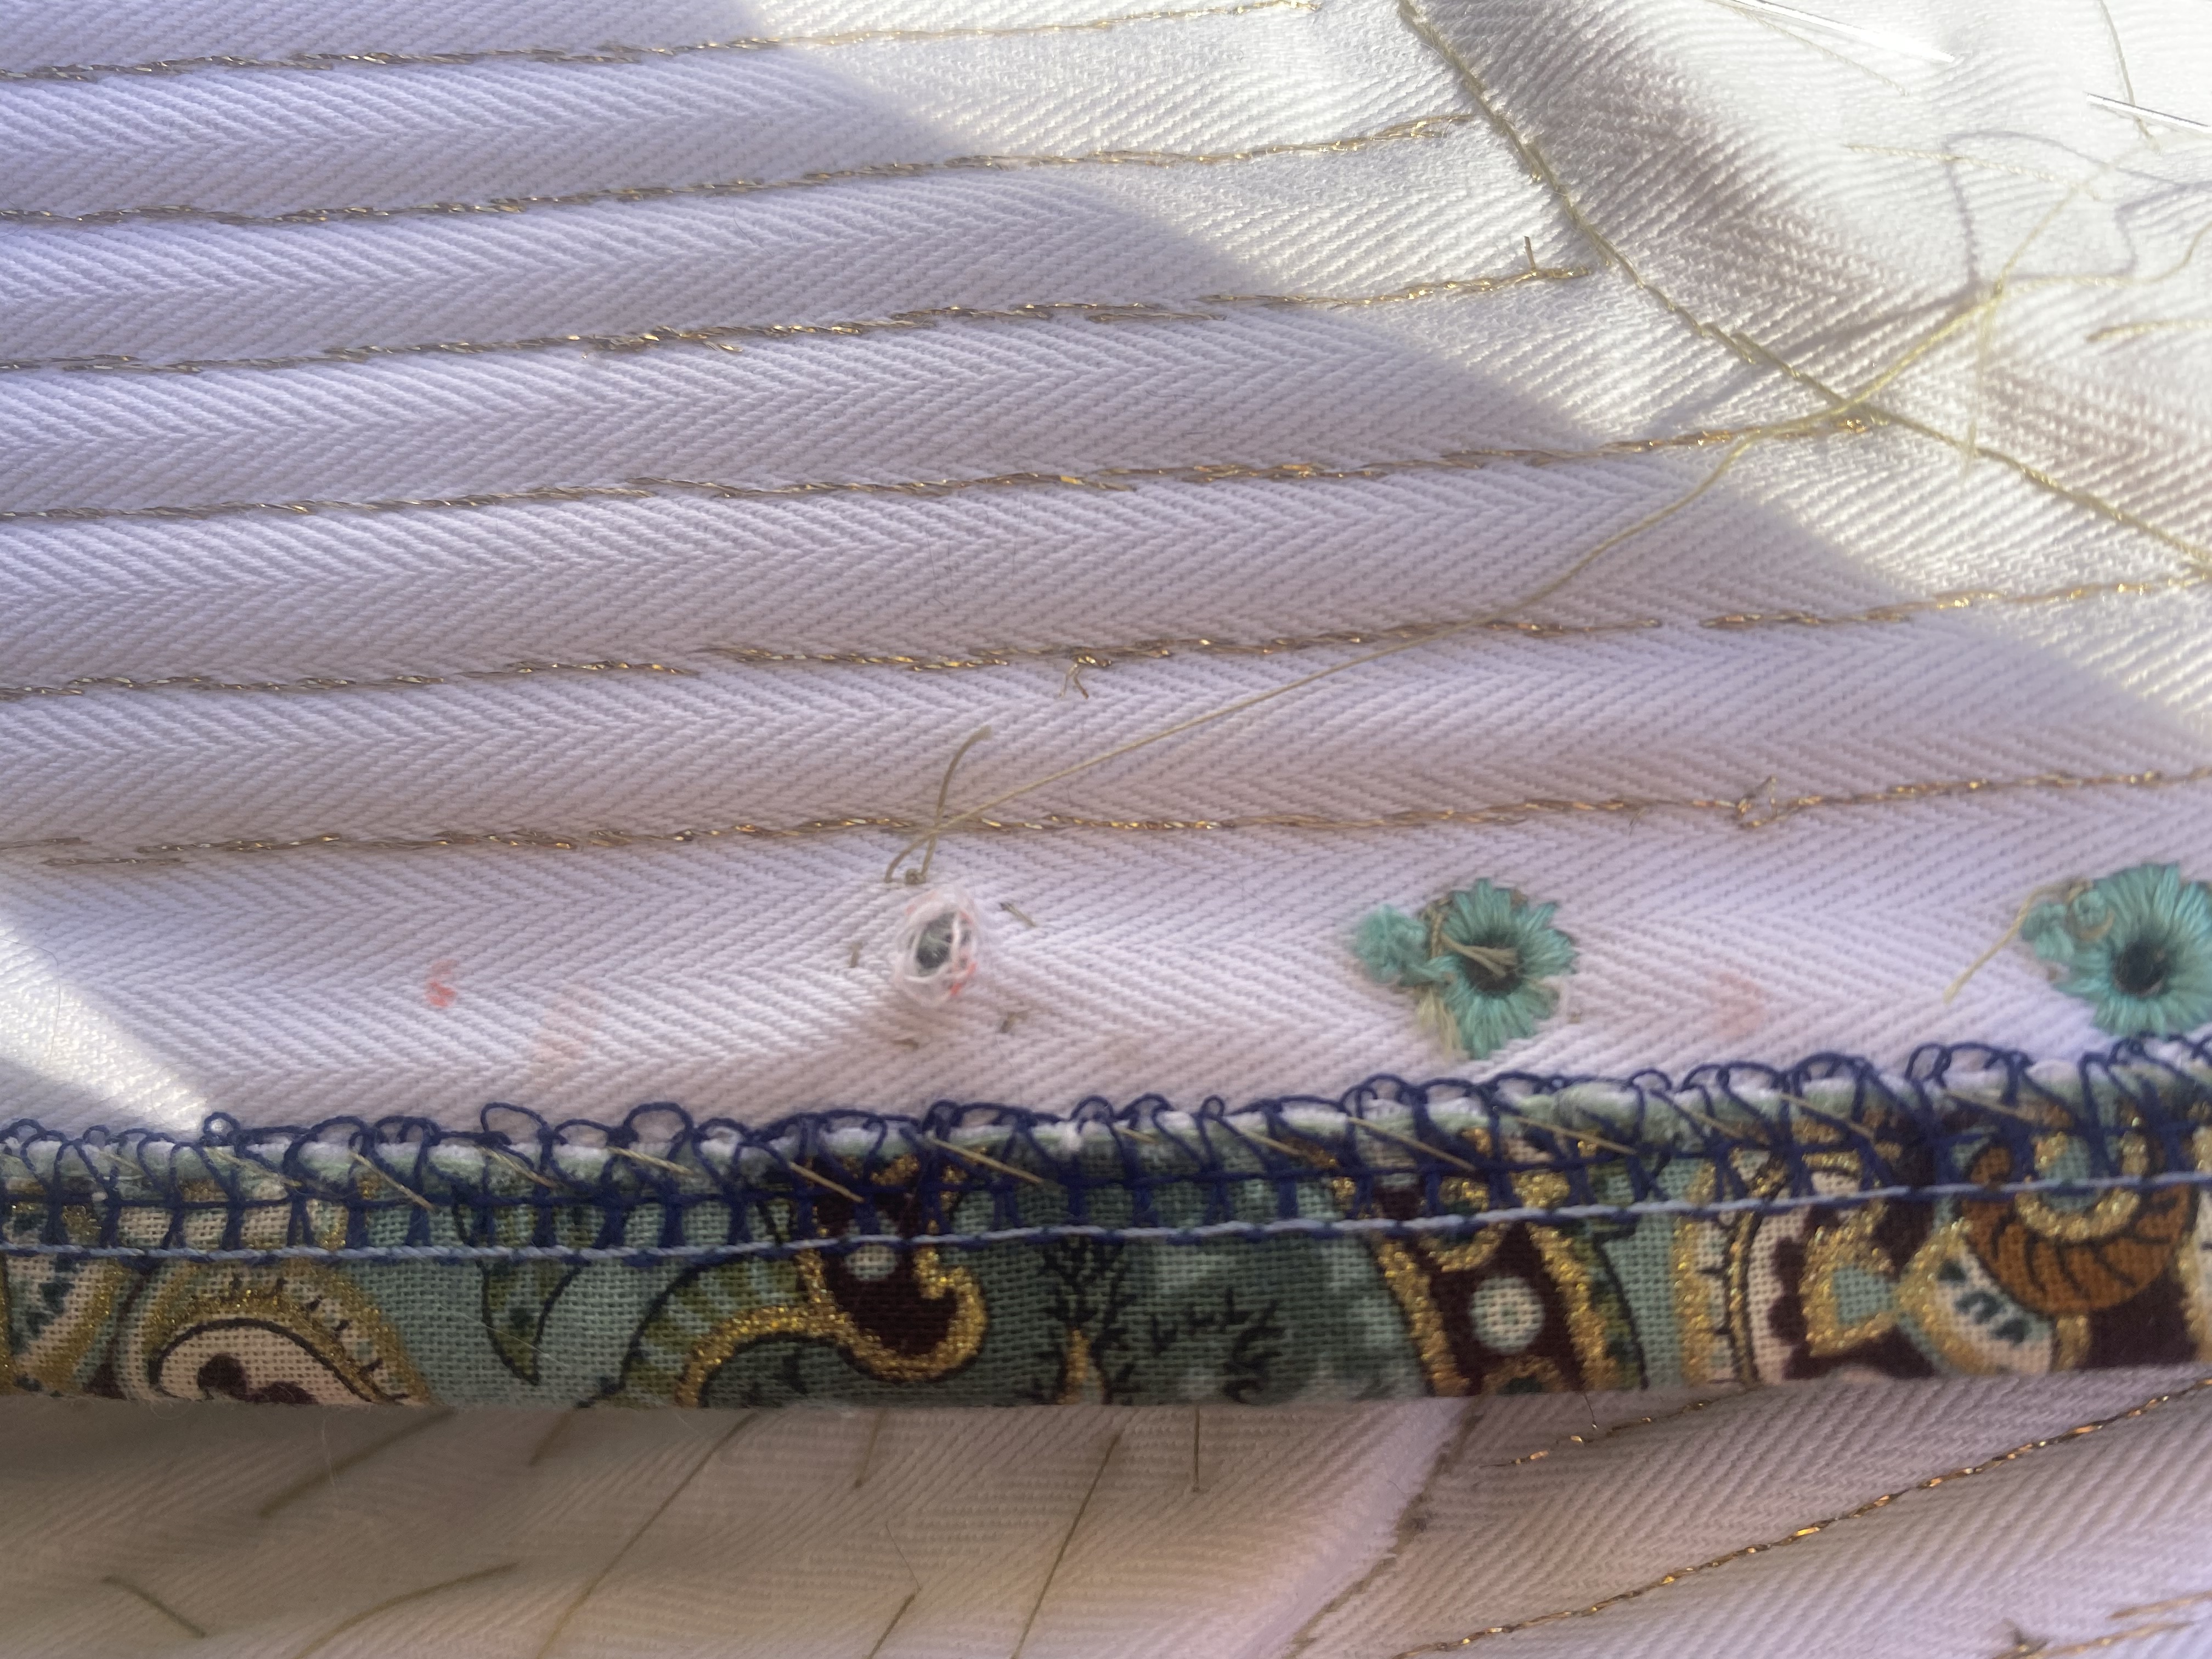
Edges finished, the last steps were to embroider eyelets to the center front closure and add the tabs to the waist. For the eyelets, I decided on a criss-cross style rather than spiral lacing because . . . math is hard and I just could not make spiral lacing work. For this, the eyelets are placed parallel to each other. To embroider them, I create the holes with a tailors awl, baste stitch a guide circle around the opening with regular thread, and then stitch them with two strands of embroidery floss. Stitches start from the back with a knot, then wrap up through the opening to the thread is through, but the needle passes back down the hole and out the fabric (from inside out) at the guide stitch line. The embroidery thread wraps around the needle point before being pulled through to make a nice, neat, stitch. This continues around the opening to create the finished eyelet.
1. Baste stitched guide circle in contrasting color 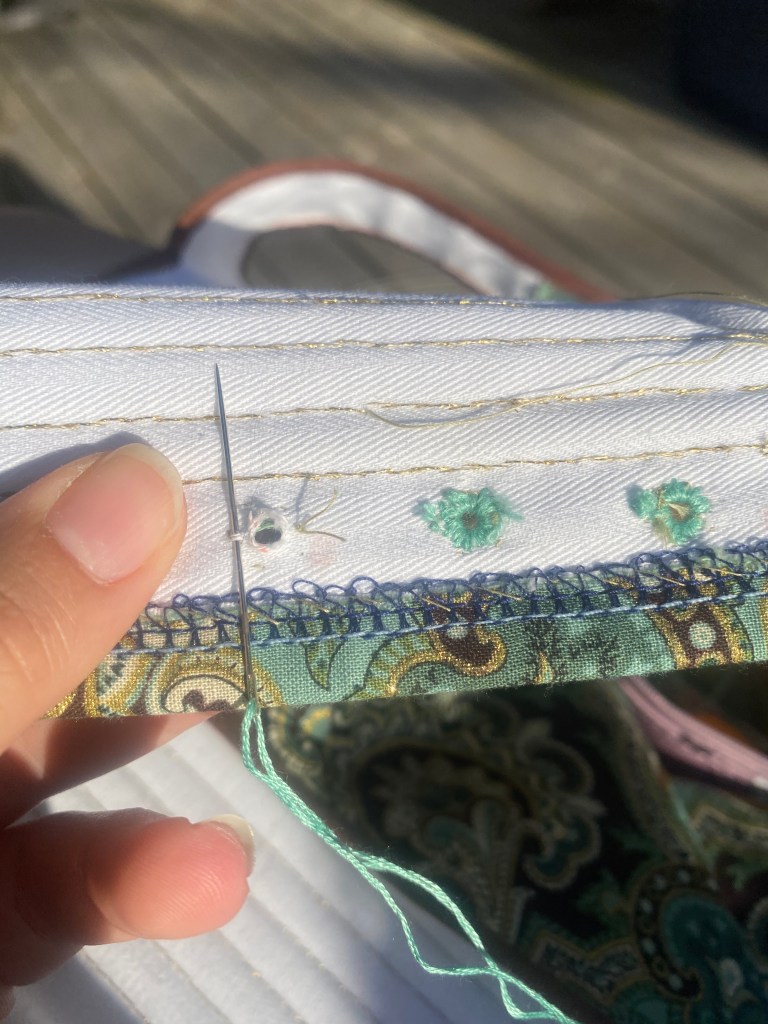
2. Start the embroidery thread at the inside with a knot 
3. Thread the needle and 3 strands through the opening to the front. 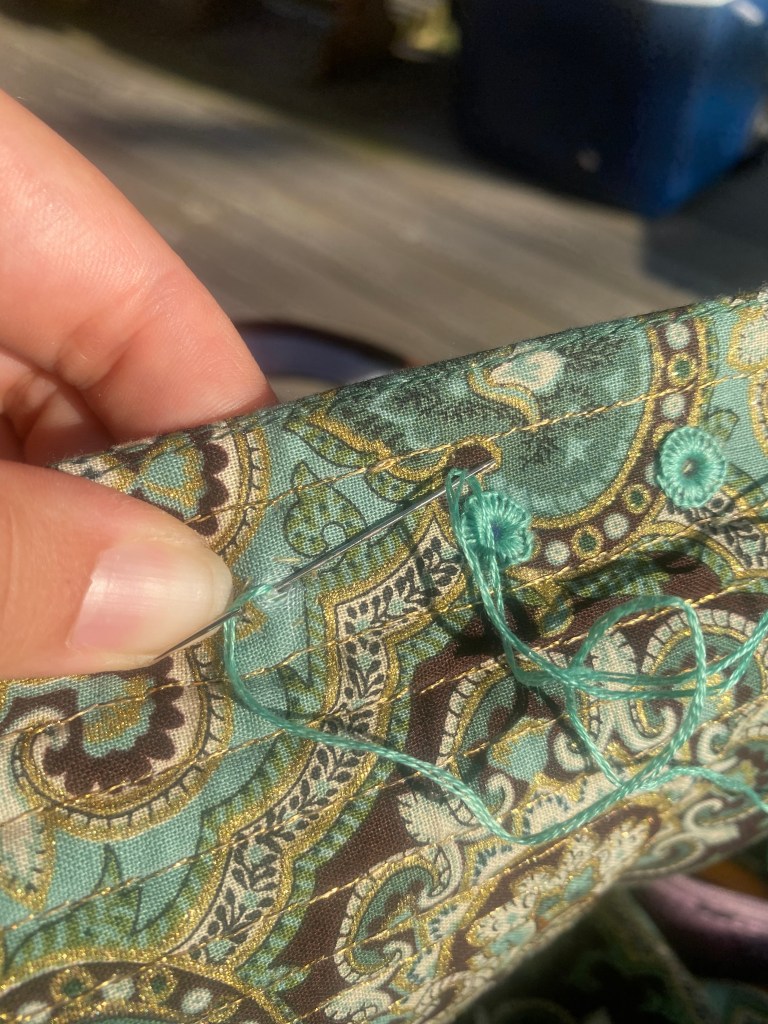
4. With thread length at the front, stitch from inside to outside, looping the thread around the needle point. 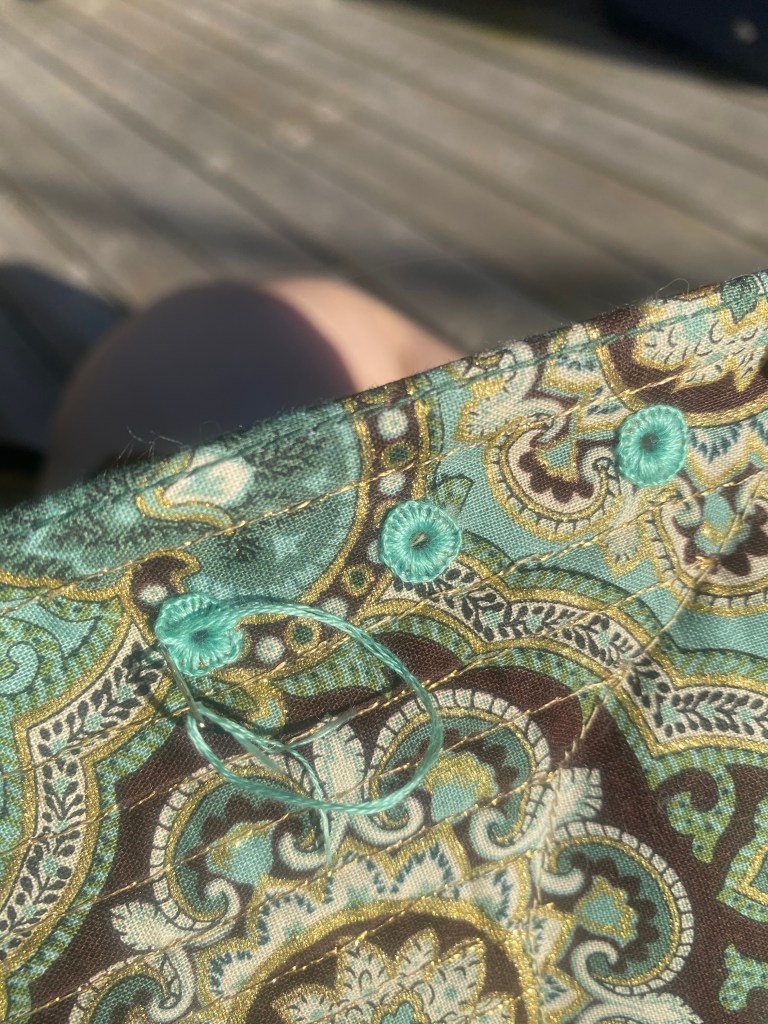
5. Continue loops around the opening and finish by stitching from front to back and knotting at the inside.
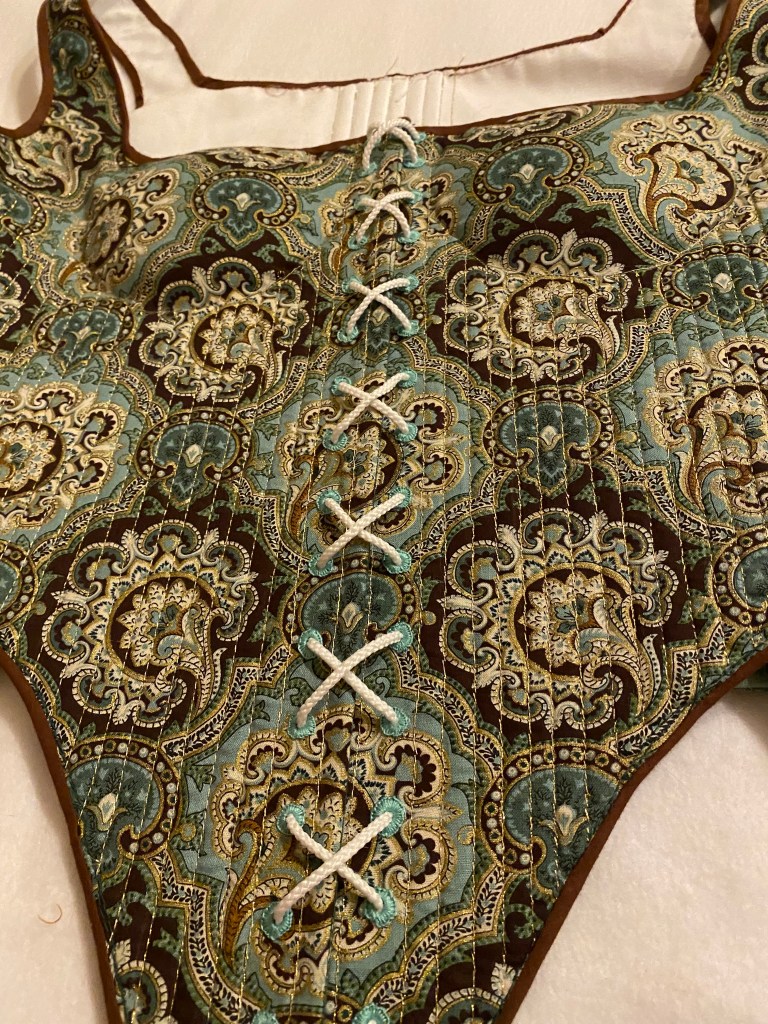
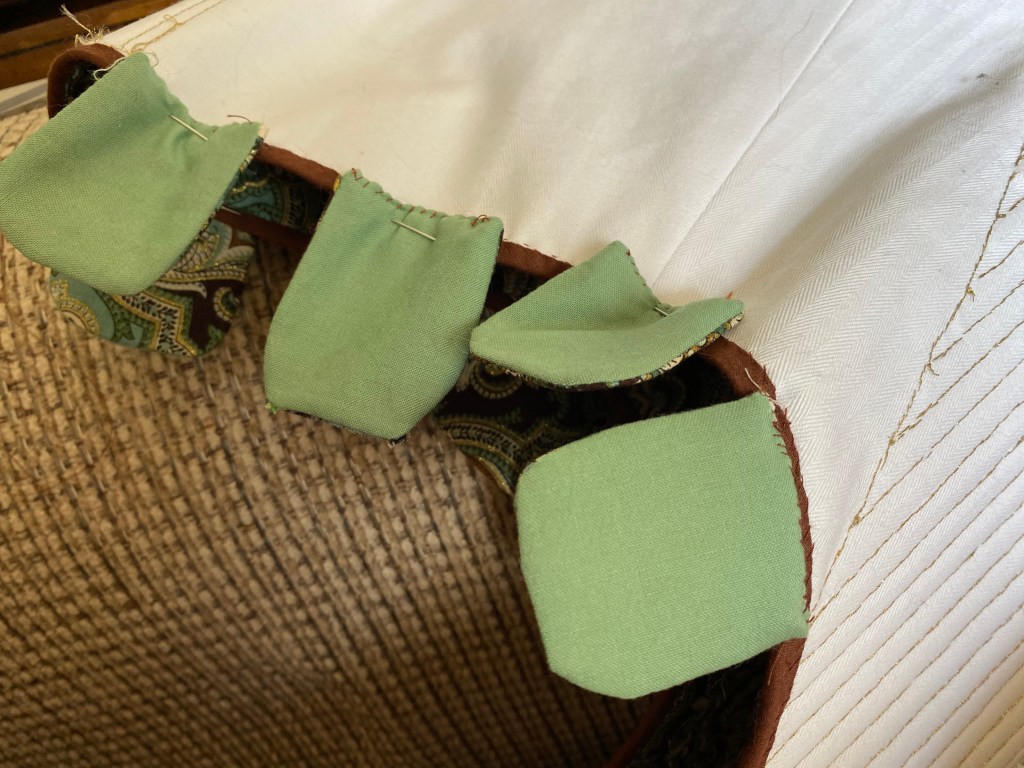
I deviated from the Tudor Tailor’s instructions a tad for the tabs. Rather than binding them, I cut my tabs with seam allowance and stitched the front and linings with right sides together, clipped the seam allowance, and turned them out with the top edges raw. This isn’t necessarily right or wrong, but I was to the point of wanting to move faster and get the project done, and this was quicker. I also added a layer of scrap home décor fabric sandwiched between the layers to give structure to the tabs. I whip stitched the top edge of tabs with the raw edges turned in for a quick finish. With 8 tabs in total, I generally spaced 4 on each side area of the waist and stitched in place to finish.

Lovely shape and relatively straightforward process, I am quite pleased with how these turned out and how surprisingly comfortable they are. I attempted to wear them with the unstructured gown in question and unfortunately did not see an improvement in the fit or shape. I’ll still wear these for other garments in the future and am proud of how they turned out, but they did not fulfill the intended purpose.
Honestly, I’m really not pleased with the odd fitting garment for more reasons than just the fit. Since I’ve had the last year to improve my skills and have now read The Tudor Tailor, I plan to restart the overall Tudor gown project with a new pattern in hopes that a second go, with the right materials and skills, will lead to a better outcome.