
As the summer moved into the heat of August and the relief of cooler autumn was on the horizon, ‘twas time for the push to be ready at a moment’s notice for the Renn Faire. I had enough costume pieces from other projects to sufficiently pull a full outfit, but I’ve been a tad lacking in accessories lately. I previously made a teacup holster and really enjoyed the process and results. So, ‘twas time to make another holster, this time for sewing.
At RennFaire, so many people have the standard dagger or sword holsters or loops for steins or potion bottles. But that’s just not quite my speed. Instead, I want to envision my character waiting on the sidelines of battle, ready with a needle and thread to repair the colors. A neat little vignette to channel a character through at the faire.
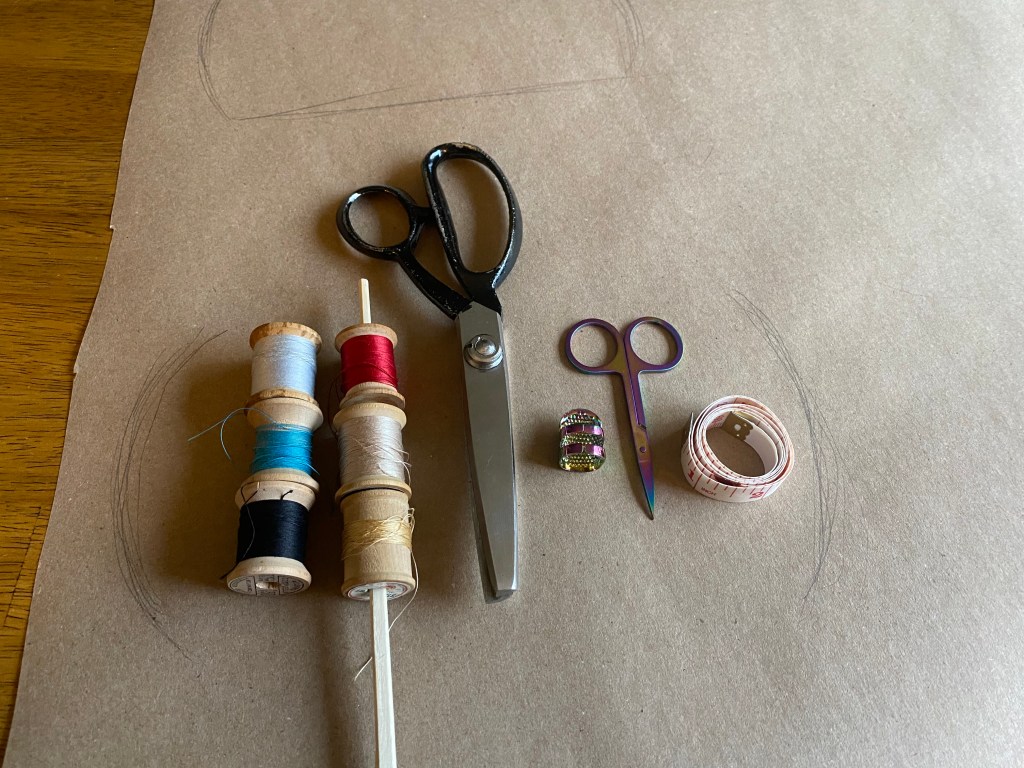
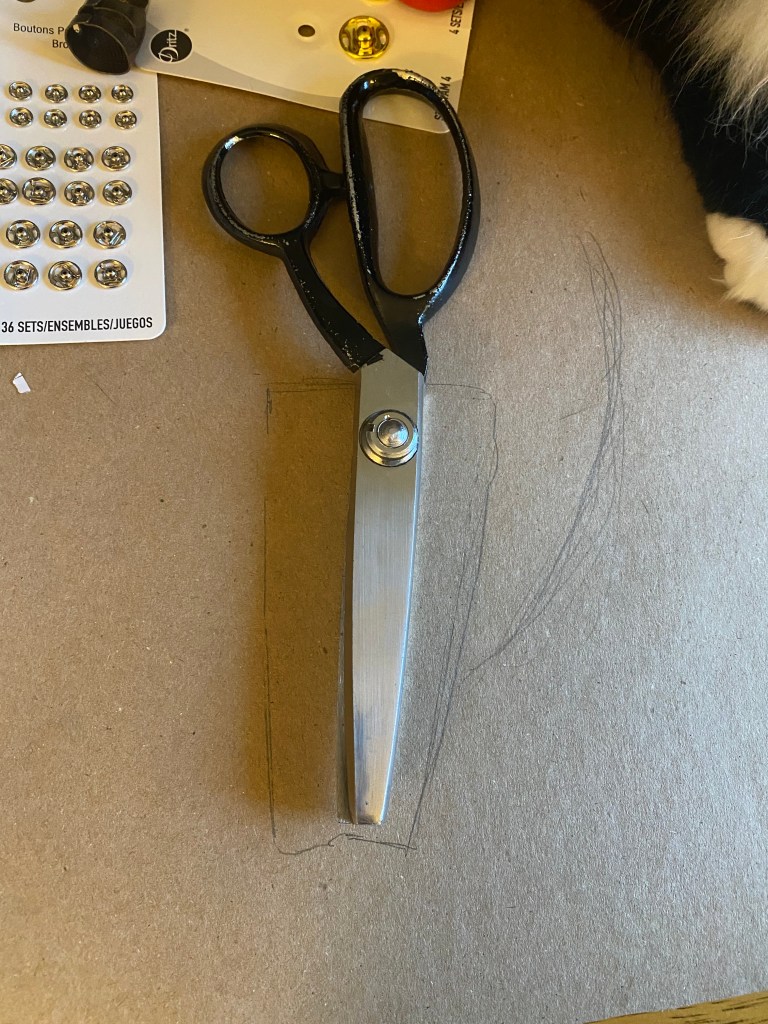
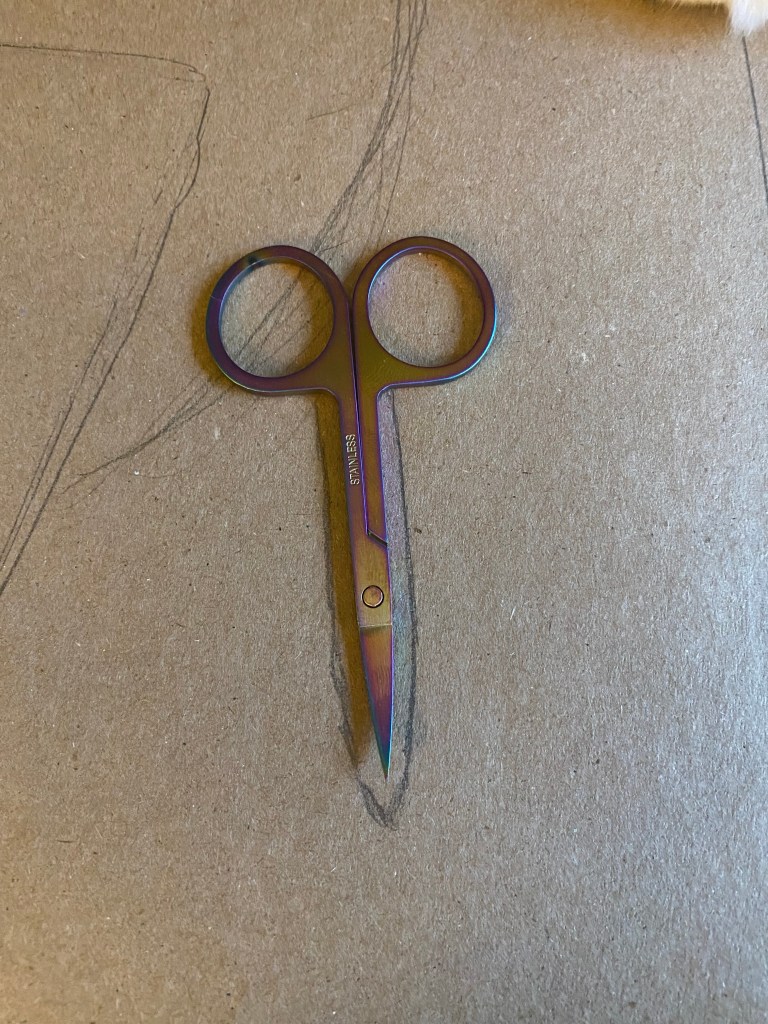
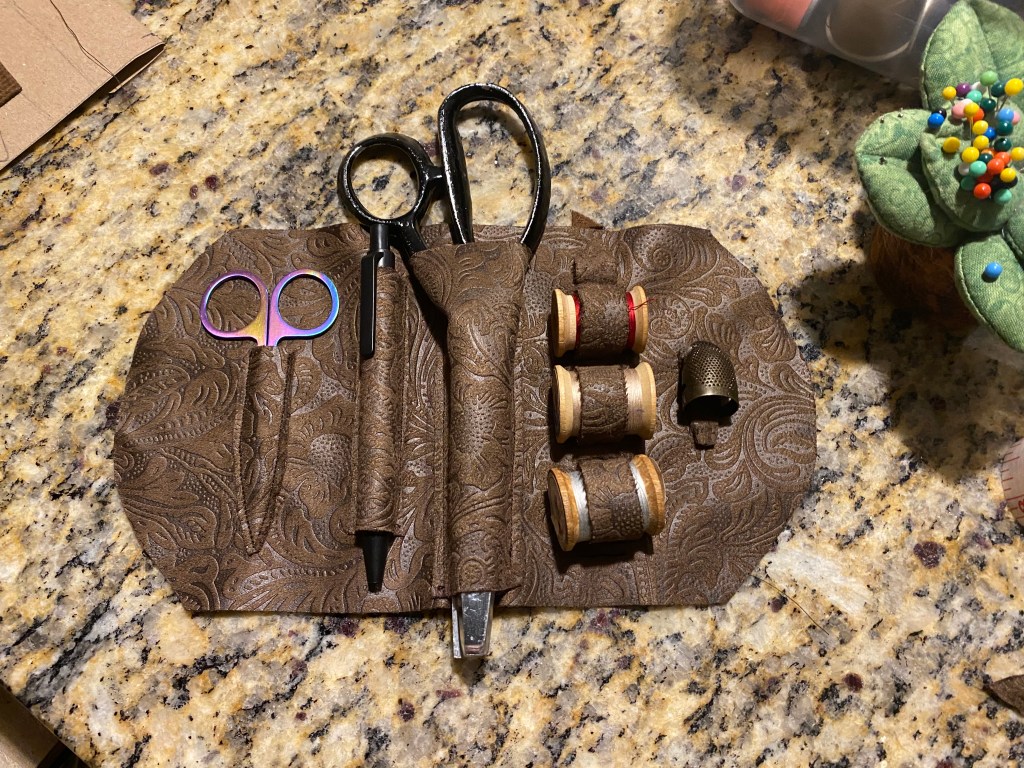
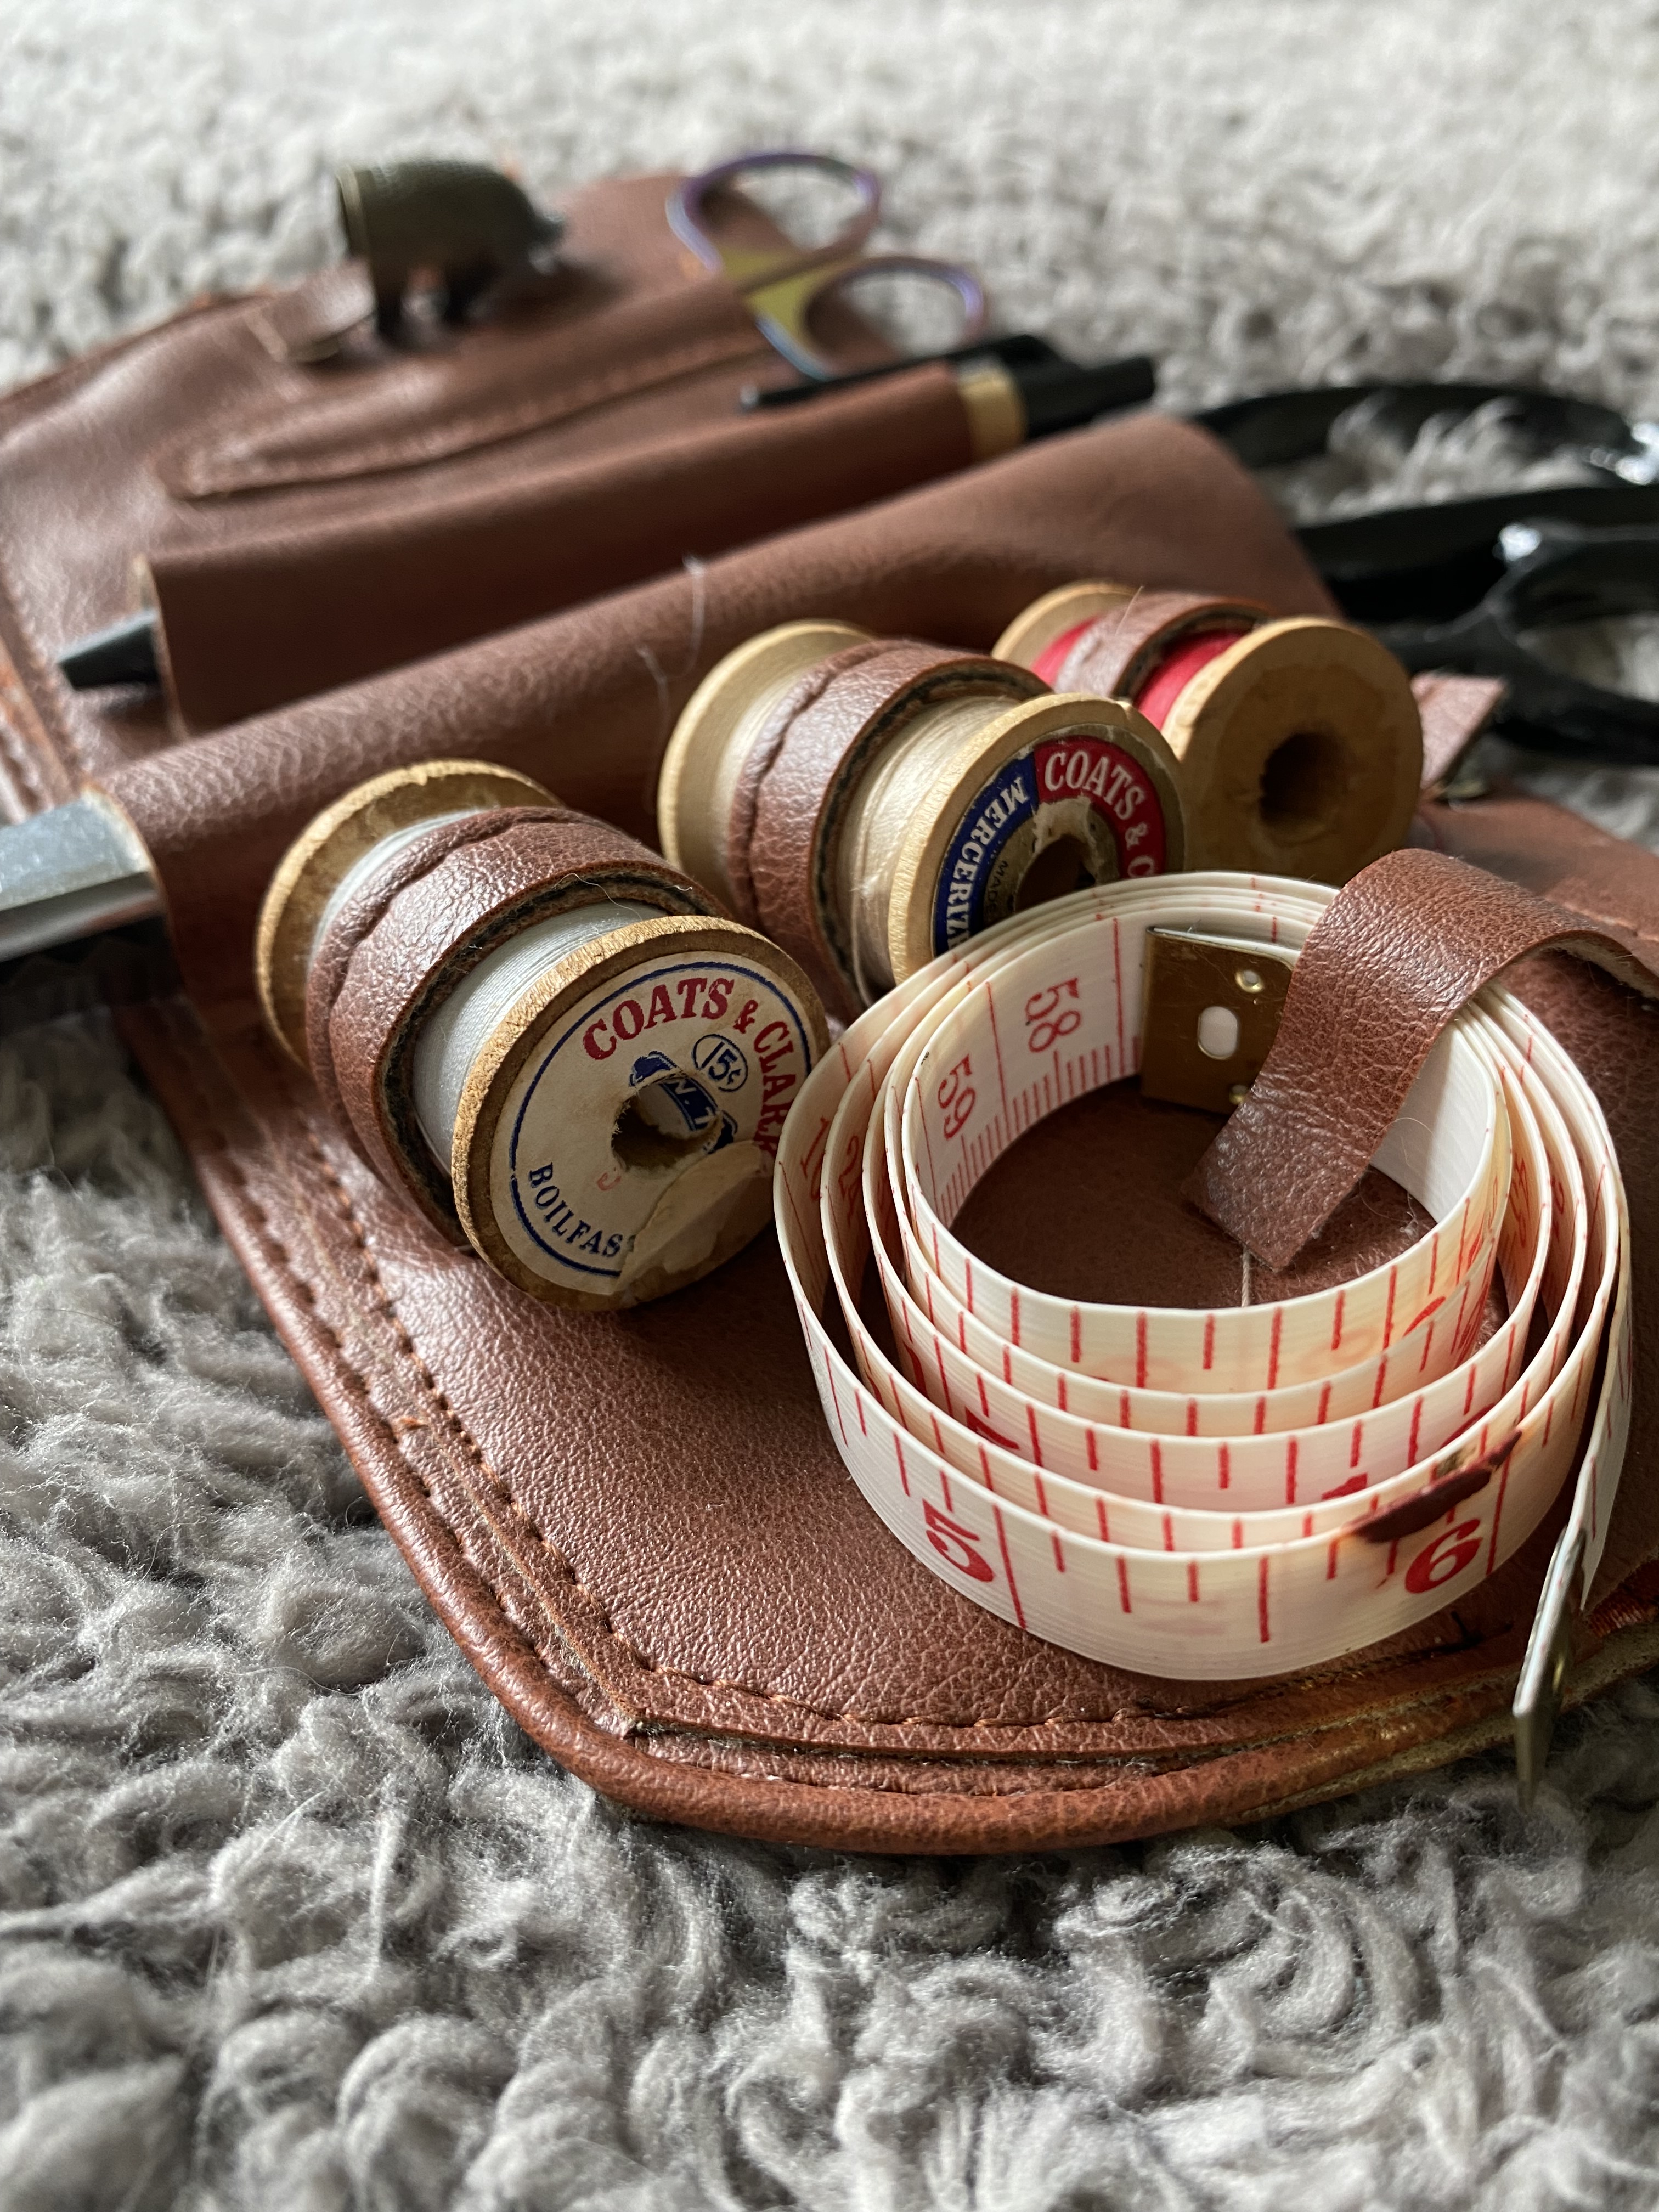
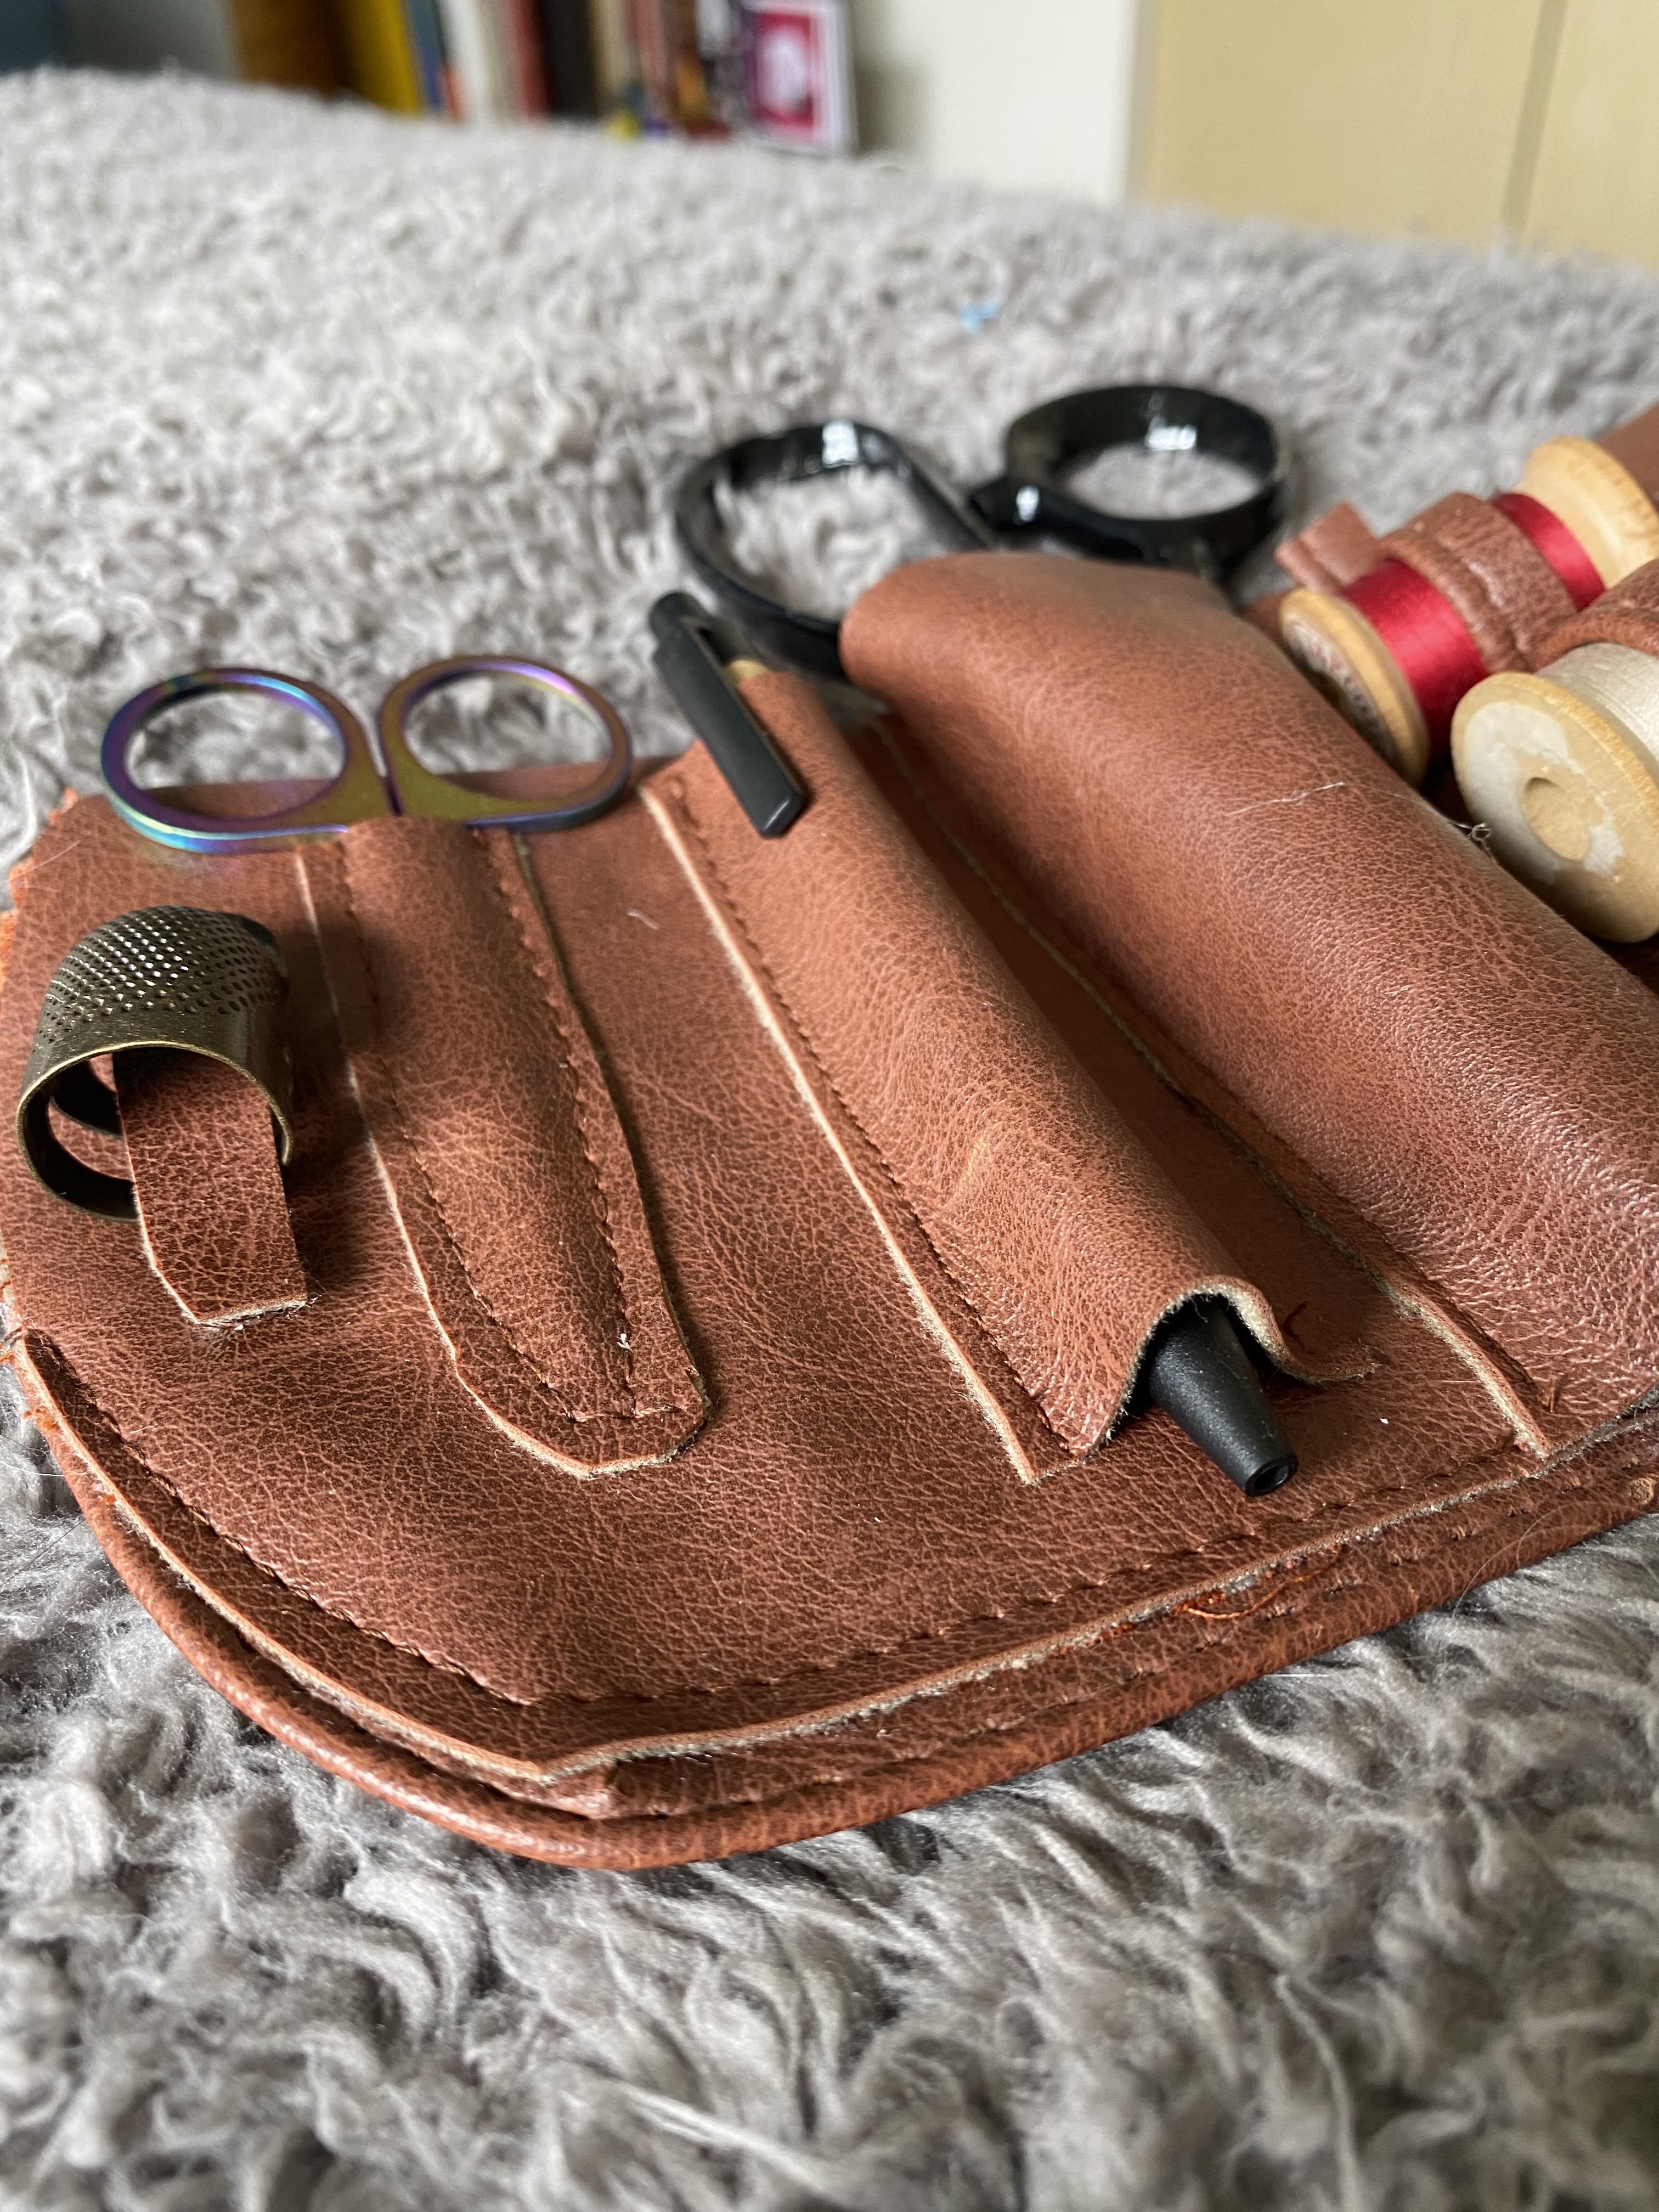
To start, I made a quick sketch of the general shape of the holster and gathered some of the items I would want to be attached or hung on it. I grabbed a few wooden thread spools, a pair of snips, a thimble, measuring tape, and my great-grandmother’s pinking shears.
They became rusty and dull before coming to me and I haven’t had the chance to fix/clean them, so this seemed a great place to include them in an ensemble. I also decided the holster would stay on my hip by having a slot or loops for a belt to thread into.
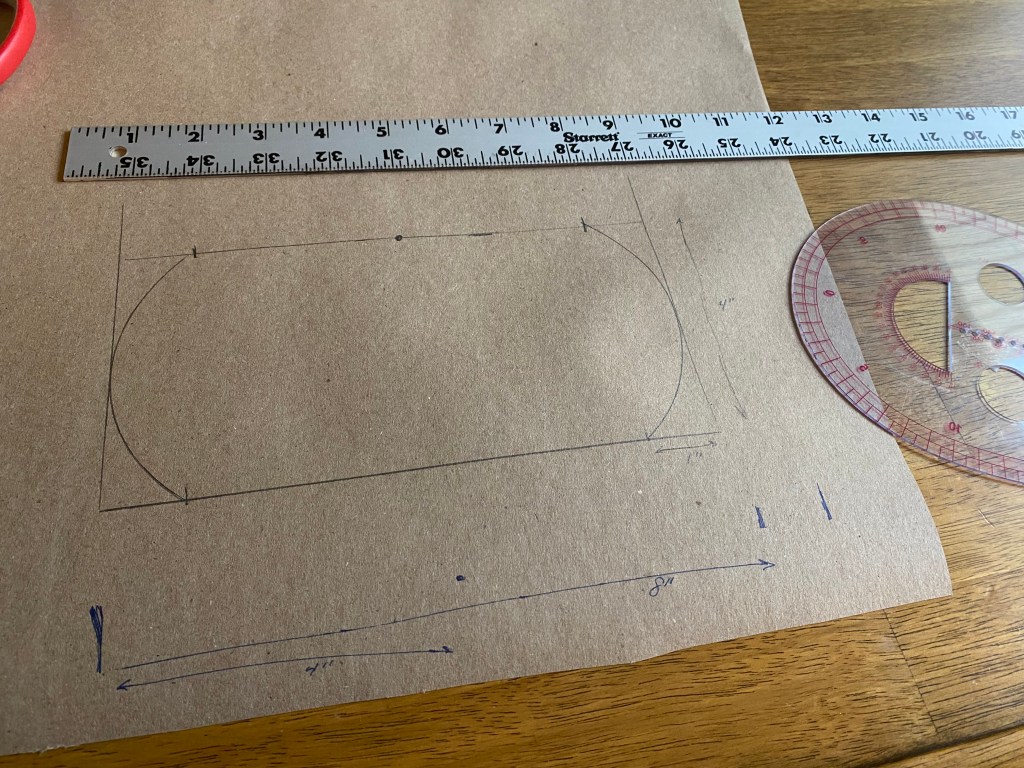
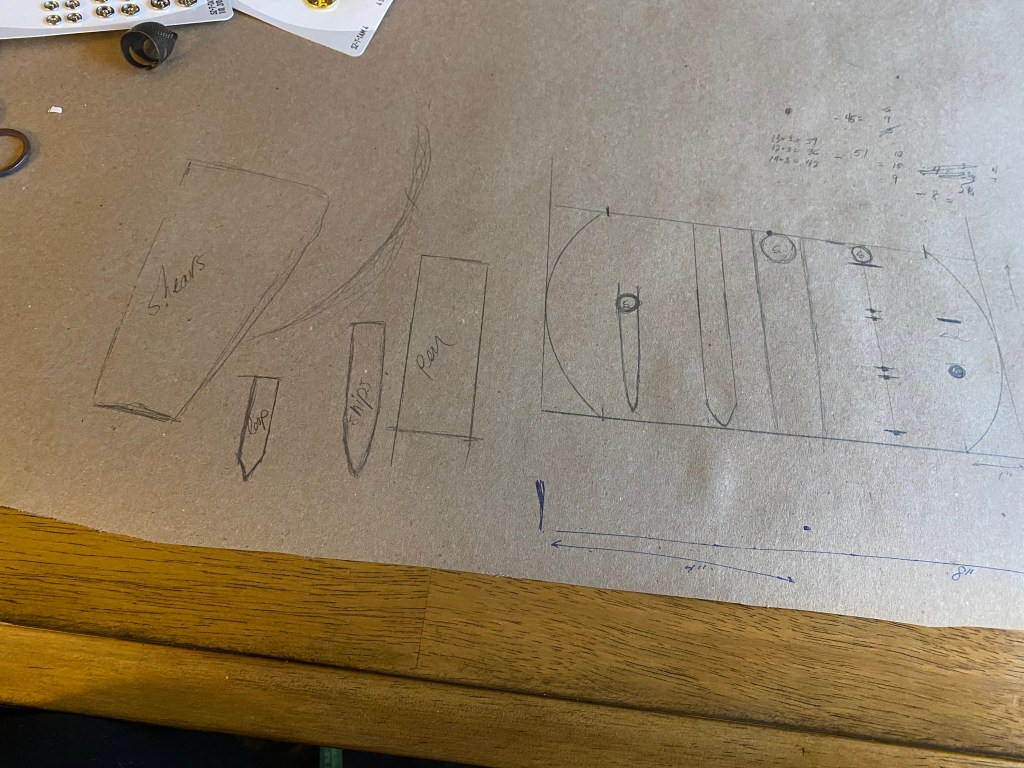
I did a bit of sizing up of my hip of how wide and long the holster could be that it wouldn’t be too obnoxious while still being balanced. This ended up being about 4” x 8” for the overall holster. I added curved sides and marked out the center point.
Using the overall size, I arranged my tools onto the holster outline to find the best configuration that was balanced weight and look wise. I started with the pinking shears at the exact centerline due to their significant weight compared to the other tools, and then just fit the others in around it. I ended up adding a short pen and reducing the number of thread spools to help balance out the look.

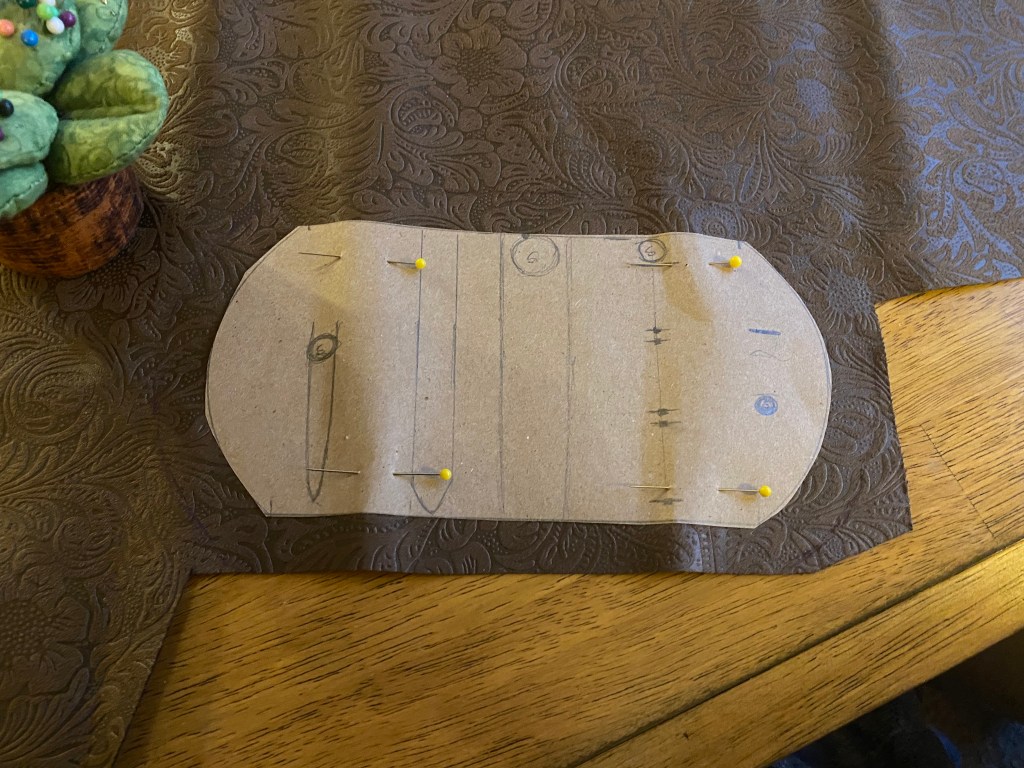
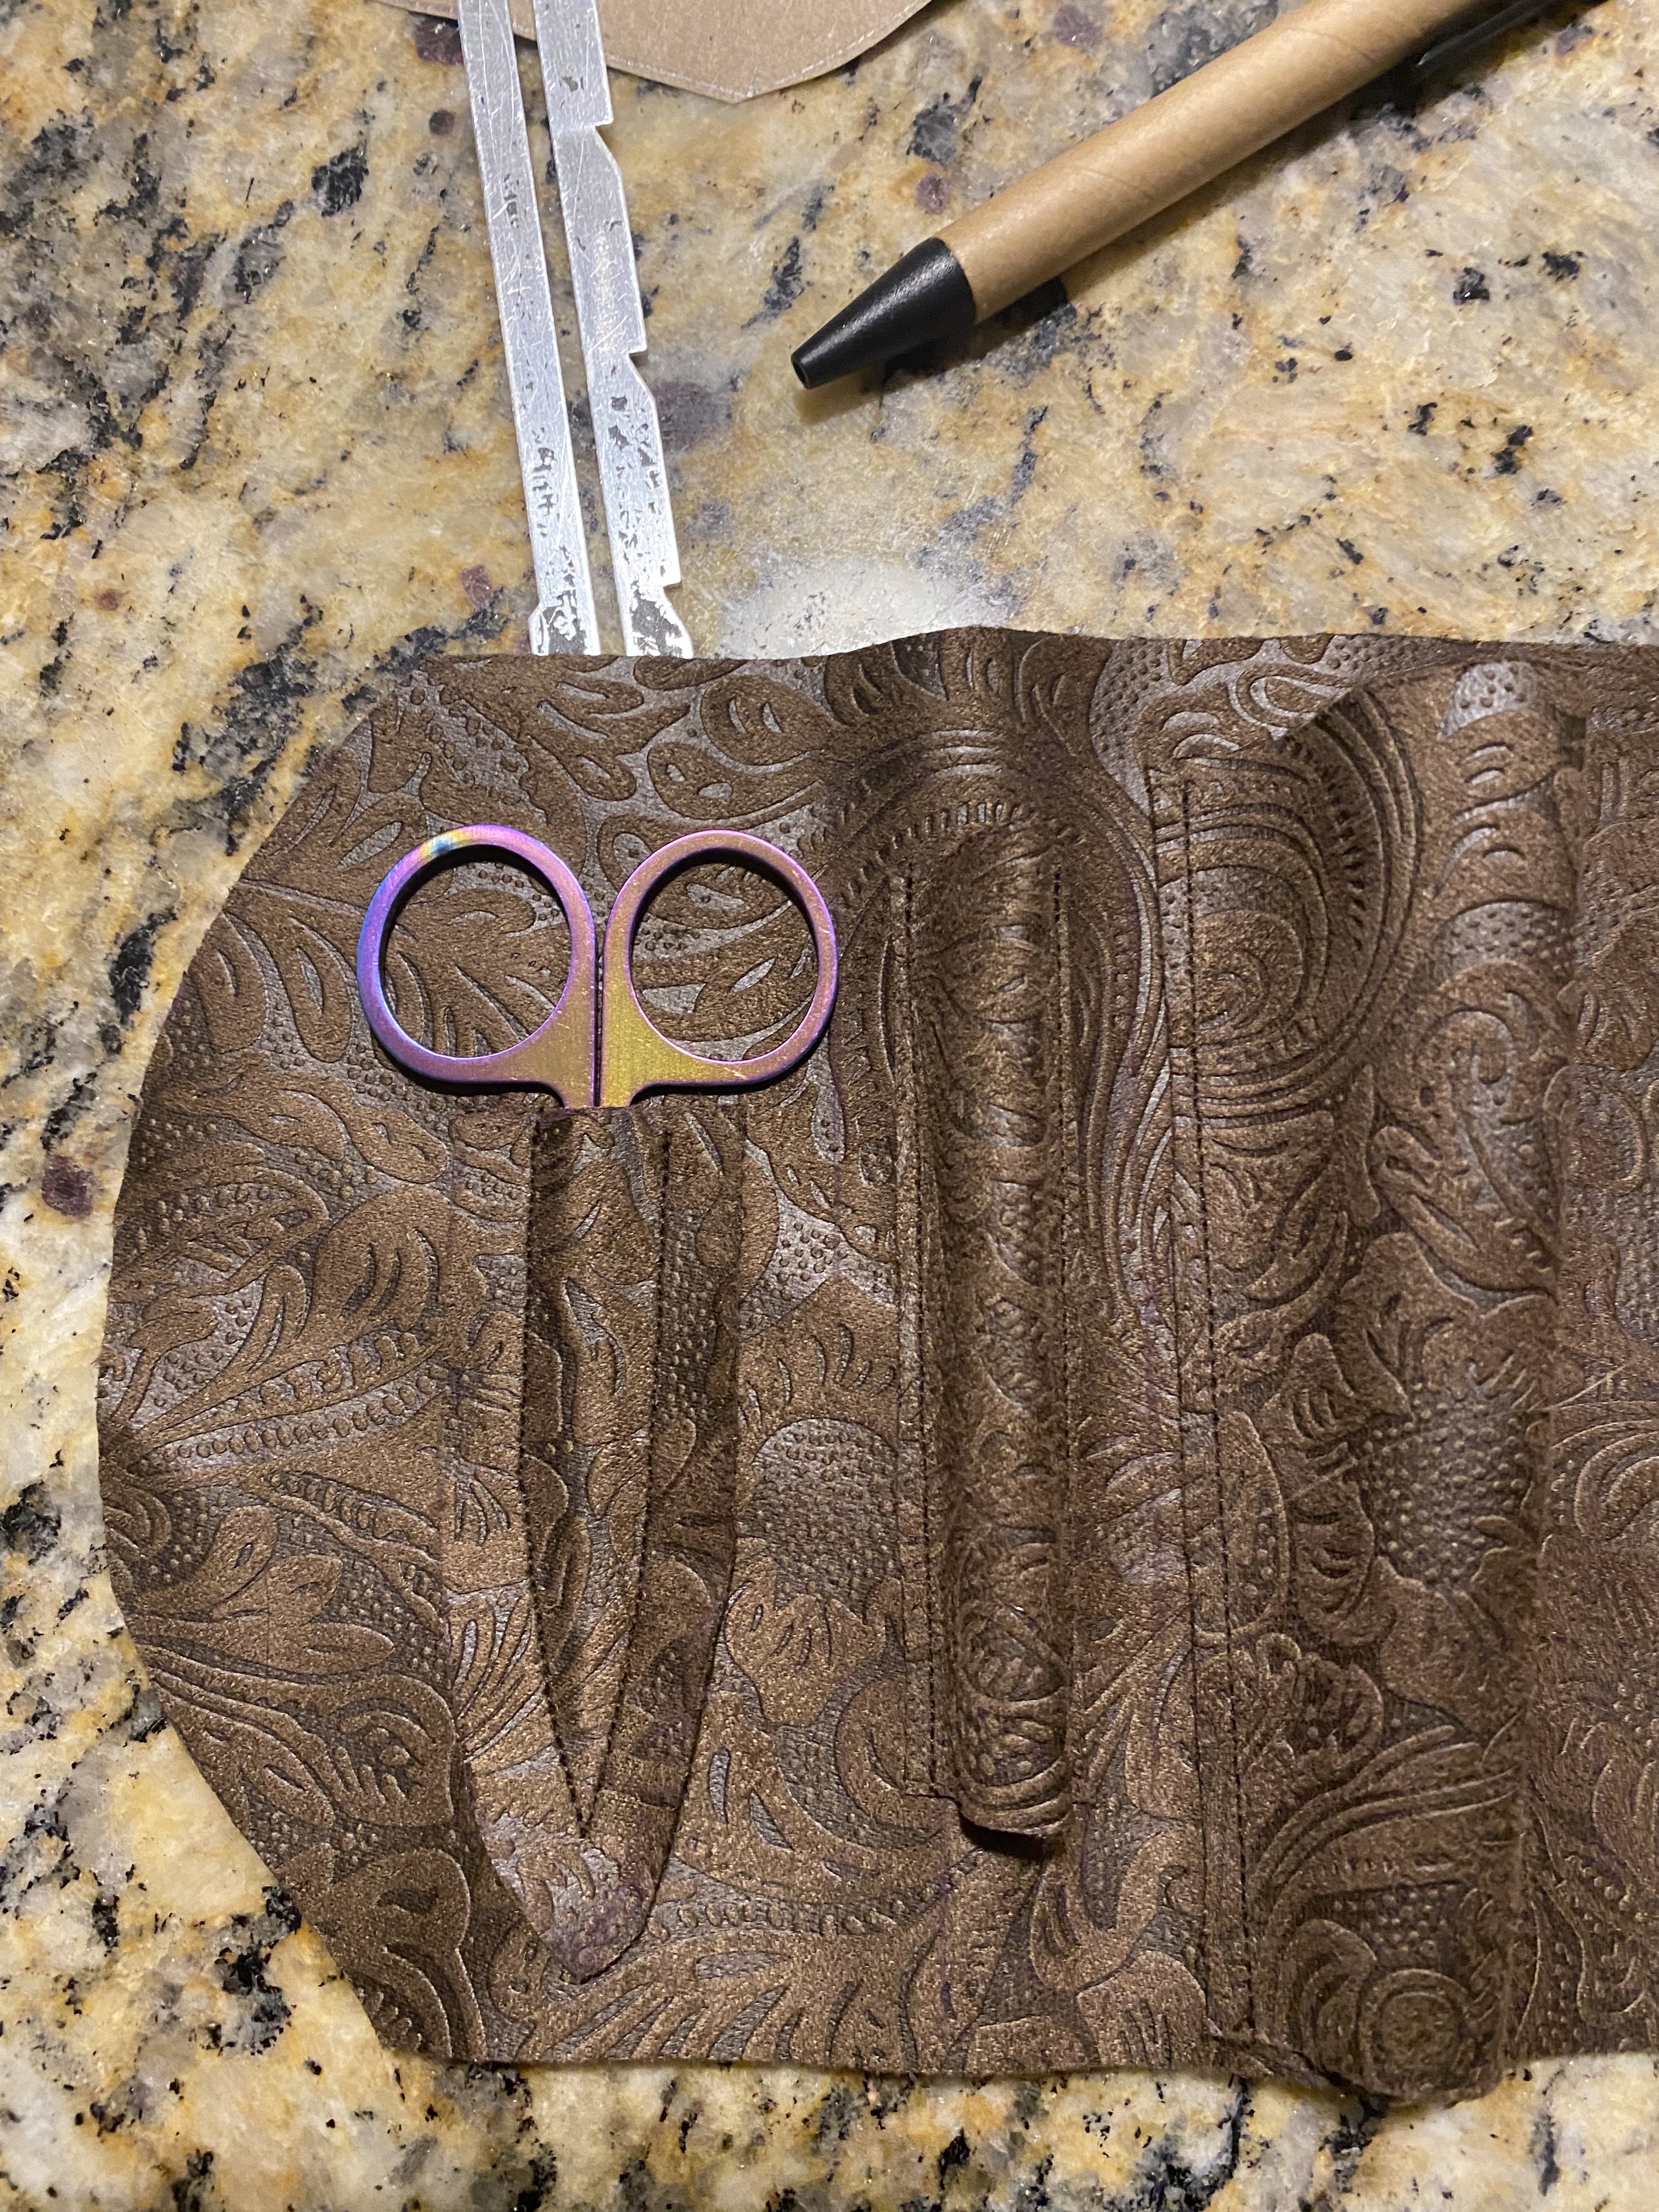
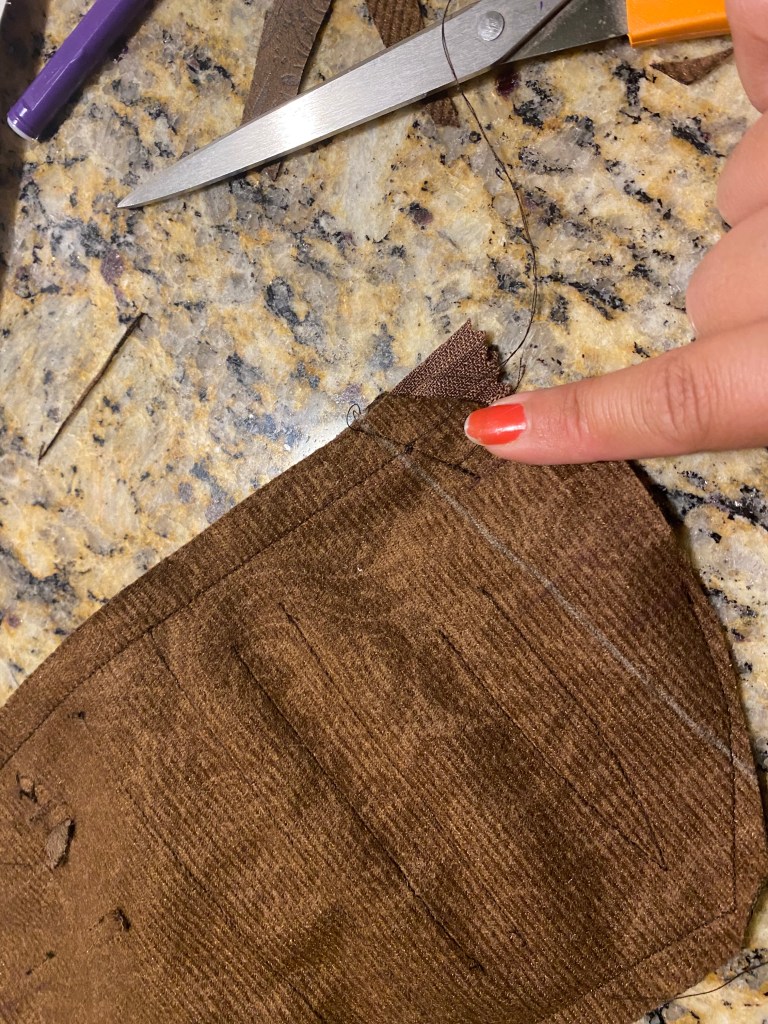
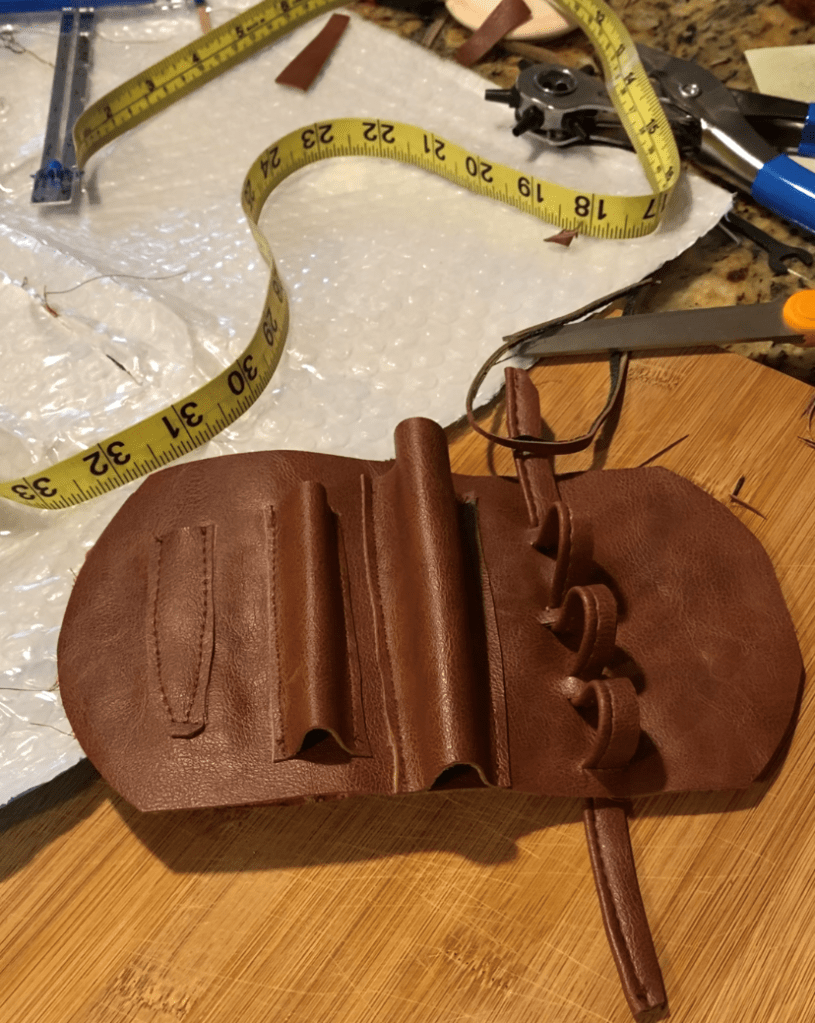
I then marked the placement of each tool onto the outline. The thread was a bit tricky to figure out initially since I wanted them to sit horizontally, meaning that a vertical strap would be best. However, I didn’t have space for snaps for each individually. I opted to have one single strap that would be permanently fixed at the bottom, thread through slits next to each spool, and then snap in place at the top. The strap could be loosened to release any of the spools at a time. This took quite a bit of figuring to get the math perfect so each spool was evenly spaced and under enough tension to not fall out.
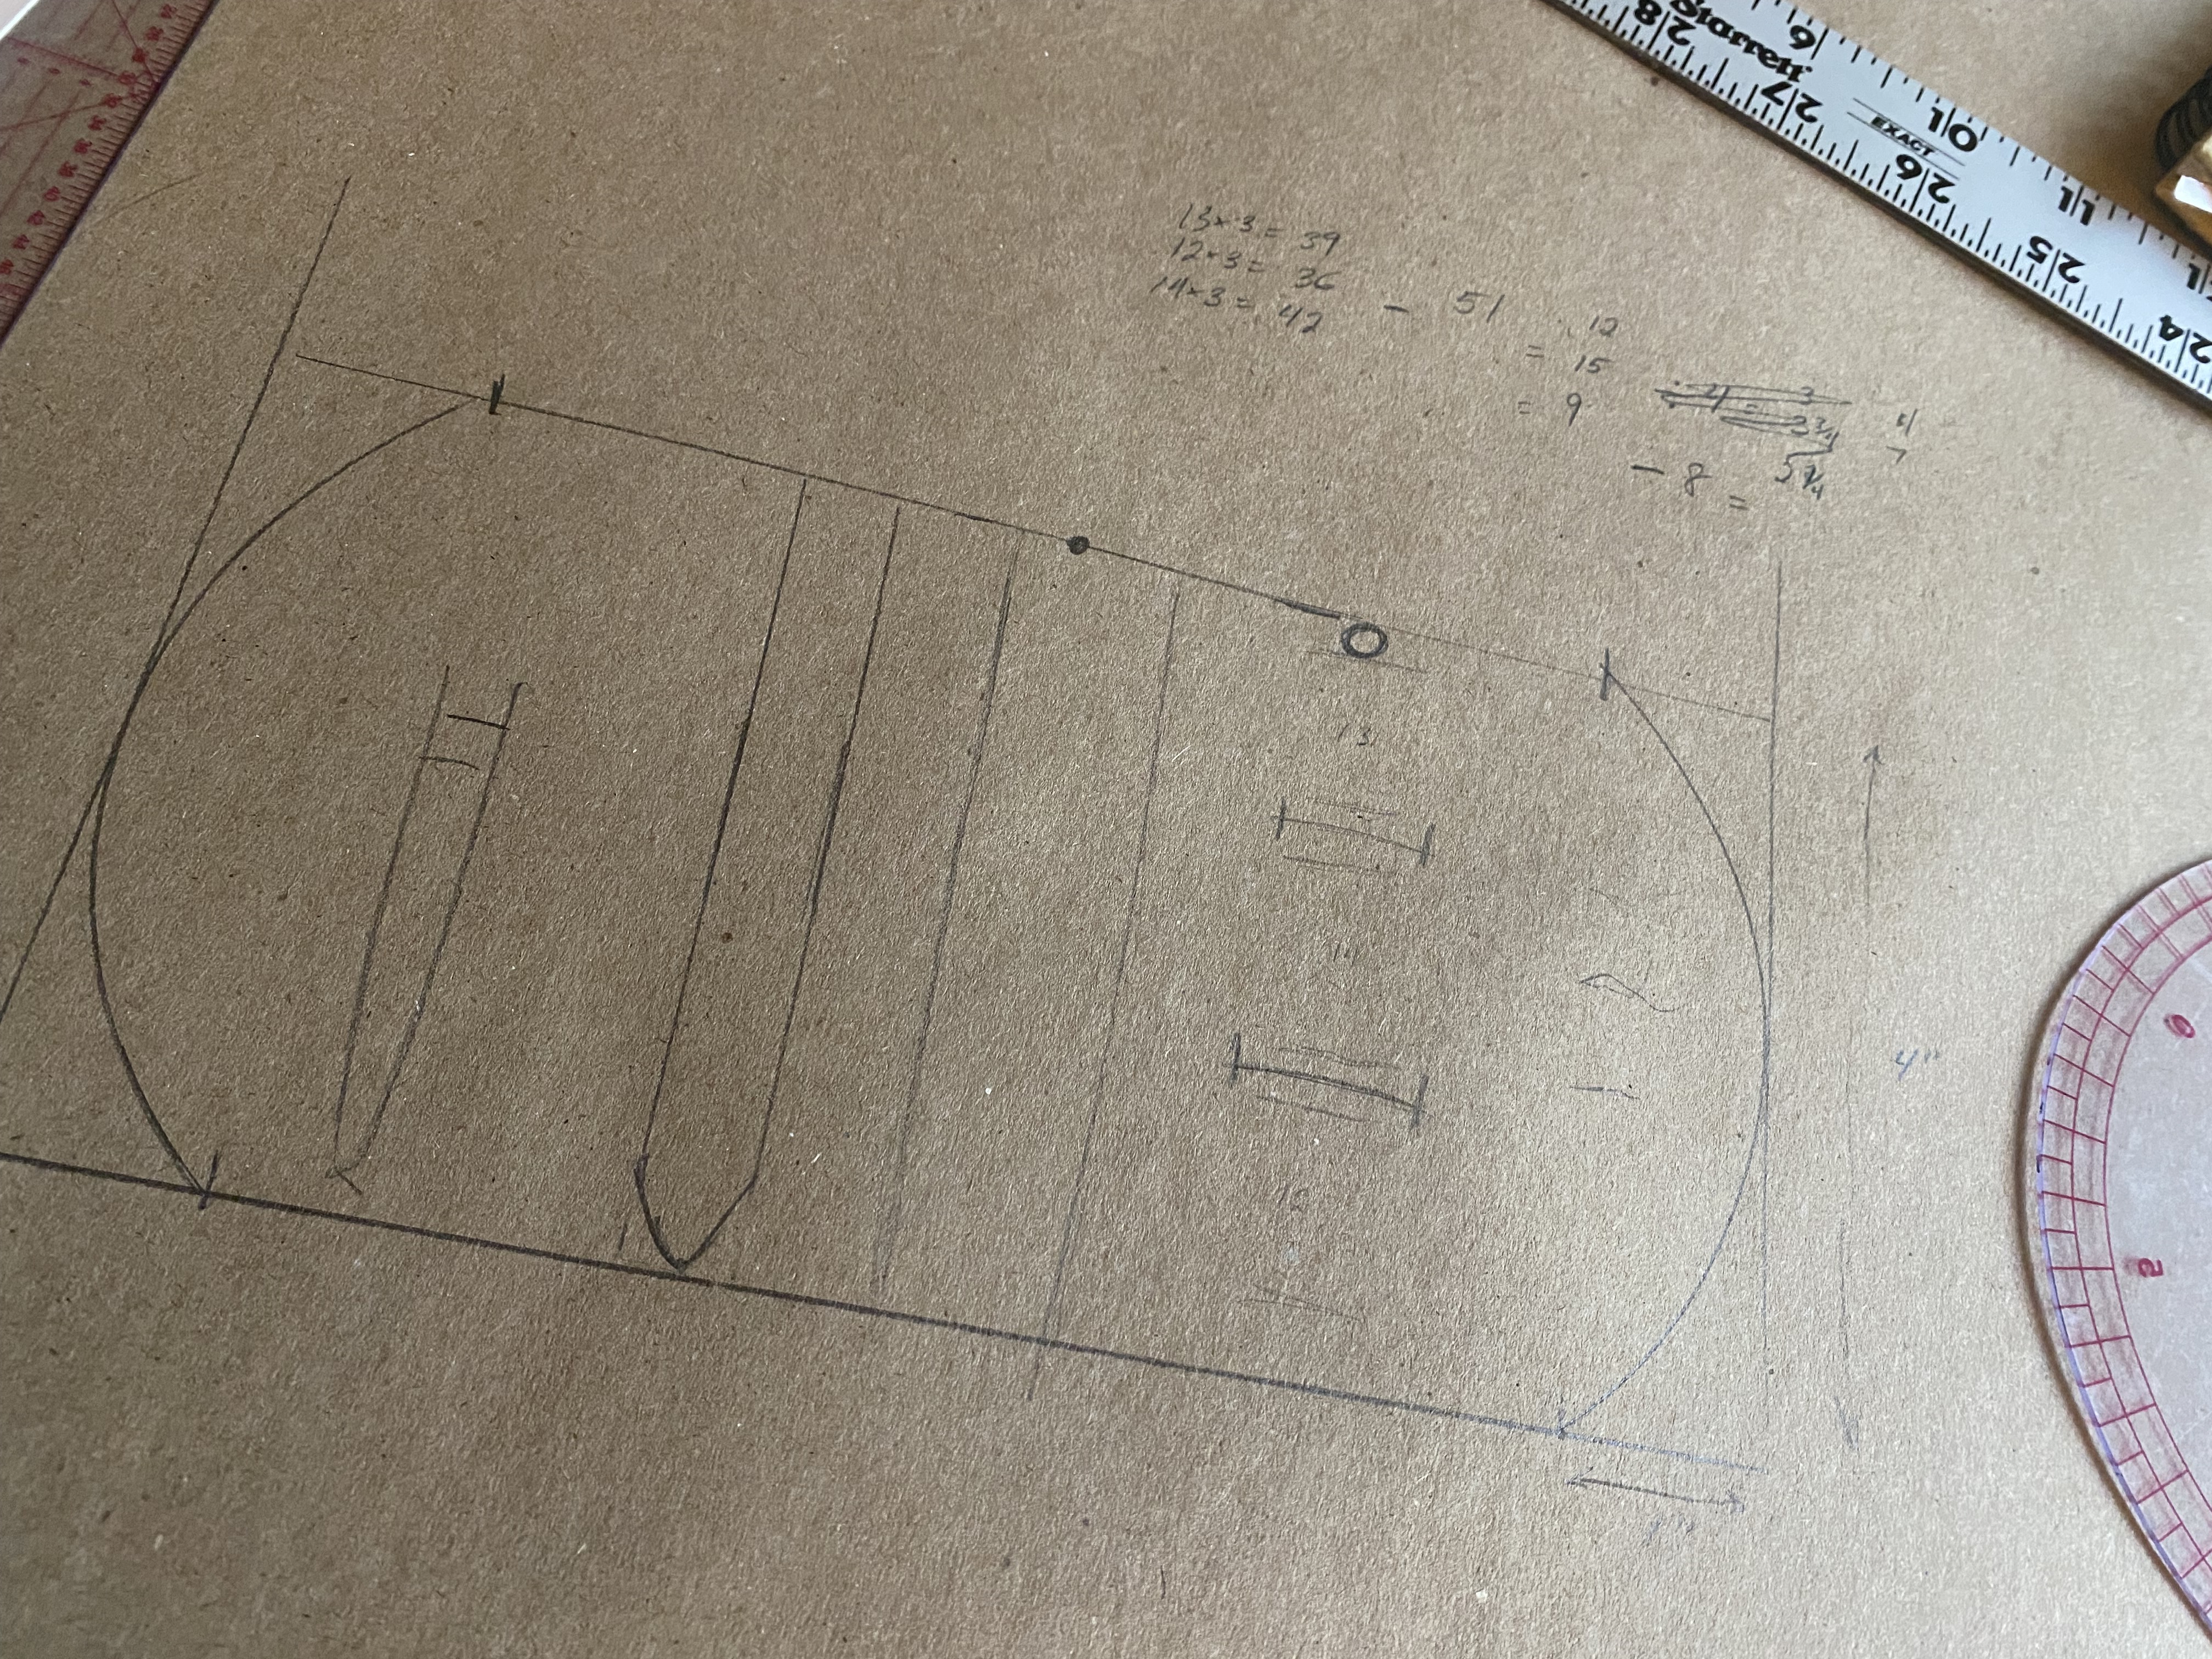
In the image here, each line is a slit. The coupled slits for the center and the top spool allow for the strap to be pulled taut around each individual spool rather than all three as a group.
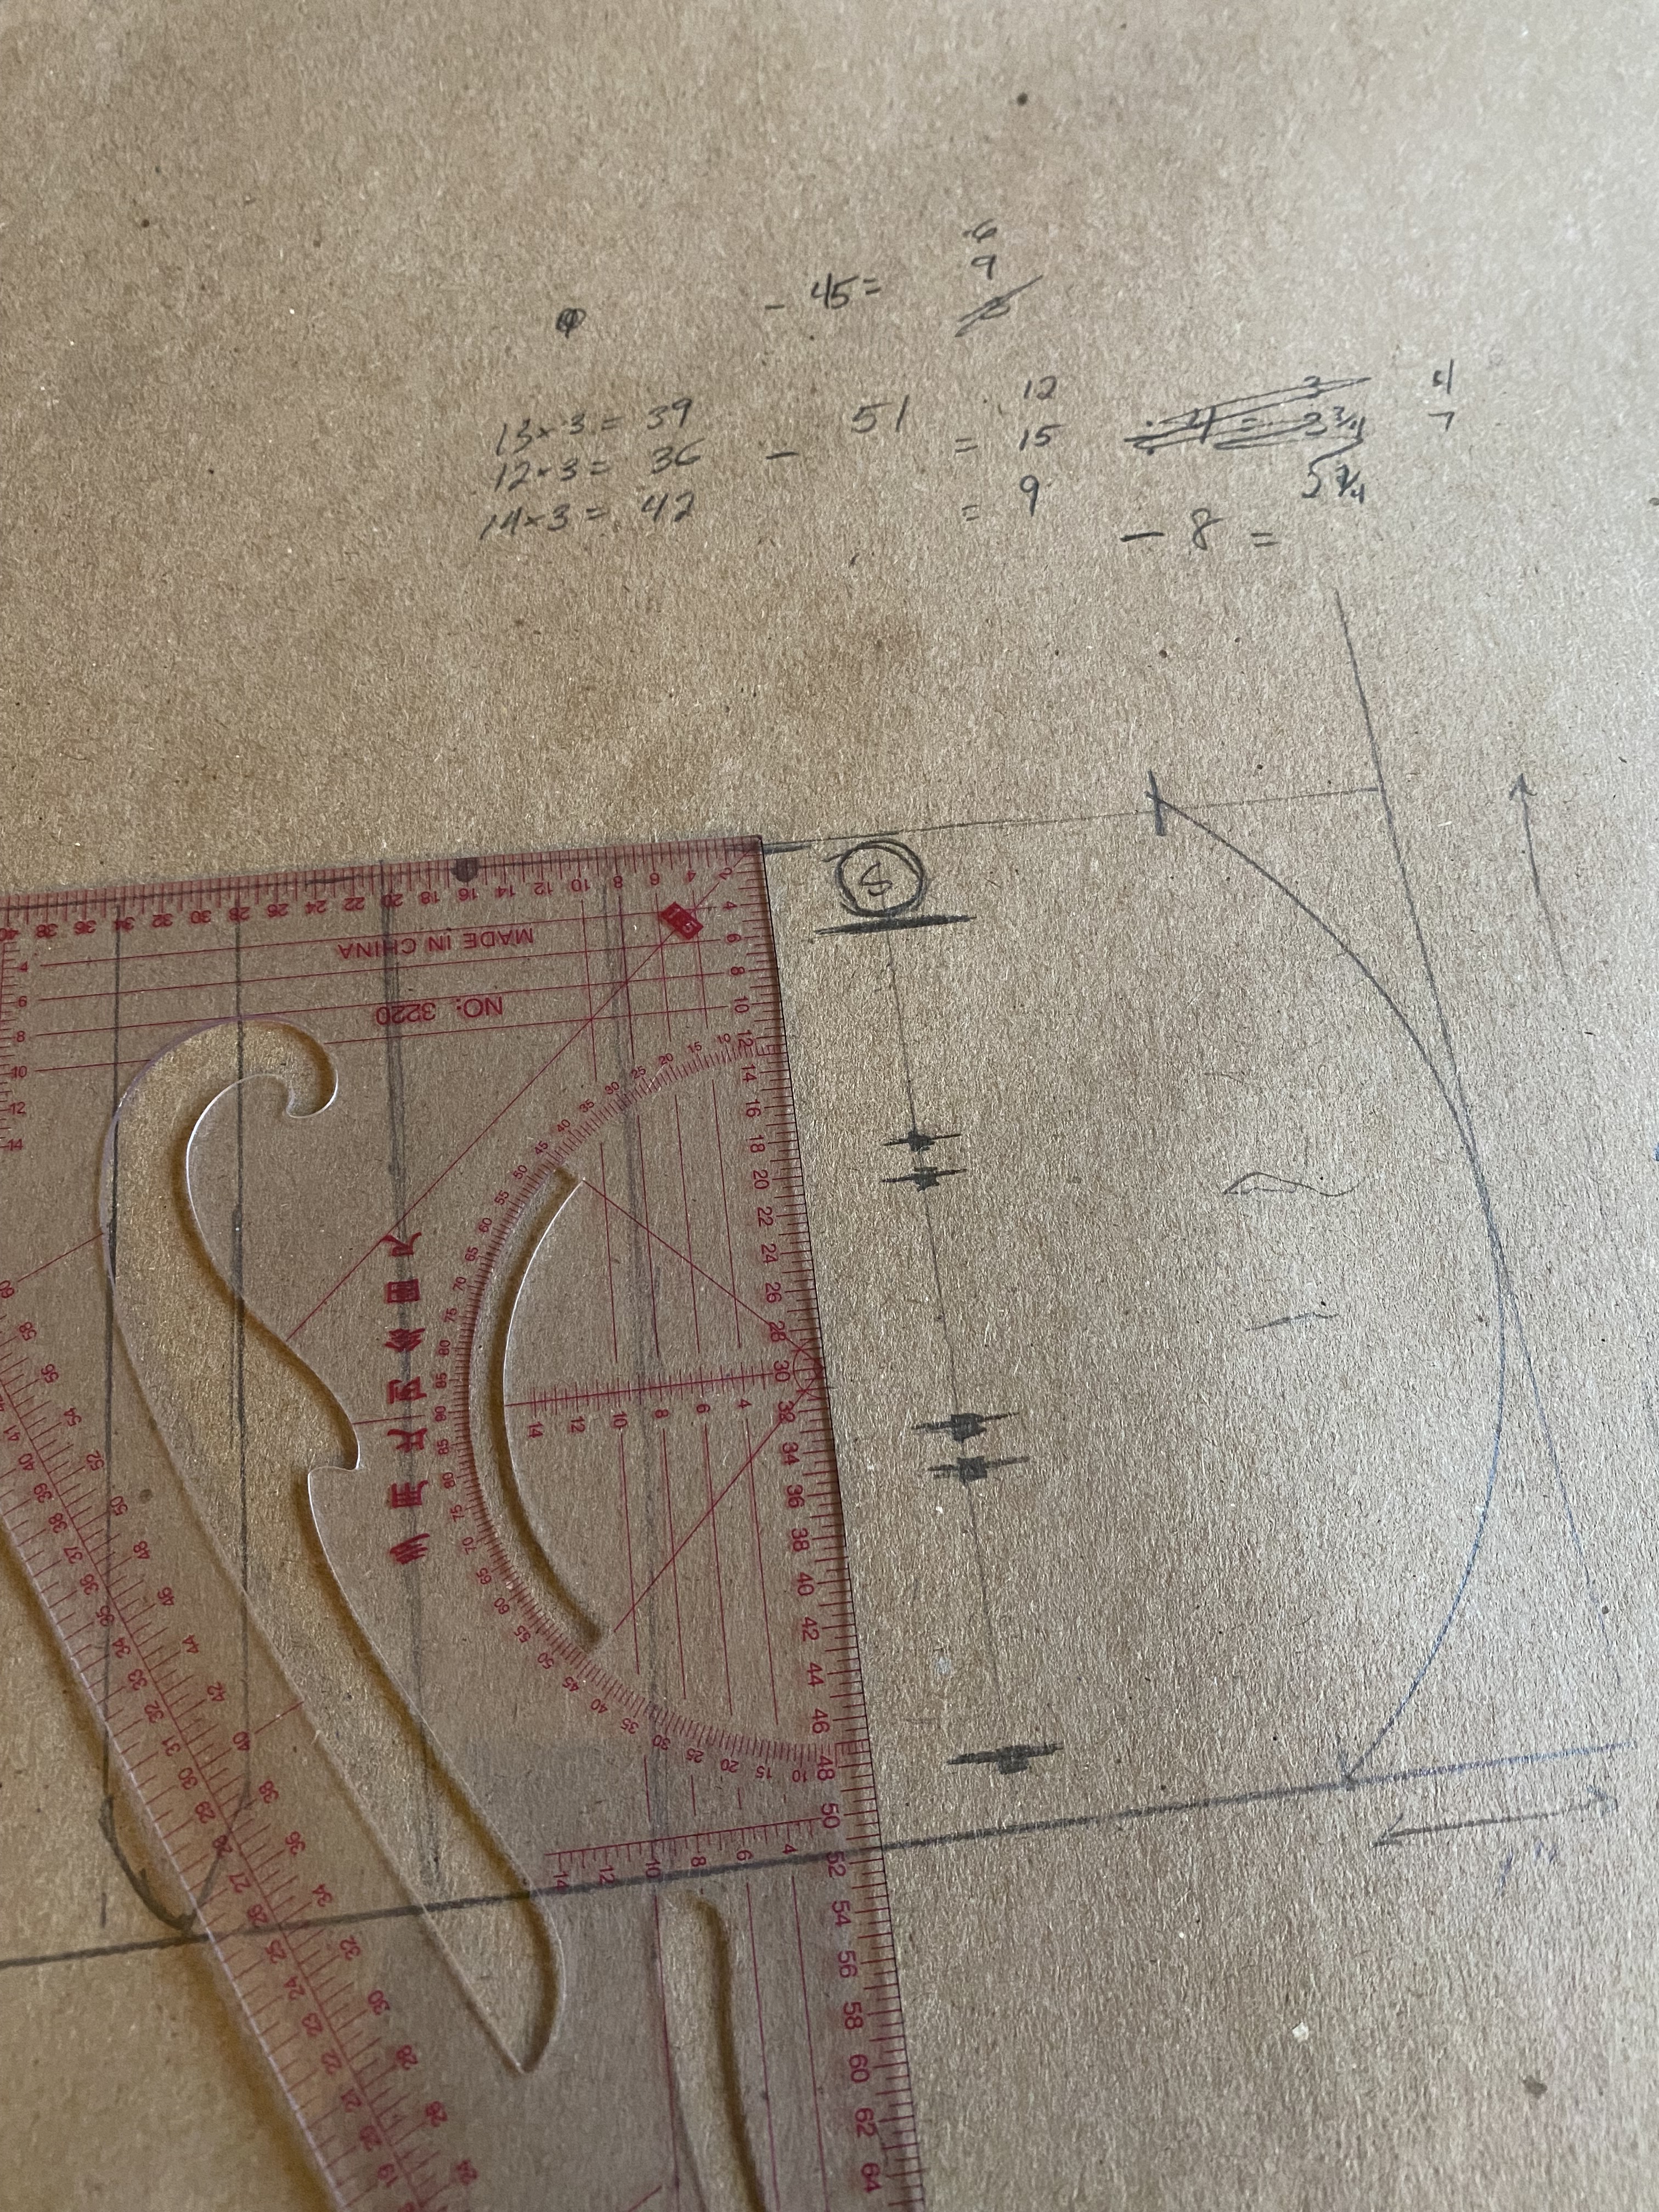
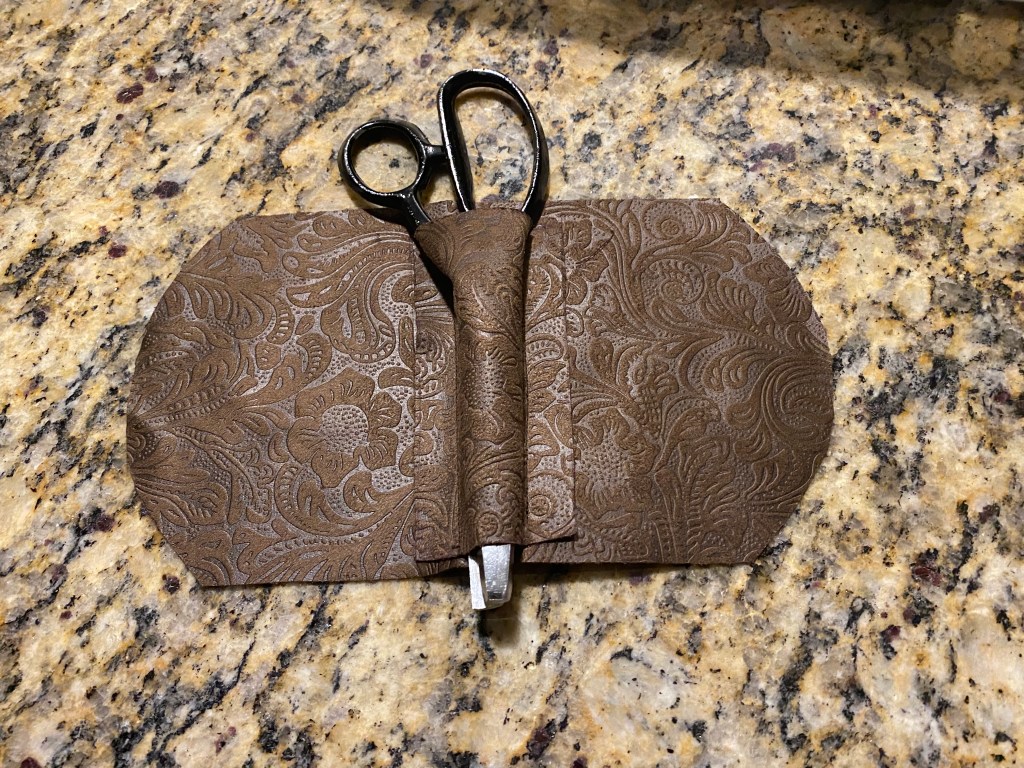
To draft the holster for the shears, I laid the tool on its right face, traced the front face, turned 90 degrees, traced the bottom, turned another 90 degrees so it is sitting on its left face, and traced the front face again. This also could’ve been done by measuring the surface area of the three faces and straightening, but I wanted to be precise with the tapered angles of the shears.
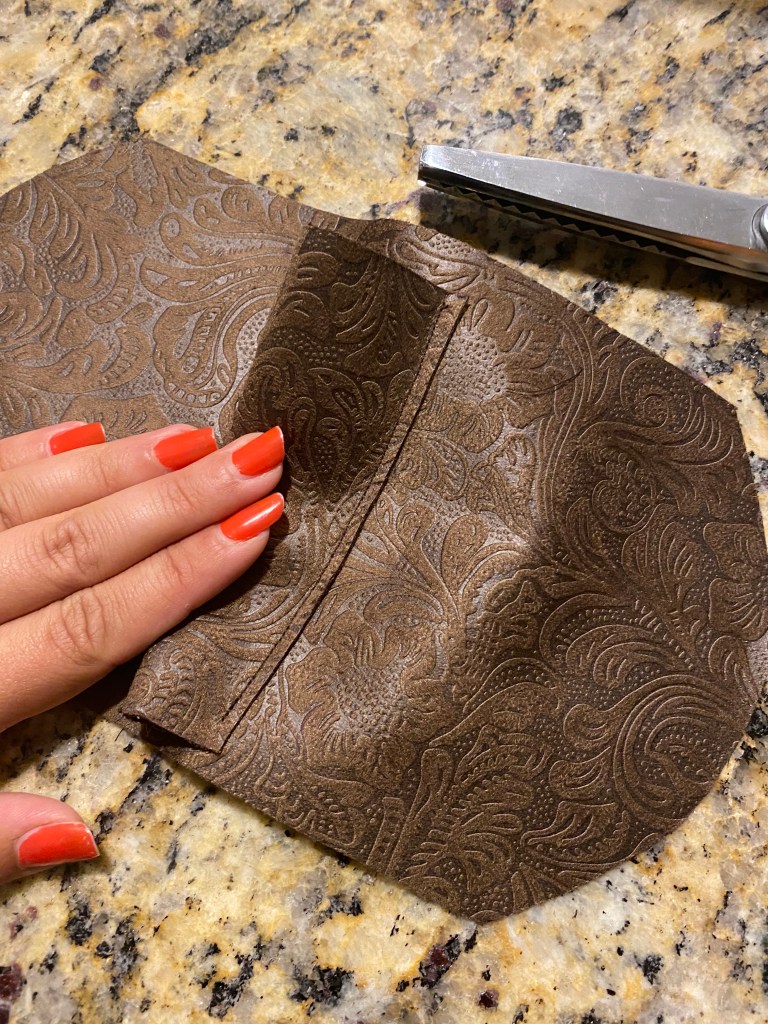
The snips didn’t have much thickness to them, so I just traced around them at a small offset to allow for ease when slid in place.
The final two pieces to draft were the pen holster and tabs for the thimble and measuring tape snaps. The pen was done in a similar way as the pinking shears while the tabs are just a long and thin pentagon shape that would be attached on one end to the holster and have a snap on the point.
For the first attempt, I made the holster from faux leather I had on hand with a super cute floral etching. The faux leather is fabric-backed and wouldn’t need to be lined which was a nice step to skip. None of my pattern pieces had seam allowance, but I added this when cutting. The main holster would be seamed like a bag with stitching along the bottom and side curves. I planned to add a zipper at the top seam so that the holster could also be a wallet or pouch. So seam allowance was added to all sides and two pieces were cut.
The shears, pen, and snips pieces also needed seam allowance, but only on the sides since the bottoms would remain open. Finally, the tabs and thread loop would be cut without seam allowance.

Construction
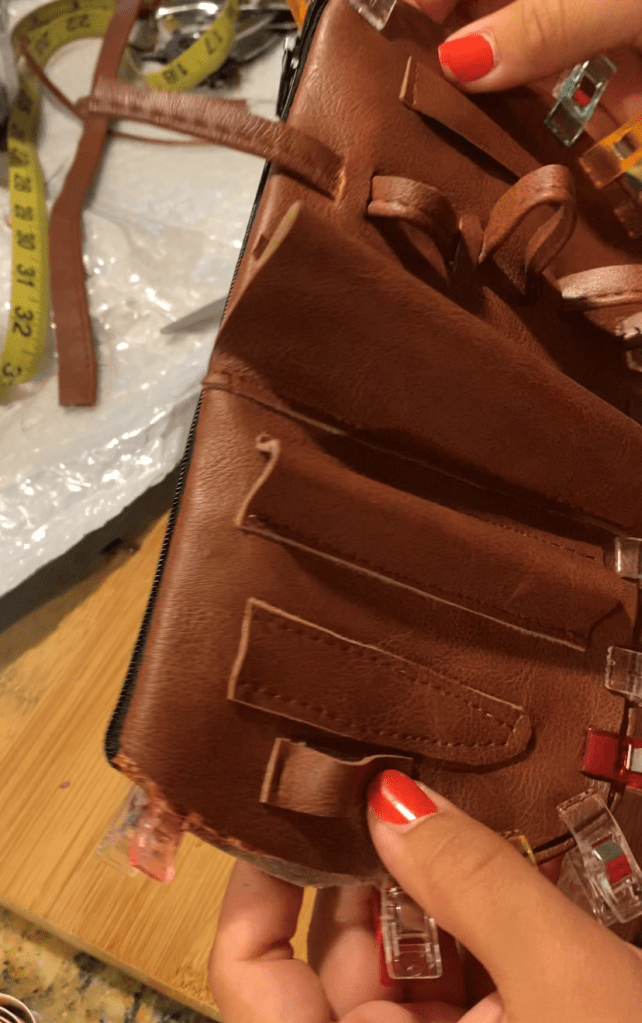
All of the slots, tabs, and holsters would be affixed to the front of the holster body before adding the zipper or bag seams. I started with the pinking shears slot to ensure this was in the exact center. I marked on the fabric my stitching lines based on the original pattern pieces and carefully pinned and stitched. I used a matching brown thread and opted for a heavy-duty denim needle on my sewing machine since the material was a bit tough to work with.
Once stitched, I trimmed back the seam allowance to be a scant ¼”. I would’ve liked it to be even tighter, but couldn’t get my scissors any closer without scratching the holster body layer.
Next were the pen and snips which were added in the same way as the shears. For the snips, I pinned the piece flat to the main body layer and stitched it to a point at the bottom rather than leaving it open.

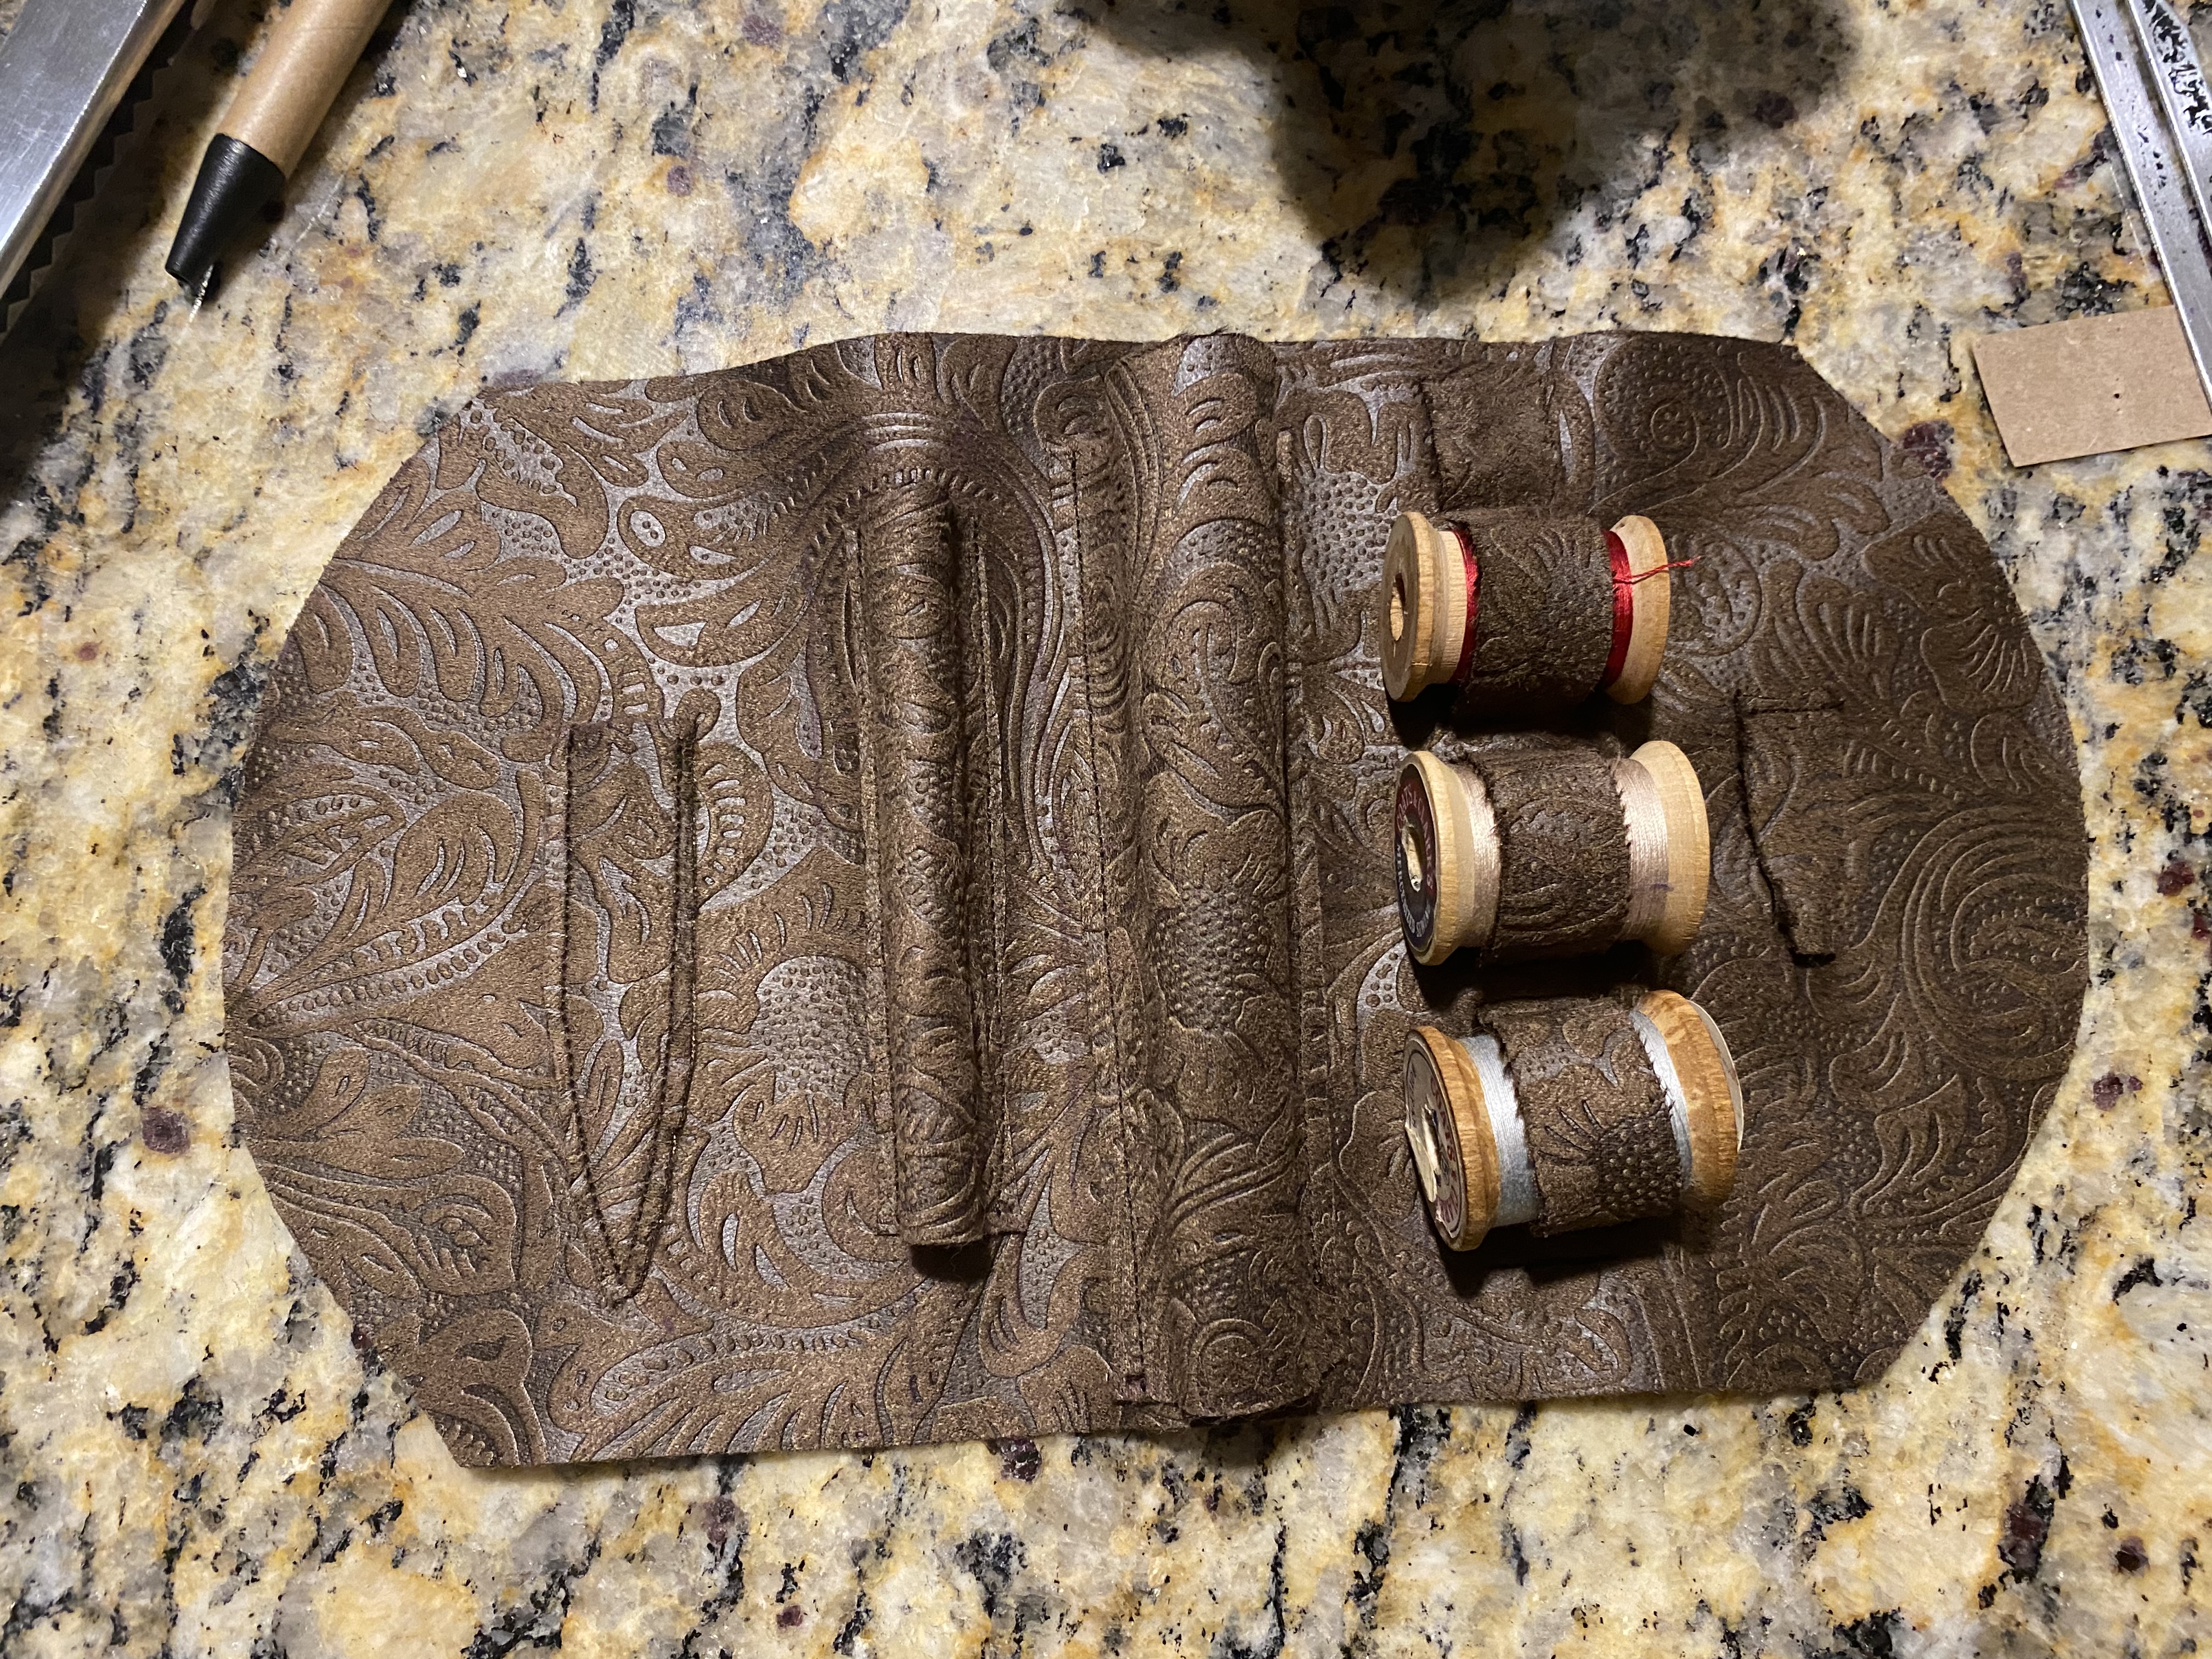
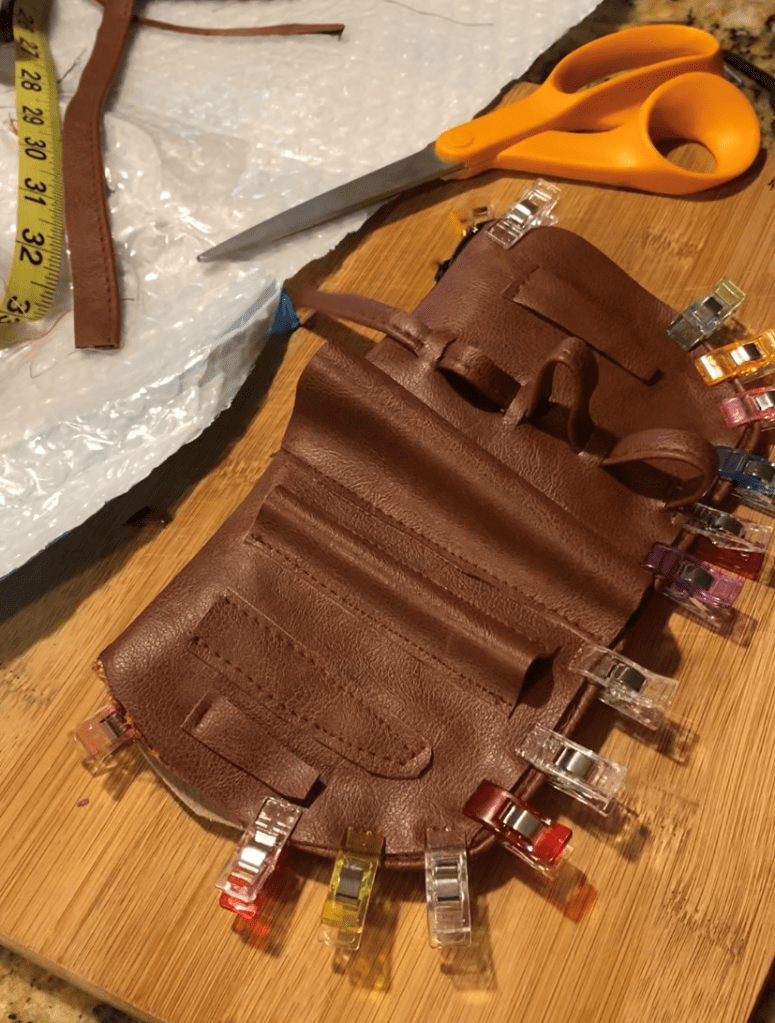
For the thread spools, I marked the location of each slit and cut them carefully with an Exacto-knife. The strap was stitched down at the bottom, threaded through the slits, and adjusted around the thread spools before affixing the snap. At the same time, I also stitched the thimble tab and added a snap.


And kaboom! The front was ready! I had forgotten to stitch the measuring tape tab to the snip’s pocket before it was stitched on and decided I would come back to it and sew it by hand later if I wanted to add it in the end.
With right sides together, the front and back main body panels were stitched together from 2” from the top on the curves. The gap would be left to allow for the belt to thread through at the end.

An 8” zipper in a matching color is stitched to the top seams. Any zipper technique can be used, but I opt for the invisible zipper method to get as close to the teeth as possible with as little seam ripping as possible. I had to be very careful when stitching the zipper to the front panel to make sure the pinking shears pocket and spools snap were not caught in the seam. In hindsight, I should not have stitched these as close to the seam allowance to make this easier.
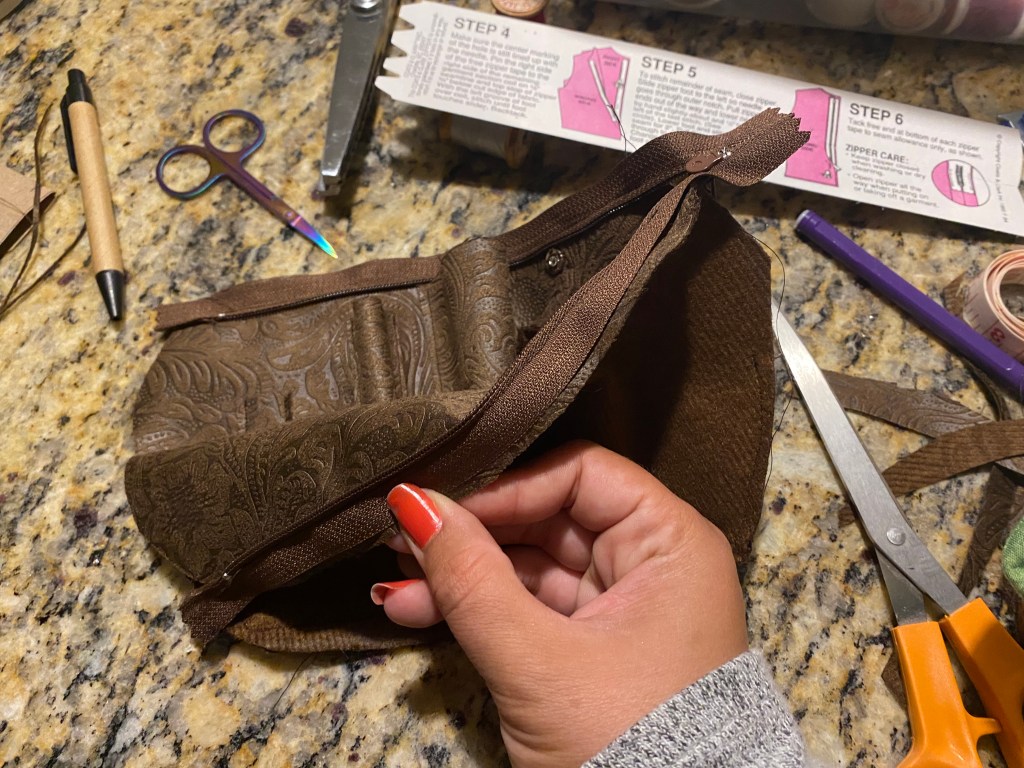
Before turning the bag out, I reinforced the top of the belt slot with backstitches so that the weight of the holster wouldn’t strain on the zipper seam.
And there you go! The first iteration was completed. It wasn’t quite perfect, especially the thickness of the material, but the shape and fit were great.
Second Time around
Ok. The first go at it was pretty cool. But it just wasn’t quite right. First, faux leather was way too soft to hold its shape decently when worn. The snips were actually the first thing to fall out, but overall, it was buckling and floppy in a way I just wasn’t thrilled with. Also with turning the perimeter seam and not being able to iron faux leather, I just wasn’t keen on how bleh it looked. Last, the balance was a tad off without the measuring tape.
So, it was time for a second attempt. This time, I used a purse from a thrift haul that was a much more supple faux leather. The material would hold its shape much better. When I started taking the purse panels apart for cutting, I was able to scavenge some of the trimmings as well as the leather piping it had at the top and sides. I decided to add the piping into the seam to give structure. I also decided to lengthen the overall shape to be 6” x 8”.

Once the purse was deconstructed and pieces cut, I lined the holster body panels with cotton since the purse material wasn’t very smooth on the inside. I flatlined each piece with cotton using fabric glue.
In construction, the front pieces were added as explained for the first attempt, except with the addition of a tab for the measuring tape. Rather than cutting a strip of leather for the thread spool strap, some of the scavenged piping was used. Then, before stitching the body panels together, I added a black zipper.
For the body panels, they were initially glued with wrong sides together with the piping sandwiched between to avoid the look issues with turning the bag out. Once the glue had set (about 2 hours), I added a quick topstitch as much for the look as security of the seam.
Since it was a much stiffer material, I wasn’t too keen on hand stitching the snaps in place. I instead used fabric glue for these.
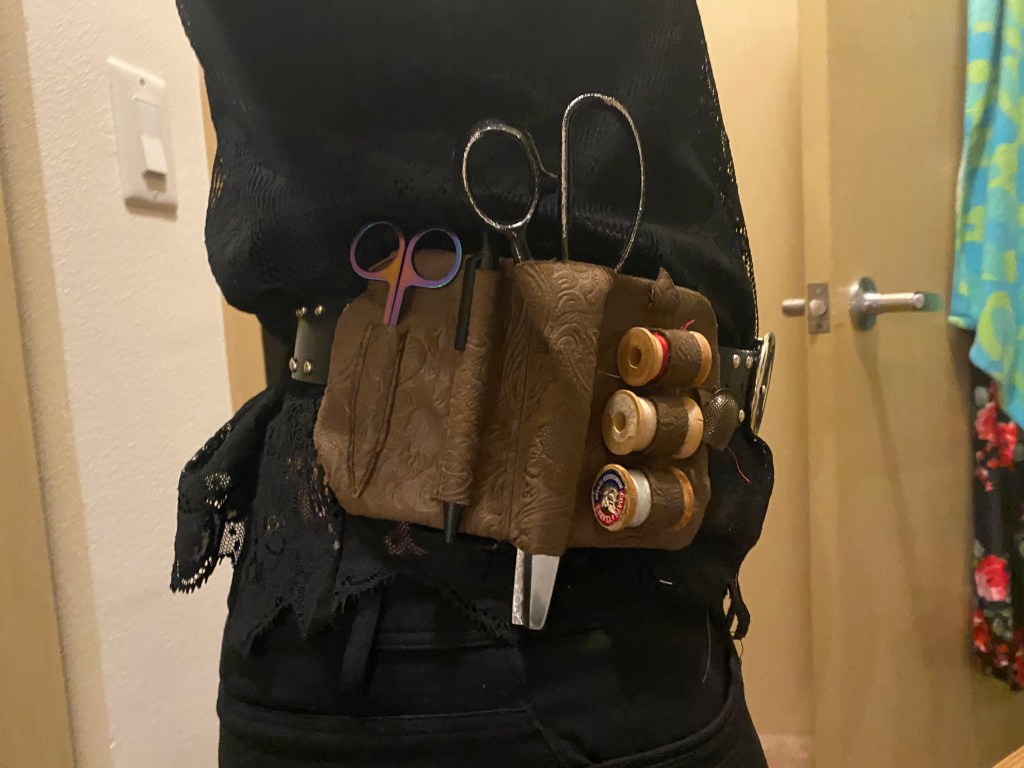
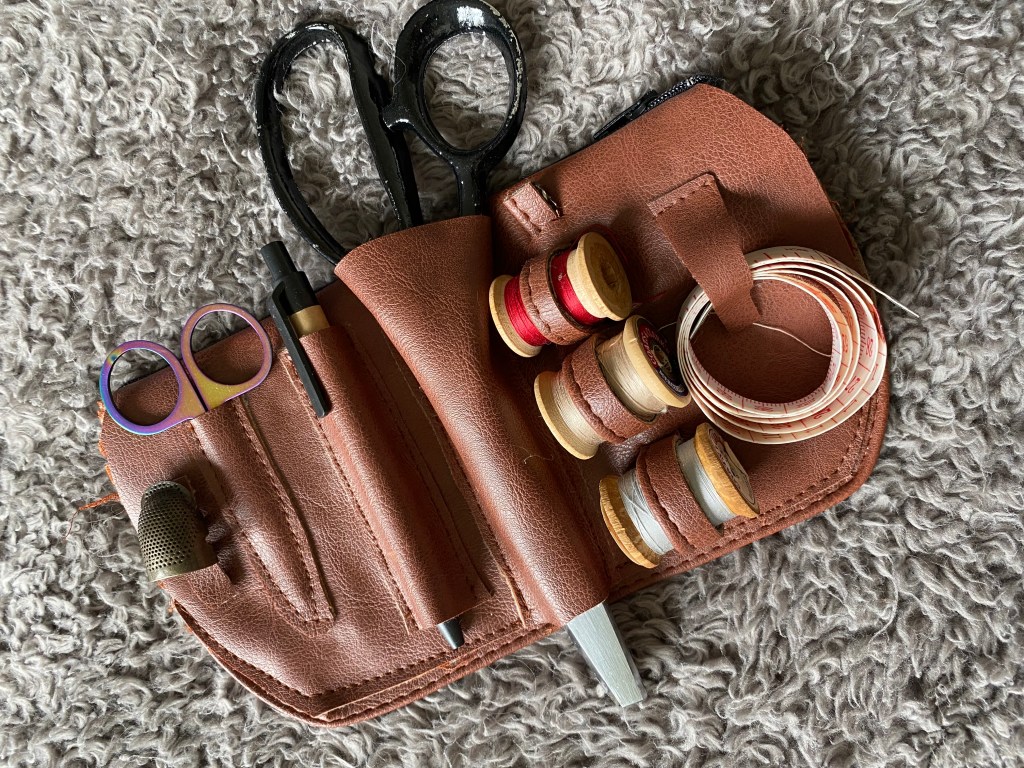
The final result of the second try was a much nicer product. It had a better weight and holds its shape when worn on the belt. I’ll keep both iterations in case I ever need two, but I DEFINITELY prefer the second.

I’ve included the pattern I drafted for my holster here if anyone would like to make their own. You can also follow this process to customize your holster for your favorite go-to tools for a more practical holster too!
A few notes:
- The pattern does NOT include seam allowances. You must add these when cutting or copy the patterns to new paper and add the seam allowance before cutting fabric. I used a seam allowance of ½” on my tutorial.
- Make sure when you print the document, you change your printer settings to “Actual Size” rather than “print to fit” or “Scale” since these would change the printed dimensions. You can check that it was printed correctly by measuring the square on the page, it should measure exactly 1” x 1” to be correct.
- I highly recommend using a stiffer fabric, faux leather, or adding structure such as interfacing with lighter fabrics. It’s tougher to stitch and work with but truly gives the right look.
- Measure the belt you intend to wear with the pattern to make sure the slot is wide enough. My tutorial allows for a 2” belt.
Have fun with the pattern and be sure to share with me your versions!
