My sewing journey began because I wanted to make my own costume for Rennissance Faire and then grew and developed to be a lifelong skill I am developing with each project. But this project is one I envisioned wanting to do since I brought home my first sewing machine: a Tudor Gown.
I LOVE historical dramas for the stories, the drama, and of course the costumes. After watching The Tudors, I really wanted to wear the sumptuous gowns from the show. This initially materialized as my first attempt in a green gown following Butterick B4571. Not a terrible pattern to learn from, I made this gown in 2016/2017 and was only my second full garment. But looking back, its a terrible construction and mockery of the true gown design I was craving.
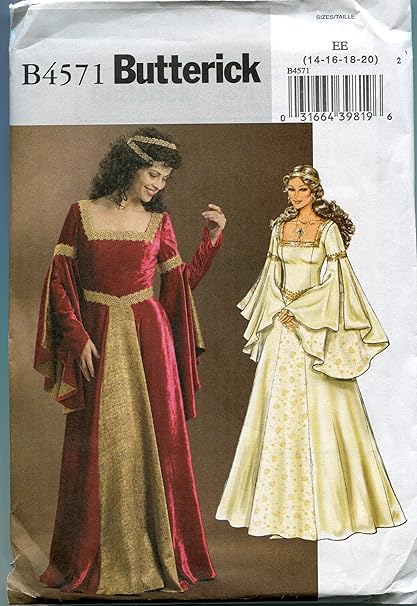
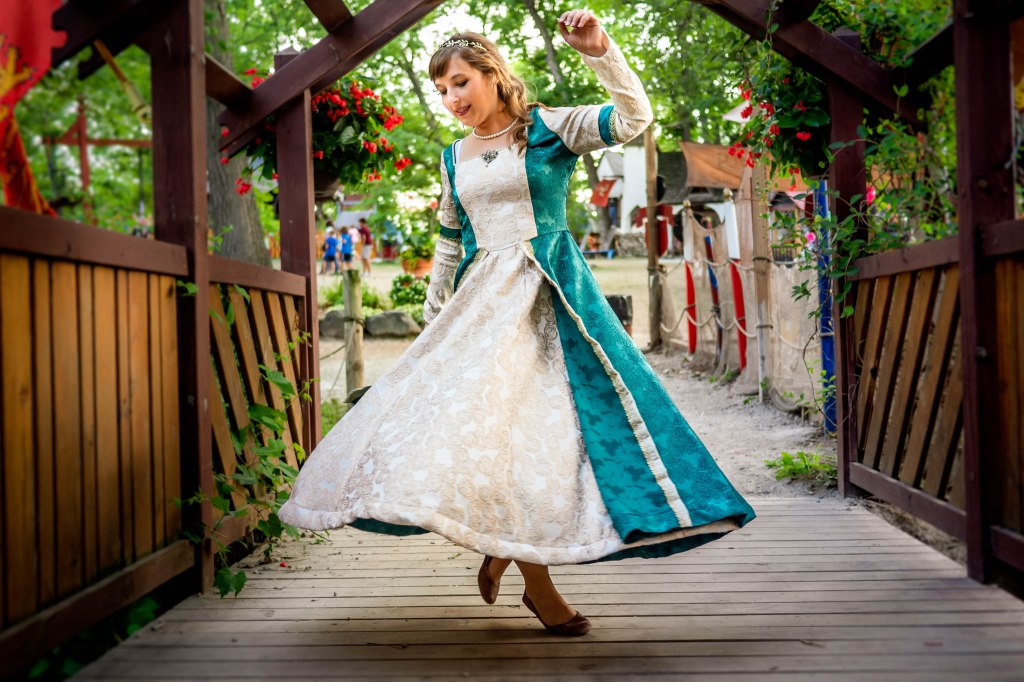
At the time, I loved the gown. I loved the amount of spin, the color, the fabric (all clearance from JoAnn’s or Hobby Lobby!), the fit. But I look at it now after a few years of learning and laugh. It was a step though, and I was proud of it then, that’s all that matters. First off, it’s all one garment. No underlayers, overskirt, chemise, nothing. Again, an easy pattern for theatre or Halloween costumes, but not to par with what I wanted.
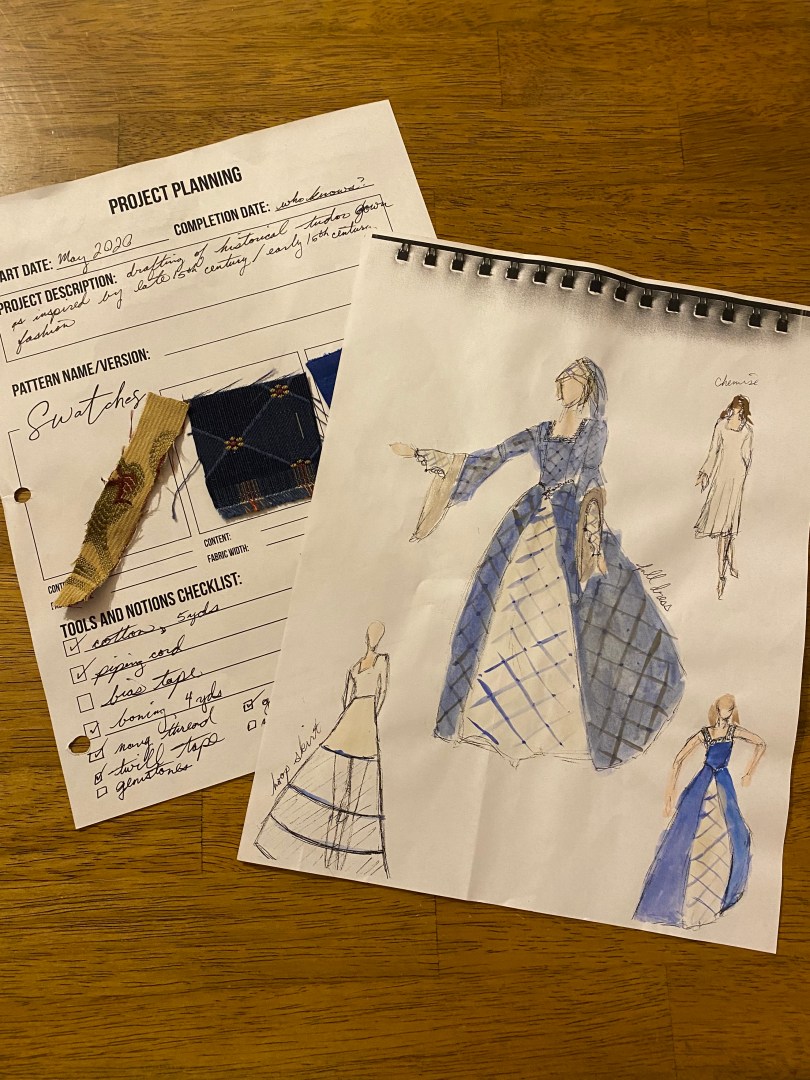
Fast forward to January 2020. I had moved to a new town less than 45 minutes from the Bristol RennFaire and I desperately needed a costume upgrade. I found a blue, geometric pattern upholstery fabric from Hobby Lobby on clearance for $4 a yard, began designing, and purchased a cheap theatrical costumes textbook to pull a pattern from.

I was a bit skeptical on the book since it included only three sizes to start from, but it was at least a place to start after some research. In reading other blogs and watching CosTube videos, I plotted out that I would need at least 4 layers:
- Chemise
- Kirtle or Bodies
- Underskirt
- Gown
I also was deciding on if I would like to include a hoop skirt or use added fullness. I decided to draft an elliptical hoop skirt in case I wanted to give it a try.


I’ll save everyone the overkill explanation of drafting these patterns, building three iterations of the bodice mockup, and building the kirtle using cheap polyester satin taffeta. In summary, it was a fit and quality failure.
The bust was too tight, the waist too large; the shape did absolutely nothing to highlight my figure or give the correct historic shape; the neckline was too high, but also too wide; and the material felt completely wrong. But I had stubbornly kept working at it trying to make it work. I added gems. I adjusted the fit. I tried adding a corset underneath to promote the right shape. Nothing was right and I was throwing money at a project I wasn’t prepared for.
And then the pandemic hit. All festivals were cancelled. And I lost every ounce of motivation to fix it. The pattern, fabric, and failed kirtle were shoved in a basket and thrown in a closet to be forgotten.
It took a year before I began working on this dream of a project again. In the meantime, I started this blog, I made The Goose Girl, I developed my skills, and most importantly, I took the time to read, study, and research. The best resources I found in restarting the project was the book, The Tudor Tailor. I 100% credit them for everything that this project became and the confidence that I had to try again.
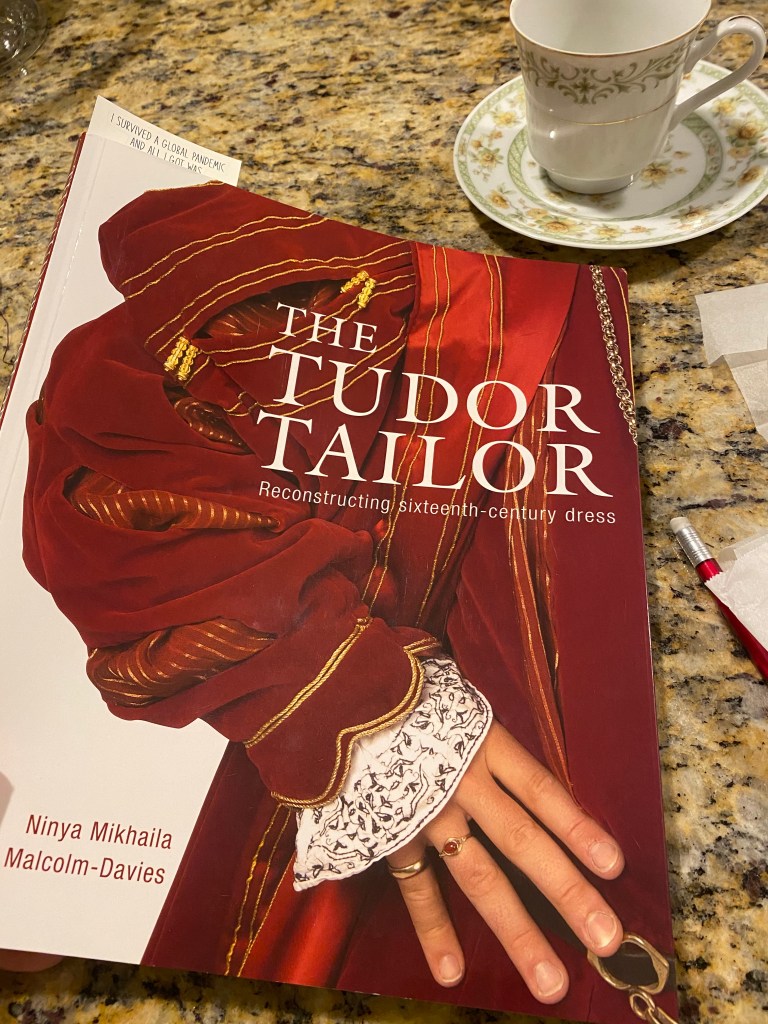
In reading the book, all in a blissful winter night in January, I had a better understanding of the style lines and materials that were appropriate to recreate the designs in portraits from the period, not just what I’d seen on TV. I went back to the drawing board and purchased new materials for all the elements of the kirtle and gown. It also helped that by then I had successfully built a set of stays, bodies, and corset and was thus much better prepared for working with boning and structure that was needed for the kirtle.
The new design would be build from the Henrician Lady’s Gown pattern from The Tudor Tailor, would be supported by a kirtle, and finished with a French hood. I initially planned to skip the hoop skirt and go for fullness instead.

With a renewed spark of inspiration and passion to see the garment come together, I successfully patterned, fit, and constructed all parts of the design and am excited to share them here over the next few posts. Each layer of the garment will have its own dedicated post, but you can reference back here for links to them as they are published. I may split the gown up between a couple posts since it had the most elements and construction factors, but we will see.
Please join me on this wild ride of a second attempt that went from wrinkled fabric in June to a wearable garment in September.
Blue Tudor Gown: Building the Kirtle
Blue Tudor Gown: Over Gown Part 1 – Bodice & Plaquette
Blue Tudor Gown: Over Gown Part 2 – Sleeves & Foresleeves
Blue Tudor Gown: Over Gown Part 3 – Skirt & Finishes
Blue Tudor Gown: French Hood

