I adore the 1940’s silhouette and am often inspired by the smart dresses and symmetry when dressing professionally. I’ve been needing a new coat to wear to nicer events in the chilly months for a while now and those 1940’s lines seemed just right for the elegant chic vibe I like when going to the theatre or networking galas. I had this mental picture of the classic vogue moment of the perfectly tailored woman dashing across the snow graced sidewalk to hail a cab.
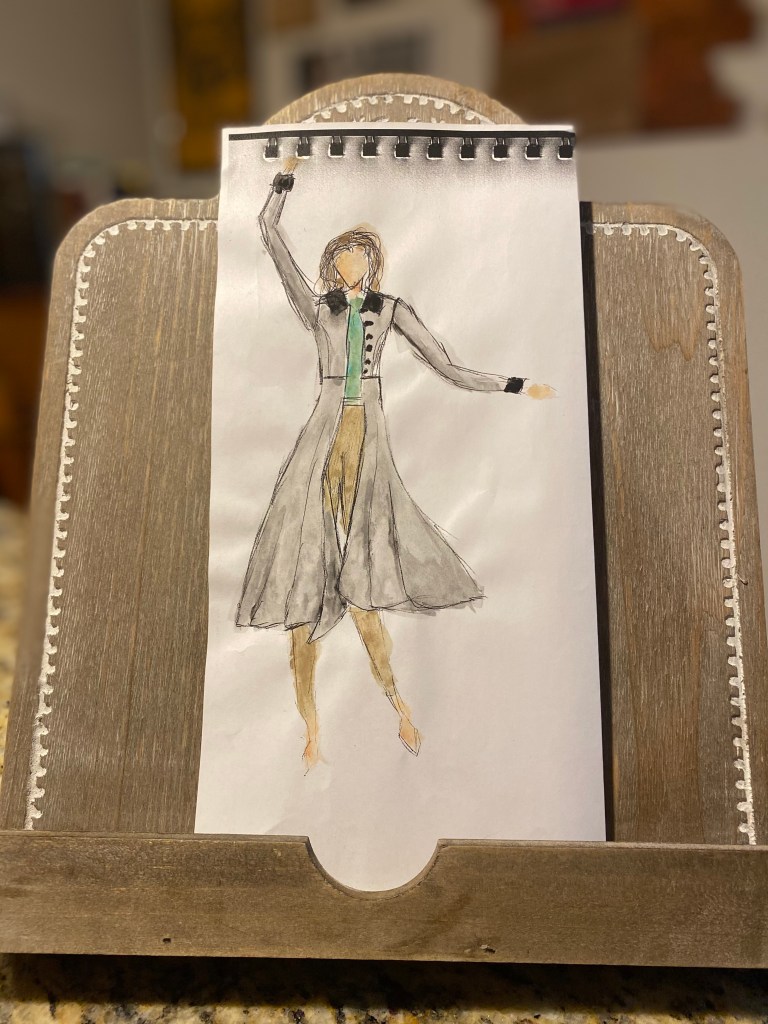
This mental image inspired the design basis for the coat which was expanded to include little 1940s detail. The coat would feature a square peter pan collar that I initially planned to construct with velvet to contrast the wool. I also knew I wanted the design to have princess seams and a waist line seam since these were both common for the era and are my favorite to wear. Princess seams are fabulous on anyone, but I especially love them since they give a nice vertical line to make me look taller while having a contour to emphasize curves. I also often opt for a waistline seam since it draws the eye to the thinnest part of the torso and allows for a nice flare out. This flare was the next element of the design and would be done with a-line skirt proportions which are, again, the most flattering style for my body type.
With these style elements in mind, the design could come to life:
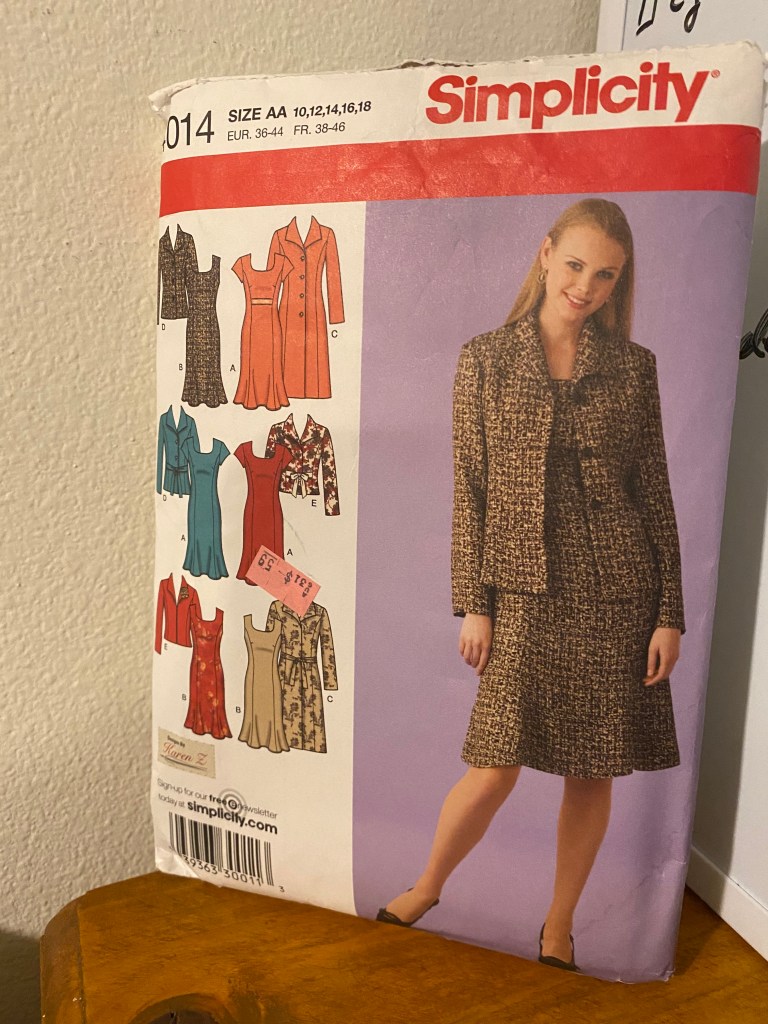
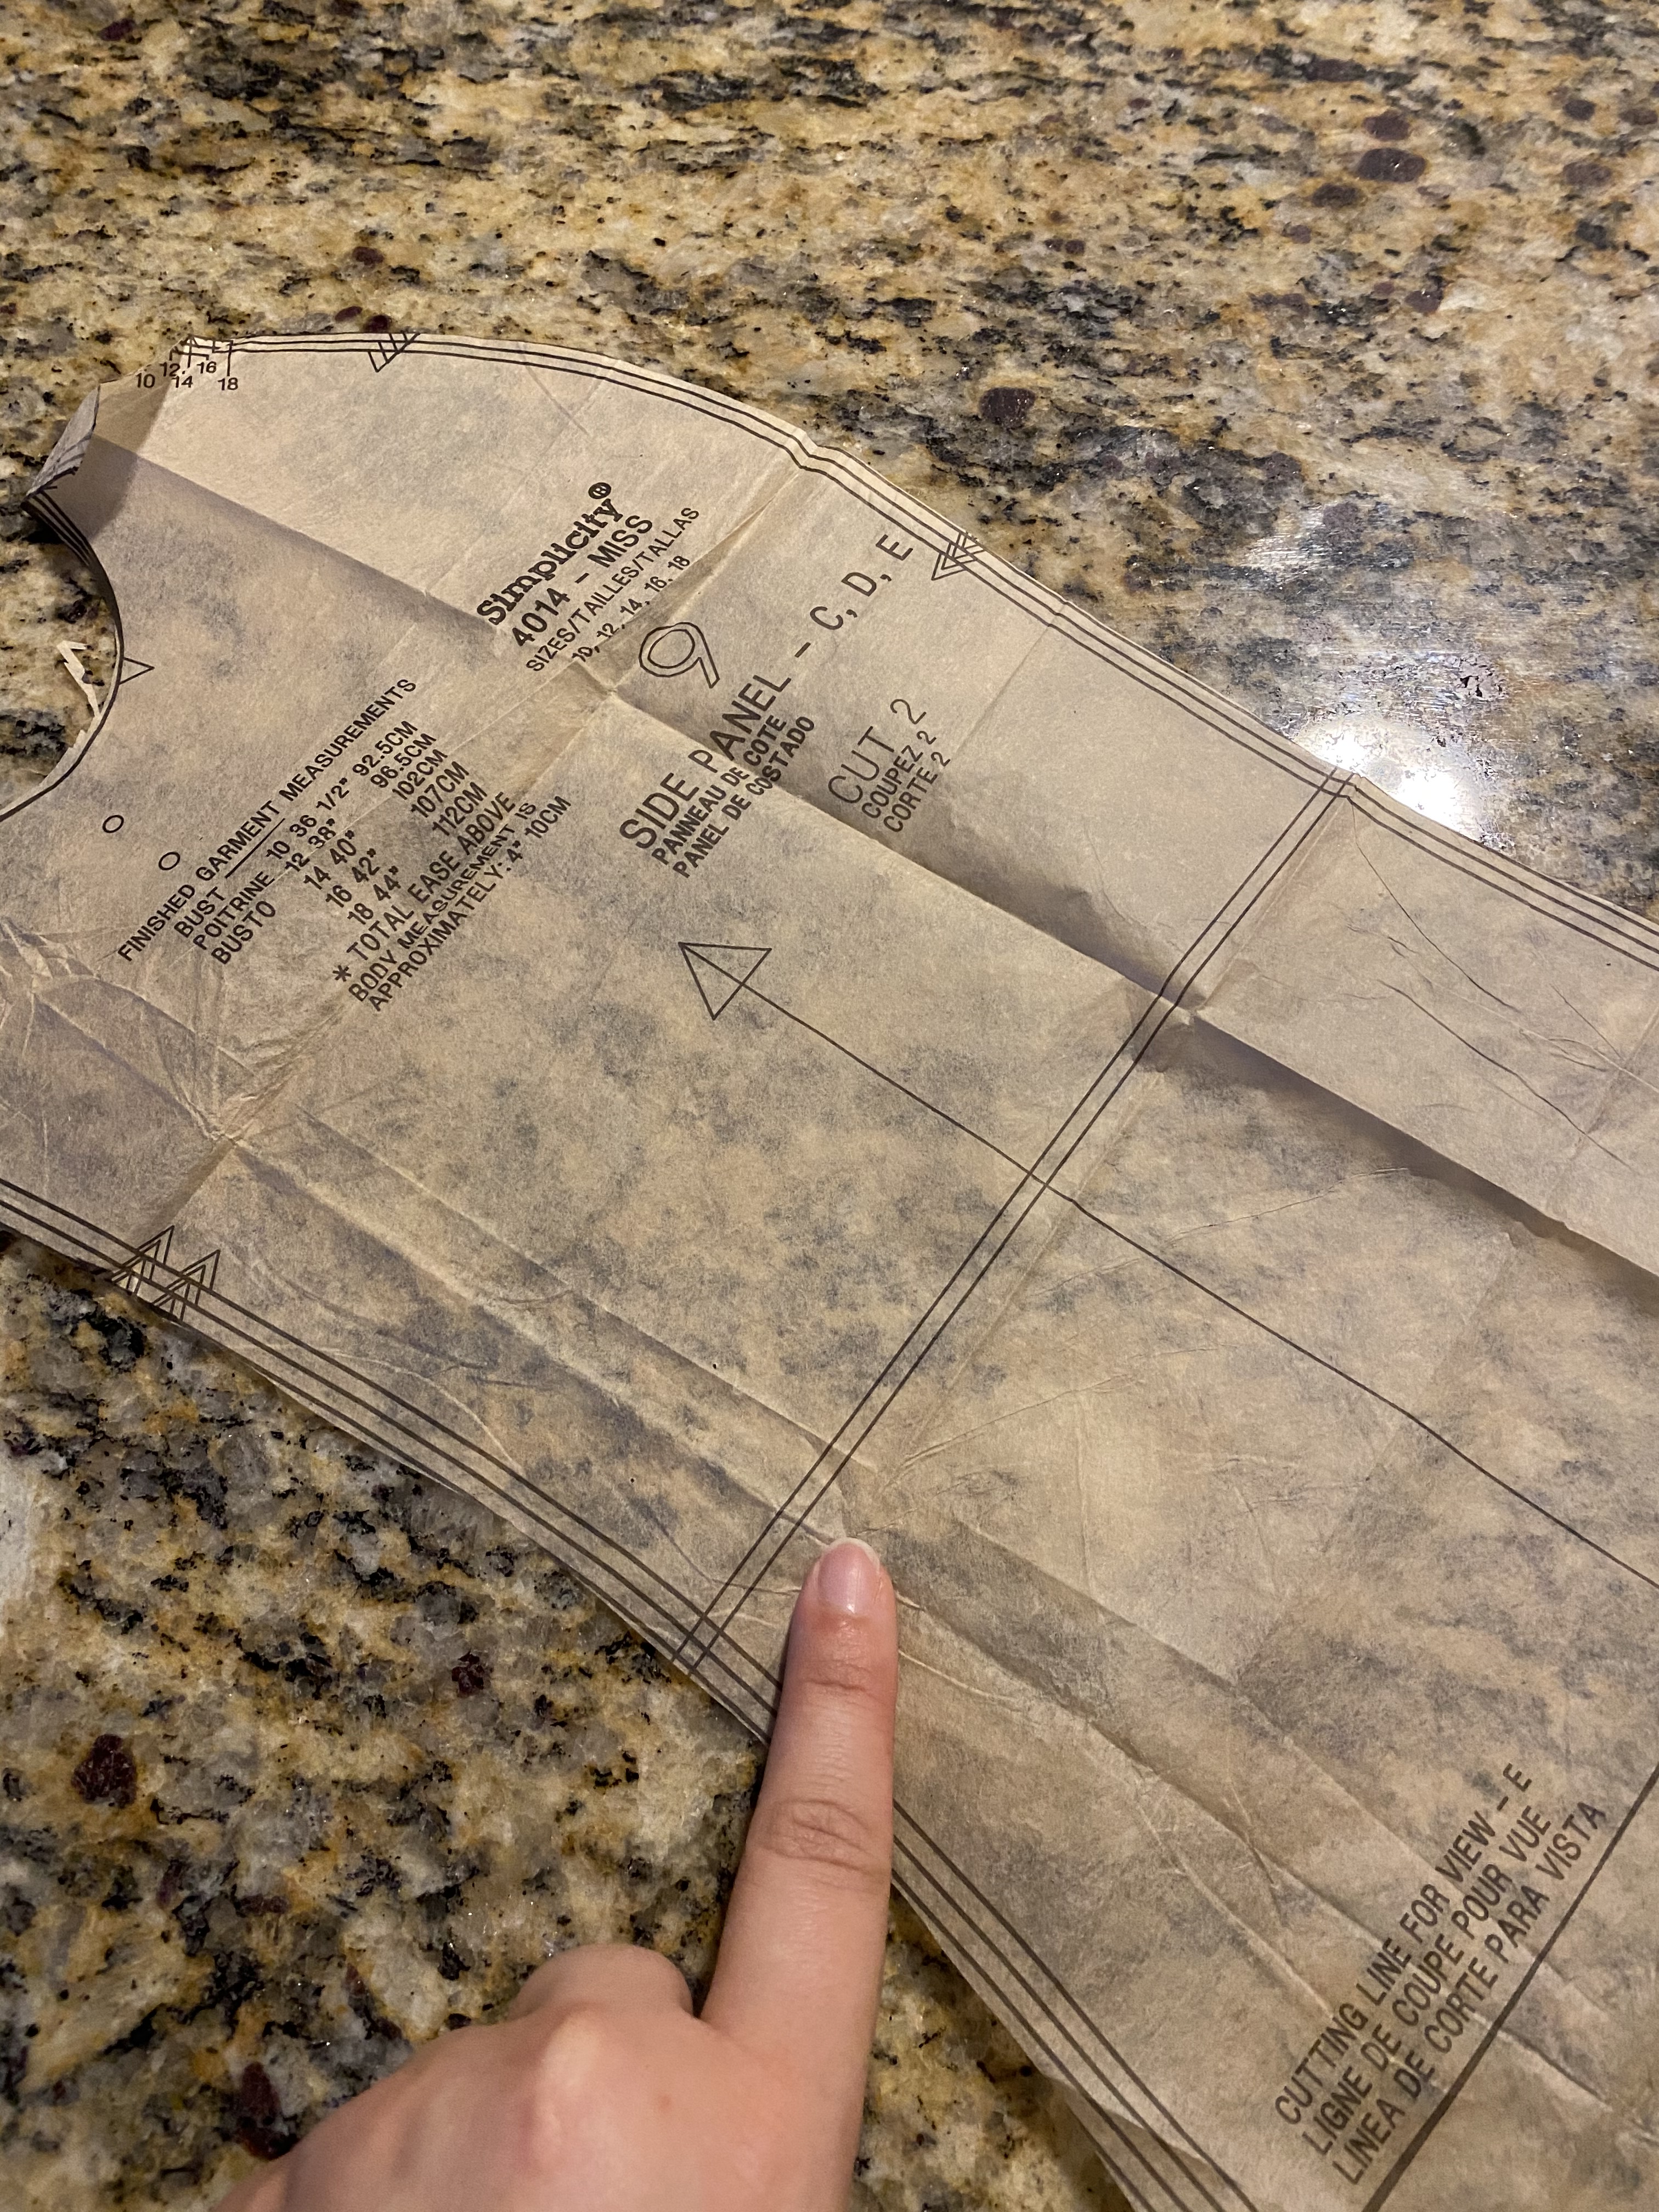
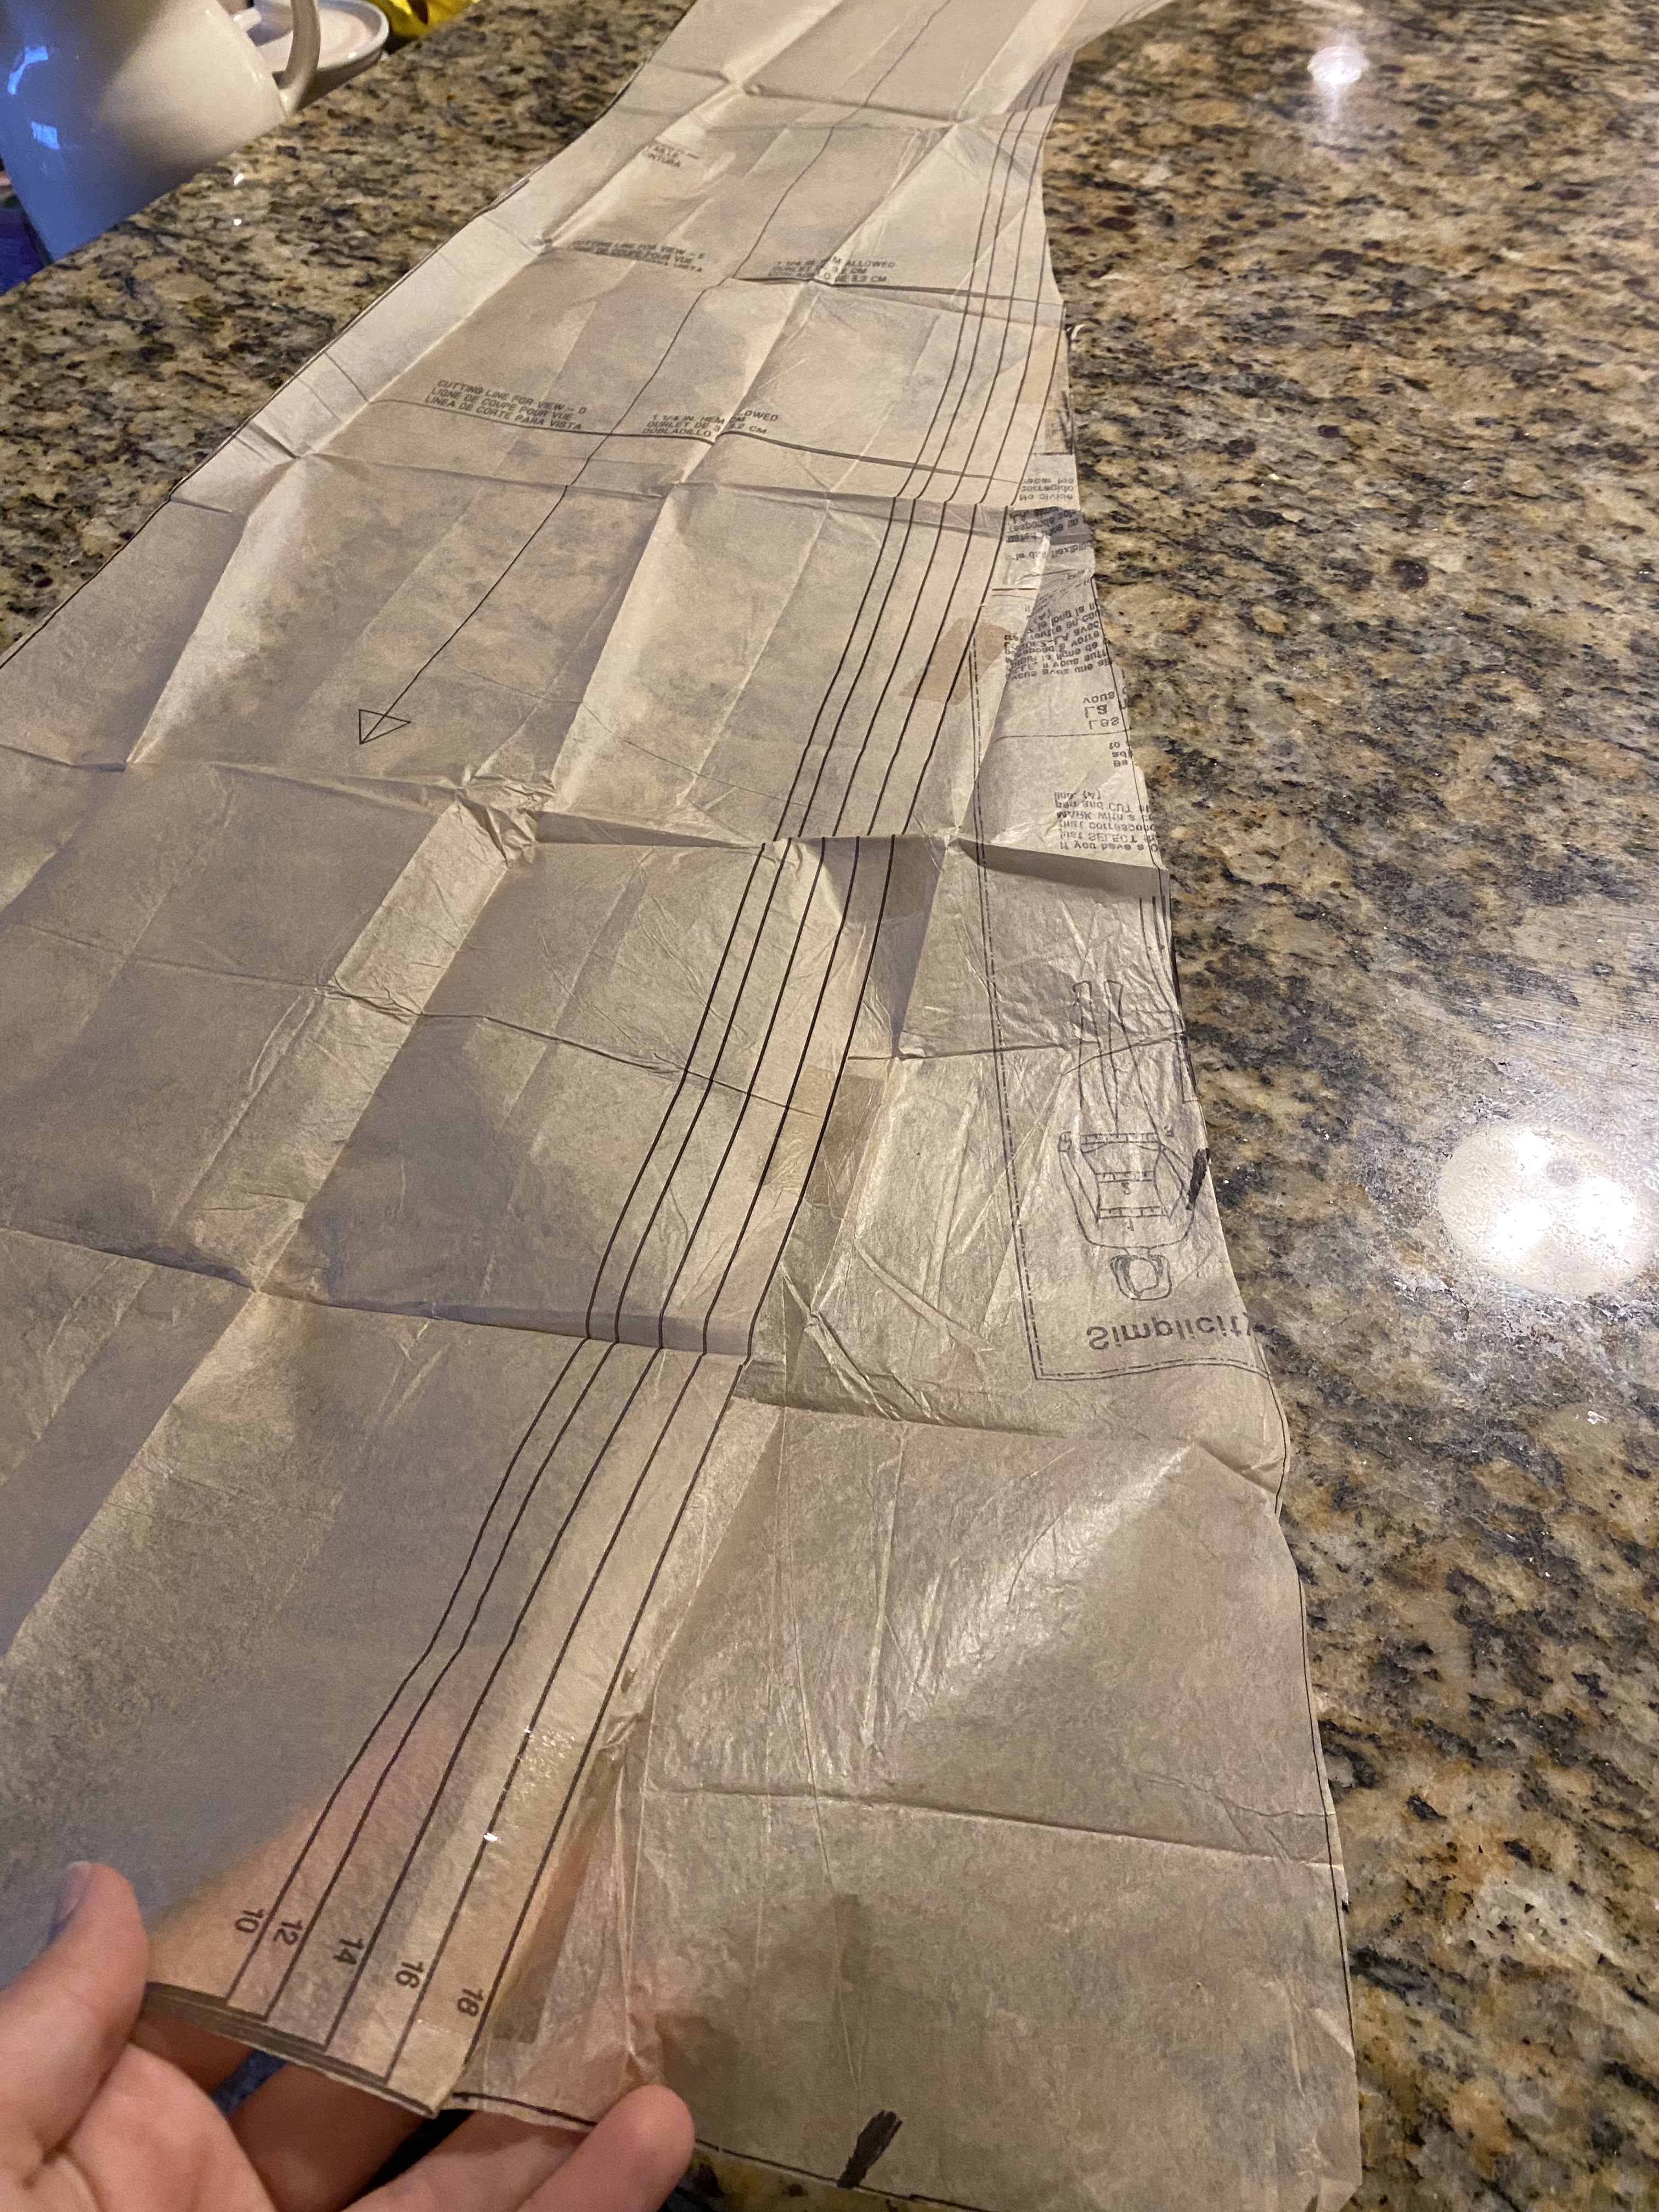
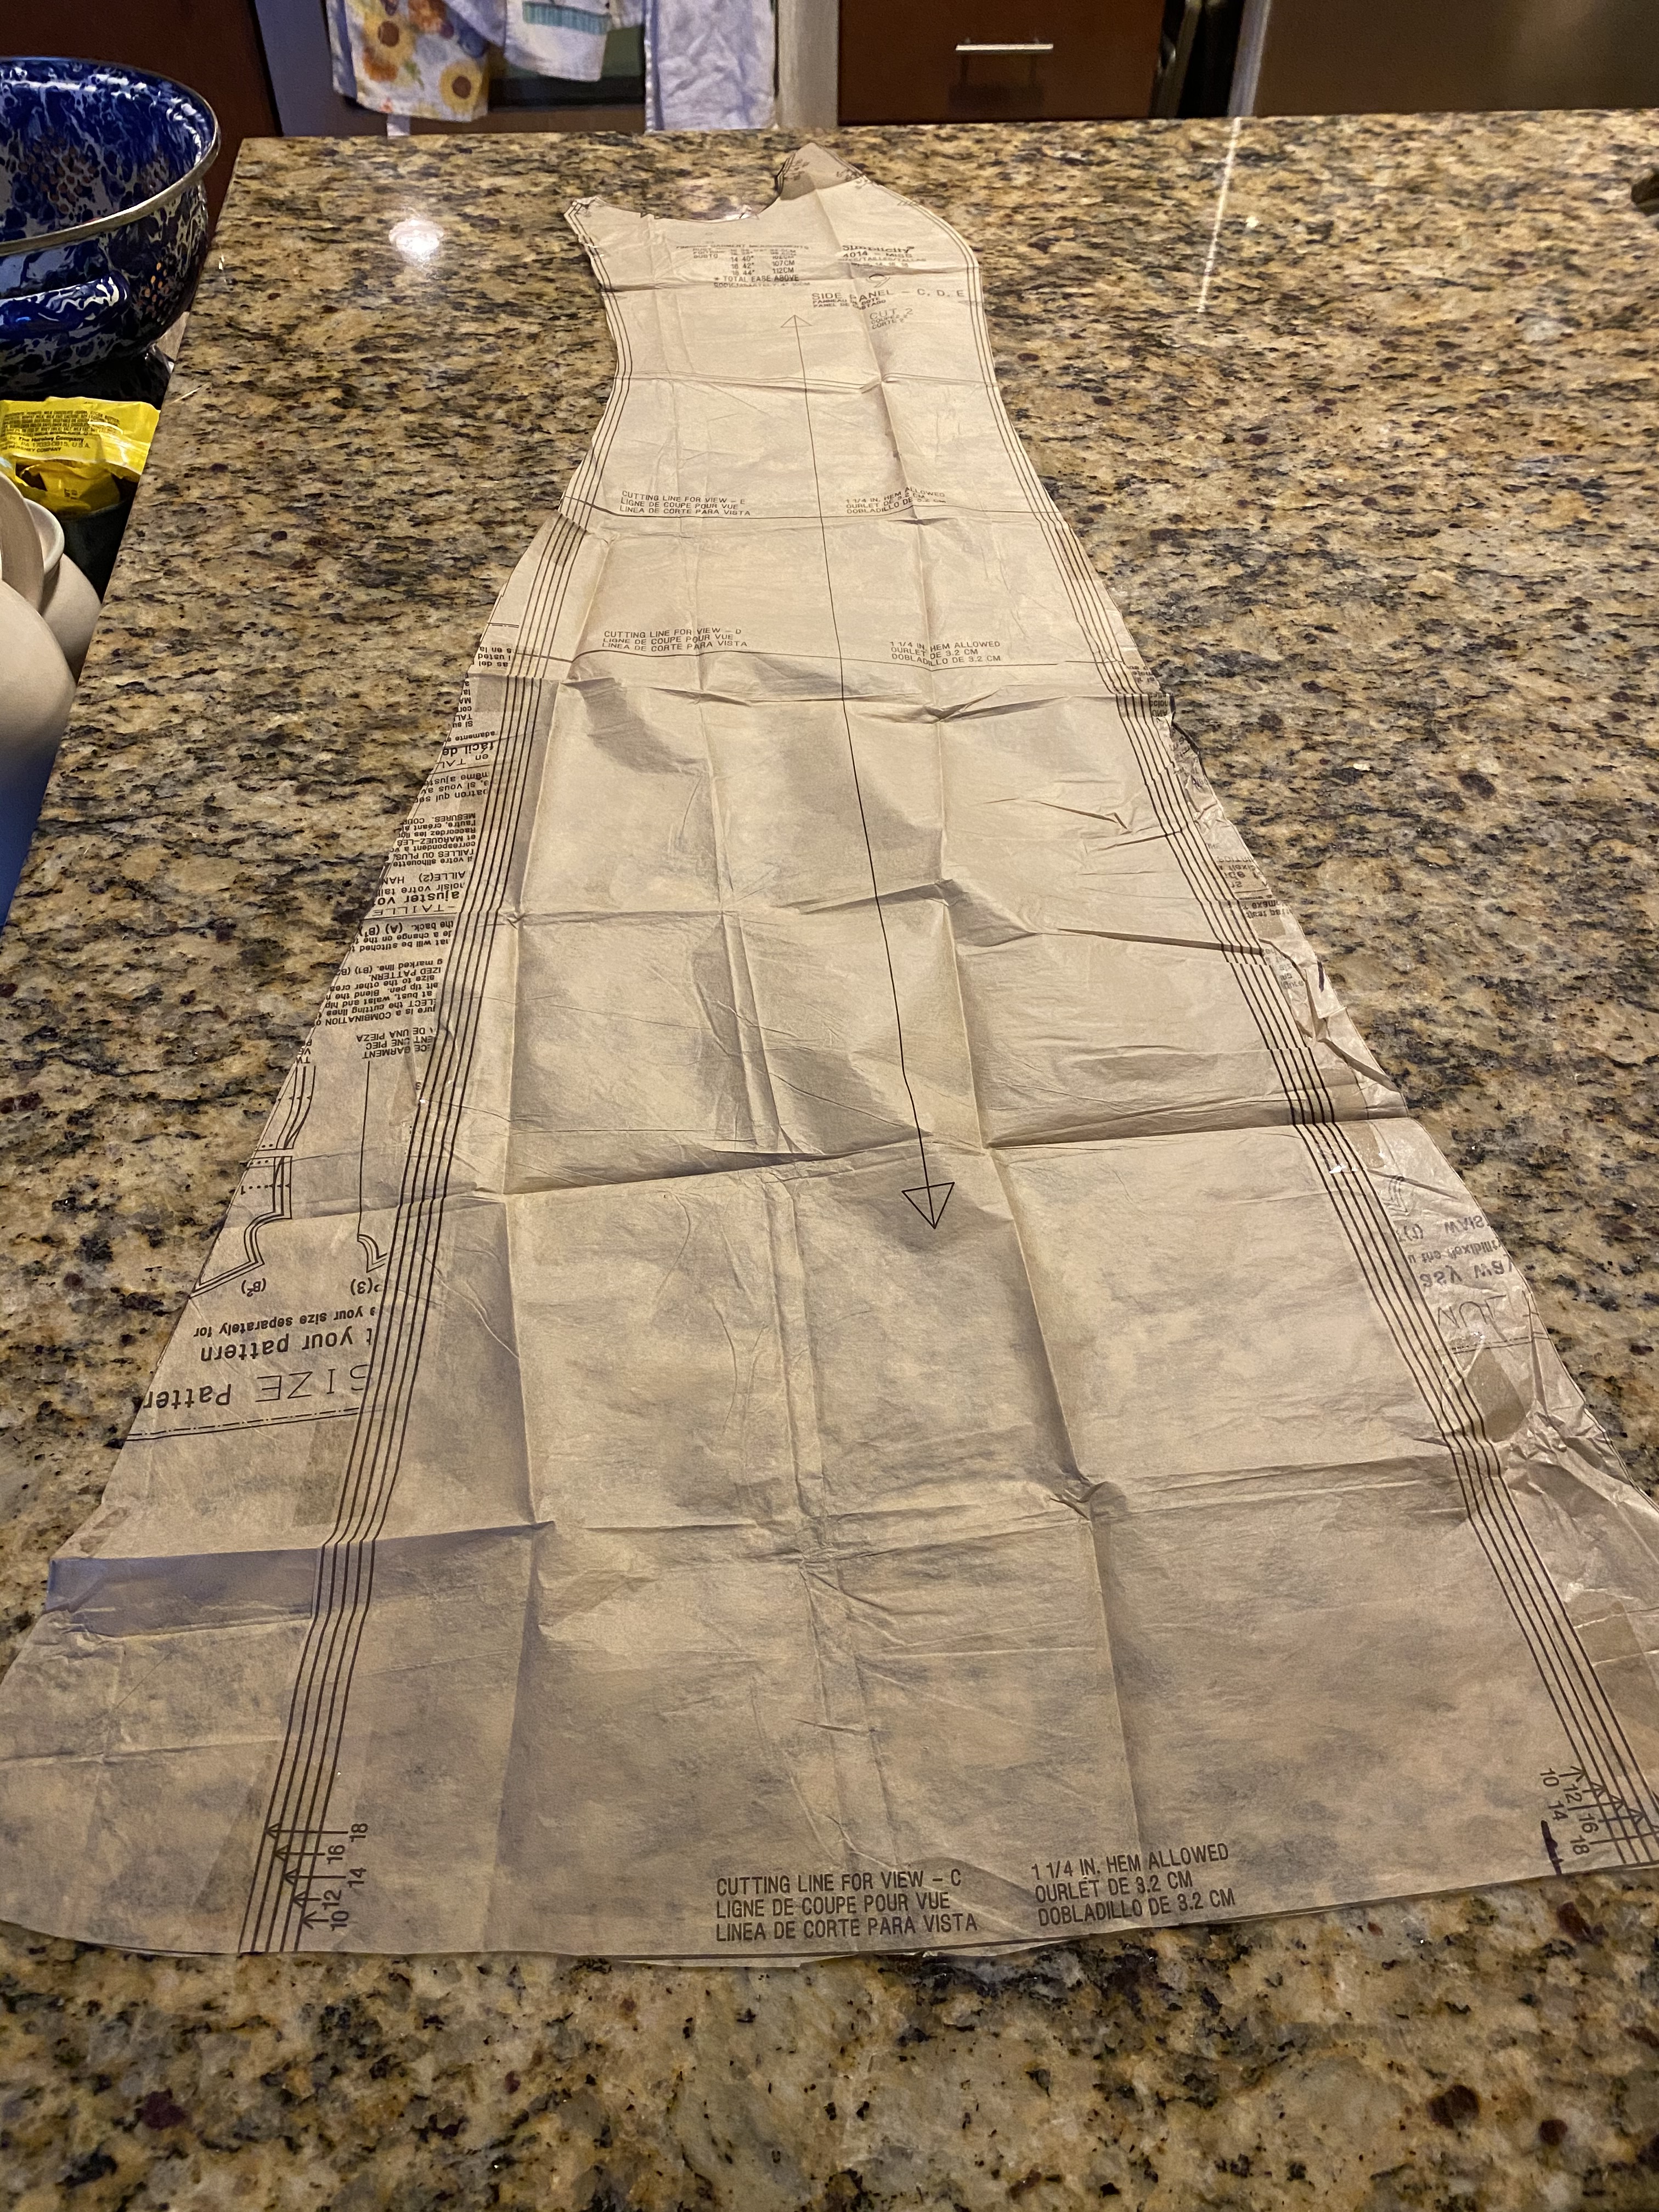
Design in hand, I found a pattern in my stash I had found at Goodwill for 99 cents that I could modify for my design criteria. The pattern is intended for lighter outerwear than a wool coat and much more of a 90’s style than I wanted, but it had the baseline princess seam lines and a-line flare I needed to start from.
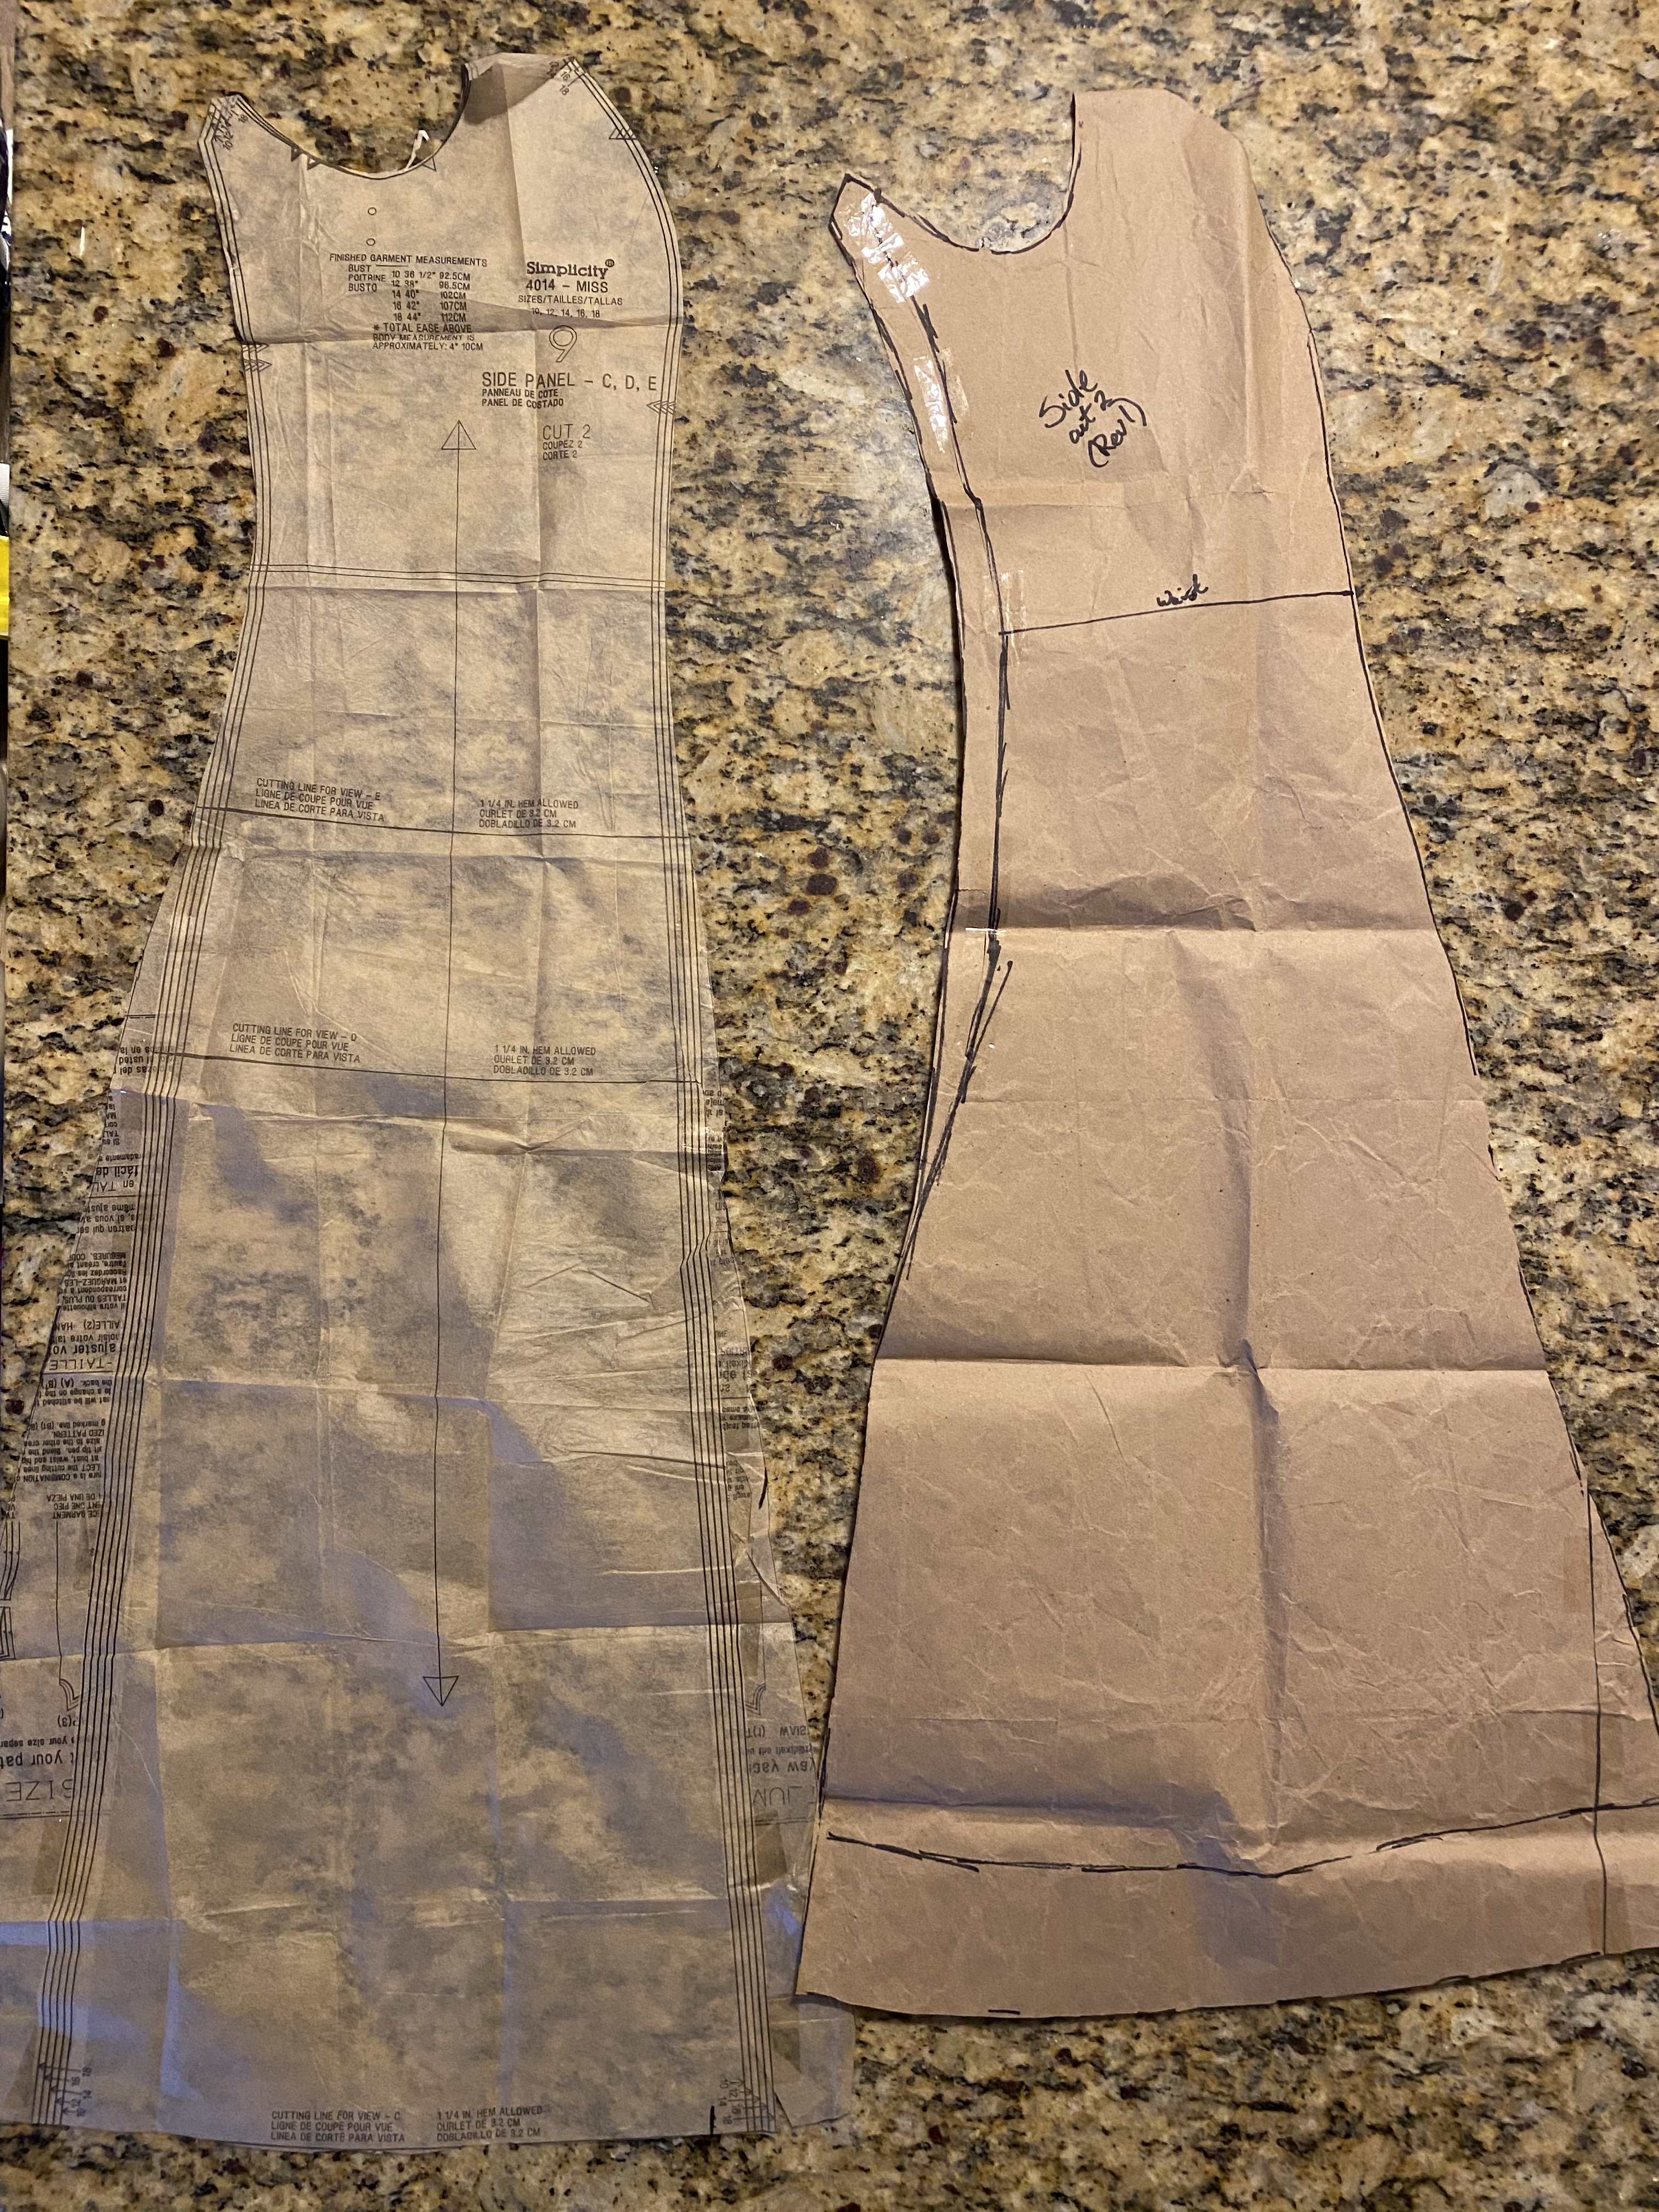
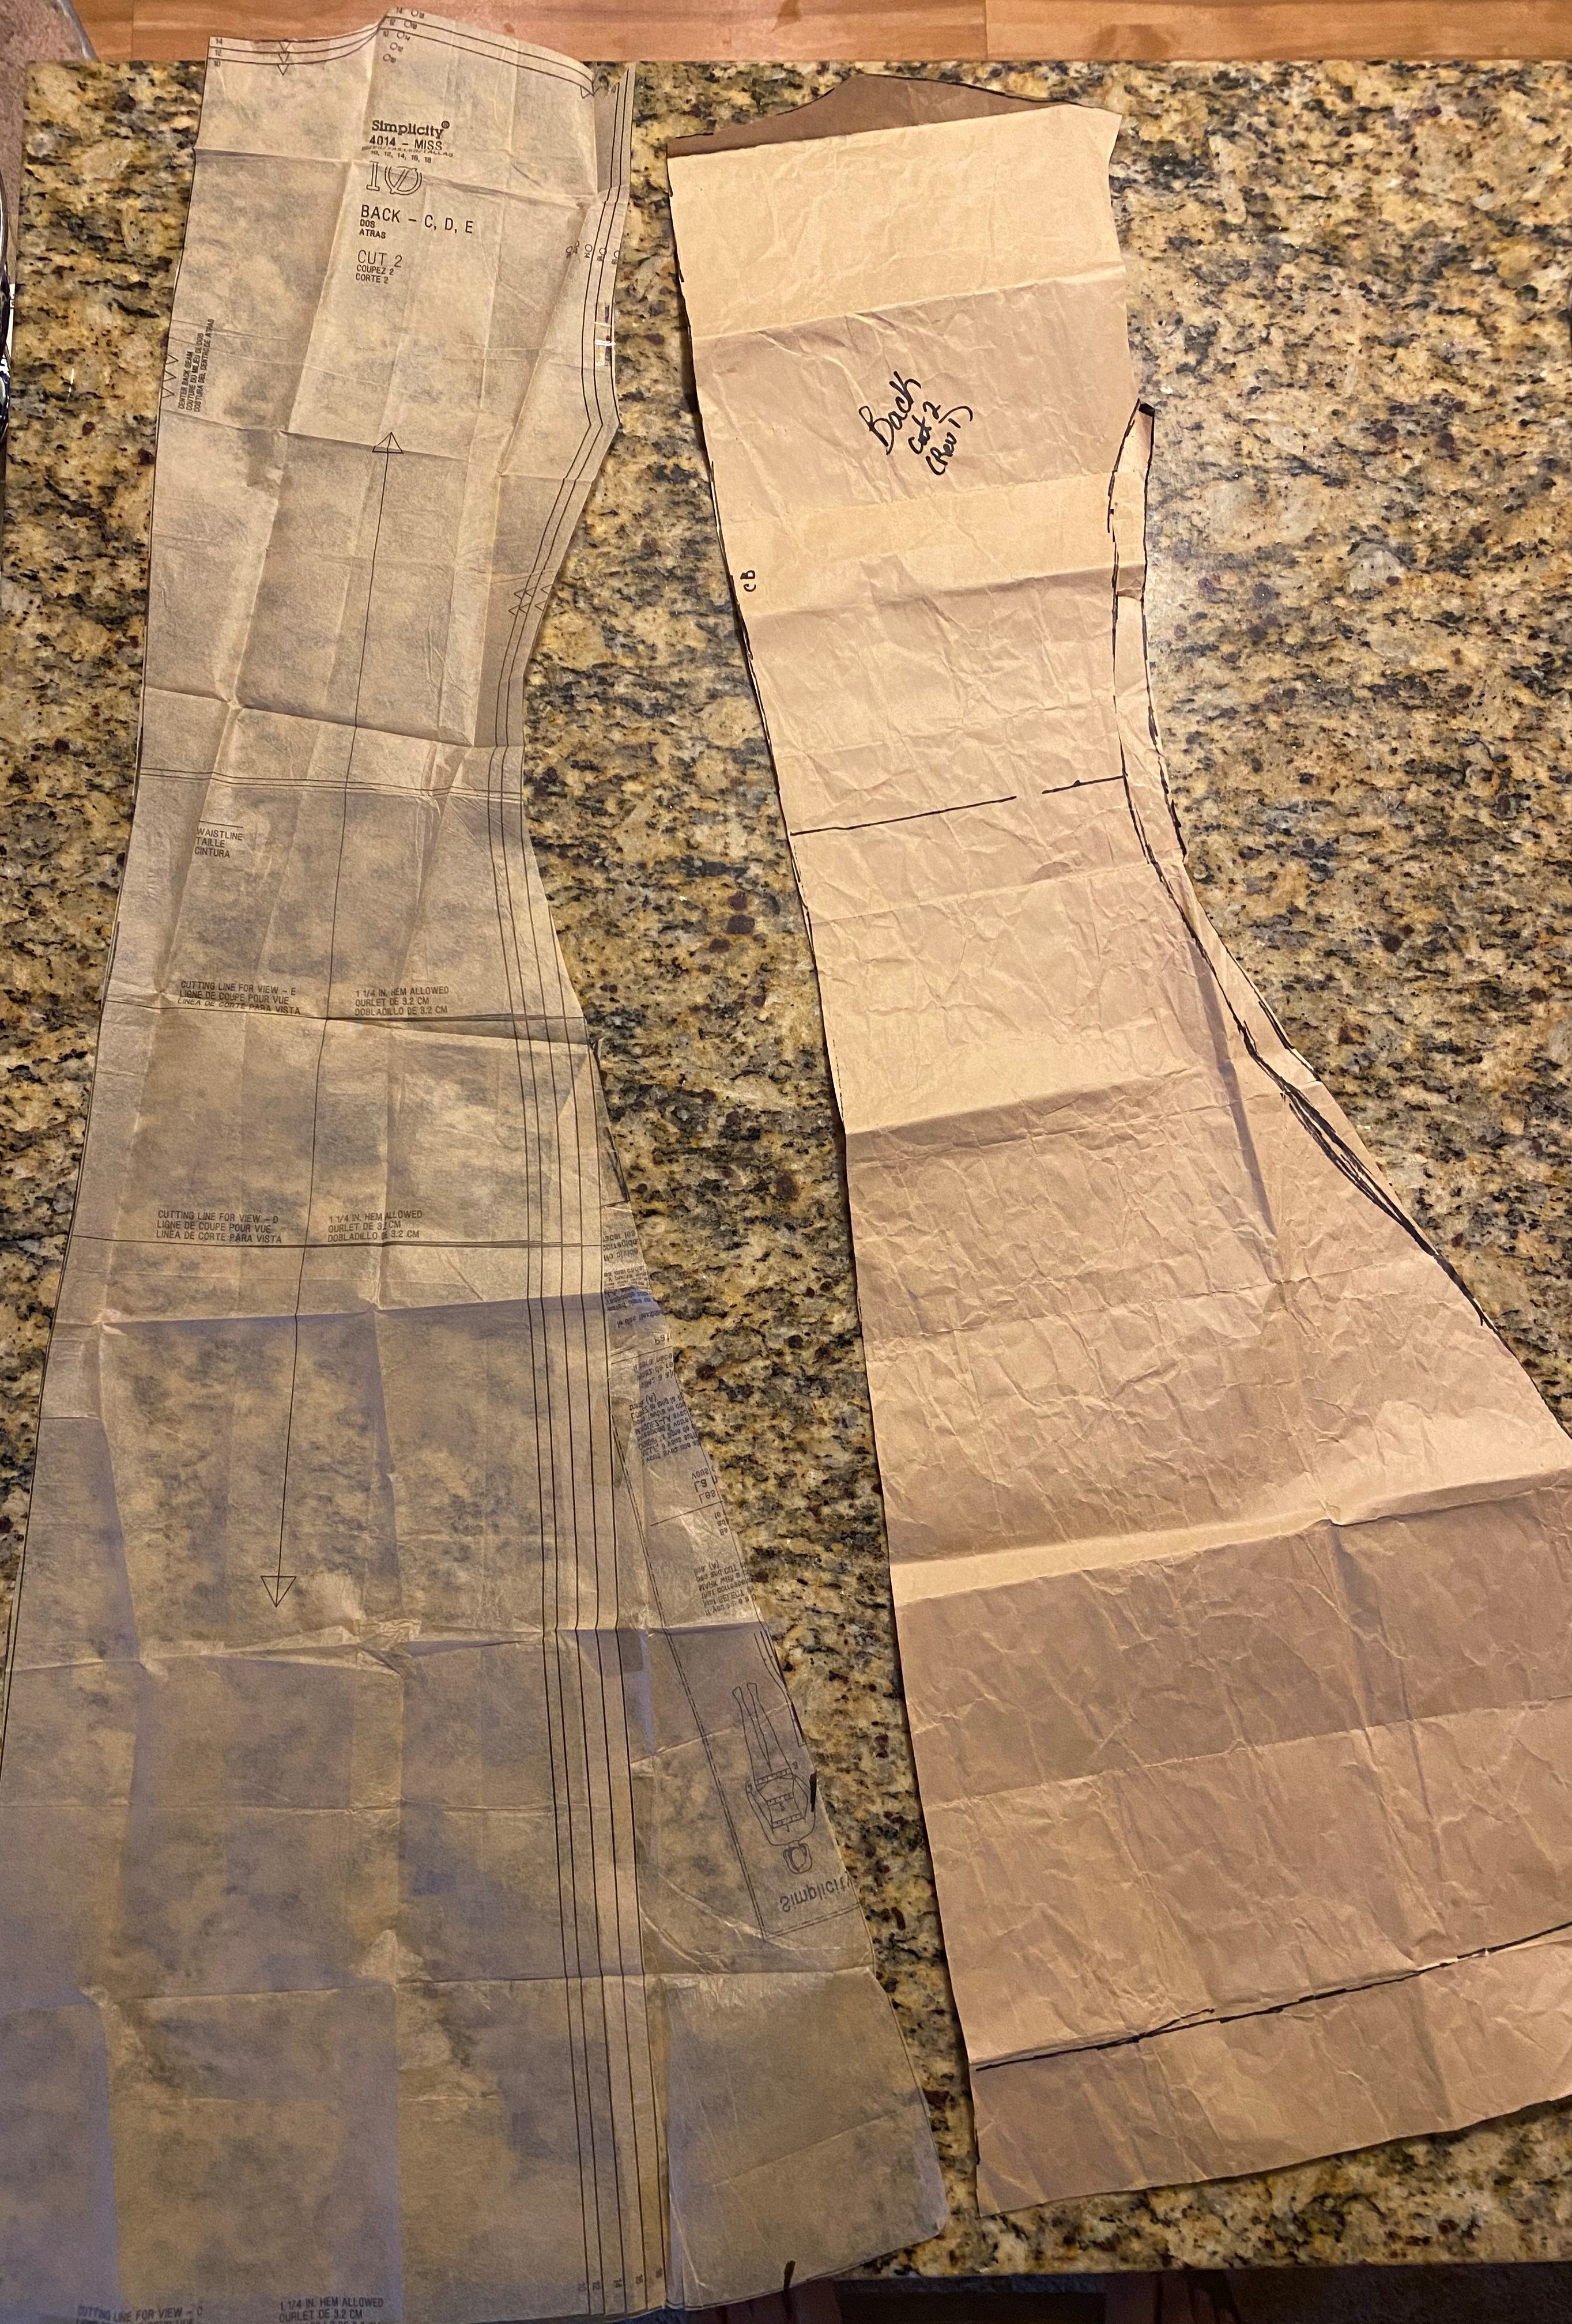
The first alterations to the pattern were to add the waistline and to add a bit more fullness to the skirt portion of the coat. The waistline alteration is done easily by finding the waist line on the front pattern piece and folding an even right angle at this point from the center point, lining each piece up, and marking the same length on each. When cutting my fabric pieces, I would fold along these lines and cut the pieces with the fold as the stitching line, roughly adding the seam allowance without an extra pattern piece.
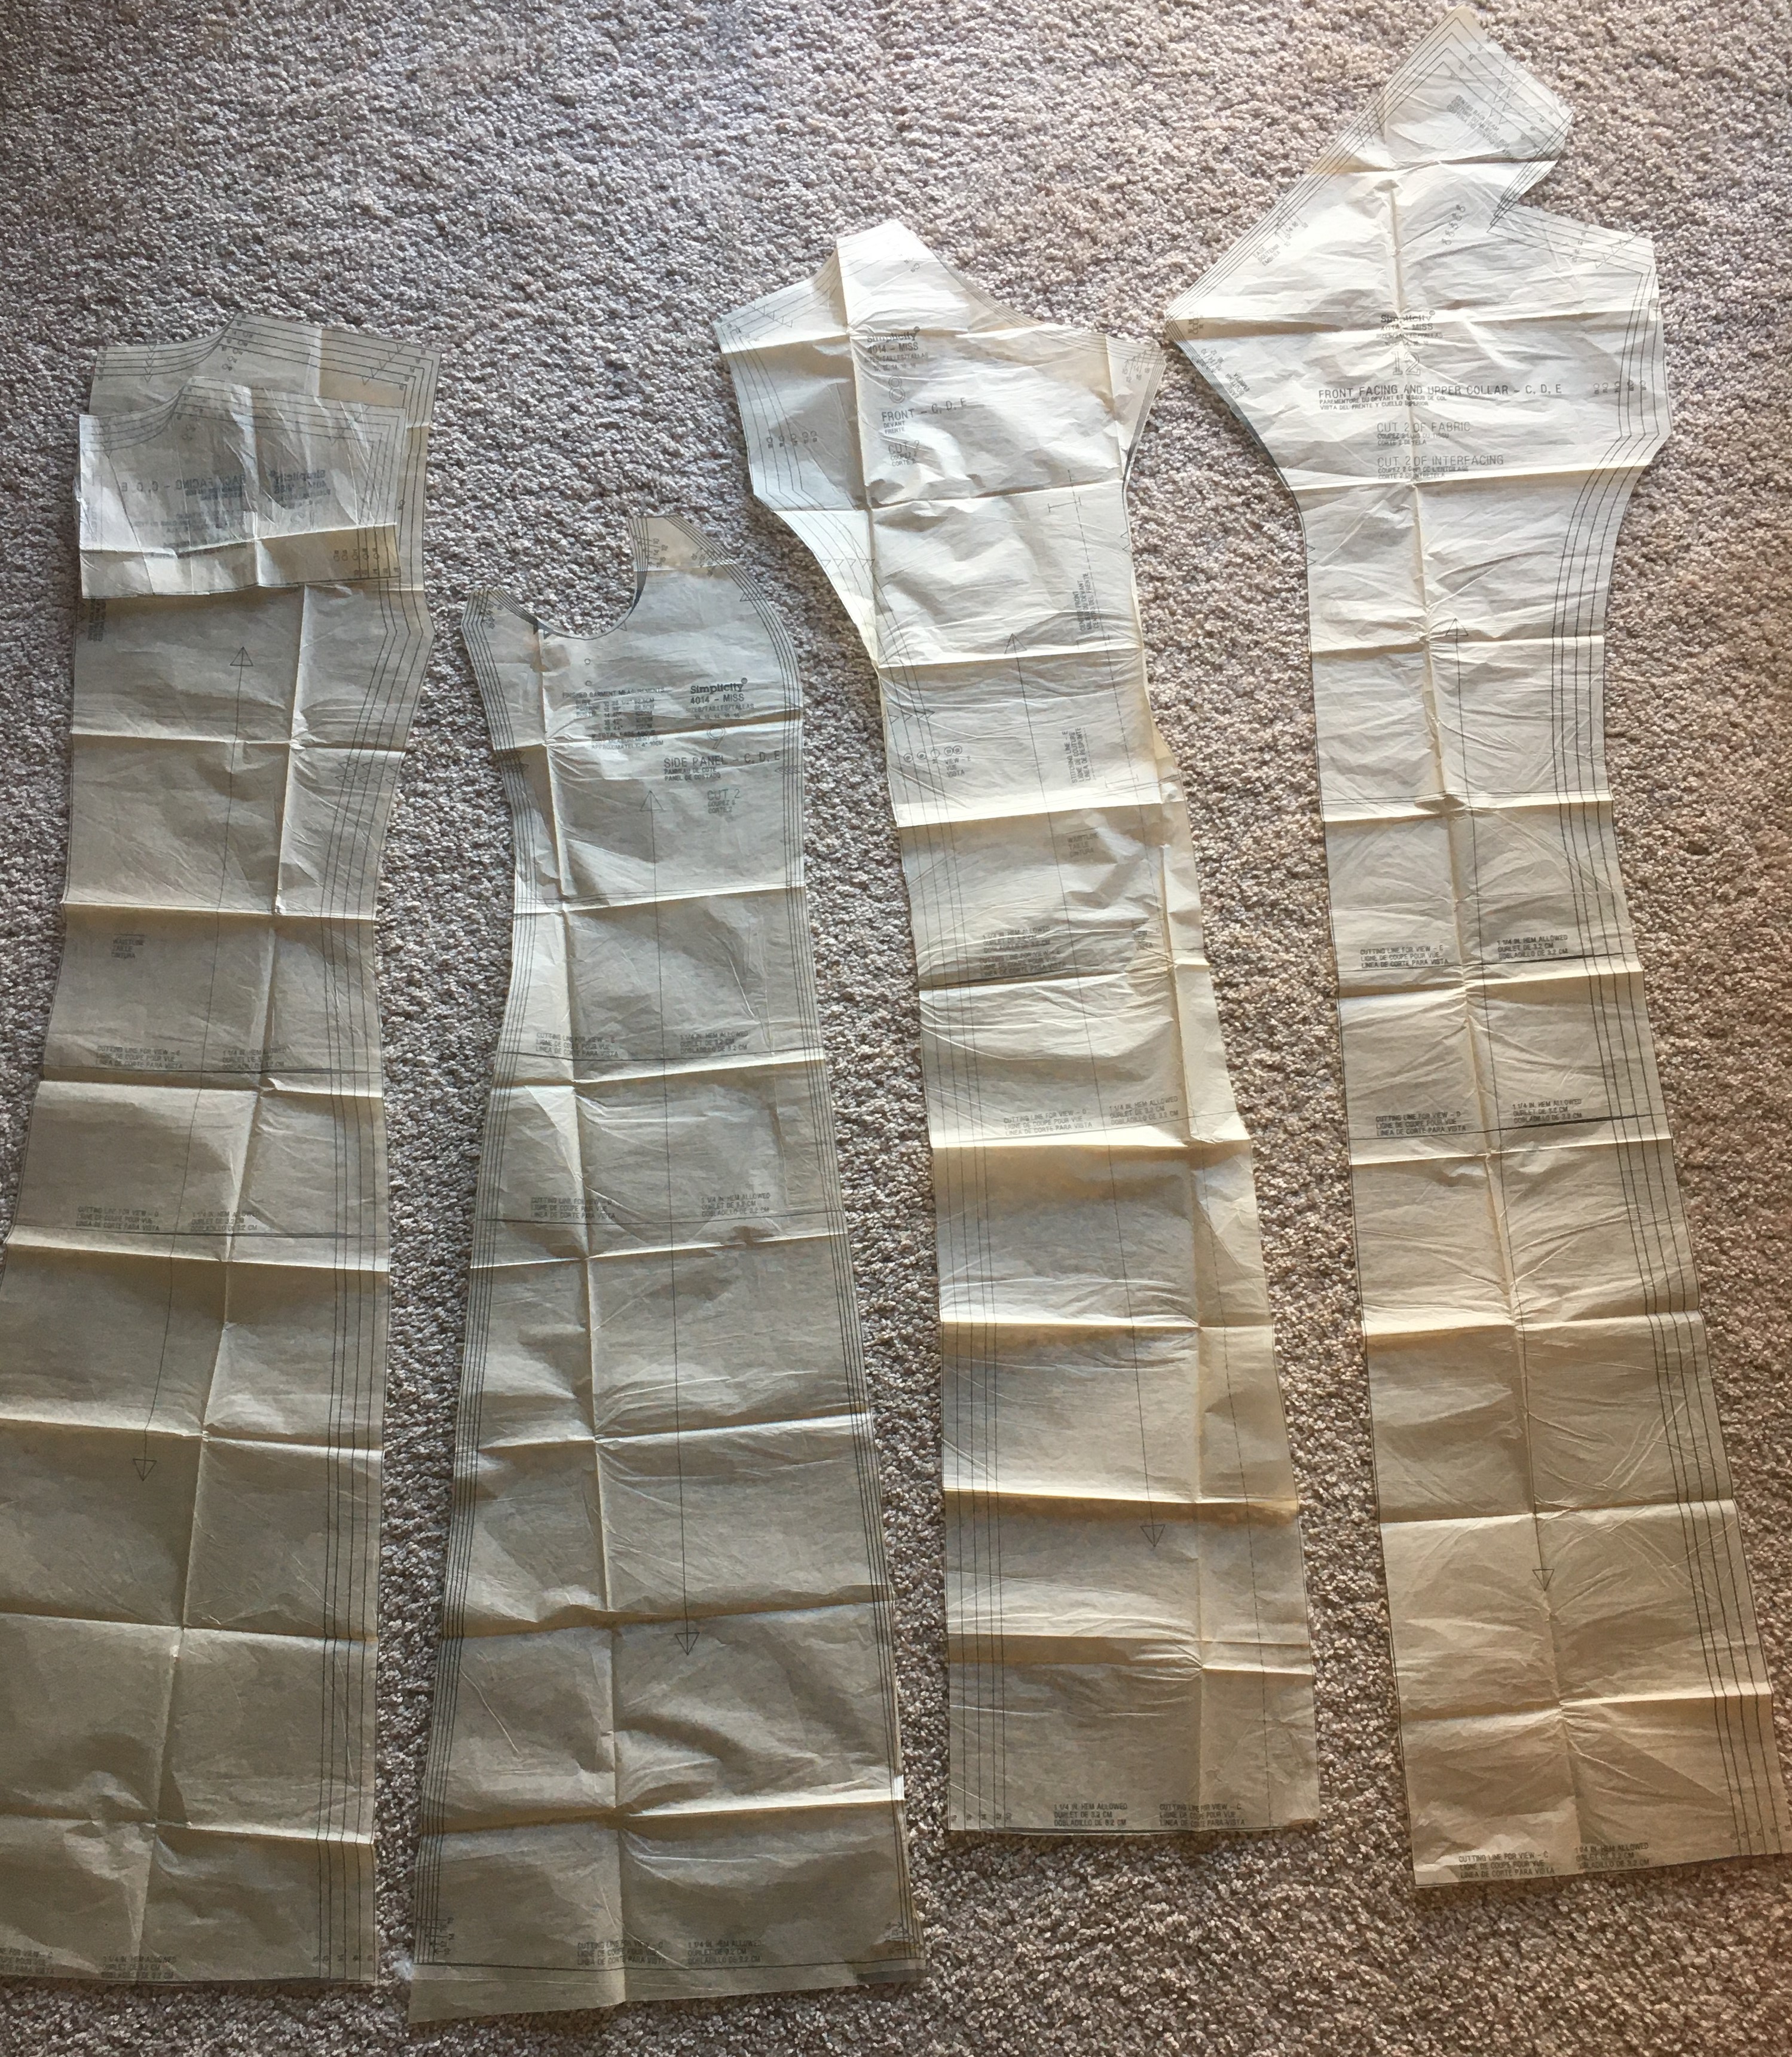
To add fullness to the skirt pieces, I added 2″ to the front and 5″ to the sides & back panels at the hem line and blending a curve upwards to the hip point. I didn’t want to add bulk to the waist and wanted to keep the pattern slim along the hips so as to add to the curves accentuated by the princess seams rather than hiding under extra fabric bulk.
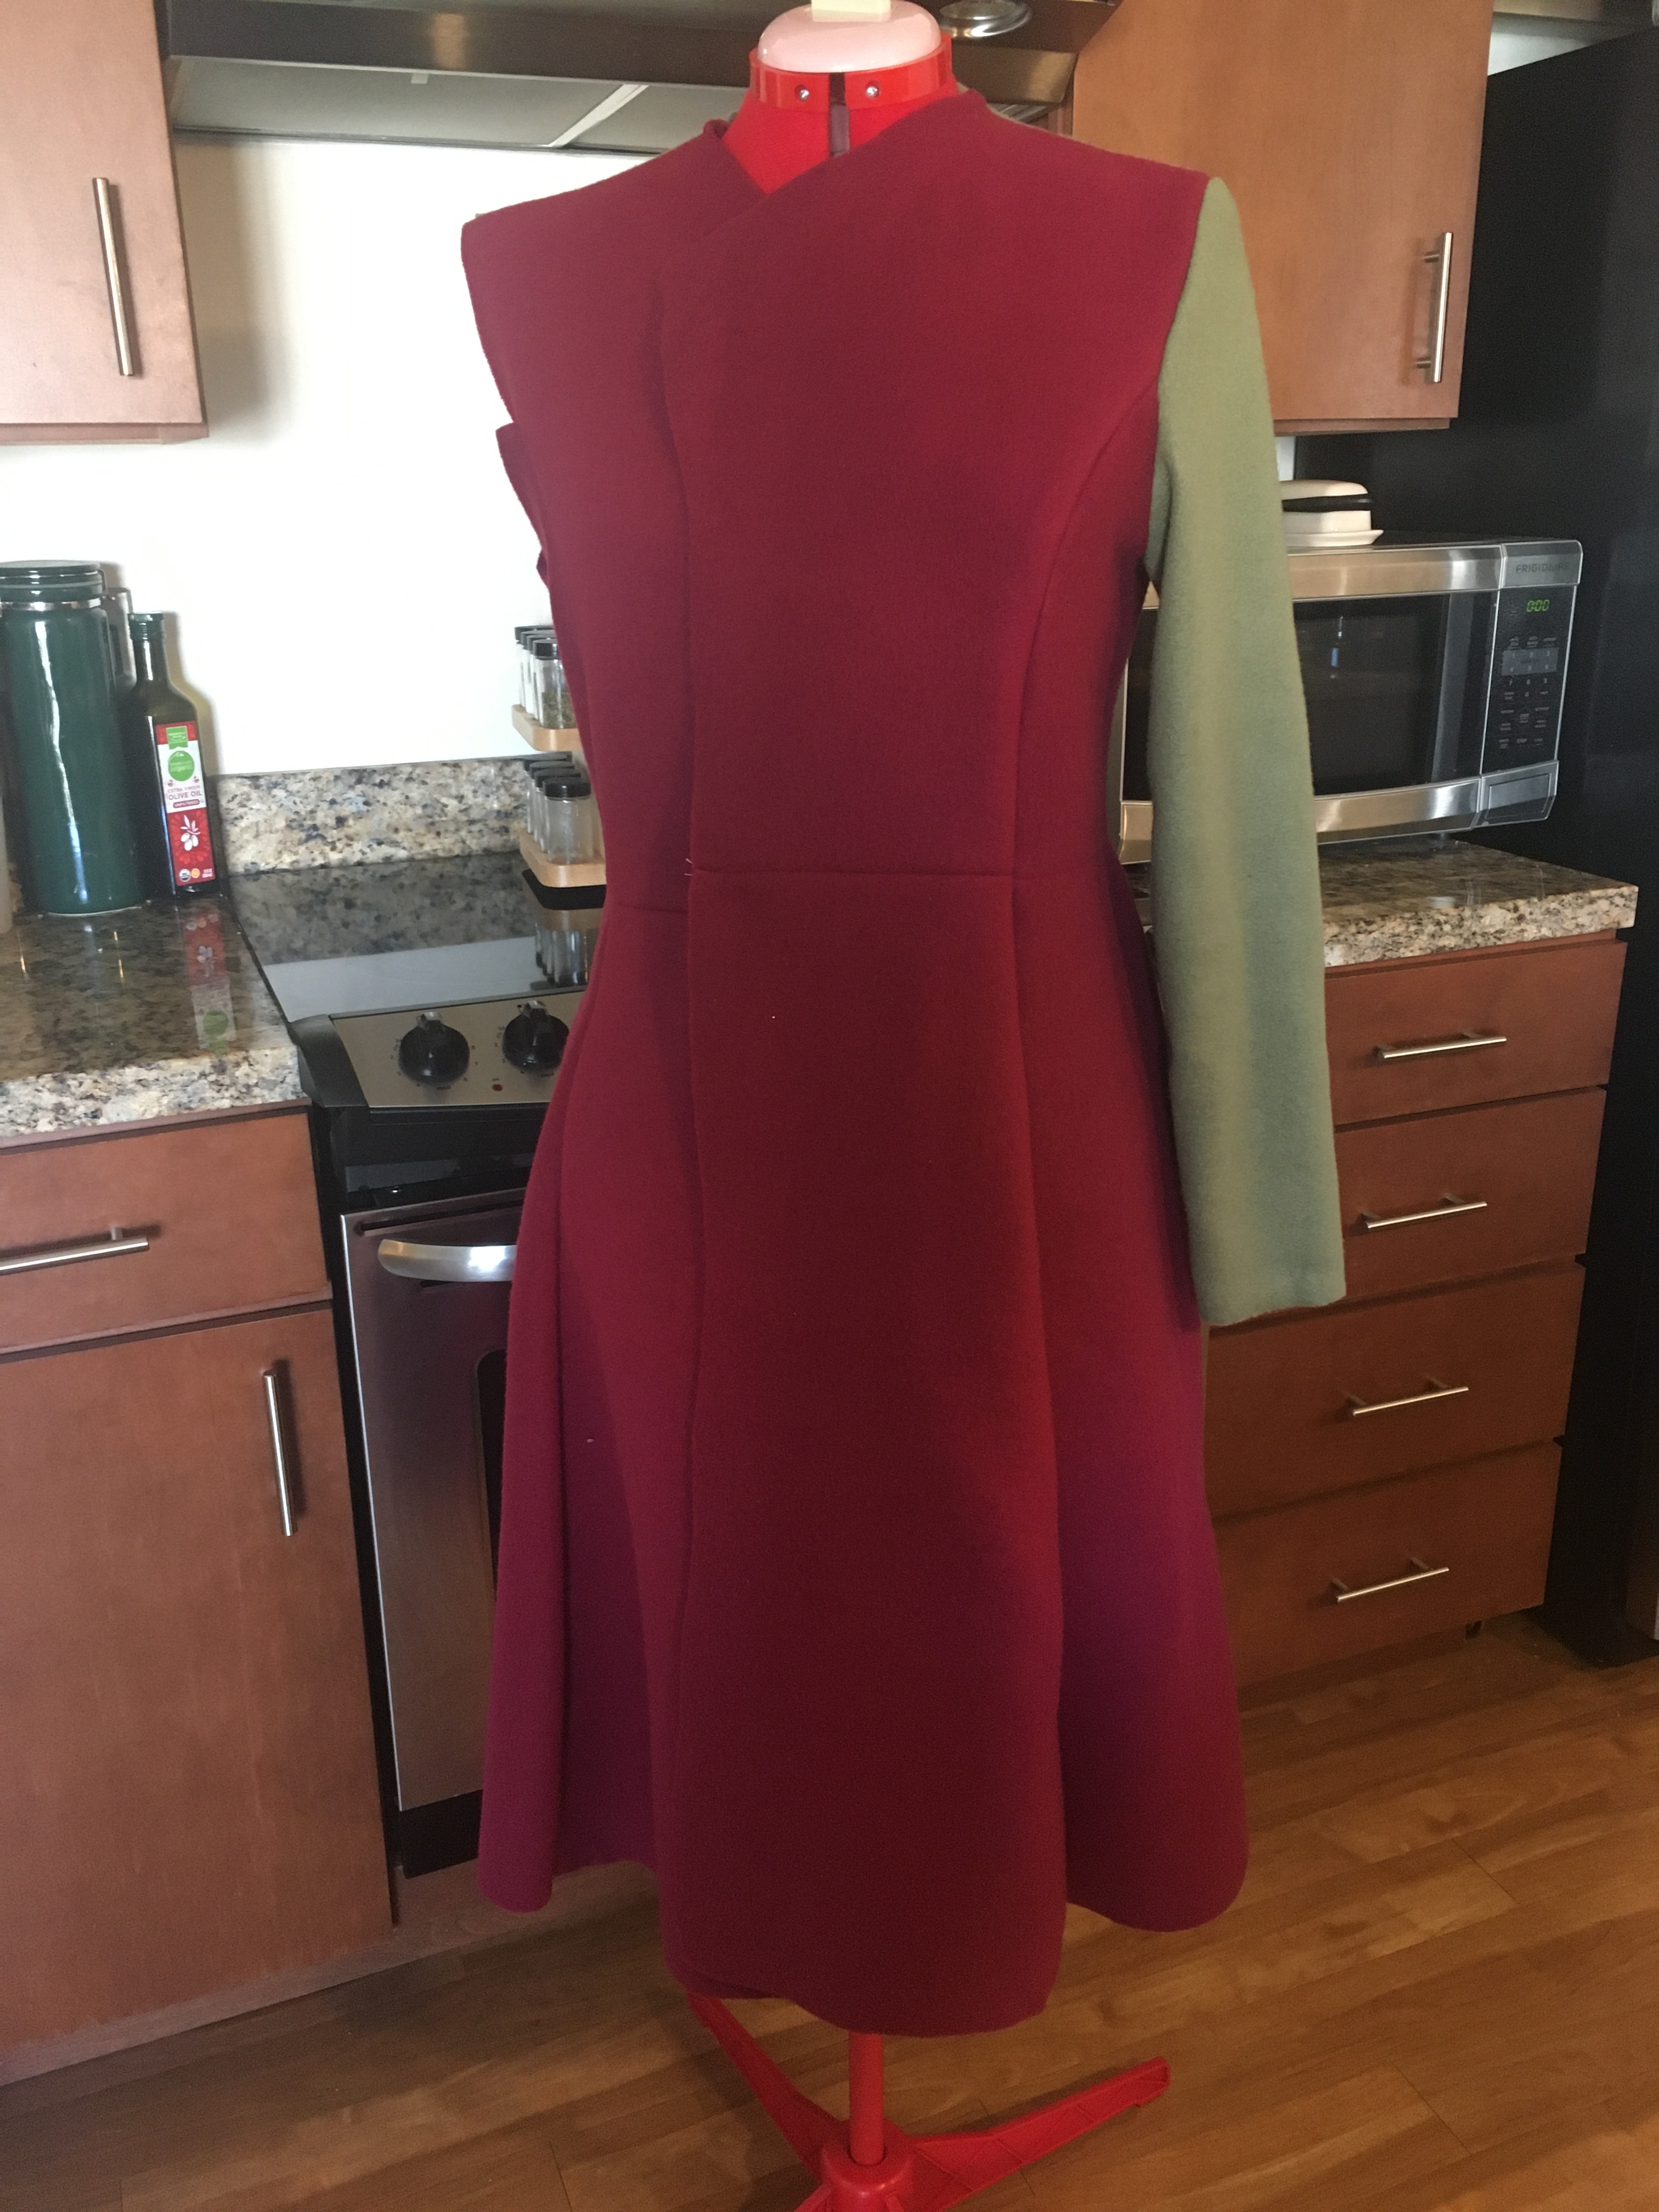
Once the initial changes were made, the first mock up was cut from excess fleece left over from a forgotten tie blanket campaign. The fleece wouldn’t have the same weight as wool, but would have a similar drape and bulk to the seams to give a good picture of what the style lines would look like. I was worried that the number of seams would look bulky with the fleece and then later in the wool and wanted to have a good visualization before investing in expensive wool. I was pleasantly surprised by how well the seams turned out.
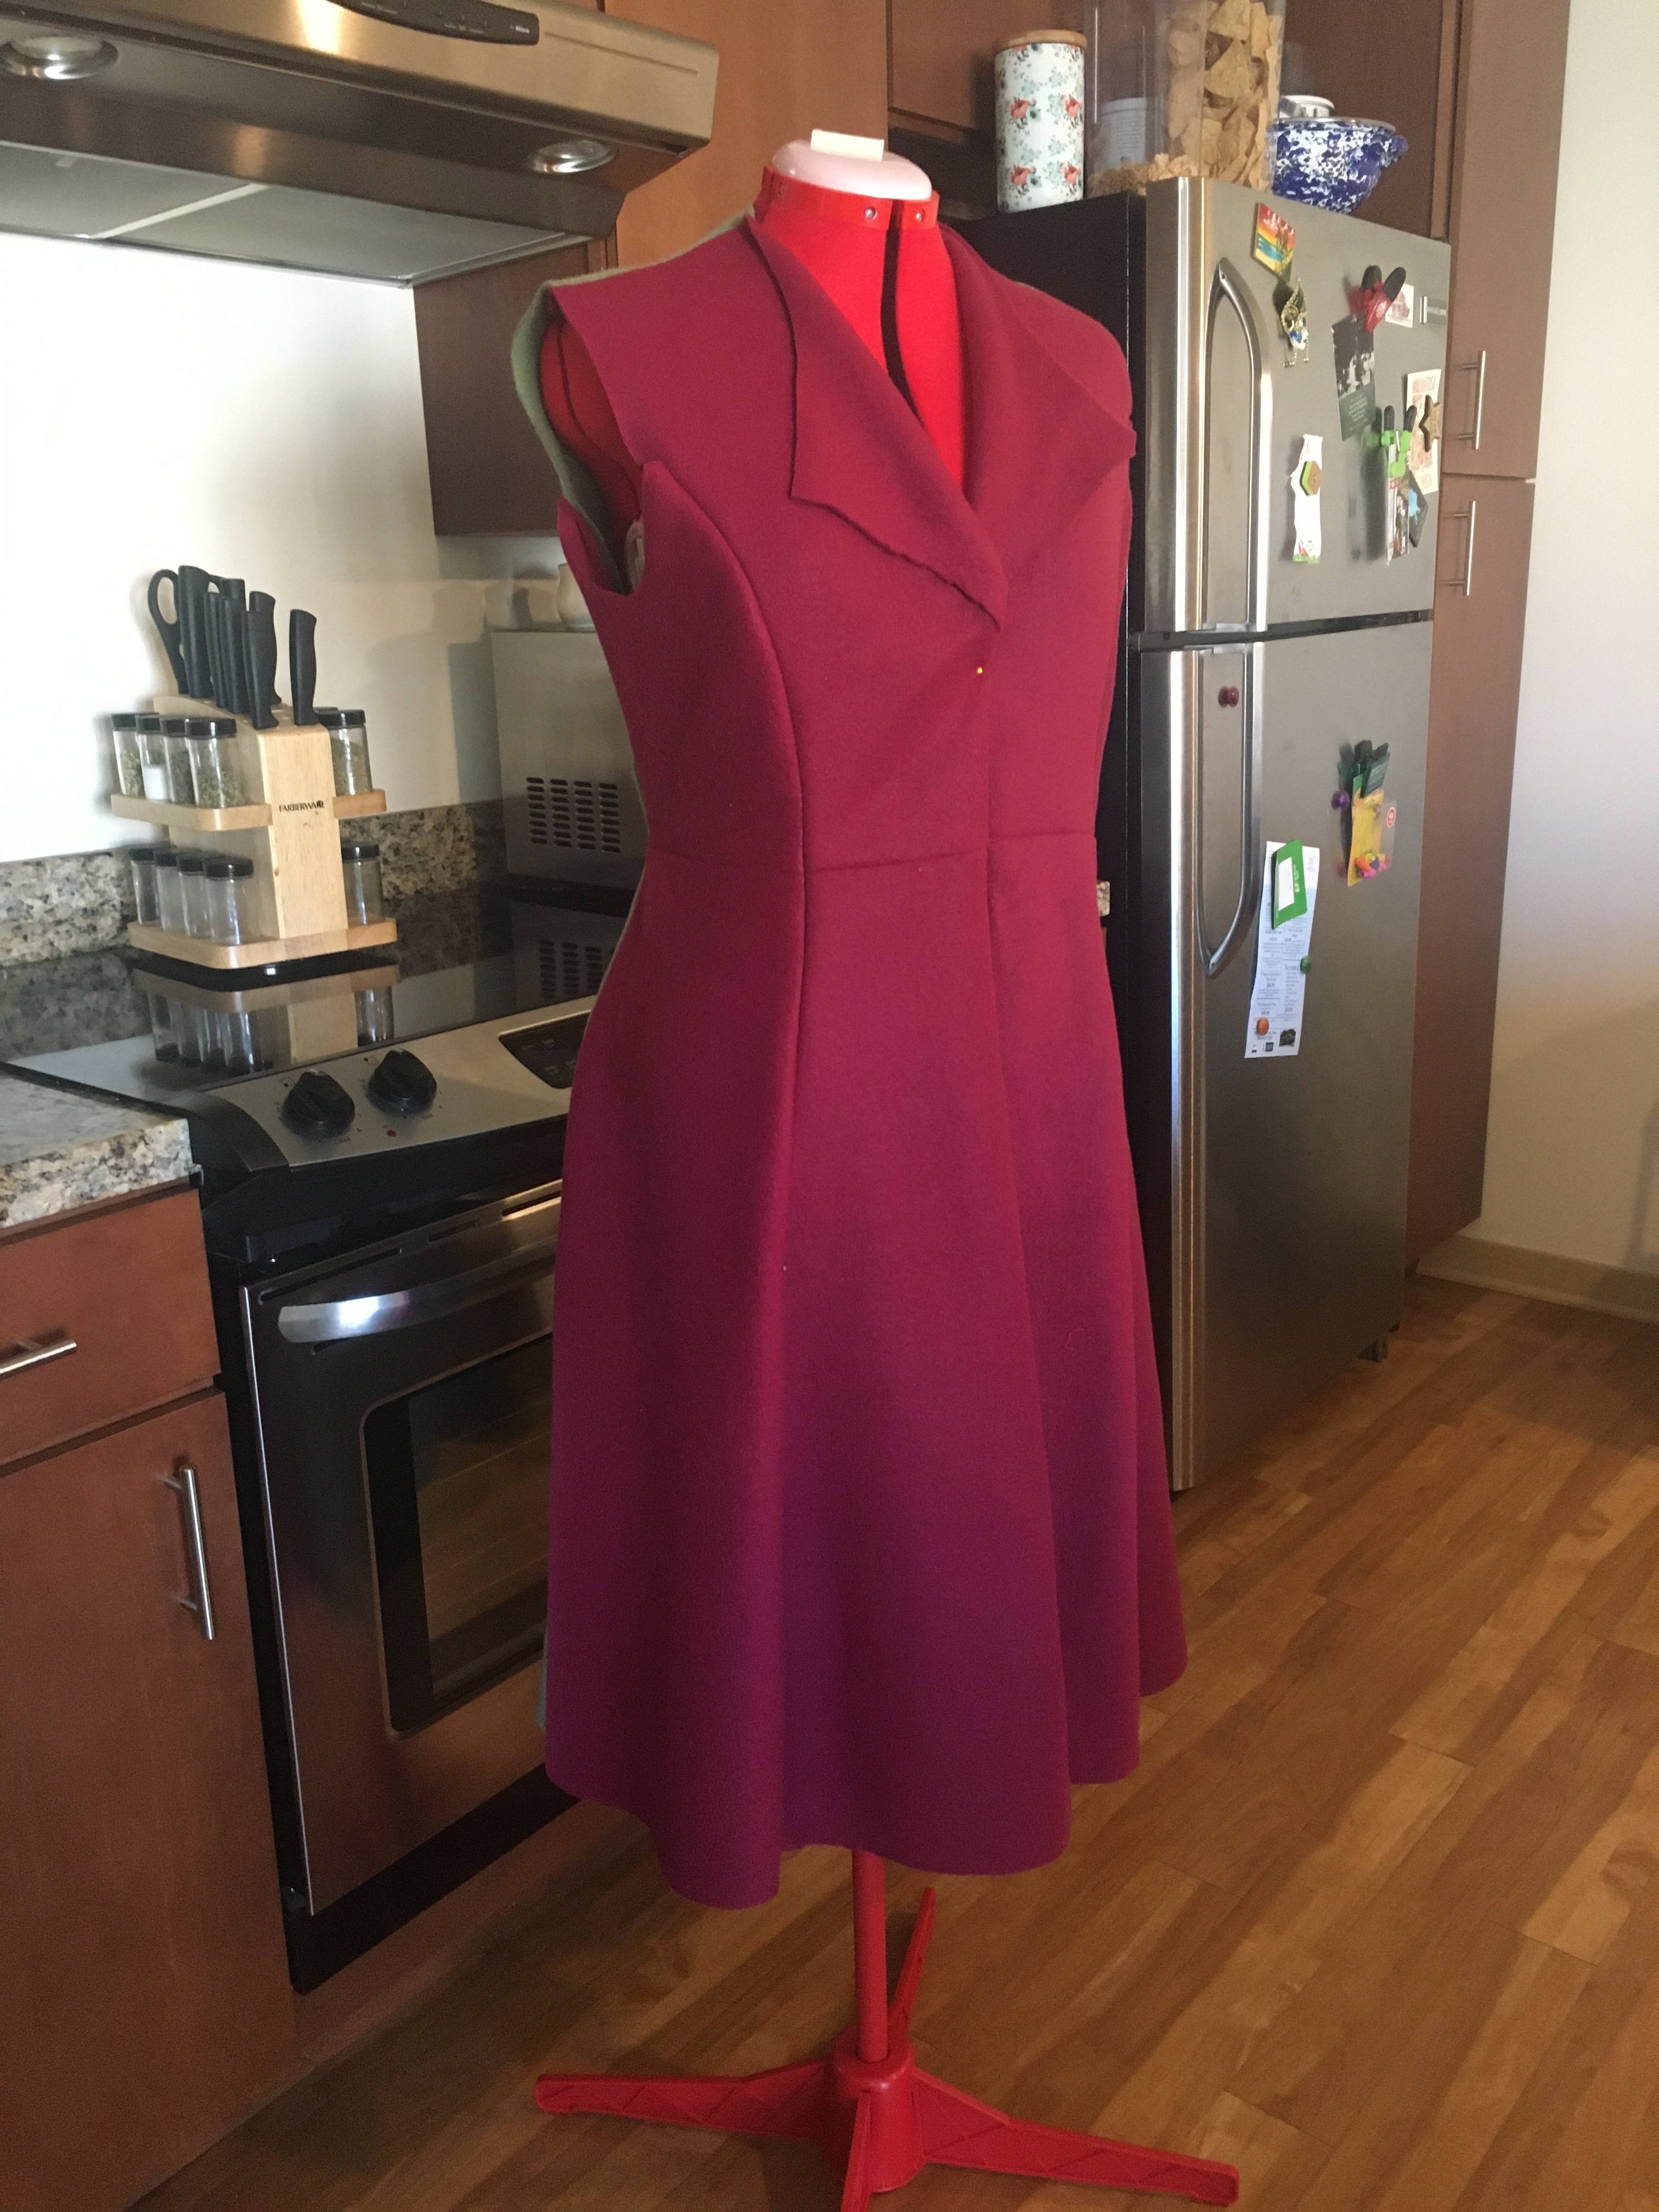

I was also pleasantly surprised to find the coat fit was nearly successful. The fit needed to be brought in at the waist a bit, but mostly needed taken in at the bust and shoulders, all relatively easy fixes. I had a bit of a turn when trying to figure out what was going wrong with the back of the neck when I was making tailoring the coat. But I realized I had forgotten to remove the excess allowances for the fold-over collar from the original pattern. This I was able to trim back and mark the changes on the pattern. I transferred this change and the fit alterations to the pattern.
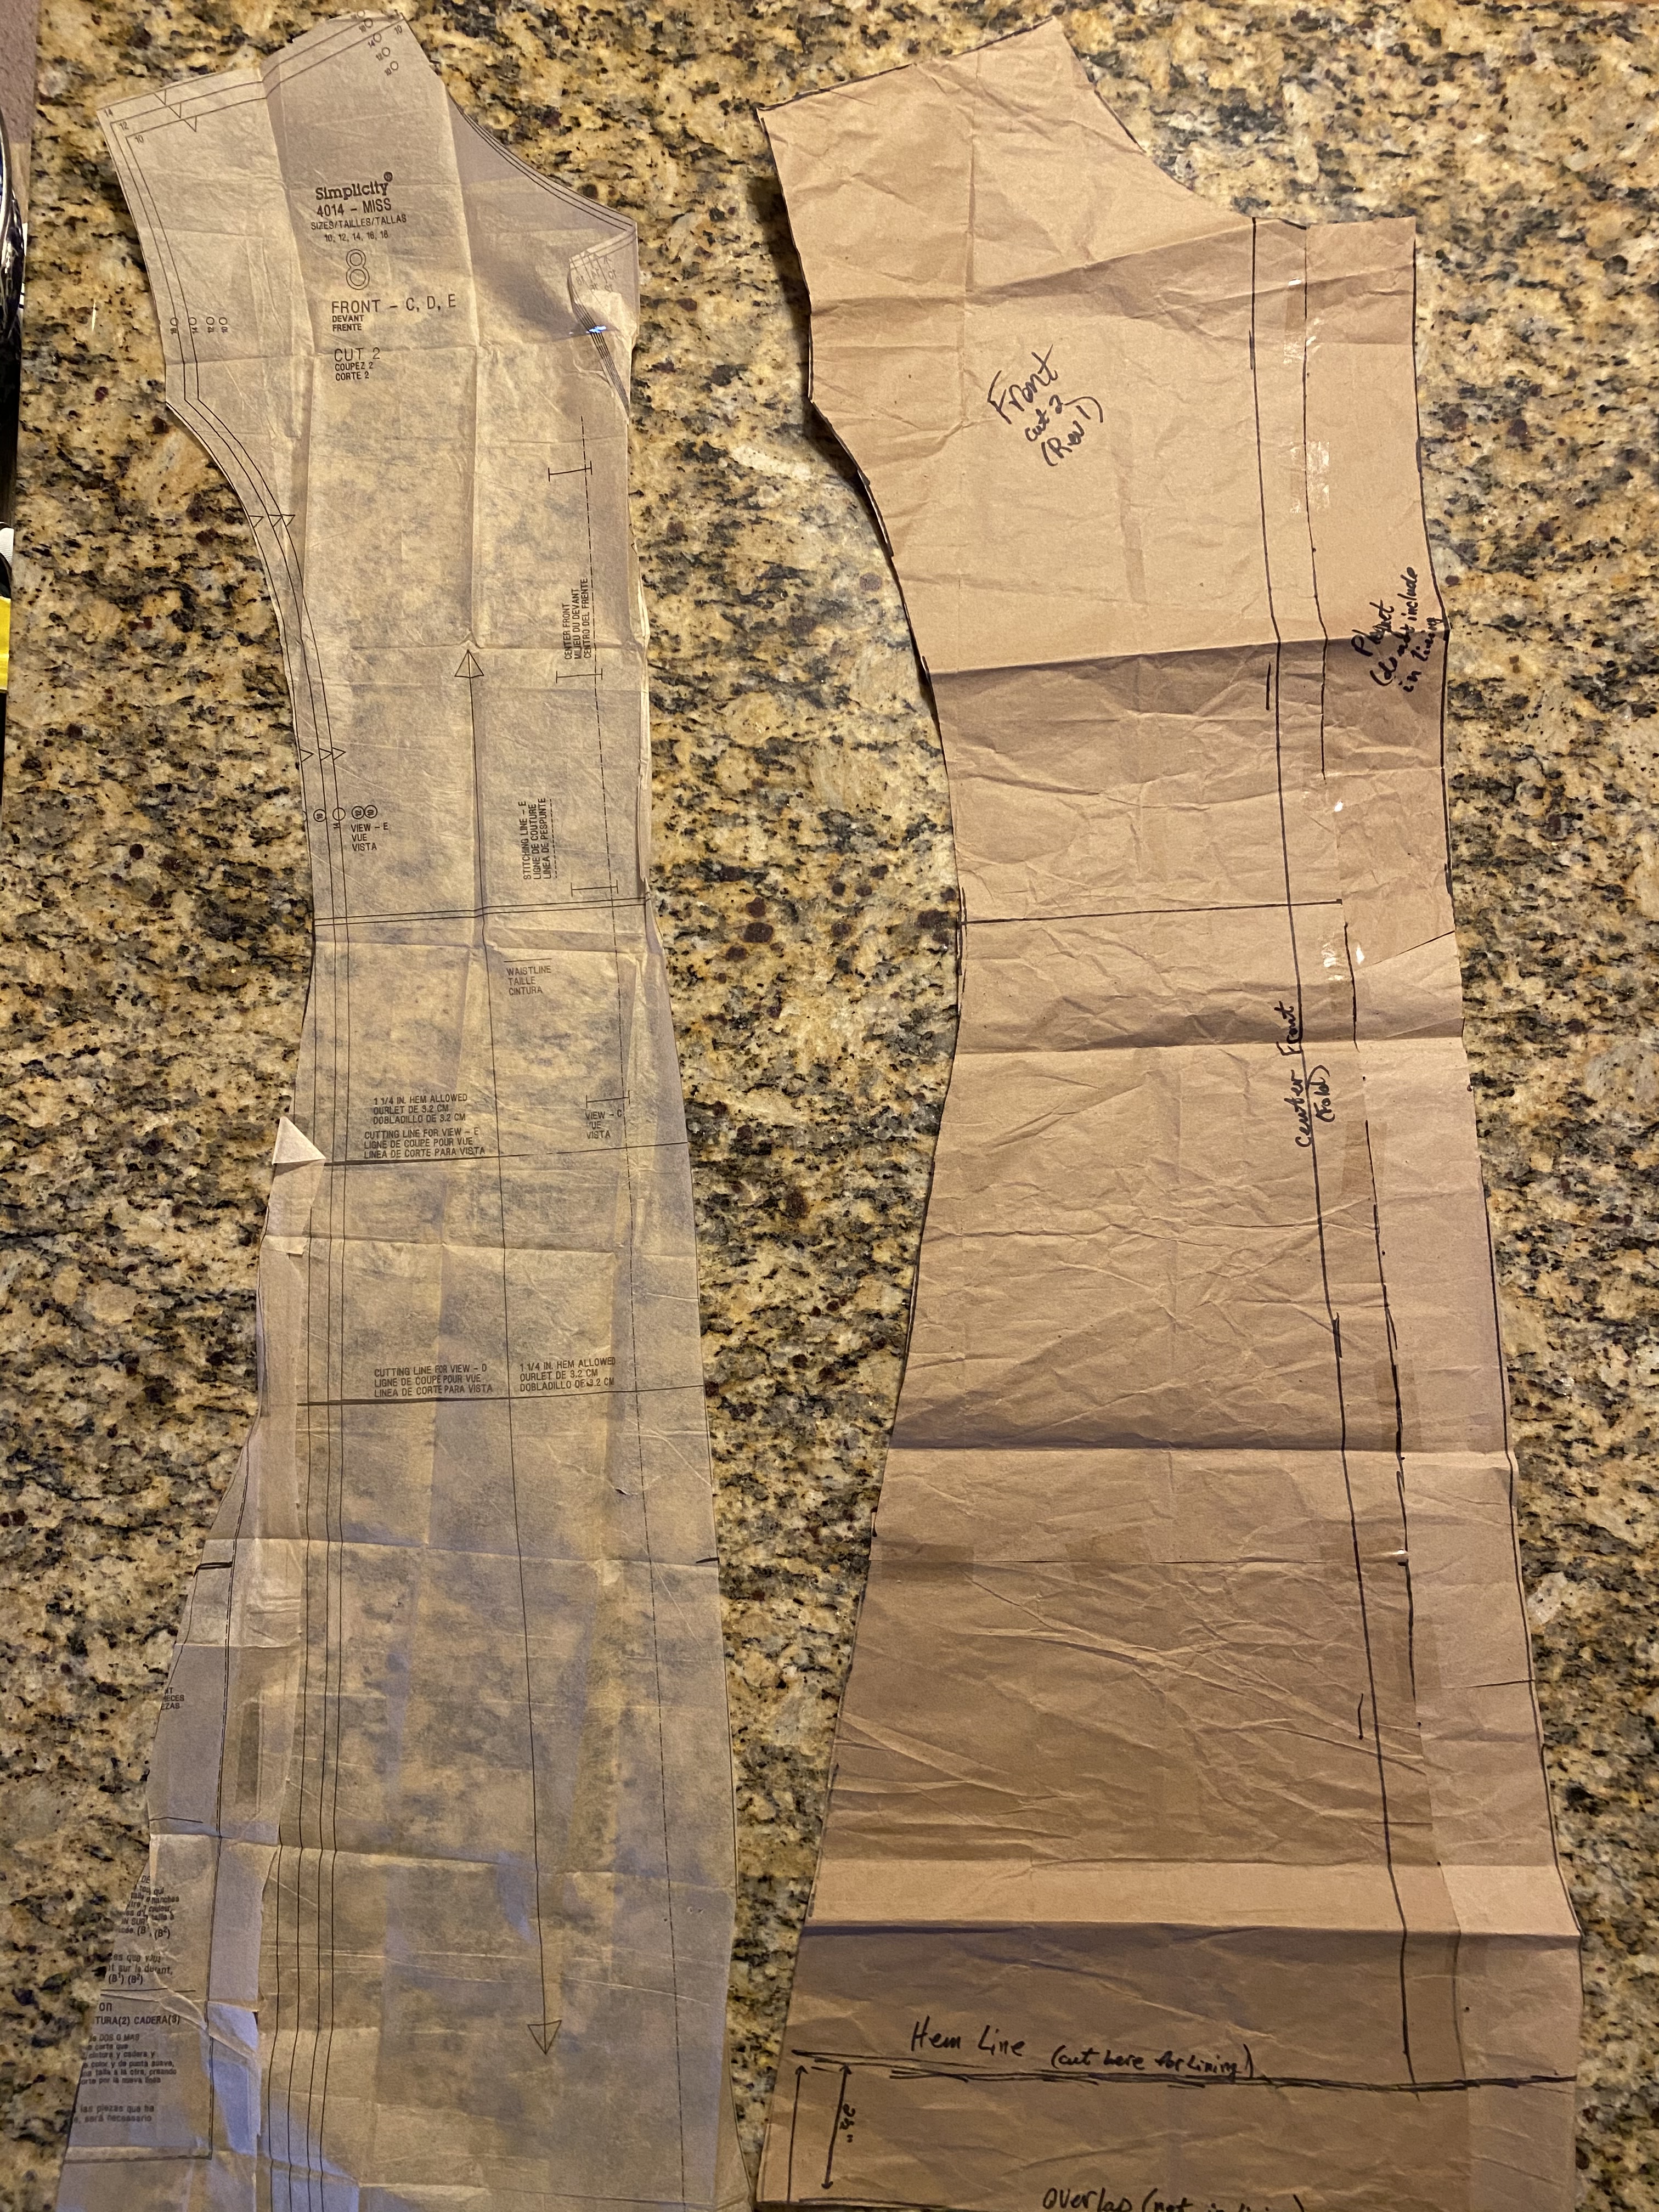
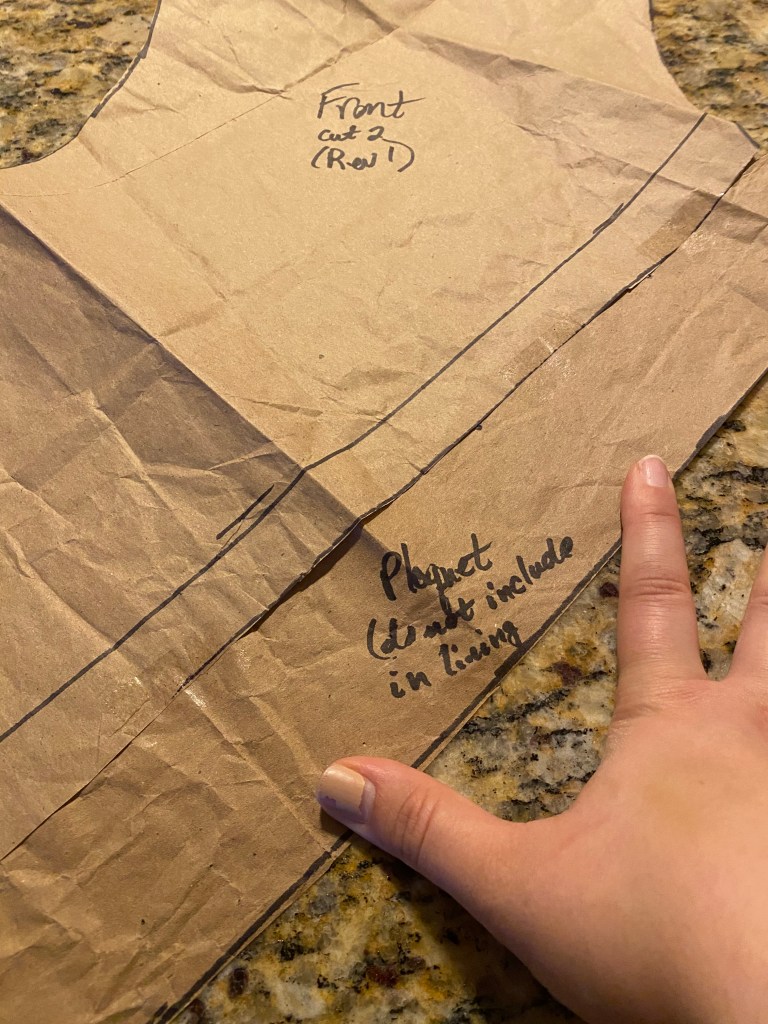
Rev 1 of the pattern also included adjusting the front to have a straight line down the center to remove the lapel from the original pattern. I also added 1″ from center front for button plaquette and 3″ for the facing to be cut from the outer wool only. The lining wouldn’t include this excess in order to form the facing.
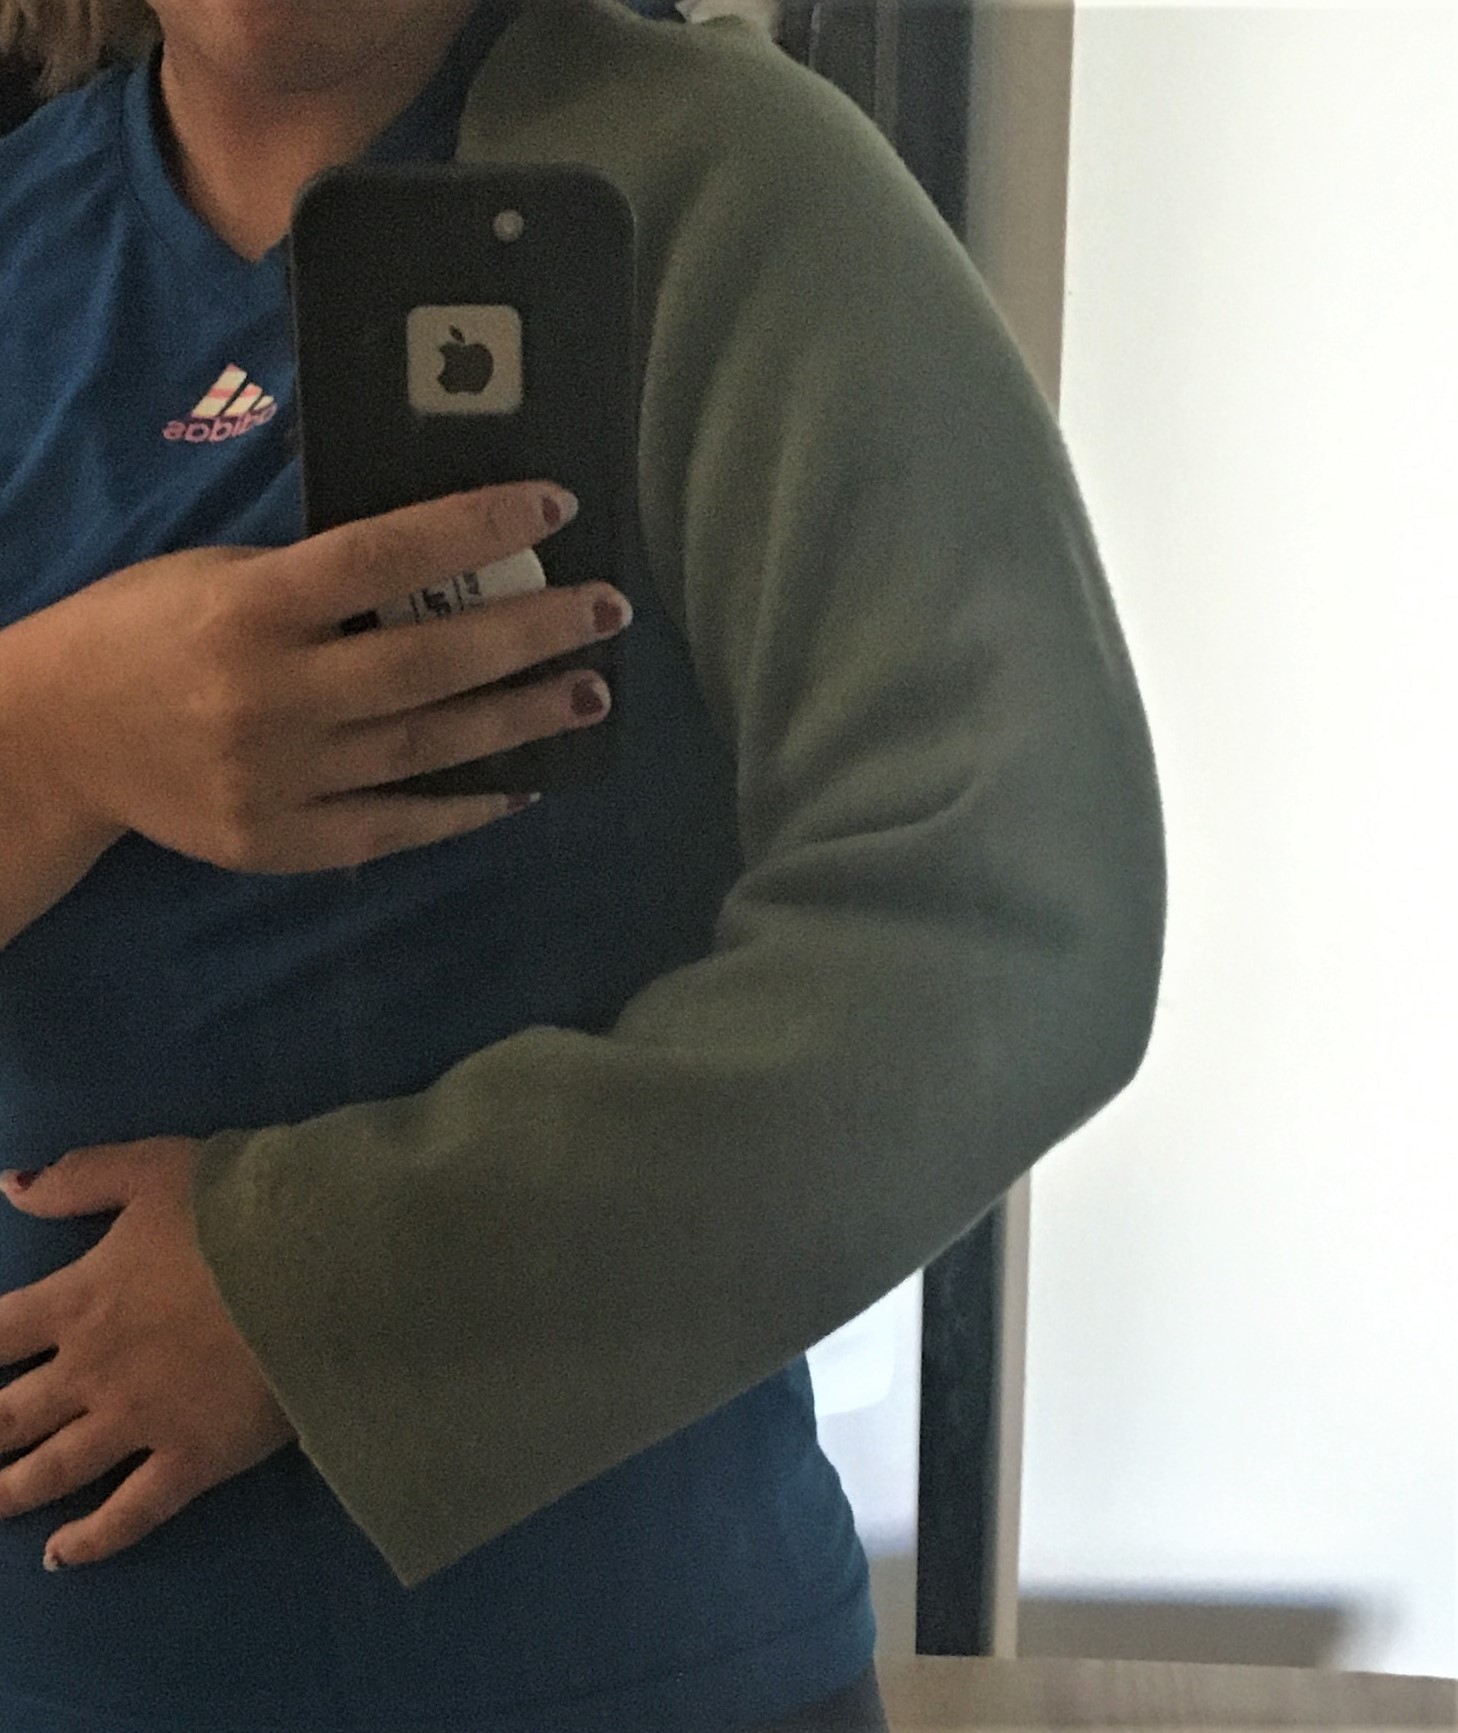
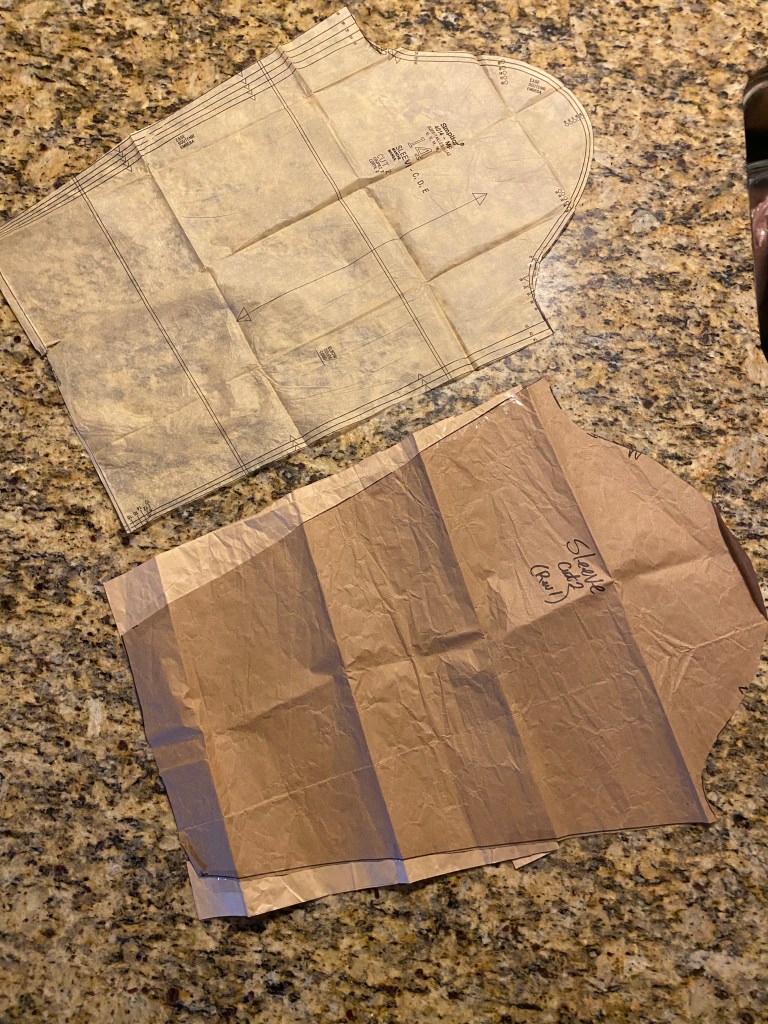
Since all my alterations were places where it was brought in, I decided to alter the mock up rather than cutting more mockups. This decision was mostly because I didn’t have anymore fleece to work with. The sleeves were the hardest part of the pattern to get right and I’d honestly love to try again on them. I did cut multiple mock ups of the sleeve since it was tough to get a nice tailored fit without being too tight. I didn’t want to leave an excessive amount of give since I planned on the coat being worn over formal wear primarily. My closet of formal wear is primarily either cap sleeves or sleeveless.
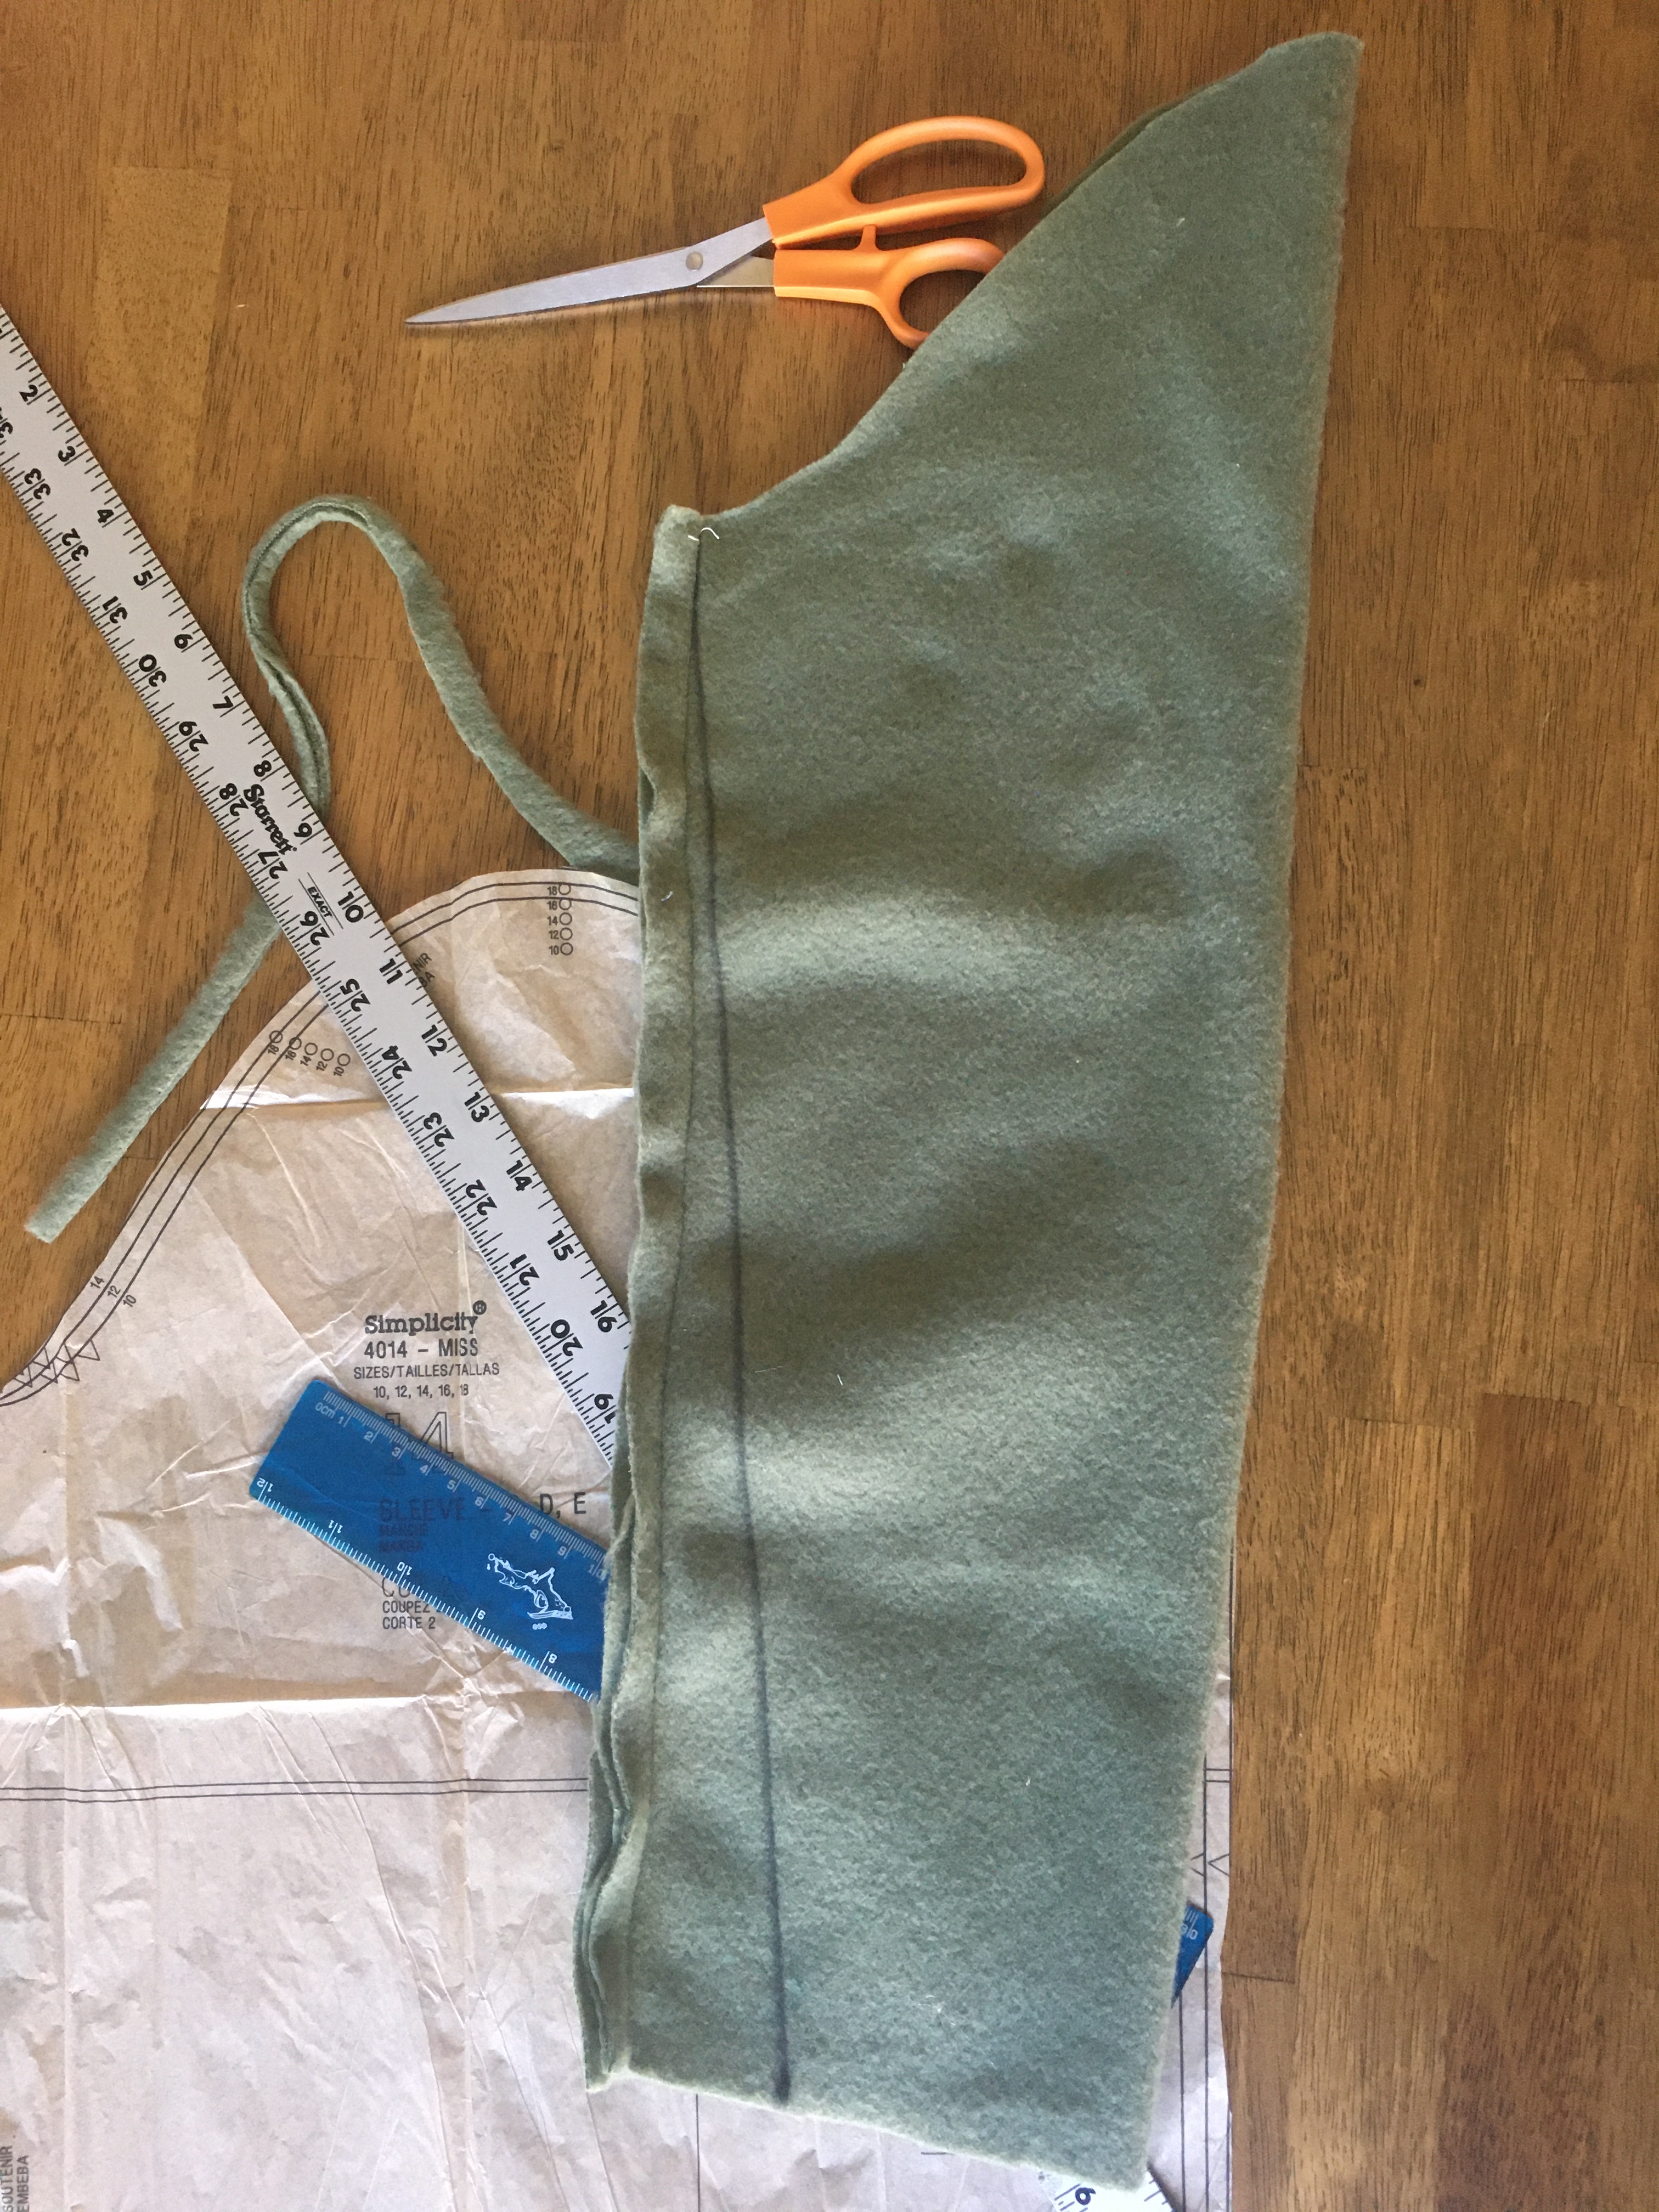
The final pattern ended up just being reduced at the wrist, shortened, and blended
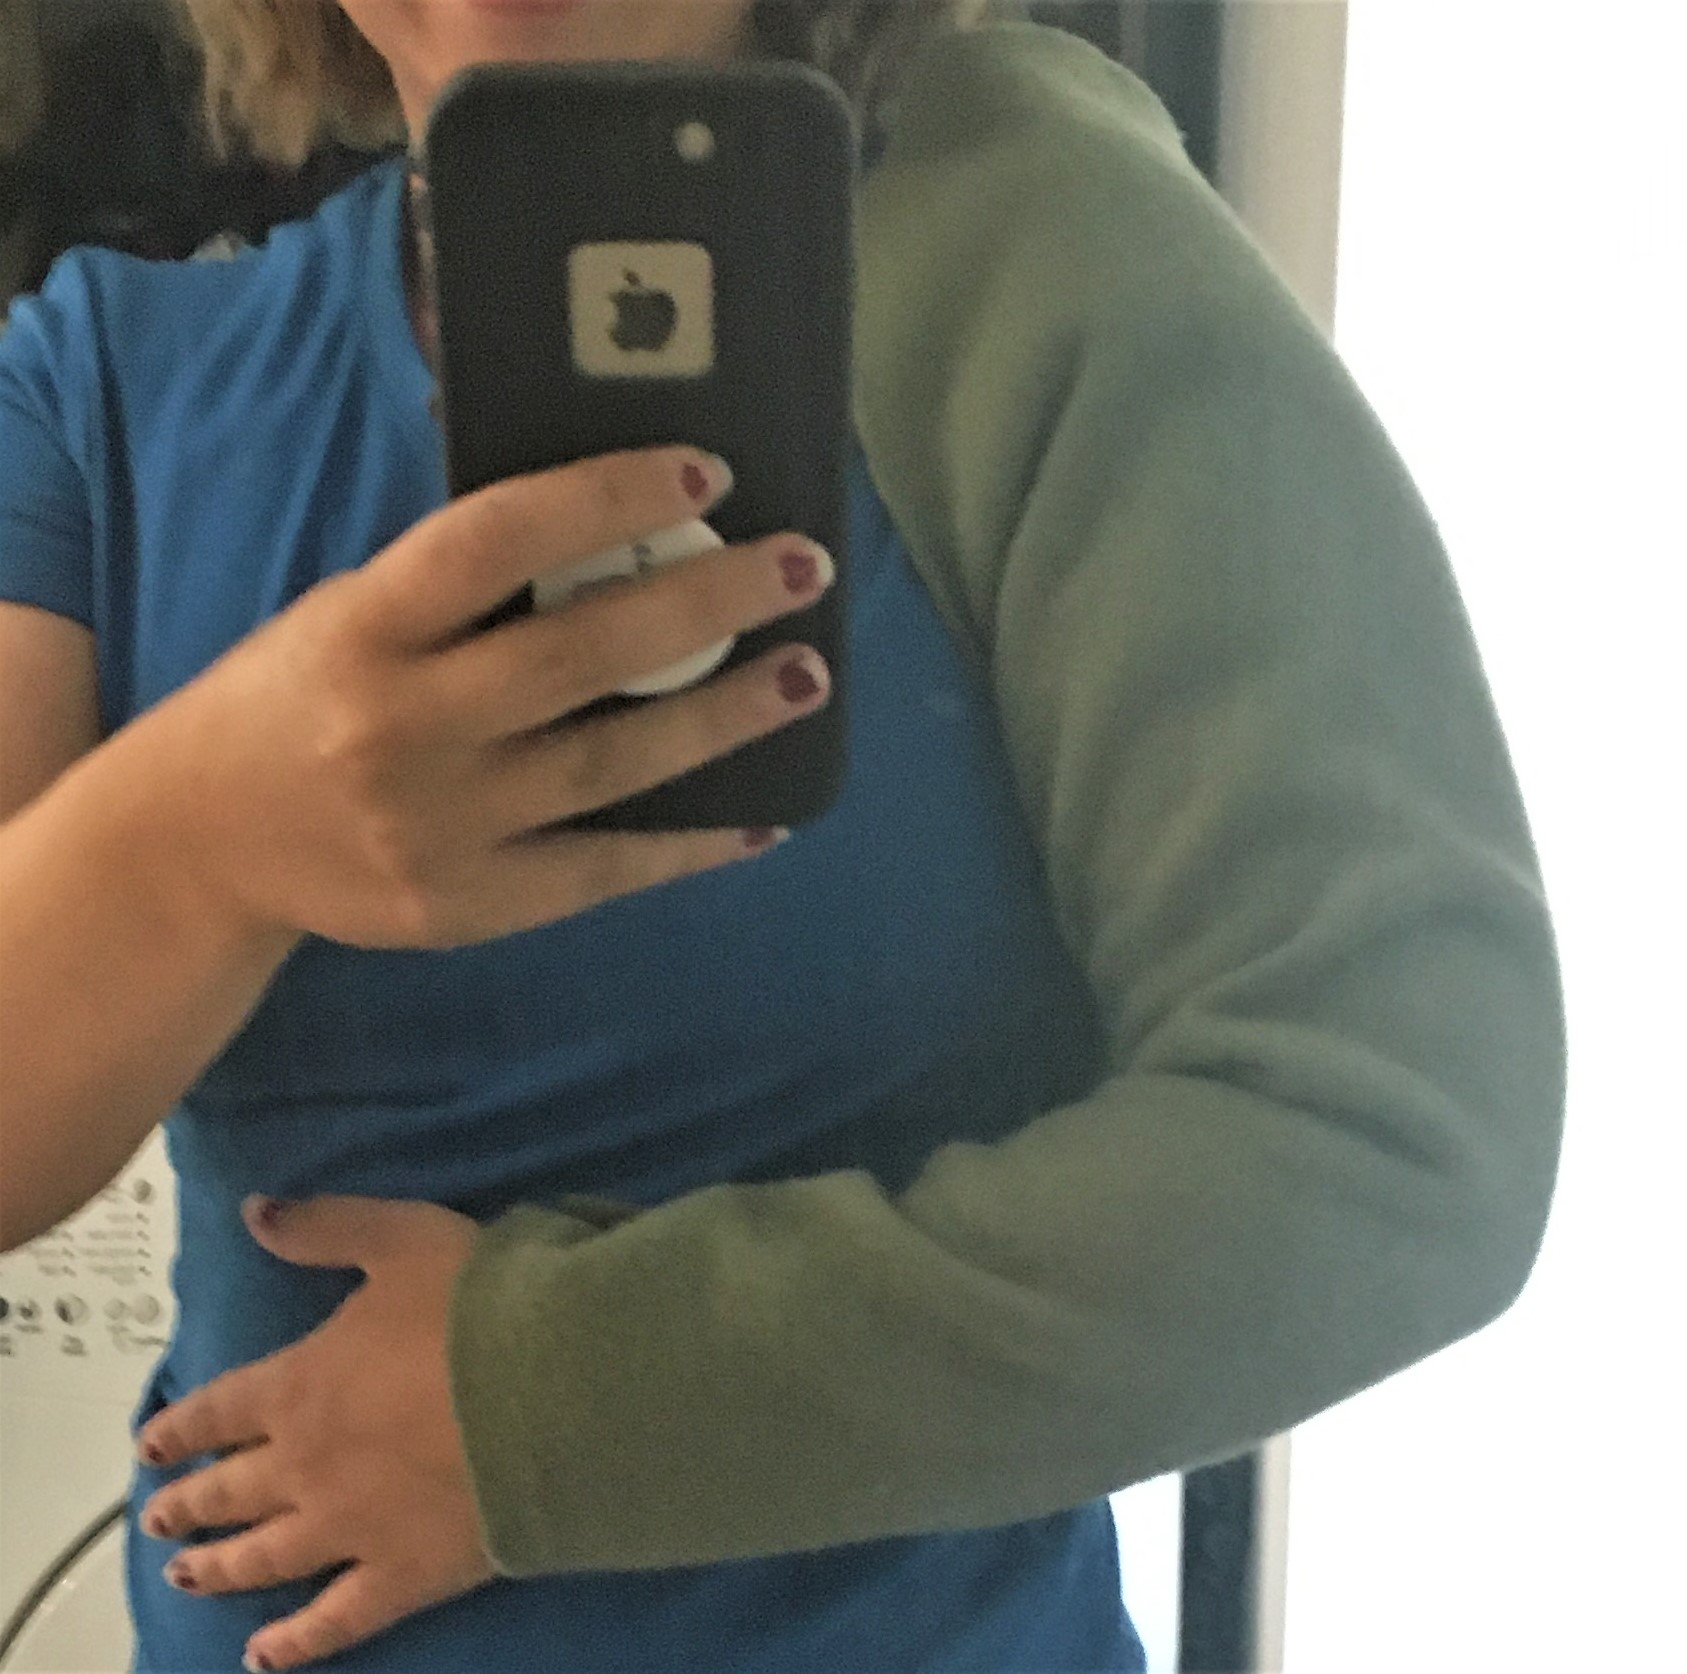
I only had to draft two pieces entirely by hand: the collar and pockets. I wanted the pockets to be just big enough to fit my phone and no more so as to not add excessive bulk. [Unfortunately, my pocket pattern seems to have disappeared…]
The collar was a bit more tricky and took close to a half dozen mockups to get just right. I started with a standard shirt collar draft from Patternmaking for Fashion Design, by Helen Joseph Armstrong (my personal design bible) with my personal measurements.
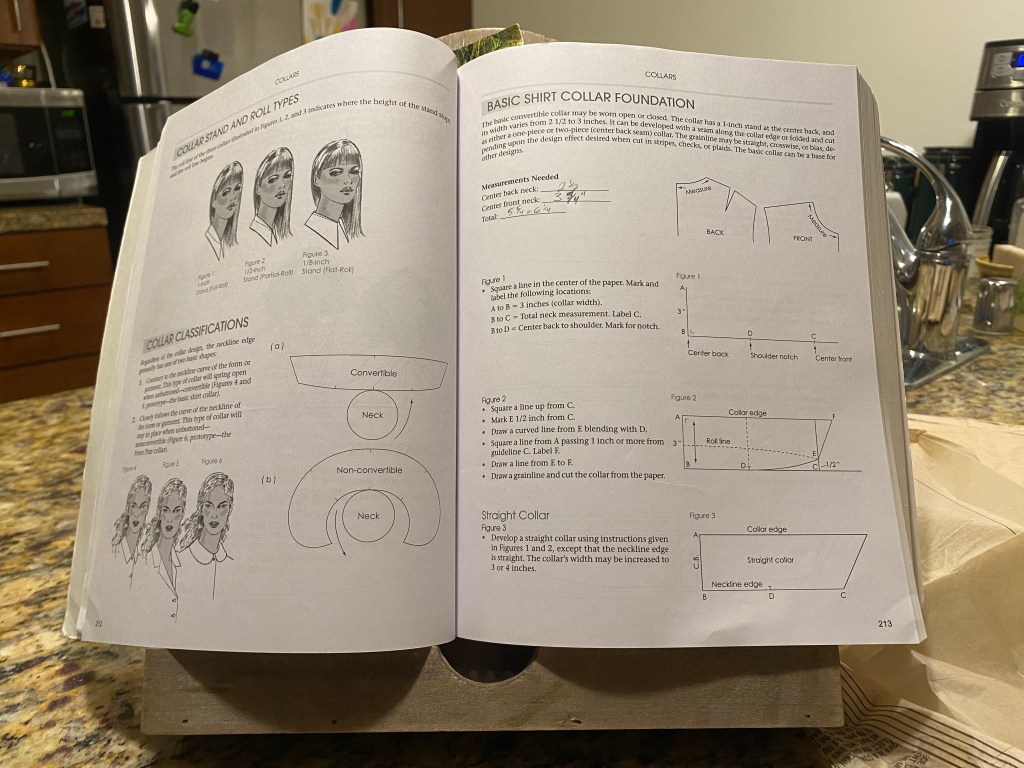
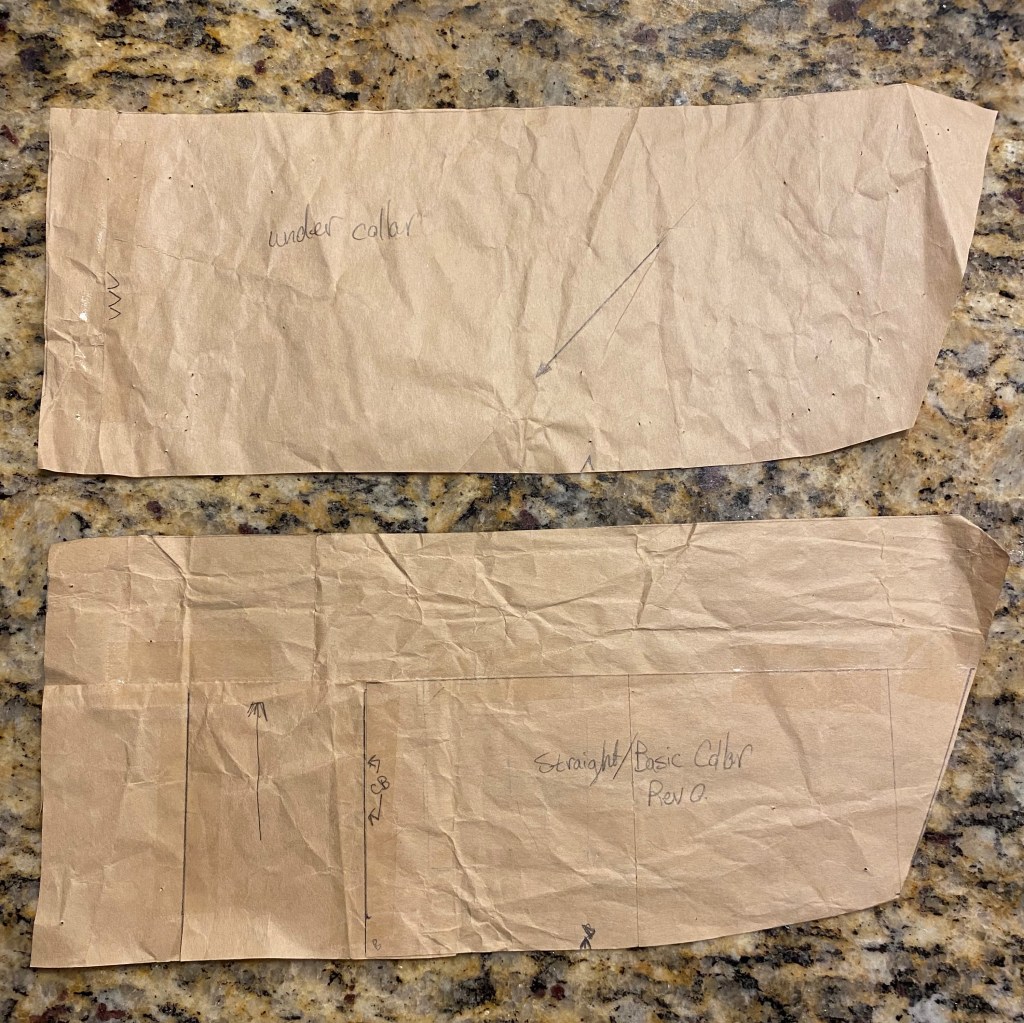
This initially was a bit too square and wasn’t fitting nicely with the main coat pattern. I did a bit more blending of the lines to achieve the final collar pattern. This was then replicated for the undercollar with 1/4″ removed from all sides (except the center back fold line).
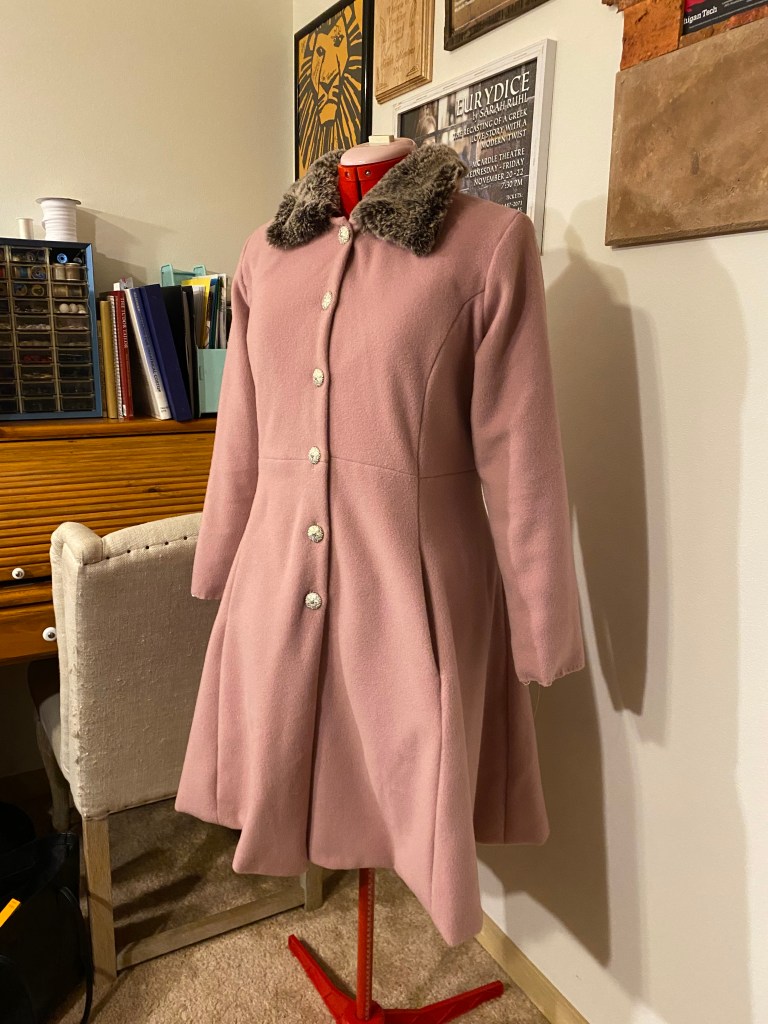
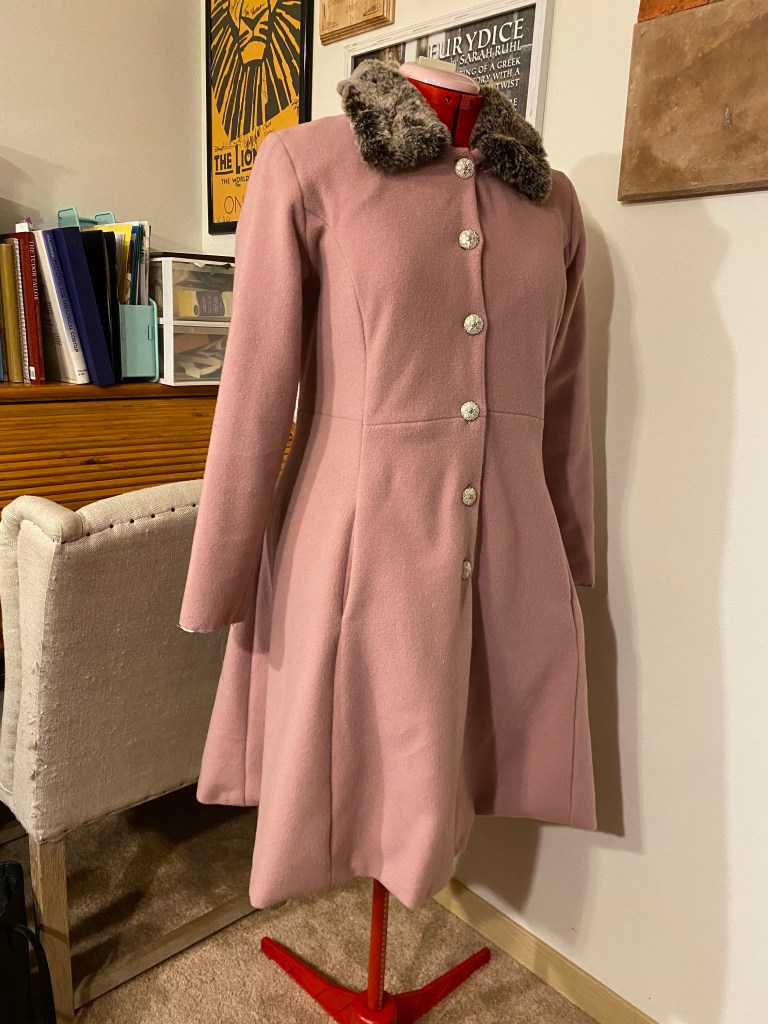
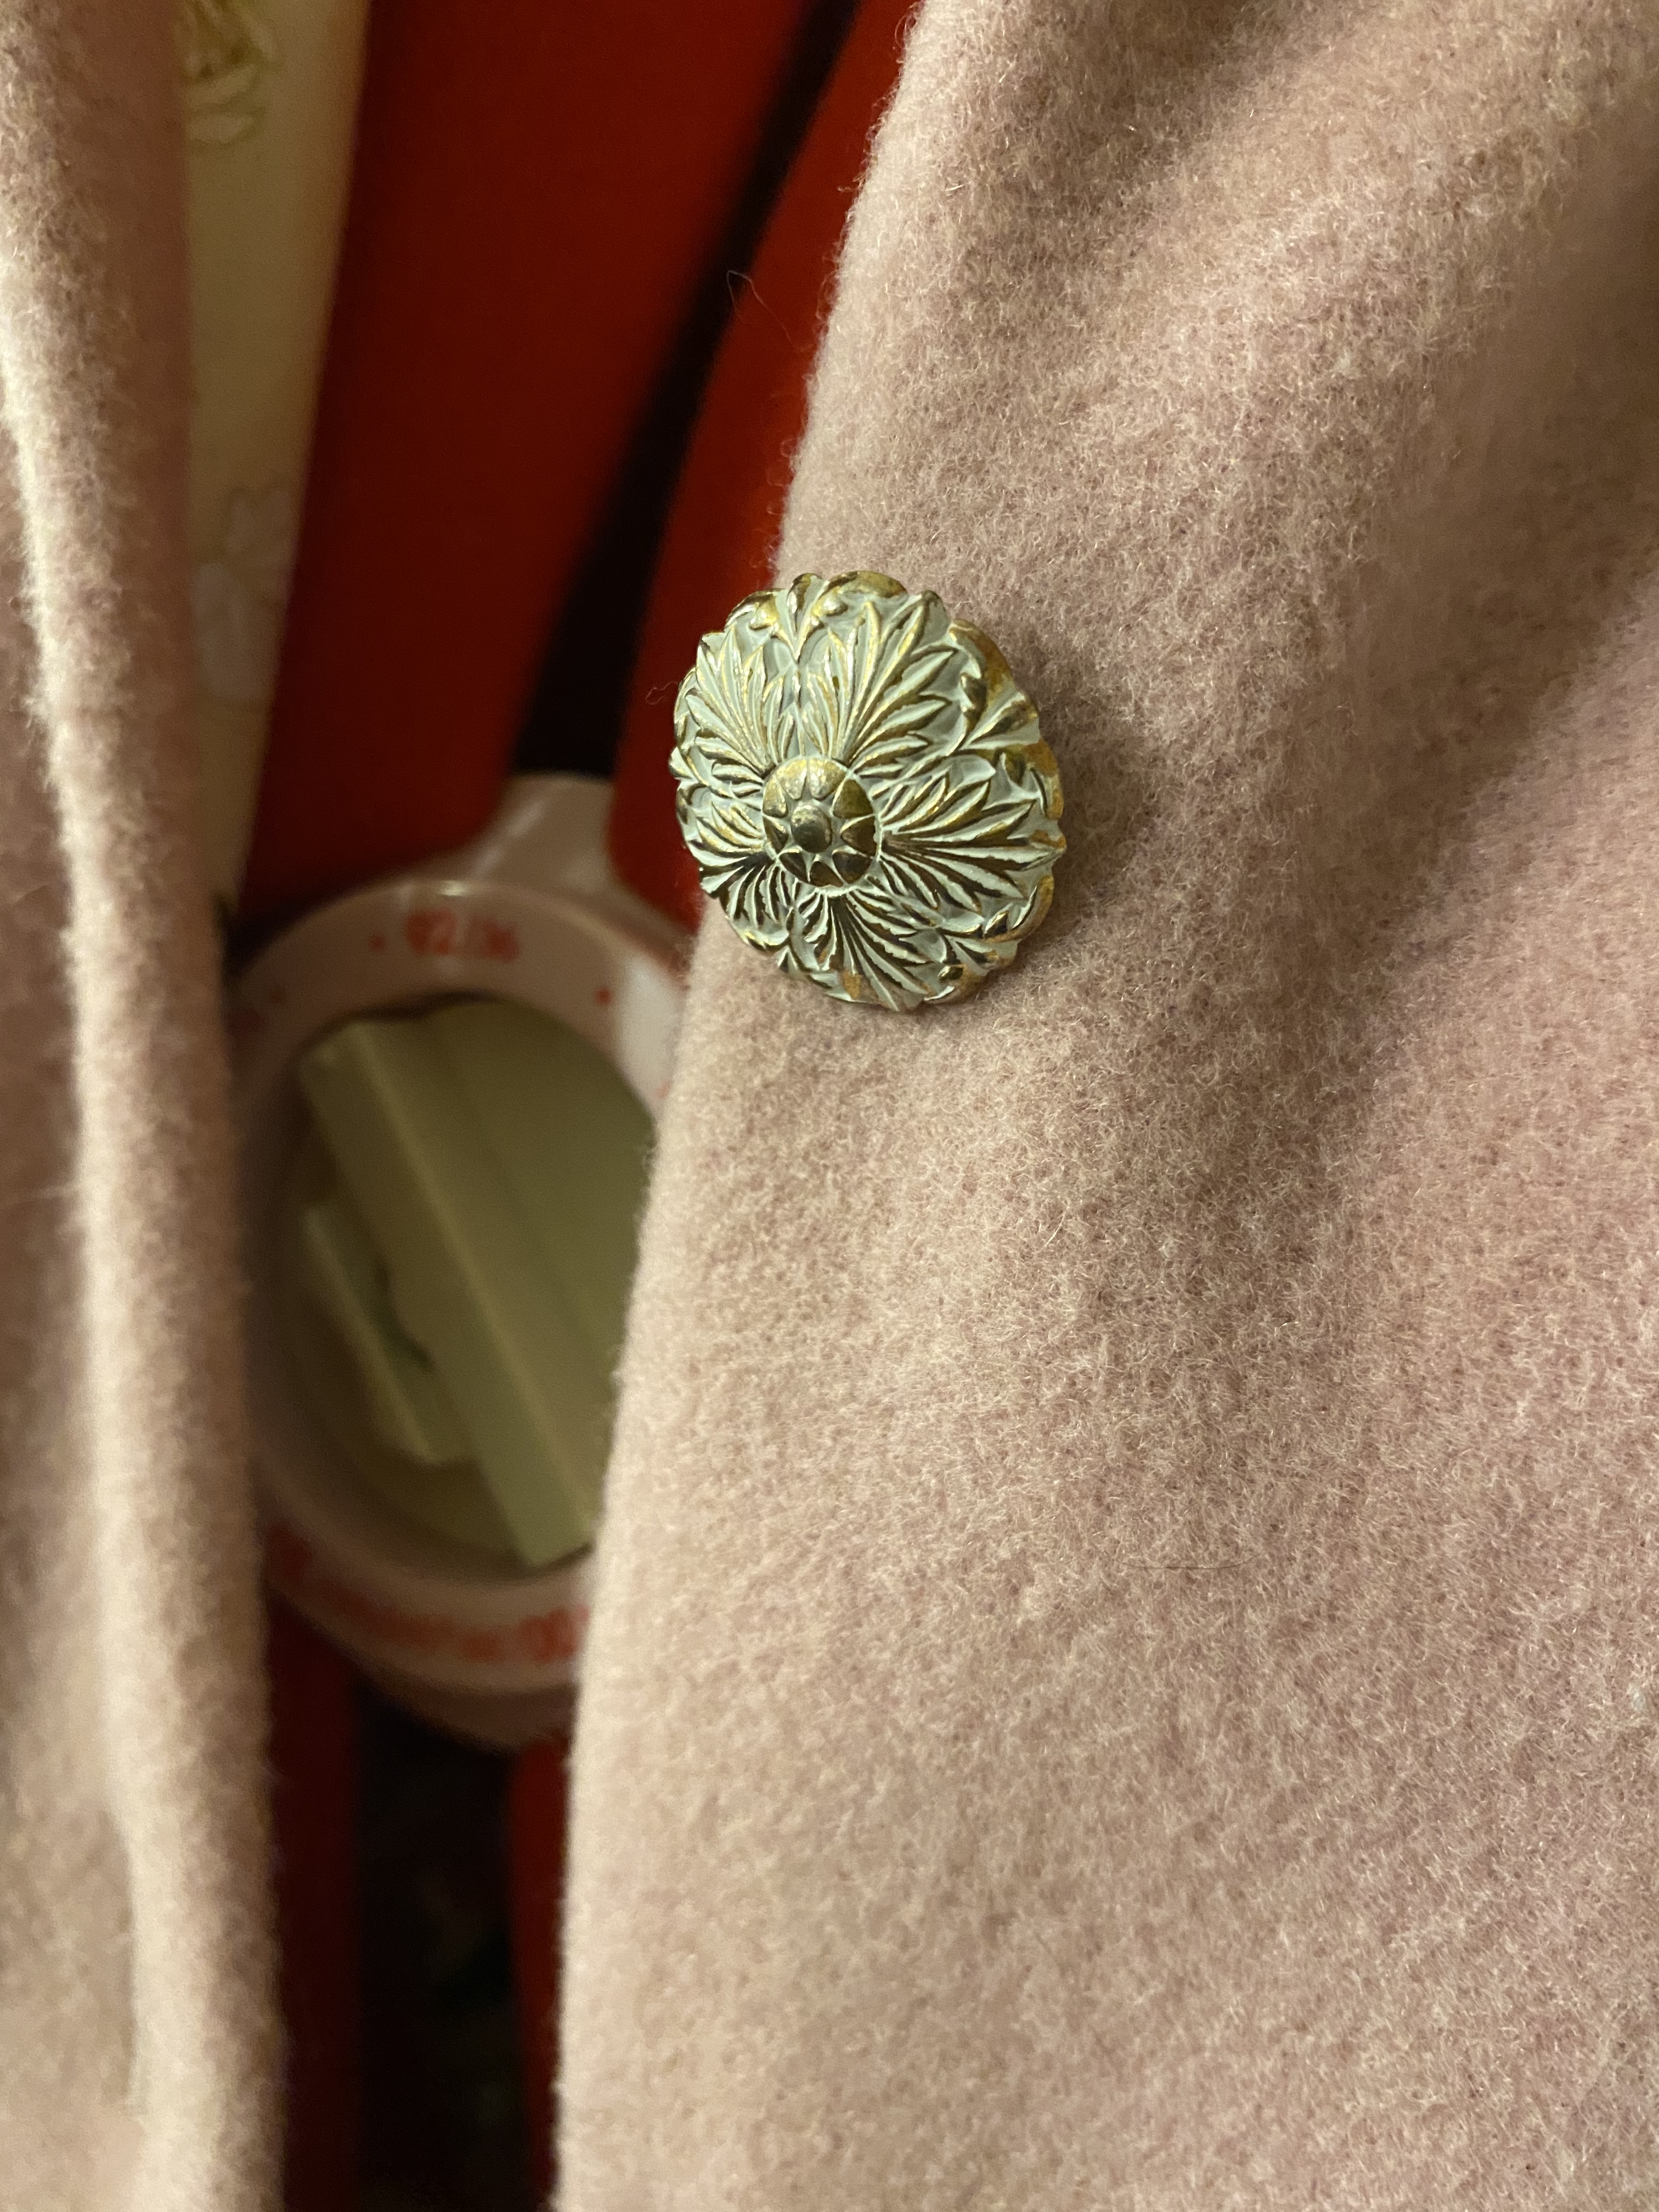
With a finished pattern in hand, I could source my materials and begin the final garment constructions. I had been recently binge watching Project Runway and absolutely HAD to get my materials from Mood Designer Fabrics. In perusing their site, I ordered way more fabric swatches than was ever necessary and finally settled on 4 yards of dusty rose wool/cashmere blend and hammered gold buttons. I spent WAY more on this single cut of fabric than I had ever spent in one shopping trip before and was terrified the fabric would arrive and I would hate the color. I’m not that much of a pink person, but actually really liked the vintage feel of the dusty rose and thought it would nicely complement my primarily neutral and navy wardrobe while giving me a lux statement piece. The wool arrived and I was amazed by how luxurious it was. It is so incredibly soft while being sturdy. It has enough stretch to be comfortable without warping on a hanger. Its perfect, though the color is something to get used to in my closet.
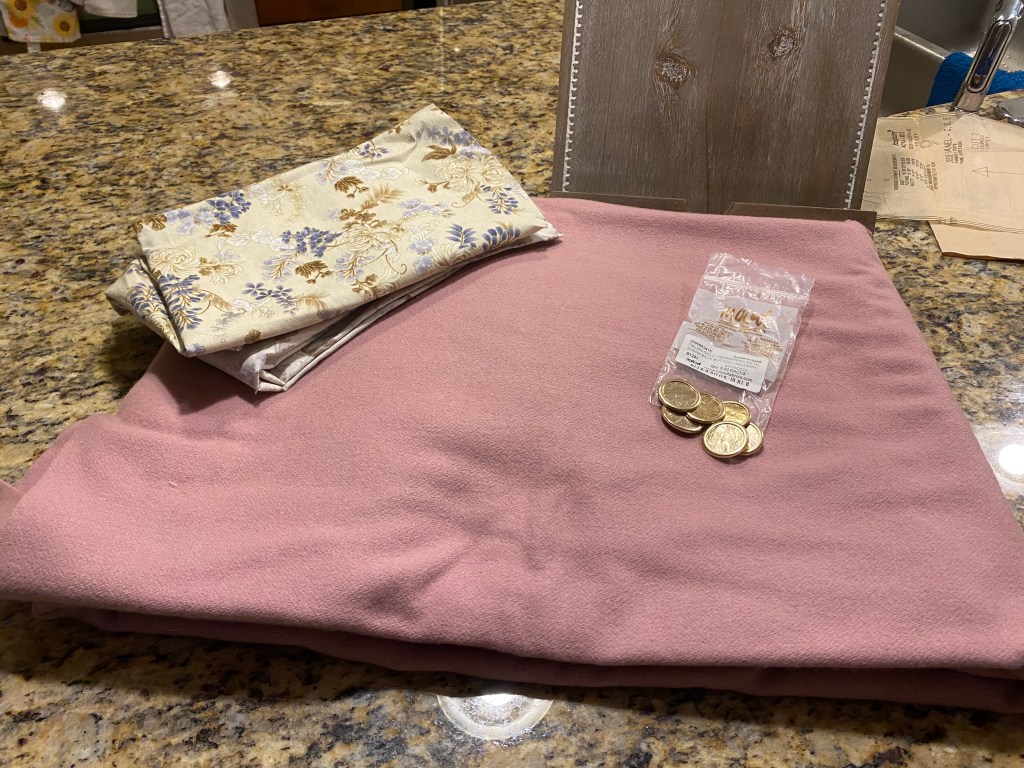
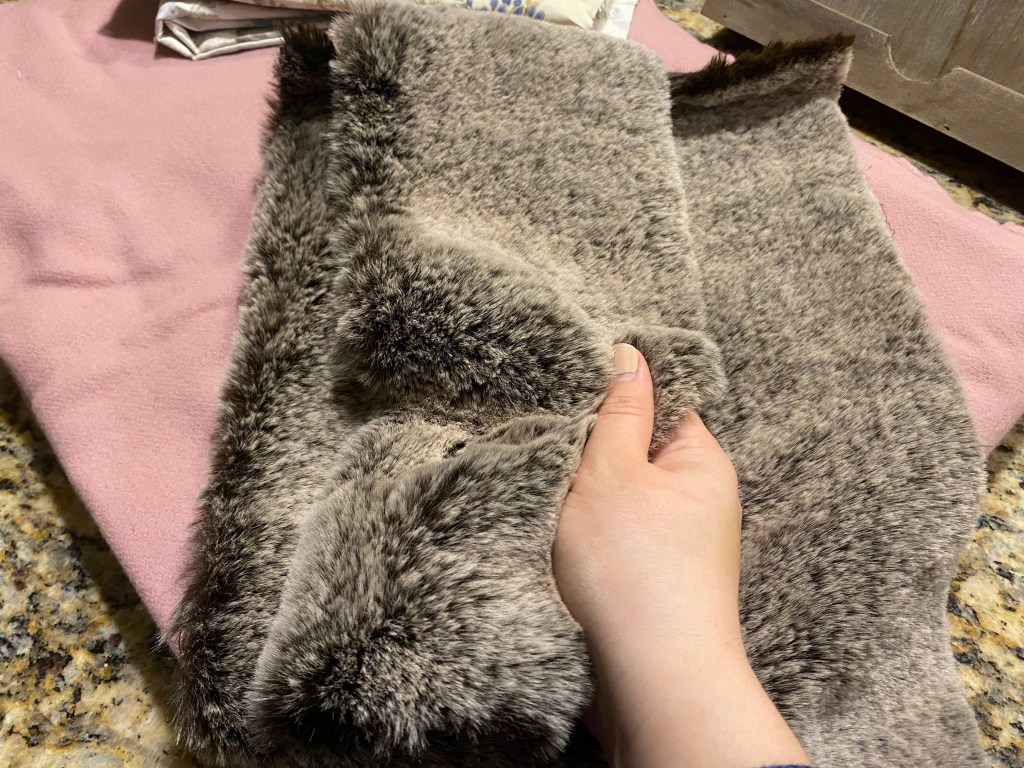
I had originally planned to make cuffs and the color in a contrasting velvet, but with the arrival of the luxurious wool, I knew I needed to do better than using some leftover velvet from my stock. I went to the local fabric store for the last minute notions and find inspiration. Boy did it appear. I found the softest faux fur I’ve ever touched in a lovely medium brown. I bought a quarter yard and headed for home to get started.
In total, the coat would be constructed using:
- 3 yards cashmere/wool blend
- 3 yards quilters cotton (lining)
- 1/4 yard faux fur
- 6 large buttons
- <1/4 yard horsehair canvas
- cotton twill tape
- polyester thread
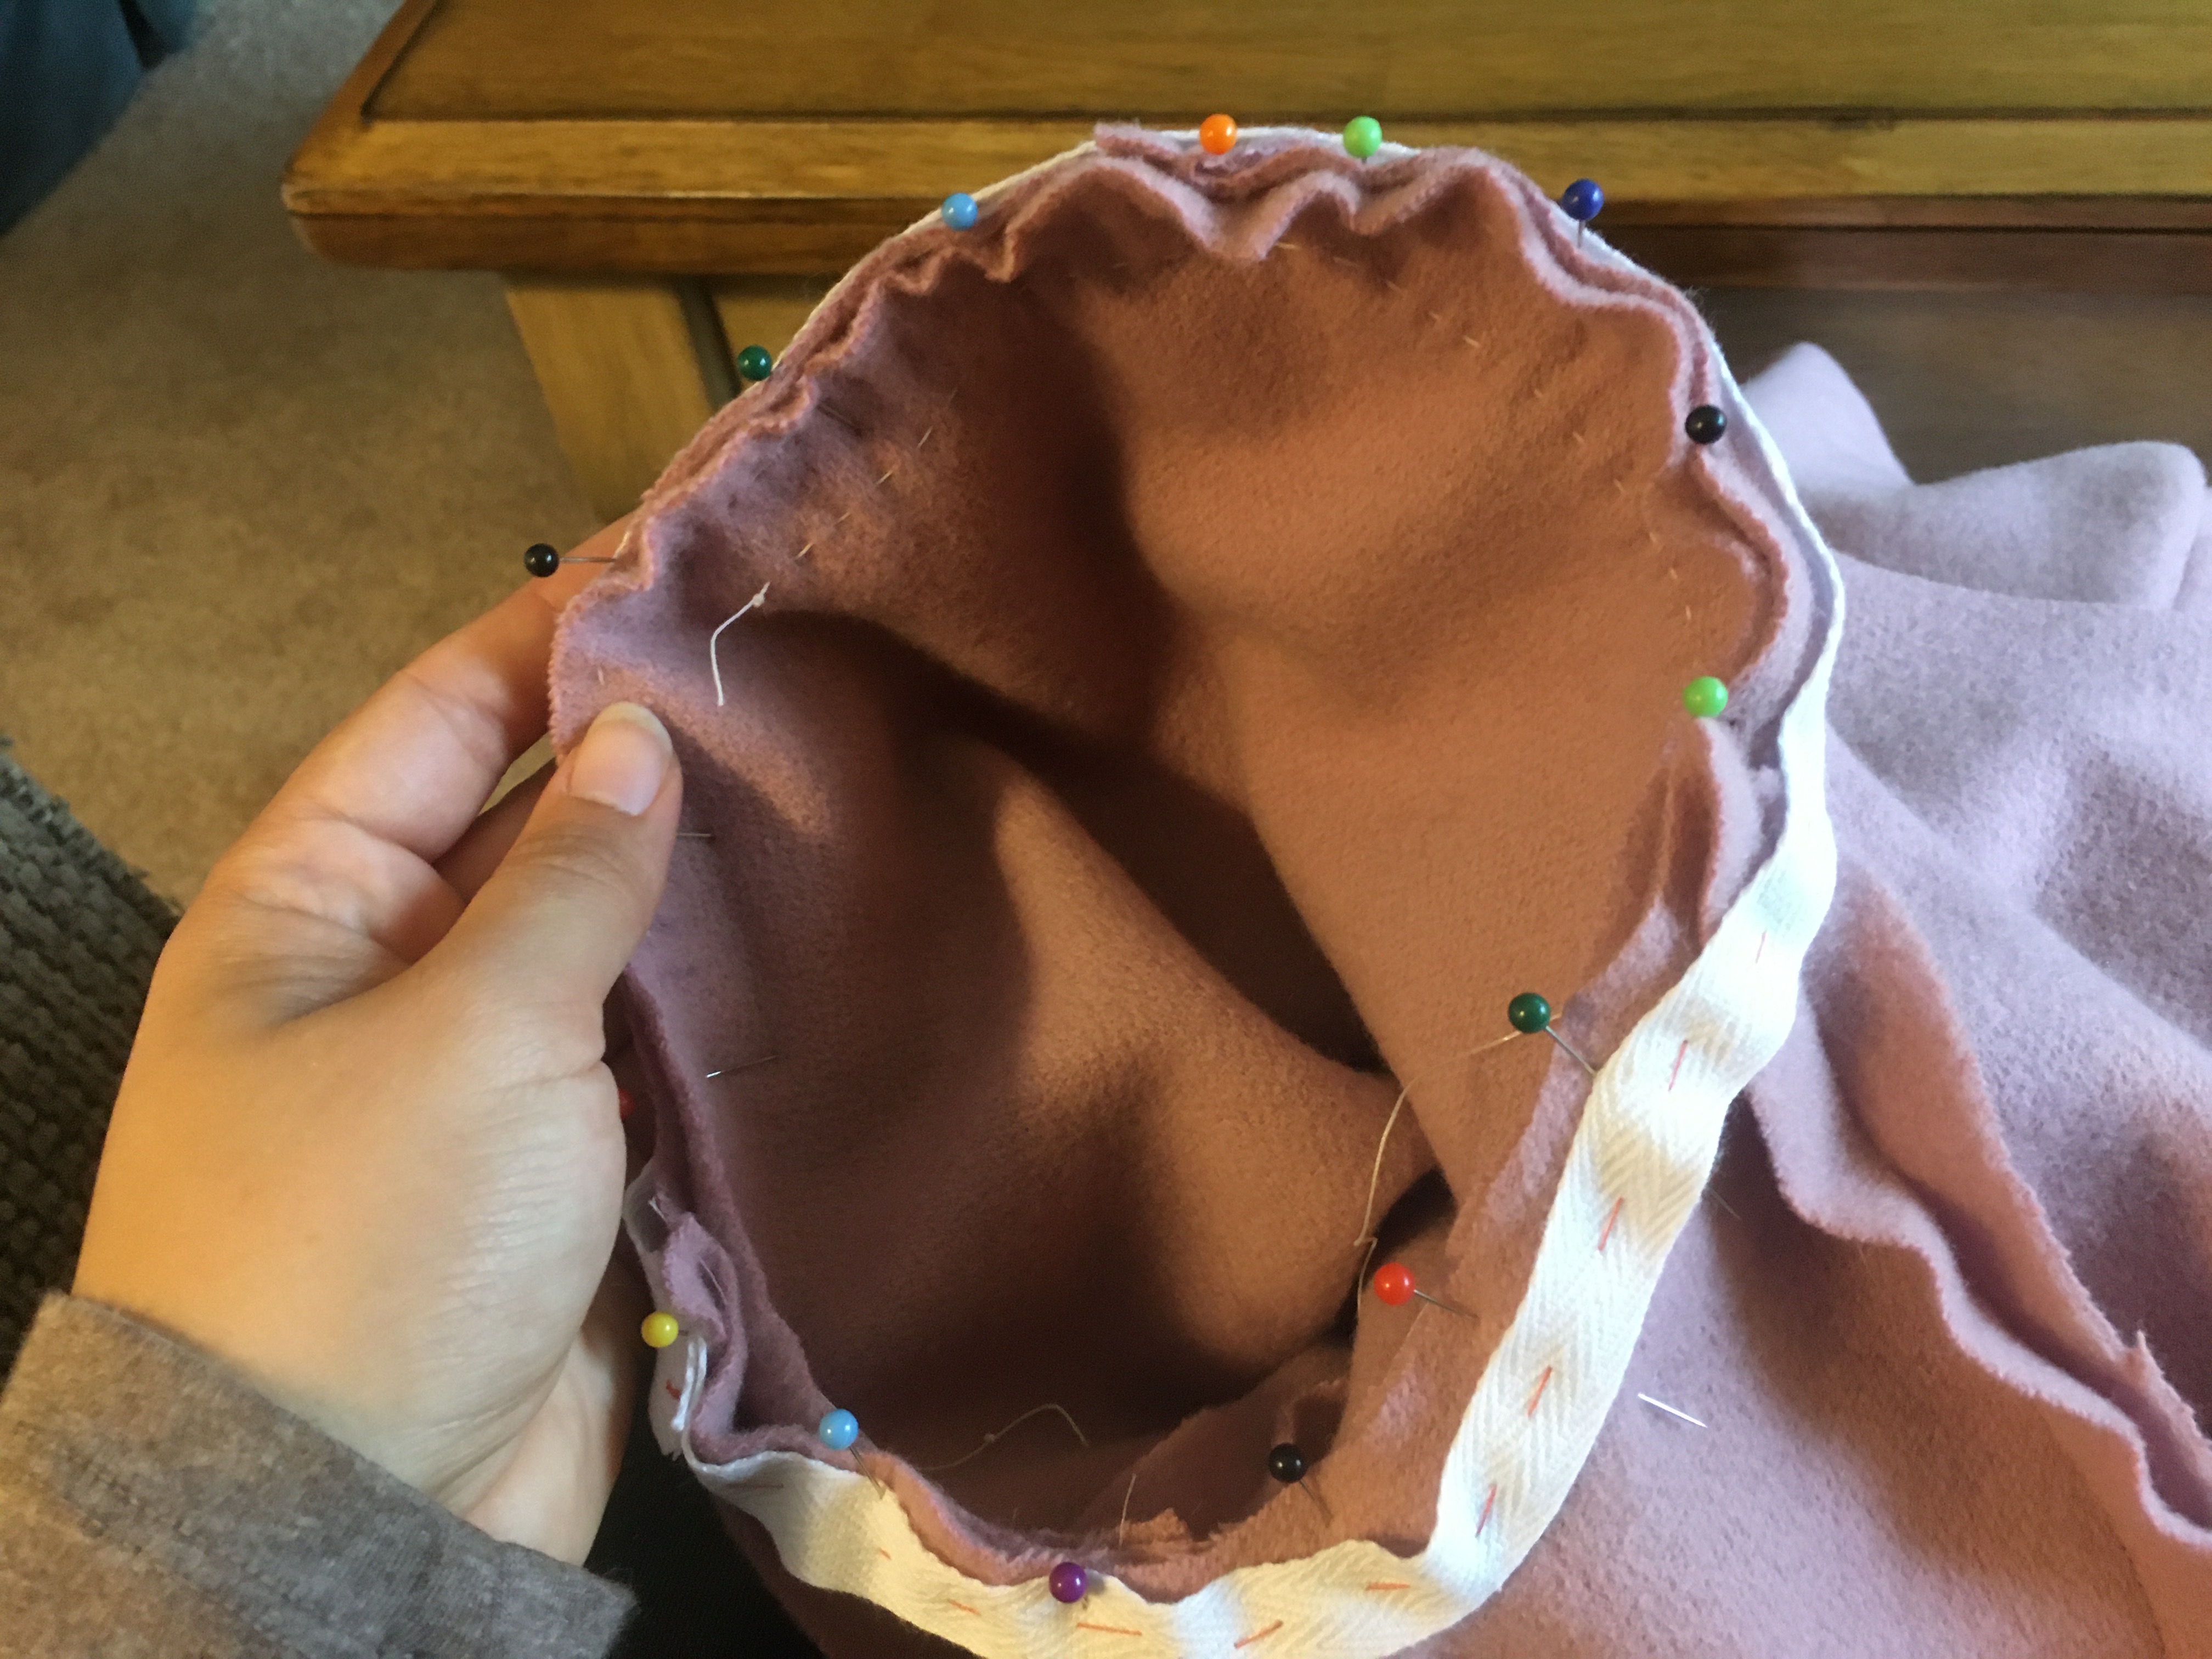
The coat was constructed relatively easily with a few issues here and there and lessons learned. Stitching the body sections together was simple, but a tad tedious to make sure the intersecting lines met perfectly at right angles. I stitched the top to bottom of each section and then worked my way from center back to center front, matching at the intersecting lines. I think it took three tries to get the middle center back just perfect.


I took my time with the sleeves and followed the Sleevils presentation by Foundations Revealed to help set the sleeve in properly. To prep, I stitched the under arm sleeve by machine and reinforced the seam allowance of the body with cotton twill tape, basted by hand for easy removal.

Once prepped, I eased the sleeve cap by adding coarse running stitches 1/8″ and 1/4″ from the edge that were then pulled slightly to create a slight gather (easing). With that gathered, I carefully steamed the sleeve cap over a tailors ham to set the shape.
With the ease prepped, the sleeves were pinned to the body, hand basted, and machine stitched. With a good ironing, the sleeves were ready to roll. I considered adding shoulder pads to give the crisp symmetry from the 1940s design inspiration, but the addition of structure from the twill tape ended up being just enough.
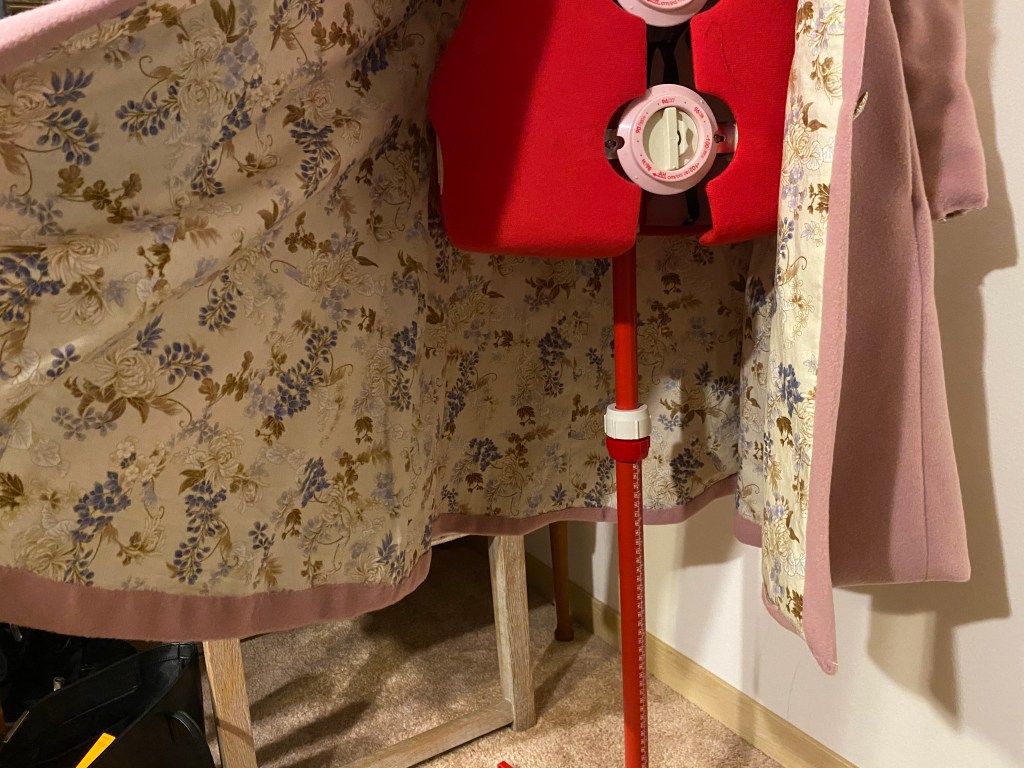
I stitched the lining in the same way as the wool but didn’t cut or stitch the waist seams since these wouldn’t be seen on the inside. After careful pressing of the outer coat and lining (I used the tutorial here to learn to iron wool), I drop lined the coat by stitching right sides of the two layers together at the center fronts so that I could fold and form my facings. The hem would be done later by hand and the neckline would be encased in the collar. I don’t have pictures of the building process unfortunately since I was rushing to get done before winter.
The plaquette took quite a bit of pressing to get to lay nicely flat, but this was a point to take time so as to not scorch the wool or loose the pile and softness. I kept my iron on the low silk/wool setting and used a clean kitchen towel as a pressing cloth between layers. Traditionally, you would use a tailors clapper to add pressure after steaming, but I used a hardcover book with no problems.
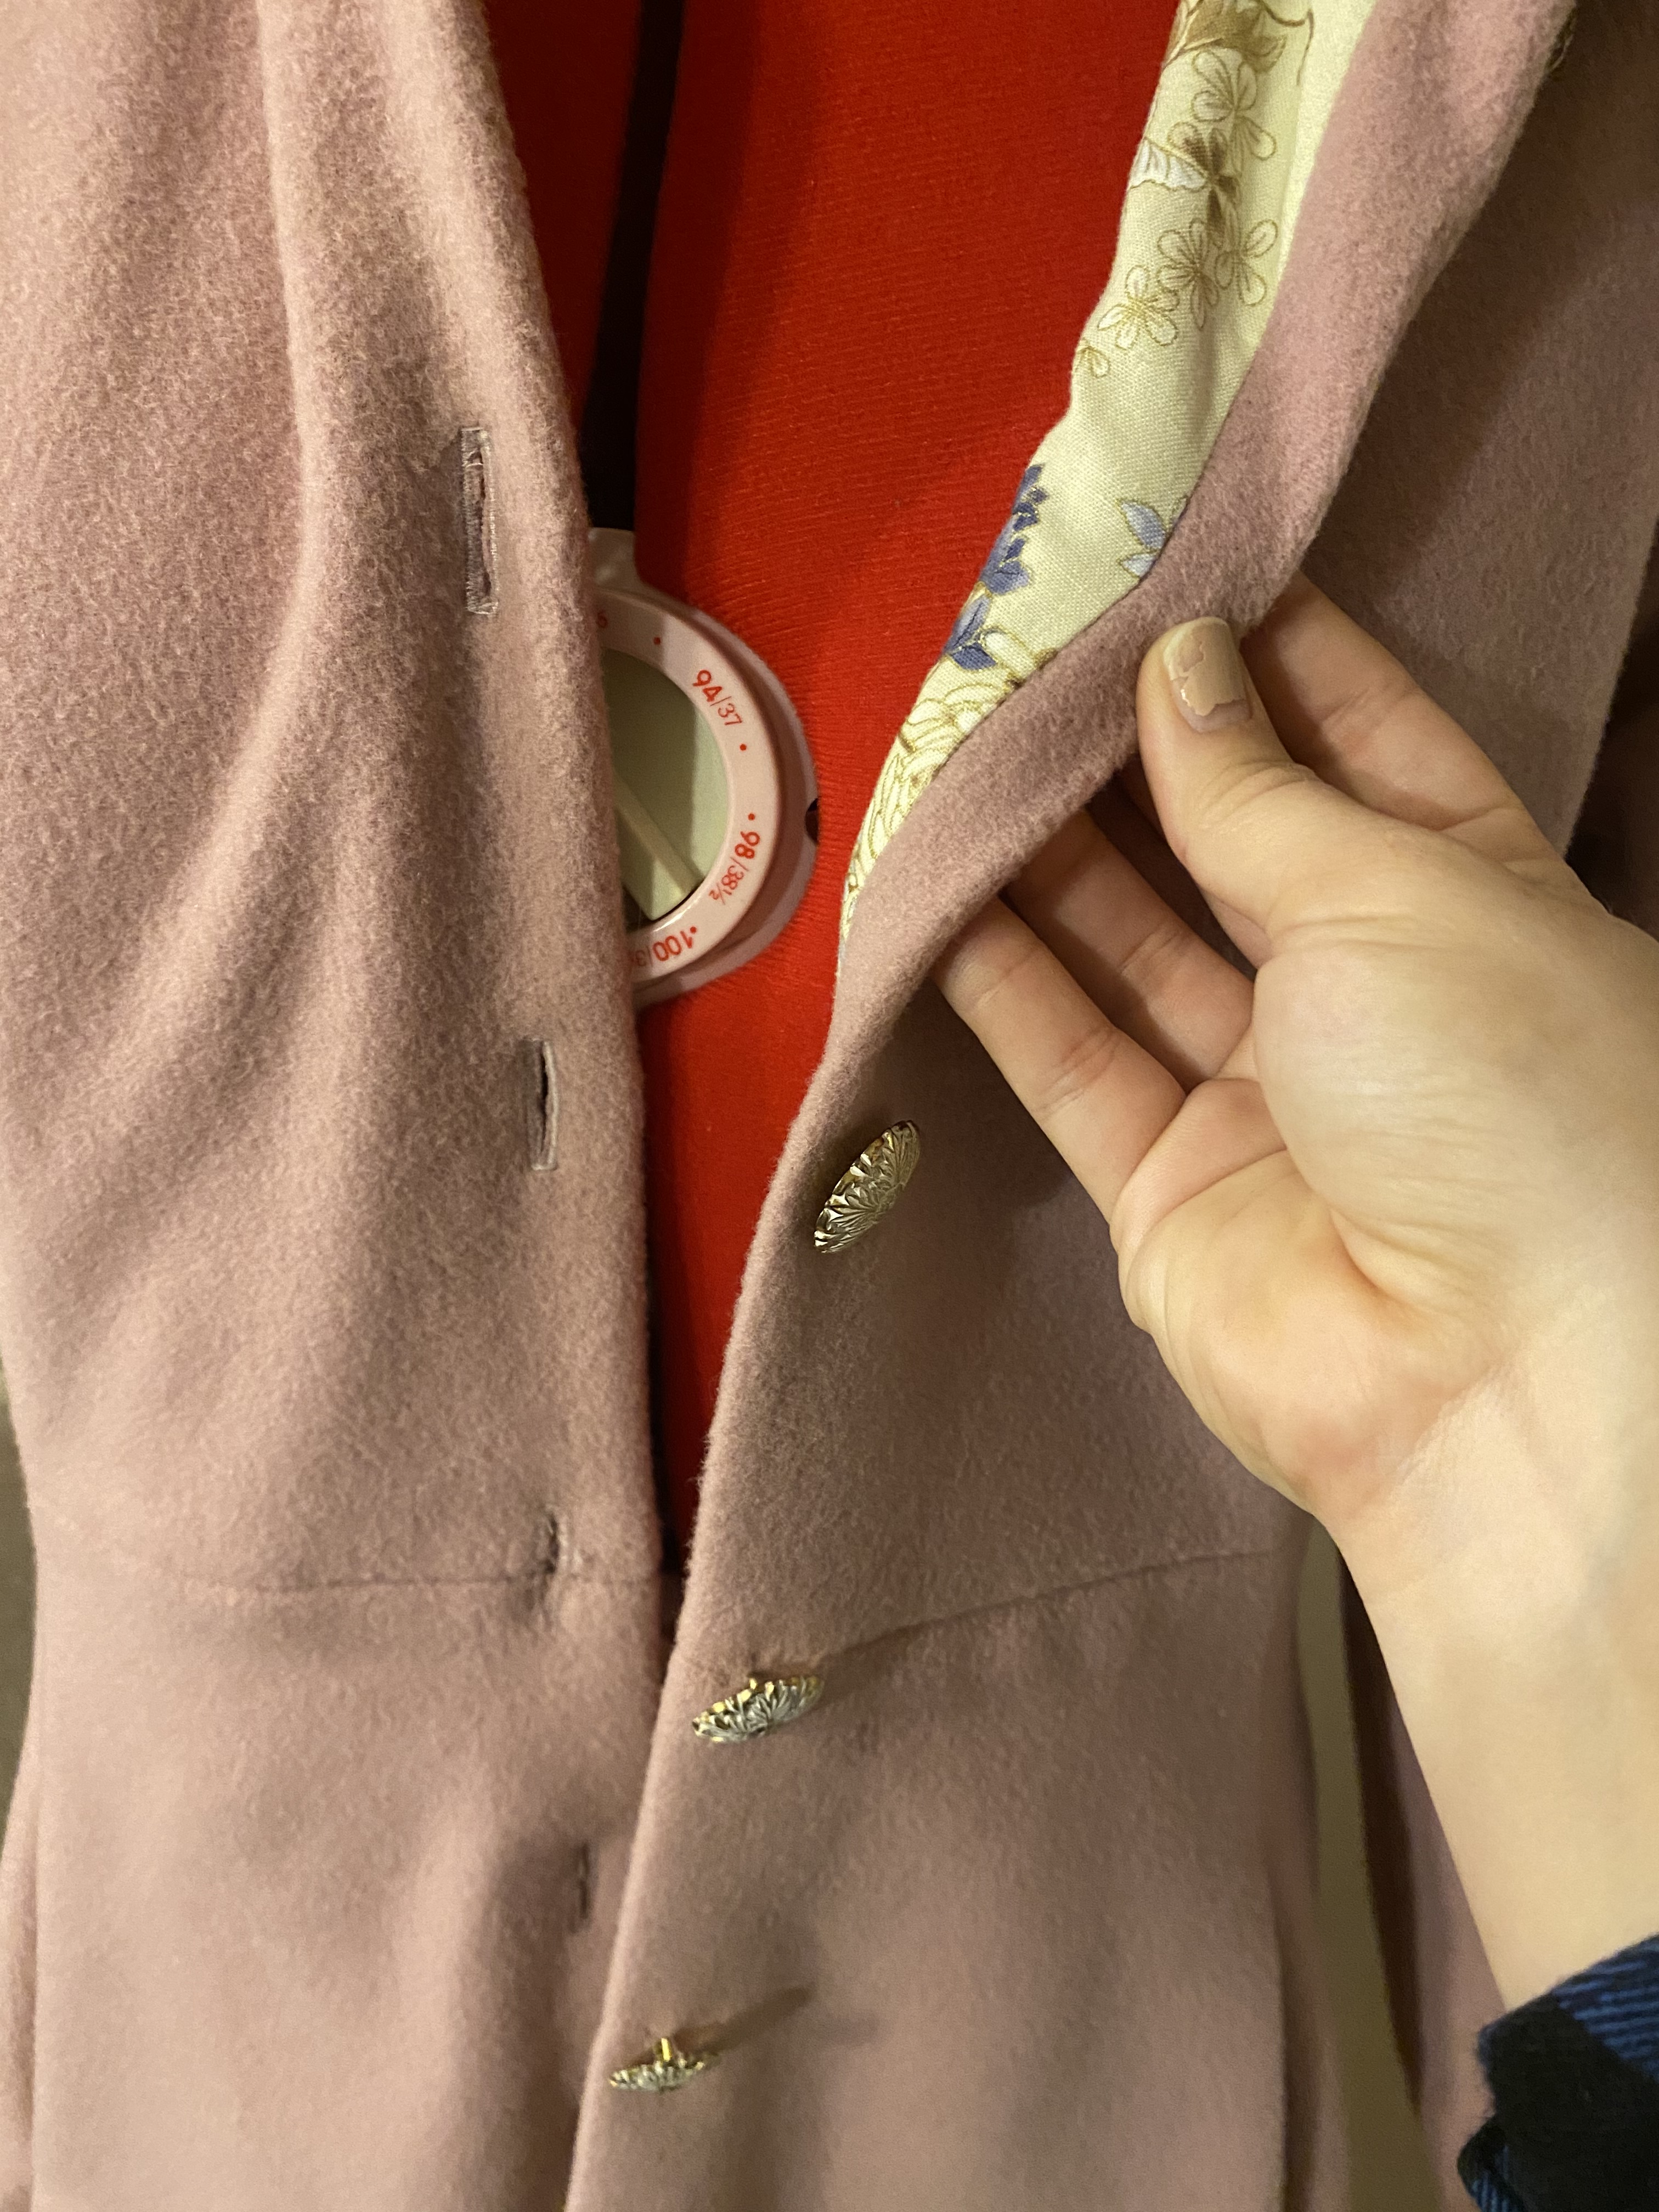
Once pressed, I marked my button placements and stitched the buttonholes using the automatic feature on my sewing machine. I did end up swapping the buttons out for a set of Simplicity Vintage buttons I found when buying the faux fur.
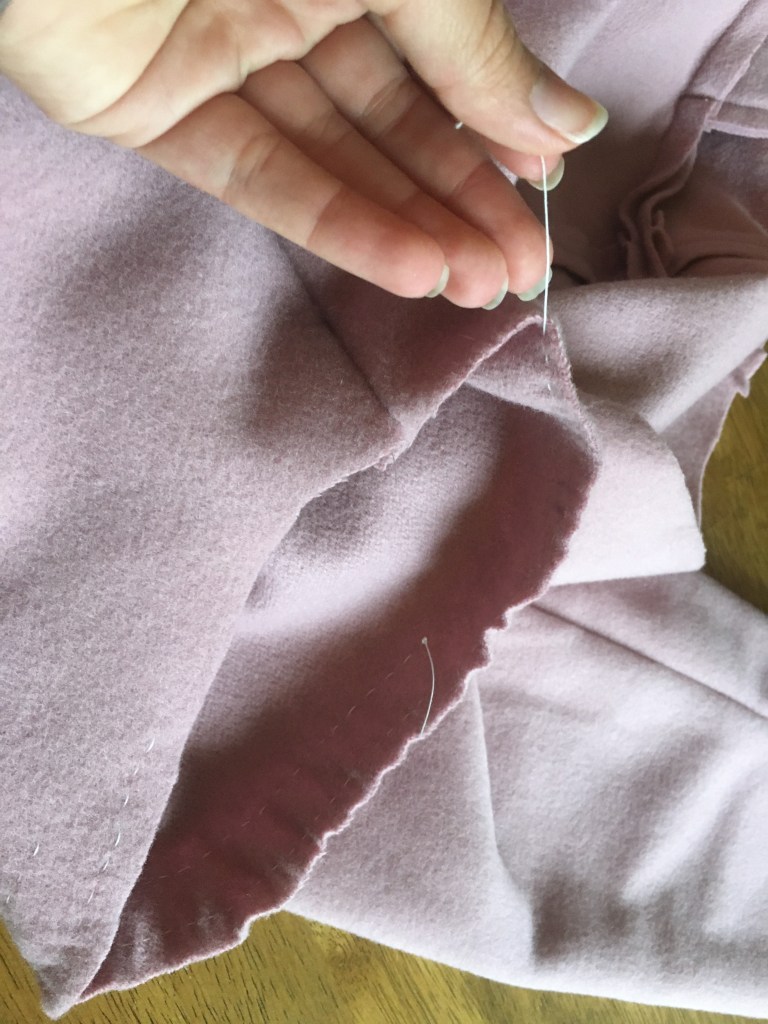
For the hem, I folded the 2″ hem over and gently pressed with 1/4″ folded again to finish. With the lining tucked into the hem, I finished by hand with the tiniest of whip stitches.
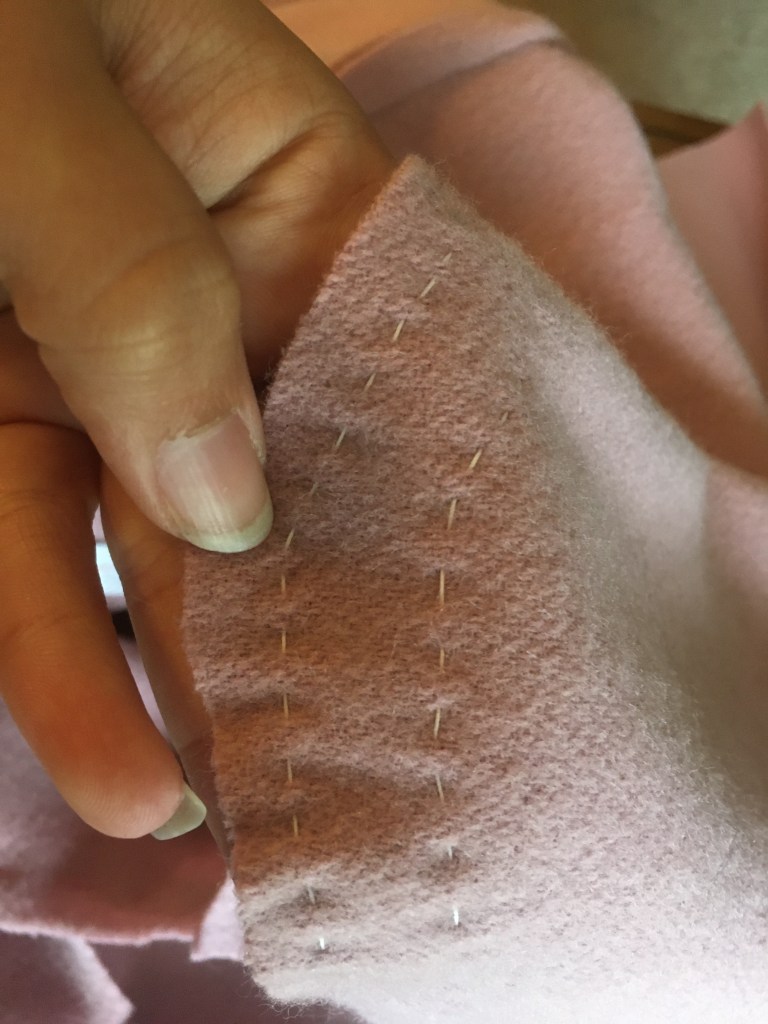
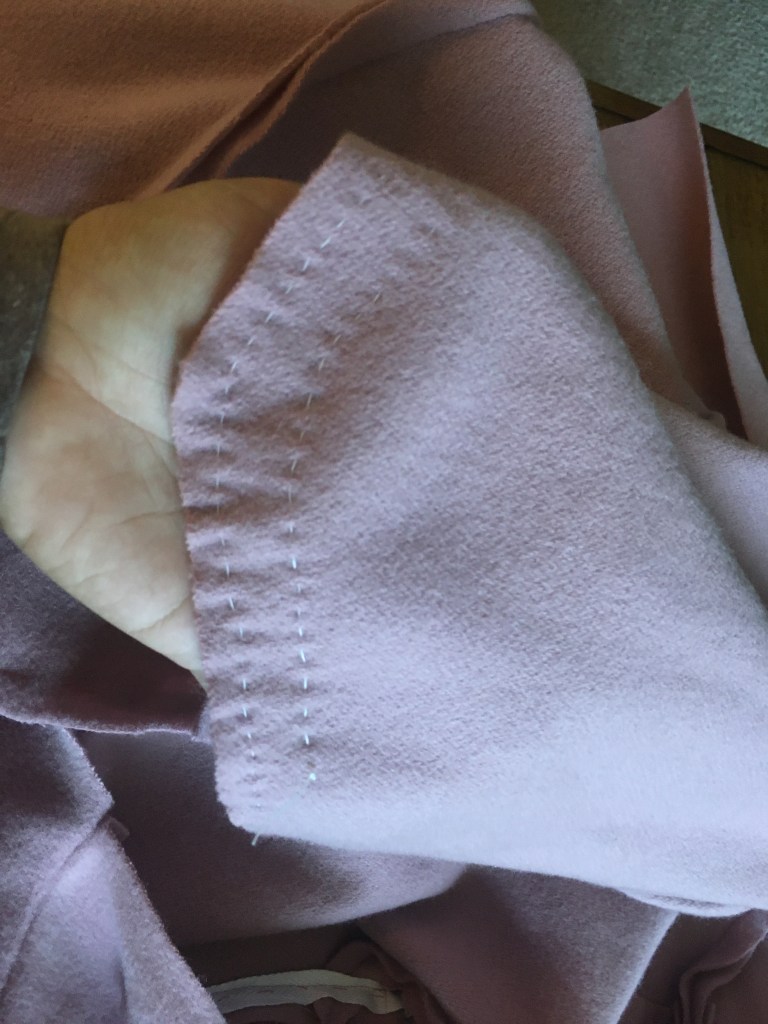
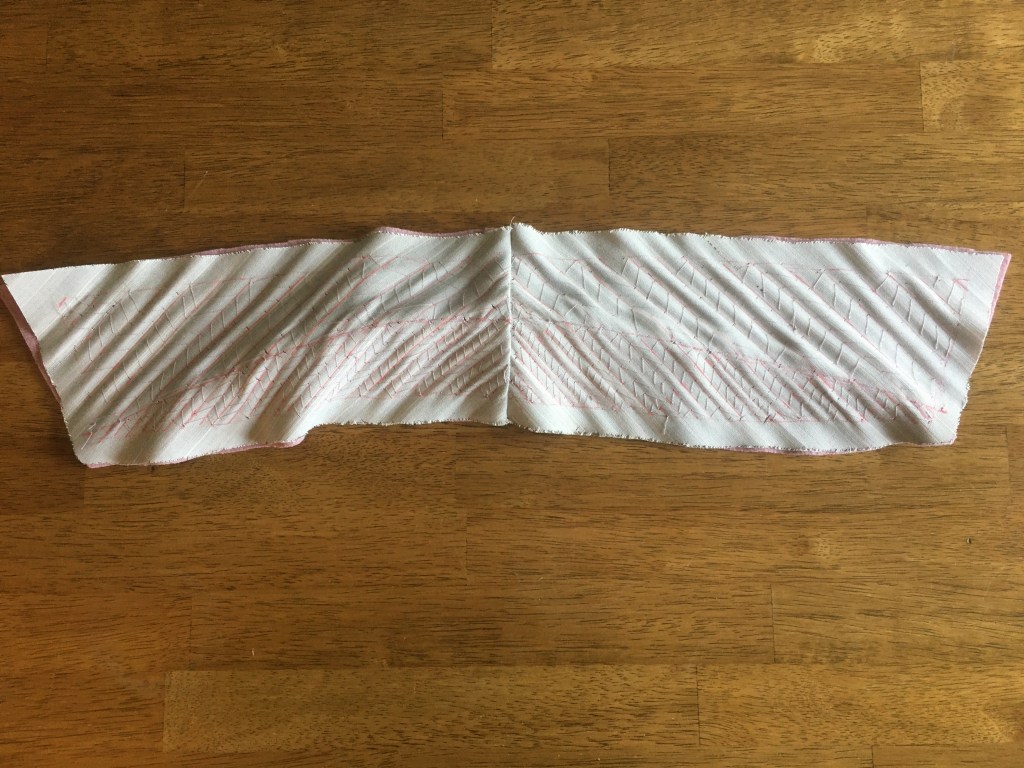
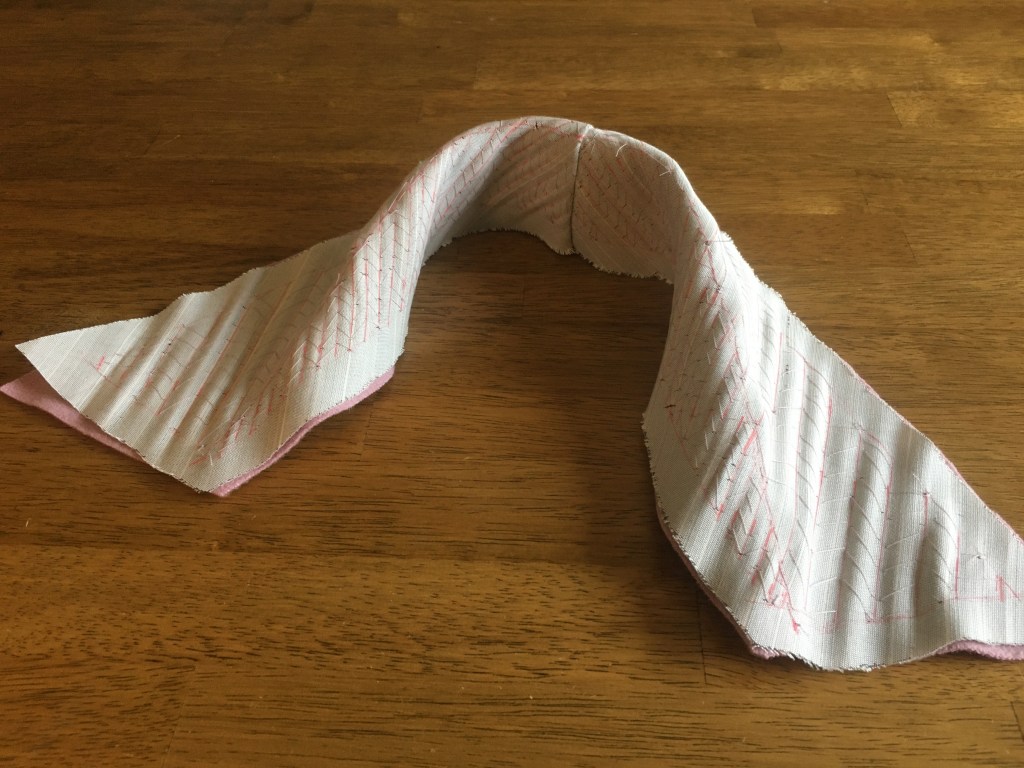
The collar was MUCH more involved. The undercollar is reinforced with horsehair canvas that had to be treated precisely. I found a set of lecture notes from the University of Nebraska-Lincoln Extension and video from Bernadette Banner to figure out the method to pad stitch the horsehair to the undercollar to achieve the roll so it would lie flat against the body.
The horsehair canvas MUST be cut on the bias and stitched at the center back via machine before beginning the pad stitches. Once that was done, I marked the roll line and parallel stitching channels at 45 degree angles from the center back. My channels are 1/4″ apart on the inner collar portion and 1/2″ on the outer portion. The tighter stitches would give a stiffer form and help better develop the stand while the wider stitches allow the wool to still have a soft drape.
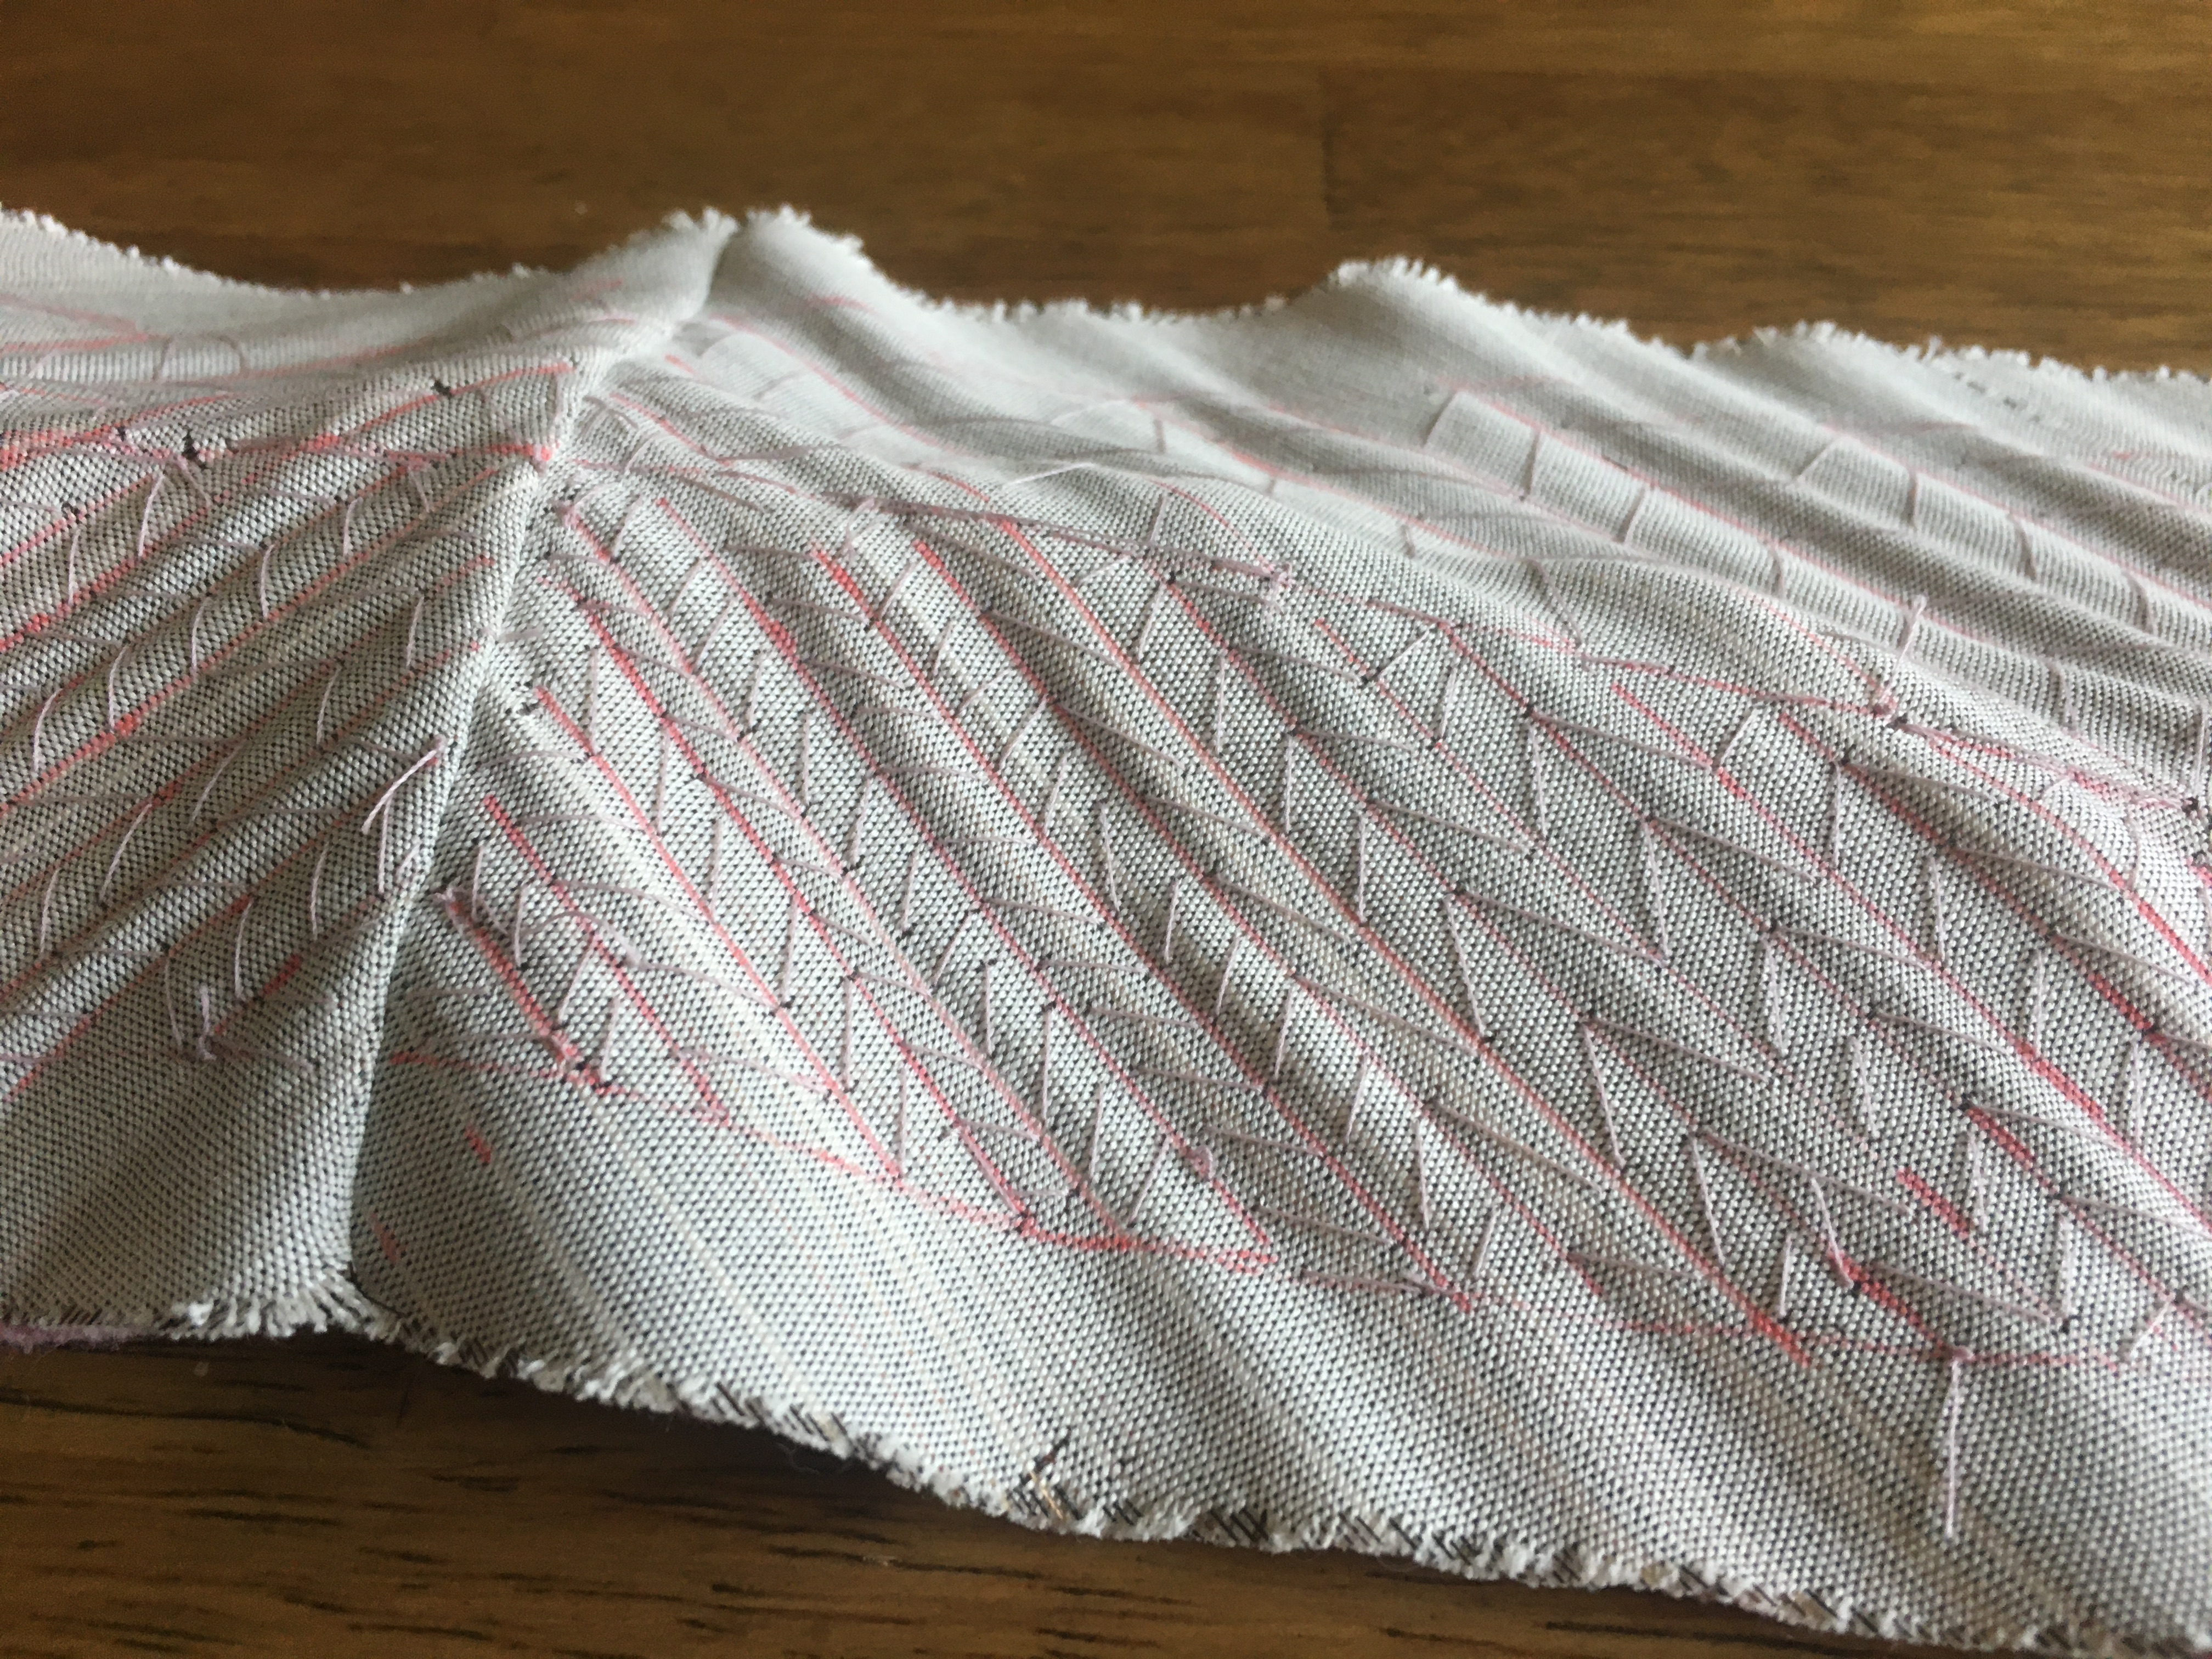


With the stitching done, I again returned to the iron and “whammed” the roll line and stand in place with the help of my tailors ham and a LOT of steam. I left the collar sitting on the ham for a few days to fully set the stand.
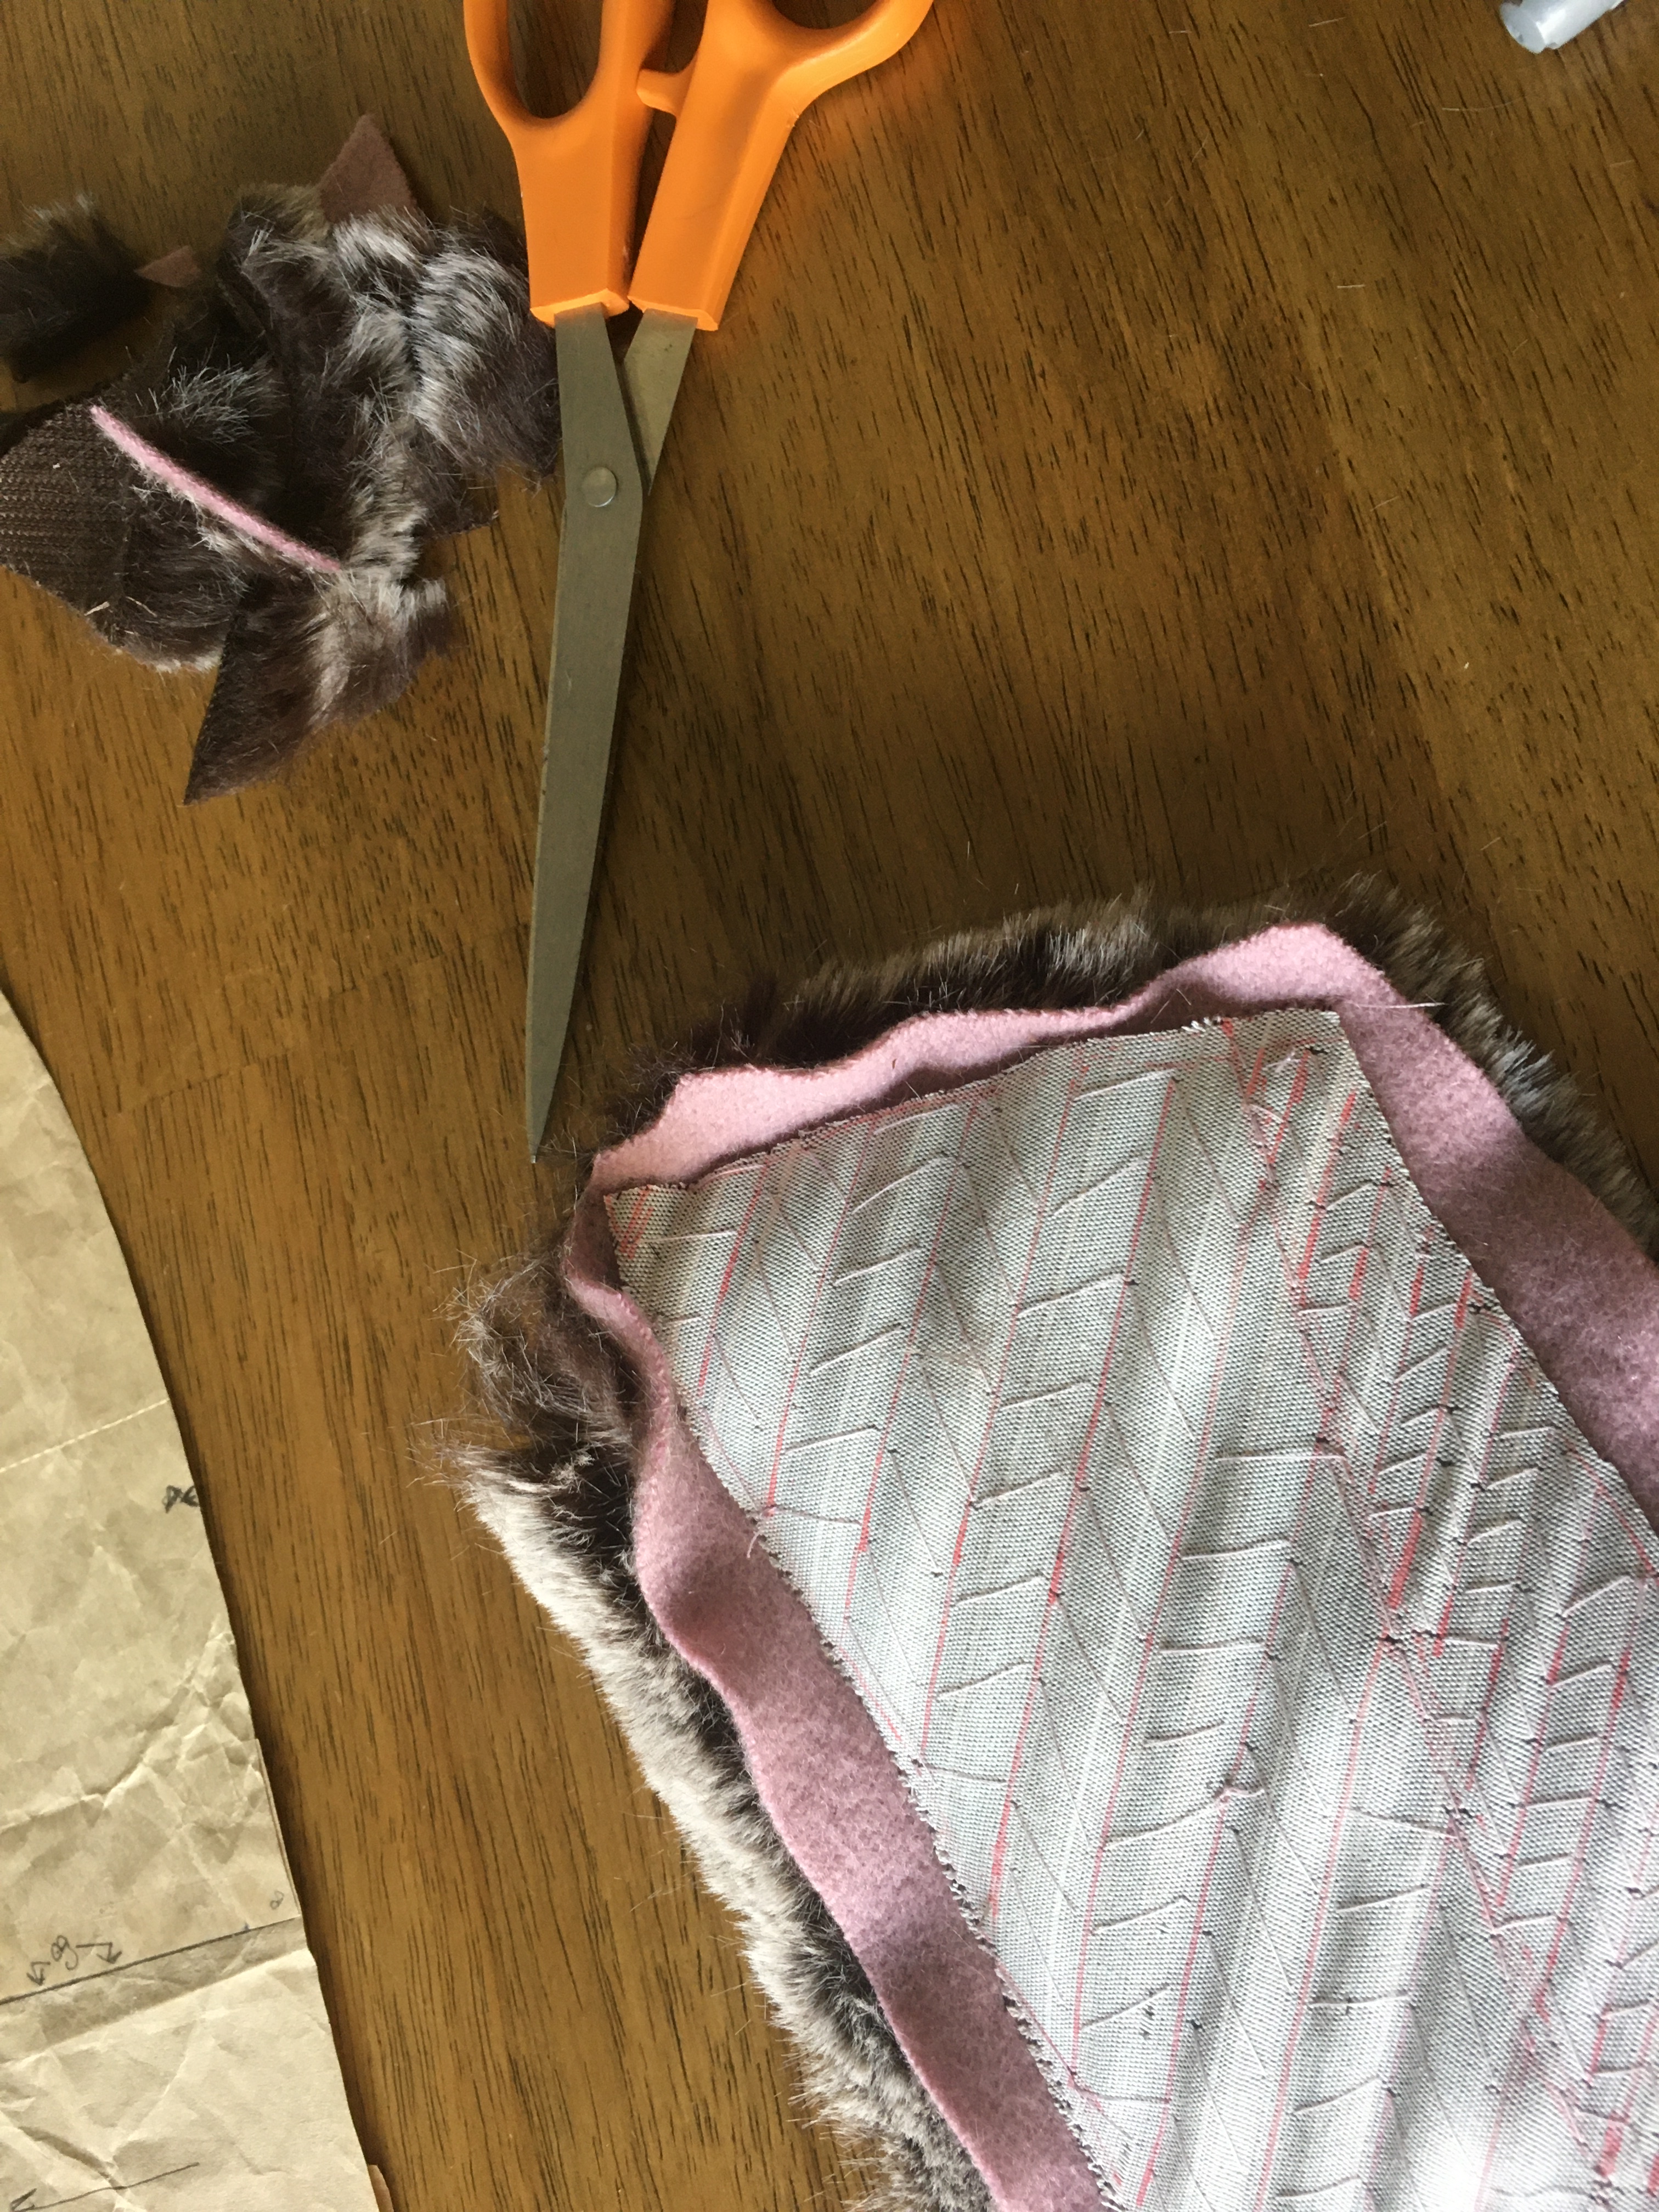
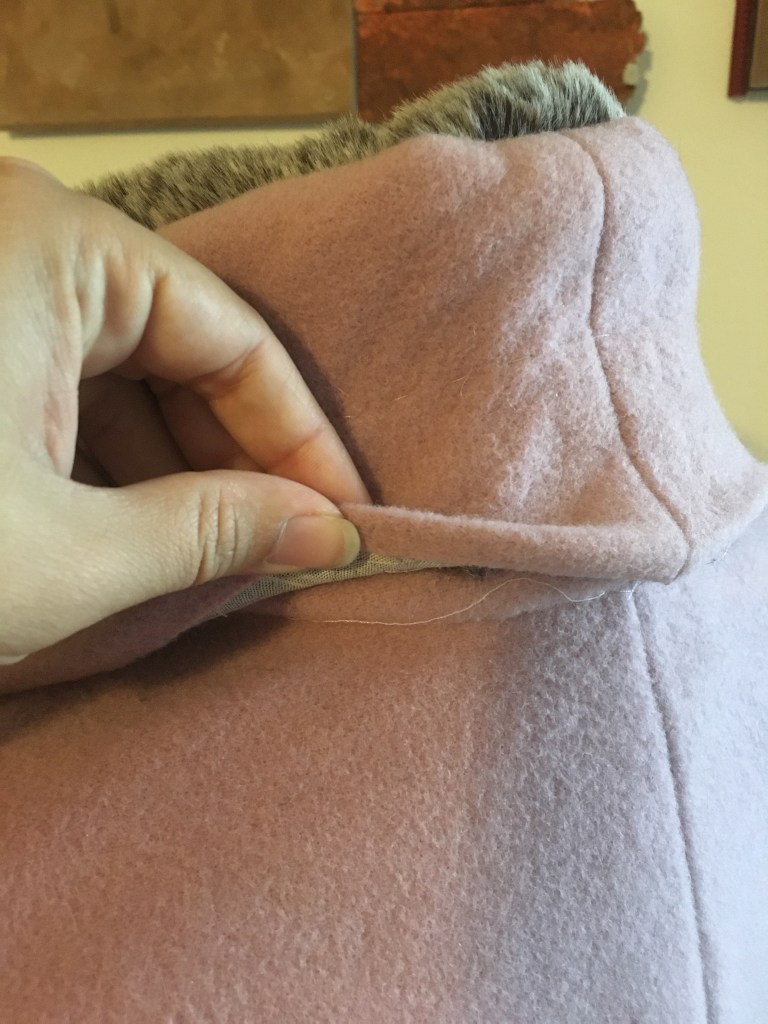
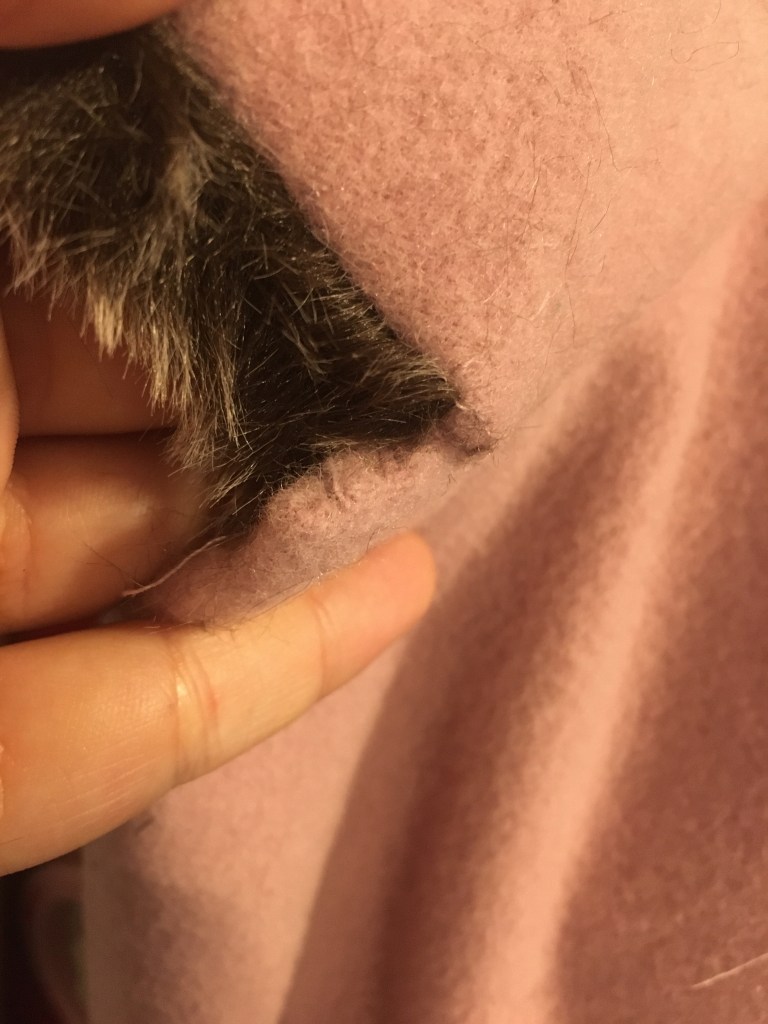
Applying the collar front with the faux fur was . . . . an experience. To start, cutting the faux fur was obnoxious and I could not rip it to save my life. I ended up using my thread scissors to precisely cut the fur at the backing so as to not make it look like it’s been shaved. Once cut, I trimmed back the under collar a bit more and trimmed the horsehair canvas back to the stitching lines.
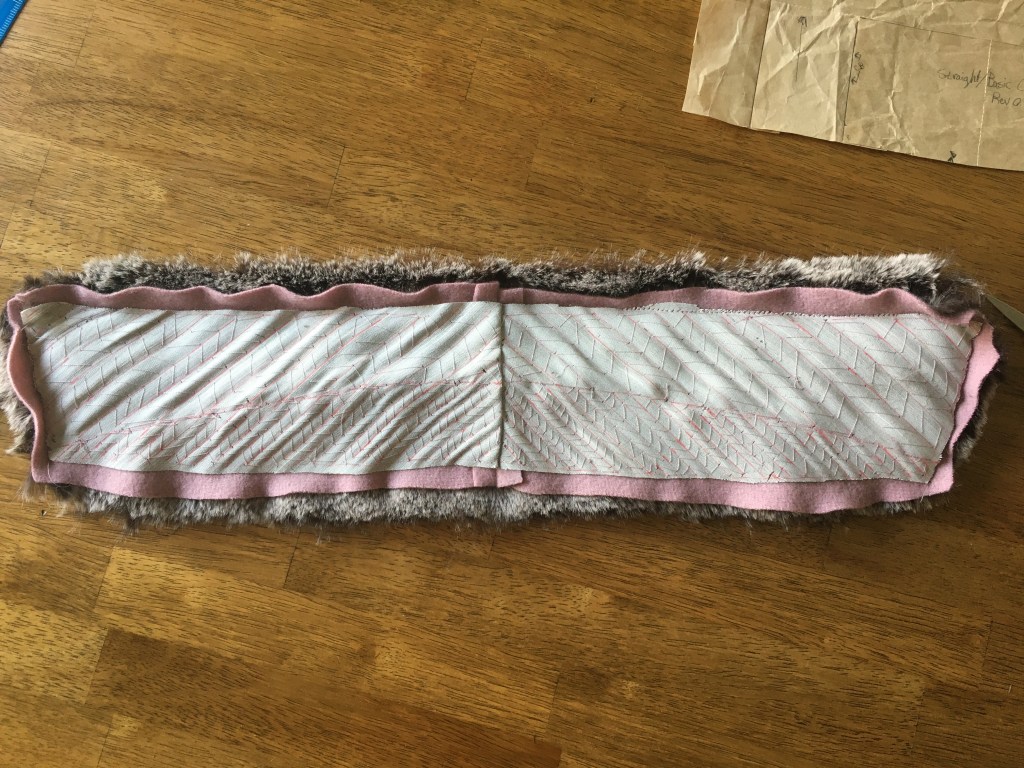
I hand basted the collar layers together and then set the seam on the machine, leaving the neckline seam open. Before turning, the corners were carefully trimmed to give a nice crisp corner.
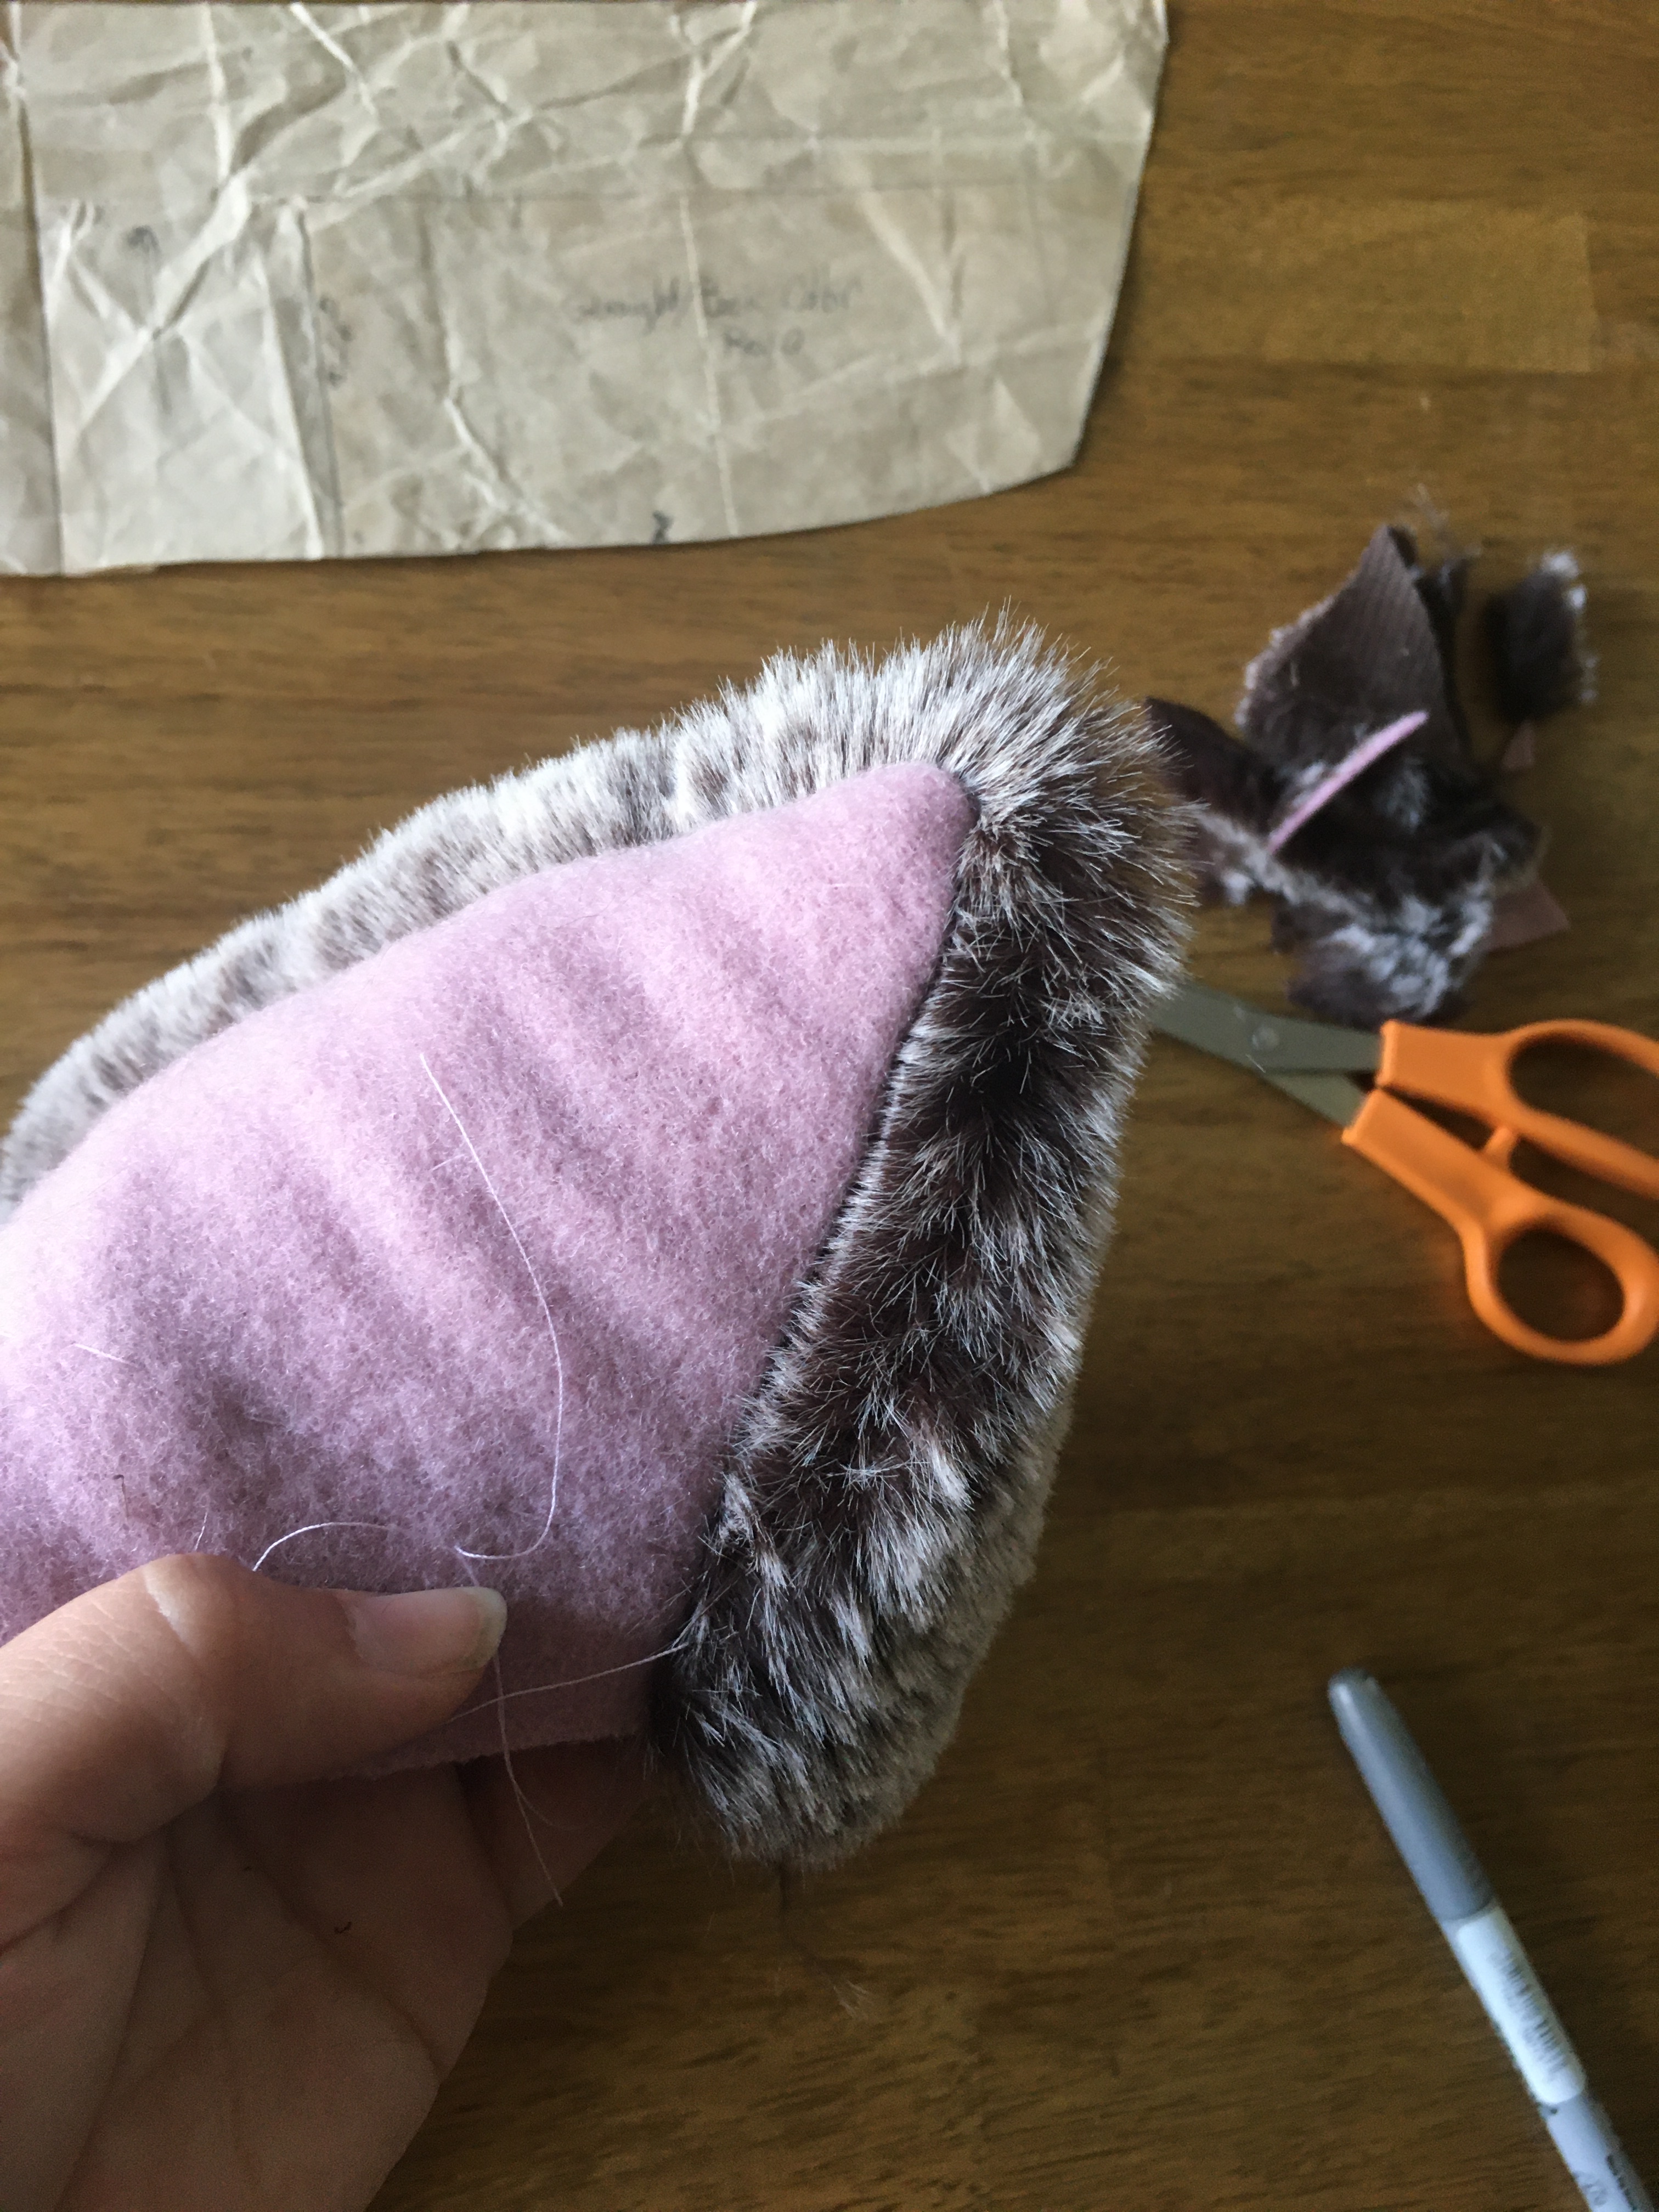
To apply the collar to the coat, the coat body was prepped by basting the lining and wool together before stitching the outside of the collar (faux fur) to the basted layers. The undercollar is the turned under by 1/4″ and slip stitched in place. The neckline of the coat body 2 inches longer than the collar to allow for the top button. To finish this top hem, I tucked 1/4″ of both the front and facing and tightly slip stitched in place.

The last step of the project is to cut and finish the cuffs. However, life happened . . . winter came and went . . . . and I have yet to make them. For now, the sleeve lining is basted to the wool sleeve so that it is technically wearable, but not finished. I hope to finish this sooner than later, but it has been put to the bottom of the to-do list with the cold weather being done. Someday, this project will get FULLY finished and I will take quintessential first snow photos in this lovely garment.
I’m very proud of how the coat turned out. It’s just the style I want, fits wonderfully, and has a lovely softness. Now, just to wait for the perfect event to debut it!