Finally, the man of the show: DOCTOR Z!
(catch up on the ensemble pieces and production info in The Lost Labs of Dr. Z – Part 1)
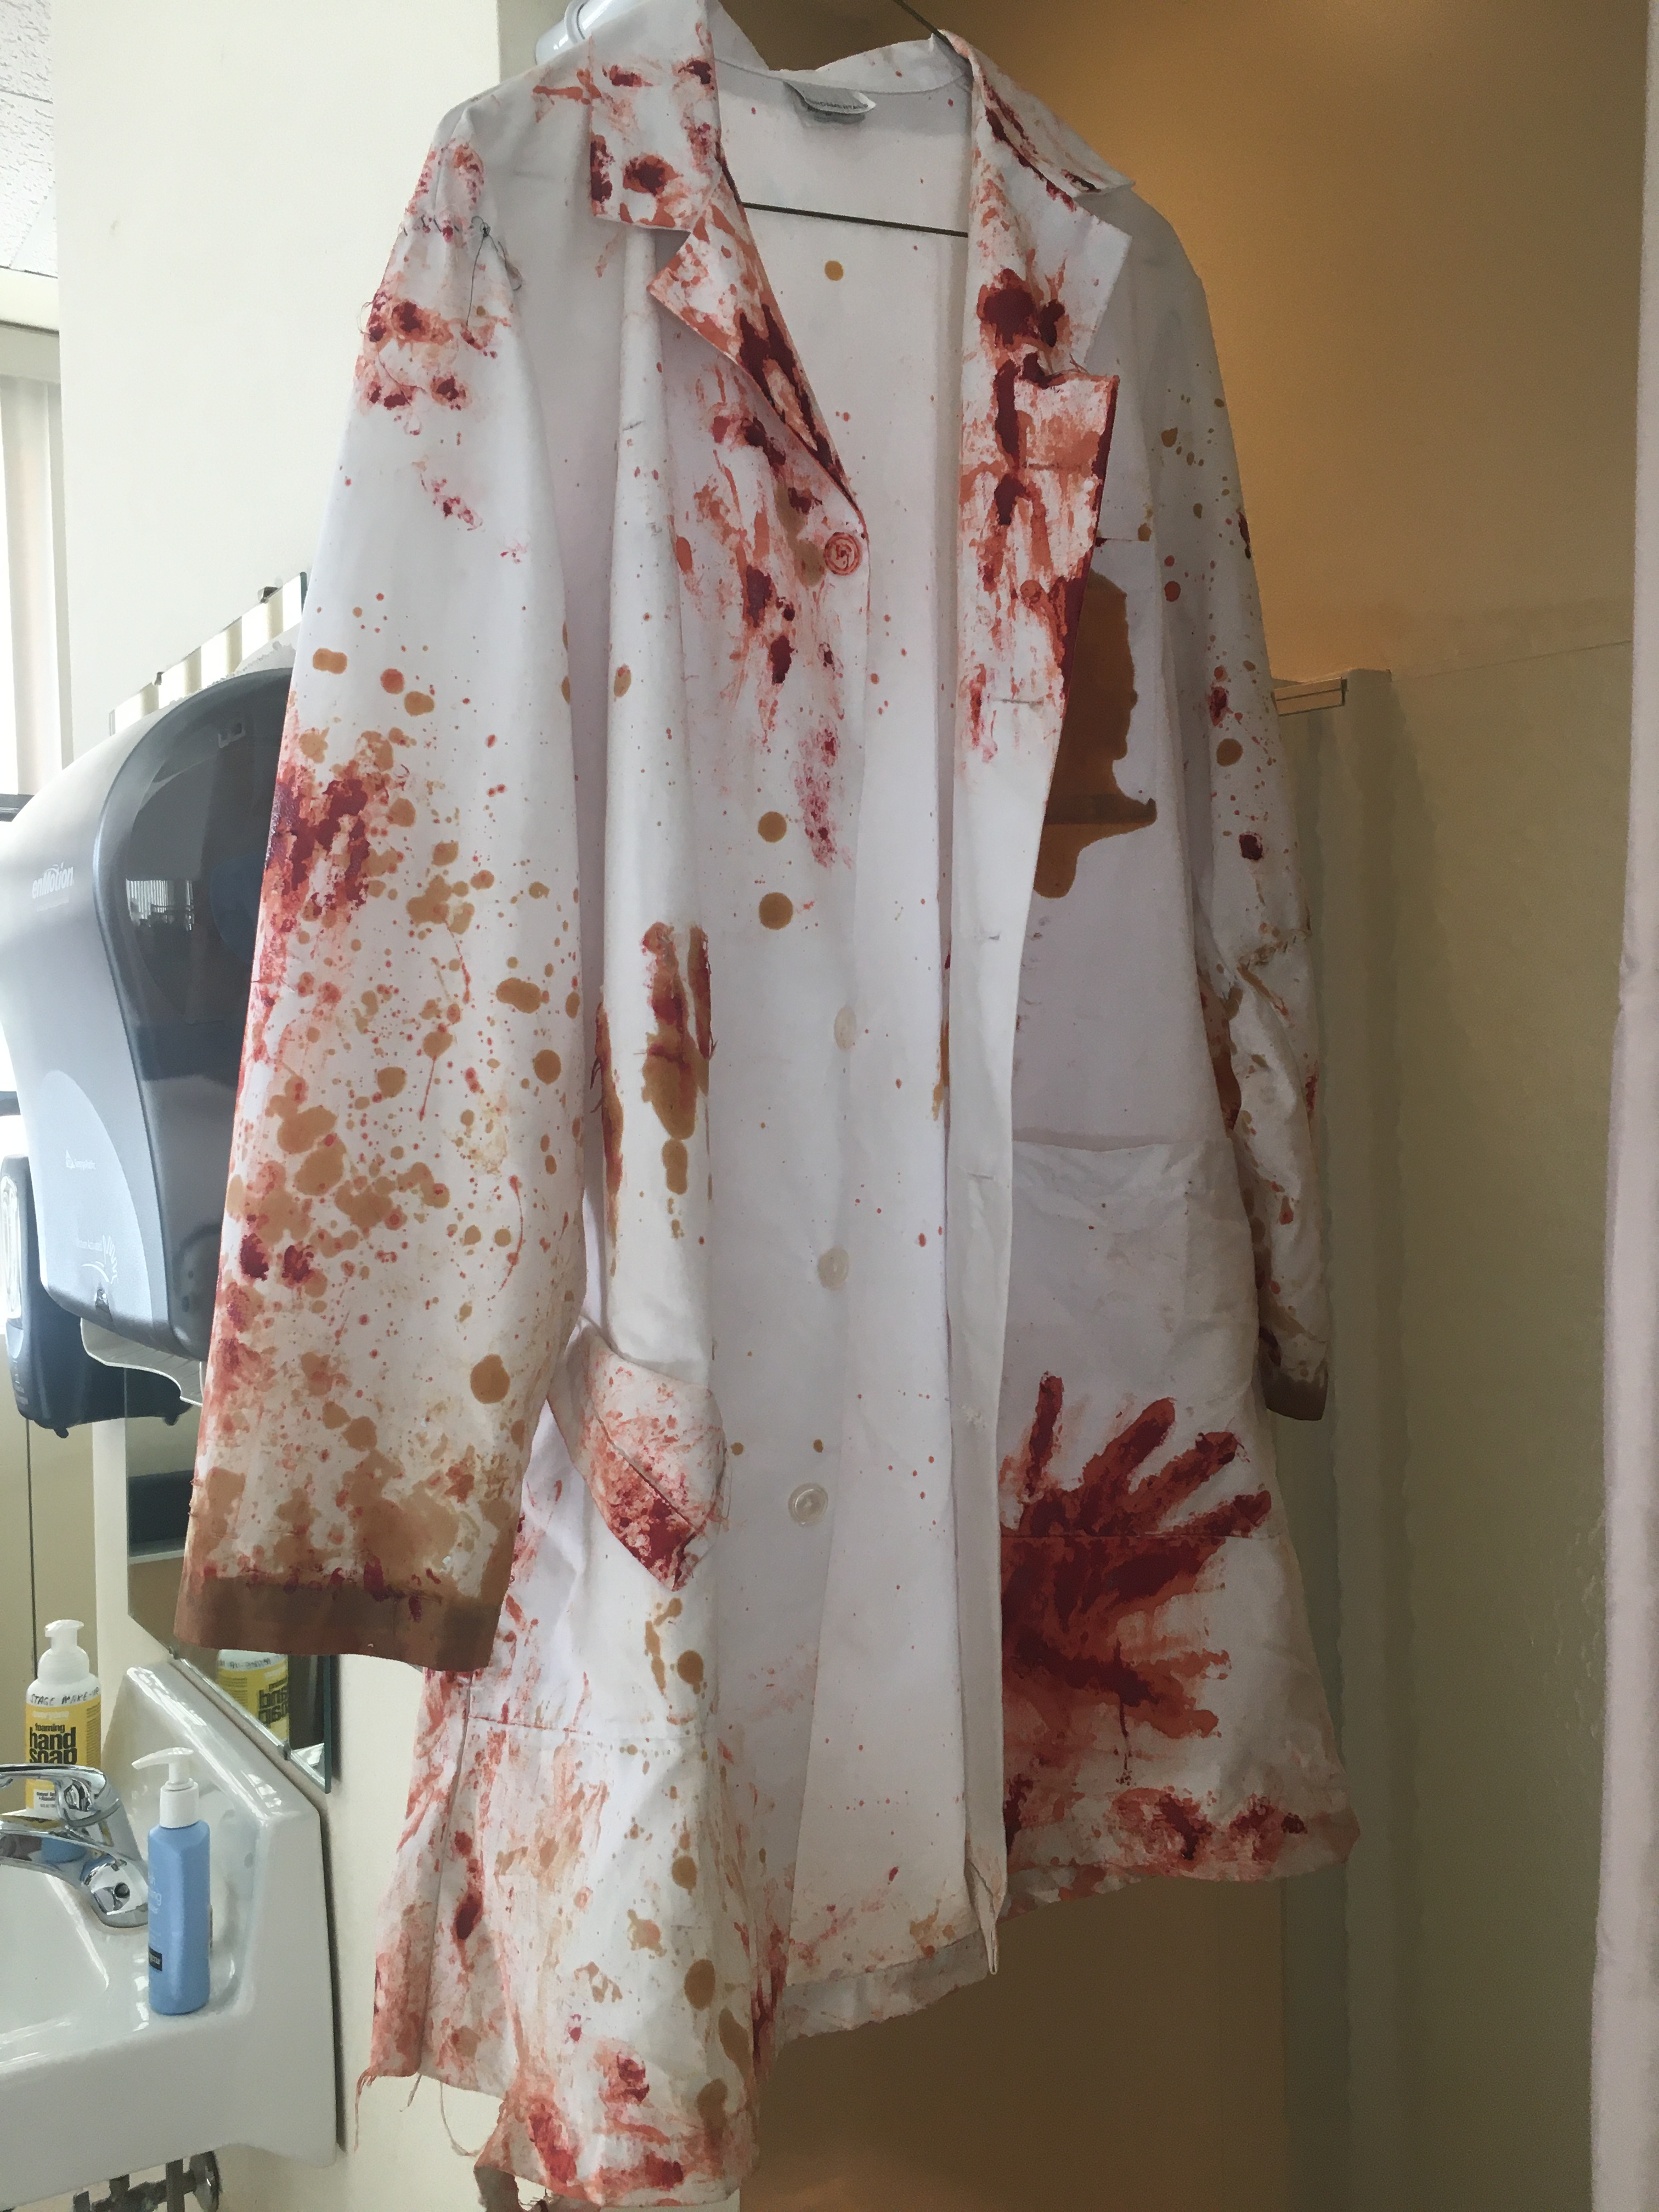
This was leaps and bounds my absolute favorite piece of the show. The base costume was much like the others, (black pants, turtle neck, muck boots) but the lab coat is where he stood out.
Tools & supplies used to make this look:
- Sand paper
- Seam ripper
- Wire brush (cat brush in my case…)
- Scissors
- Rite Dye (Taupe, Synthetic)
- Large dying pot
- Stove
- Halloween store makeup blood
- Ben Nye stage blood
- Halloween store makeup pallet
- Ben Nye Silver hair paint

We took the best fitting lab coat for the actor and began the work of distressing it. I began by seam ripping the coat in a few key places then wearing with the sand paper and wire brushes for texture. I also took the seam ripper and wire brush to the main body of the coat in a few places where one could imagine a victim may have reached out in a feeble attempt to fight back. The claw marks in the back would be later accentuated with color. The hem and side pocket were also distressed in this manner.
You can do this distressing method with any scratchy or sharp objects. Be safe! But have fun with it. I love distressing because I can finally take my frustration out on a garment.
Following the same Frankenstein stitching method as used on the lab assistant coats, I re-stitched some of the slashes back together and reinforced crucial structure points. We wanted a distressed look, but controlled distressing.
However, the thing was just too darn pure white. I used taupe synthetic Rite Dye to dip dyed the lab coat in an ombre from hem to waist. To dye, I followed the instructions on the dye bottle by mixing a small amount of dye with HOT water (keep a constant temperature while on the stove) and salt. I then dipped the pre-soaked coat while on a hanger into the dye bath and let it seep upward by capillary effects until I was satisfied with the color change.
In general, using diluted brown or taupe dye is a great way to make any clothing look older or distressed. Simply crumple the fabric up and add to the dye bath until you reach the desired color. Additives will make the color more vivid:
- Cotton – Salt
- Synthetics (polyester) – dish soap or vinegar
Once it was at the color I wanted, I rinsed the coat in cold water so the excess dye was removed and the color set and washed it. I would’ve dried it on high heat as I normally do with dyed items but didn’t want to damage the synthetics and opted to line dry it.
I also used the technique on the sleeves. This was to add color and texture to the coat while reducing the vividness of the white. By darkening the sleeves, my intention was that it would look like the mud of the mine was forever encroaching into the garment. I also wanted it to look like he had never ever washed or changed the coat between procedures.
A few safety warnings so no one sues me:
- Caution, hot water is hot. Your fabric will be hot too. Use tongs or something similar to stir and pull your fabric back out after dying in HOT water.
- Dye is not taste or good for your health. Always use a dedicated dying pot and tools when dying. DO NOT reuse the pot for anything food related ever.
A few other general tips
- Make sure your sink or washing machine is clear before starting.
- Wash your pot when you’re done so that the dye doesn’t “stick” and change the color of your next dye bath.
- Wear an apron or painting shirt since you are almost guaranteed to get messy or at least splattered once.
You can also achieve this by tea dying or coffee dying, each providing their own color tone and intensity. Tea dying will give a warmer brown tint, but will need to soak for quite a while and may not take the color at all if there is too much synthetic content in the fabric. A similar effect is created with coffee dying (instant coffee). Always use test swatches when using tea or coffee dying since the brand or variety of tea/coffee to determine how long you’ll need to soak the fabric to achieve the right color, it may take overnight or longer to achieve the same affect as you would with traditional dye. The perk is that tea/coffee dying is cheap and its more than likely that you have all the supplies around the house.
Now came the fun part: blood. We had a box full of old stage blood from the makeup room that we had been gifted to use up or throw away since most of it had turned and was unusable on skin. We experimented with the different bloods we had to see which gave what effects.

The Bright Red Gravity Momentum, Blood Juice (left) was so old, it smelled absolutely horrendous and had separated. But it gave a phenomenal rusty brown tone that looked like old dried blood. This I used as our base when splattering the main body of the garment and when blending between the other bloods.
The Blood Base (center) gave a nice vivid red when applied, but dried very pink and faded. It looked fake. So after that layer, I used these areas as template for applying the Ben Nye Stage Blood (right). This stuff held up amazingly and seeped into the cloth nicely.
Lastly, we used the precious little Ben Nye blood jelly (not shown) to create the shinny vivid blood near the sleeves and from the bullet holes and claw mark areas to look like fresh blood. When all the layers had been added and copiously dried, it was a masterpiece. I don’t think we could have achieved the detailed layering with brand new products if we had tried.
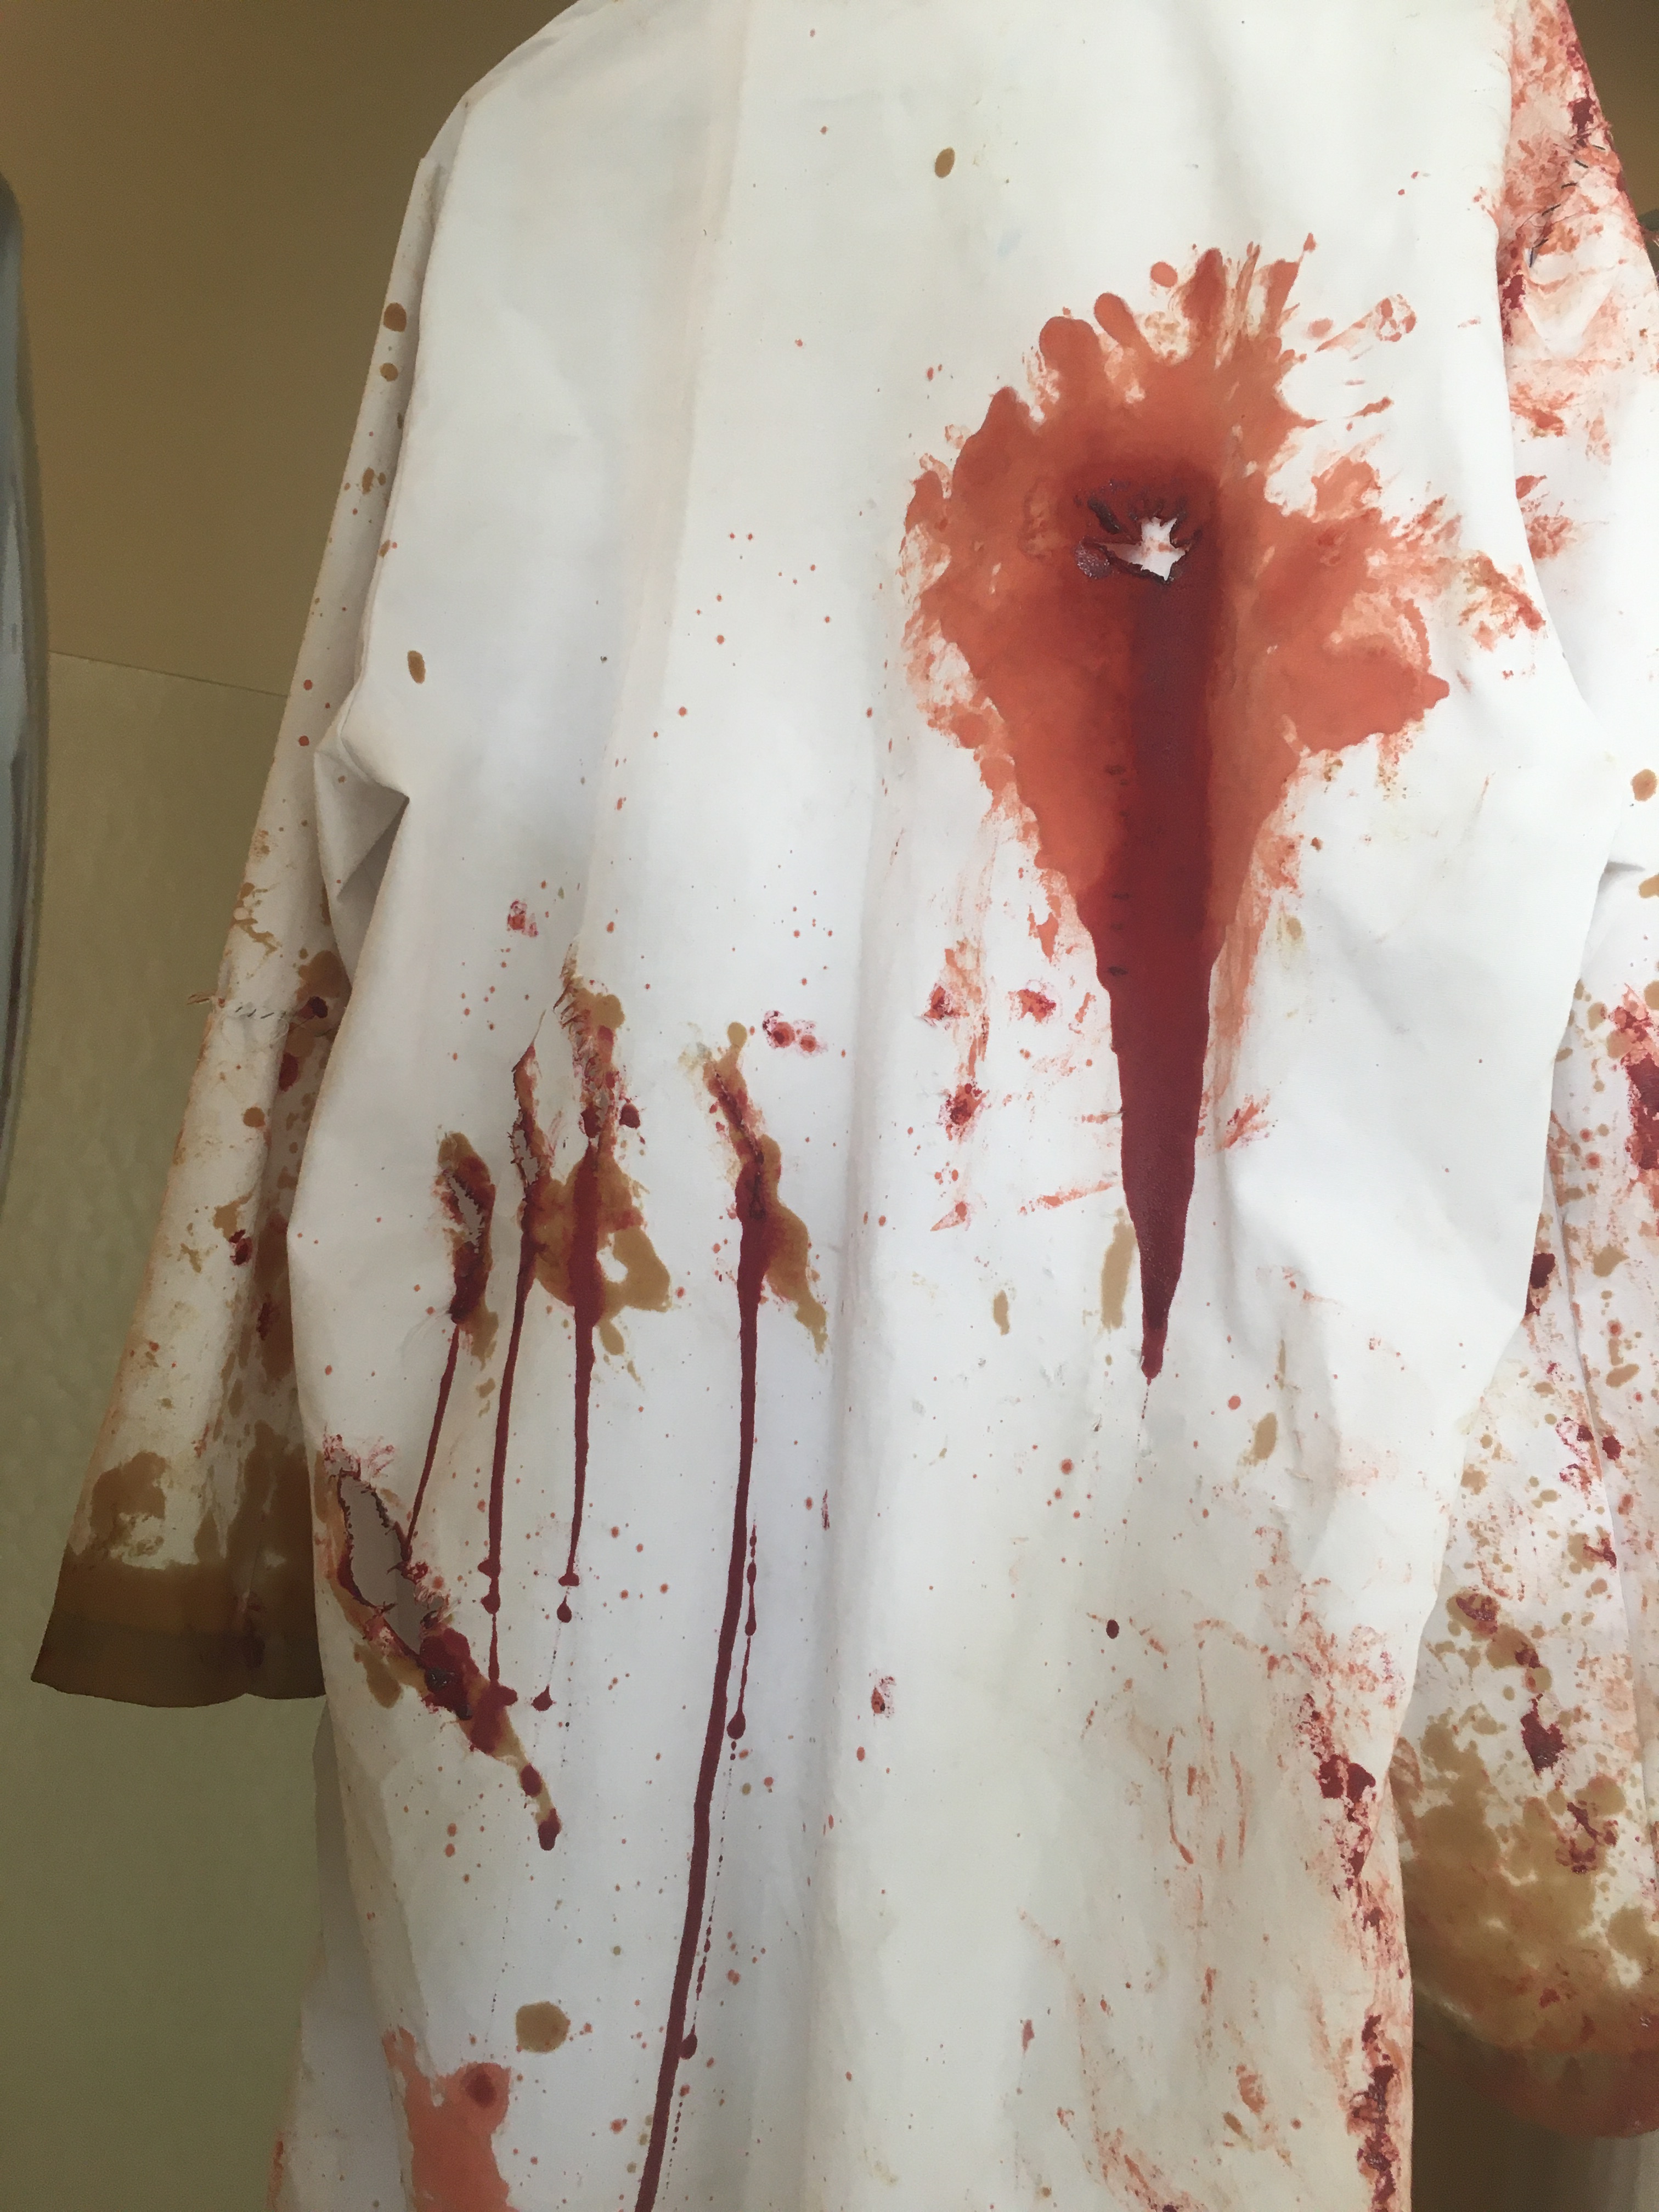
application. My favorite details are the claw marks, resulting drips, and bloody buttons
near the collar.
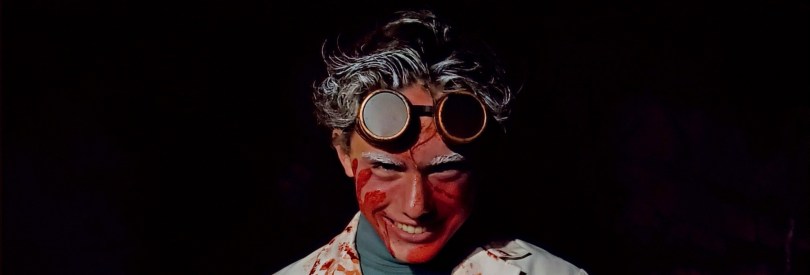
Then, of course, we had to give the Doctor sensational makeup with bloody handprints, prosthetic scars, and even more dripping blood. To age the actor, we colored his hair with silver temporary hair paint using a spiral brush after gelling and styling the hair. We also added a little bit of the Ben Nye stage blood at the temples and throughout the hair for added texture and grunge.

That bloody button!

Top it off with old style welding goggles, the largest black rubber gloves to be found, and hand a way too motivated actor a chainless-chainsaw and you have the creepiest thing seen 1000′ underground in the Upper Peninsula.
And that is how we made too detailed of costumes which were put into a dark, wet, and muddy mine. We scared more than 800 people over the course of the sold out weekend and helped the Quincy Mine Hoist Association raise the funds they needed for the full year.
