
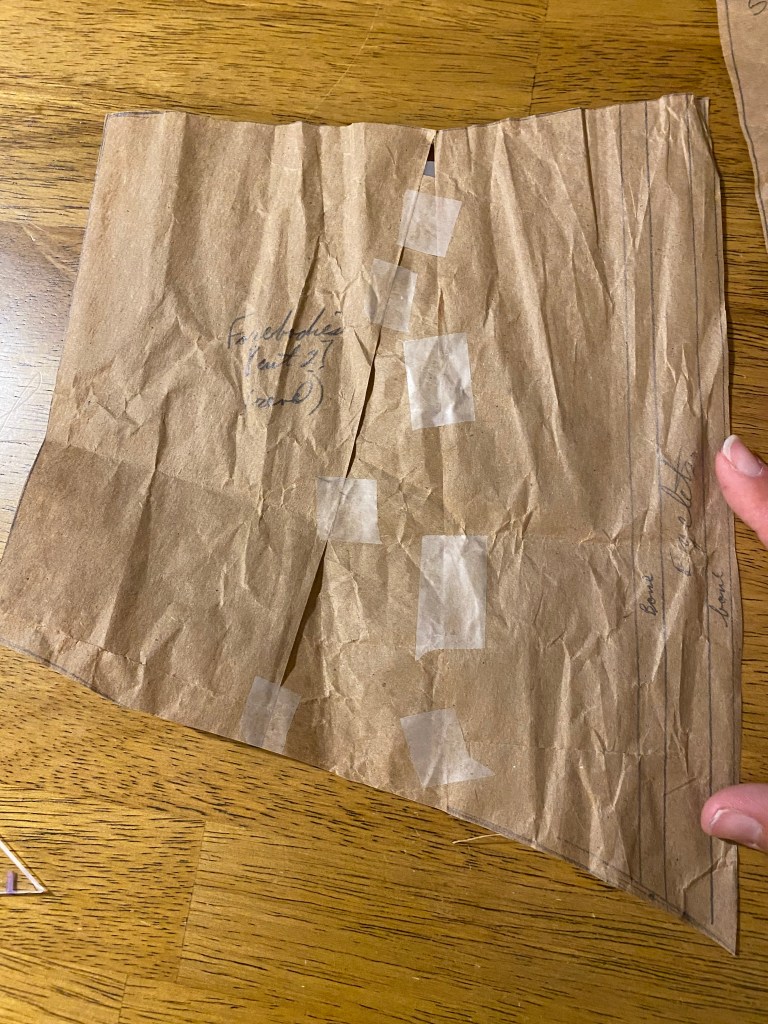
After finishing the structure of the kirtle, I could begin the work of patterning and fitting the gown bodice. In terms of sequencing, I put some of the finishing and fancy work off for the kirtle to start the bodice. I like to do this so that I could have work in cutting, sewing machine, or hand sewing and switch between tasks depending on my mood at the time. For the bodice, I used the Henrician Gown pattern from The Tudor Tailor. The gown will require panels for the bodice including the center back, side back, side front, forebodies (center front panels that lace up), plaquette, large turn back sleeves including a contrasting lining, and skirt including the pleated front, side, and back panels. The bodice pattern is copied from the book and scaled (see my post here on how to scale book patterns) and I got lucky in that my measurements are fairly close to those of the pattern model, except for my waist measurement.

For the first mockup, I slashed the forebodies panel along where a waist dart would be and opened by 1 inch. I figured this would be adjusted with the mockup fitting but would give a good starting point for over the previously fitted kirtle. I also lowered the neckline on the forebodies and side front panels for the decorative panel on the kirtle which turned out wider than the original pattern.
The mockup actually when very well on the first attempt. There were only a couple adjustments I needed to make to the pattern, mostly related to contouring the opening to the waist, releasing the side seams a tad to open the armscye, and taking in at the shoulders. The most difficult part by far was the sleeves. Sleeves are the absolute devil and I went through 6 mockups of the sleeve caps to try and get the right shape that fits comfortably. To start, I could not seem to get the sleeve head to ease in without pleats or gathers while increasing the sleeve at the bicep to be unrestricted with a chemise layer underneath. I’m honestly still not happy with the sleeves but needed to move on.

For the skirt, there weren’t any fitting adjustments to make beyond reducing the length for my height. The model for the base pattern was about 6″ taller than me, so I opted to simply reduce the length of the skirt panels by 6″ and call it a day.
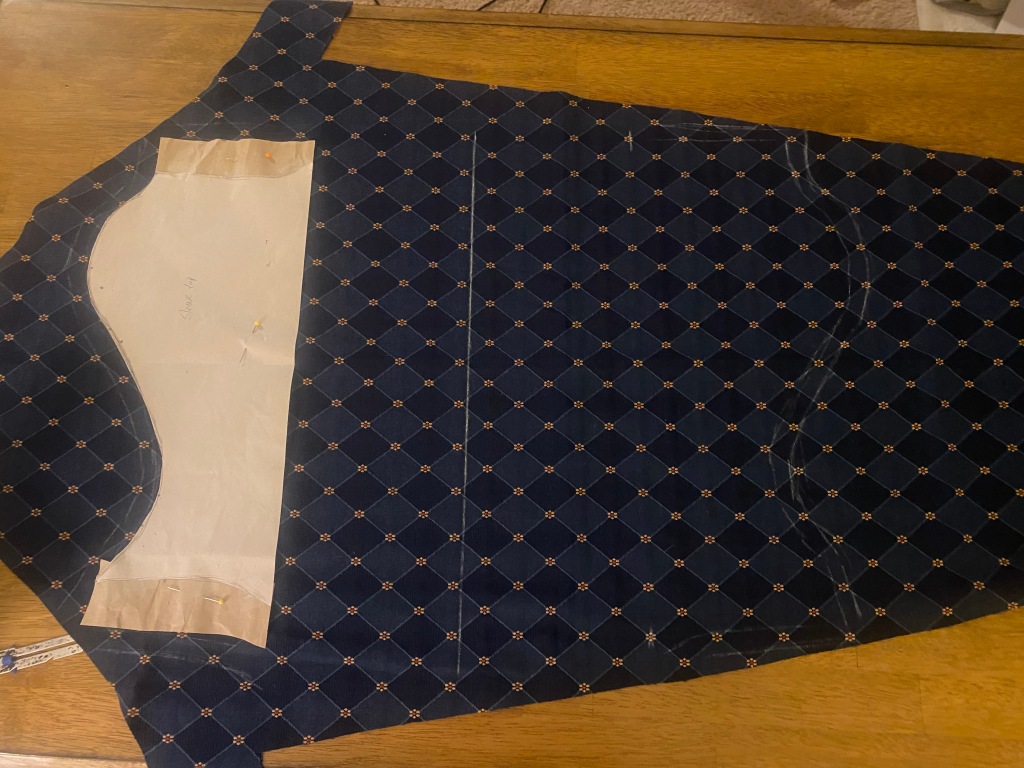
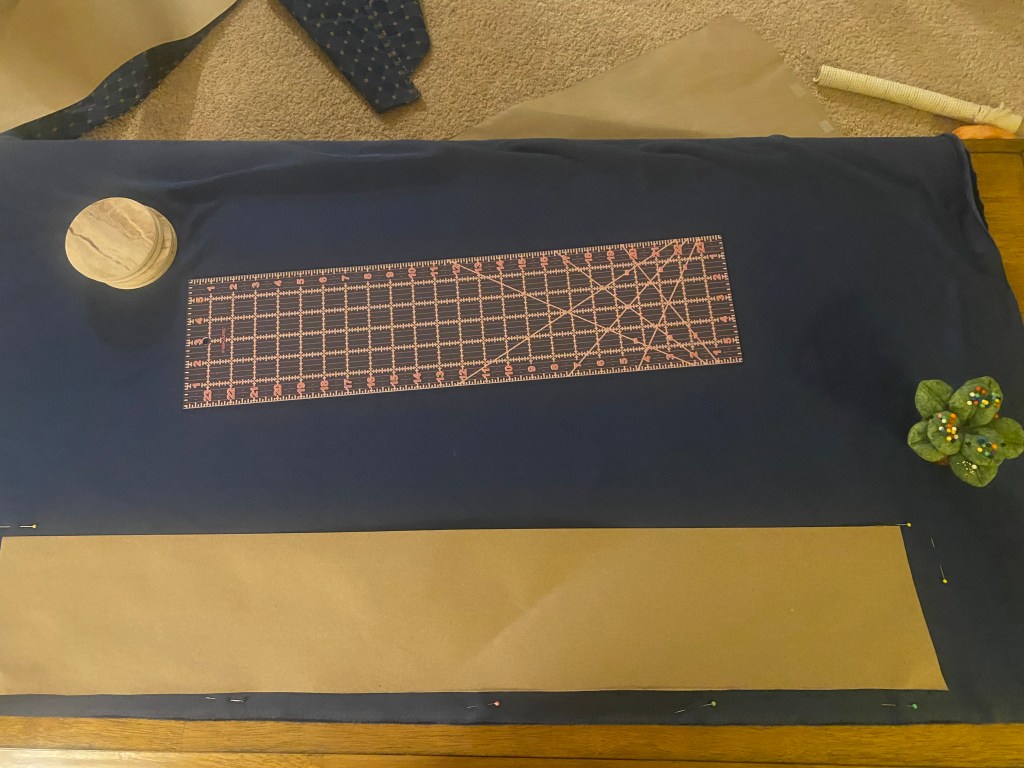
Final pattern in hand, I began the process of cutting out all the fabric. Here, things got a bit complicated. Now, The Tudor Tailor calls for 10 yards of material for making the gown (bodice, skirt, full sleeves, etc.). I meanwhile had 5 yards, but at 60″ width since it was a home decor fabric. In order to make it work, especially with a very geometric pattern to match, I got a bit creative. I start by laying all the skirt pieces out and using the match point at the waist on each seam for pattern matching. Right off the bat, I knew there was no way to have the skirts at their fullness of the original pattern with the amount of material available, even with the 6″ reduction in length for all pieces. To make it work, I adjust the skirt panels by:
- The back skirt panel would only be the 60″ width of the material,
- The side panels are slashed at three points and reduced with the side-back seam on the vertical of the fabric pattern (parallel with the selvage),
- 6″ width of the front panels would be supplemented by a 12″ strip of velvet and front-sides would not pattern match beyond the waist point match.
The slash and reduce method for the side panels is done by:
- Marking three lines from the hem to waist as follows: one line parallel to the front-side seam, one line parallel with the side-back seam, and one line between the first two.
- The lines are then cut from waist to hem, but not through the hem. I will often reinforce the scant paper left at the end of the slash with a bit of tape so it doesn’t tear through;
- Pivot the slashed sections toward the front-side seam to close . . . . .
By reducing the volume of the side and front skirt panels, I give myself enough material to cut my bodice pattern pieces and part of the sleeves. The reduction of the side skirt panel at the waist line made me nervous that it would affect the historical shape of the skirt, but I actually really liked the reduced bulk at the hips. I’ll point this out in photos toward the end of this series.
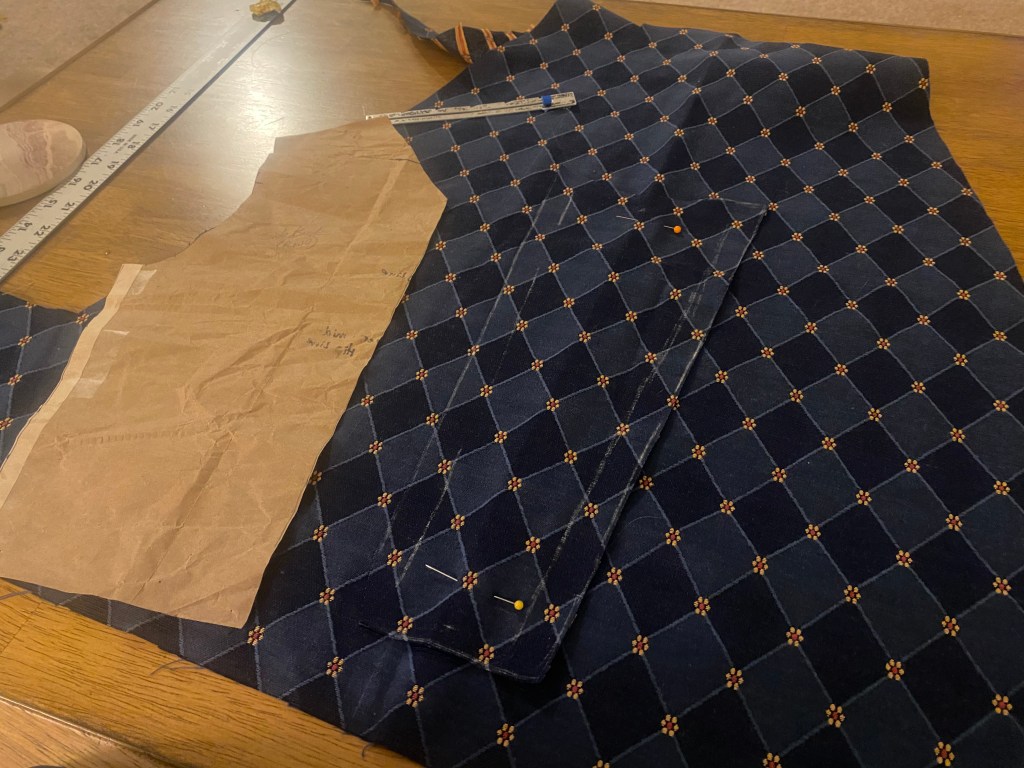
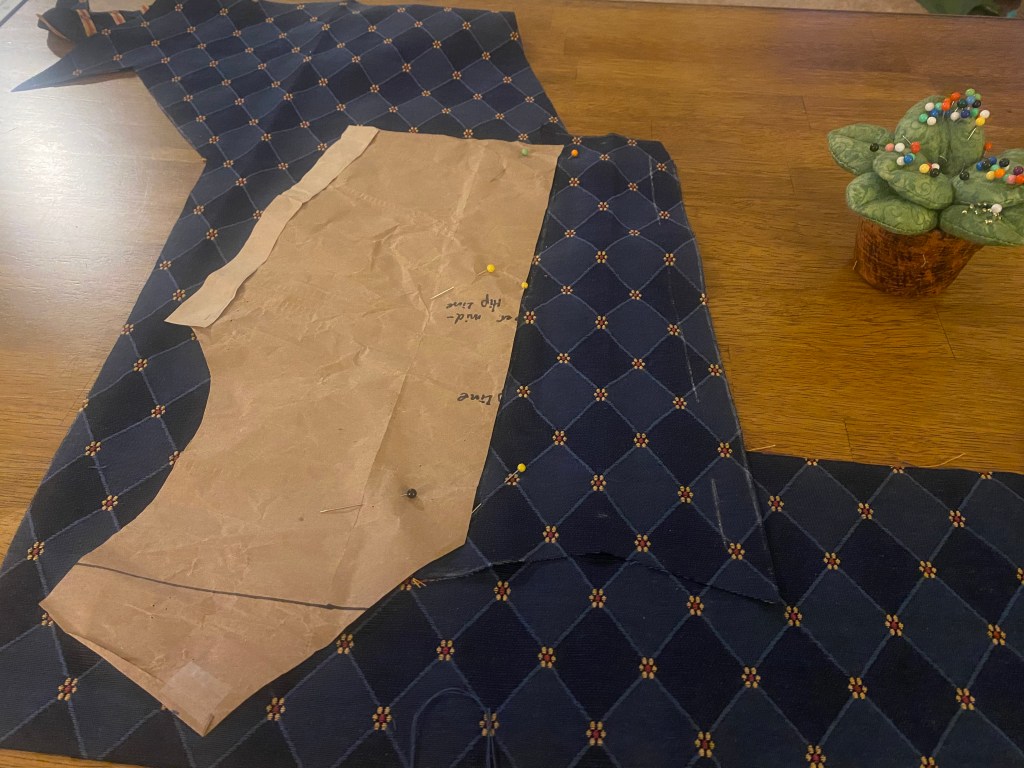
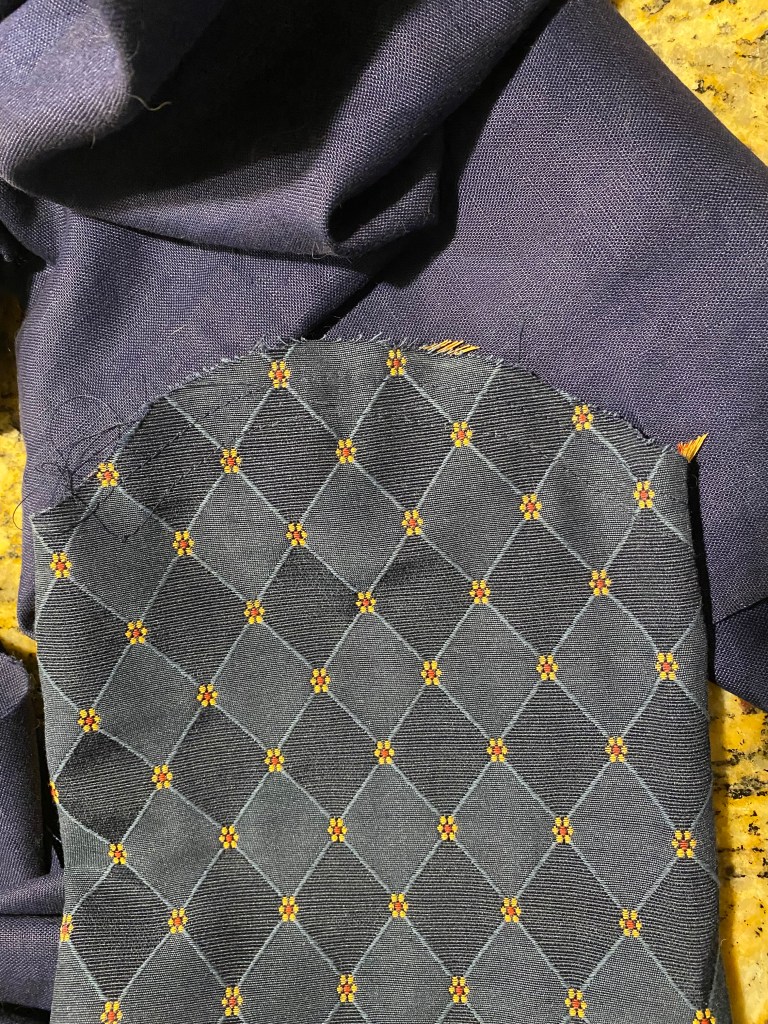
In cutting the bodice panels, pattern matching was much more critical than in the skirt. The matching process starts with the center back panel that I opt to eliminate the center back seam entirely. I mark the panel on the fabric, using the yellow and red dots at the center of the diamond pattern as my center backline. I then mark a 1/2″ seam allowance line around the entire panel.
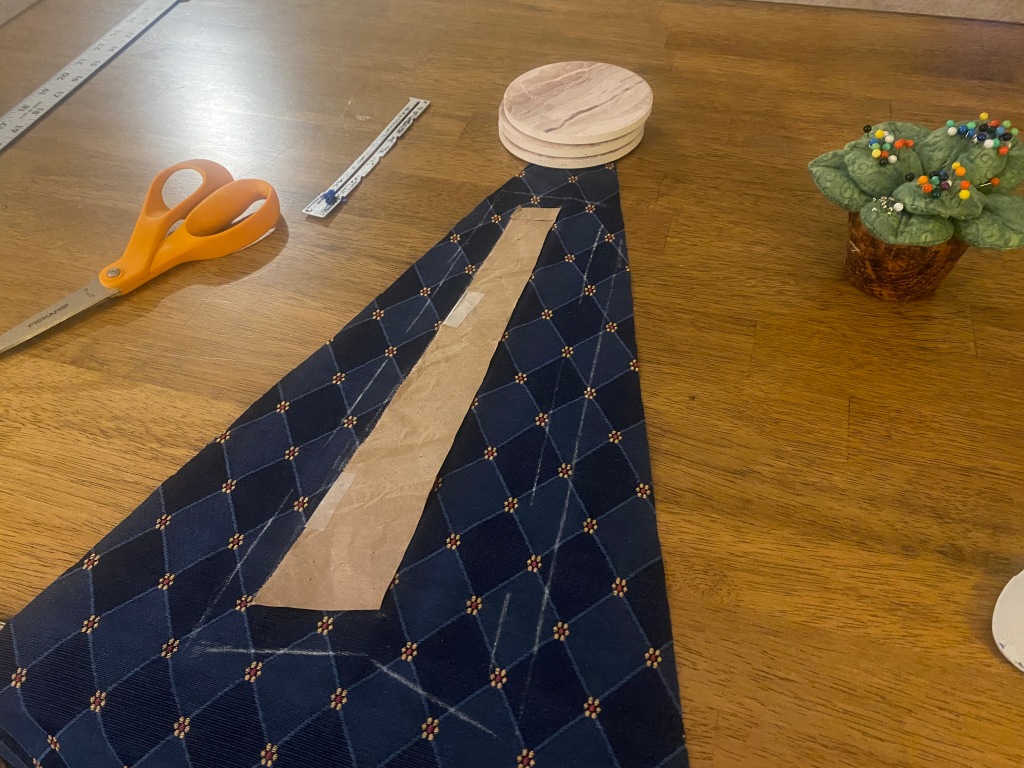
For the side back panel, I generally find an area of fabric large enough for the piece, with wiggle room for pattern matching and seam allowance. I then pin the center back panel to the fabric at the farthest edge and lay the side back paper pattern along the seam line. The paper is pinned in place here and marked with chalk, adding seam allowances. This gives me a perfect pattern match when stitched along the seam line precisely. Though, it was NOT easy with the limited material I had. I then had to repeat the process with even less fabric for the side front panels. This pattern matching and optimizing the fabric left for the bodice took me entire evenings. Plural.
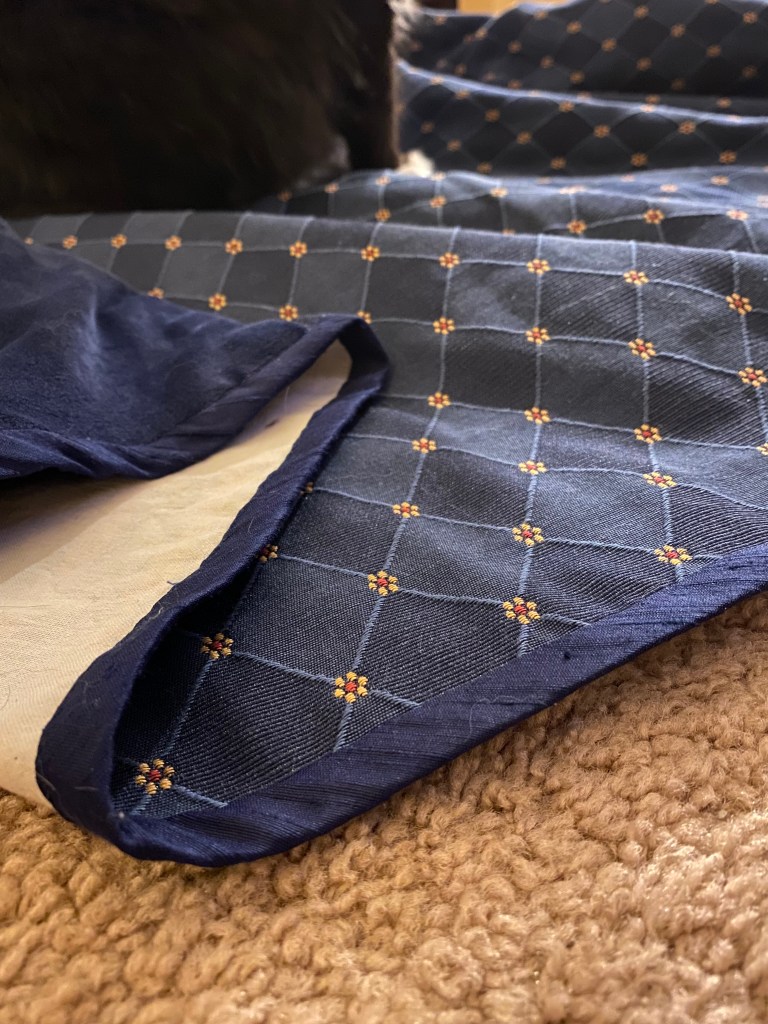
And of course, the sleeves again are the absolute devil. I knew there would be absolutely no way to have enough material to fully make the sleeves in the geometric pattern and after noodling on it a bit, it didn’t seem necessary to do so. Since the sleeves would be the full turnback style, most of the “outer” fabric would be tucked behind the contrasting lining. So I took the remaining large section of geometric fabric I had and cut the sleeves to I had the sleeve cap and the longest length possible. It ended up that the length ended right at the point where the sleeve would start to curve outward, so all for the best. The remaining outer sleeve was then cut from the navy blue linen that was used for the kirtle construction. I also opted to use this linen for the forebodies panels since they would be covered by the plaquette. I also cut lining for the bodice from a satin I had on hand.
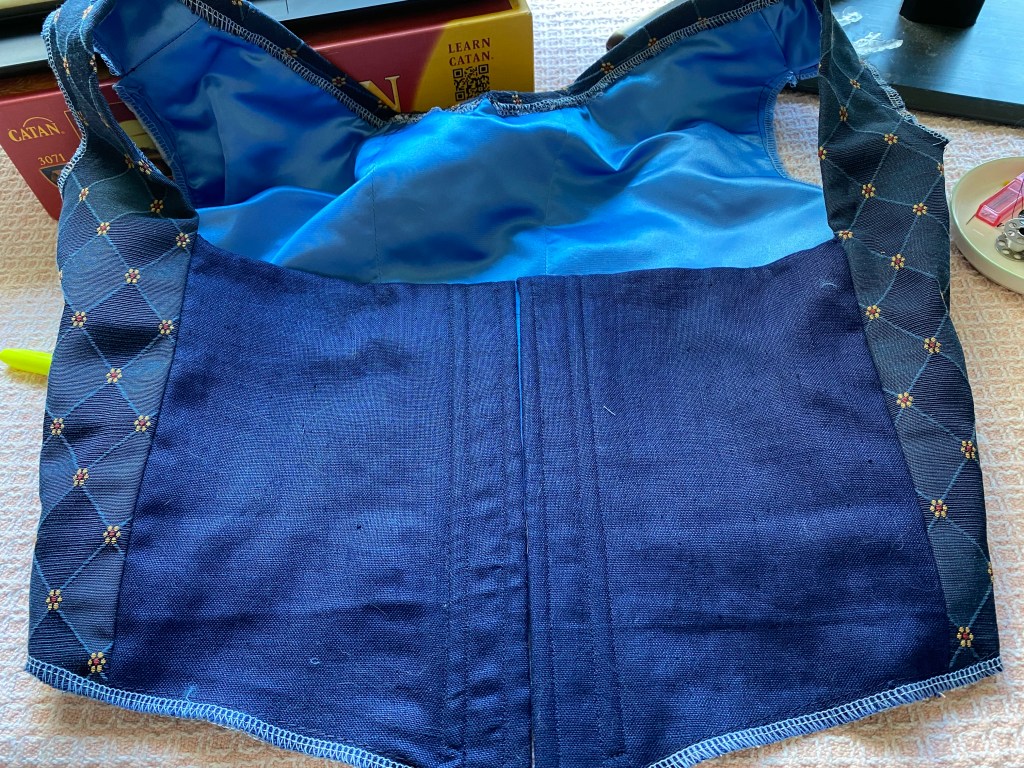
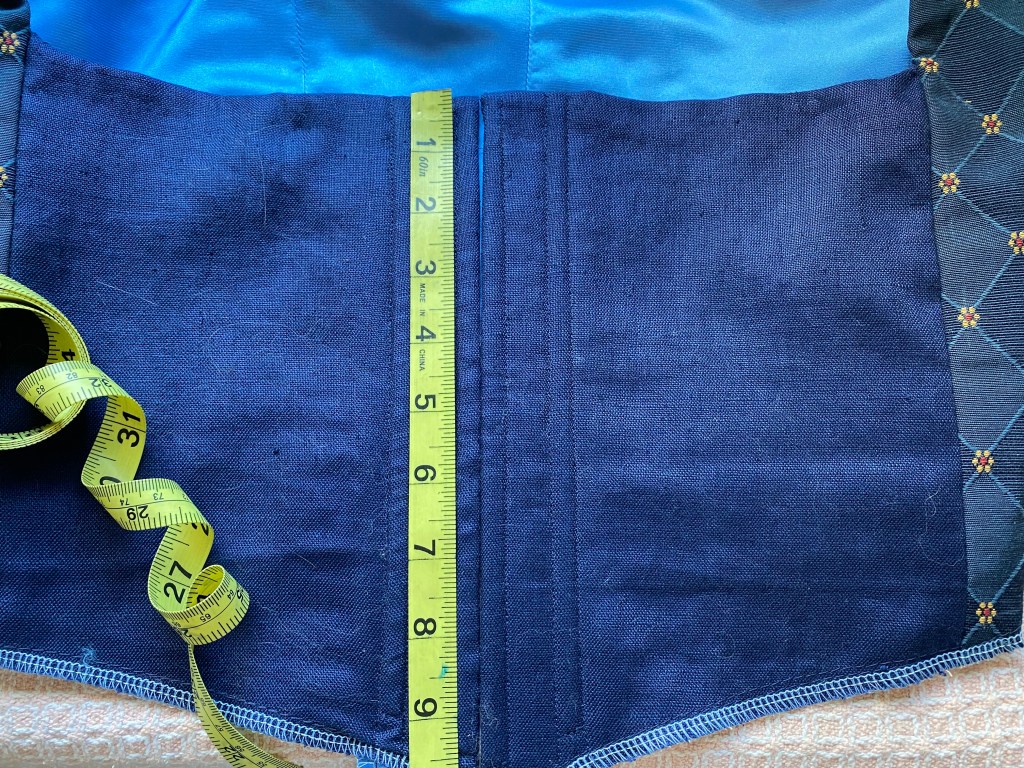
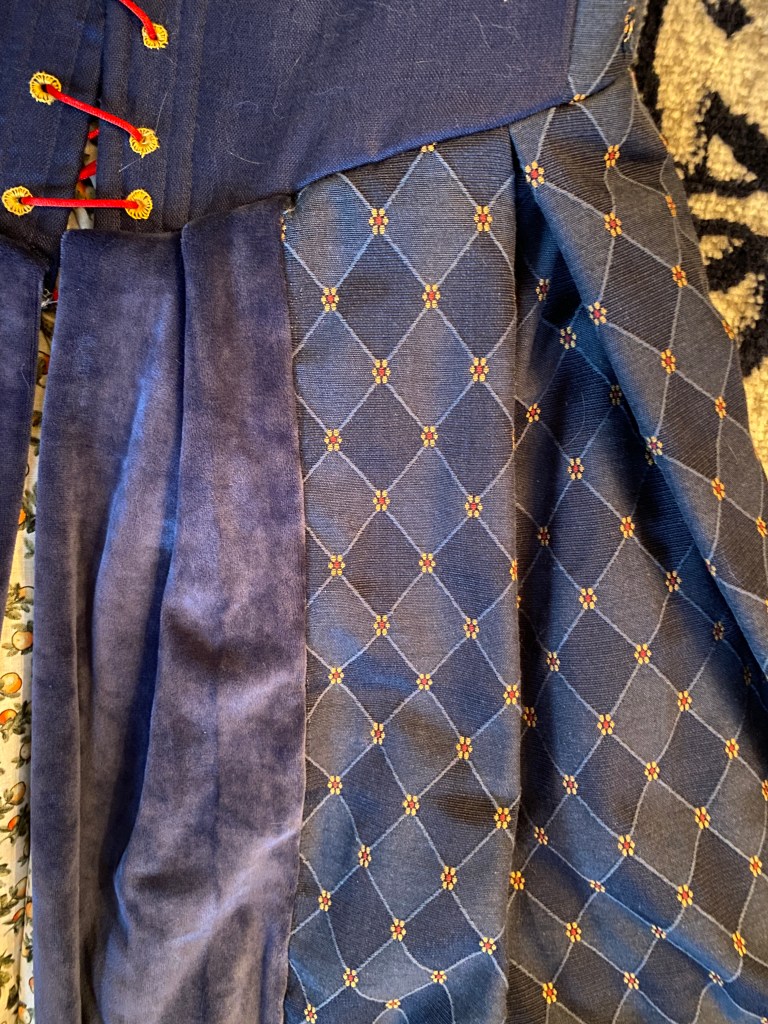
With everything cut (finally), I could begin the construction process. I start by flatlining all the panels using a basting stitch at 1/4″ from the edge and then finishing the edges on the serger. The panels are then carefully stitched together, checking the pattern match as I pin so that the hard work of pattern matching when I cut is not wasted. I stitched the panels from the center back to the center front. All in one piece, I can do a final fitting for the shoulder seams and move on to the eyelet closure. The 1″ excess at the center front is folded back, ironed, and pinned in place before stitching the boning channels. I am using 1/4″ synthetic whalebone (plastic) boning and thus stitch the first channel 3/8″ from the center front, move over 1/2″ for the eyelets, and then another 3/8″ for the second channel.

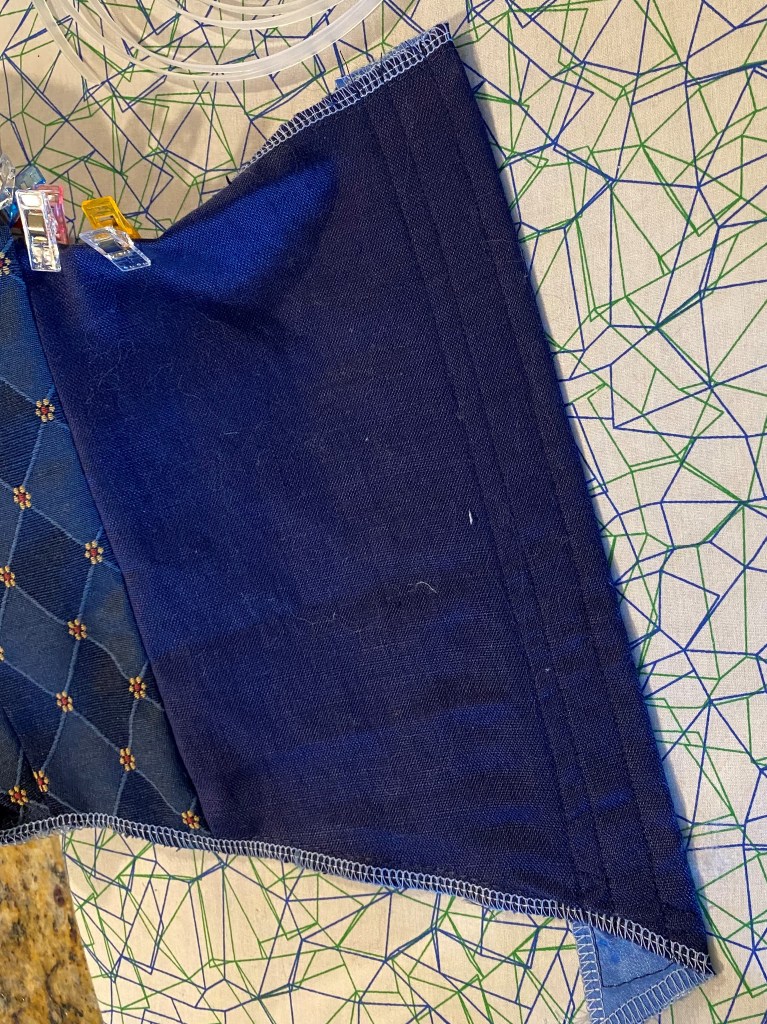
While using the iron to flatten the boning pieces, I also turn over the neckline seam allowance, iron, and clip to be sewn down by hand with simple whip stitches.
To make spiral lacing, the eyelet channel is measured and …. 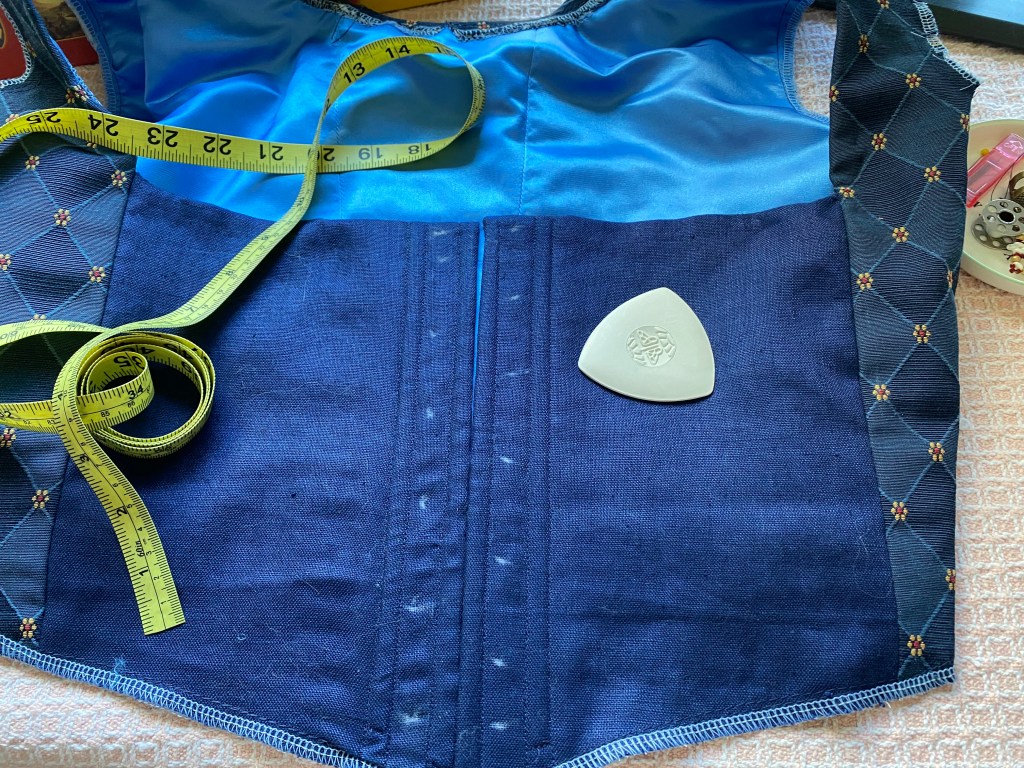
eyelet locations are marked based on an offset pattern. 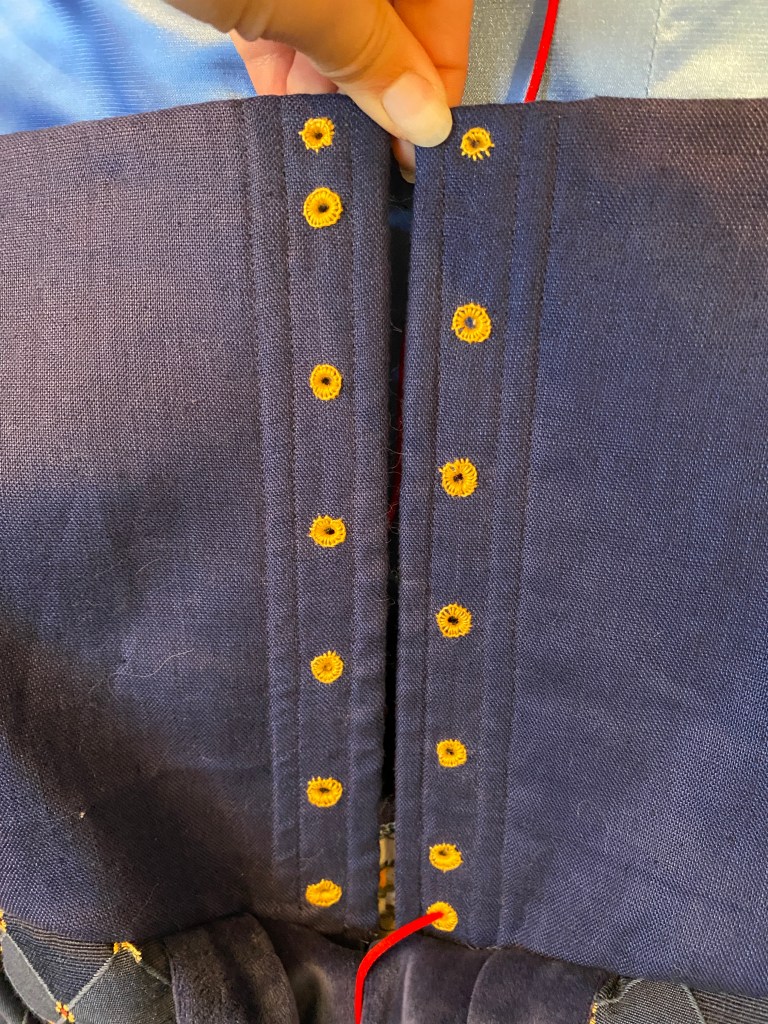
Completed embroidered eyelets 
Addition of lacing
Sleeves
I used the top of sleeve cut pieces to also cut the lining from cotton and make a bottom of sleeve pattern for the remaining length. The bottom of the sleeve is cut from both the same blue linen as the forebodies and silk velvet. Though the linen is technically the outer layer and the silk is the lining, the sleeves will be folded back with the wrist at the elbow, thus hiding the linen and exposing the lush velvet. The velvet section is cut 1″ longer at the hem so that the velvet will fold over at the final hem rather than the seam being exposed.

The linings pieces and outer pieces are stitched together, tops to bottoms, then individually stitched at the underarm seams. Once all four sleeve tubes are stitched, the lining and outer layers are stitched together at the wrist hem and turned out to form the sleeve.
Next came the agonizing task of setting the sleeves into the armscye. The armscye is prepped by a quick stay stitch (basted stitch length) around the armscye. The sleeve itself has two lines of gathering stitches at 1/4″ and 1/2″ from the edge. The bobbin end of the gather stitches is pulled to gently gather the sleeve cap to help with easing the sleeve into the armscye.
Two parallel ease stitch lines….. 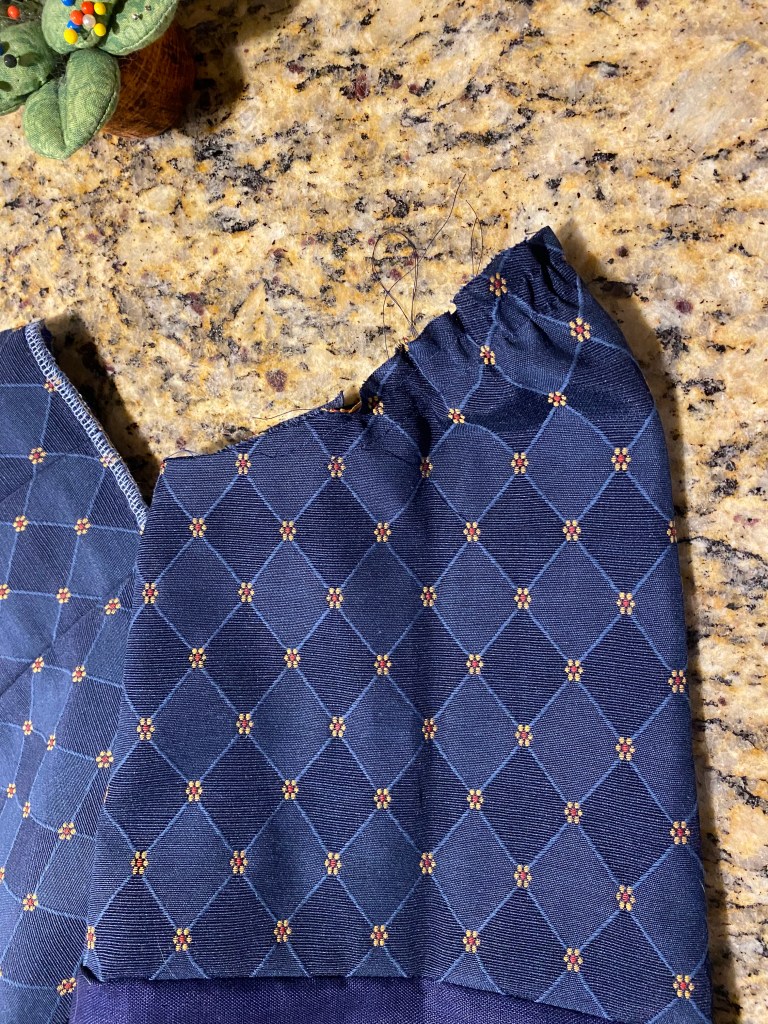
…..slightly gathered at the sleeve cap…..
The eased sleeve is pinned into the armscye using the markings from the original pattern for orientation. I hand-stitched the sleeves in place with small backstitches because I worried that forcing it through the machine would create puckers and tucks. Hand stitching takes longer but comes with a lot more control. The lining is then turned inward and also handstitched down at the armscye, encasing the finished sleeve seam.
The Skirt
The skirt panels were cut while preparing the bodice, but lining pieces also needed to be cut as well as the supplemental velvet. The supplemental velvet is cut to serve as both the 6″ reduction from the front panel as well as a lining. I am cutting a stip 13″ wide to allow for 1/2″ seam allowances.
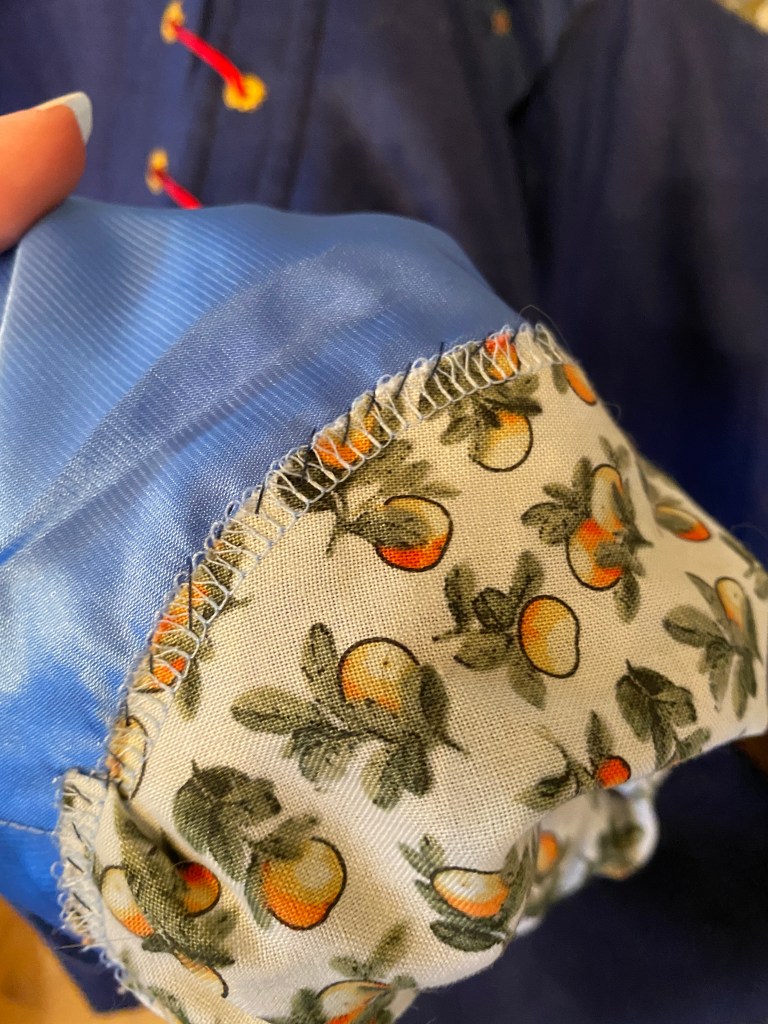
I am adding a lining for the skirt primarily because the home decor fabric has an odd back where all the threads from the red and gold stitching are exposed. Knowing my clumsy self, I would end up hooking those threads all the time if they weren’t encased. The lining is cut using the previously cut outer fabric pieces as pattern templates. I used a mixture of bulk white cotton (Ikea) and clearance patterned cotton (Hobby Lobby). In hindsight, I wished I had used only the patterned cotton to be consistent since any time the bright white is seen, it is quite a shock next to the deep, rich blues.
The lining pieces are stitched together and seams pressed open.
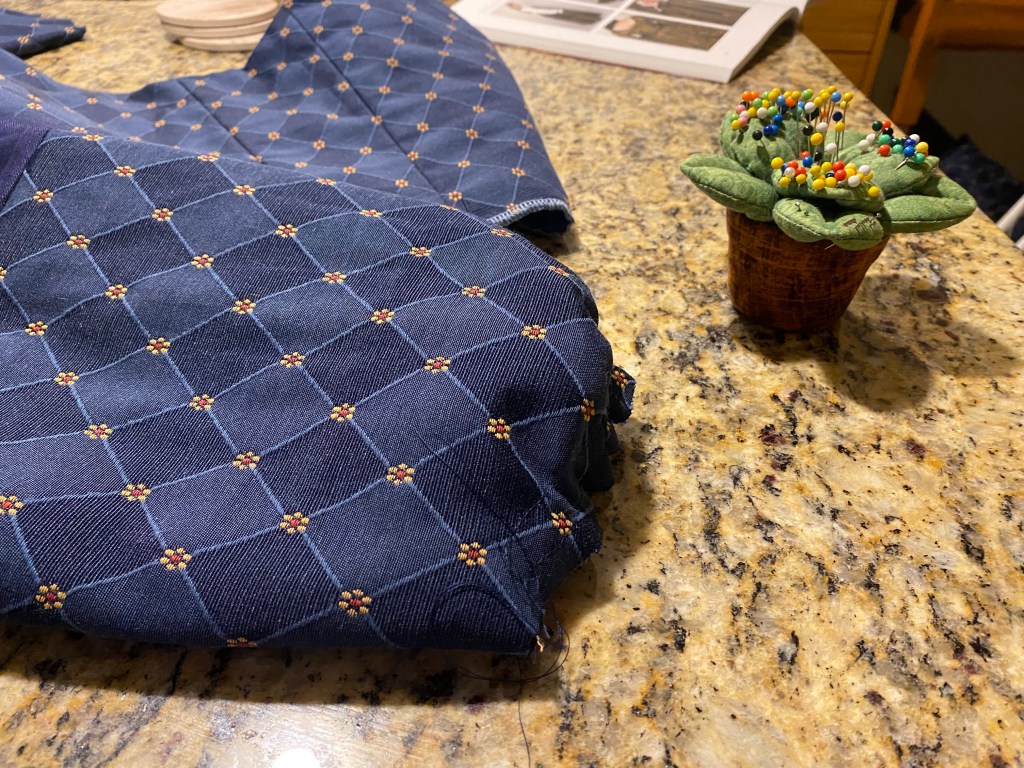
As I was prepping the skirt panels to be stitched together, I realized I almost missed a golden opportunity: POCKETS. I quickly found a standard pocket pattern from another project and cut four pocket panels from the blue linen. I added these to the side-front seam edges of both the side and front panels and THEN stitched the full seams for the front, side, back, and front supplement pieces. Lastly, the velvet front panels are stitched to the front lining panels to create a full circle of the outer fabric and lining. The wrong sides are turned inward with both the hem and waist seams open. The waist seam for the outer and lining layers is pinned together, basted, and finished on the serger.
The Tudor Tailor pattern gives instructions for pleating and gathering the skirt waist, but I had to do a bit of adjusting due to my pattern reductions in the skirt and bodice alterations early on. I was able to follow the front panel pleats closely by marking the point where the pleats would meet based on The Tudor Tailor pattern, but then adjusted the starting point of the box pleats based on reducing the length to match the side seam on the bodice. I also added a small pleat in the velvet strip so that the box pleat wasn’t quite so extreme. This pleat is also marked in The Tudor Tailor pattern. The pleats were basted in place before stitching the bodice and skirt together from front to side seam. This seems counterintuitive to do before finishing the back pleats, but it allowed me to then place the bodice and skirt on a dress form and play with the back panel pleats to figure out the right ratio for the cartridge pleats.
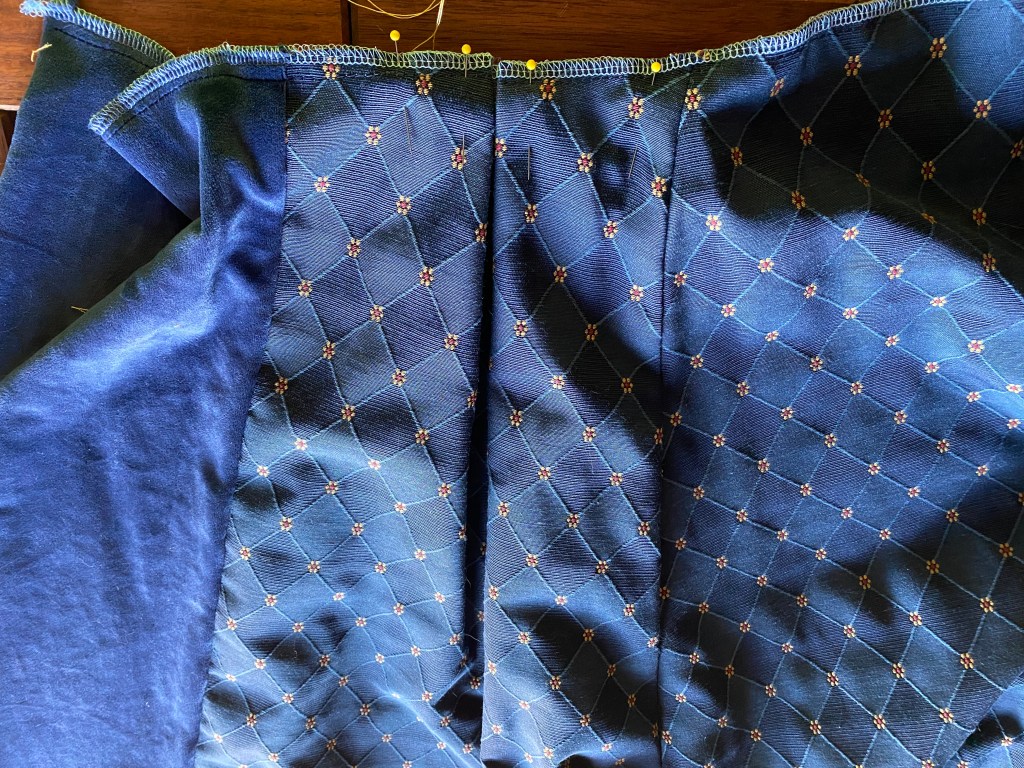
The side and back panels of the skirt are gathered with cartridge pleats to give fullness at the hips and butt that were characteristic of the period. I used 1″ pleats at the sides and 3″ pleats at the back and then both were wiggled and squished to give an even appearance across the back.

The pleats are fixed to the bodice with small whip stitches using heavy-duty upholstery thread. Because my skirt is constructed of heavy home decor fabric and lined with a full cotton layer, is un-godly heavy and I worried that the weight would cause the waist seam to pull apart if I didn’t use small enough stitches.

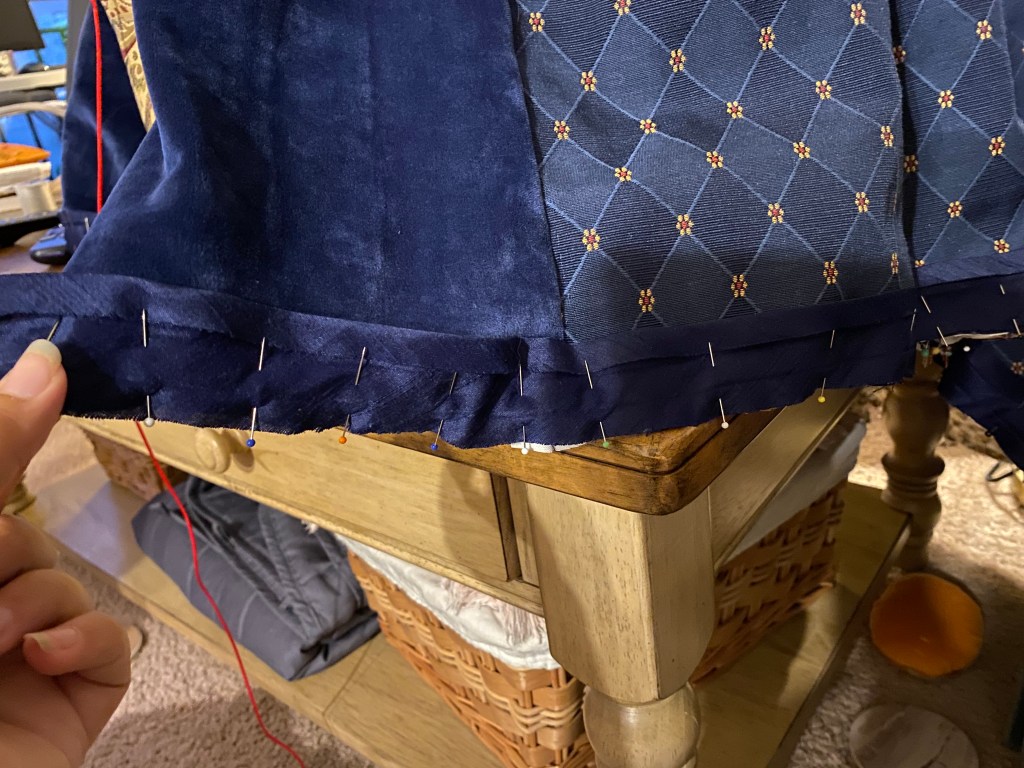
With the skirt fully stitched to the bodice, I placed the garment on the dress form adjusted it to my height, and leveled the front hem to skim just above the toes. Since the back skirt includes a small train, I only leveled the hem to the side-front seam. The side and back hem was just tidied up to match at the seams and left long for the train.

To finish the hem, I am using the same silk bias ribbon as from the kirtle hem, though needing twice as much length. I quickly make my bias tape, and pin it to the front of the skirt, being careful that the lining will be caught in the stitches and hang straight with the outer layer. The bias tape is stitched to the front using the machine, turned under, and hand-stitched to the lining.
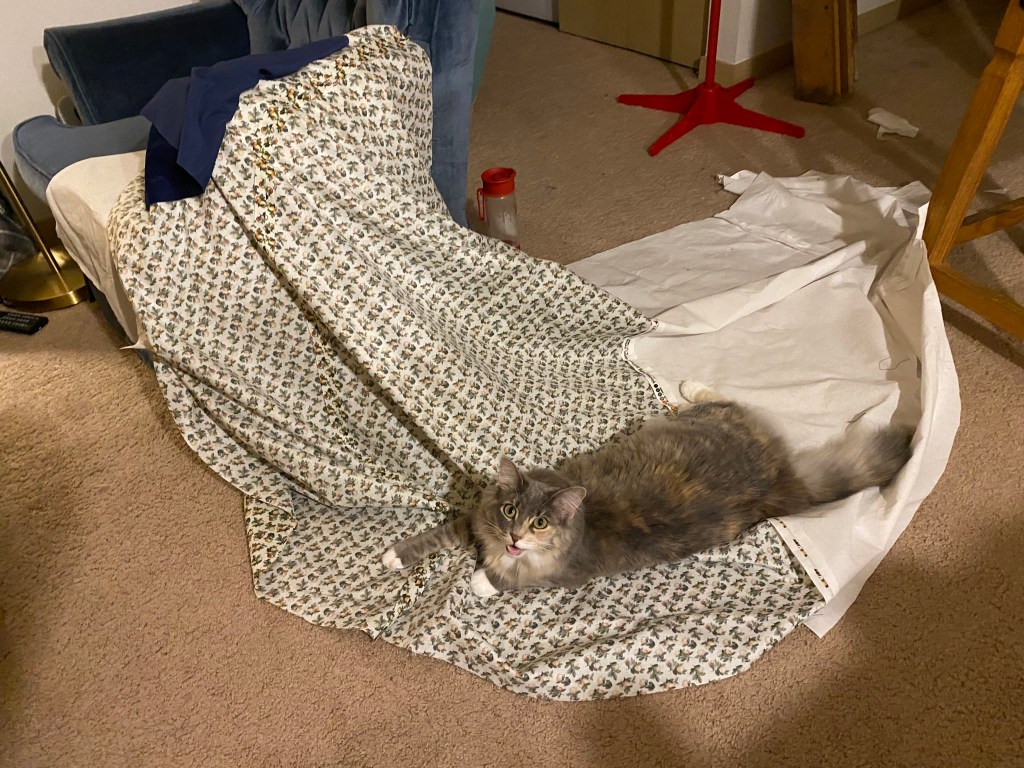
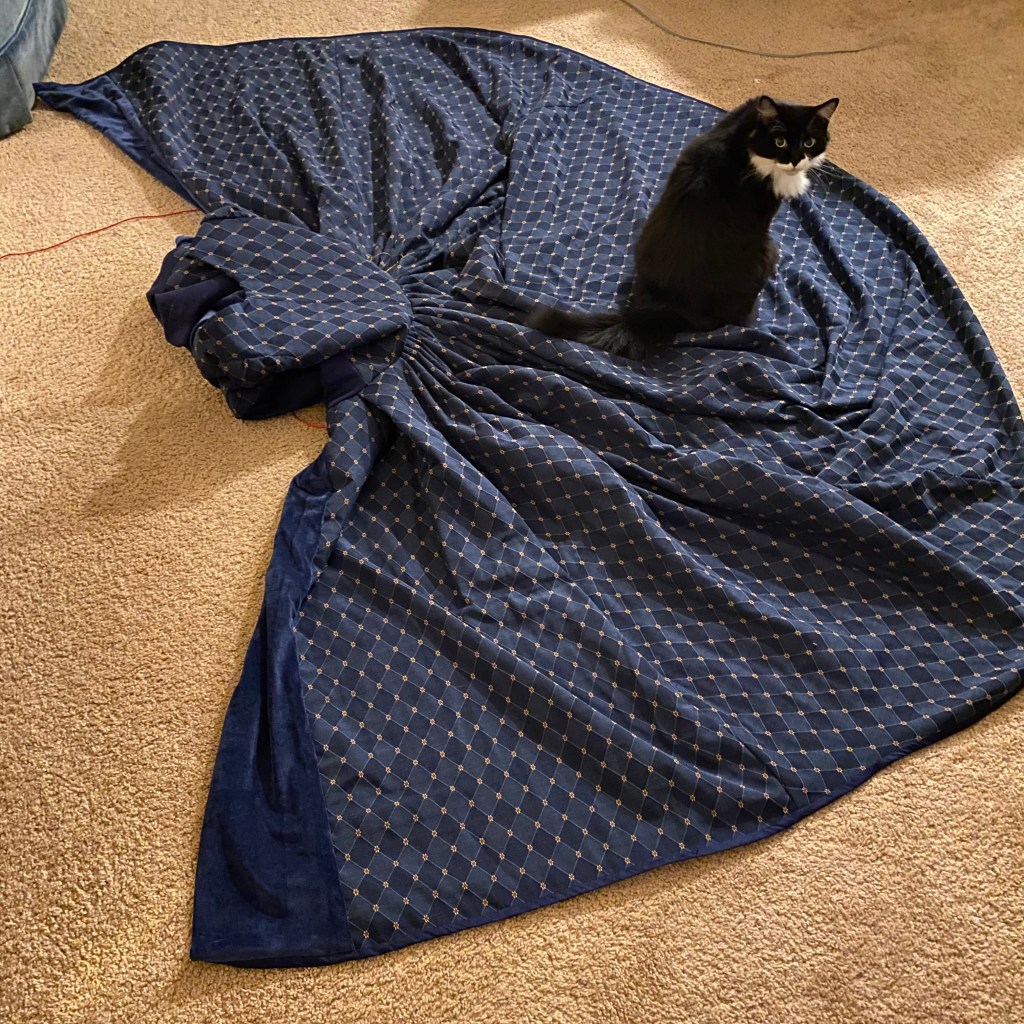
And there she is! The skirt in all her full glory
Plus a dapper kitty who loves to sit on any fabric as soon as it hits the floor..
It was so incredibly satisfying to see the outer gown come together. The construction was actually pretty quick once I had gotten past the pattern-matching finicky work. It is heavy as heck but by far one of the most well-done, professional-looking garments I have ever made. There is still the plaquette and accessories to finish, but it was such a wonderful moment to be able to see the full garment both on the dress form and then to wear it myself. At this point, the project has been ongoing for nearly a year and a half.

Keep following along to see the building of the:
Plaquette
French Hood
And return back to the:
